Ground Remediation
Taking contaminated brownfield ground from desk study to verified clean: investigation, strategy, dig-and-dump or in-situ treatment, and the validation file that lets houses or industry sit where the gasworks stood.
Last updated 2026-07-28 by the BuildPedia Editorial Team.
What is Ground Remediation?
Brownfield land is bought on hope and built on evidence. The remediation journey starts long before an excavator: a Phase 1 desk study pulls the site's industrial history — gasworks, tanneries, fuel depots, infilled ponds — into a conceptual site model of what contaminants might be where, and a Phase 2 intrusive investigation then drills and digs to test that model: boreholes, trial pits, soil and groundwater sampling against BS 10175, laboratory analysis screened against generic assessment criteria (the LQM/CIEH S4ULs in UK practice, with CLEA model refinements where the generic numbers do not fit). Out of that comes the quantitative risk assessment and the remediation strategy: what must be removed or treated, for which receptors — residents, workers, groundwater, the buildings themselves — and to what standard.
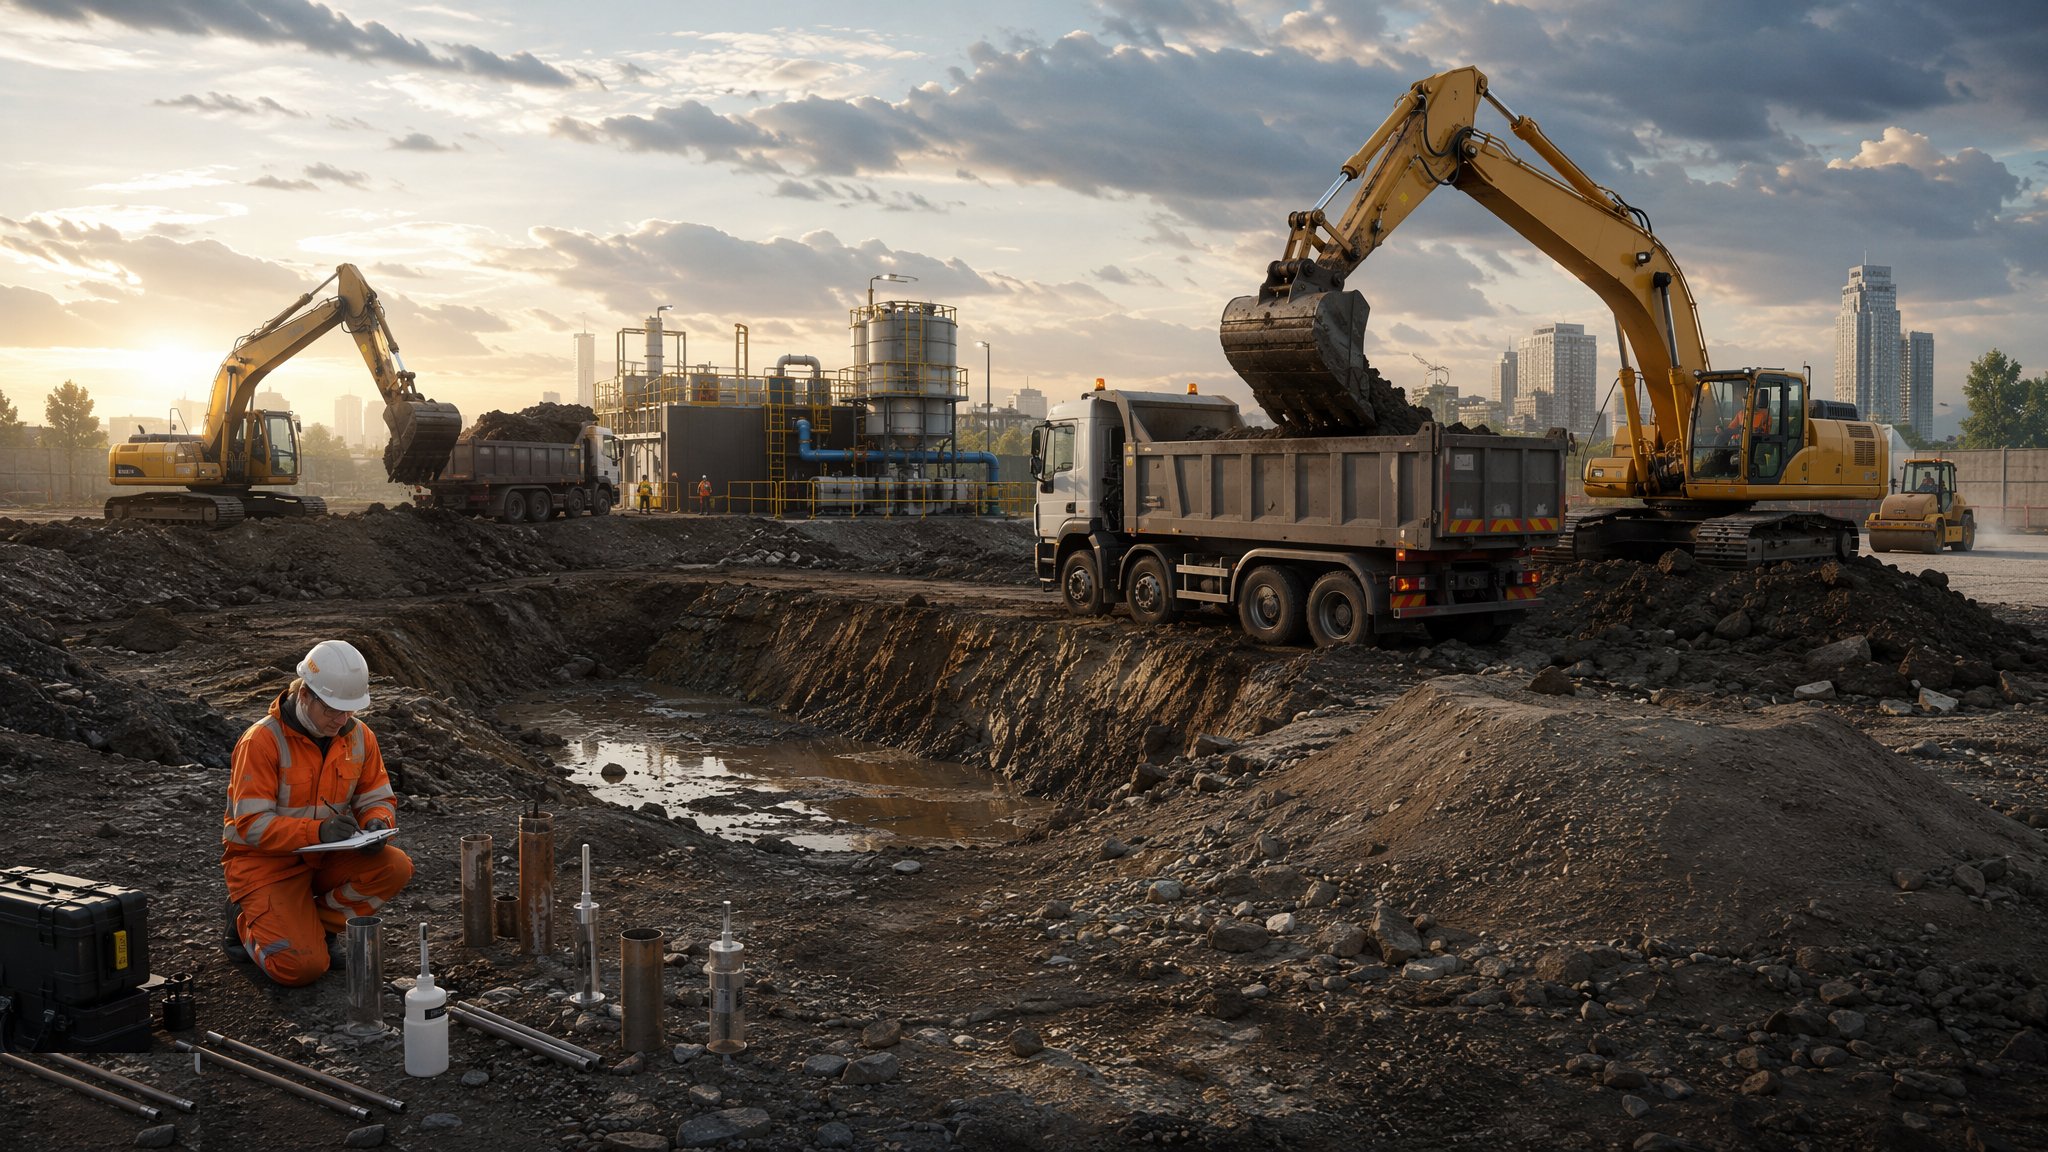
The treatment menu splits into two families. Dig-and-dump is the old default: excavate the contaminated soil and haul it to licensed landfill, imported clean fill in its place — fast, certain, and brutally expensive now that landfill tax and haulage punish every tonne, and indefensible on sustainability grounds for all but the worst hotspots. In-situ and on-site treatment does the work in the ground: bioremediation of fuel contamination by windrow turning or biopiles, soil washing, stabilisation/solidification locking metals into a cemented matrix, chemical oxidation injected into source zones, thermal desorption for the stubborn organics. Many strategies blend them — hotspots excavated, the margin treated in place, made ground reused under a materials management plan declared to the CL:AIRE Definition of Waste Code of Practice so treated soil is a product, not a waste.
The two things that define remediation sites are surprises and proof. Unexpected finds are a certainty, not a risk: the unmapped tank, the tarry lens, the asbestos fragment in made ground — every site runs a written discovery protocol (stop, isolate, assess, sample, agree, proceed) because the difference between a two-day delay and a programme disaster is whether the find is handled by procedure or by panic. And the job is finished by paper, not by plant: the verification report — validation sampling of excavation bases and sidewalls, imported fill tickets and analyses, treatment records, gas monitoring — assembled into the document that discharges the planning condition and satisfies the regulators, the warranty providers and the housebuilder's insurers that the ground is what the strategy said it would be.
When and why is Ground Remediation used?
Ground remediation applies to any redevelopment of previously used land — former industrial estates, gasworks, depots, railway land, infilled ground — where contamination stands between the site and its consent. It sits at the front of the programme, after acquisition and investigation, before or alongside enabling works, because planning conditions routinely forbid construction until remediation is complete and verified. It matters on three axes: law and liability — the planning regime will not let housing onto unverified land, and the contaminated land regime can pursue polluters and owners long after the event; cost certainty — remediation is the classic brownfield budget killer, and the strategy chosen (dig-and-dump versus treatment) can swing millions; and programme — in-situ methods take months that digging does not, while landfill capacity and haulage availability can stall the fastest dig. The client who treats remediation as a muckaway subcontract discovers all three the hard way.
Types of Ground Remediation
Dig-and-dump (excavation and disposal)
Excavation of contaminated soils to licensed landfill with validated replacement by certified imported fill. Certain, fast and regulator-friendly — but exposed to landfill tax, haulage and capacity, and increasingly the method of last resort for all but genuine hotspots.
Bioremediation and biopiles
Stimulating the soil's own microbes to degrade hydrocarbons: windrow turning, biopiles with aeration and nutrient dosing, or monitored natural attenuation for low-risk plumes. Slow — months not weeks — but a fraction of the cost of disposal for fuel-contaminated ground.
Stabilisation / solidification
Mixing contaminated soil with cementitious or proprietary binders to lock metals and organics into a low-leachability monolith, often reused as engineered fill or piling platforms on site. Turns a disposal problem into a construction material — when the leachate testing proves it works.
Soil washing and thermal desorption
Physical-chemical treatment trains: washing separates and concentrates contaminants into a small hazardous fraction; thermal desorption drives off organics for capture or destruction. High plant mobilisation costs — right for large volumes of the right soil, wrong for small mixed sites.
In-situ chemical and groundwater treatment
Injection of oxidants or reductants into source zones, pump-and-treat for groundwater plumes, permeable reactive barriers — methods that treat without digging, used where excavation is impossible under structures or services, and verified by long monitoring tails.
Ground Remediation: step by step
Step 1: Desk study, site investigation and risk assessment
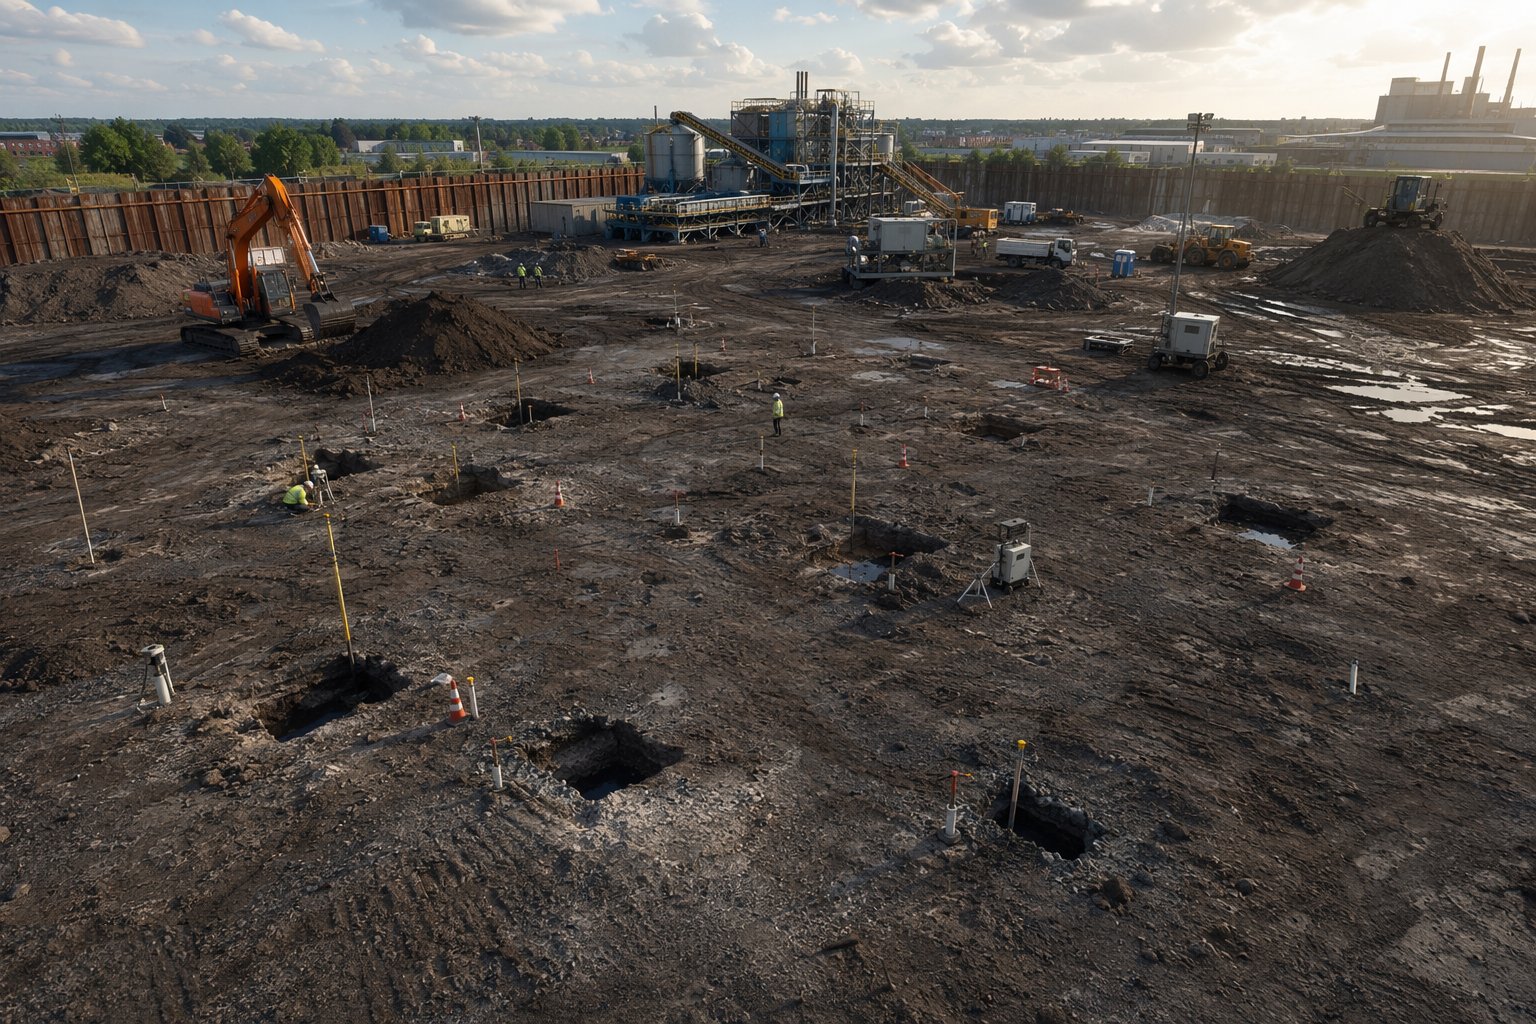
The Phase 1 desk study and walkover build the conceptual site model; the Phase 2 investigation tests it — boreholes and trial pits on a grid biased to the suspect areas, soil and groundwater sampled, gas and vapour wells installed and monitored over weeks, because one round of gas readings proves nothing. Analysis is screened against the assessment criteria, the risk assessment quantifies what actually matters for the proposed use, and the conceptual model is updated — the number of strategies wrecked by an investigation that guessed instead of looking is beyond counting.
Step 2: Agree the remediation strategy and consents
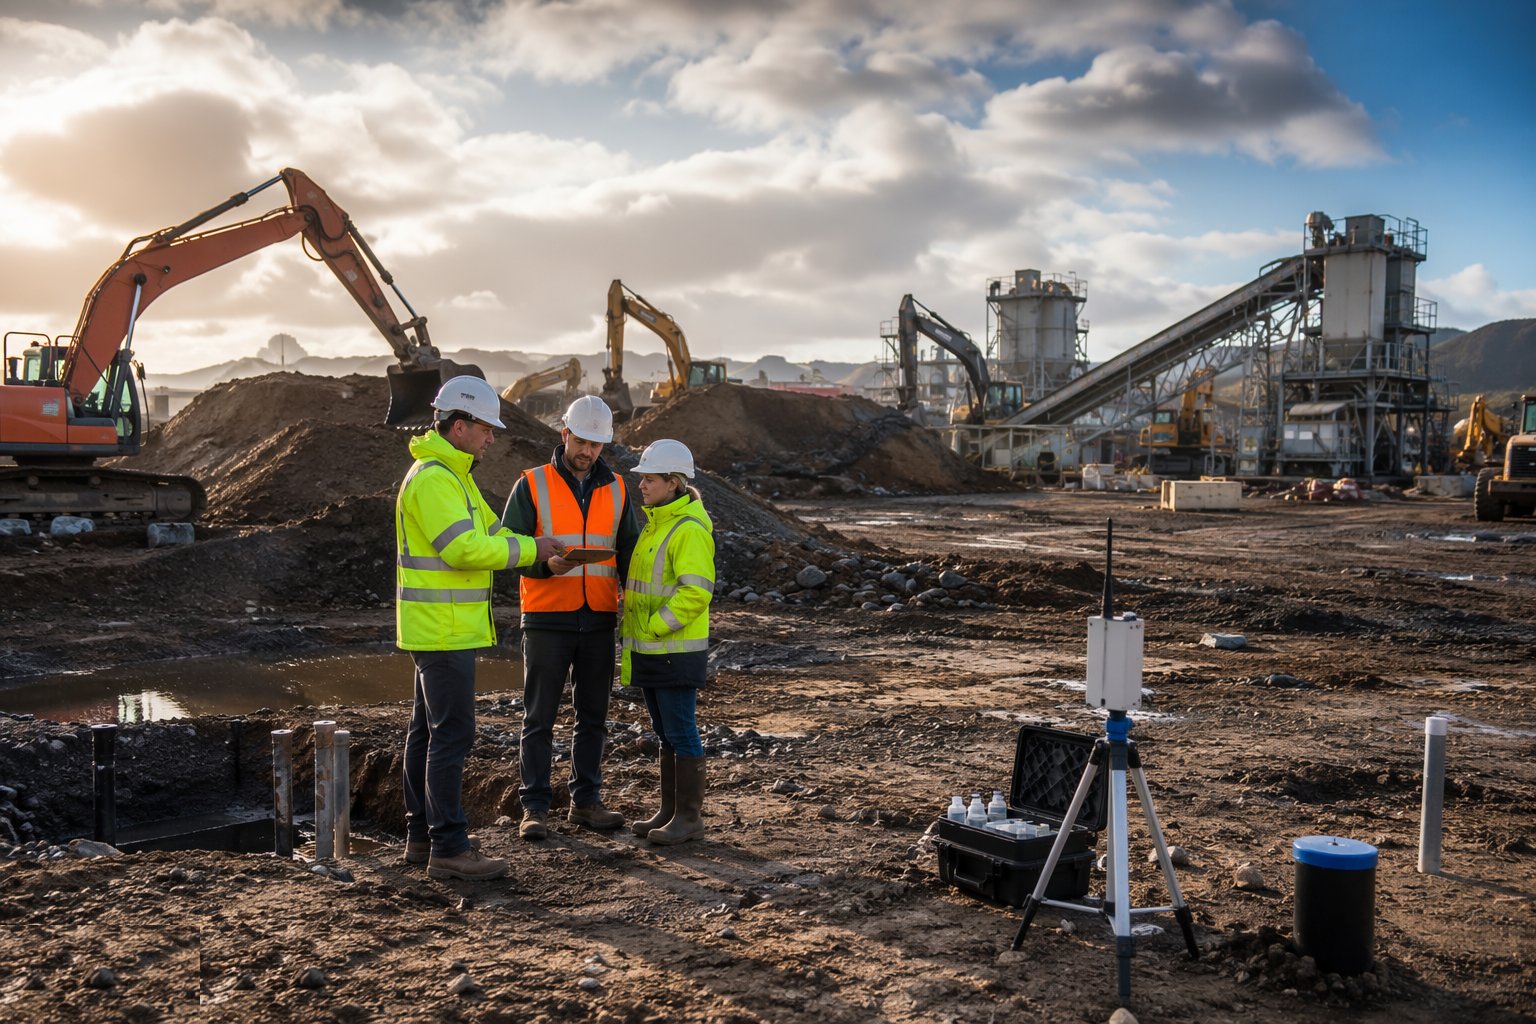
The remediation strategy goes to the regulator and the warranty provider for agreement before plant mobilises: methods, target criteria, validation sampling plan, and the materials management plan where soils are to be treated and reused. Consents run in parallel — environmental permits or mobile plant licences for treatment, waste acceptance criteria (WAC) testing to class soils for landfill, discharge consents for treated water. Nobody digs until the paperwork exists; a stockpile of misclassified soil on a live site is an enforcement action waiting for a photograph.
Step 3: Set up the site: segregation, tracking and the discovery protocol
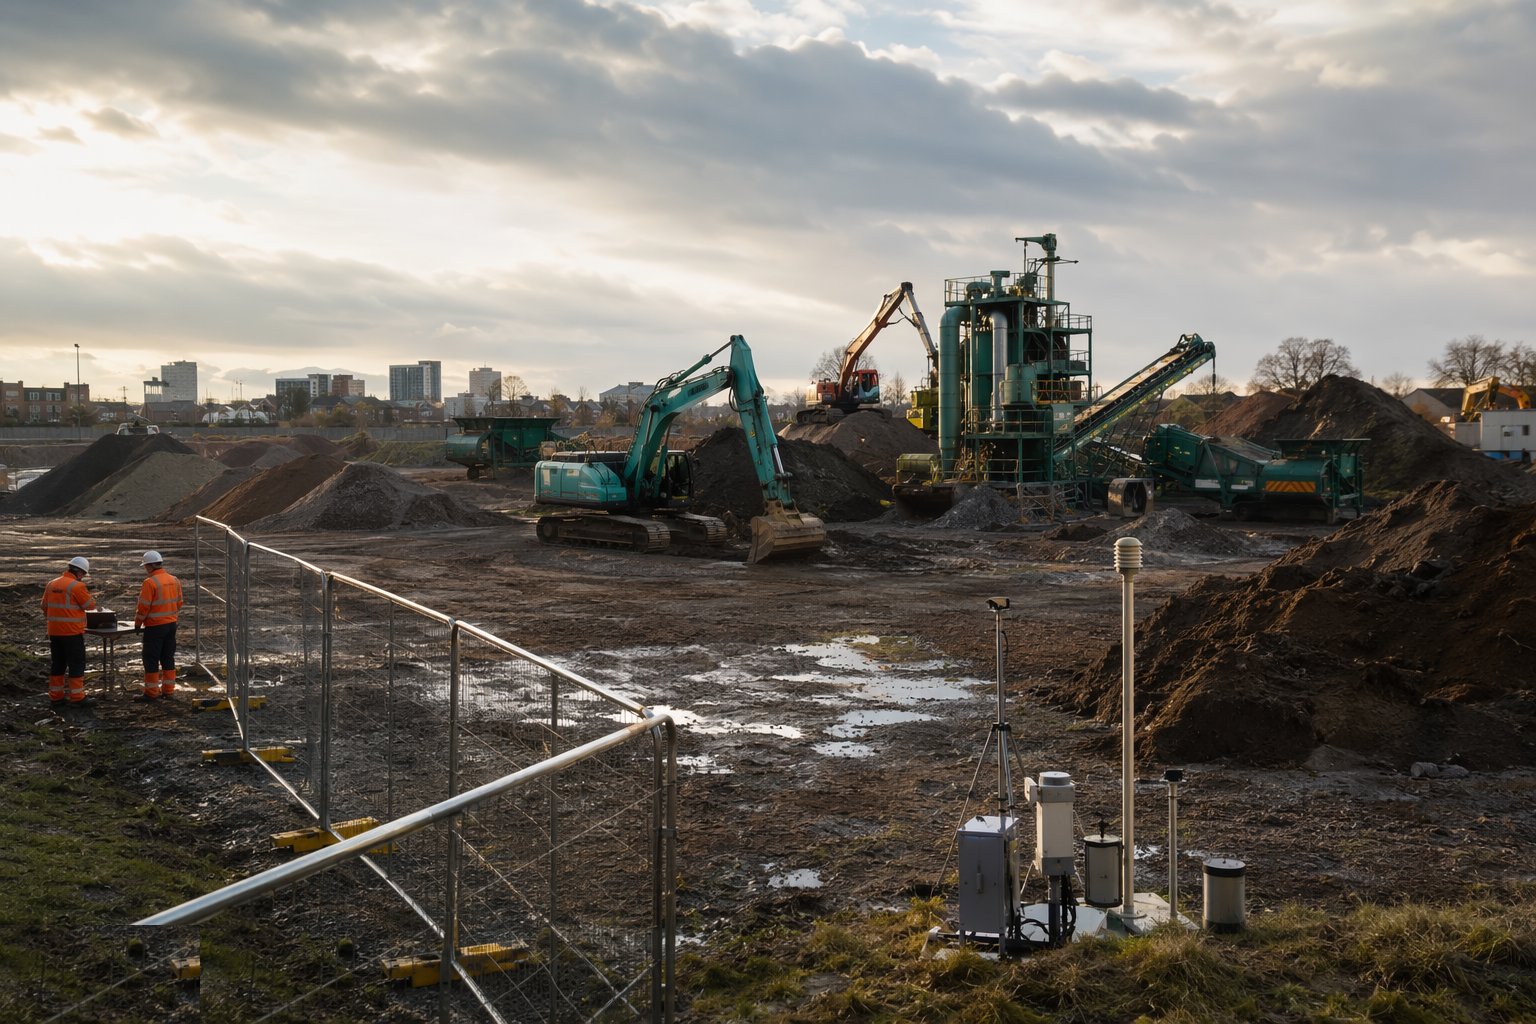
The site is zoned: clean and dirty areas physically separated, wheel washes and haul routes arranged so clean plant never crosses dirty ground, stockpile bays bunded and labelled, and the materials tracking system — every load logged from face to destination with tickets reconciled — live from the first bucket. The unexpected finds protocol is briefed to every operator: stop on the find, isolate, call the watching brief engineer or environmental consultant, sample and agree before proceeding. Sites that skip this briefing spend the programme explaining stockpiles instead.
Step 4: Execute: excavate, treat or contain
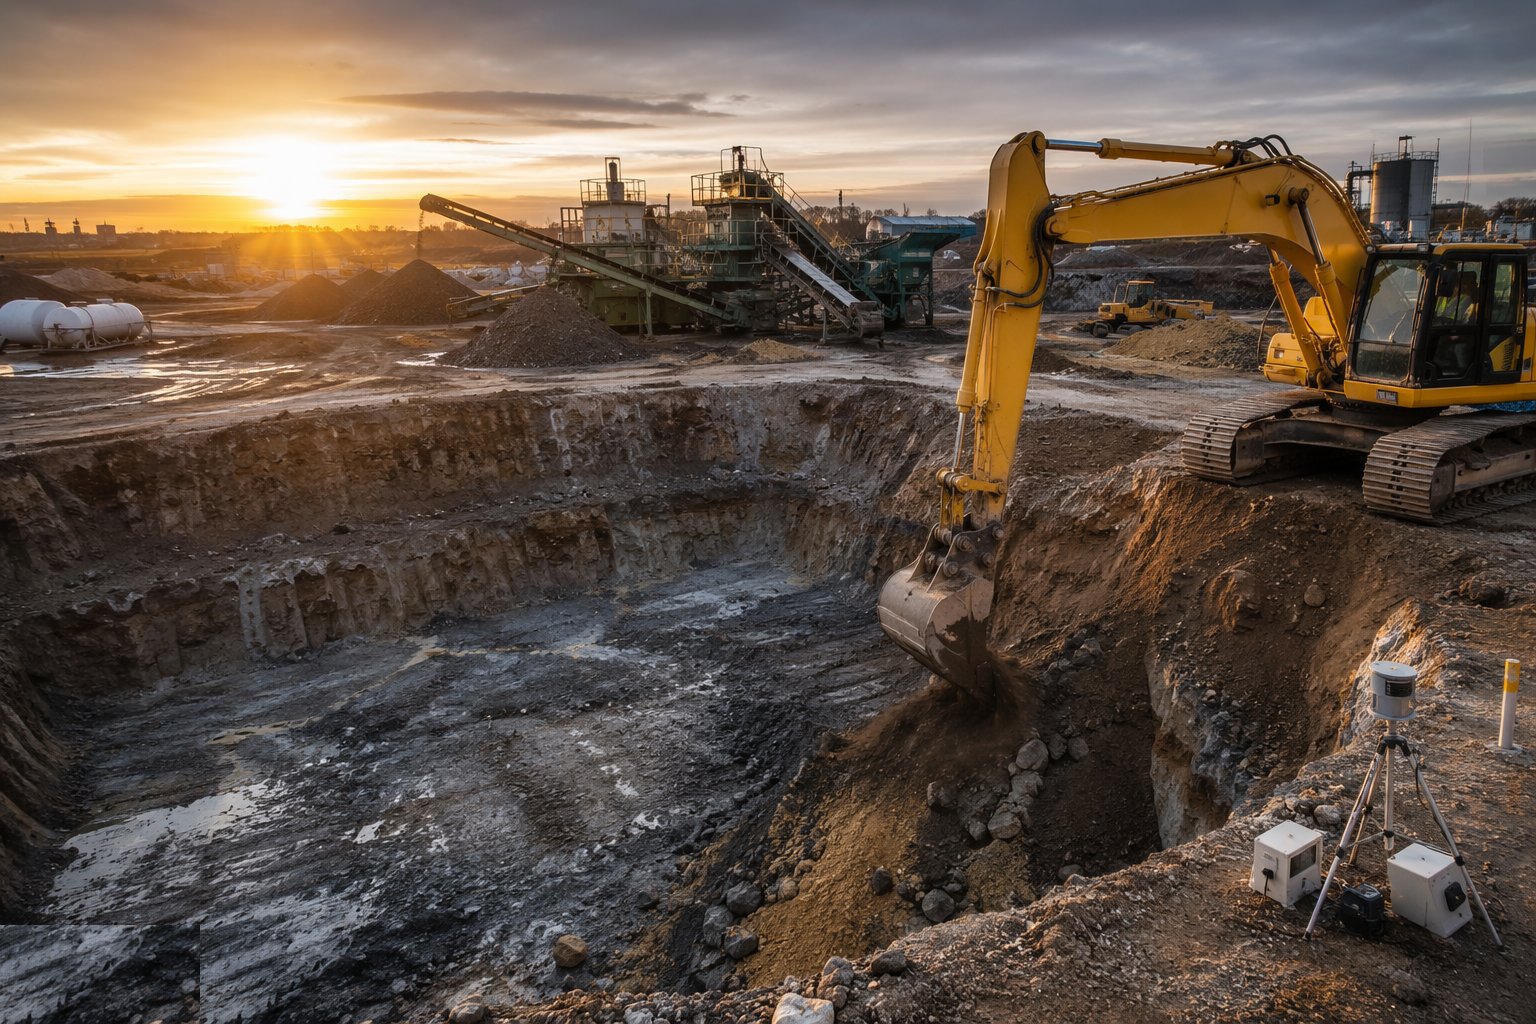
Hotspots come out first — excavated to the strategy extents, the base and sidewalls sampled to prove the margins — while the main volume runs to its method: windrows turned on their cycle, binder spread and mixed to the design dose, treatment plant fed and its product sampled. Dust, odour and run-off are controlled throughout — water suppression, sheeting, cut-off of dirty water from the clean drains — because the neighbours and the regulator judge the site by what leaves the fence. Breaking ground in wet weather on a clay site is how clean sites become dirty ones.
Step 5: Validate: sampling, testing and as-built records
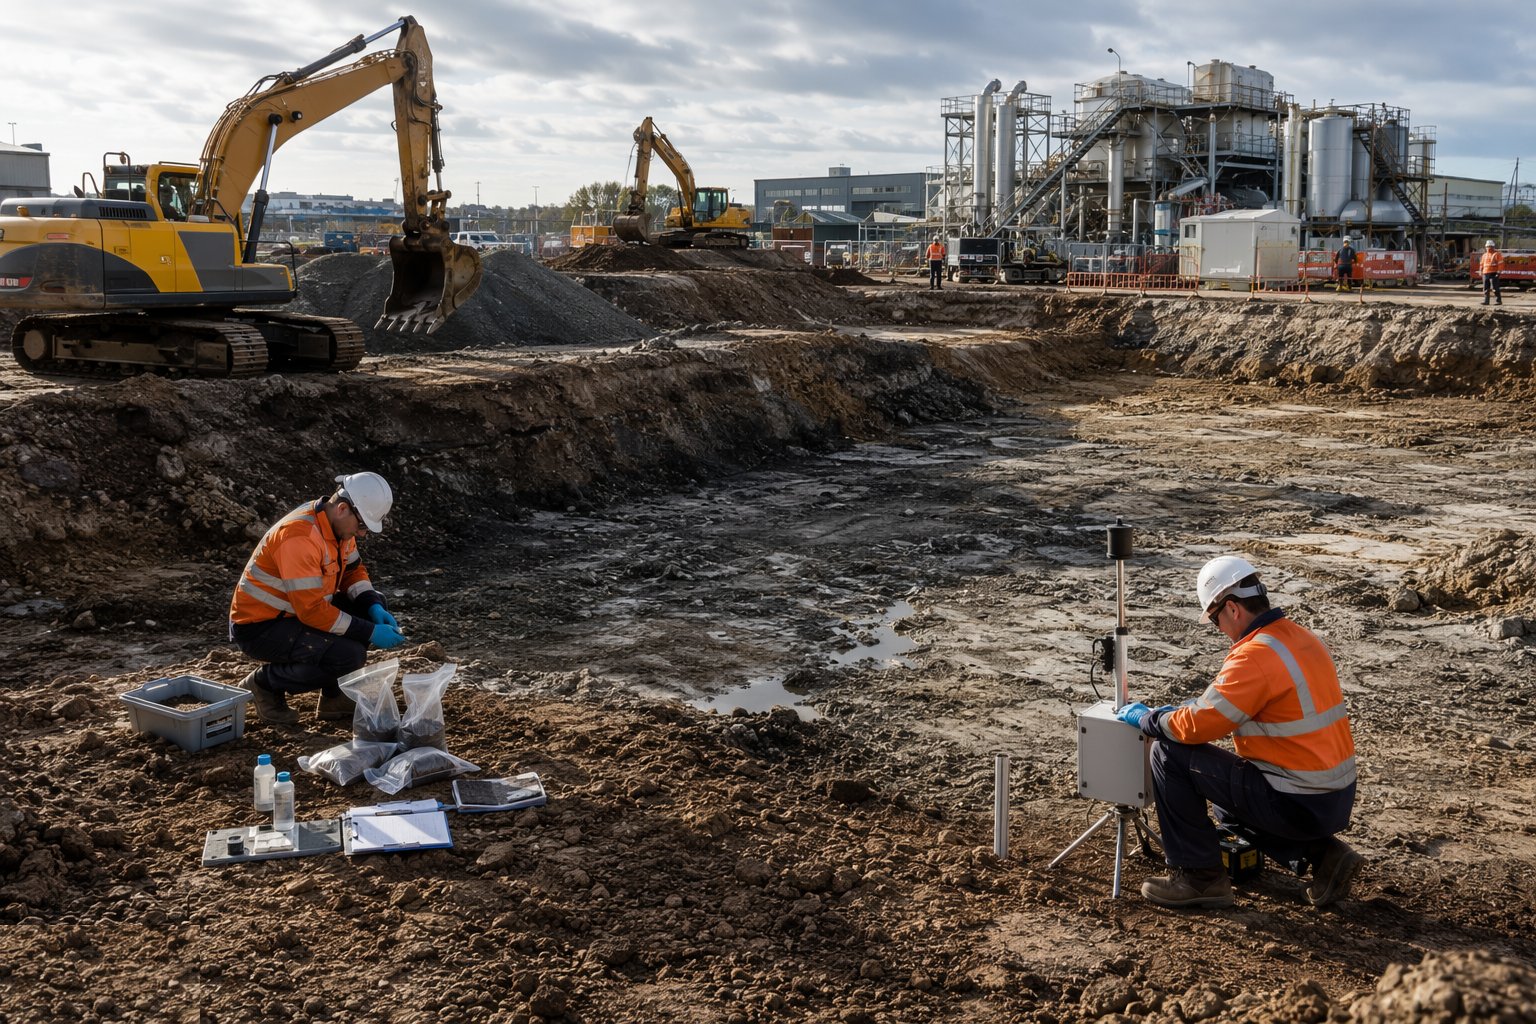
Validation is continuous, not a ceremony at the end: excavation bases and walls sampled at the plan frequency, treated soils tested for compliance and leachability, imported fill verified ticket-by-ticket against its declared source with confirmatory analysis, gas membranes and cover systems inspected and integrity-tested as they are laid. Every result is mapped — the as-built plan of what was removed, what was treated, and what remains under managed cover is the single most valuable drawing the site produces.
Step 6: Verification report and handover
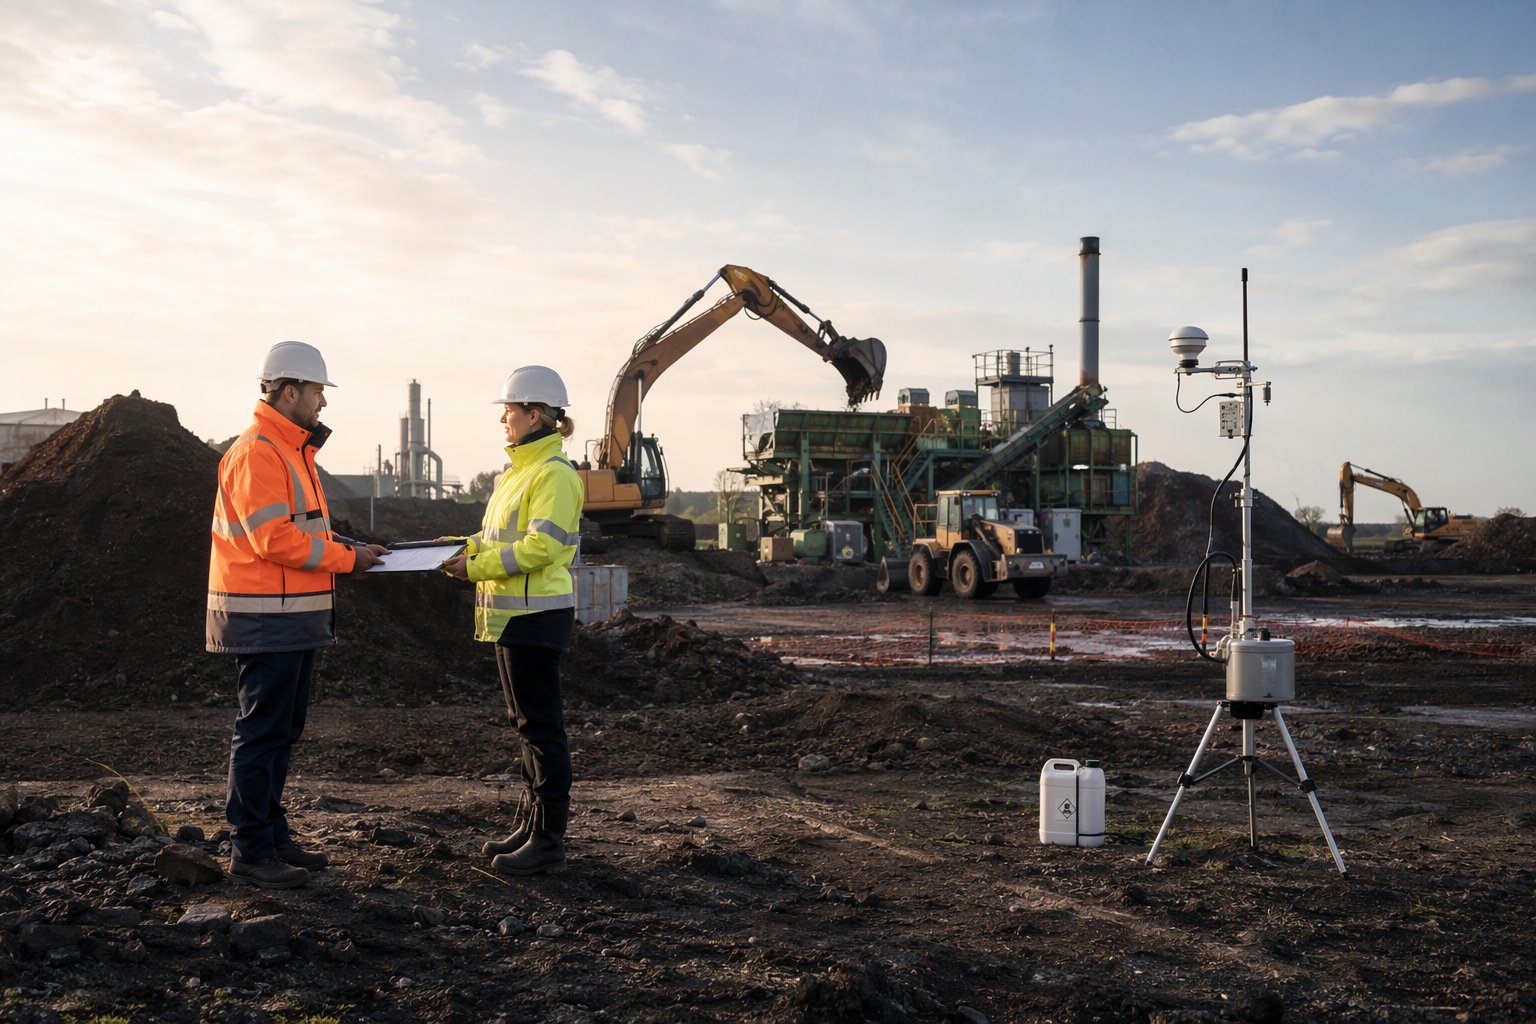
The verification report pulls the file together: strategy versus execution, every sampling result against its criterion, waste transfer notes and consignment notes reconciled to the last tonne, monitoring data, photographs, and the long-term management plan where residual contamination remains under cover systems. It goes to the regulator and warranty provider to discharge the planning condition — and only then does the site become a development platform. Following phases inherit the file: every piling subcontractor and drainage gang works under the residual-risk method statements it defines.
Plant and equipment
- Excavators, articulated dump trucks and 8-wheel tippers for excavation and haulage
- Screening and crushing trains for soil processing and hotspot segregation
- Windrow turners, biopile aeration kit and dosing systems for bioremediation
- Binder spreaders and in-situ mixing attachments for stabilisation/solidification
- Soil washing or thermal desorption plant where the treatment train justifies it
- Trial pit and borehole rigs, gas monitoring wells and PID/photoionisation survey kit
- Wheel washes, dust suppression and odour control systems
- Laboratory analysis: accredited suites for contaminants, WAC leachate testing, gas monitoring
Quality control checks
- Investigation and validation sampling to the agreed plan, by accredited laboratories with chain of custody
- Materials tracking reconciliation: loads excavated versus loads disposed or treated, tickets to match
- Imported fill verification: declared source, tickets and confirmatory chemical analysis per source
- Excavation base and sidewall validation results mapped against strategy extents
- Treatment records: dose rates, temperatures, residence times and product compliance testing
- Gas membrane and cover system integrity testing with installer certification
Safety considerations
- COSHH and exposure control for contaminated soils: PPE, hygiene facilities, decontamination of plant and personnel
- Ground gas and vapour risks in excavations and confined spaces: monitoring before and during entry
- Asbestos in made ground: trained operatives, dust control and licensed removal where required
- Unexploded ordnance risk assessments on former industrial and military land
- Plant-pedestrian segregation across a site that is one large haul route
- Deep and trench excavations in made ground: support or batter, never trust the face
Common defects
- Under-scoped investigation: hotspots missed by the grid, found by the groundworker at twice the price
- Misclassified waste: soils sent to the wrong landfill class, rejected loads and enforcement risk
- Imported fill that is not what its tickets claim — contamination imported onto a site being cleaned
- Validation sampling gaps that leave the planning condition undischarged and the site unsellable
- Dust, odour or dirty-water escape triggering regulator intervention and neighbour claims
- Materials tracking that does not reconcile — thousands of tonnes unaccounted at audit
Best suited for
- Brownfield redevelopment for housing, commercial and industrial use
- Former gasworks, depots, tanneries and fuel sites with defined hotspots
- Large regeneration platforms where treatment beats disposal on volume
- Sites where planning conditions require verified remediation before construction
How long does Ground Remediation take?
Typical duration: Investigation to agreed strategy typically takes 4–9 months; execution runs 3–12 months depending on method — dig-and-dump at the fast end, bioremediation and in-situ treatment at the slow end — with verification reporting adding 1–3 months..