SuDS & Blue-Green Infrastructure
Drainage that behaves like the ground did before you built on it — swales, ponds, permeable paving, rain gardens and green roofs slowing, cleaning and storing runoff, then handed over with a maintenance plan someone has to honour.
Last updated 2026-07-28 by the BuildPedia Editorial Team.
What is SuDS & Blue-Green Infrastructure?
Sustainable drainage systems — SuDS — manage rainfall at the surface instead of burying it in bigger pipes. The philosophy is the management train in CIRIA C753: deal with runoff as close to where it lands as possible, pass it through a sequence of features that slow it down, store it and clean it, and only then discharge at a controlled rate to a watercourse or sewer. Good SuDS deliver four things at once — water quantity, water quality, amenity and biodiversity — which is why they are no longer optional garnish: in England they are a material planning consideration with the Lead Local Flood Authority as statutory consultee, in Wales Schedule 3 makes SuDS Approval Body sign-off mandatory before construction, and water companies will only adopt them if they meet the Design and Construction Guidance.
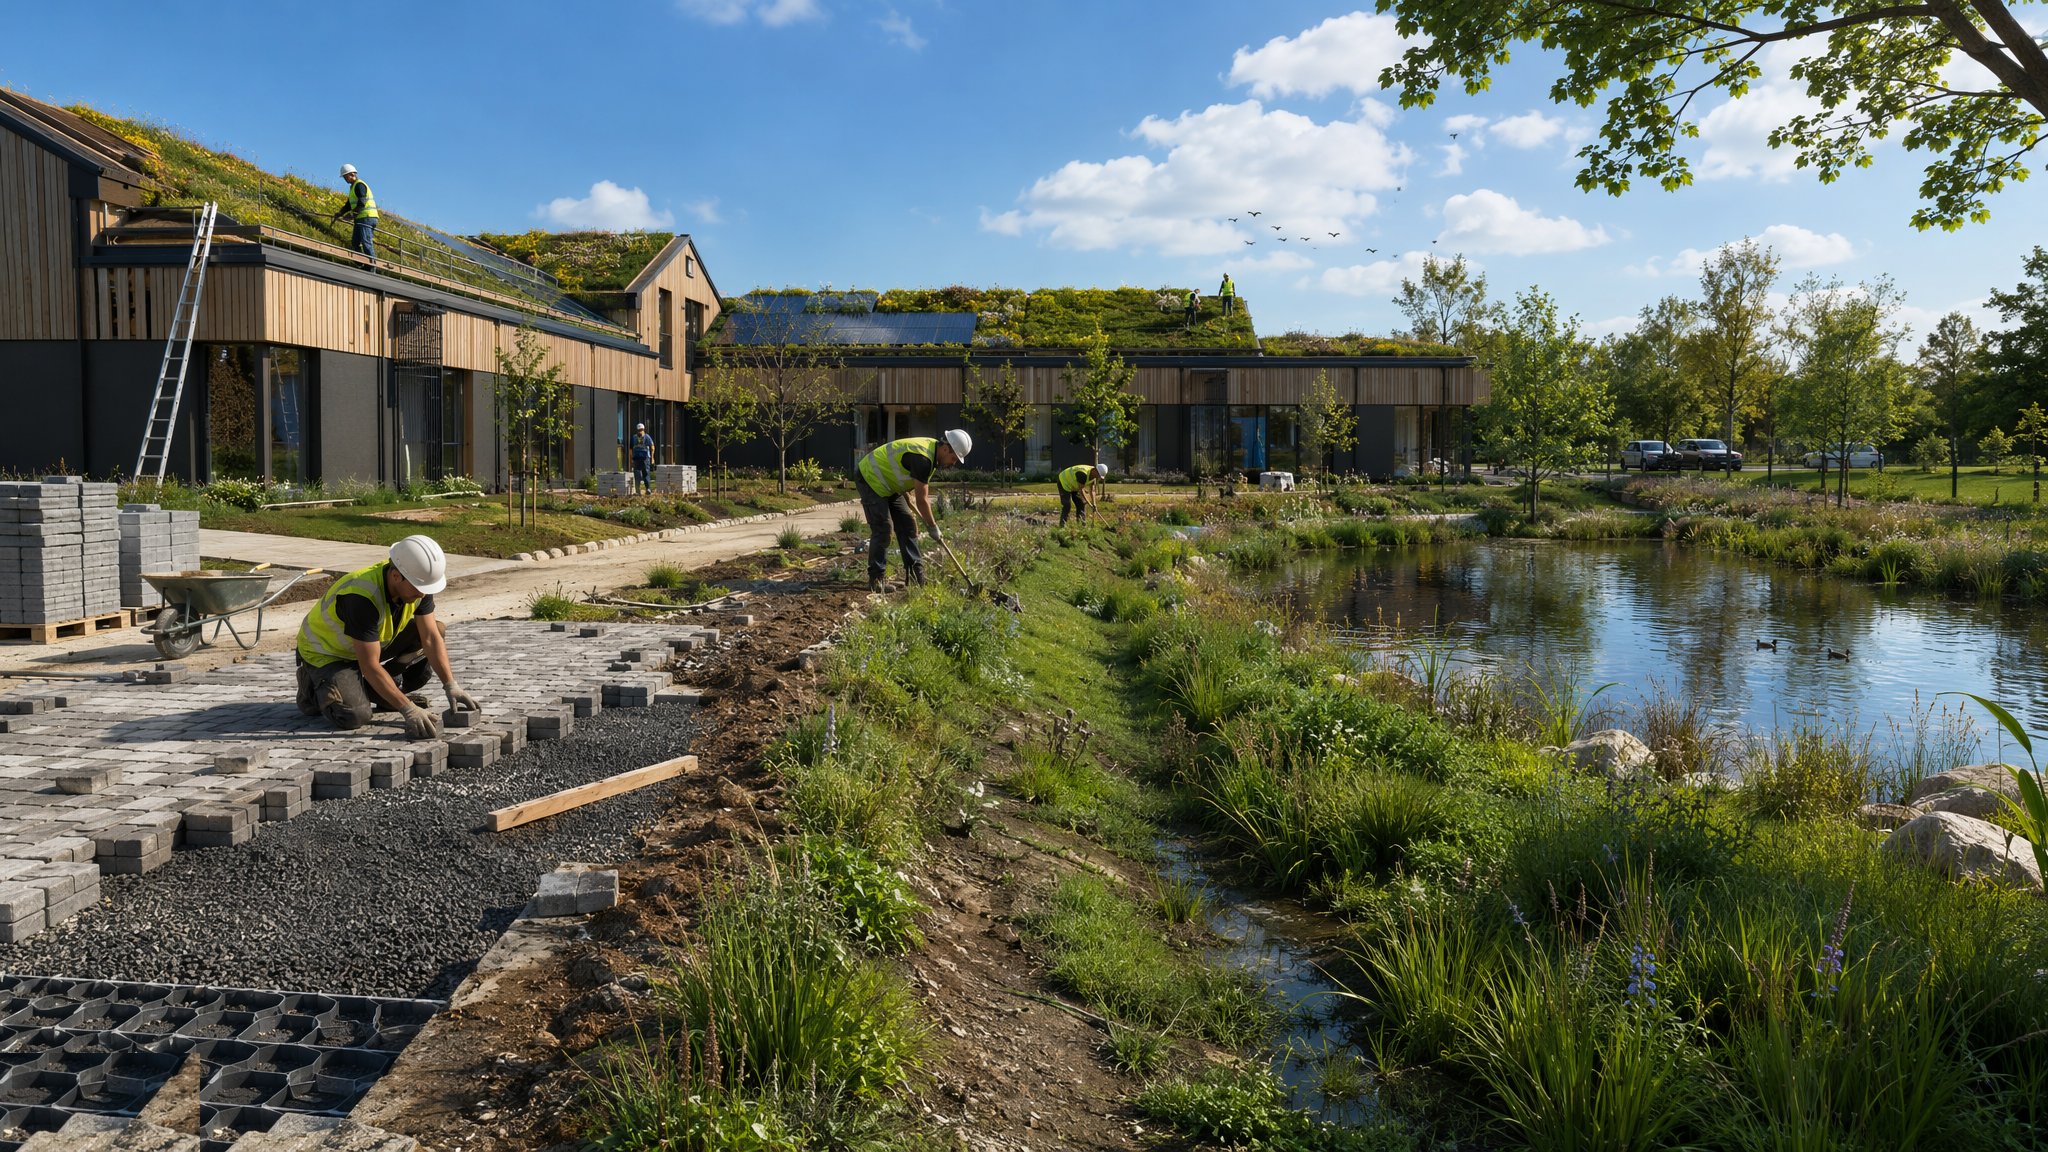
The components are civil engineering dressed as landscape. Swales and filter drains are shallow vegetated channels that convey and treat runoff through their soil and root zone. Attenuation basins store storm water and release it slowly through an orifice or throttle; wet ponds and wetlands hold a permanent pool that polishes water through sediment and plant action, with gentle side slopes and aquatic benches for safety and ecology. Permeable paving is source control you can park on: an open-graded aggregate sub-base that stores water in its voids, built as full infiltration (System A), attenuation with an outflow (System B) or tanked with an impermeable membrane (System C). Rain gardens and bioretention areas are engineered-soil planters with an underdrain and an overflow. Green roofs cap buildings with a drainage layer, filter fleece, lightweight substrate and sedum or wildflower planting — designed to their saturated weight, not their dry one.
The uncomfortable truth about SuDS is that they are built on construction sites, and construction sites run on mud. A swale used as a convenient silt trap for a year of earthworks arrives at adoption half-full of sediment with its infiltration rate destroyed; permeable paving surfaced while stockpiles of topsoil blow across it is clogged before it opens. The good schemes protect SuDS features through construction — temporary fencing, sacrificial layers, silt traps upstream, or building them last — and they finish with the paperwork that makes them adoptable: as-built levels and volumes, a verified maintenance manual, and an adopting body that has inspected along the way. In the Gulf, blue-green infrastructure is newer but rising: shaded swales, storm-retention landscapes for shamal rain events, and green roofs earning credits under Al Sa'fat and Estidama.
When and why is SuDS & Blue-Green Infrastructure used?
SuDS go in with the earthworks and drainage phase of a development — the ponds and swales need the same excavators — but their planting and finishing run late, alongside soft landscaping. They matter because they discharge three obligations at once: flood-risk policy (attenuating the post-development peak back to greenfield rates), water-quality treatment, and increasingly biodiversity net gain, all wrapped in planning conditions that gate occupation. They also matter commercially: an adoptable SuDS scheme transfers to a water company or authority with a maintenance regime, while a failed one stays with the developer as a permanent liability. Get the levels, the liners or the silt protection wrong and you own a stagnant pond that floods the car park every November.
Types of SuDS & Blue-Green Infrastructure
Swales and filter drains
Shallow vegetated channels and gravel-filled trenches that convey runoff slowly, treating it through vegetation and soil. The entry-level SuDS feature — cheap to build with an excavator and a laser, and ruined just as cheaply by construction silt.
Attenuation basins and wet ponds
Dry basins that fill in a storm and empty through a throttle, and permanent-pool ponds and wetlands with forebays, aquatic benches and marginal planting. The heavy lifters of site-wide attenuation and treatment, demanding accurate levels, gentle slopes and honest flow controls.
Permeable pavements
Block or porous surfacing over an open-graded aggregate sub-base that stores storm water in the voids — full infiltration (System A), attenuated outflow (System B) or tanked (System C). Car parks and access roads that are also the drainage system.
Rain gardens and bioretention
Shallow planted depressions with engineered soil layers, an underdrain and an overflow, taking roof and hard-standing runoff through filtration and plant uptake. Small, numerous and the most visible SuDS feature residents will ever meet.
Green roofs
Extensive sedum or wildflower blankets and intensive planted roofs over a root barrier, drainage layer, filter fleece and lightweight substrate. Rainfall retention at source plus insulation and habitat — engineered to saturated weight and dead-load tolerance.
SuDS & Blue-Green Infrastructure: step by step
Step 1: Set out and excavate the features
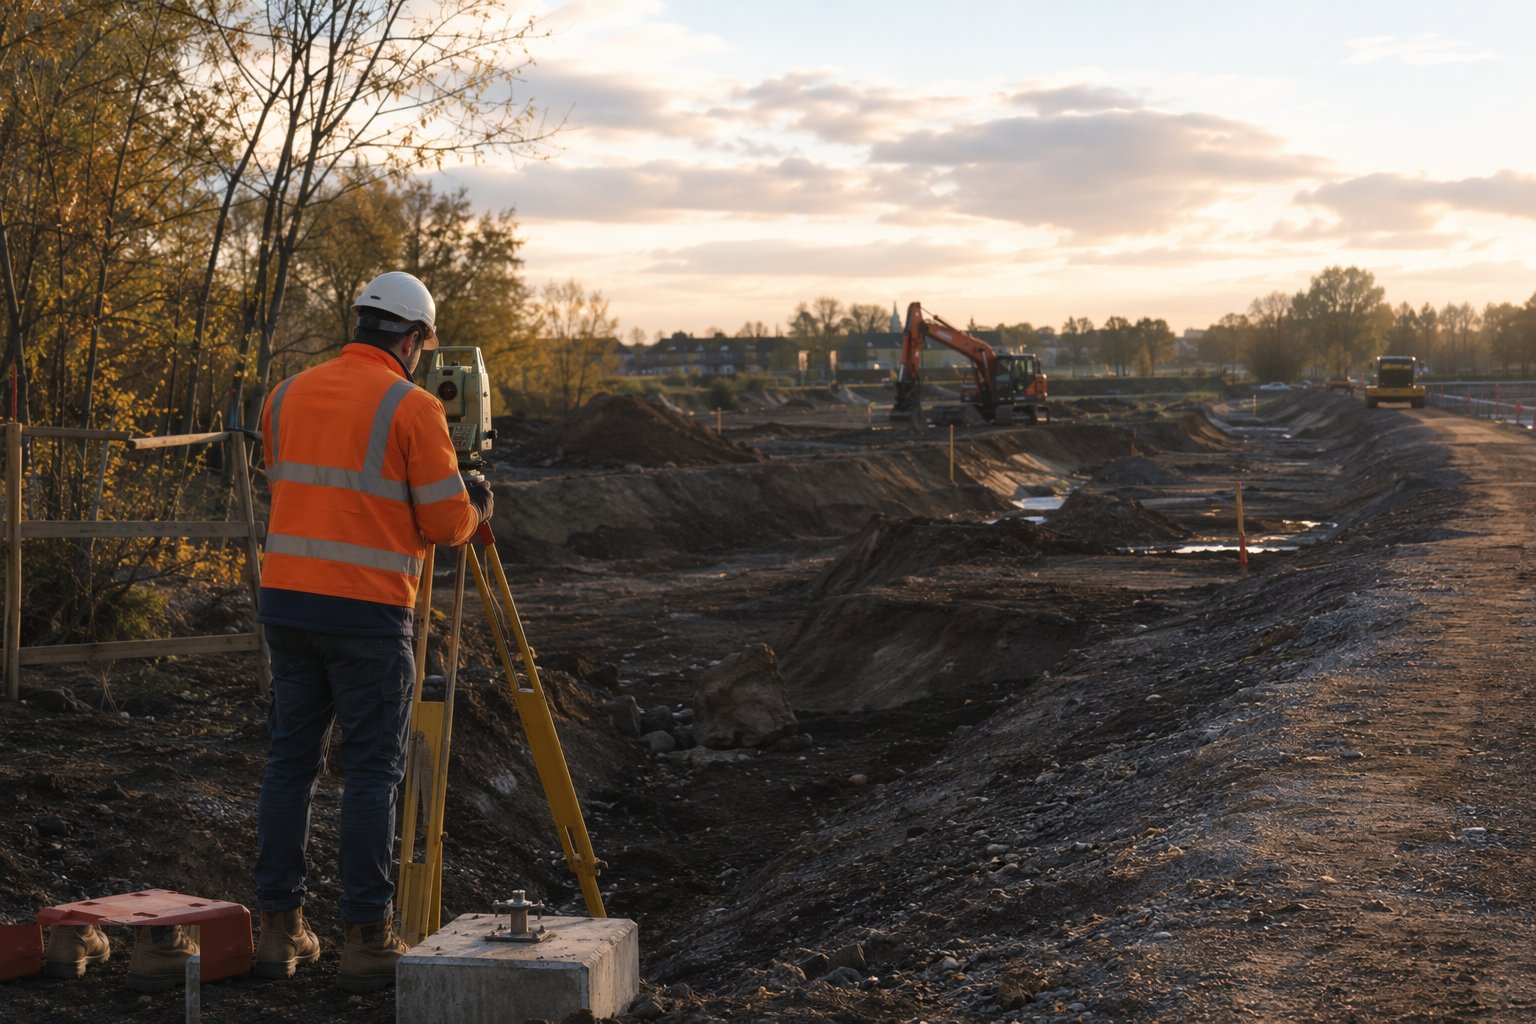
SuDS features live or die by their levels, so setting out is done from permanent control and checked relentlessly: swale inverts, basin floors, pond profiles and the critical overflow and control-structure levels that decide when the feature floods and where the water goes when it does. Excavation is to design side slopes — typically 1 in 3 or gentler on ponds for safety and planting — with the formation trimmed, inspected and protected. Crucially, the features are either built late, protected with sacrificial layers and upstream silt traps, or fenced off entirely, because every wheelbarrow of site mud that washes in during construction is subtracted from the design volume you will be asked to prove at adoption.
Step 2: Install liners and geotextiles
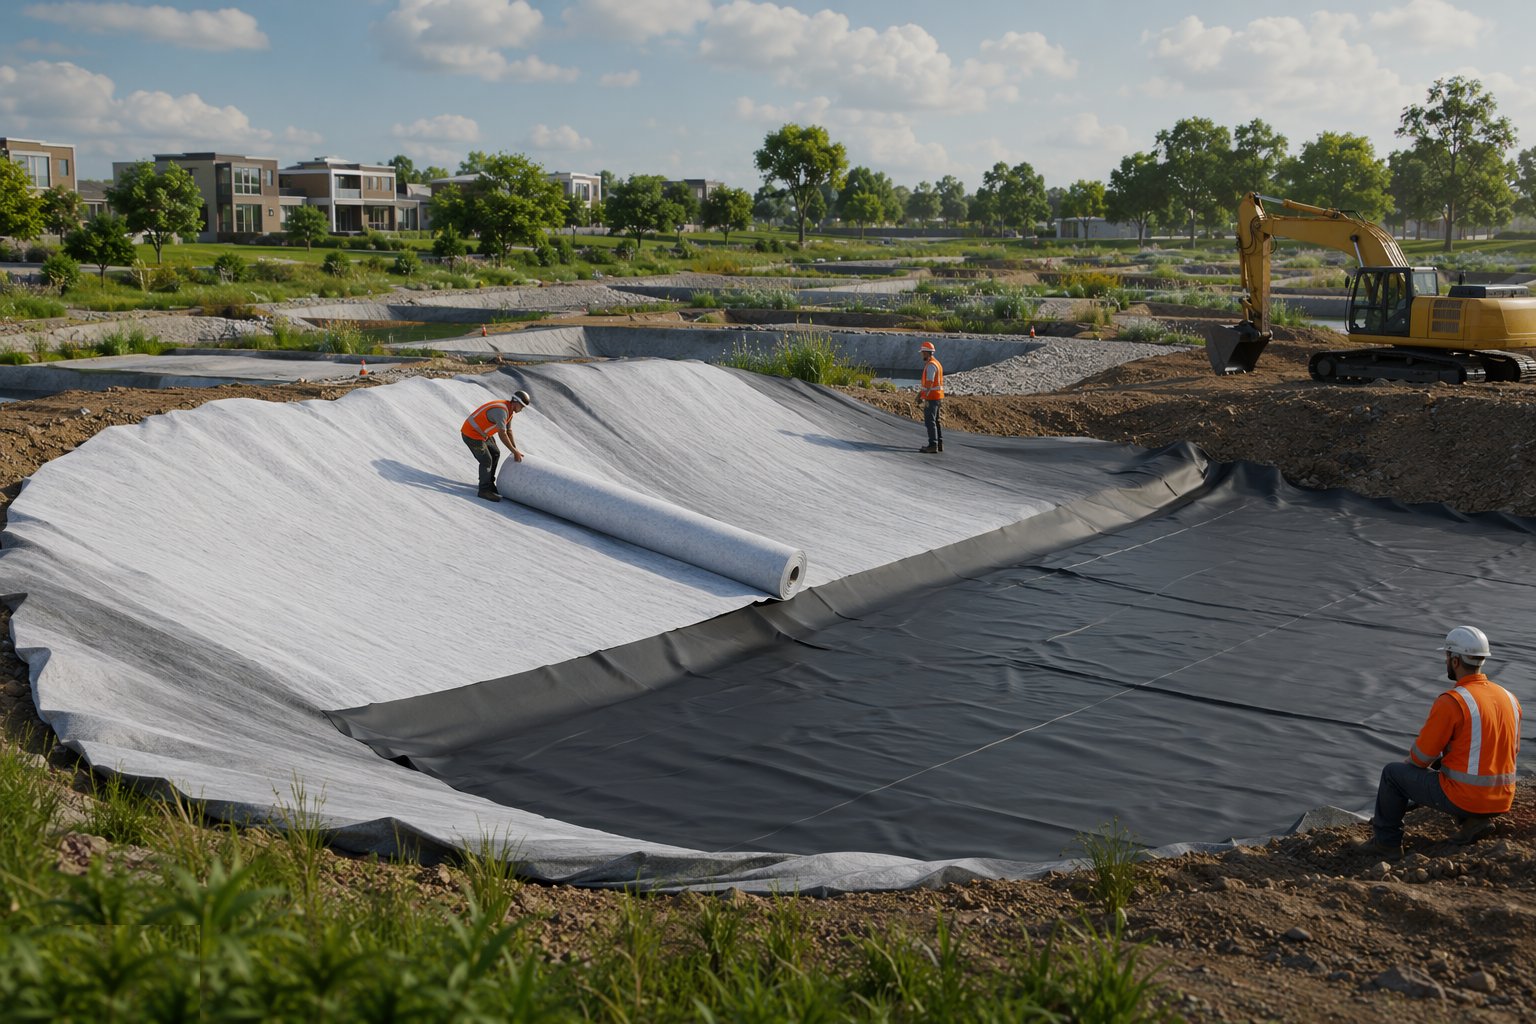
Wet ponds and wetlands need to hold water: where the ground will not do it naturally, a compacted clay liner, bentonite matting or a welded geomembrane goes in on a prepared, stone-free formation, with seams tested and recorded just as they would be on a landfill — a leaking pond liner is a dry pond with extra steps. Swales and infiltration features get the opposite treatment: separation geotextiles to stop fines migrating into the storage layers, but no liner, because the whole point is that water soaks away. Every roll, weld and test goes on the record, because the adopting authority will ask.
Step 3: Build the flow controls and structures
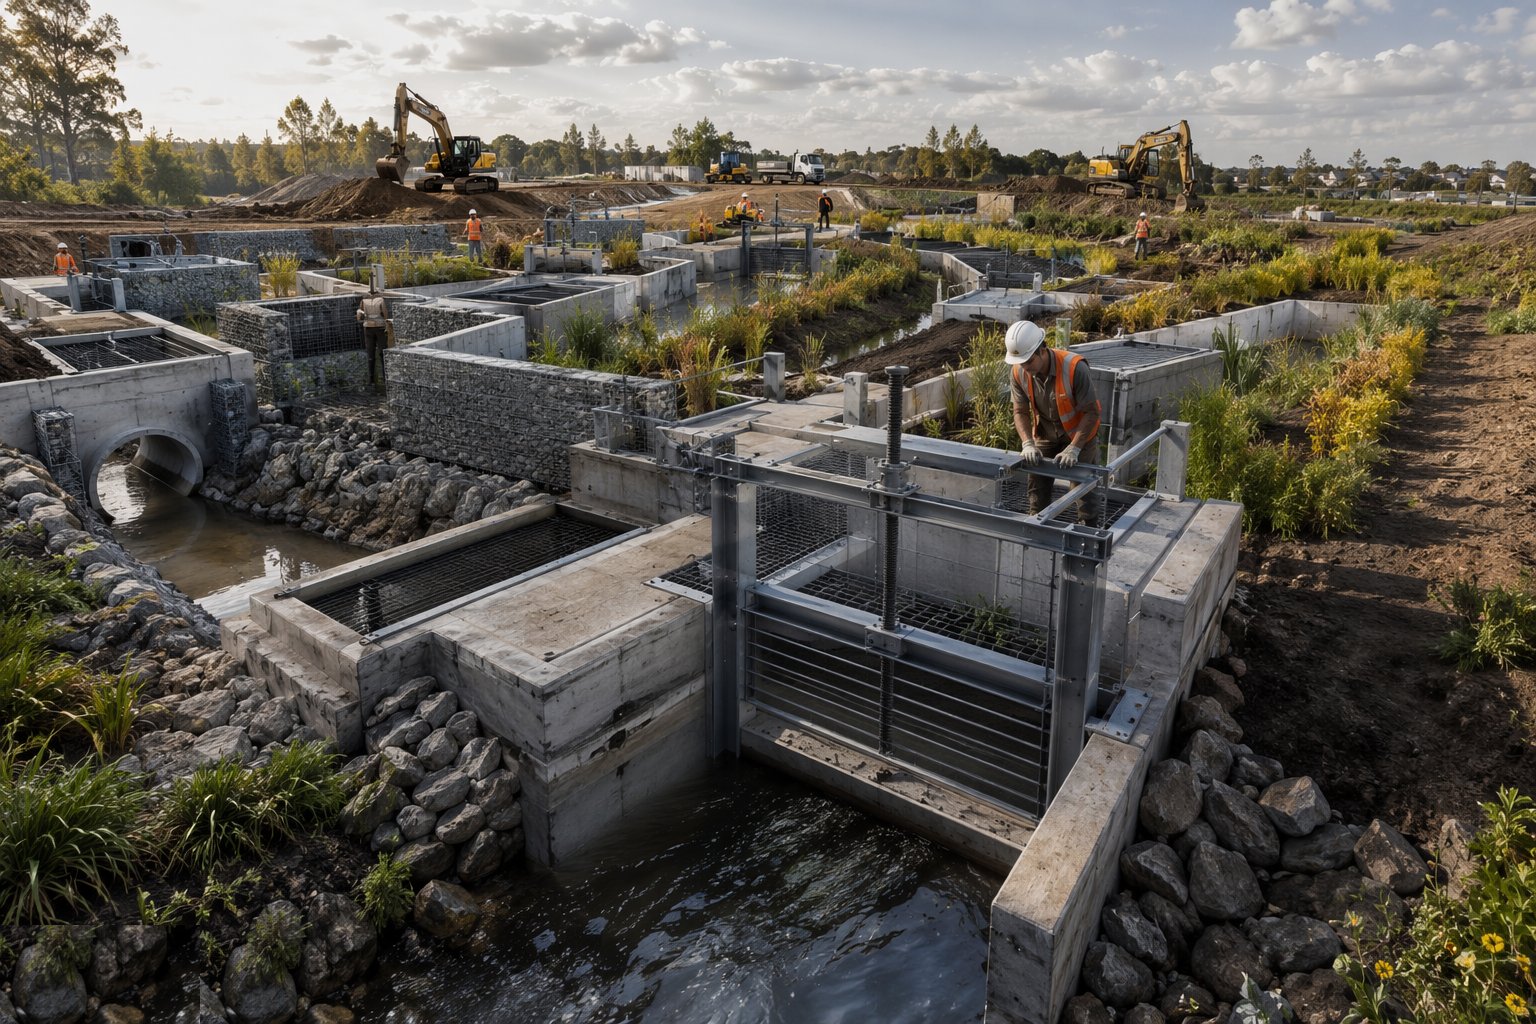
The hydraulics live in small concrete and steel details: orifice plates and throttle pipes that set the discharge rate, check dams across swales that pond water step by step, headwalls at inlets and outlets with scour protection, penstocks and flap valves, and the emergency overflow that saves the scheme when the design storm is exceeded. These are set to millimetre-critical levels — an orifice invert 25 mm wrong changes the storage volume and the discharge rate together — and they are surveyed as-built before the feature is wetted. Trash screens and access for rodding are fitted now, because the first autumn leaves arrive before the adoption inspector does.
Step 4: Construct the permeable paving
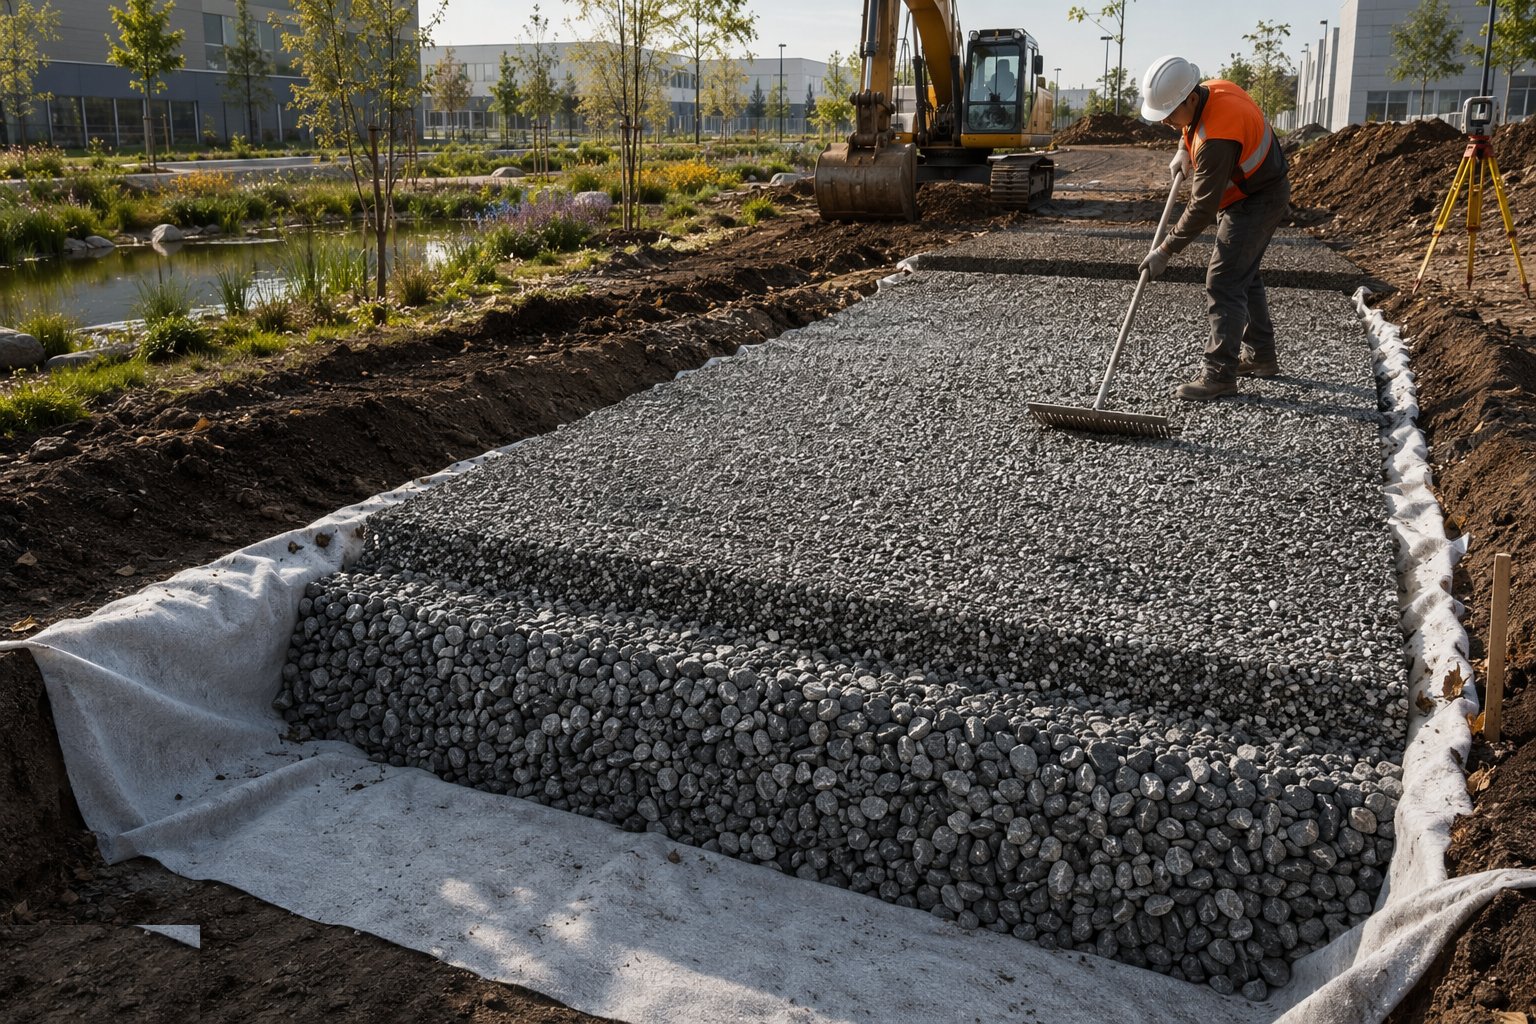
Permeable pavement is built in clean, open-graded layers: sub-base of 20 mm and 63 mm open-graded aggregate compacted in lifts to form the storage reservoir, a 6 mm laying course screeded on top, permeable blocks with widened joints, and 6 mm aggregate brushed into the joints — never kiln-dried sand, which clogs the system it is meant to serve. System A infiltrates to ground, System B wraps the base in a membrane with a controlled outflow, System C tanks it entirely and pipes the outflow. The golden rule is cleanliness: no soil stockpiles upwind, no dirty water discharged onto the surface, and construction traffic kept off or sacrificially managed, because a clogged permeable pavement is just an expensive impermeable one.
Step 5: Form rain gardens and bioretention areas
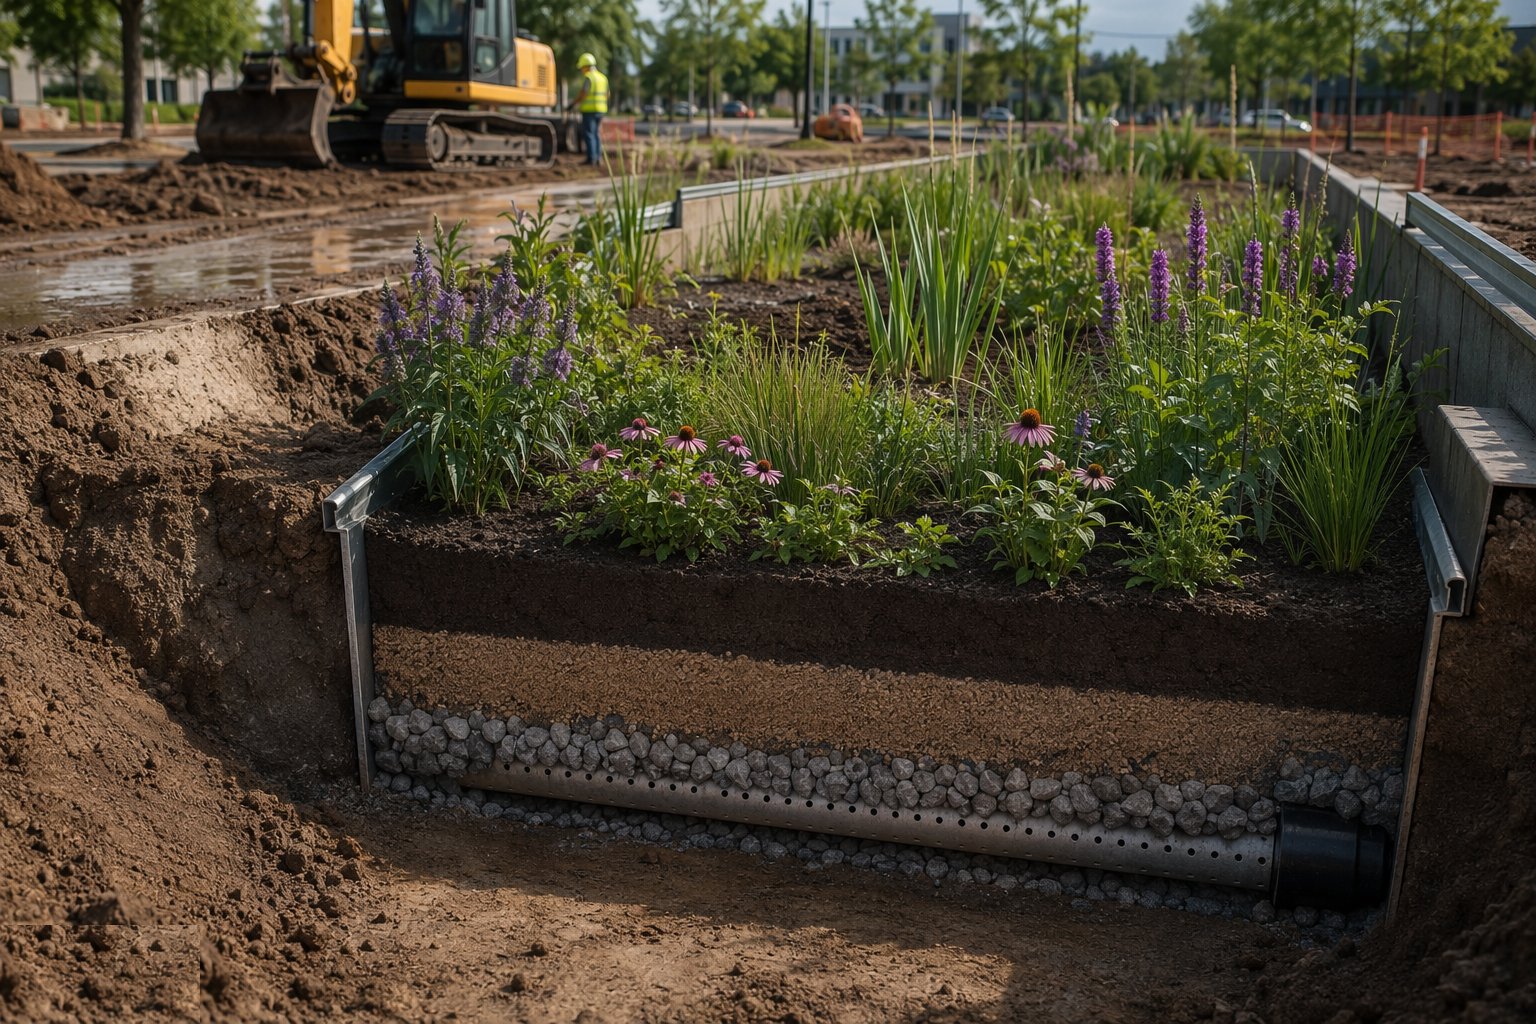
Rain gardens are layer cakes: an underdrain pipe in a gravel bed at the base where soils are slow, the engineered bioretention soil — a specified sandy loam mix, tested and certified, not site mud — placed in lifts to the design depth, a transition layer or geotextile between layers, then planting and a mulch or stone surface. The inlet gets scour protection, the overflow is set above the ponding depth and below the adjacent damp-proof course, and kerb breaks or rills deliver the water where the drawing says it goes. Each one is small; a scheme has dozens, and consistency of levels and soil depth across all of them is the quality game.
Step 6: Build the green roofs
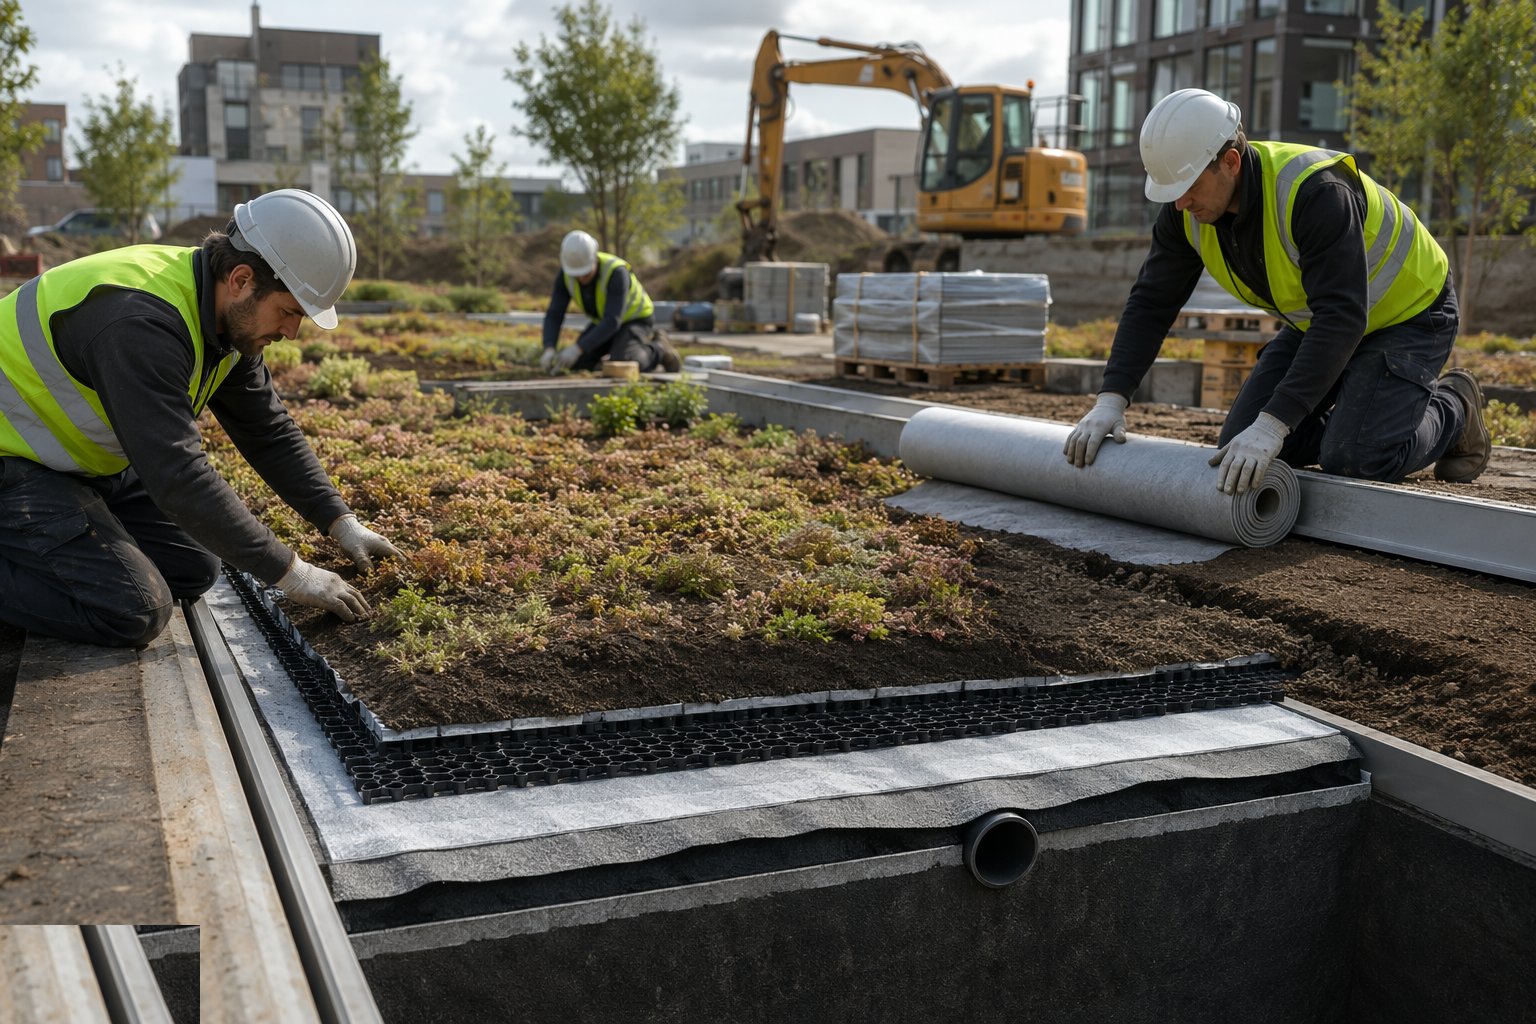
Green roof build-up starts with a verified waterproofing and a root barrier — separate or combined — then the drainage layer, filter fleece, lightweight substrate at the design depth, and the vegetation: sedum blankets, plug planting or seeding for extensive roofs, deeper substrates and shrubs for intensive. Edge restraints, inspection chambers at outlets and pebble margins at penetrations and upstands keep the system drainable and maintainable. The structural conversation happened long ago — the roof is designed for saturated weight plus maintenance load — and the site conversation is about wind uplift on loose components, irrigation during establishment, and not puncturing the waterproofing you just paid to guarantee.
Step 7: Plant, commission and hand over for adoption
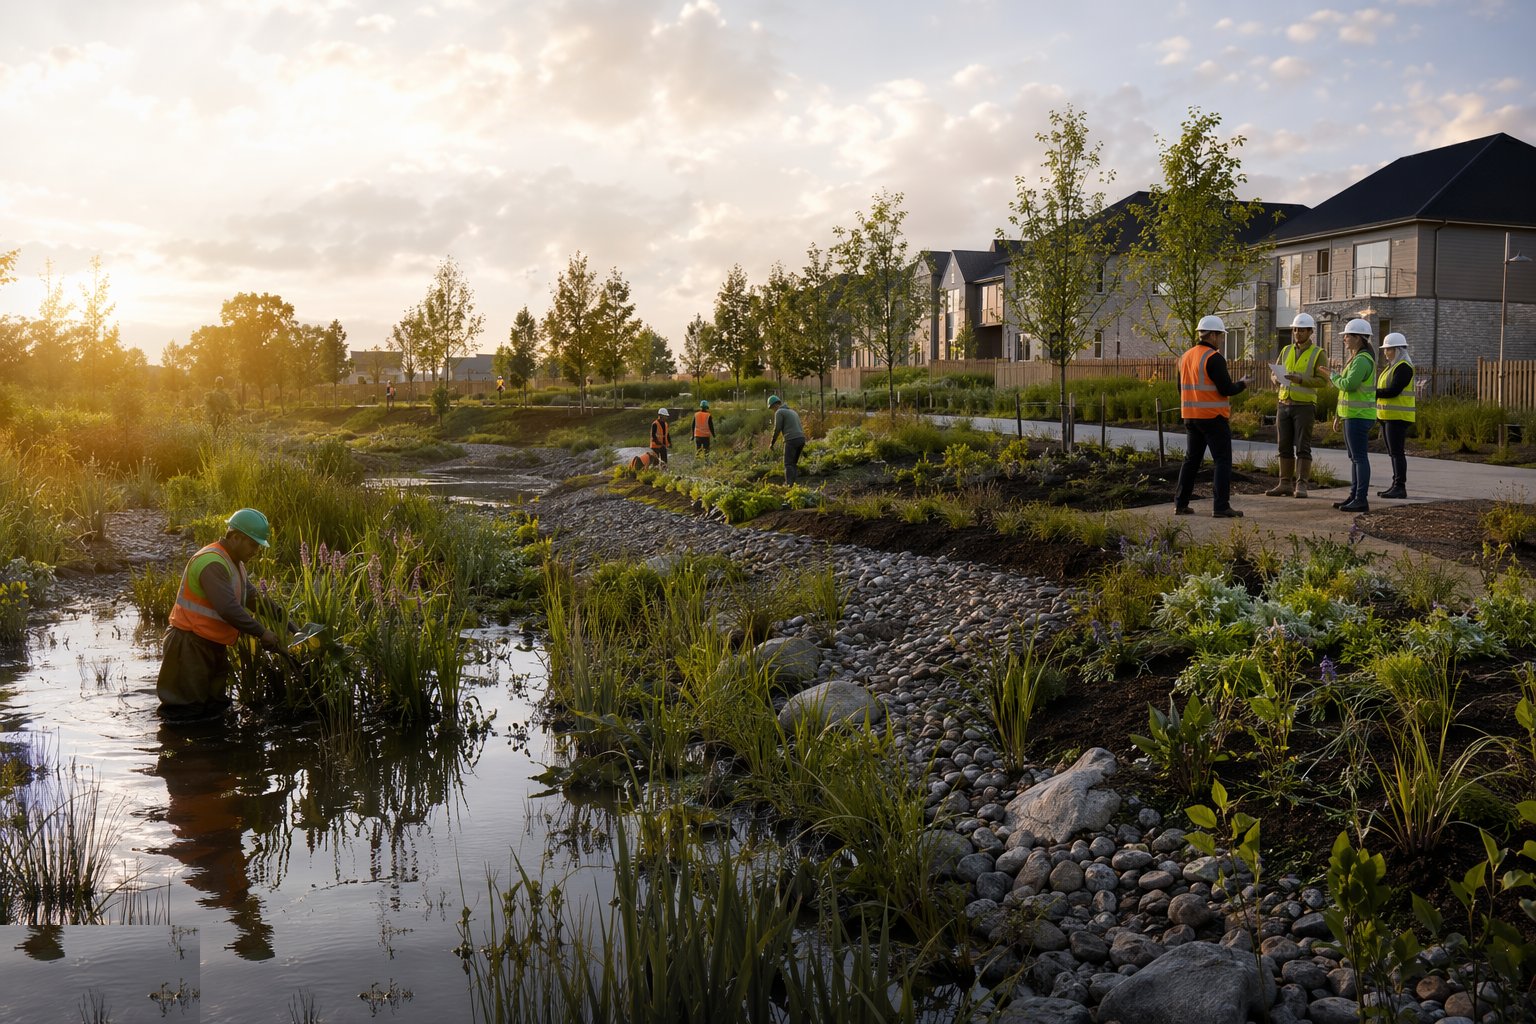
Finishing means marginal and aquatic planting to the ponds and wetlands, turfing or seeding the basin slopes, and the commissioning checks: silt and construction debris out, control structures surveyed and photographed, infiltration or attenuation verified, and a flow test where the adopting body wants one. The handover pack is the difference between adoption and abandonment: as-built drawings with surveyed levels and volumes, the maintenance manual spelling out who cuts what grass and clears which screen and how often, inspection records and liner test certificates. In Wales the SAB signs off before occupation; elsewhere the water company or authority inspects to the Design and Construction Guidance — either way, the SuDS are handed over as working drainage, not as landscaping with pretensions.
Plant and equipment
- Excavators with GPS machine control for level-critical formation work
- Dumpers and low-ground-pressure plant for lining and soil placement
- Geomembrane welding rigs and spark/air test equipment for pond liners
- Vibrating rollers and plate compactors for permeable pavement layers
- Screed kit and clean open-graded aggregate handling for permeable systems
- Pumps and overpumping gear for working around live drainage
- Water bowsers and establishment irrigation for planting phases
Quality control checks
- As-built survey of every feature: inverts, control levels, side slopes and storage volumes against design
- Liner integrity records — seam tests, spark tests and CQA-style sign-off on wet ponds
- Permeable pavement layer thickness and cleanliness records; infiltration verification where specified
- Bioretention and green-roof substrate certificates against the specified mix
- Flow-control structures photographed, surveyed and tested before handover
- Maintenance manual and inspection history assembled for the adopting body
Safety considerations
- Deep water on site: ponds and wet basins barriered during construction, with rescue equipment and a drowning-risk plan
- Excavation stability on pond and swale slopes — battered or supported, and no plant at the lip of a soft slope
- Confined spaces in control chambers and manholes: entry procedures, gas testing and rescue arrangements
- Manual handling of liner rolls, geotextiles and aggregate bags over wide, soft areas
- Public safety on features in open spaces: gentle slopes, aquatic benches and edges designed so a fall in is survivable
Common defects
- SuDS features silted solid at handover — used as convenient sediment traps through the earthworks phase
- Permeable paving clogged before opening by dirty stockpiles, silt runoff or sand wrongly jointed into the blocks
- Pond liners leaking from punctures or untested seams — the "wetland" that dries out every July
- Control structures set off-level: orifices and overflows 25 mm adrift, changing the whole hydraulic performance
- Check dams and swale inlets eroding around the edges because flows bypass the protection
- Vegetation failing in the wrong substrate — bioretention soil replaced with site-won fill that grows nothing but weeds
Best suited for
- New developments with planning-conditioned drainage and flood-risk obligations
- Highways and car parks where permeable paving removes pipe runs
- Retrofit rain gardens and swales in urban greening schemes
- Schemes chasing biodiversity net gain alongside drainage compliance
How long does SuDS & Blue-Green Infrastructure take?
Typical duration: Earthworks and structures for a typical development SuDS scheme run 4–10 weeks within the drainage phase; permeable paving follows normal paving rates; planting establishment takes one to two growing seasons before the features perform and photograph as designed..