Quay Walls & Berth Construction
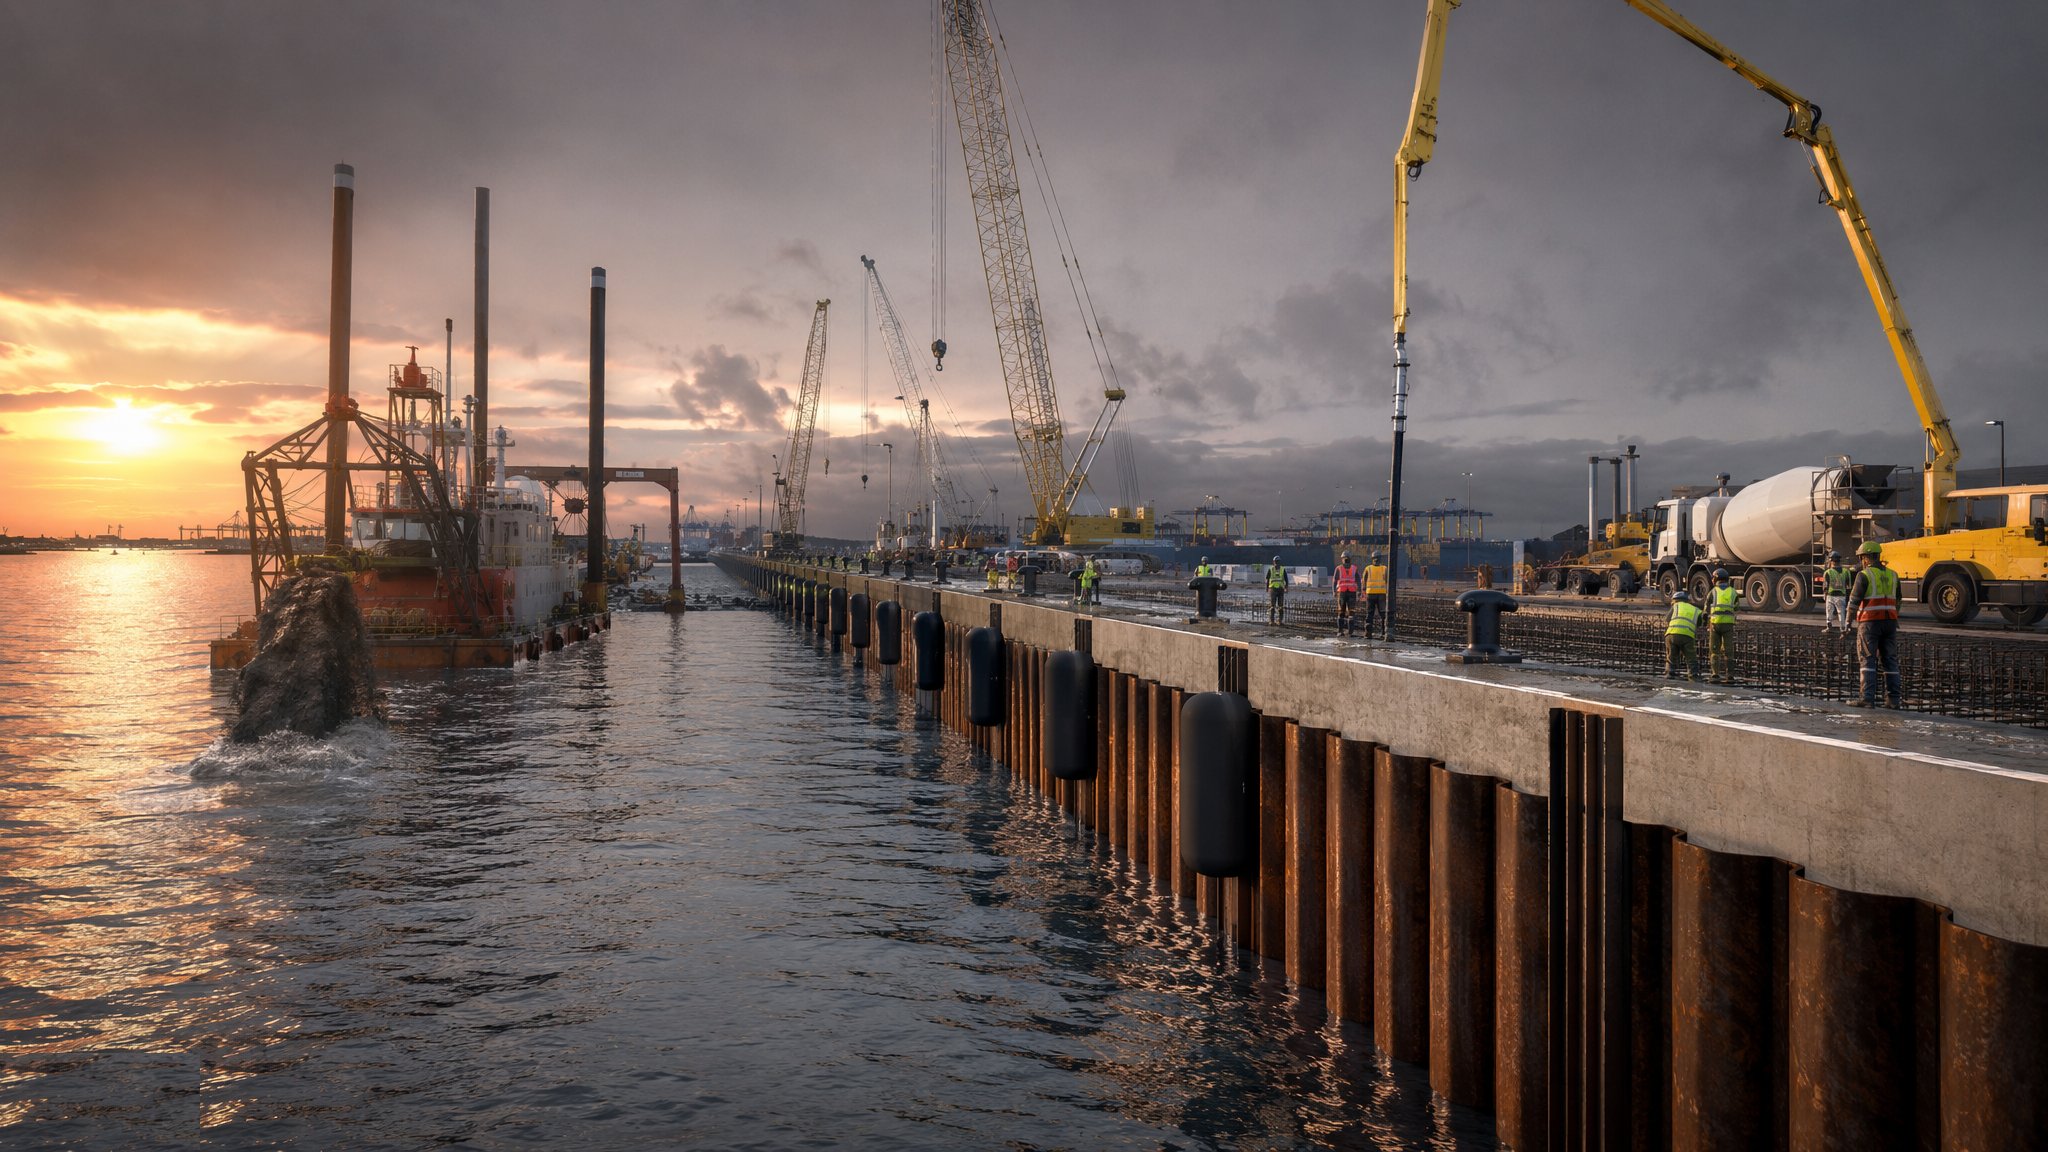
The wall the ship berths against — blockwork or caisson gravity walls, anchored sheet-pile and combi-walls, cast in situ capping beams carrying fenders, bollards and crane rails, with the dredged depth alongside proven by survey before the first vessel is invited in.
Last updated 2026-07-28 by the BuildPedia Editorial Team.
What is Quay Walls & Berth Construction?
A quay wall is a retaining wall that has to hold back the port itself: tens of metres of reclamation fill and stacked containers behind, open water in front, and a 300-metre vessel leaning on it whenever the wind pipes up. Design is governed by BS 6349 maritime works and the ship sizes the terminal wants to serve, and the choice of wall type comes down to ground conditions, water depth and how much dredging the client can stomach. Gravity walls — precast concrete blocks stacked underwater on a prepared rubble bed, or great cellular caissons floated in, sunk and filled — sit on their own weight and suit decent founding ground. Where the seabed is soft or the berth deep, steel does the work: anchored sheet-pile walls in Z or U profiles for moderate depths, and combi-walls — stiff tubular king piles with sheet-pile infill — for the deep container berths where retained heights run past 20 metres.
Whatever the wall, the top of it is where the port actually works. A reinforced concrete capping beam, cast in situ along the wall head, ties the piles together, levels the whole line and carries the hardware: fender systems and their frontal frames, mooring bollards and quick-release hooks, and the crane rail beam for the ship-to-shore gantries on terminals that run rail-mounted cranes. Behind the wall, tie rods or ground anchors run back to an anchor wall or deadman blocks, and the backfill goes in as engineered fill — placed and compacted against a wall that is still gaining strength, which is why the filling sequence is an engineering instruction, not a labourer's guess.
The berth is not finished when the concrete is. The depth alongside has to be dredged to the declared chart datum with the under-keel clearance the port authority publishes, and proven by multibeam hydrographic survey before the berth is offered to shipping. Every working day afterwards the wall earns its keep through the furniture: fenders absorbing berthing energy, bollards holding lines in a gale, crane rails carrying gantries that weigh thousands of tonnes. Build the wall out of line, skimp the tie-rod corrosion protection or leave a high spot on the seabed, and the port lives with it for fifty years — quay walls are the most unforgiving structures in civil engineering because there is no cheap way back in.
When and why is Quay Walls & Berth Construction used?
Quay wall construction is the making of a port — new terminals, berth deepening for larger vessels, and the replacement of walls that have reached the end of their corrosion life. The wall type is chosen early because it drives everything else: dredge depth, reclamation method, crane procurement and the whole landside layout. It matters because the berth is the port's product, sold by the metre and the metre of depth: a wall that cannot take the design vessel, a fender line out of position or a crane rail out of tolerance is commercial damage measured in ships turned away. The economics are equally brutal in construction — marine plant day rates mean every tide wasted is five figures gone, so the walls that get built well are the ones engineered to be buildable from a barge, in the weather, first time.
Types of Quay Walls & Berth Construction
Blockwork and caisson gravity walls
Precast concrete blocks placed underwater on a levelled rubble bed, or cellular caissons floated in, sunk onto the bed and filled with sand or rock. The old workhorse of the industry: massive, durable and tolerant of soft berthing, but hungry for good founding ground and heavy marine plant.
Anchored sheet-pile walls
Interlocking Z or U profile steel sheet piles driven to BS EN 12063, restrained at the head by tie rods back to an anchor wall or pile. Fast to install and economical for moderate retained heights — the default quay for general cargo and smaller container berths.
Combi-walls
Stiff primary elements — tubular king piles or HZ box sections — with lighter sheet piles spanning between, anchored high and often with an intermediate tie level. The deep-berth solution: bending capacity where the big vessels need 15–18 metres of water alongside.
Piled quays with relieving deck
A concrete deck on bearing piles at the quay face, with the soil retained behind and the deck carrying cranes and fenders directly. Suits very soft ground where a retaining wall would founder — the berth as a jetty with a filled hinterland.
Diaphragm and bored-pile quay walls
Cast in situ diaphragm wall or secant-pile walls built from the landward side before the front is dredged out. Marine wall construction without the floating plant — attractive where mobilisation of barges is difficult or the berth is inside an impounded dock.
Quay Walls & Berth Construction: step by step
Step 1: Dredge the berth pocket and prepare the foundation bed
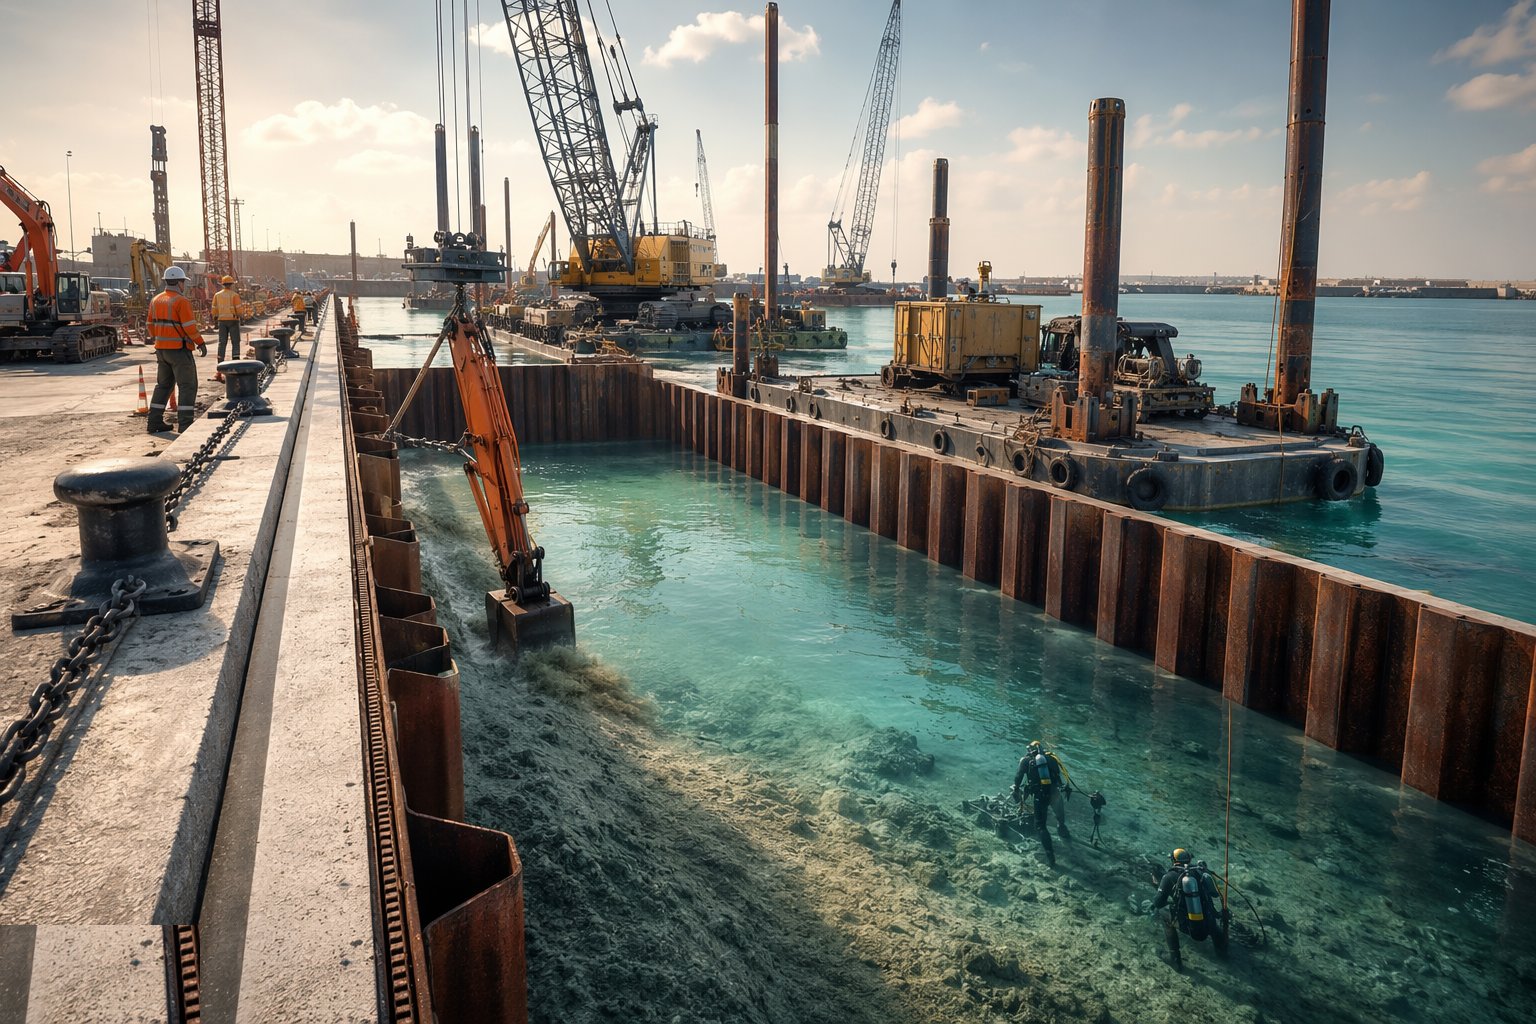
The work starts below water. The berth pocket is dredged to formation — by trailer hopper or cutter suction dredger for the bulk, backhoe or grab for the trimming at the wall line — and the founding stratum is proven by the survey and the sampling that drove the design. For gravity walls the rubble foundation bed is dumped, spread and levelled by divers and stone-skipping barges to a tolerance a road crew would call fussy, because every block or caisson above inherits the bed's honesty. Overdredge is paid for twice: once in the removing, once in the replacing.
Step 2: Build or drive the wall line
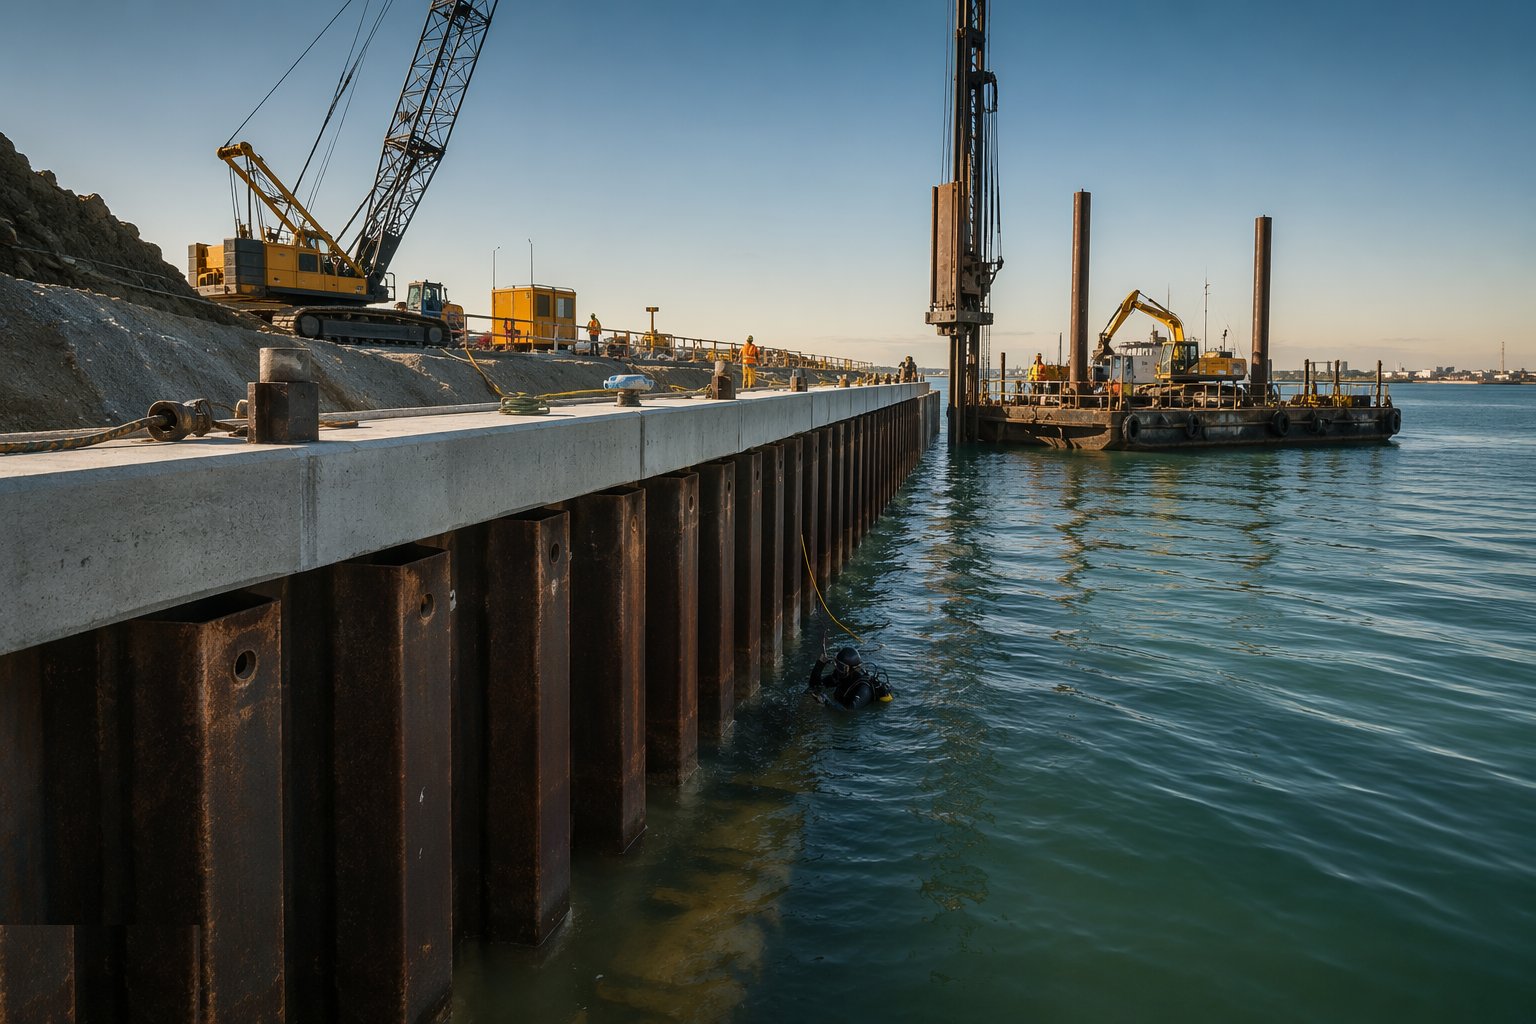
Blockwork walls go up course by course from floating plant, each block landed on the last by divers who work by touch and survey target. Sheet piles and combi-wall tubes are pitched from a piling barge or jack-up, panelled out ahead, and driven with vibratory hammers and finished with impact hammers to refusal or design toe, with driving logs recording every set. The line is controlled from shore-based survey stations and RTK positioning on the barge — a wall that wanders is a capping beam that kinks, and ships notice kinks.
Step 3: Install the anchor system
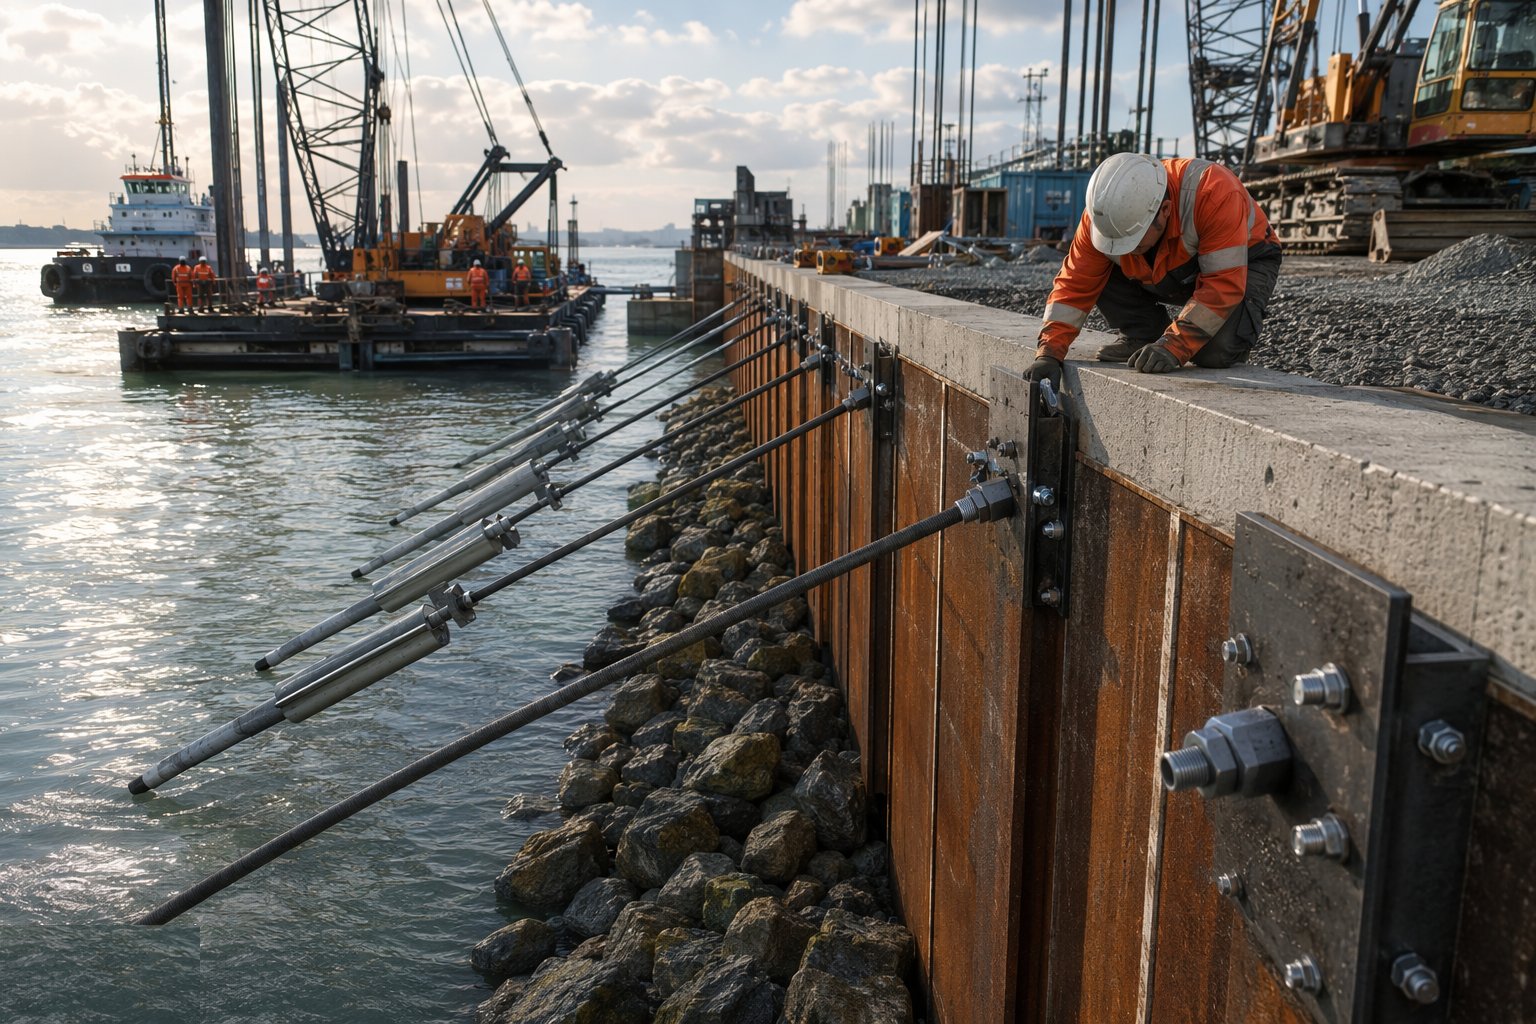
An anchored wall is only as good as its back end. Tie rods — high-yield steel bars with couplers, wrapped or coated and often doubled-sleeved against corrosion — are connected to the wall at waling level and run back to the anchor wall, deadman blocks or ground anchors. Rods are laid to line and level on prepared beds, tensioned or prestressed where the design demands, and the connections inspected before a tonne of fill covers them, because the day the backfill hides the tie rod is the last day anyone sees it until something moves.
Step 4: Cast the capping beam
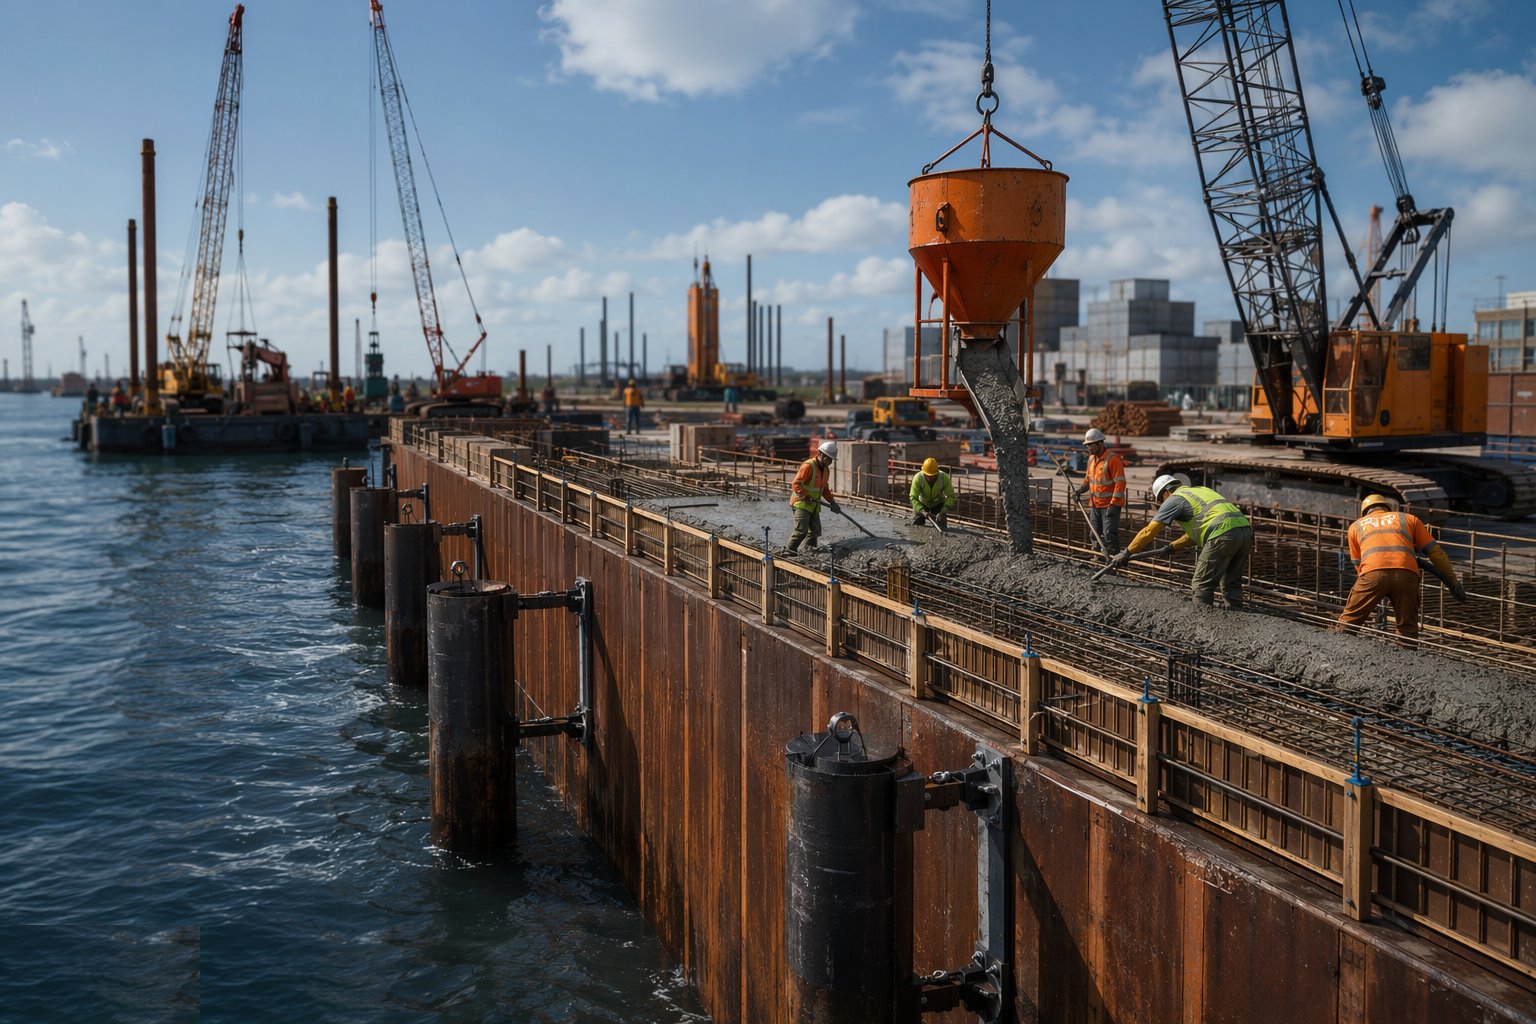
The capping beam is cast in situ along the wall head in bays, with the pile heads cropped and dowelled in, holding-down bolt assemblies for fenders and bollards set from templates, and the crane rail beam formed continuous where gantries run. Line and level tolerances are tight — the fender face plane and the rail gauge are operational requirements, not aesthetics — and the beam is cast against the sea on one side, so formwork, access and concrete placement are all planned around tides and weather. Hot climates and saline spray make durability the mix designer's problem: low-permeability concrete, generous cover, curing that the wind cannot steal.
Step 5: Backfill and improve the ground behind the wall
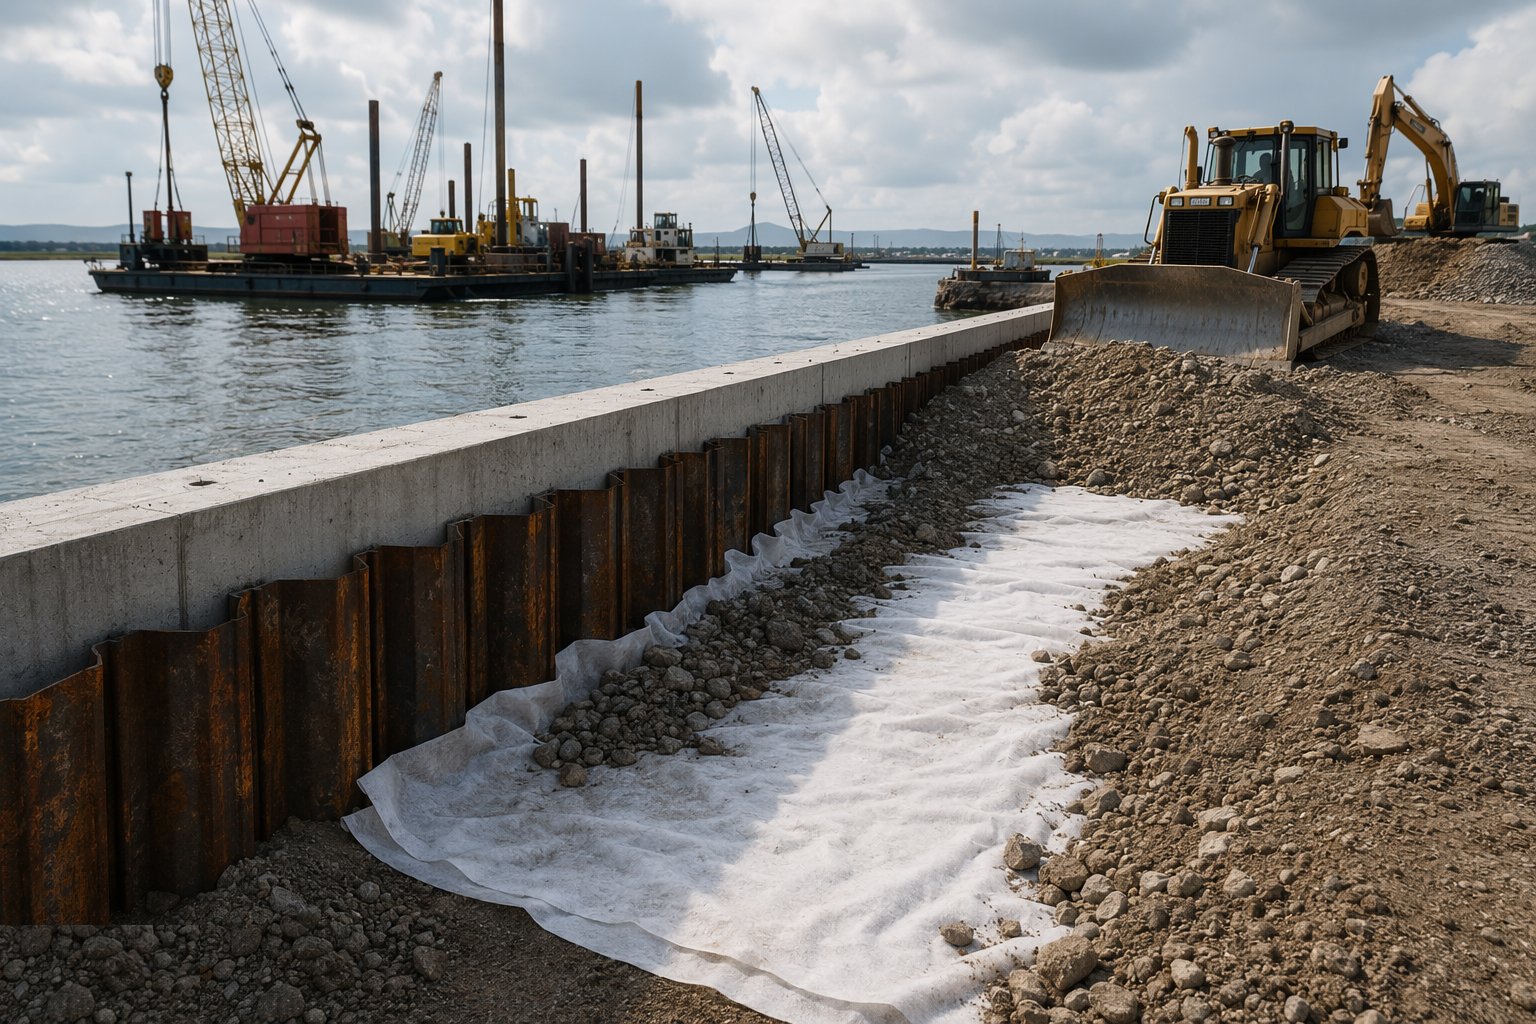
Fill goes behind the wall in controlled layers to the filling sequence — balanced, staged and never ahead of the wall's capacity — with ground improvement where the yard loads demand it: vibrocompaction in sands, dynamic compaction, or vertical drains and surcharge in clays. Drainage through and behind the wall is built as it goes: weep holes, geotextile filters, and the relief that stops a falling tide turning the backfill into a water load the wall never signed up for. Settlement monitoring runs from this point until handover and beyond.
Step 6: Fit the mooring furniture and crane rails
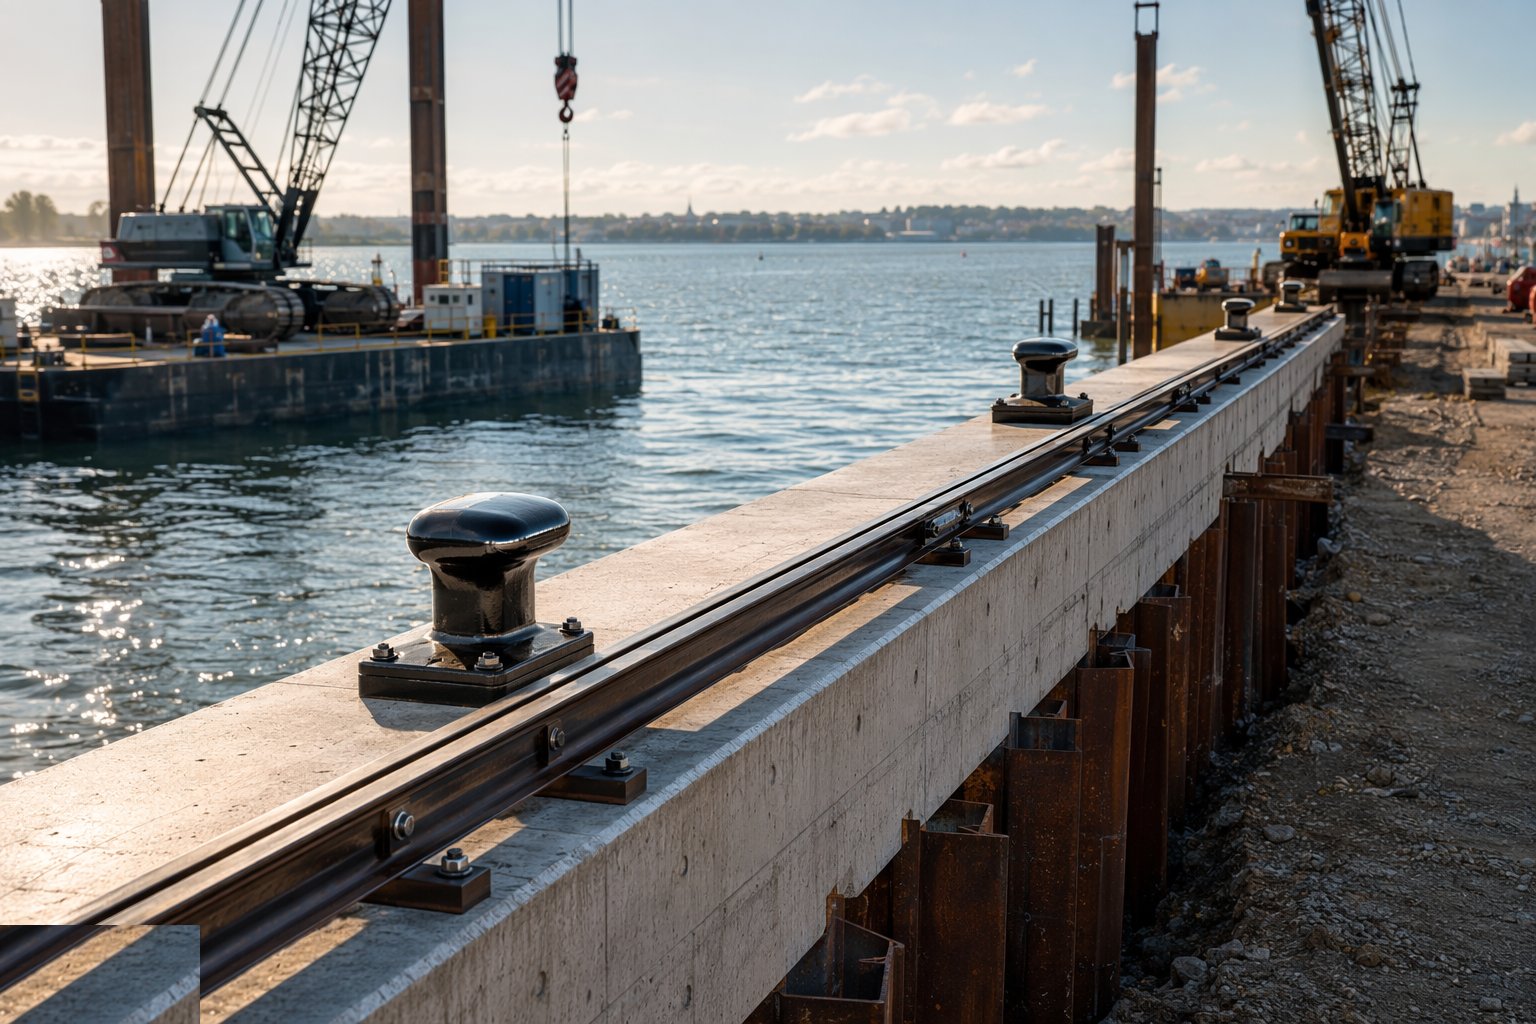
Fender panels and their chains are hung and tensioned, bollards and quick-release hooks torqued down on their resin or grout beds, and crane rails set on their soleplates, aligned for gauge, level and straightness and grouted with epoxy or cementitious grout under the clips. Every bolt in the splash zone gets the corrosion protection it was specified — a dropped coating spec at the waterline is a maintenance bill with compound interest. Ladders, life chains, edge protection and navigation aids complete the working face of the berth.
Step 7: Prove the berth and hand it to the port
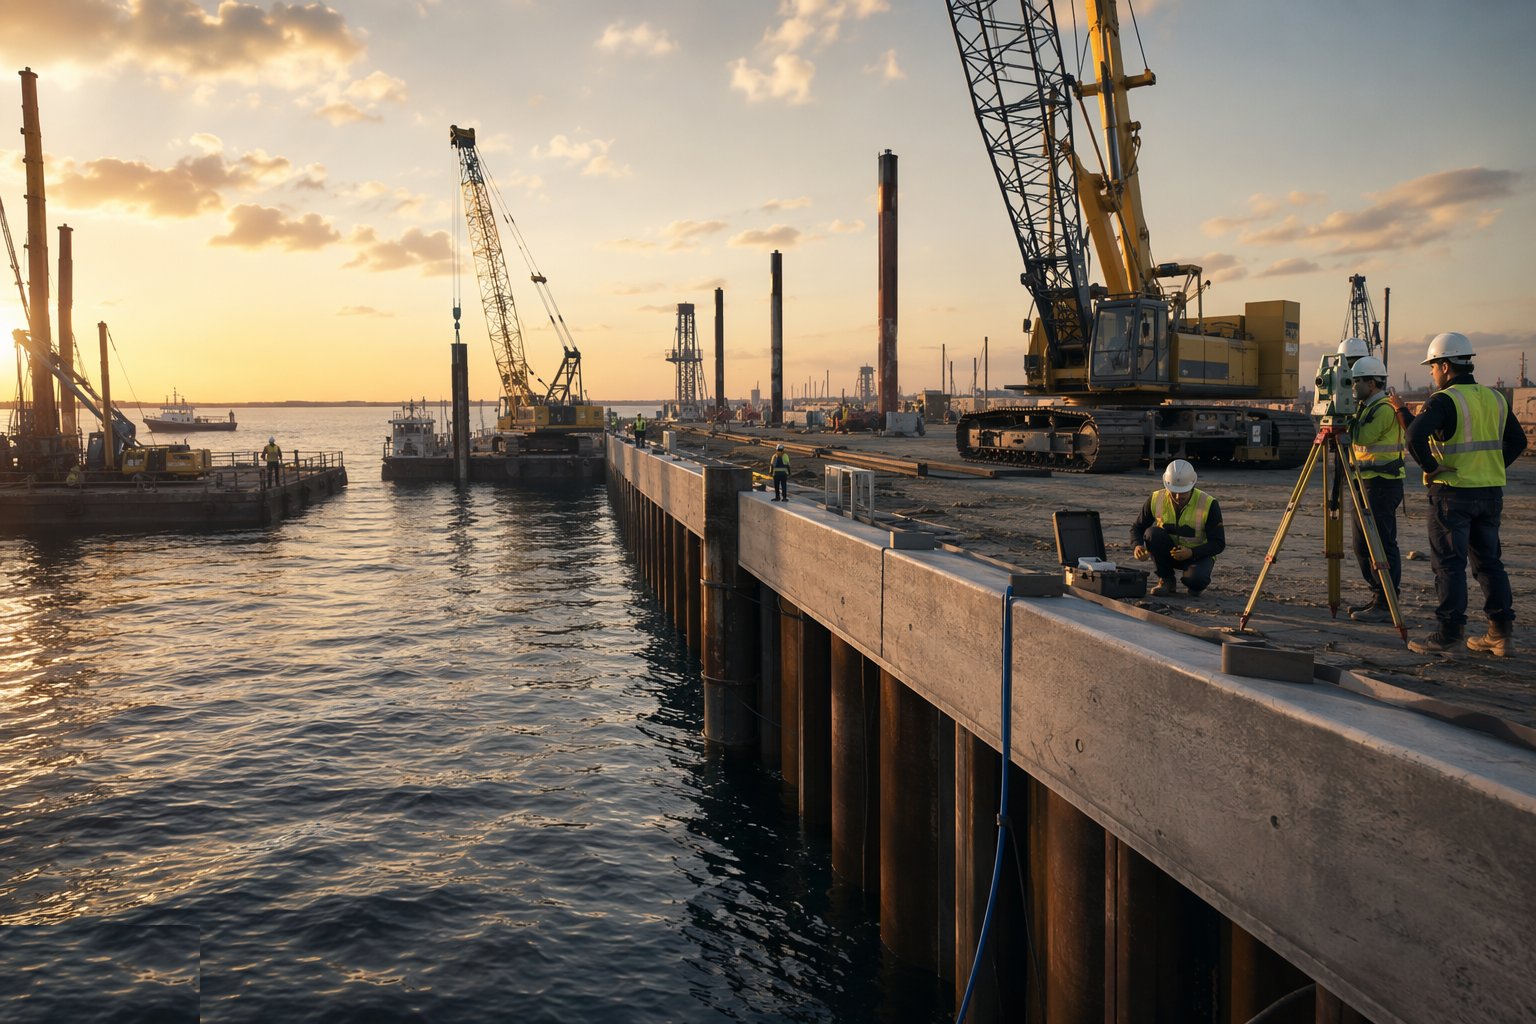
Acceptance is measured, not admired. The multibeam survey proves the dredged depth alongside to chart datum across the whole berth box, with high spots re-dredged; the wall face, fender line and rail alignment are surveyed against tolerance; bollard proof loads and fender compression tests are witnessed where specified. The handback file — driving records, tie-rod records, concrete results, coating and cathodic protection readings, as-built drawings — goes to the port, the berth is declared in the port's notices to mariners, and the first vessel is invited in. From that tide onward it is a working quay, and the contractor's name is on every berthing for the next half century.
Plant and equipment
- Piling barges with leaders and jack-up platforms for pile installation
- Vibratory hammers and hydraulic impact hammers for sheet piles and tubes
- Floating cranes and heavy-lift barges for blocks, caissons and fender panels
- Backhoe and grab dredgers for berth pocket trimming; multibeam survey vessels
- Diving spreads for bed levelling, block setting and underwater inspection
- Concrete supply by barge or pump for the capping beam; template frames for holding-down bolts
- RTK GNSS positioning and shore-based total stations for wall line control
- Work boats, safety boats and crew transfer vessels serving every operation
Quality control checks
- Pile driving logs with final sets and any refusal records; dynamic testing where specified
- Wall face line and level survey against the fender plane and rail gauge tolerances
- Tie-rod installation, tensioning and corrosion-protection records signed before covering
- Capping beam cover surveys, concrete cube results and durability records for the marine mix
- Fender, bollard and rail bolt torque and pull-test records; rail alignment survey after grouting
- Multibeam hydrographic survey of the berth box proving declared depth before handover
Safety considerations
- Work over water as the default condition: buoyancy aids, safety boats on station and man-overboard drills rehearsed, not filed
- Suspended loads from floating cranes — lift planning that accounts for barge movement, not just crane capacity
- Diving operations under commercial diving rules: dive plans, standby divers and absolute exclusion of lifting over a live dive
- Tidal working: access and egress that cannot be cut off by a rising tide, and weather limits on every marine lift
- Pile driving from barges: dropped-object zones under leaders, noise management and plant stability on the water
- Hot work and coating work over water with containment — the sea is the environment permit's territory, not the site tip
Common defects
- Wall face out of line after backfilling — the bulge that arrives with the fill and never leaves
- Sheet-pile interlocks declutched or split during driving, discovered by the leak or the settlement behind
- Tie-rod corrosion at connections and walings — the hidden failure of every anchored wall's middle age
- Capping beam cracking from early overloading by backfill plant or craneage
- Fender holding-down bolts pulling or shearing — under-torqued, badly grouted or corroded in the splash zone
- Berth depth lost to siltation or a missed high spot, found by the first deep-draught vessel's pilot
Best suited for
- New container, bulk and general cargo berths on greenfield terminals
- Berth deepening and wall strengthening for larger vessel classes
- Replacement of life-expired quay walls in operating ports
- Naval, ferry and ro-ro berths with heavy berthing and mooring demands
How long does Quay Walls & Berth Construction take?
Typical duration: A 300–500 m quay wall with dredging, anchorage and furniture is an 18–30-month campaign in working marine conditions; caisson and blockwork walls on prepared beds run longer, and tidal or weather restrictions stretch every calendar estimate that ignores them..