High-Tolerance Warehouse Floor Slabs
The superflat ground slab that racking, fork trucks and robots all take their geometry from — laser-screeded, jointed like an airfield, and tested to TR34 classes where millimetres are the whole job.
Last updated 2026-07-28 by the BuildPedia Editorial Team.
What is High-Tolerance Warehouse Floor Slabs?
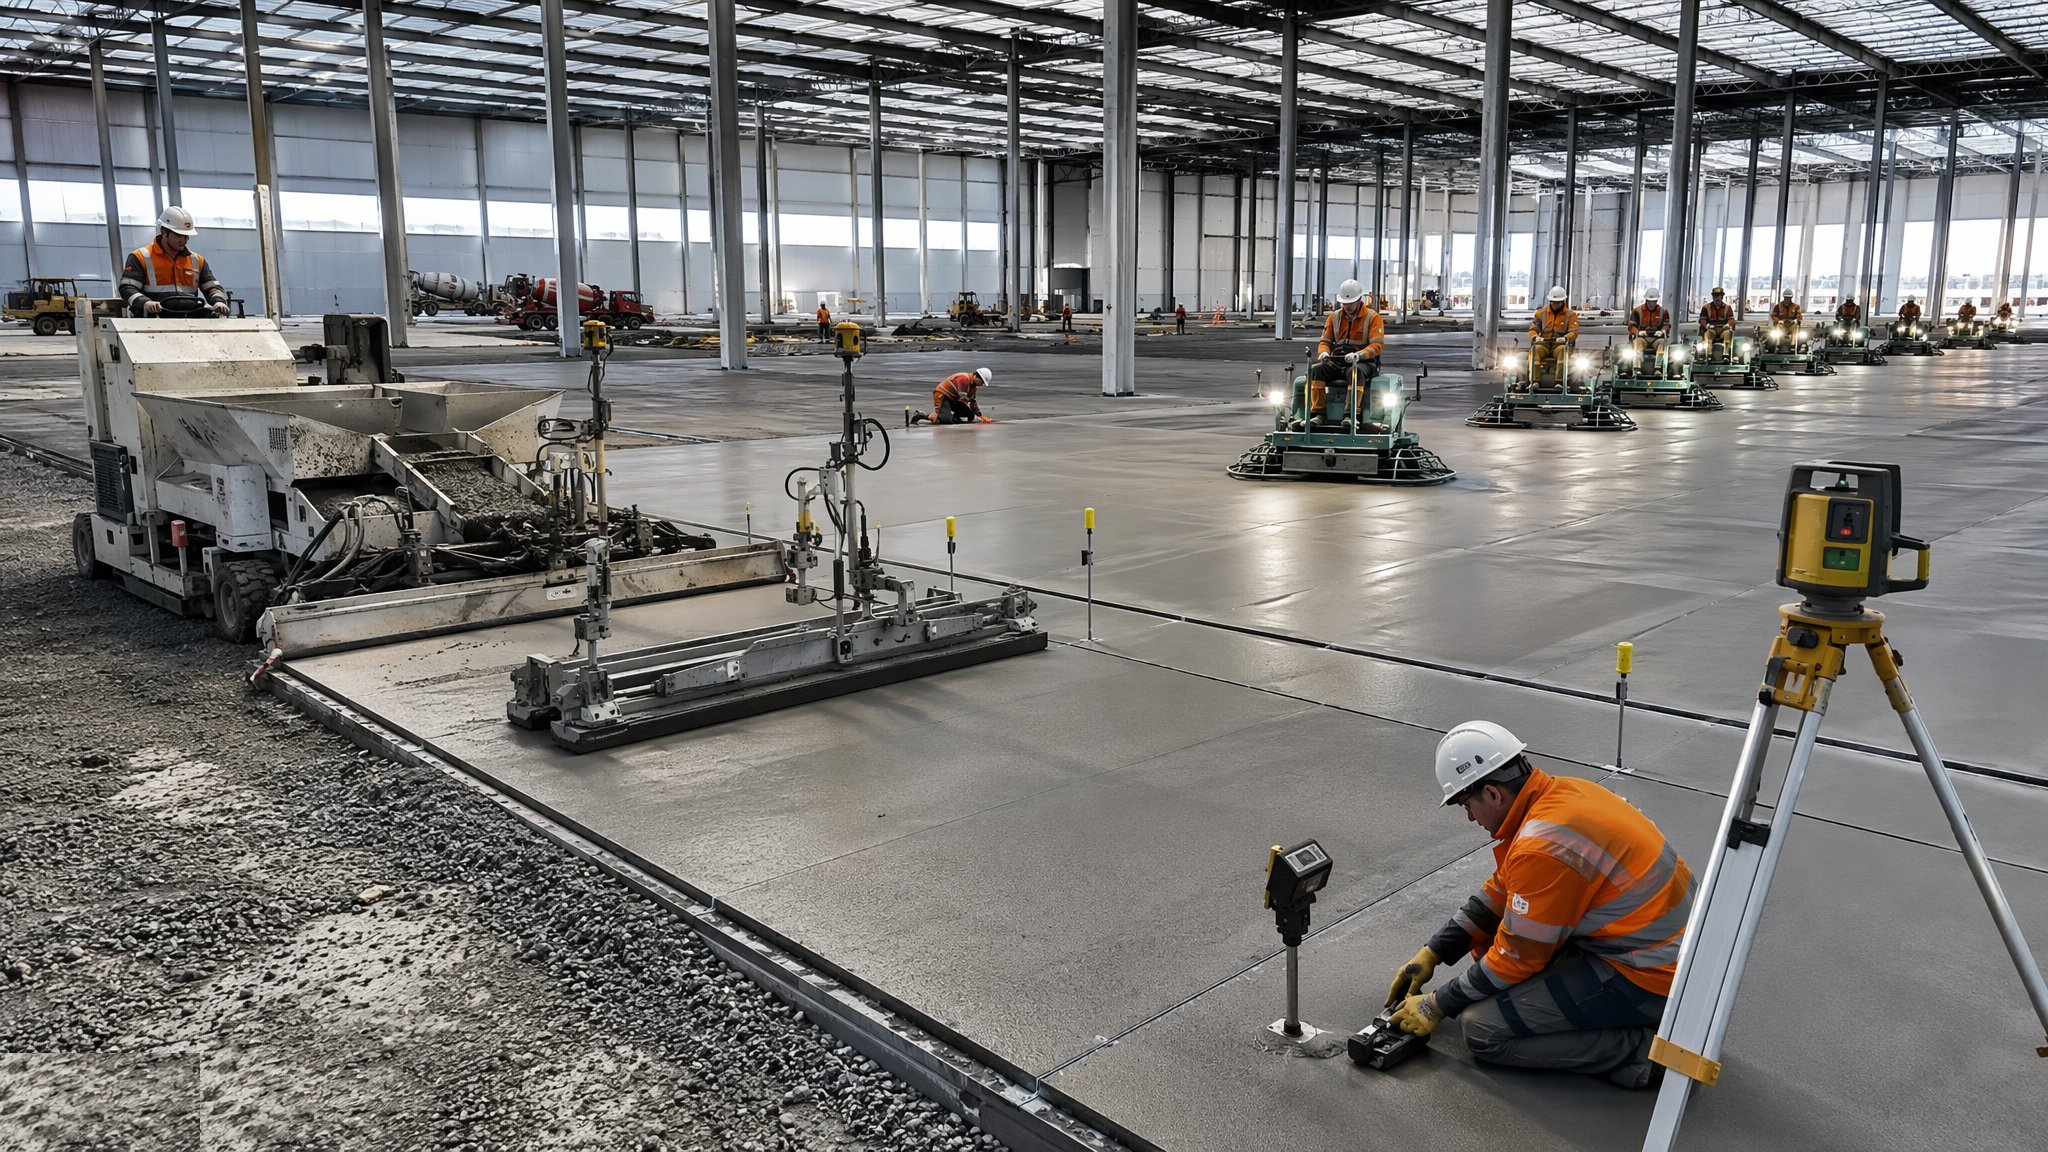
Ask a warehouse operator what their building is and they will point at the floor. The racking bolts to it, the VNA trucks steer by it, the conveyors level off it, and the automation integrator's simulation assumes it is flat to numbers most builders have never specified. A modern warehouse slab is a thick, heavily engineered ground-bearing concrete pavement — typically 150–250 mm — cast on prepared subgrade over a DPM, reinforced with mesh or steel fibres (or both), poured in large bays under laser screed control, power-floated to a dense finish, and jointed on a layout that has been argued over by the racking designer, the forklift supplier and the flooring specialist before a cubic metre is ordered. The governing document in the UK is the Concrete Society's TR34, which classifies surface regularity into Free Movement (FM) classes for wide-aisle working and Defined Movement (DM) classes for the fixed wheel paths of very-narrow-aisle racking.
The flatness classes are not decoration. FM2 is the workhorse of general racked warehouses; FM1 and the DM classes exist for high-bay VNA installations where a truck mast 12 m tall amplifies every bump in the aisle — a 3 mm step at the wheels is a sway at the pick face that costs pick rates and eventually a mast. Defined Movement floors are measured in the actual wheel paths with profiling equipment, and the tolerances shrink to the point where the pour sequence, the screed head's calibration, the concrete's workability and the finisher's timing all have to go right on the same afternoon. Joints are the other half of the art: armoured joints with steel arris protection at the free-movement aisles, dowelled construction joints for load transfer across sawn or formed joints, and a saw-cutting window measured in hours, not days — miss it and the slab cracks where it chooses, not where you drew it.
Climate writes its own clauses. In a UK shed the fight is against rain on fresh concrete, cold nights delaying the float, and curing before the cladding closes the building. In the Gulf the slab is a hot-weather concreting exercise at industrial scale: chilled mix water, night pours through the summer, evaporation retarders between screed and float, ruthless curing discipline, and early saw-cutting, because a slab that plastic-cracks or curls at the joints in a VNA aisle is a floor grinding contract and a tenant dispute waiting to happen. Either way, the floor is tested as it is laid — straightedge and profile readings bay by bay — because grinding a hardened superflat floor back into tolerance costs more than the pour did.
When and why is High-Tolerance Warehouse Floor Slabs used?
The floor slab goes down once the building is weathertight — or at least roofed — because wind, sun and rain are the enemies of a superflat finish, and it sits on the critical path because nothing else in the fit-out can start until it exists: racking anchors to it, automation levels off it, and the tenant's go-live date counts backwards from it. The method exists because the logistics industry discovered that floor flatness is a productivity specification: flat floors let trucks run faster, masts reach higher, racks stand taller and robots navigate at all. It matters because the slab is the least repairable element in the building — you can re-clad a wall and re-roof a bay, but a floor that fails its DM classification under a commissioned VNA aisle is a grinding, re-testing and argument exercise conducted around an operational tenant's stock. Spend the design effort, the mix development and the pour planning up front; the floor you lay once is the floor everyone lives with.
Types of High-Tolerance Warehouse Floor Slabs
FM-class free movement floors
The general warehouse specification: surface regularity classes FM1–FM3 under TR34, measured by straightedge and rolling straightedge across any direction of travel. FM2 serves most wide-aisle racked sheds; FM1 is reserved for the tightest free-movement duties.
DM-class defined movement floors
VNA aisles where the truck's wheel paths are fixed: DM1, DM2 and DM3 classifications measured longitudinally and transversely in the actual aisle, with tolerances in single millimetres. The floor, the racking and the truck are effectively one machine.
Long-strip construction
The slab poured in long narrow strips a few bays wide, struck off with laser screeds running on the previously cast edge — fewer formed joints, excellent flatness control, and the default method for high-specification floors in big sheds.
Large-bay and jointless slabs
Big pours — thousands of square metres between joints — using steel fibre reinforcement, shrinkage-compensating mixes or post-tensioning to suppress the joint grid. Fewer joints means fewer curled arrises and better truck rides, but the mix, the pour size and the curing all have to be engineered to match the ambition.
Suspended warehouse slabs
Upper floors of multi-storey logistics and mezzanine decks: composite metal deck or post-tensioned slabs designed for racking point loads, with deflection limits the rack manufacturer signs up to and flatness achieved off the structure, not the ground.
High-Tolerance Warehouse Floor Slabs: step by step
Step 1: Prepare and prove the subgrade
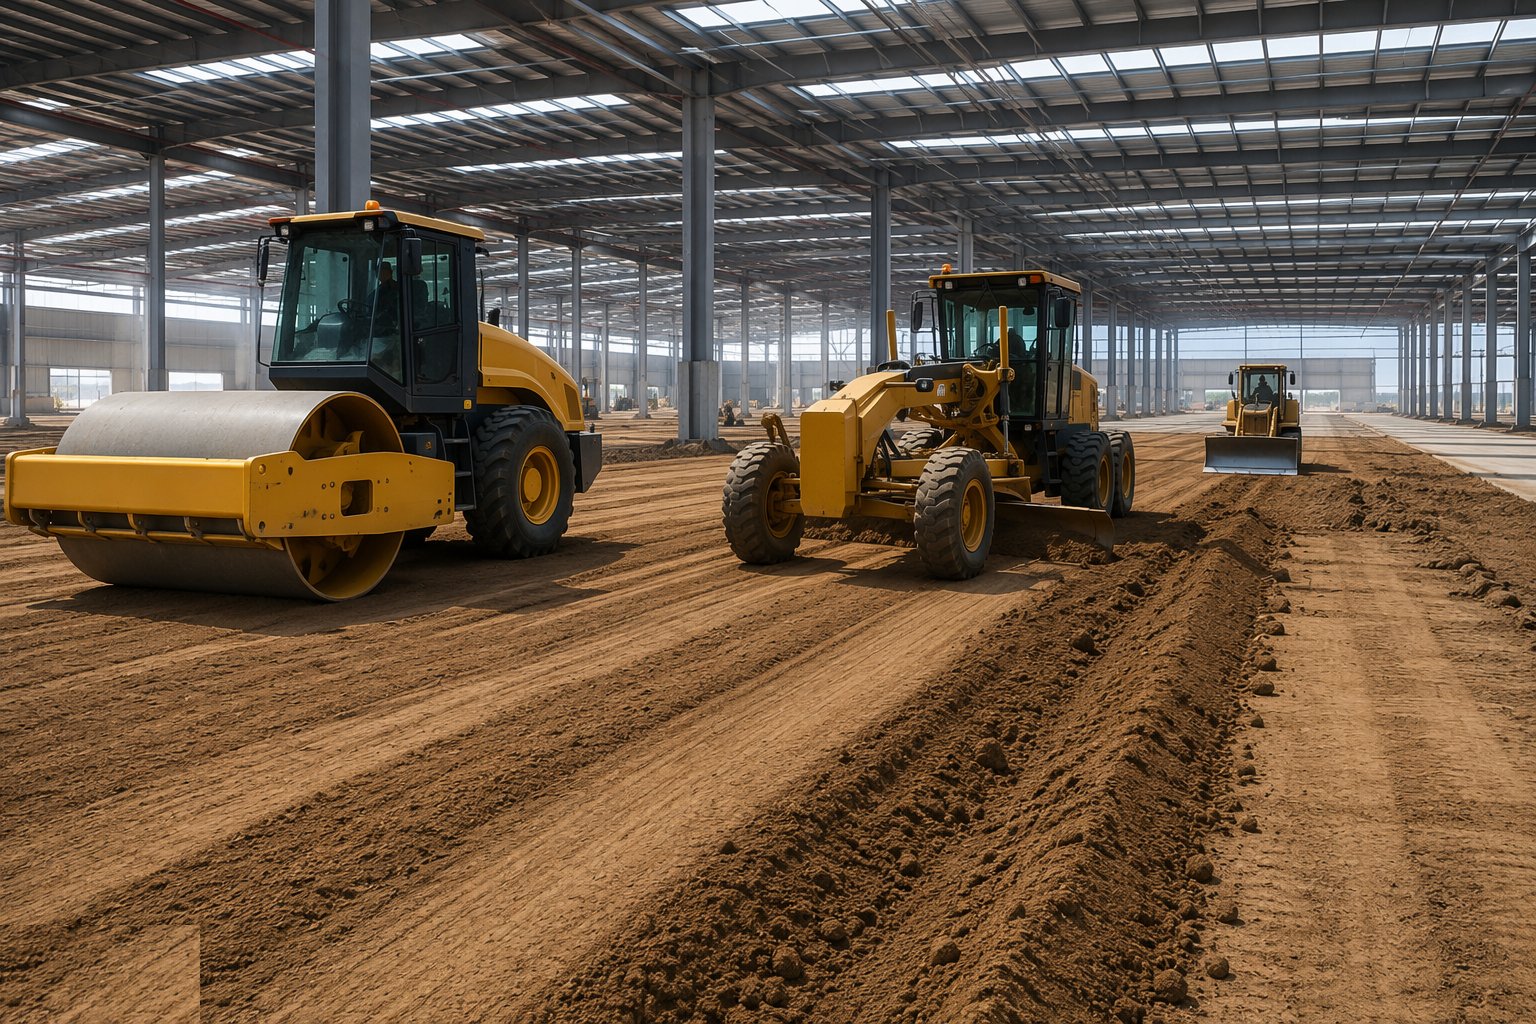
The slab is only as flat as the ground that carries it. Formation is trimmed to level, soft spots dug out and replaced, engineered fill placed and compacted in layers with density testing, and the sub-base proof-rolled and surveyed — a hard spot and a soft spot side by side is a curled slab panel at the joint above. The DPM goes down on the blinded, clean formation with laps taped, because a punctured membrane under a superflat floor is a moisture problem the resin coaters will inherit. Levels across the formation are checked on a grid; the tolerance you hold here is the concrete thickness variation you will not have to explain later.
Step 2: Fix reinforcement, dowels and joint assemblies
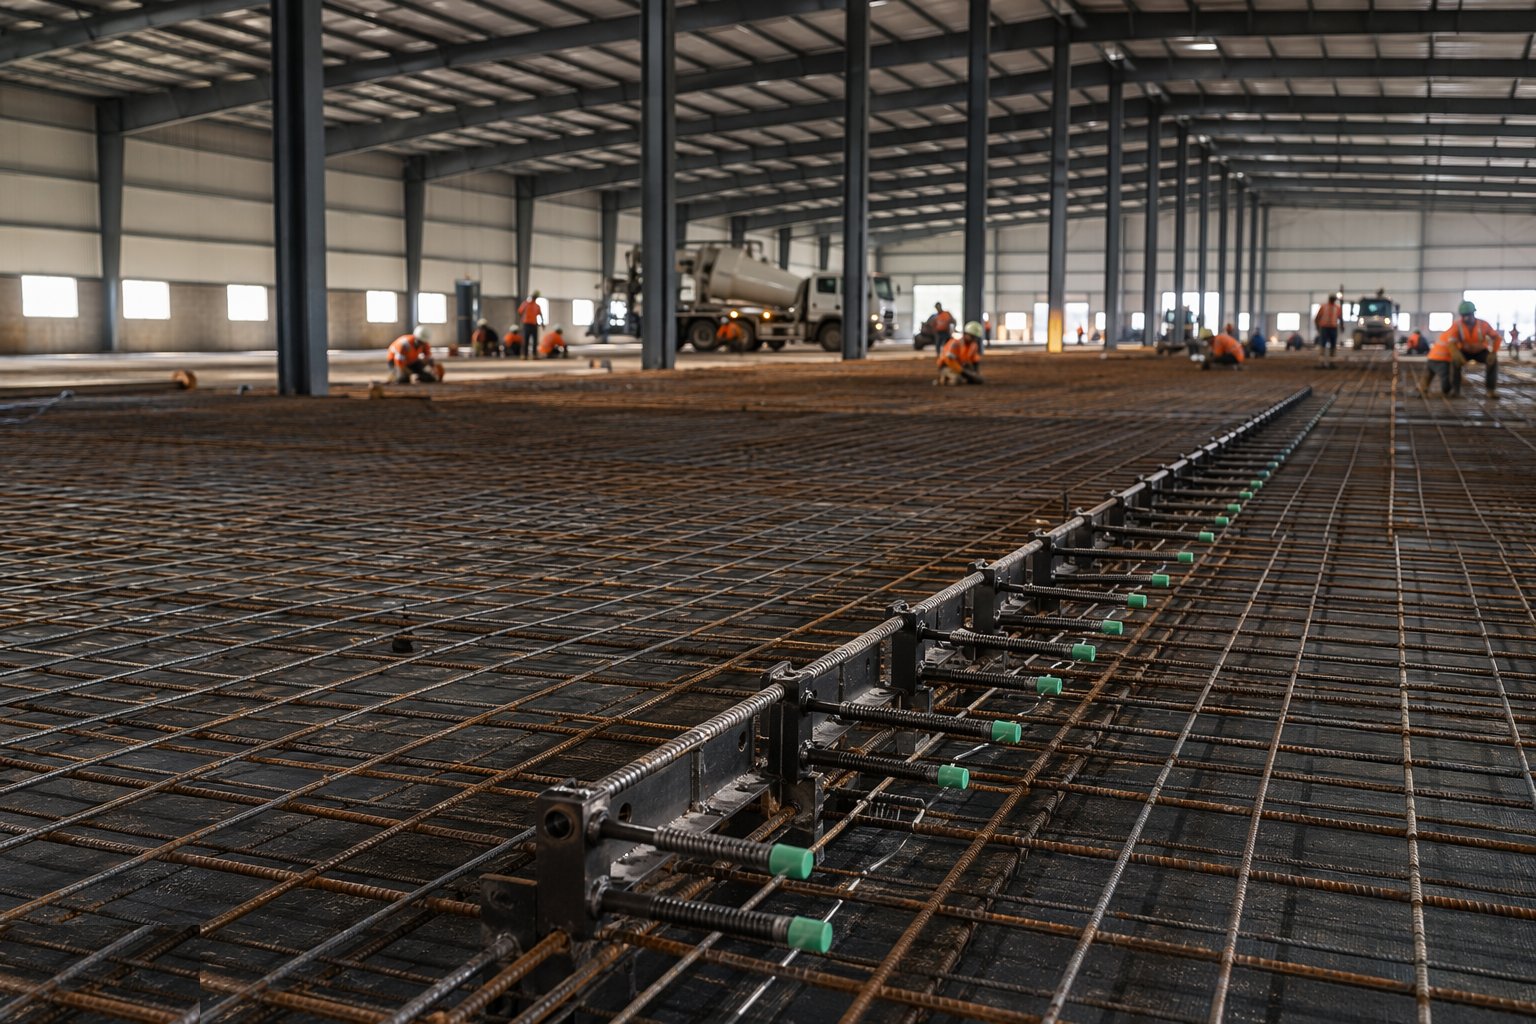
Mesh reinforcement goes in on chairs at the specified cover — and stays there during the pour, which is a battle of its own under laser screed traffic — or the steel fibres go into the mix at the batcher under batching records. Construction joint assemblies are set to line and level: dowel bars through the joint for load transfer, aligned and sleeved for movement; armoured joint systems with their steel arris rails propped dead level at the free-movement aisles. Every joint assembly is surveyed before concrete touches it, because a dowel 5 mm off alignment is a locked joint, and a locked joint is a crack in the middle of the next bay.
Step 3: Pour under laser screed control
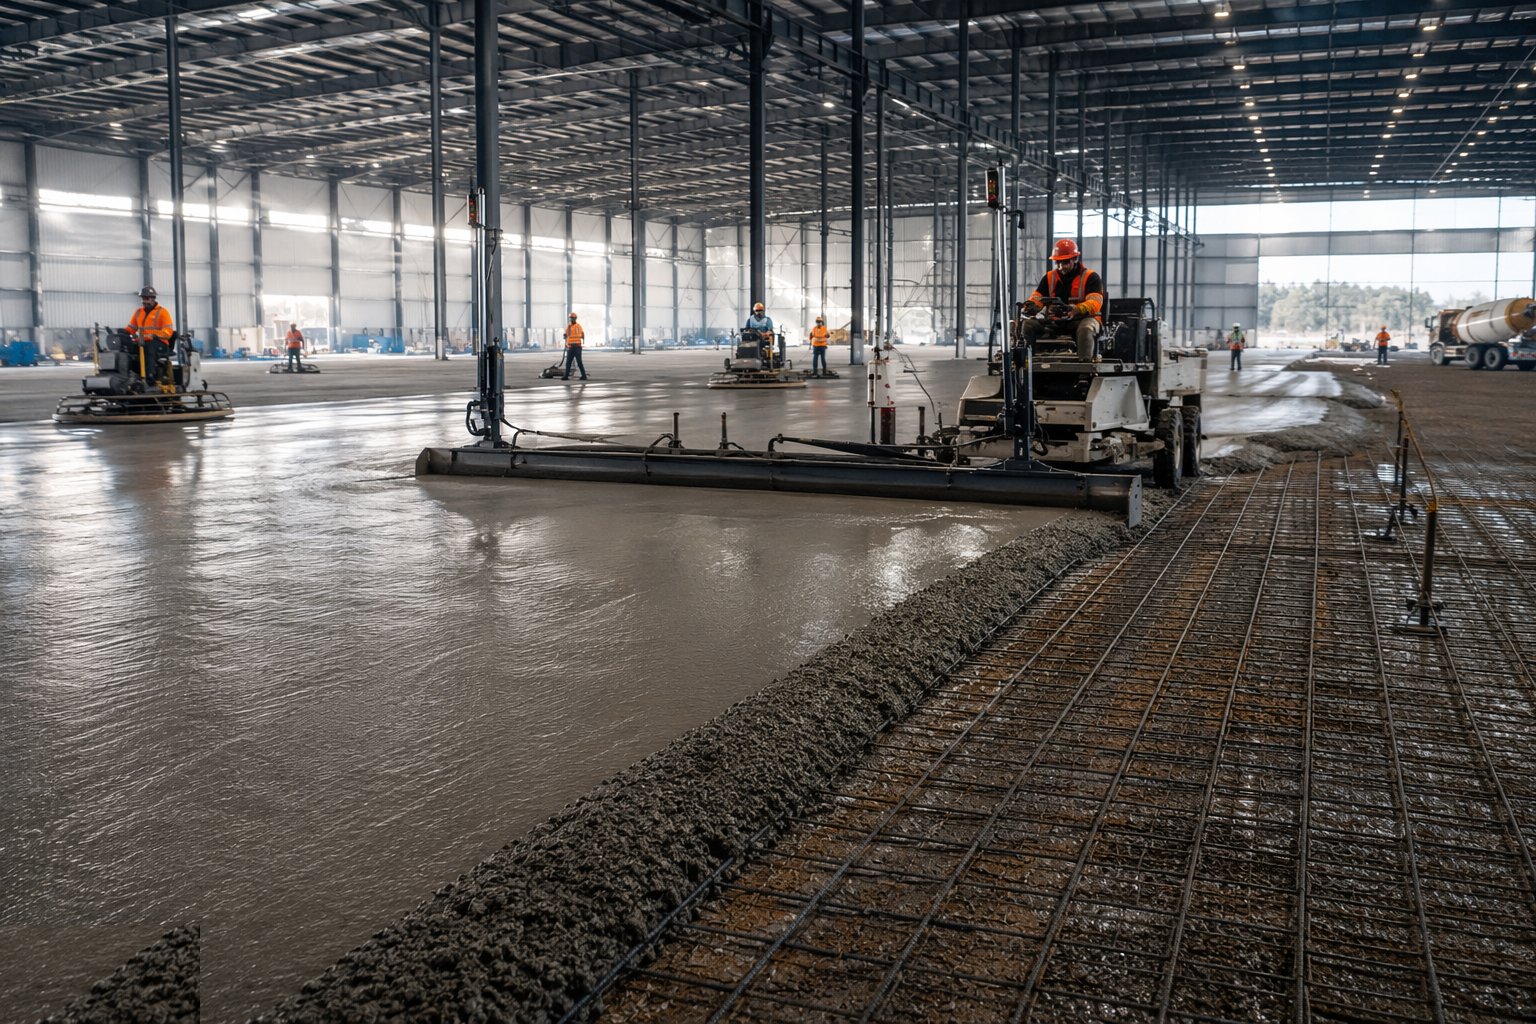
The pour runs as a production line: ready-mixed concrete to a developed mix — workability window agreed, fibres dosed right, delivery spacing matched to the screed's appetite — discharged ahead of the laser screed, which strikes off to level from its rotating reference in passes across the bay. The screed operator and the concrete gang work to the pour plan: bay sizes the plant can genuinely finish in the day, construction joints landing on the engineered layout, no cold joints, no waiting trucks, no retempering at the gate. In Gulf heat the whole operation moves to the night shift with chilled mixes and evaporation control between screed and float; a superflat floor lost to plastic cracking before it is even floated is a bay broken out, not patched.
Step 4: Float and finish the surface
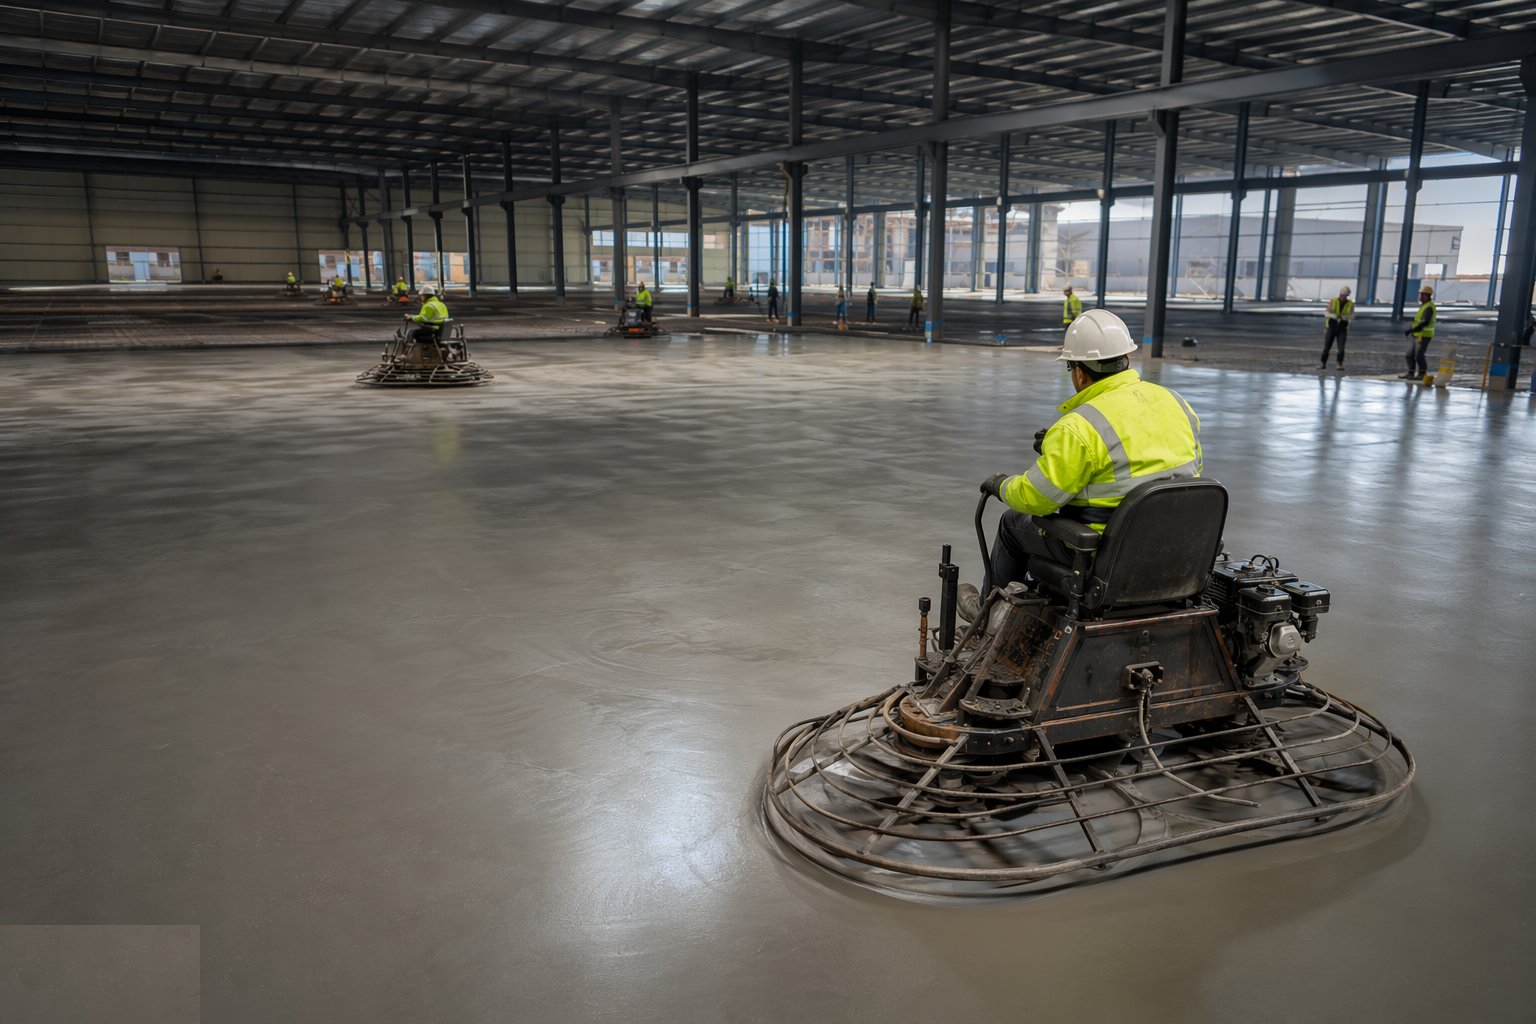
Power floating follows the bleed: pans first to close the surface, then blades at increasing angles through the afternoon and evening until the finish is dense, flat and burnished to the specification — under-floated is dusty and weak, over-floated is sealed against its own curing and prone to delamination under coats. Edges, joints and column boxes are hand-finished off straightedges, because the machine cannot reach them and the truck wheels find them anyway. Dry-shake surface hardeners go down and are floated in per the spec where the abrasion duty demands them. This is skilled, judgement-led work on a clock the concrete sets — the finisher's timing is the quality plan.
Step 5: Saw-cut joints inside the window
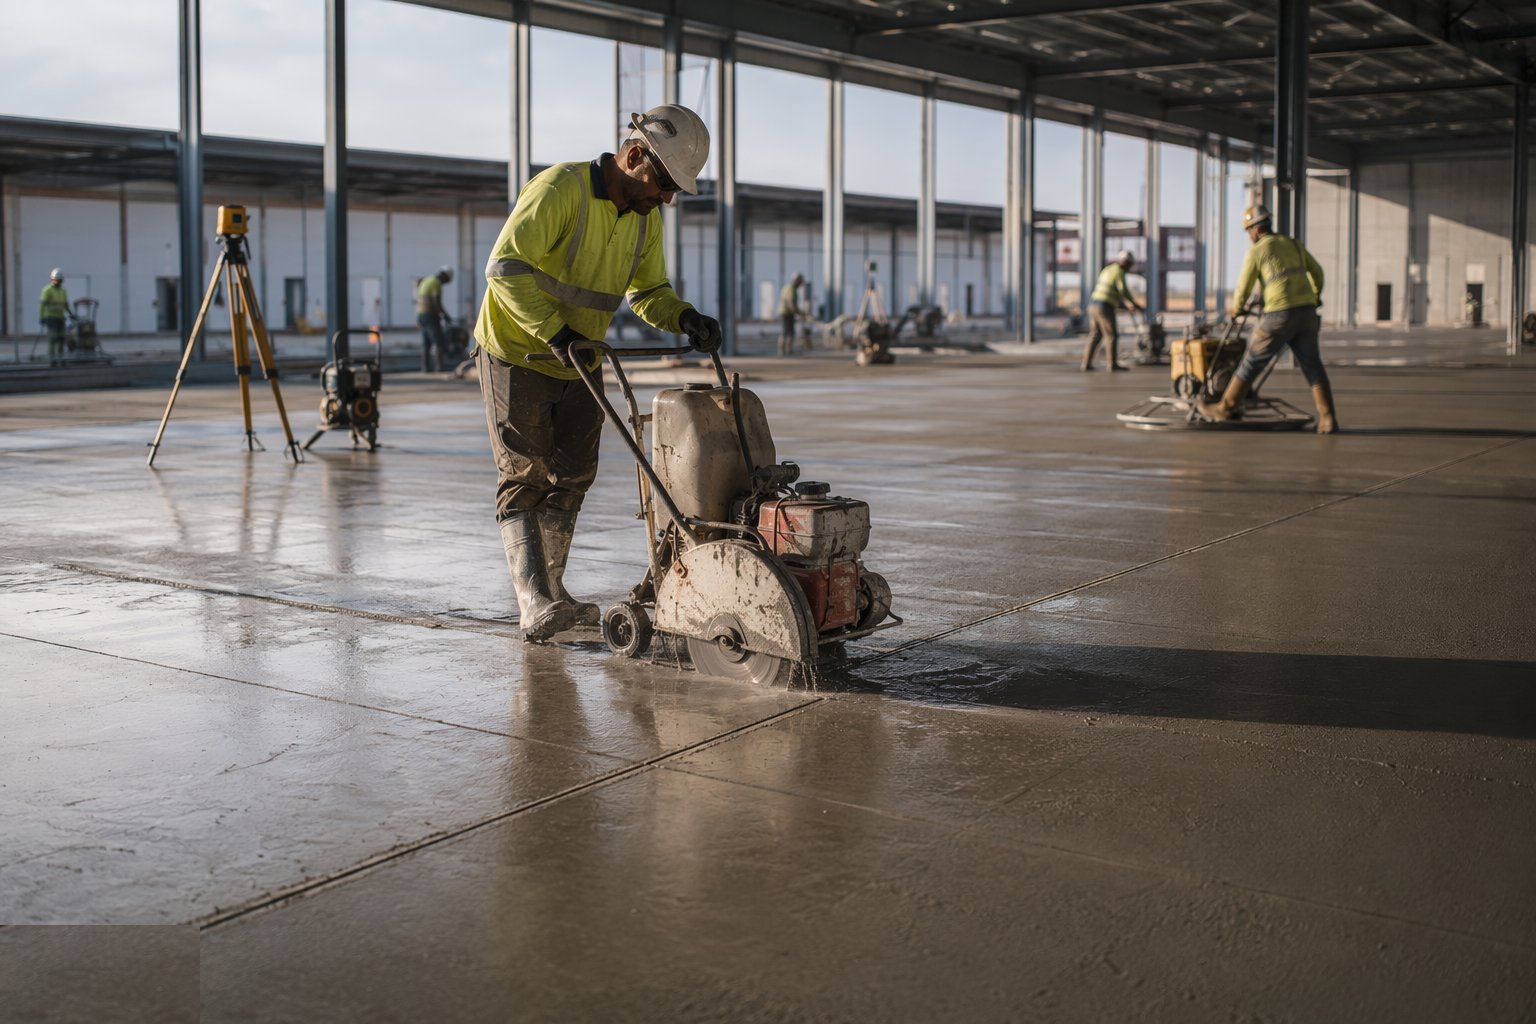
Contraction joints are sawn on the engineered grid within the early-entry window — typically the same night or first light, when the concrete will take the blade without ravelling but has not yet cracked where it pleases. Too early and the arrises tear; too late and random cracking beats the saw to it. Cuts go to the specified depth, on line, in sequence, and are cleaned out before the slab's shrinkage drags debris into them. Joint sealants and fillers follow later per the specification — semi-rigid fillers at the arrises the truck wheels cross, detailed and installed to survive ten years of hard-wheeled traffic, not to look tidy at handover.
Step 6: Cure with discipline
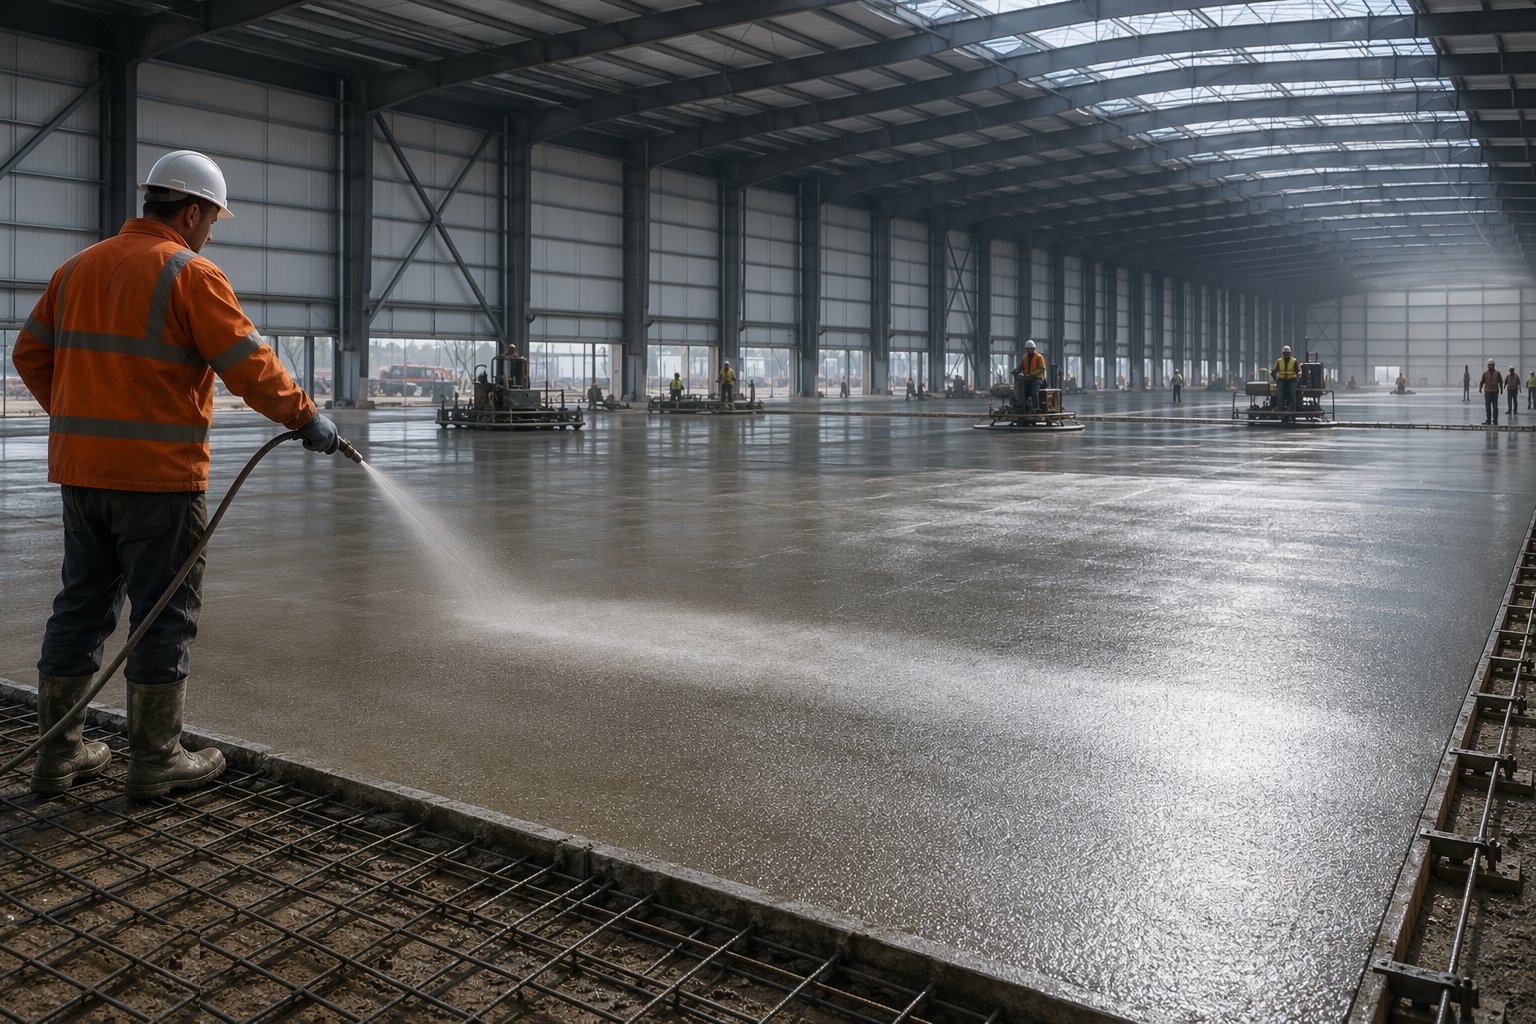
Curing is where good slabs are quietly made and bad ones quietly lost. Curing compound sprayed at the specified rate the moment the finish will take it, or curing membranes sheeted and taped at joints and edges — the aim is moisture kept in the surface through the critical first days while the building's doors are open and the wind is through it. Traffic is kept off to the specified ages; the racking installer's programme pressure is resisted with test results, not hope. In hot climates the curing regime is doubled down: compound, sheeting, and no sawdust optimism — surface drying is curling, and curling at joints is the single most common superflat floor failure there is.
Step 7: Test surface regularity and hand over the records

The floor is measured, not admired. FM floors are surveyed on the TR34 grid with straightedge and elevation readings; DM aisles are profiled in the wheel paths with dedicated equipment once the racking layout is fixed, and the results plotted against the class limits bay by bay. Out-of-tolerance areas are ground or otherwise rectified and re-tested while the floor is still the contractor's problem. The handover file carries the lot: pour records and cube results, joint layouts, curing records, the flatness survey itself — because when the VNA truck supplier commissions against the floor a year later, those sheets are the only witnesses you have.
Plant and equipment
- Laser screeds — ride-on and walk-behind — with calibrated reference lasers and receivers
- Concrete pumps and direct-displacement placing gear sized to the daily pour plan
- Power floats and power trowels, pans and finishing blades in numbers matched to the pour size
- Early-entry and conventional floor saws for the joint-cutting window
- Straightedges, rolling straightedges and profile testing equipment for FM/DM verification
- Curing compound sprayers and membrane handling kit
- Dust extraction and grinding equipment for rectification of out-of-tolerance areas
- Evaporation retarders, windbreaks and shade/hoarding control for exposed pours; chilled mix arrangements in hot climates
Quality control checks
- Subgrade and sub-base verification: density testing, proof rolling and level survey on the grid before DPM
- Pre-pour inspection of joint assemblies, dowel alignment, armoured joint levels and reinforcement cover
- Concrete control per pour: slump/flow, temperature, fibre dosage records and cubes to the specification
- Surface regularity testing to TR34 per bay — FM grid surveys or DM wheel-path profiles — with results issued progressively
- Saw-cut timing, line and depth records against the joint layout drawing
- Curing application records and traffic-control sign-off by age and strength
Safety considerations
- Laser screed and plant movement in live pour zones: exclusion around the machine's swing, reversing controls, trained operators only
- Concrete burns and dermatitis on long finishing shifts: PPE, barrier creams, welfare and eyewash on the pour
- Power float operation: dead-man controls, guarding, and fatigue management through late finishing windows
- Saw-cutting dust and noise: water suppression, RPE and hearing protection, night-shift lighting
- Vehicle/pedestrian segregation between truck mixers, pumps and the finishing gangs
- Night working hazards in hot-climate pours: lighting, communications and supervision through the small hours
Common defects
- Curling at joints and bay edges from lost curing — the arrises lift, the joints spall under truck wheels, and the DM readings fail
- Random cracking where saw-cutting missed the window or dowels locked the joint
- Surface dusting and weak laitance from over-wet mixes or premature floating in bleed water
- Flatness failures at construction joints where the edge form or armoured joint was not set to level
- Plastic shrinkage cracking on hot, windy pours — the craze pattern no sealant ever hides
- Delamination of dry-shake hardeners or surface coats over over-floated, sealed concrete
Best suited for
- High-bay VNA warehouses where DM-class floors are the racking system's foundation
- Automation and AMR facilities where robots navigate to floor geometry
- Speculative sheds where FM2 is the letting standard the market expects
- Any slab where the rectification cost of getting it wrong exceeds the entire pour budget
How long does High-Tolerance Warehouse Floor Slabs take?
Typical duration: A 30,000 m² shed floor pours at roughly 1,500–2,500 m² per day with a single laser screed crew — two to four weeks of pours, plus jointing, curing and testing; DM aisles are profiled once the racking layout is frozen..