Sea Walls & Revetments
The hard edge between land and sea — curved wave-return walls, rock armour slopes and stepped revetments — built around the tide and armoured at the toe against scour.
Last updated 2026-07-28 by the BuildPedia Editorial Team.
What is Sea Walls & Revetments?
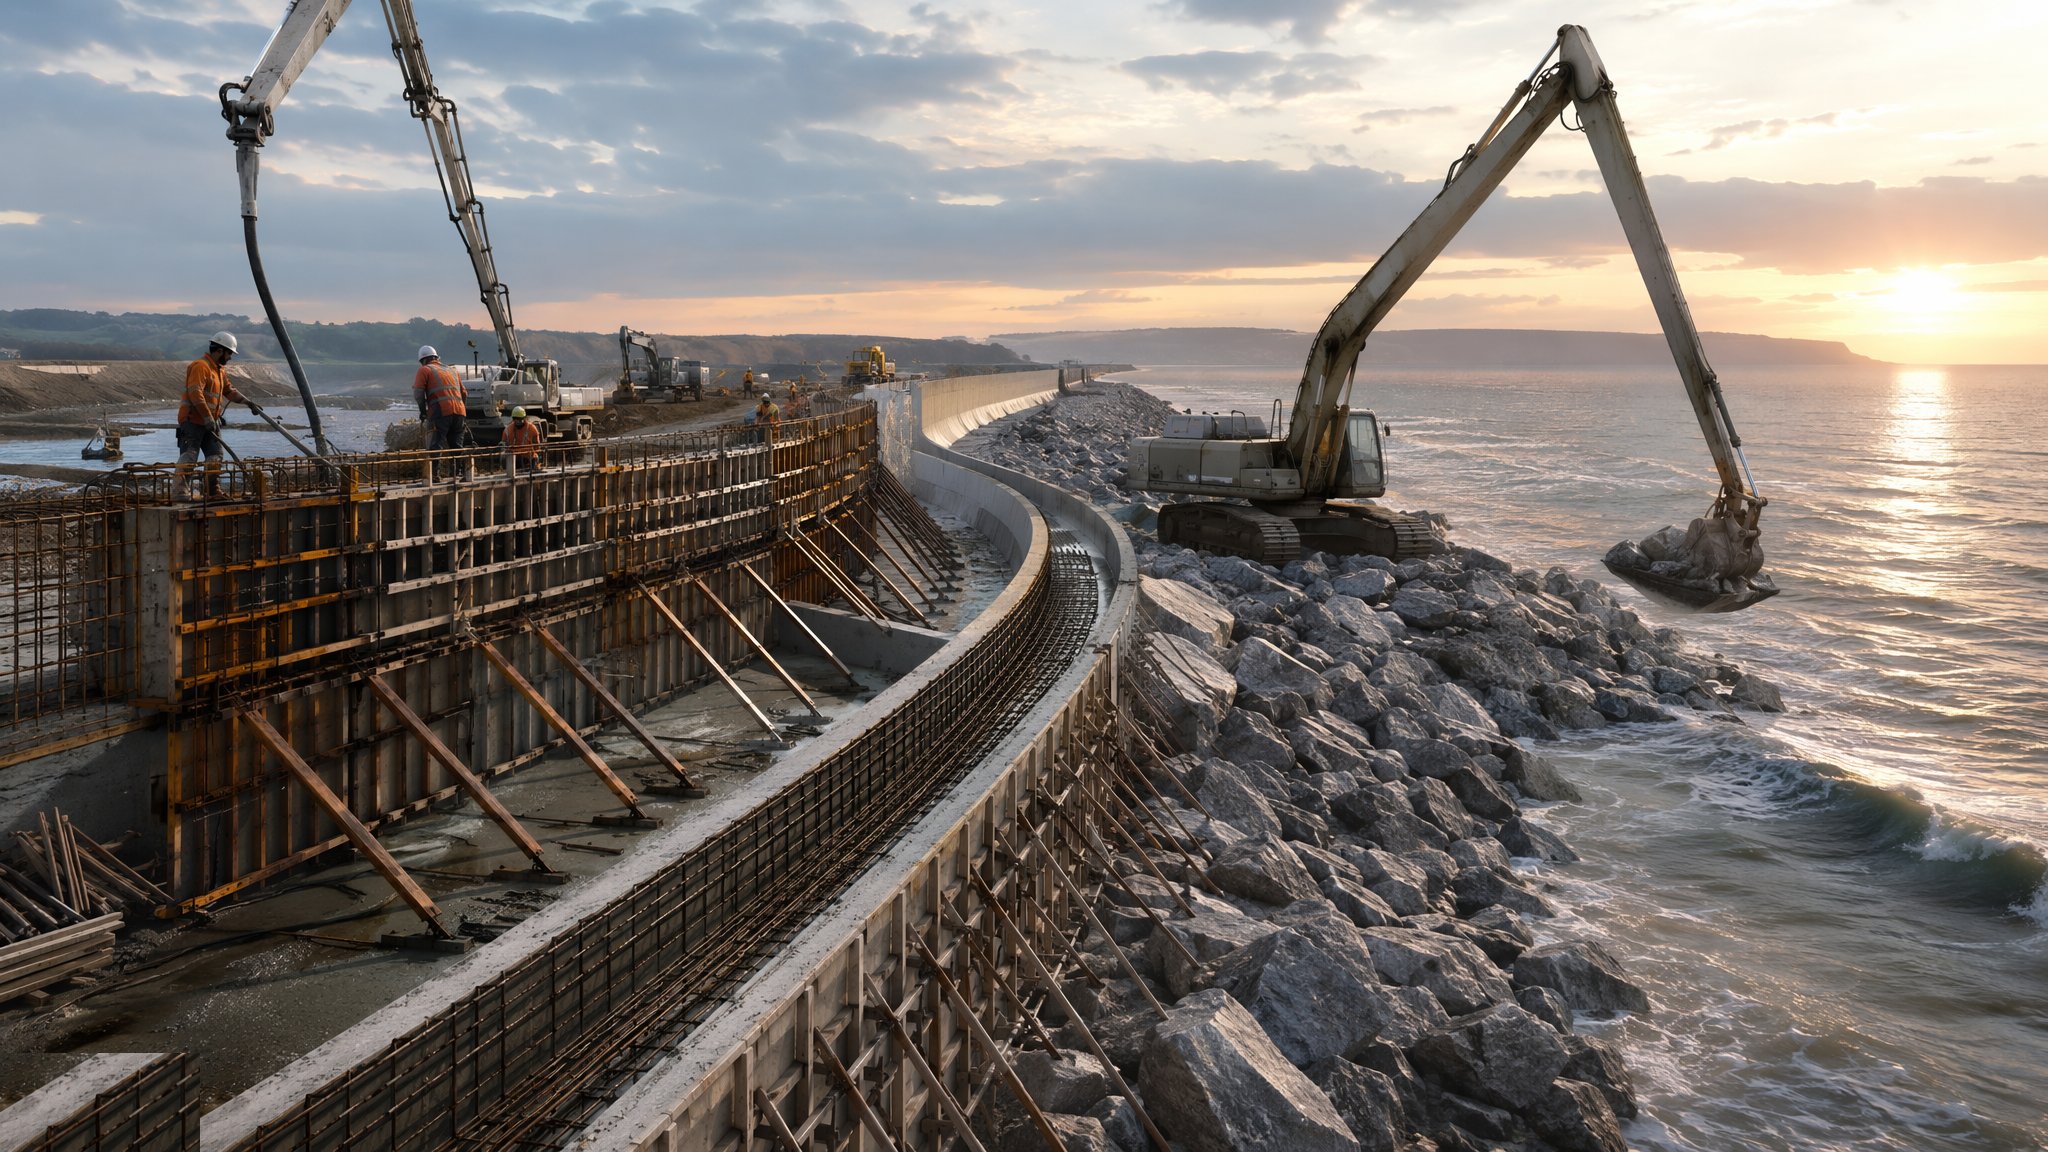
Where a coastline must hold its line — a promenade, a railway, a row of seafront houses — the answer is usually a hard defence: a sea wall or a revetment. The two are cousins but not twins. A sea wall is a near-vertical structure, most often reinforced concrete, that takes the wave load directly and throws it back; the classic profile finishes in a curved wave-return or recurve parapet that flips the uprushing wave back down on itself instead of letting it overtop onto the road behind. A revetment is a sloping face laid over the front of the land — rock armour, concrete steps, blockwork or grout-filled mattresses — that absorbs the wave energy on the slope rather than fighting it vertically. The design choice lives in BS 6349 (Maritime works) and the CIRIA Rock Manual, and it is driven by the wave climate, the water depth at the toe and what the frontage can afford to give up in footprint.
The unglamorous truth of coastal defence is that most failures start at the bottom, not the top. A wall that survives the biggest storm of the decade can still fall over because scour — the sea digging out the seabed in front of the structure — undermines the toe until the face rotates seaward. So every sea wall and revetment is really two structures: the visible face that stops the waves, and the toe protection that stops the sea stealing the ground beneath it. Toe details run from a trench keyed below the lowest predicted scour level, through rock toe bunds and falling aprons designed to launch themselves down into a developing scour hole, to sheet-piled toes driven to refusal. The toe gets designed first and inspected hardest, because once it goes, the face follows within a few winters.
Everything on the foreshore happens on the sea's timetable. Concrete is poured in the dry window either side of low water, armourstone is placed when the crane can stand on the exposed beach, and every shift ends with the works secured against the next tide — formwork struck or braced, fresh concrete protected from wash, plant withdrawn above the reach of the waves. In the UK that means working to tide predictions with a live weather and sea-state watch, under a marine licence from the Marine Management Organisation and usually an Environment Agency flood risk activity permit. In the Gulf the tidal range is small but the exposure is not: shamal events drive steep seas onto near-horizontal foreshores, and the chloride-laden splash zone demands marine-durability concrete — GGBS-rich mixes, generous cover and curing that actually happens — to BS 8500 exposure classes XS2 and XS3.
When and why is Sea Walls & Revetments used?
Sea walls and revetments are built where the coastline cannot be allowed to retreat — where property, infrastructure or a promenade sits within the erosion zone and a managed-realignment or do-nothing policy has been ruled out in the shoreline management plan. They also appear as the up-coast element of a wider defence scheme, tying into groynes or a nourished beach that holds the toe. The wall-versus-revetment decision is made on energy and space: a vertical wall reflects wave energy and suits tight frontages and promenades, but it concentrates scour at its toe and can lower the beach in front of it; a sloping revetment dissipates energy and is kinder to the beach, but needs a wider footprint and a bigger materials budget in rock or armour units. It matters because these are 50-to-100-year assets with almost no maintenance access once built — the durability of the concrete, the grading of the armour and the depth of the toe are decisions you make once, in the dry, and live with through every storm that follows.
Types of Sea Walls & Revetments
Curved-profile concrete sea walls
Cast in situ reinforced concrete walls with a wave-return or recurve parapet — the profile that catches the uprush and turns it back on itself, seen from Blackpool to Dawlish. Heavy formwork bent to the curve, marine-durability concrete, and a toe trench or piled key below scour level. The promenade standard where overtopping must be minimised and the frontage is tight.
Rock armour revetments
A graded rock slope — typically two rocks thick of 3–10 tonne armourstone — laid over a geotextile or granular filter on a shaped foreshore, built to CIRIA Rock Manual and BS EN 13383 grading rules. Forgiving of settlement, self-healing in minor storms and tolerant of imperfect foundations; the trade-off is a wide footprint and a quarry logistics chain that never sleeps.
Stepped revetments
Concrete steps running down the foreshore — in situ flights or precast units — that break the wave up step by step and double as public access to the beach. Cheap to form, easy to inspect and kind to tourism frontages; the steps must be drained, their treads kept clear of shingle accretion, and the toe treated with the same respect as any wall.
Blockwork and mattress revetments
Interlocking concrete block systems, grout-filled fabric mattresses or gabion mattresses laid on a filter over the slope. Lighter plant, smaller units and fast placement on moderate-energy frontages and estuaries — but they detest differential settlement, and a single lifted block in a storm becomes the breach the sea has been waiting for.
Hybrid defences: wall with rock toe
A vertical or curved wall with a rock armour apron at its foot — the rock dissipates the wave before it reaches the concrete and doubles as scour protection. Increasingly the retrofit answer to ageing walls: keep the promenade line, sacrifice a strip of beach, and give the old structure a new toe it never had.
Sea Walls & Revetments: step by step
Step 1: Survey the frontage and lock the consents
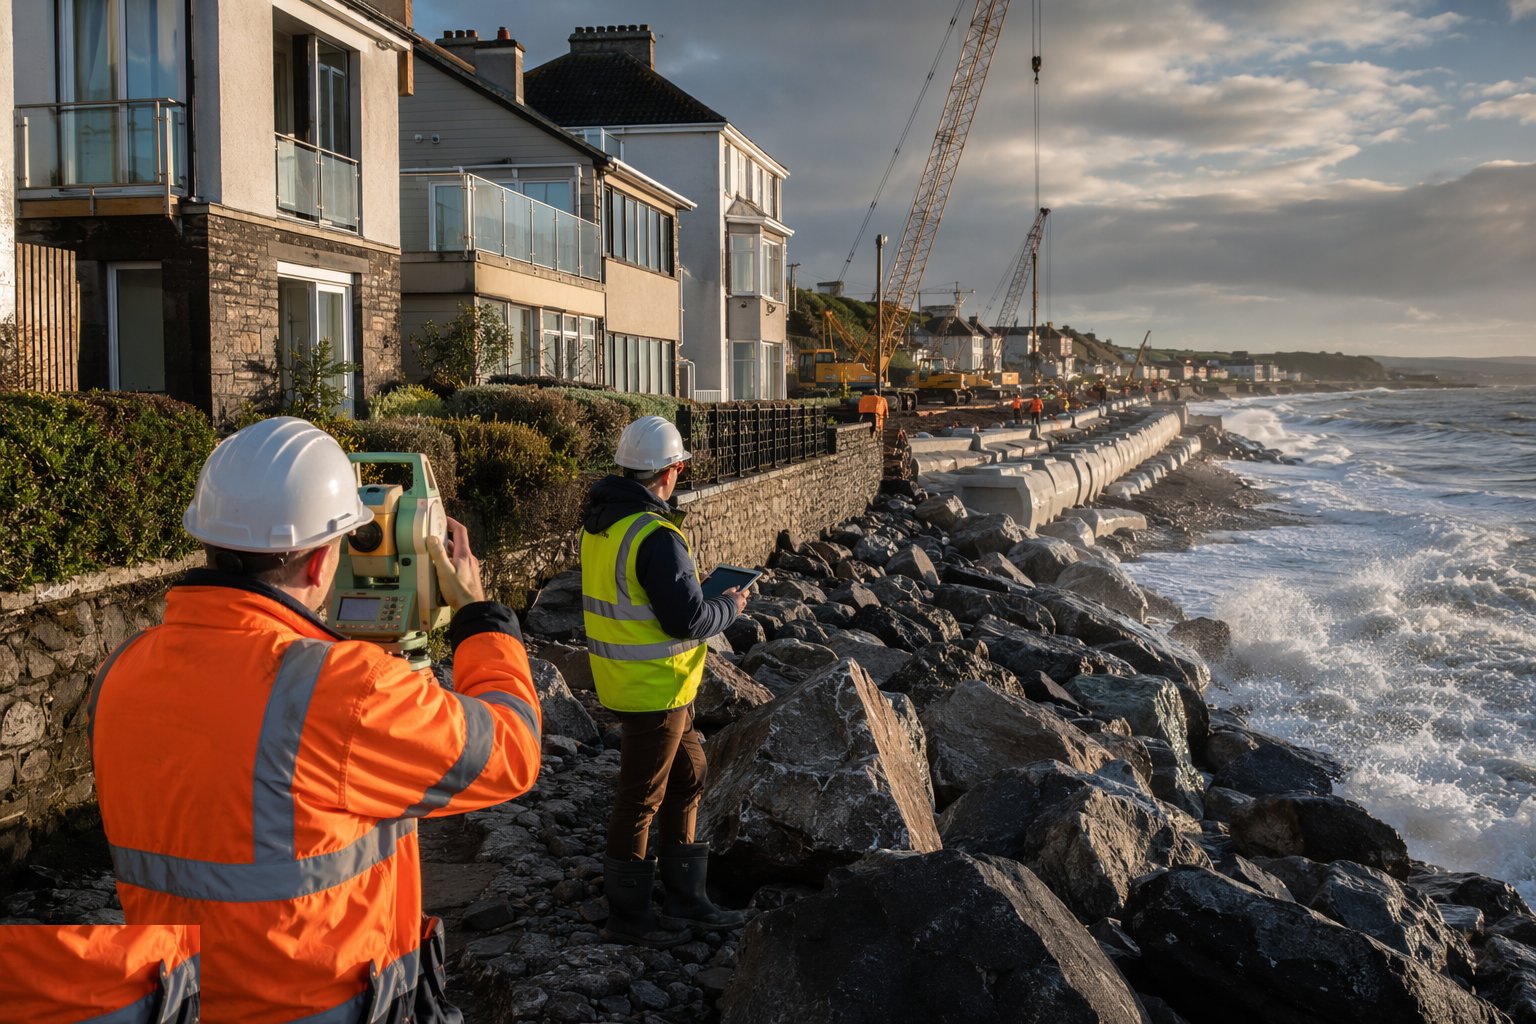
Before a bucket digs, the frontage is measured and the paperwork closed: topographic and hydrographic survey of the foreshore and nearshore profile, a ground investigation that reaches below the predicted scour depth, condition surveys of the properties and services behind the line, and wave and water-level data long enough to design against. In the UK the marine licence from the MMO, the flood risk activity permit and any harbour authority consents are in hand before mobilisation — the foreshore is somebody's jurisdiction everywhere. The design freeze fixes the alignment, the toe level and the overtopping performance, because redesigning a sea wall mid-frontage with the tide coming in twice a day is a special kind of misery.
Step 2: Plan the tidal windows and the access
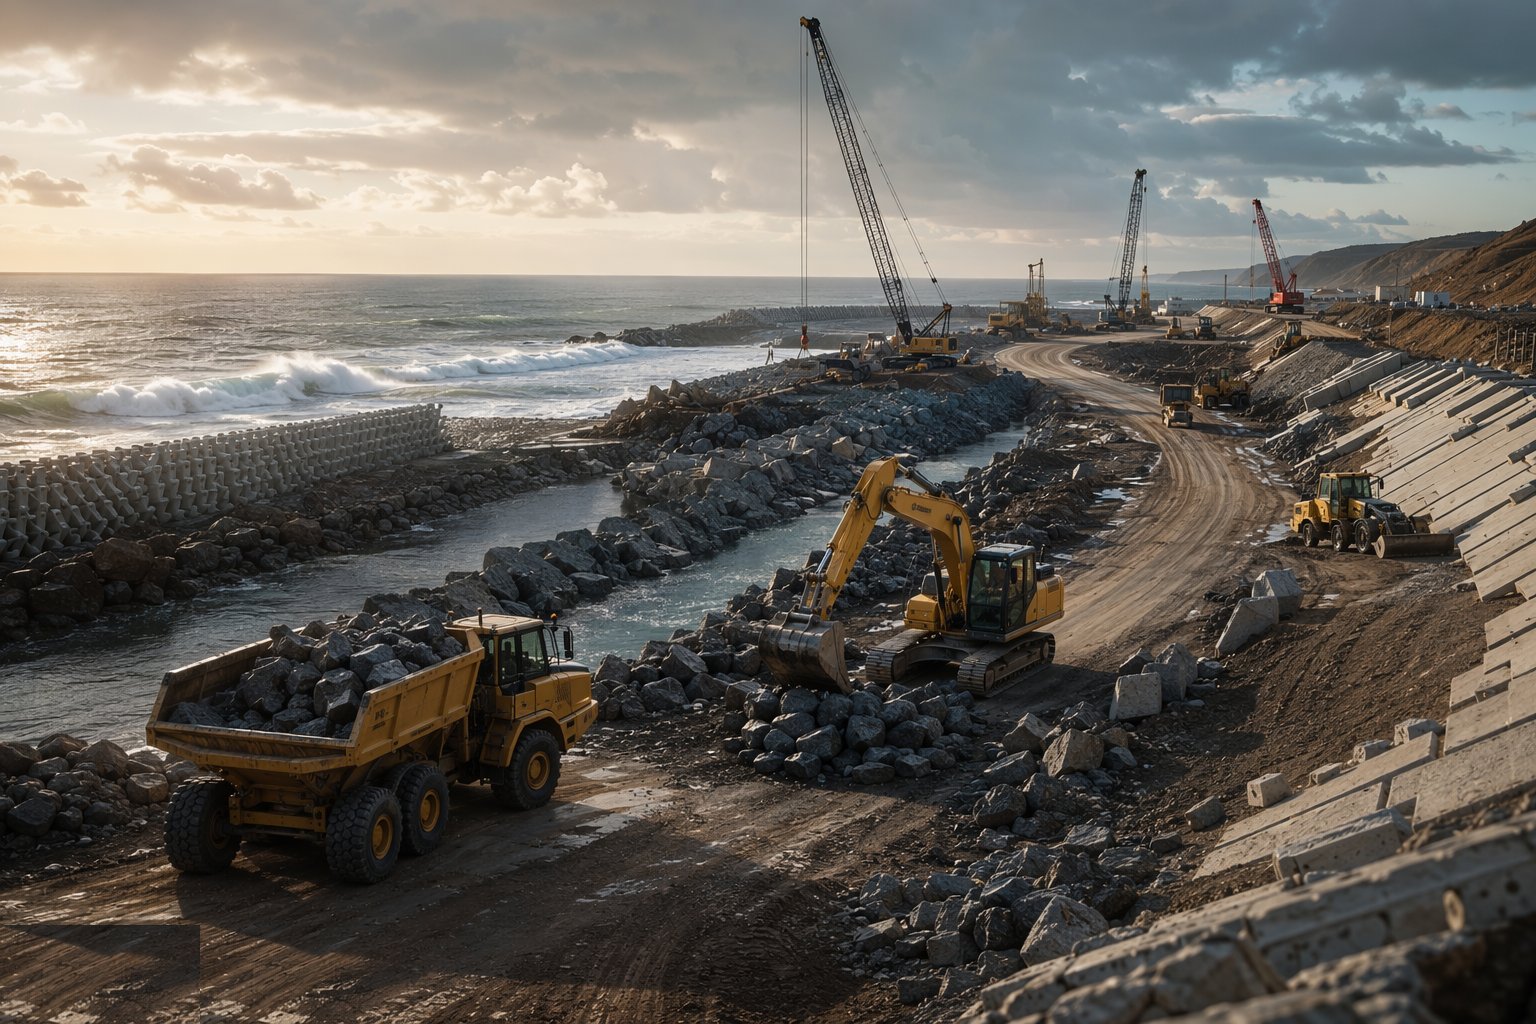
The programme is built around the tide, not the calendar: pour cycles, armour deliveries and excavation are mapped onto predicted low-water windows, with springs and neaps marked out weeks ahead — neap tides give the longest working windows and the calmest foreshore, springs give the biggest exposure and the worst surprises. Access is engineered, not assumed: ramps onto the beach, a haul route that survives the shingle, turning areas for the rock lorries, and a standing rule about how far seaward each machine may work before it must retreat. Every shift plan carries the day's tide times, the forecast sea state and the abort level at which tools are downed and plant is walked off the foreshore.
Step 3: Excavate and protect the toe
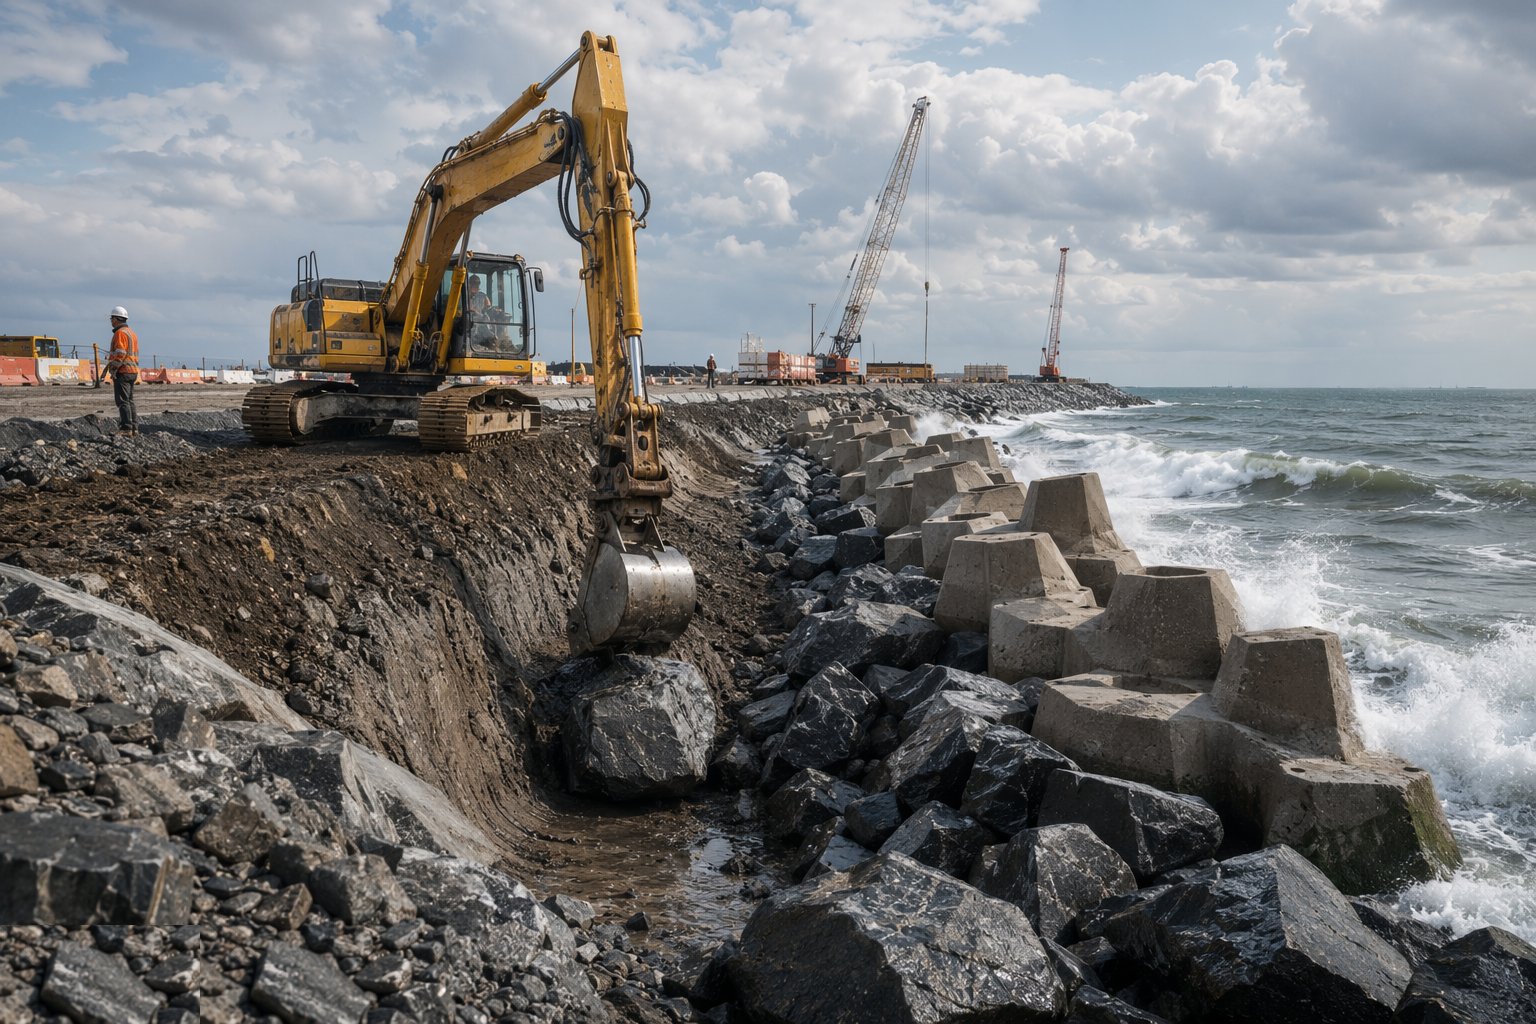
The toe goes in first and deep. The toe trench is excavated to the design level — below the lowest predicted scour, not below today's beach — with the excavation kept dry or worked blind depending on the tide. Where the design uses rock, the toe bund or falling apron is placed and profiled so it can launch into a future scour hole; where it uses sheet piles, they are pitched and driven to refusal with the clutches interlocked and the line surveyed. Short-cuts here are fatal and common: a toe founded on the current beach level is a structure designed to be undermined, and every cubic metre of trench the sea refuses to let you dig is a cubic metre you have to win back in the next window.
Step 4: Lay the filter and underlayer
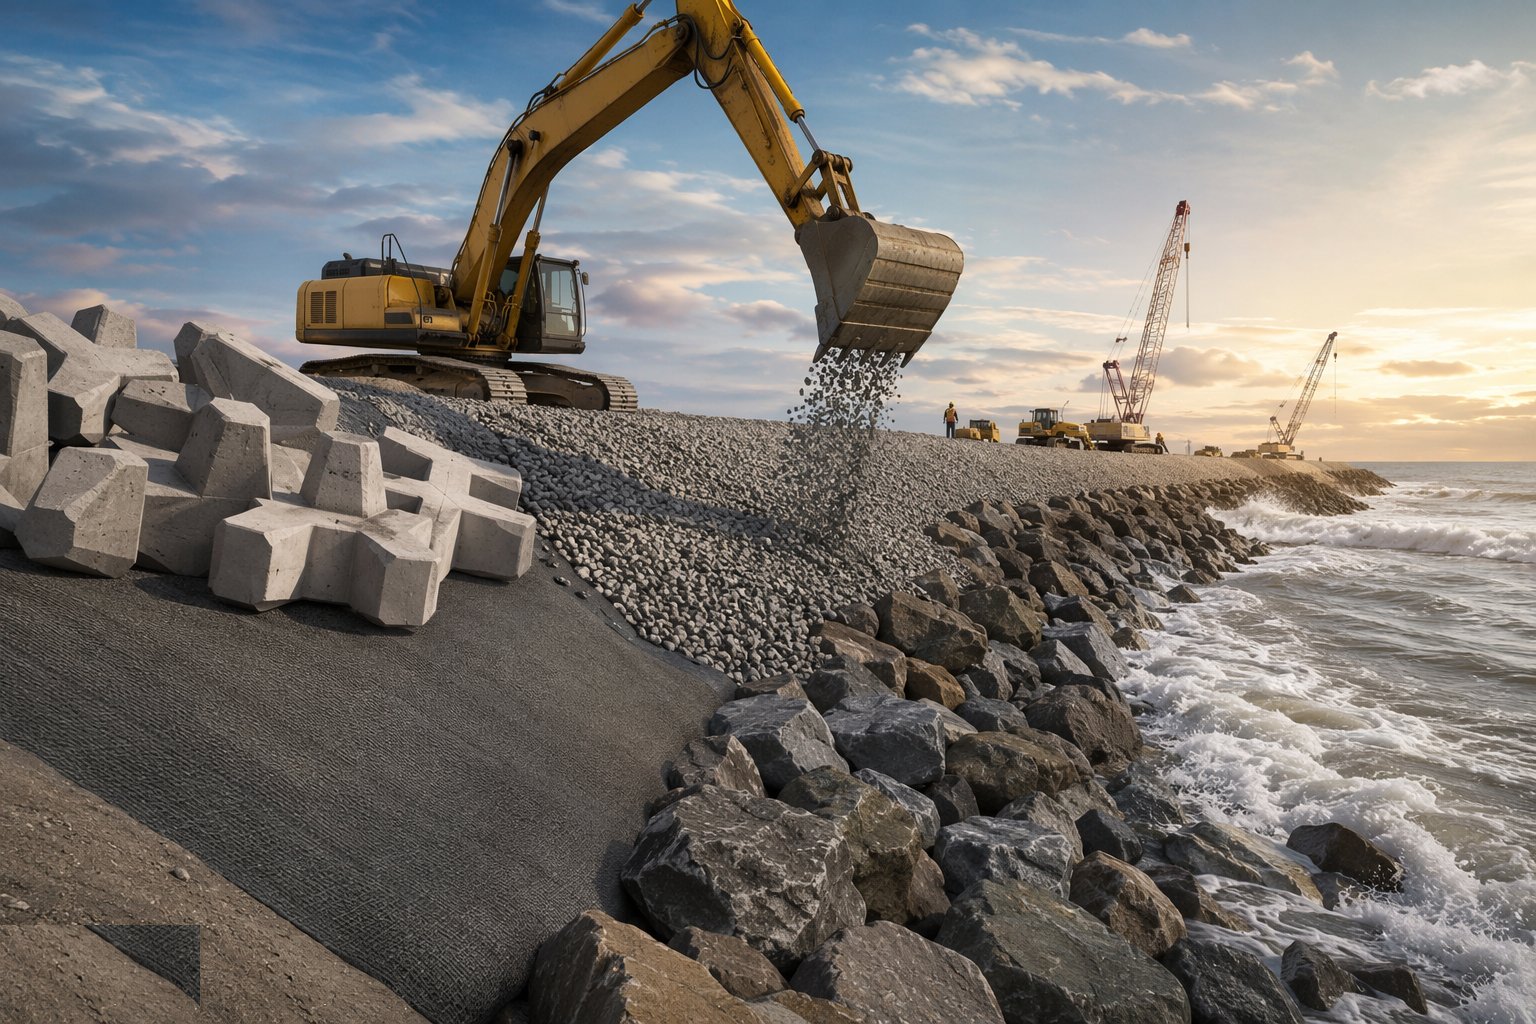
Behind every armour face is the filter that stops the sea pumping the ground out through the gaps. A geotextile is deployed over the shaped formation — overlapped, pinned and kept out of the wind and the wash — or a graded granular filter is placed in layers where the design prefers stone on stone. Over that goes the underlayer: graded rock, placed and profiled to the template so the armour has a regular, interlocking bed to sit on. The profile is checked continuously against templates or by machine-control on the excavator, because armour placed on a lumpy underlayer never interlocks properly, and an underlayer gap left open through a tide is a hole full of sand where the filter used to be.
Step 5: Build the face: pour the wall or place the armour
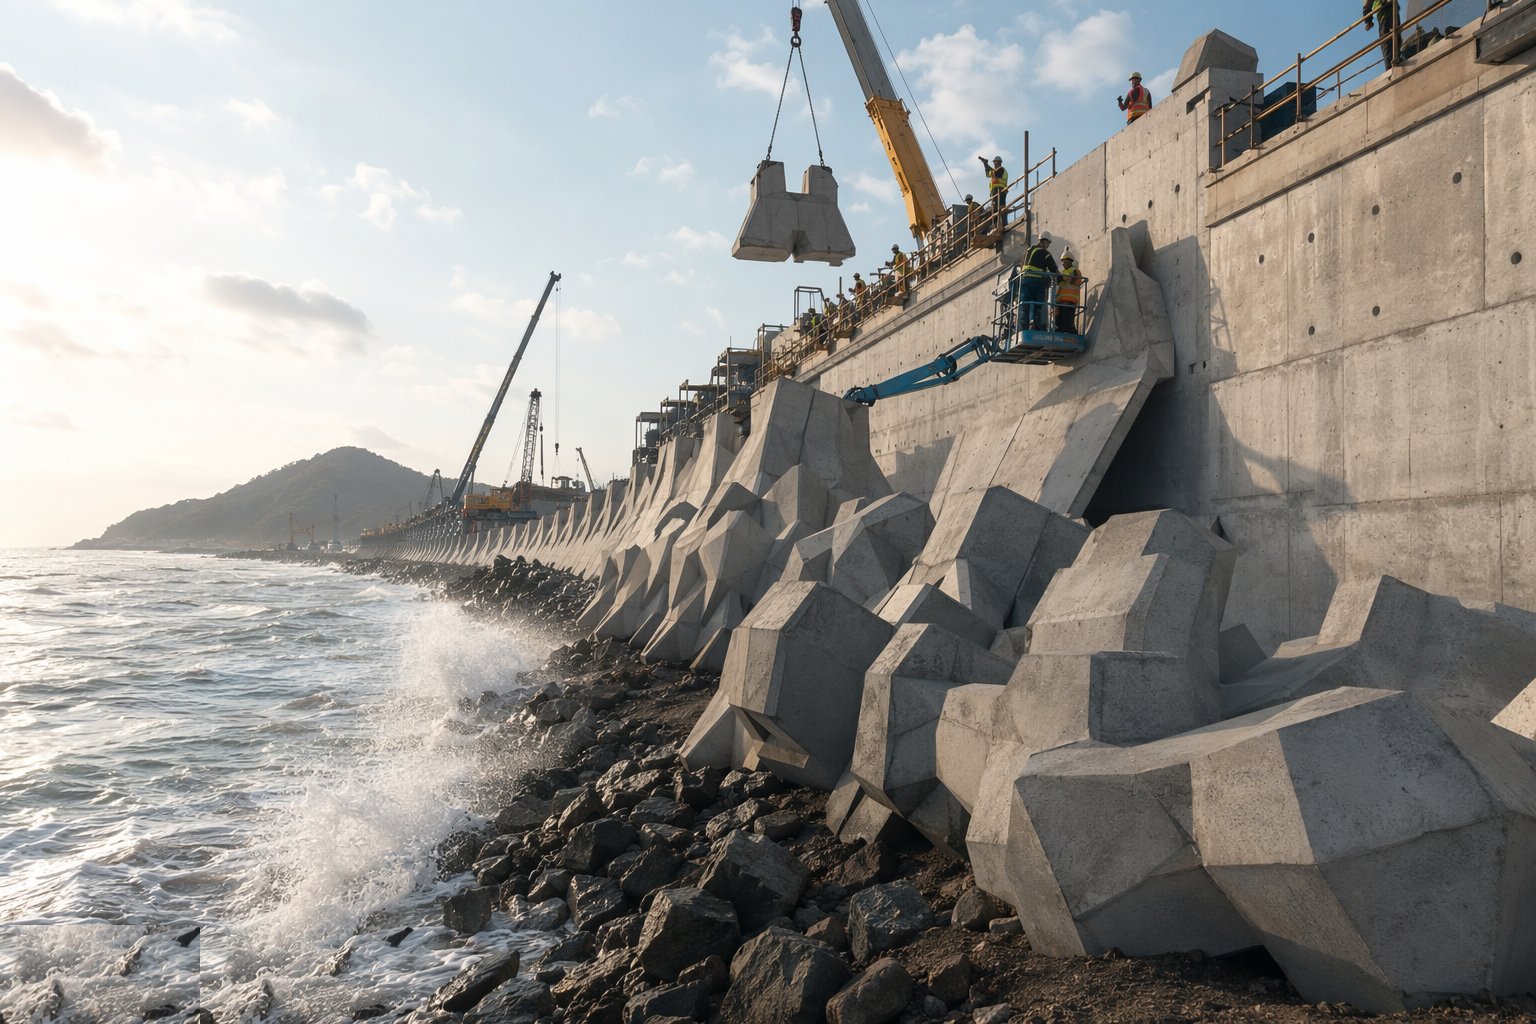
On a concrete wall, the formwork — curved shutters to the wave-return profile — is set, braced against uplift and wash, and the wall is poured in lifts within the tide window, marine mix pumped and vibrated, cover to the seaward face verified before the shutters close. On a rock revetment, armourstone is placed rock by rock with a long-reach or crawler crane and orange-peel grab, each stone keyed into its neighbours and seated into the underlayer — dropped rock is rejected rock, and the placement pattern follows the Rock Manual's interlock, not the driver's convenience. Either way the face is surveyed as it rises, because the as-built profile is the defence's performance and there is no shimming a rock slope afterwards.
Step 6: Form the crest, the wave return and the drainage
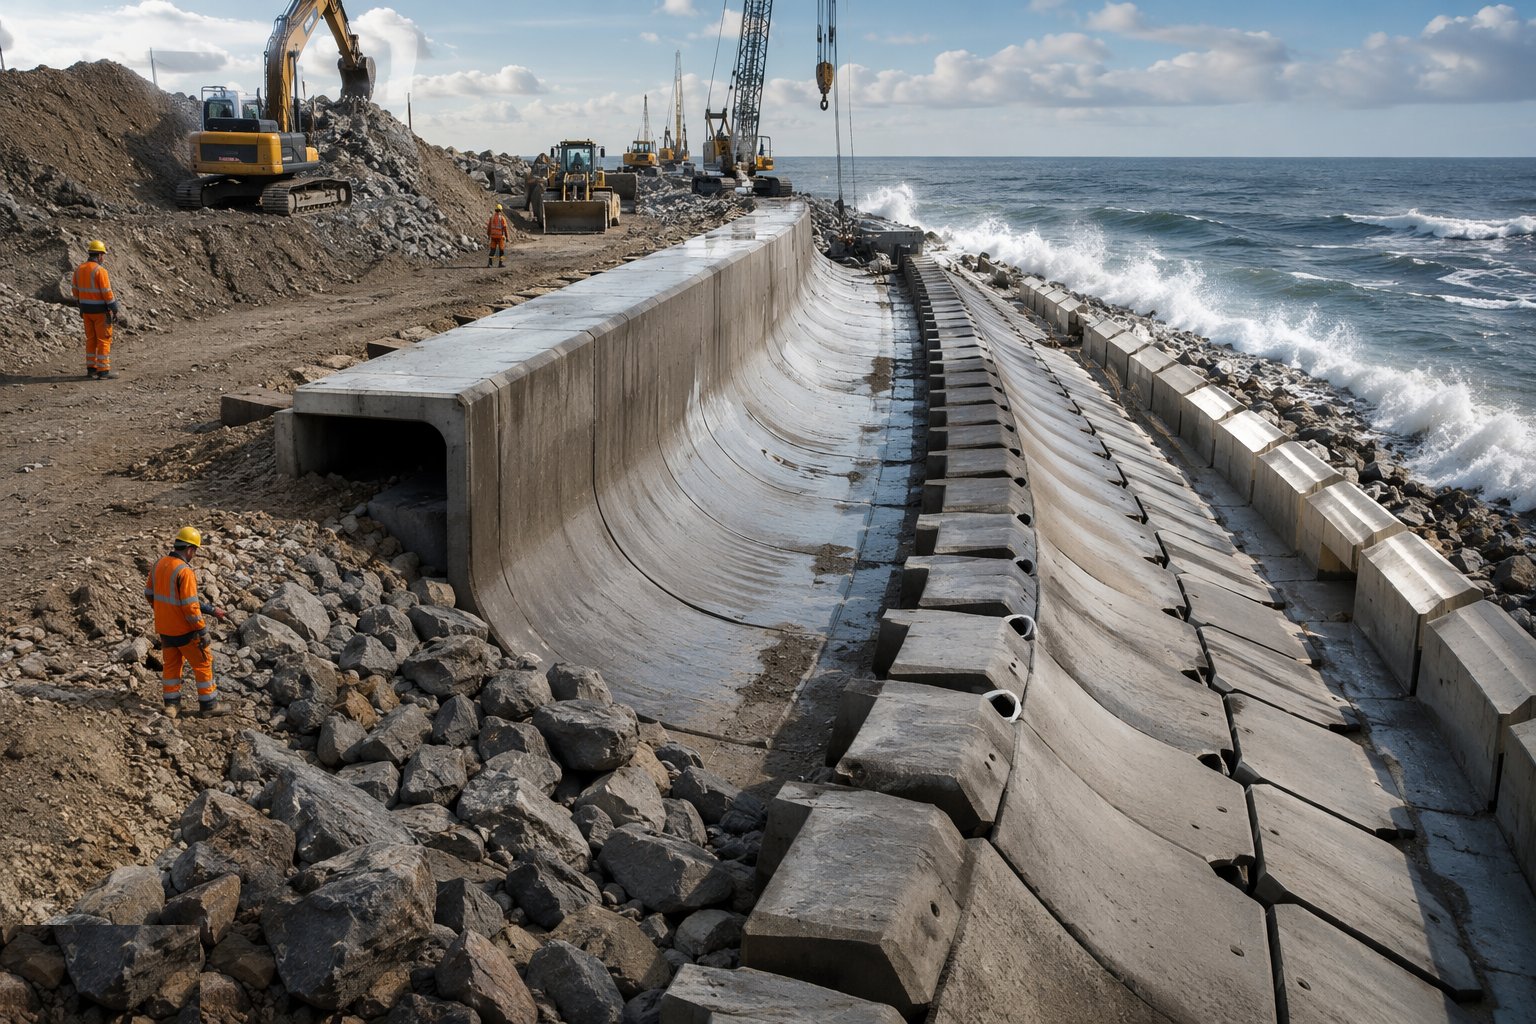
The top of the defence is where the detailing earns its keep. The recurve parapet is formed true to the design profile — its geometry is hydraulics, not architecture — and the crest slab or promenade behind is laid to falls that shed overtopped water back seaward or into a collector channel. Drainage behind the face is completed: weep holes through the wall at the spacing the design sets, a drainage layer behind the back face so groundwater never builds head against the structure, and filter details at every outlet so the wall drains water and not the embankment behind it. A sea wall that ponds water behind itself is a dam built by accident, and the first winter will prove it.
Step 7: Backfill, reinstate and survey the as-built line
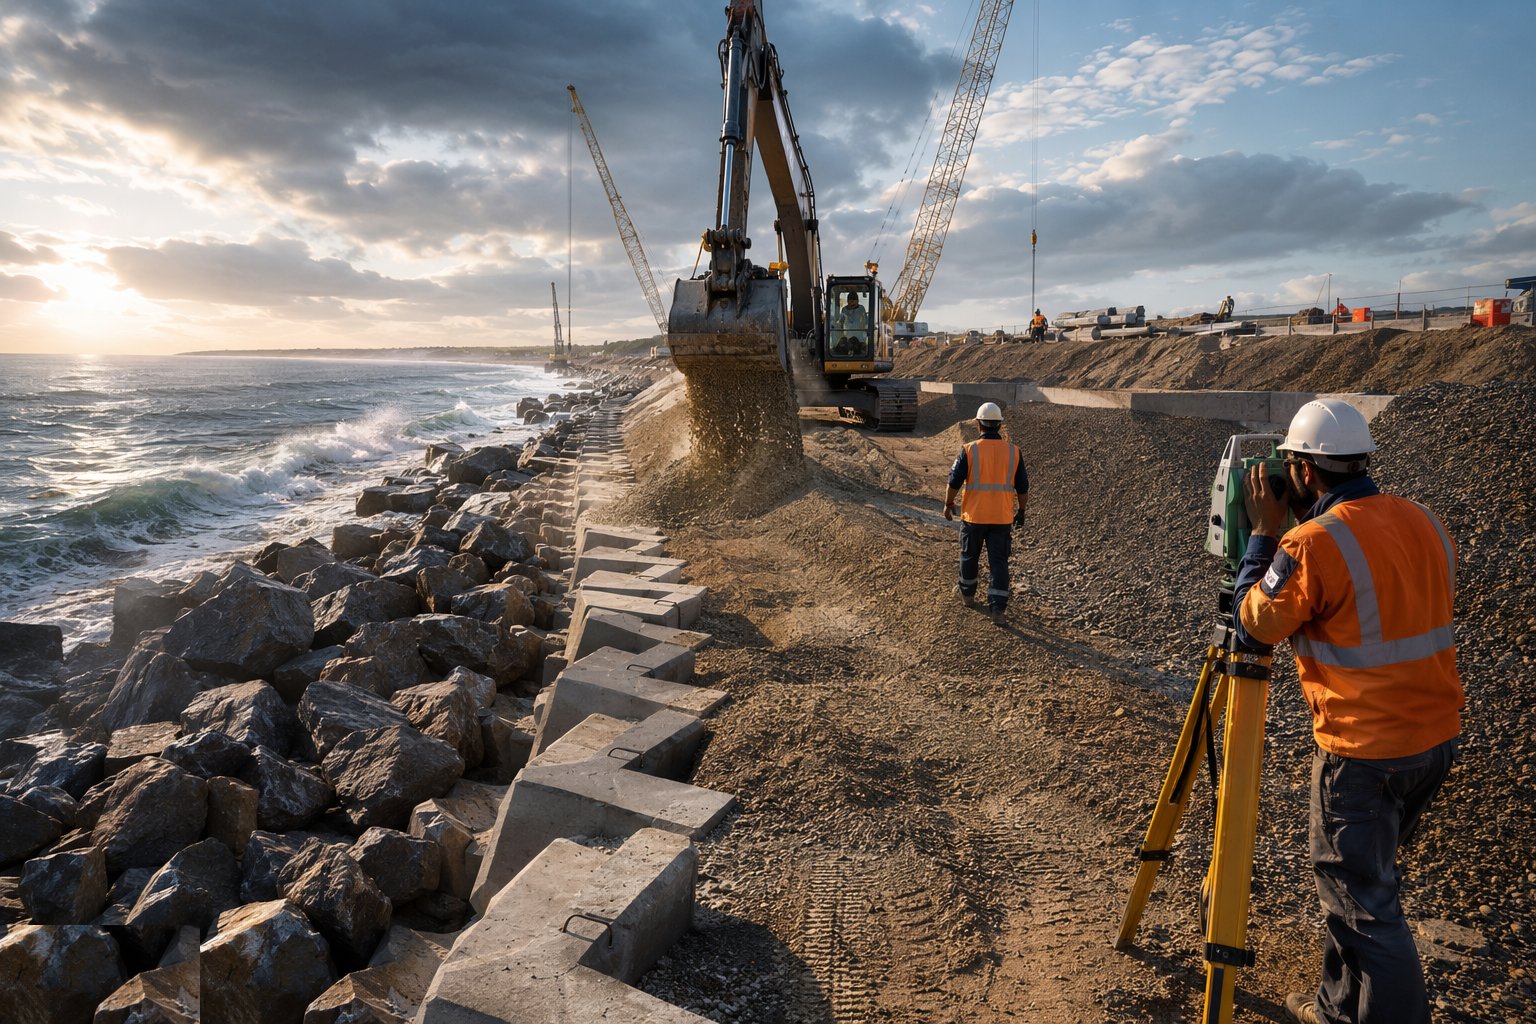
The ground behind is reinstated in compacted layers, the promenade or access track is relaid, and any beach material borrowed for the works is returned and reprofiled to the pre-works survey. Then the whole frontage is surveyed as-built: wall line and level, crest level, armour profile and toe position, tied into the national datum so the monitoring regime has a baseline it can trust. The records — pour cards, concrete test results, armour grading certificates and placement surveys — go into the handover file with the maintenance and inspection schedule, because a coastal defence is handed over to be watched: the first annual inspection after a storm season is where the design meets its examiners.
Plant and equipment
- Long-reach and crawler cranes with orange-peel grabs for armourstone placement
- Curved formwork systems for wave-return profiles; bracing and ties rated for wash and uplift
- Concrete pumps and marine-durability mixes — GGBS-rich, low w/c ratio, to BS 8500 XS2/XS3
- Excavators with machine-control for underlayer and toe profiling
- Sheet piling rigs and vibratory or impact hammers for piled toes
- Geotextile deployment frames, pins and tensioning kit
- Survey equipment: GNSS rovers, total stations and sounders for foreshore and nearshore control
- Tide boards, wave and weather telemetry, and site forecasting subscriptions
Quality control checks
- Armourstone grading certificates to BS EN 13383 with quarry inspection and per-load checks on the beach
- Rock placement records: individual placement, interlock checked, as-placed profile surveyed against template
- Concrete pour cards per lift: mix, temperature, slump/flow, cubes — and cover surveys before shutters close
- Toe excavation levels verified against the design scour allowance, witnessed before placement
- Geotextile overlap, pinning and integrity inspected before underlayer covers it — a torn filter is an NCR
- As-built survey of line, level and profile issued as the baseline for the monitoring regime
Safety considerations
- Tidal working under a documented plan: tide times briefed daily, abort levels set, escape routes walked and marked
- A watchkeeper on the foreshore whenever people are seaward of the defence — the tide that creeps behind a working gang kills quietly
- Plant stability on soft and submerged ground: mats, low-ground-pressure machines and exclusion of sheer heroics
- Lifting and placing armour: exclusion zones under suspended rock, grabs never slewed over people, slinger/signaller on every lift
- Falls from the wall face and crest during construction: edge protection or harness until the parapet exists
- Weather and sea-state limits enforced with a named person holding the stop authority — forecast Hs exceeded means off the foreshore
Common defects
- Toe founded too high — scour undermines the face within a few storm seasons and the wall rotates seaward
- Armour dropped rather than placed — no interlock, rocks rolling in the first real sea, voids the waves pump through
- Filter layer torn, gapped or skipped — fines pumping out through the armour and sinkholes appearing behind the face
- Wave-return profile formed inaccurately — overtopping worse than designed and spray over the promenade the wall was meant to protect
- Marine concrete short on cover or cured in name only — chloride ingress, spalling and reinforcement corrosion inside a decade
- Weep holes blocked or omitted — water head building behind the wall until the backfill and the face both suffer
Best suited for
- Hold-the-line frontages where erosion cannot be allowed to reach property or infrastructure
- Promenade and seafront schemes needing a hard edge with public access
- Exposed coasts where rock armour or a dissipative slope suits the wave climate better than a vertical face
- Toe-stabilisation retrofits to ageing walls — rock aprons in front of sound but undermined structures
How long does Sea Walls & Revetments take?
Typical duration: Tide-bound and weather-gated, a 500 m frontage typically runs 6–14 months: neap-tide windows drive the pour and placement rhythm, and winter working on an exposed coast can halve the effective programme..