Containment Facilities (BSL Construction)
Laboratories built to keep things in — sealed envelopes, directional airflow, dampers, effluent treatment and witnessed testing, certified before a single pathogen crosses the door.
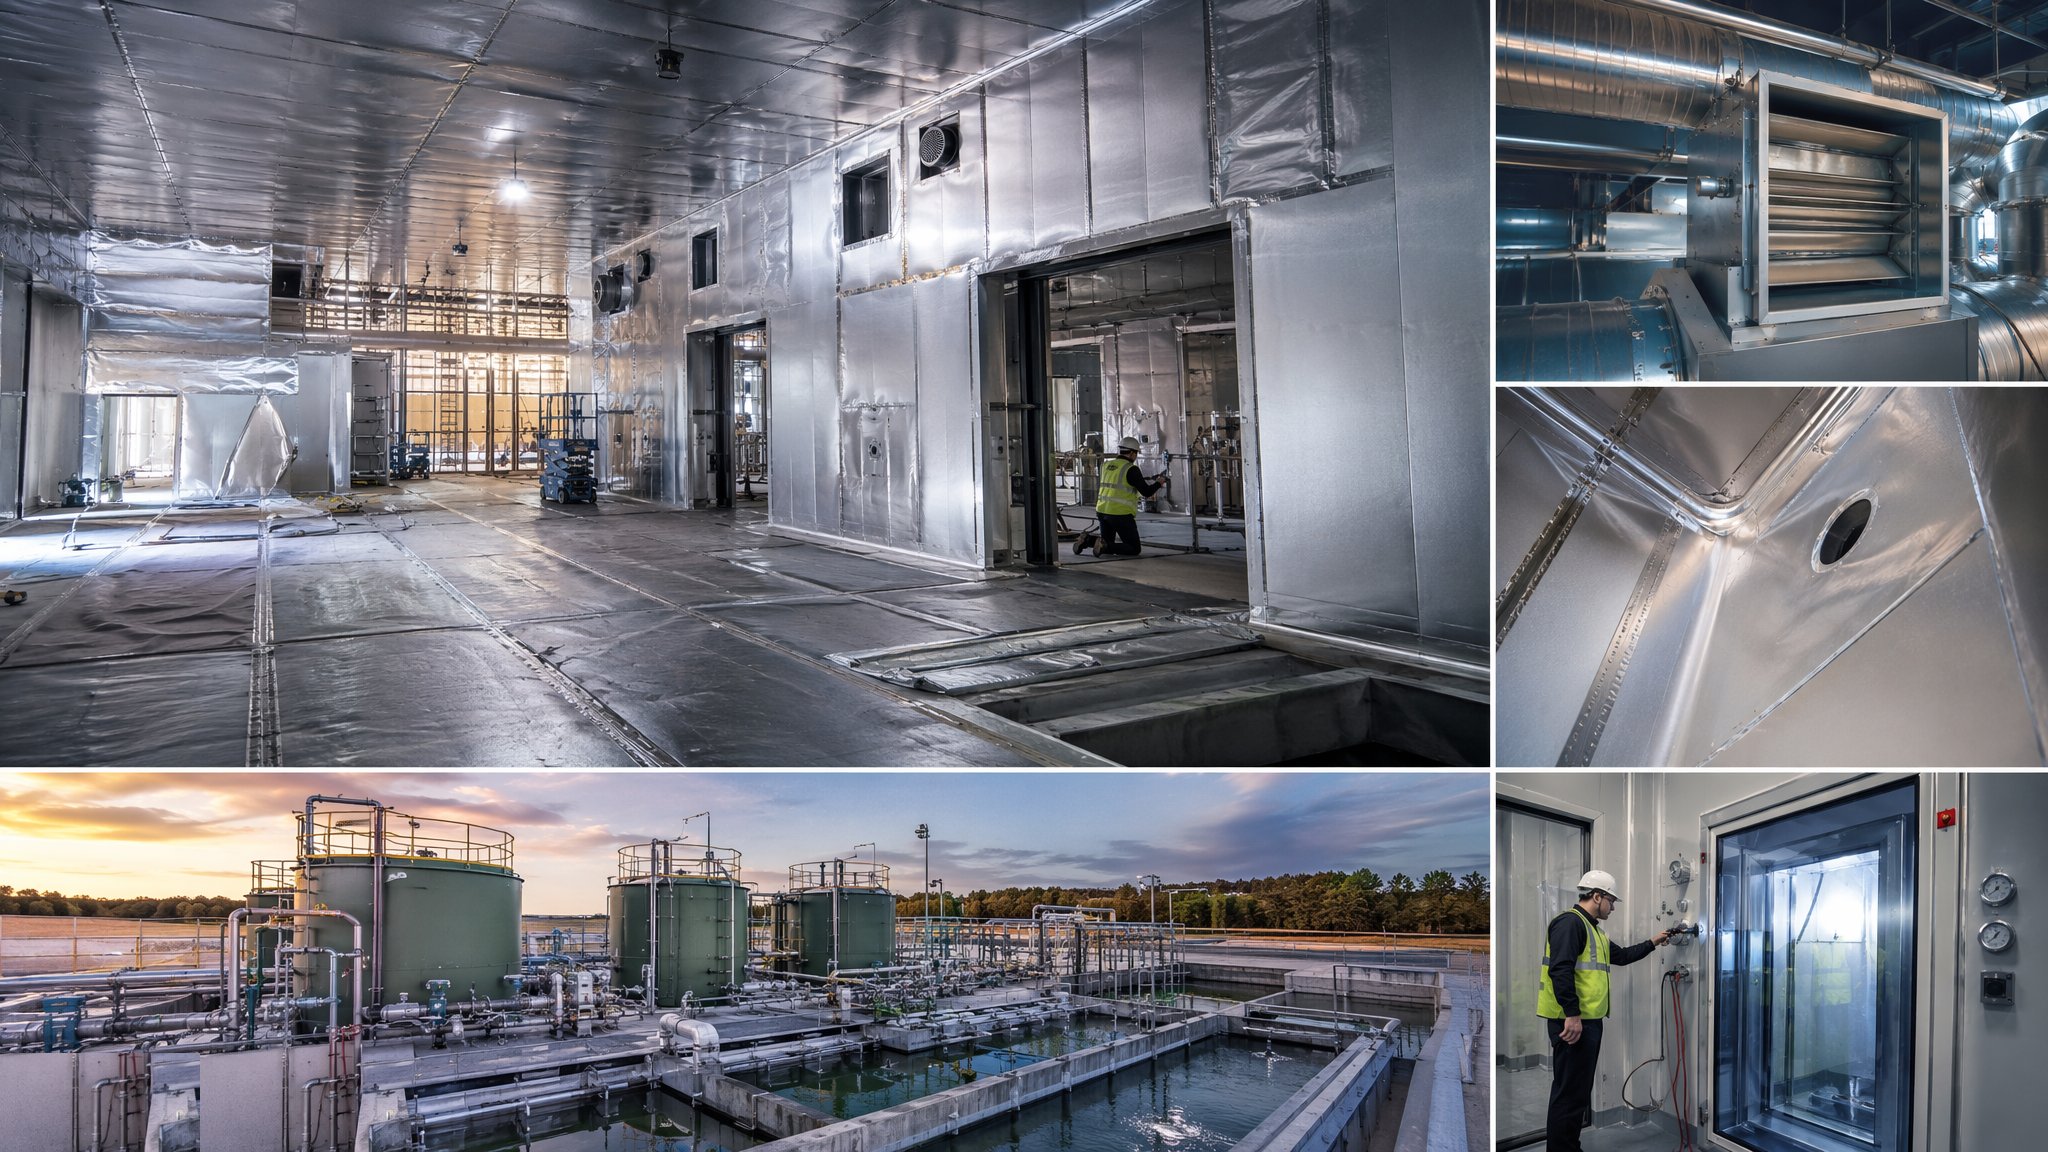
Last updated 2026-07-28 by the BuildPedia Editorial Team.
What is Containment Facilities (BSL Construction)?
Containment construction is lab building with the logic reversed: where a cleanroom keeps contamination out, a containment laboratory keeps biological hazard in. In the UK the benchmark is the HSE/ACDP containment framework — Containment Level 2 for routine diagnostic and research work with moderate-risk agents, Containment Level 3 for organisms transmissible by the airborne route, where the room itself becomes the primary barrier. (The international BSL naming is near-equivalent: CL2 ≈ BSL-2, CL3 ≈ BSL-3.) Animal facilities carrying specified pathogens add SAPO requirements on top. The defining CL3 features are physical: a sealed, leak-tested room envelope; inward directional airflow held at negative pressure; HEPA-filtered extract; controlled access with interlocked doors; and validated means to decontaminate everything that leaves — waste, equipment, effluent and air.
The construction consequences run through every trade. Penetrations are the battleground: every pipe, duct and cable crossing the containment boundary is sleeved, potted and sealed with a tested system, because the envelope is only as good as its worst grommet. Ductwork crossing the boundary carries bubble-tight or gastight dampers that hold the seal when the HVAC stops or when the room is fumigated — CL3 rooms must be capable of being sealed and gassed (historically formaldehyde, now typically vapourised hydrogen peroxide) for decontamination, so the envelope must hold the fumigant in as well as the pathogens. Microbiological safety cabinets — Class II cabinets to BS EN 12469 at CL2/CL3, Class III glove boxes for the highest-risk work — are the local containment within the room, and their installation, siting away from doors and traffic, and in-situ testing are as controlled as the room's.
What leaves the room is engineered as carefully as what happens in it. Drainage from CL3 areas goes to effluent treatment — thermal or chemical decontamination plant ("kill tanks") that holds and sterilises liquid waste before discharge — with the drains themselves sealed, accessible for sampling and tested. Then the proof: containment facilities are not handed over on a builder's word but on witnessed testing — room envelope leak testing by pressure decay or equivalent methods, airflow direction smoke tests at every door and penetration, HEPA integrity scans, damper leak tests, autoclave and effluent plant validation — assembled into a verification file that the client's biosafety officer and, where required, the regulator will interrogate before the facility is licensed to work.
When and why is Containment Facilities (BSL Construction) used?
Containment construction applies to diagnostic and research laboratories handling Risk Group 2 and 3 biological agents, high-containment animal facilities, vaccine and biologics production, and reference laboratories. The specialist phase sits between a weathertight shell and licensing: the building must be complete enough to seal before it can be tested, and it cannot operate until it is tested and certified. It matters because the failure modes are invisible — a leaking envelope or a failed damper looks exactly like a sound one until the pressure test — and the consequences sit outside the site fence. Unlike almost any other fit-out, significant elements cannot be value-engineered late: the seals, dampers, effluent plant and interlocks are the licence conditions, and discovering at commissioning that the envelope leaks 5% per minute means stripping sealed finishes to find it. The testing regime is therefore designed into the build sequence, with witness and hold points agreed before work starts.
Types of Containment Facilities (BSL Construction)
CL2/BSL-2 laboratories
The workhorse diagnostic and research containment: controlled access, safety cabinets for manipulative work, validated autoclaves, sealed cleanable finishes, but generally no requirement for a leak-tested envelope or negative-pressure suite. Built well, it is a robust lab; built casually, it fails its first audit.
CL3/BSL-3 suites
Full envelope containment: sealed and leak-tested room construction, maintained negative pressure with inward airflow, HEPA-filtered extract, interlocked access lobbies, sealed penetrations, fumigation capability and treated effluent. The construction and verification regime is closer to a pressure vessel than a fit-out.
High-containment animal facilities
CL3 animal rooms and SAPO facilities add caging systems, corridor and airlock zoning, gaseous decontamination of whole rooms, and effluent and carcass handling to the human-lab requirements — with welfare, security and escape-proofing layered on the containment brief.
Containment production (GMP biocontainment)
Vaccine and biologics facilities combining containment with cleanroom discipline: negative to the outside world for biosafety, positive within the process train for product protection — pressure cascades engineered in both directions and the hardest air-balancing problem in the sector.
Containment Facilities (BSL Construction): step by step
Step 1: Fix the containment boundary and sealing philosophy
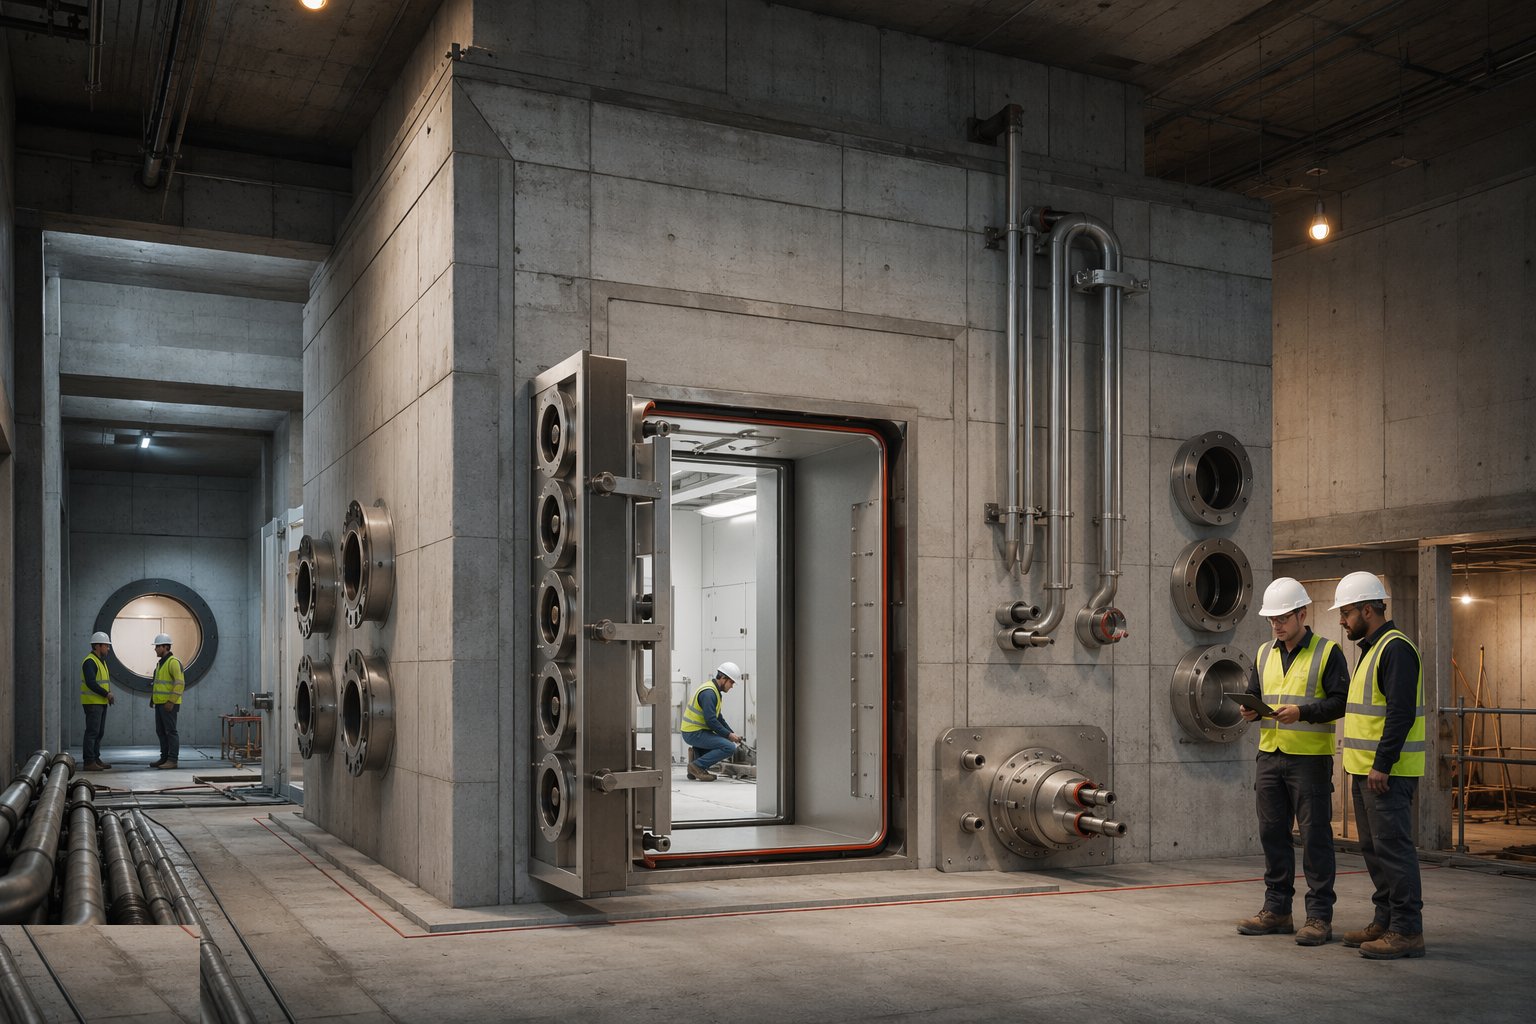
Everything flows from one line on the drawings: the containment boundary. Every element crossing it — duct, pipe, cable tray, drain, door — is listed on a penetration schedule with its sealing method and its test, and the sealing philosophy is agreed before construction: sleeve systems, potting compounds, welded stainless transit boxes, so that no operative on site is ever inventing a seal. Materials inside the boundary are chosen for cleanability and decontamination resistance — seamless floors, coved junctions, sealed ceilings — because the room will be gassed and washed down for its whole life.
Step 2: Construct the sealed envelope
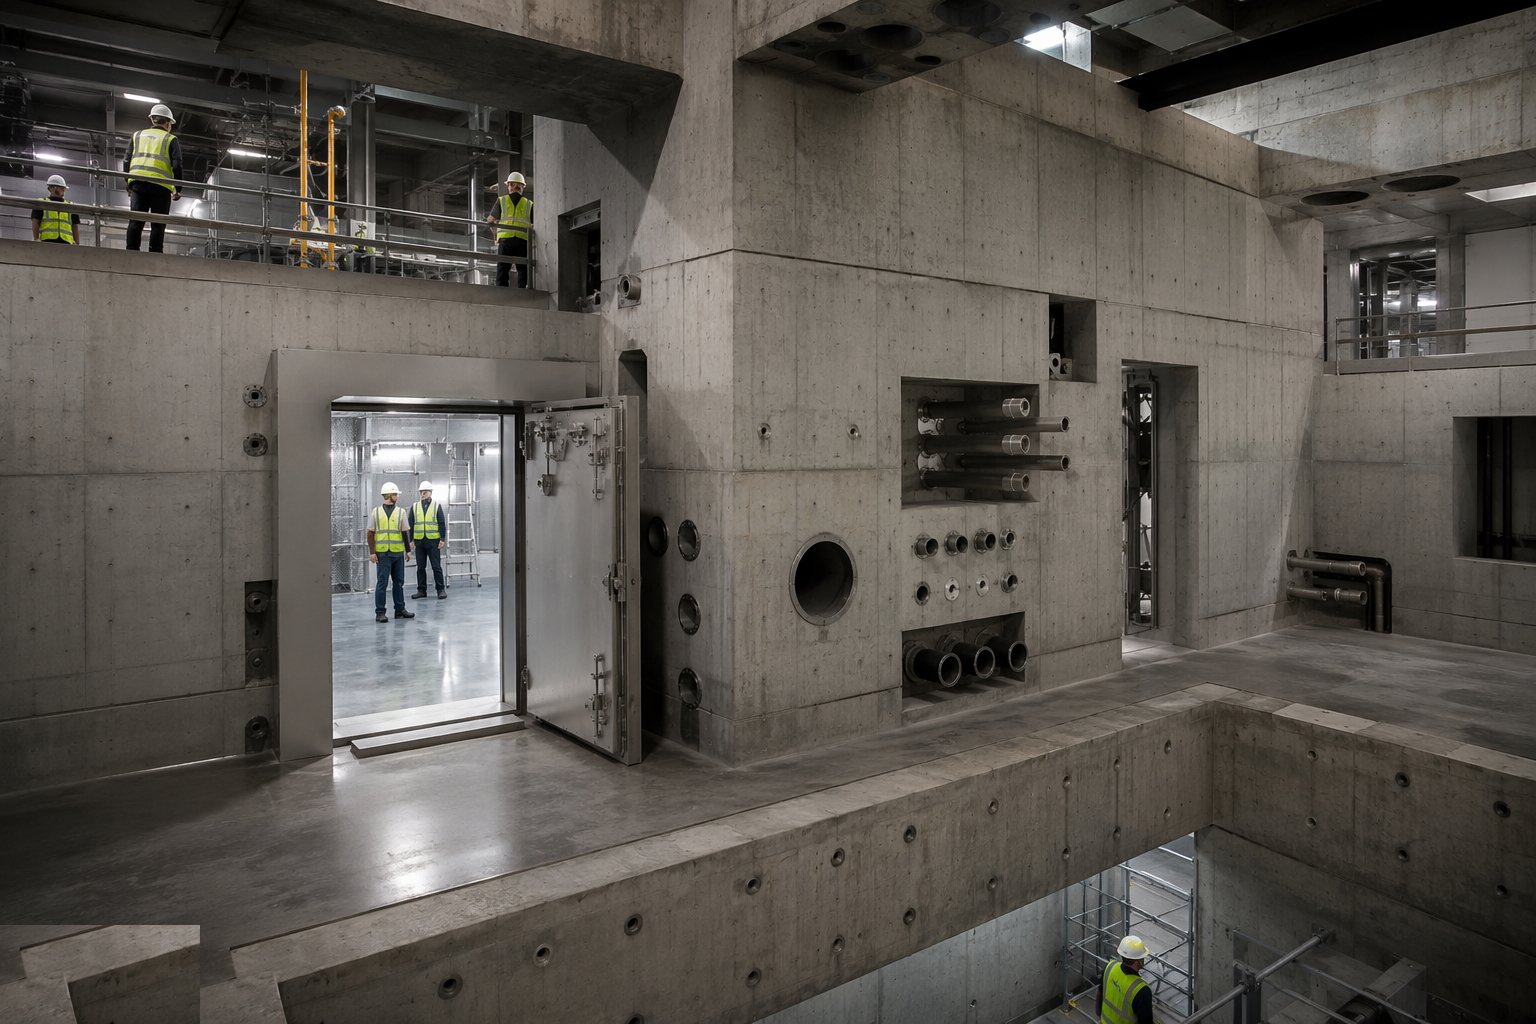
The envelope is built to hold pressure, not just divide space: partitions sealed continuously at head, base and abutments; ceilings gasketed and clipped down; doors with drop seals and interlocks; glazing set in sealed frames. The test regime starts during construction, not after — sections of envelope are smoke-pencilled and leak-hunted as they close, while access is still easy. An envelope leak found behind finished services after the room is complete costs ten times what it cost to find it now.
Step 3: Install HVAC, dampers and the pressure regime
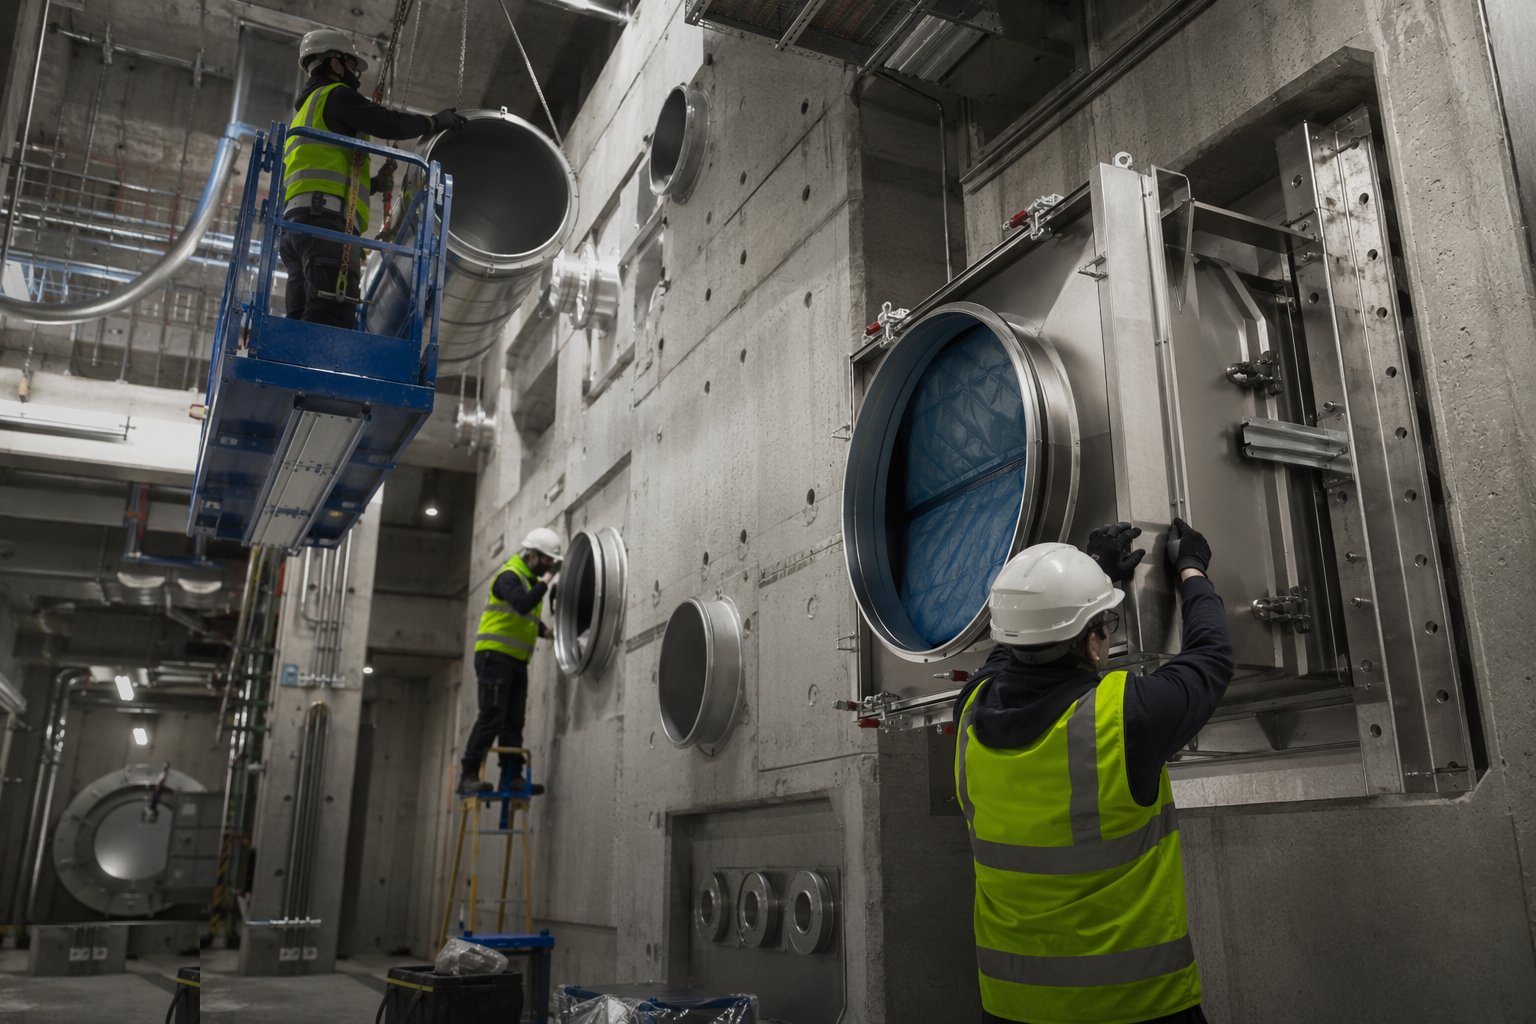
Supply and extract systems go in with their boundary hardware: gastight or bubble-tight dampers at the containment line, HEPA housings on extract (bag-in/bag-out where the risk demands), pressure-independent control valves, and the controls logic that fails safe — fans trip, dampers close, the room goes more negative, never positive. Ductwork within the boundary is itself leak-tested: extract ducts carrying potentially contaminated air to the HEPAs are welded or sealed to a defined leakage class, not standard DW/144 low-pressure practice.
Step 4: Seal and certify every penetration
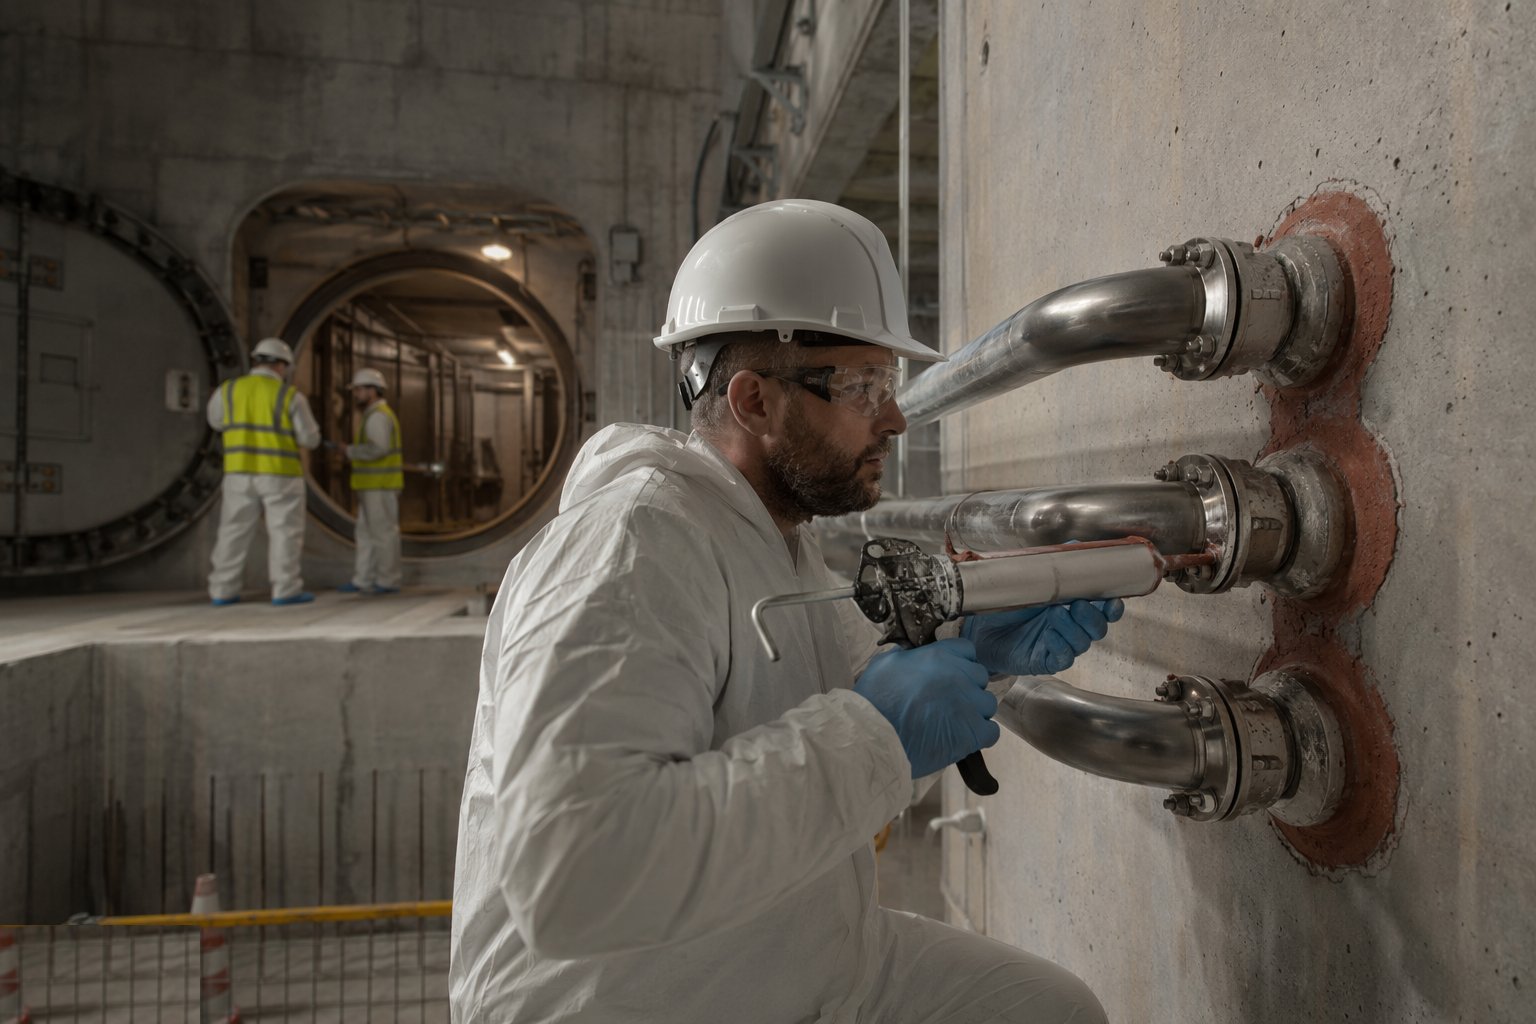
The penetration schedule becomes a sign-off document: each crossing installed per its detail, sealed, labelled and individually inspected, with photographs and a record per penetration. This is painstaking, unglamorous work — hundreds of seals, each a potential licence condition — and it is audited like welding on a pipeline, because that is effectively what it is.
Step 5: Install cabinets, autoclaves and effluent treatment
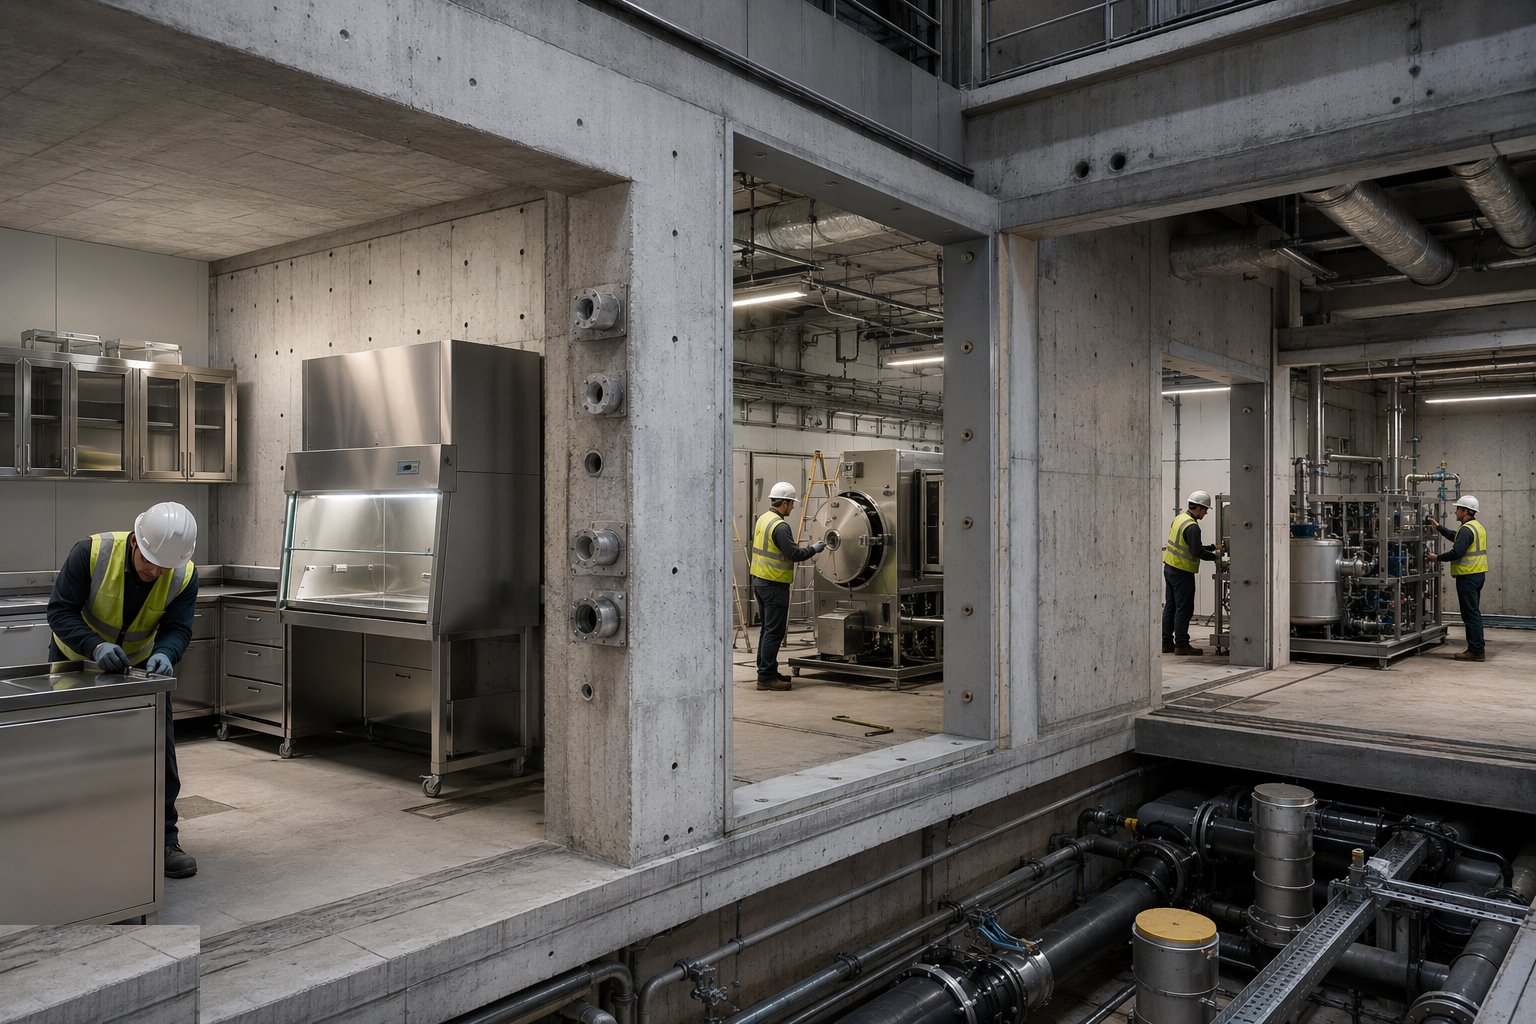
Microbiological safety cabinets are sited per the airflow design — away from doors, traffic and supply grilles — connected and commissioned, with in-situ testing to BS EN 12469 to follow. Double-door pass-through autoclaves are set into the boundary wall with their seals and interlocks; the effluent treatment plant — kill tanks, heat or chemical dosing systems — is installed, its drains pressure-tested, its instrumentation calibrated, and its holding capacity and treatment cycle verified against the design basis before any live connection.
Step 6: Witness testing, certification and handover
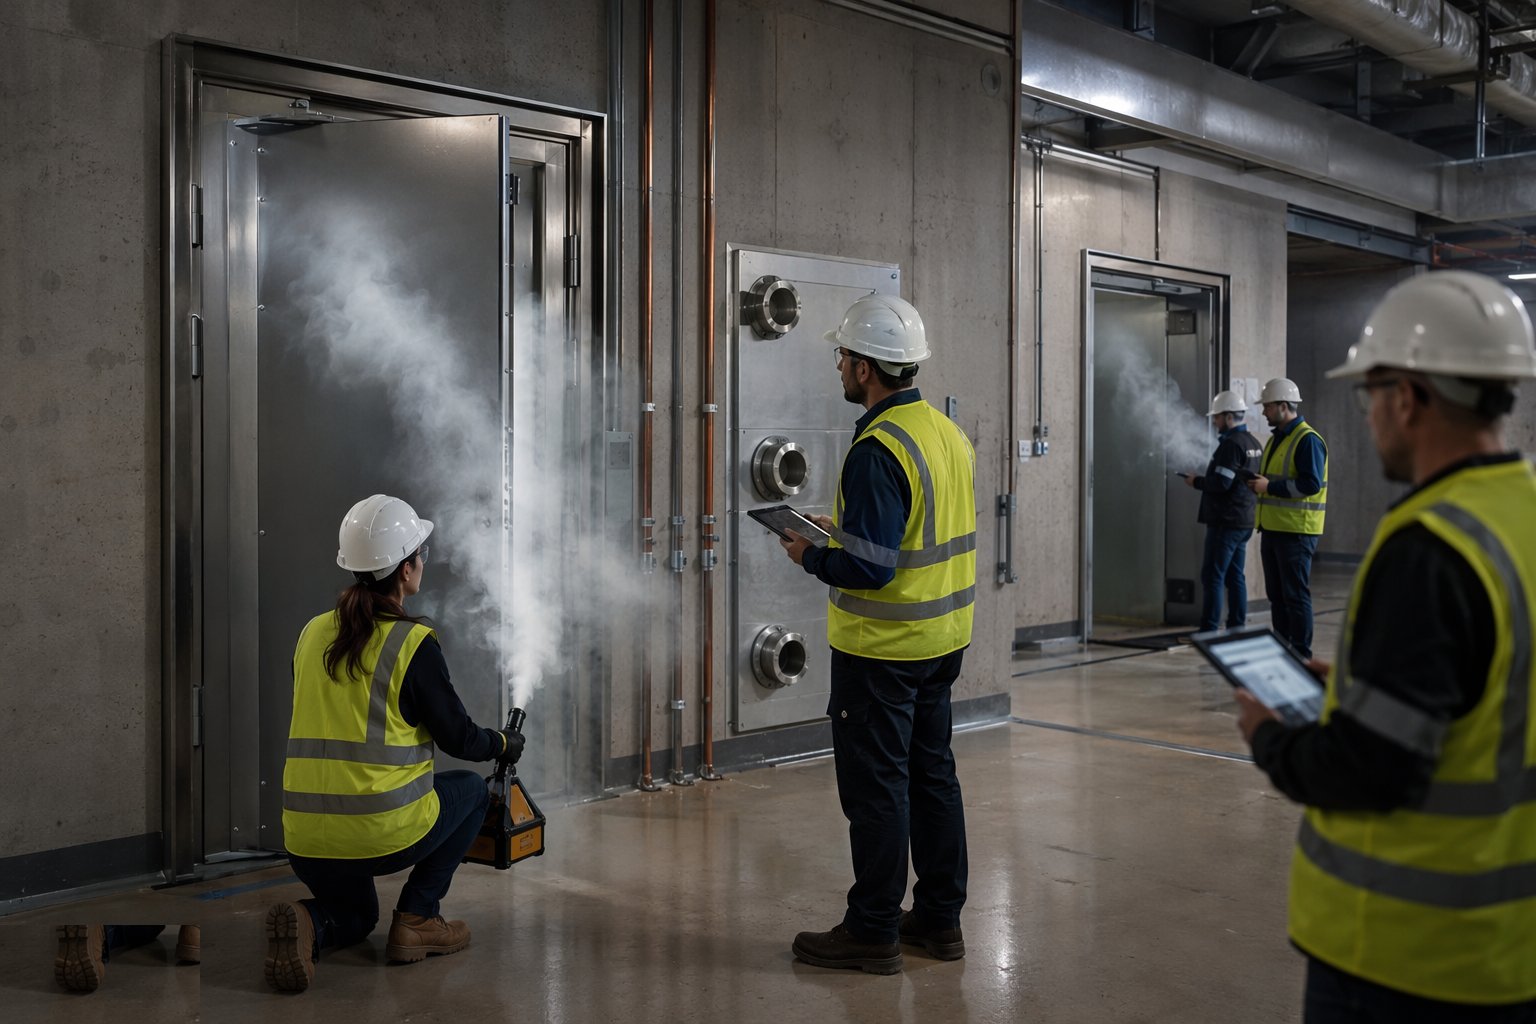
The verification programme runs with client and biosafety witnesses at the agreed hold points: room envelope leak test by pressure decay against the agreed acceptance criterion, smoke tests proving inward airflow at every door and opening, HEPA integrity scans, damper leak tests, alarm and failure-mode demonstrations — power failure, fan failure, door-open scenarios. Autoclave and effluent plant are validated with biological and chemical indicators as specified. Every result lands in the verification file that supports the facility's licensing, and requalification intervals are set at handover: containment is certified, not assumed, for the life of the building.
Plant and equipment
- Bubble-tight and gastight boundary dampers with position indication and fail-safe actuation
- HEPA extract housings, bag-in/bag-out where specified, with in-situ scan test ports
- Microbiological safety cabinets (Class II to BS EN 12469; Class III for highest-risk work)
- Double-door pass-through autoclaves with boundary seals and interlocks
- Effluent decontamination plant — thermal or chemical kill tanks with sampling points
- Penetration sealing systems: sleeves, transit boxes, potting compounds
- Pressure decay test rigs, smoke generators, calibrated micromanometers and aerosol photometers
- Vapourised hydrogen peroxide decontamination equipment and envelope sealing kit
Quality control checks
- Penetration schedule with individual seal records, photographs and sign-off per crossing
- Room envelope pressure decay (or equivalent) leak test certificates against agreed criteria
- Airflow direction smoke test records at every boundary opening, witnessed
- HEPA filter integrity scans and duct leakage test certificates within the boundary
- Autoclave and effluent plant validation records — cycles, indicators, instrumentation calibration
- Failure-mode demonstrations: power, fan and damper failure responses logged and witnessed
Safety considerations
- Pressure testing of envelopes and ducts: overpressure limits, exclusion and controlled venting
- Fumigation and decontamination trials: gas monitoring, sealing verification and clearance certification before re-entry
- Work in sealed, low-ventilation spaces during fit-out: atmosphere monitoring and escape provisions
- Live-systems commissioning with interlocks disabled under controlled permit only
- Autoclave and kill-tank installation: pressure equipment regs, lifting plans for heavy vessels
- COSHH control of sealants, potting compounds and decontamination agents in enclosed rooms
Common defects
- Envelope failing pressure decay from unsealed penetrations nobody recorded — the leak hunt through finished rooms
- Dampers that do not hold their rating in situ despite factory certificates — installation distortion and poor seating
- Doors leaking at thresholds and drop seals, defeating the cascade one doorway at a time
- Pressure regime unstable: rooms drifting positive on door opening or fan modulation
- Effluent drains with untested joints or dead legs, failing validation or harbouring contamination
- Safety cabinets sited against the airflow design — cross-draughts stripping their containment at the sash
Best suited for
- Diagnostic and research laboratories at CL2/CL3 (BSL-2/3)
- High-containment animal facilities under SAPO
- Vaccine and biologics production with GMP biocontainment
- Reference and public-health laboratories requiring licensed containment
How long does Containment Facilities (BSL Construction) take?
Typical duration: A CL3 suite typically runs 9–15 months from weathertight shell to certification, with the witness testing and verification programme alone occupying 8–12 weeks — and it cannot be compressed past the leak-hunting it reveals..