Laboratory Construction
A laboratory is a services installation with a building wrapped round it — benching, spines, gases, pure water and extract fitted into a shell that has to stay quiet, still and clean for decades.
Last updated 2026-07-28 by the BuildPedia Editorial Team.
What is Laboratory Construction?
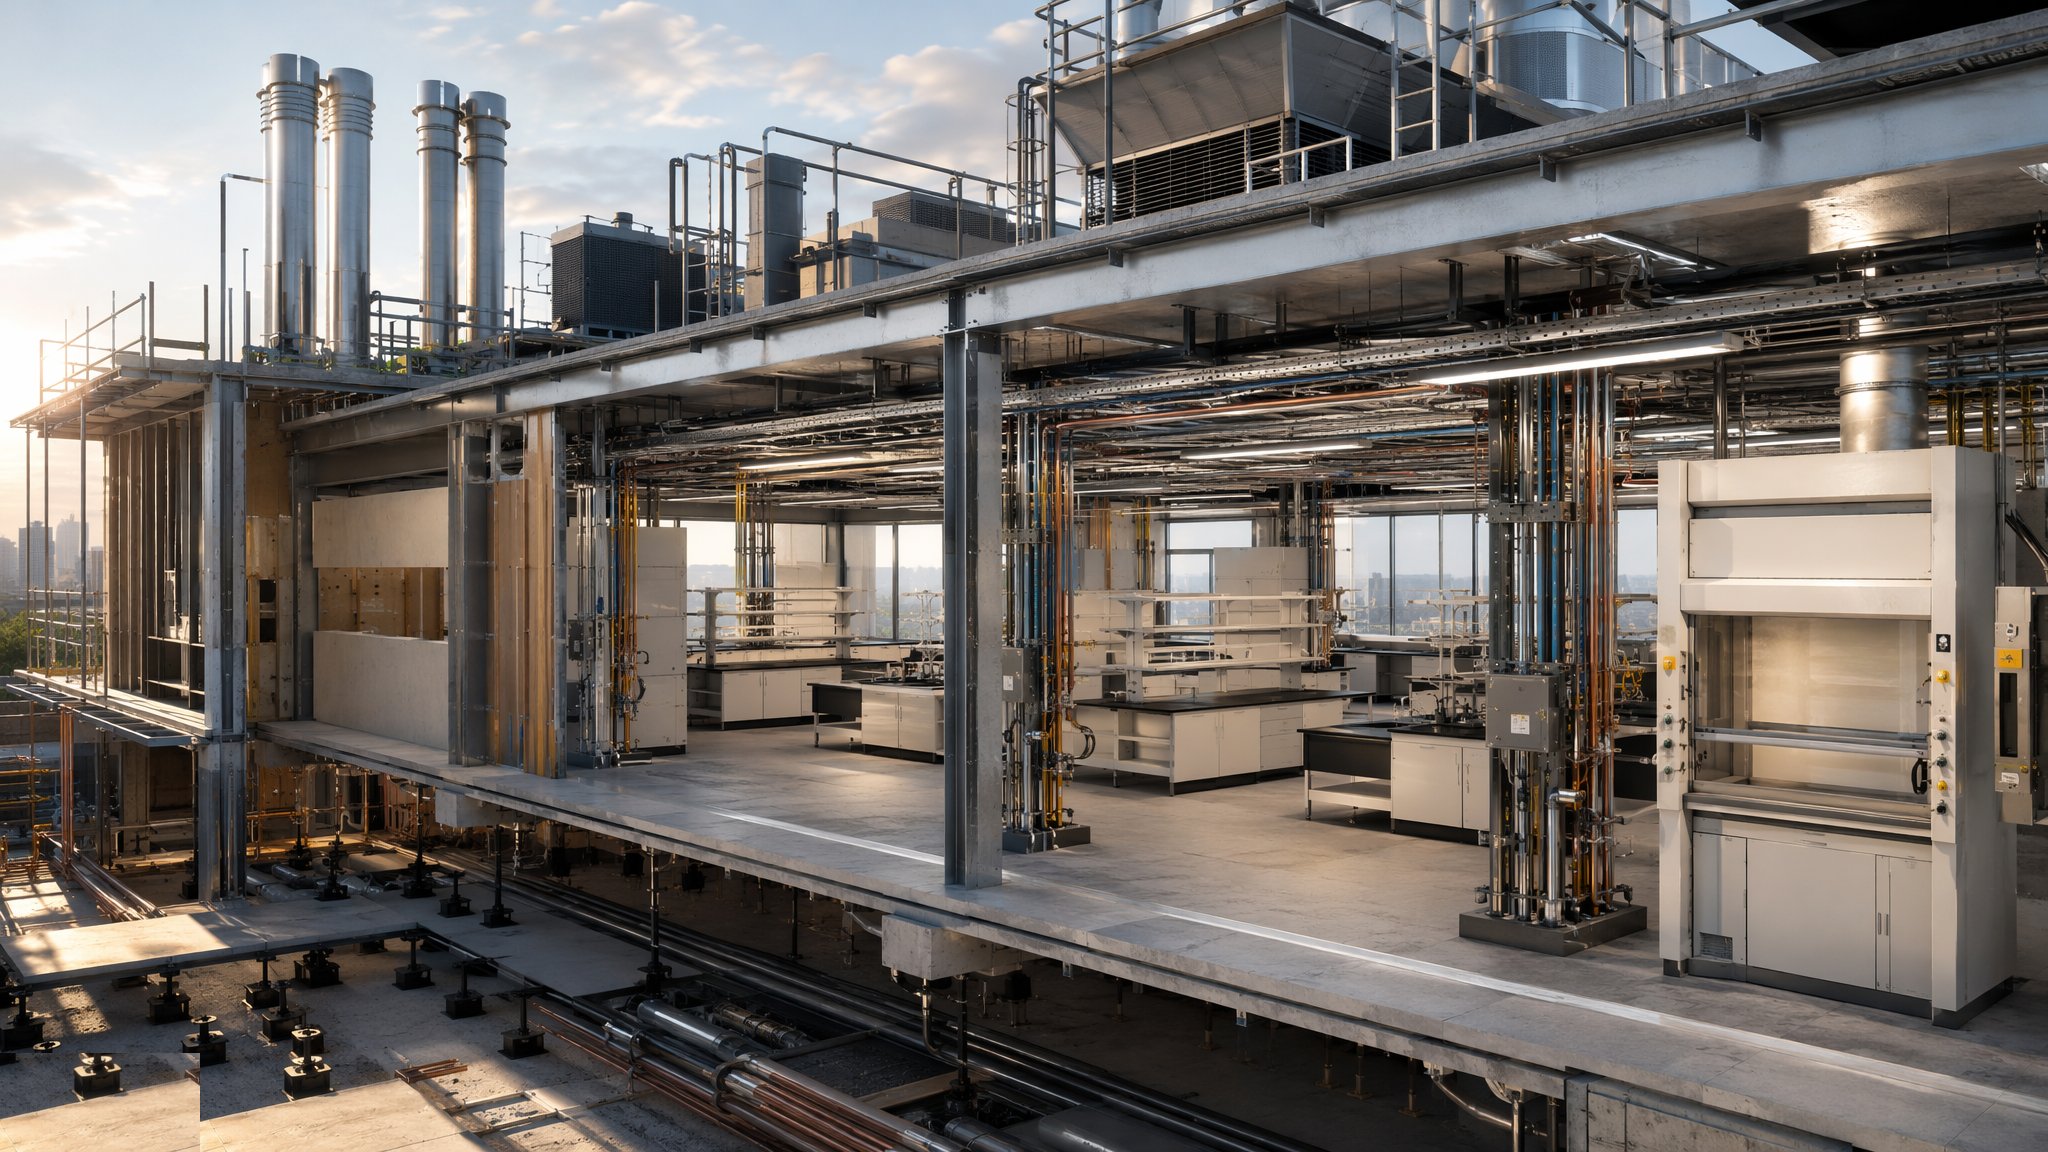
Ask a lab contractor where the money goes and the answer is always the same: services. On a general office, MEP might be a quarter of the construction cost; on a wet laboratory it routinely runs to 40–50%, and the building shell exists mainly to keep the weather off the pipework. The heart of the fit-out is the benching system — fixed or reconfigurable casework carrying sinks, taps, power, data, and in chemistry labs the fume cupboards — fed from services spines: vertical risers and horizontal distribution galleries, bollards, ceiling-mounted service wings or reagent shelves that deliver piped gases, purified water, drainage, power and data to the workface. The whole art of lab design is getting that density of services to the bench while keeping the floor flexible enough for the science to change its mind every five years.
The services themselves are what separate a lab from any other fit-out. Piped laboratory gases — nitrogen, compressed air, carbon dioxide, argon, sometimes hydrogen and specialty gases from cylinder manifolds or bulk stores — run in cleaned and certified copper or stainless pipework to bench outlets. Purified water plant produces RO or deionised water to the grades in BS EN ISO 3696 and distributes it in ring mains with sanitisation cycles. Drainage is not ordinary plumbing: chemical-resistant systems in borosilicate glass, polypropylene or Vulcathene take laboratory waste to dilution or neutralisation tanks before it ever sees the public sewer, and the trade effluent consent from the water company governs what may go down the sink at all.
Then there is the invisible brief. Analytical instruments — electron microscopes, NMR spectrometers, mass specs, precision balances — impose vibration and electromagnetic criteria that ordinary buildings never meet. Vibration criteria are specified on the VC curves (VC-A down to VC-G for the most sensitive tools), and meeting them means stiff, low-slung structure, isolated plant, inertia bases and sometimes placing the sensitive rooms on a ground-bearing slab divorced from the frame. NMR magnets need controlled zones for their stray field; TEMs need the room's AC magnetic field held to fractions of a microtesla, which can mean degaussing, shielded cable routing and banning the lift motor next door. None of this is visible on a floor plan, and all of it is measured at handover.
When and why is Laboratory Construction used?
Laboratory construction applies whenever the end use involves repeatable scientific work: university and teaching labs, pharmaceutical R&D and QC suites, hospital pathology, forensic facilities, industrial test houses. The specialist build starts once the frame and envelope are weathertight and runs to the end of commissioning, because almost everything that makes it a lab is inside the envelope. It earns its keep because retrofitting lab services into a general-purpose building is brutally expensive — the floor-to-floor heights, riser sizes, structural stiffness and extract routes have to be in the shell design from day one, and the client who decides to "add a few fume cupboards later" discovers the extract fans, riser space and drainage were never there. The vibration and electromagnetic criteria are equally unforgiving: you cannot stiffen a bouncy floor after the microscope is on it, so the decision to build to VC-C rather than office tolerance is a concrete-and-steel decision made at frame stage, not a fit-out decision.
Types of Laboratory Construction
Wet chemistry laboratories
The heaviest services load: benching with sinks and cup-sinks, fume cupboards every few metres, piped gases, chemical-resistant drainage and high air-change rates. Structural floor loadings, extract riser space and drainage falls all grow — the benchmark against which every other lab type is judged.
Dry and instrument laboratories
Analytical suites, physics and electronics labs — no sinks to speak of, but the tightest environmental criteria: temperature stability to ±1 °C or better, vibration to the VC curves, electromagnetic shielding, clean power with isolated earths, and often controlled humidity. Light on plumbing, brutal on structure and controls.
Teaching laboratories
Schools and university undergraduate labs: robust fixed or semi-fixed benching, high occupancy, demonstrator sightlines, services designed to be switched off at the teacher's panel, and finishes that survive thirty teenagers a day. Simpler services, but the durability and safety brief is harder, not easier.
Write-up and flex labs
The modern hybrid: reconfigurable benching on ceiling-mounted service wings or overhead carriers, so the room swings between dry write-up space and light wet work without a refit. Pays for itself on research buildings where grants, teams and techniques churn every few years.
Laboratory Construction: step by step
Step 1: Freeze the lab planning and services schedule
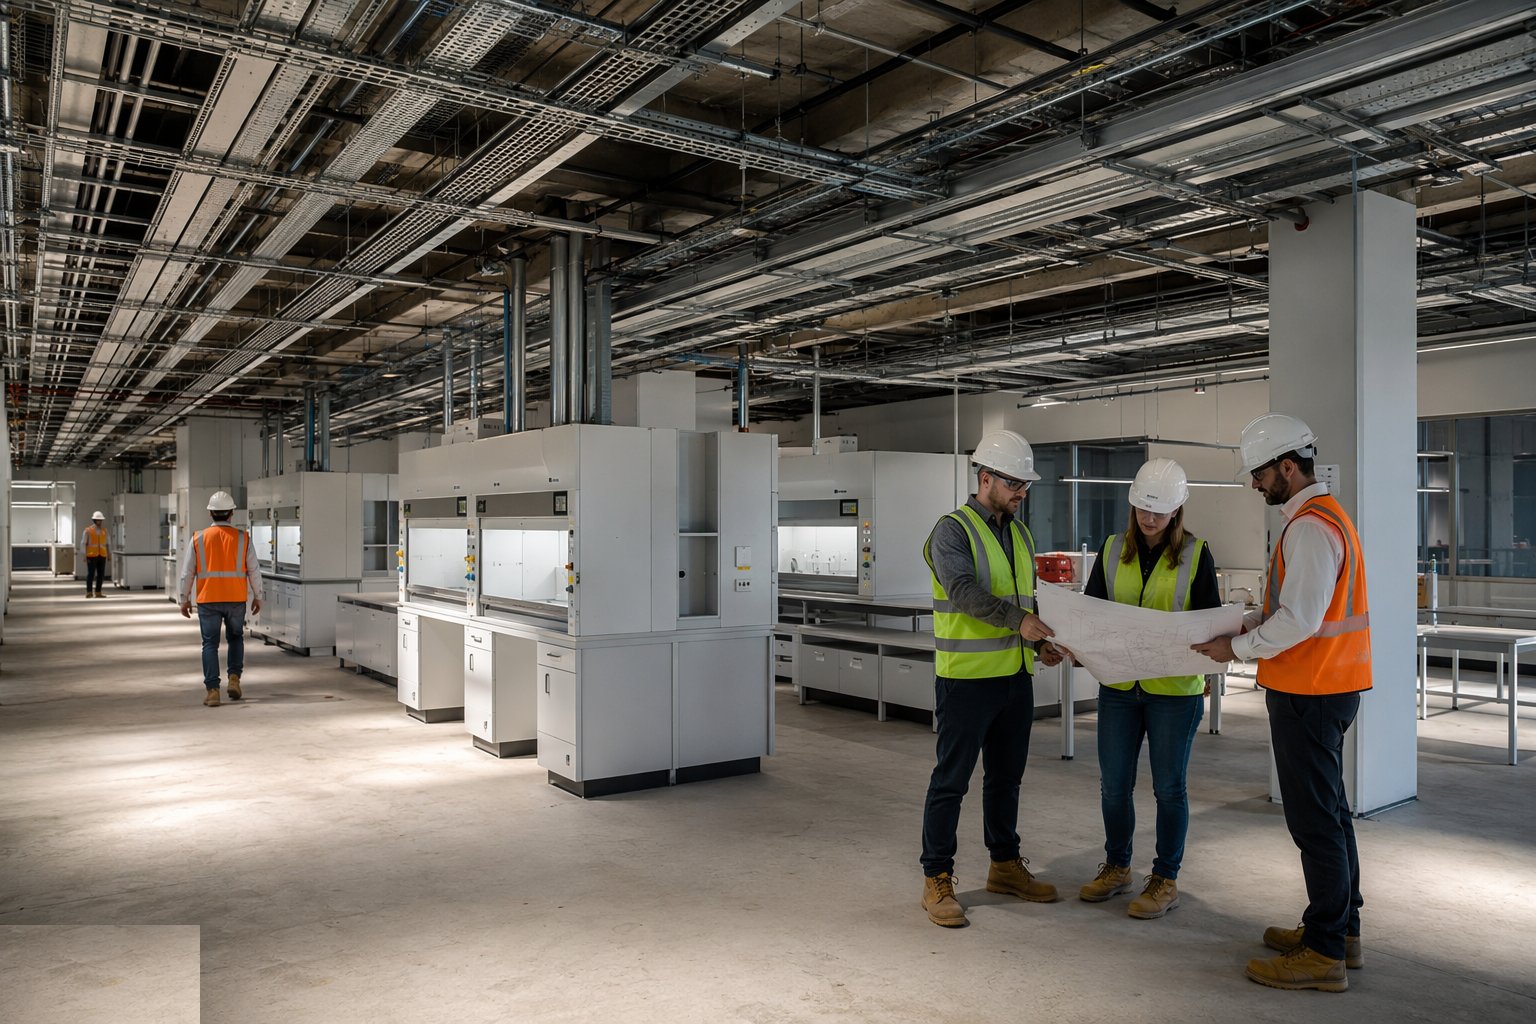
Before a single pipe is run, the bench layouts, fume cupboard schedule, gas and water points per bench, drainage points and equipment list are frozen room by room — a lab has no tolerance for "we'll work it out on site" because every outlet is a penetration in a bench that gets made in a factory. The services density is rehearsed in 3D at this stage: risers sized for the full fume cupboard count, ceiling voids checked so ductwork, gas pipework, cable trays and drainage falls actually coexist, and the structural frame confirmed against the vibration criteria for the rooms that carry instruments.
Step 2: Install risers, spines and first-fix distribution
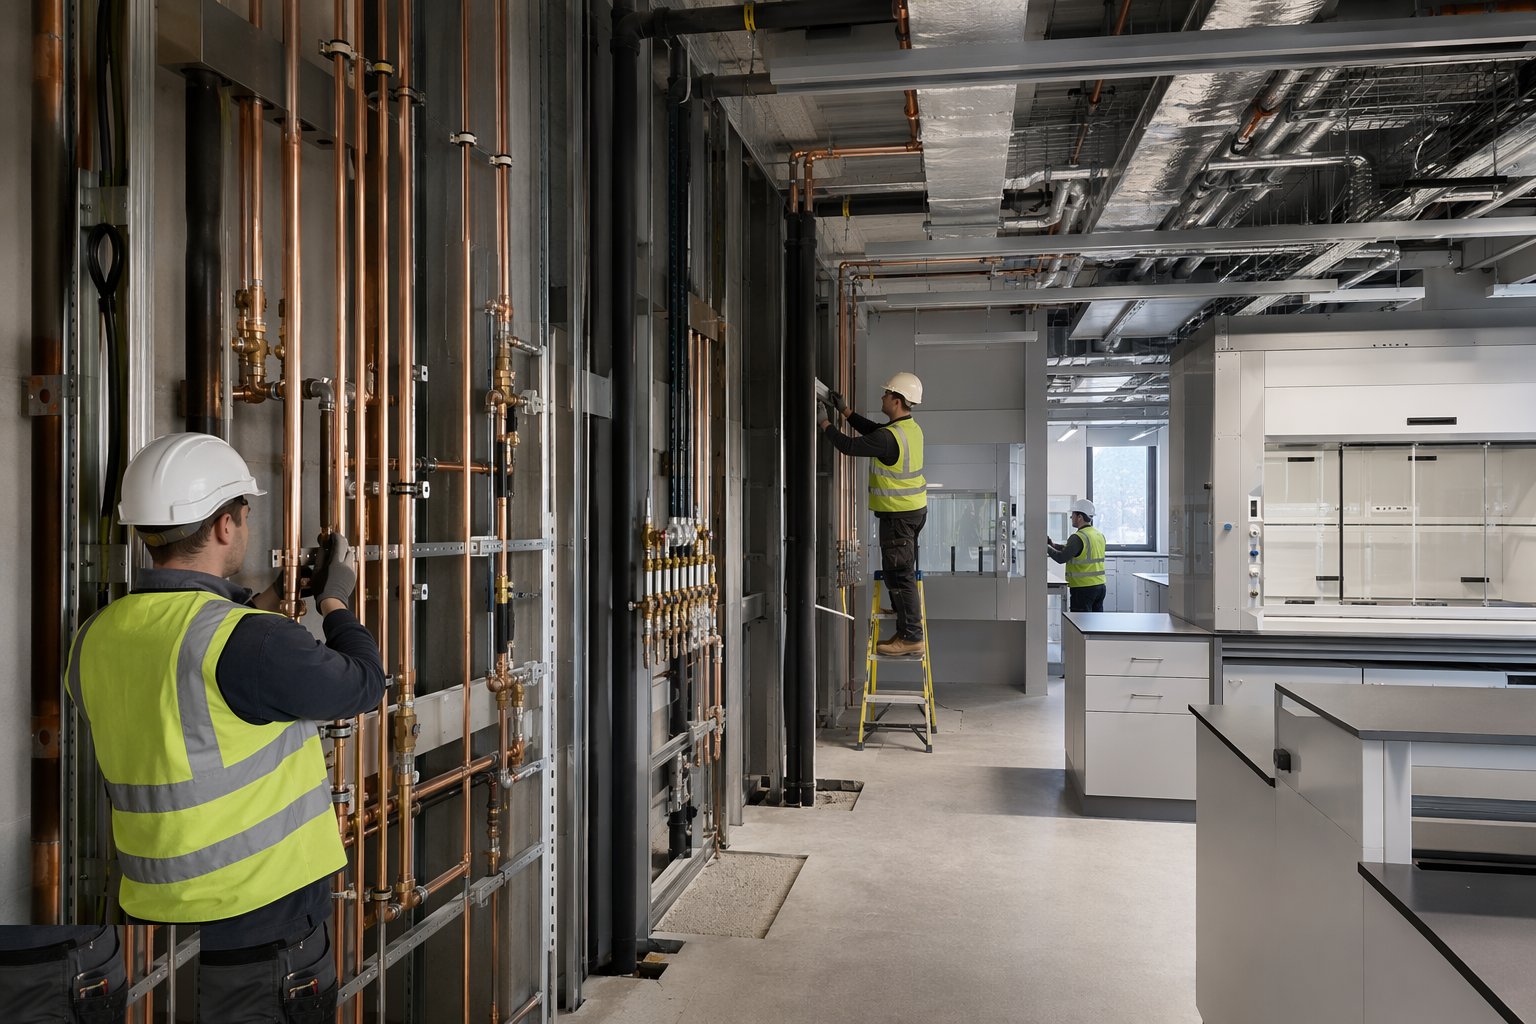
The vertical arteries go in first: extract risers, gas and water risers, drainage stacks, then the horizontal distribution at each floor — mains gas pipework in cleaned copper or stainless, purified water ring mains, the big low-velocity supply ducts and the extract ducts climbing to the roof fans. Lab drainage is run as its own system in chemical-resistant pipework with correct falls to the neutralisation or dilution tank, never tied into the domestic soil system. Every run is pressure- or flow-tested before it is buried in a void, because opening a finished lab ceiling to find a leaking solvent waste is nobody's idea of a good week.
Step 3: Build the environmental shell
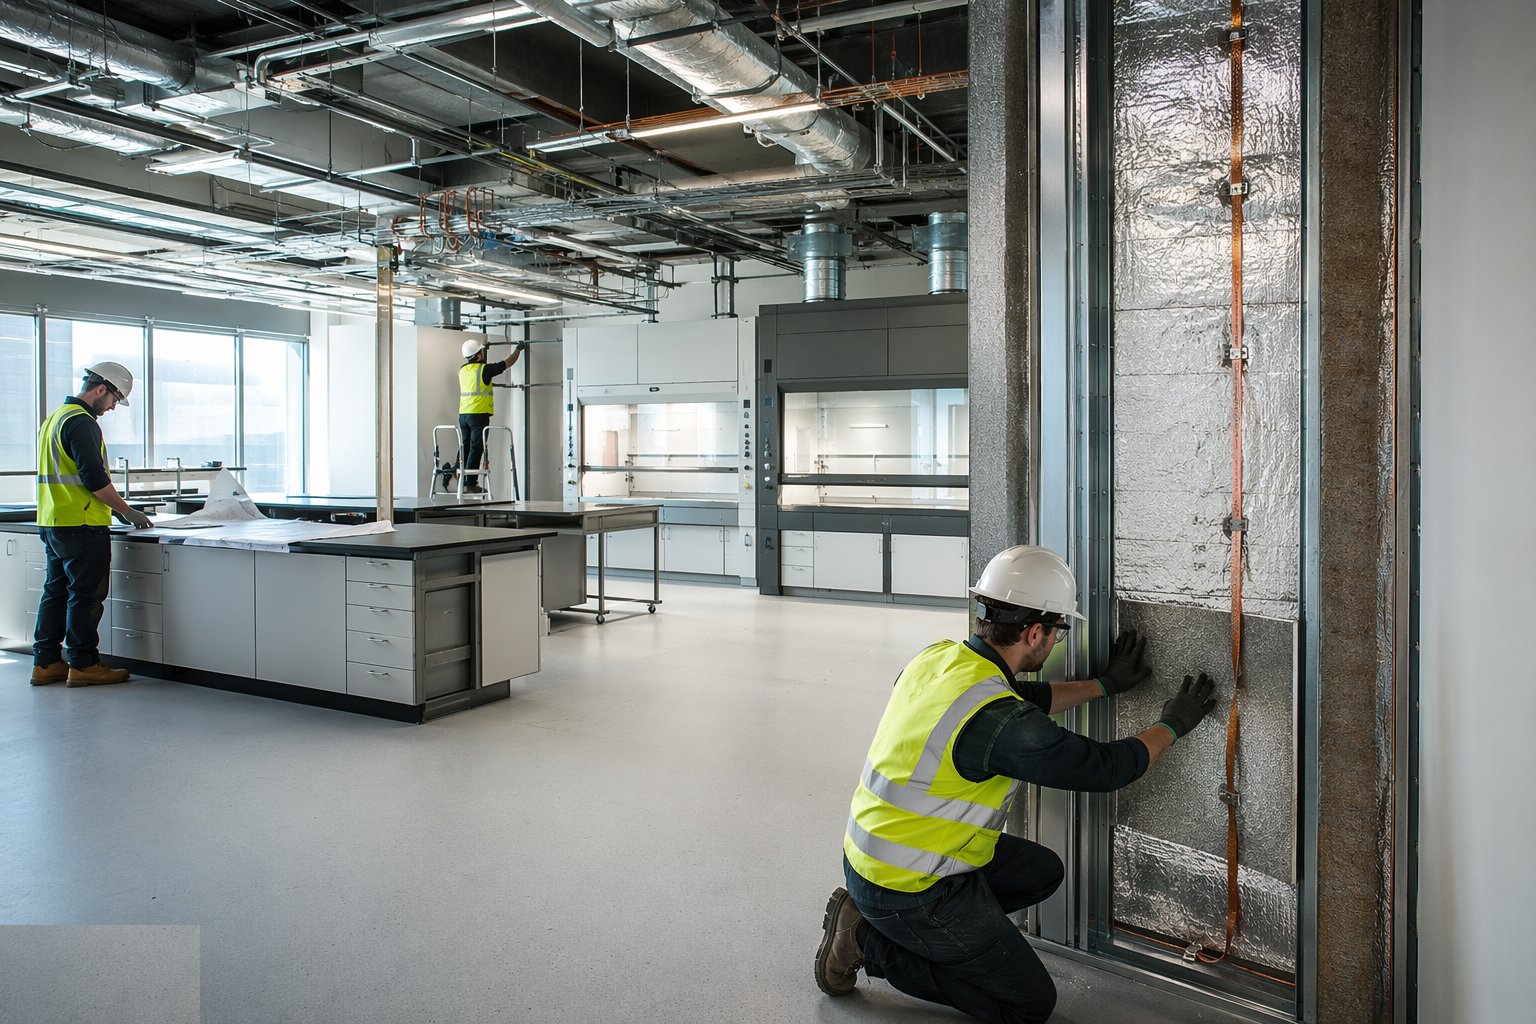
Instrument rooms and controlled areas get their envelope next: partitions and ceilings sealed to hold temperature and pressure, vapour control where humidity matters, and shielding where the electromagnetic brief demands it — earthed copper or steel liners, filtered power entries, bonded door frames. Floors for sensitive rooms are checked against the specified VC curve; where the frame cannot meet it, isolated ground-bearing slabs or inertia blocks on springs are cast, separated from the main structure so the footfall of the corridor never reaches the microscope.
Step 4: Install fume cupboards and the extract system
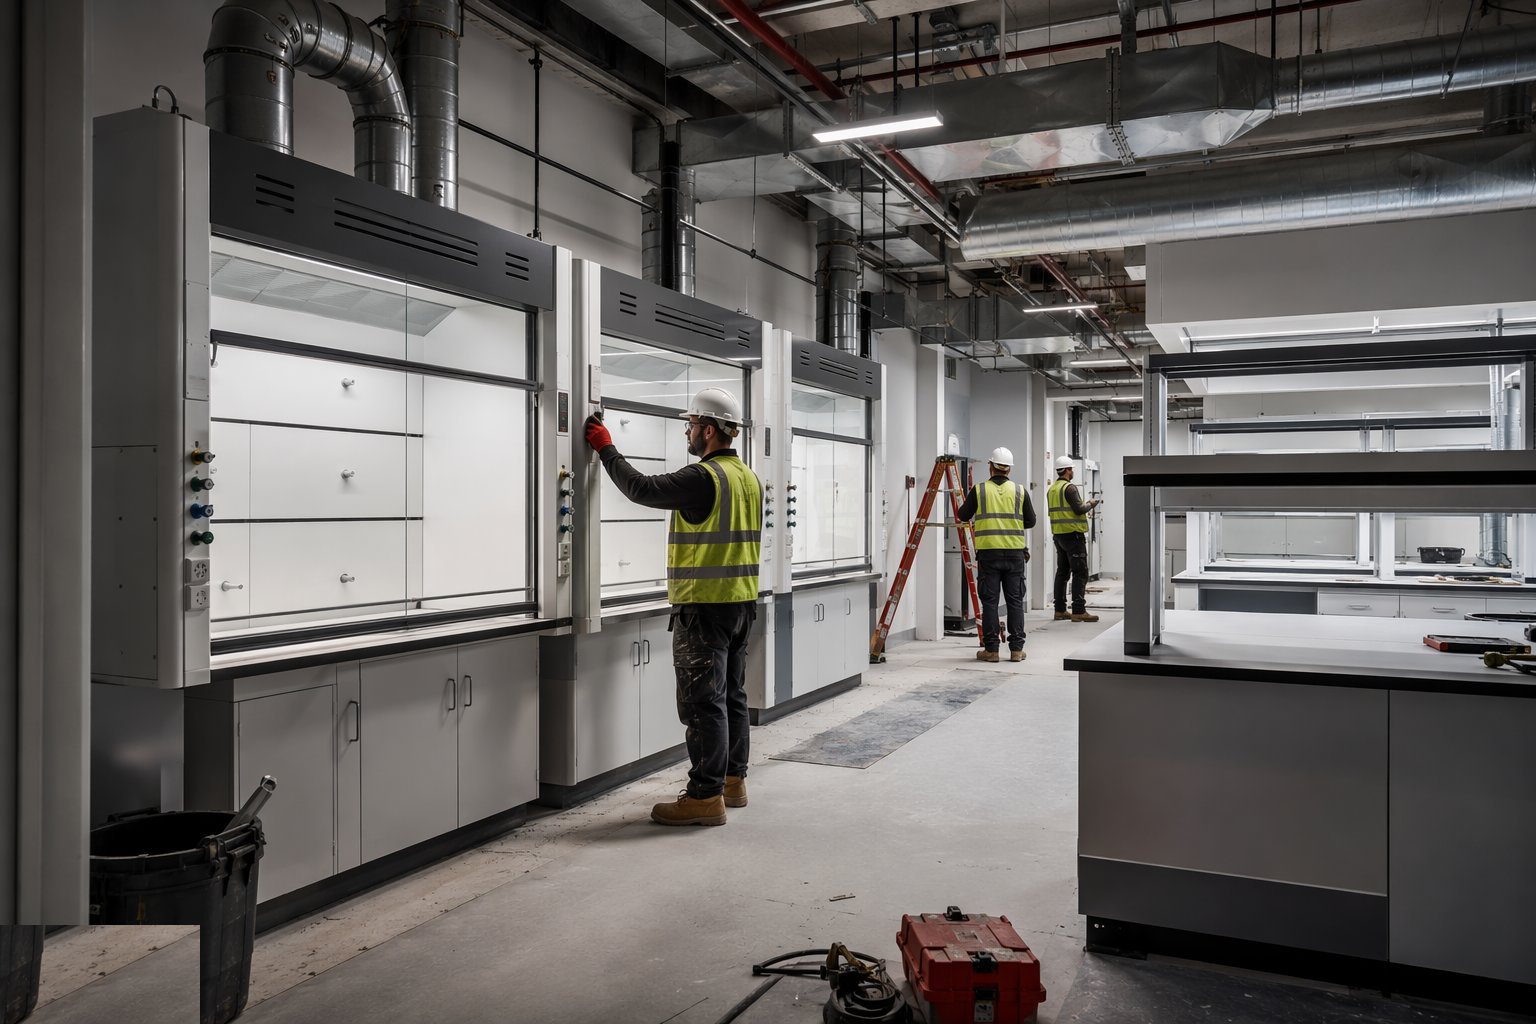
Fume cupboards are landed, plumbed, wired and connected to their dedicated extract ducts — each cupboard's fan set, duct velocities and discharge point checked against the design so effluent leaves the roof clear of intakes and neighbouring buildings. The room air balance is engineered here too: every cubic metre a fume cupboard extracts must be made up by tempered supply air, and the sash interlocks and airflow alarms are wired so the scientist knows the cupboard is protecting them. Containment and face-velocity testing to BS EN 14175 comes at commissioning, but the installation quality decides whether it passes first time.
Step 5: Install benching, services wings and second fix
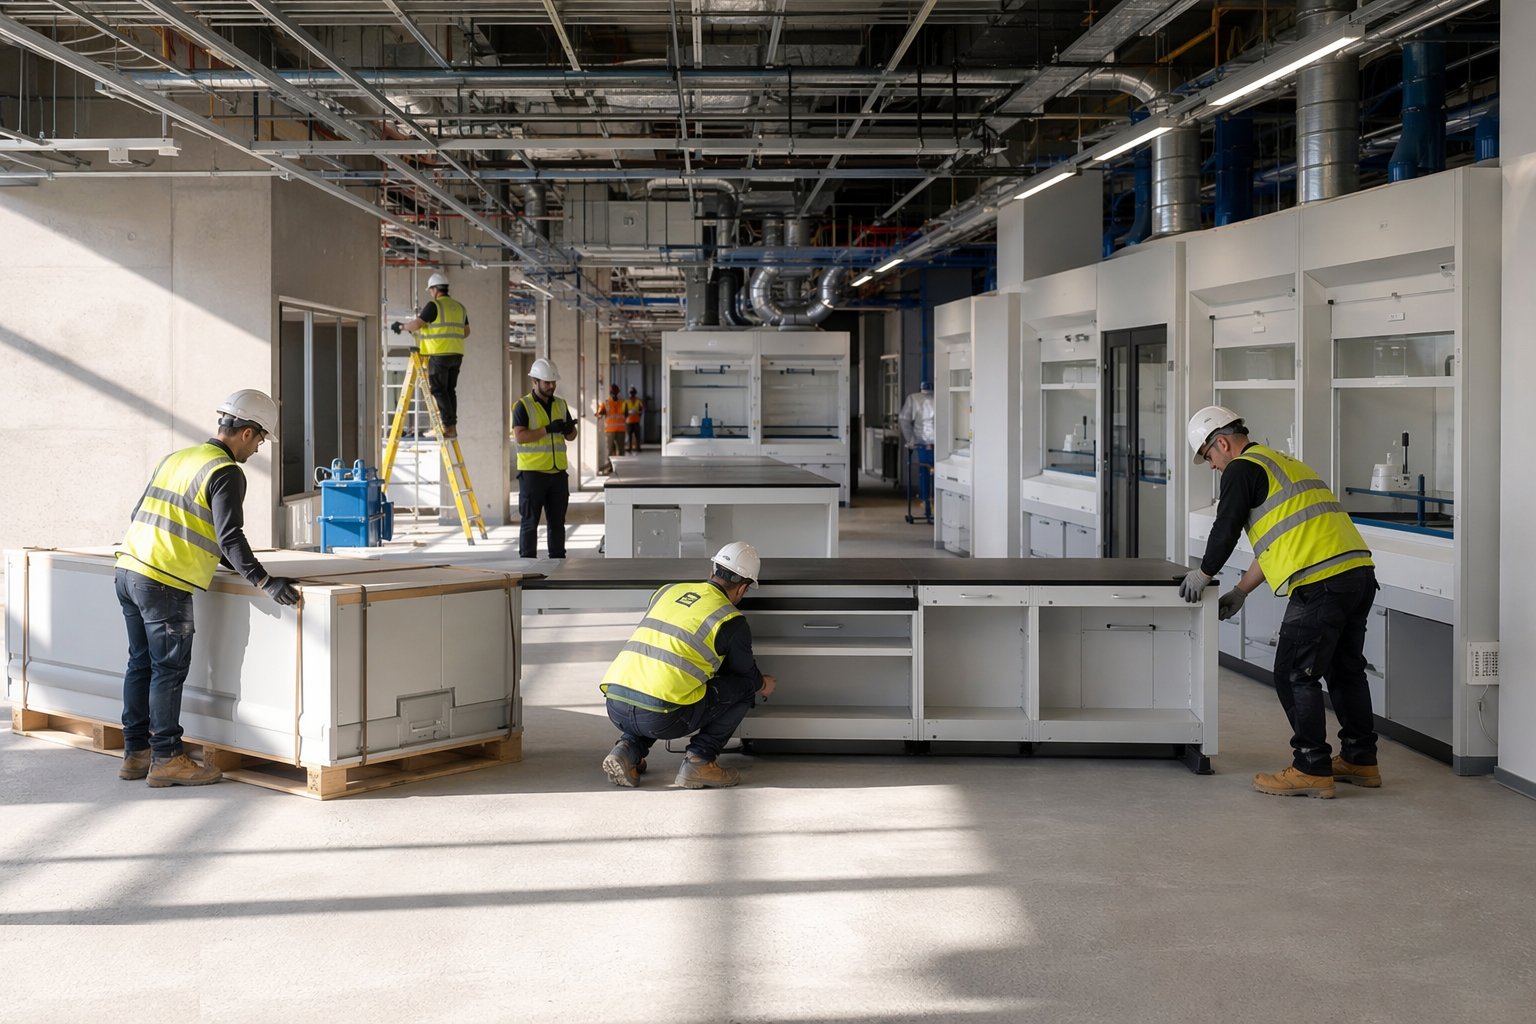
Benching arrives as factory-built casework — resin or stainless worktops, sink units, reagent shelving — and is fixed level to tight tolerance because cup-sinks and drainage bottle traps do not forgive a sloping bench. Ceiling service wings, bollards and spine drops are terminated to the bench: gas turrets, water taps, power and data all landed, and the point-by-point checks start — every outlet identified, labelled and tested against the schedule. Specialist pipework gets its certificates: gas lines pressure-tested and purged, pure water loops sanitised and sampled.
Step 6: Commission, balance and validate
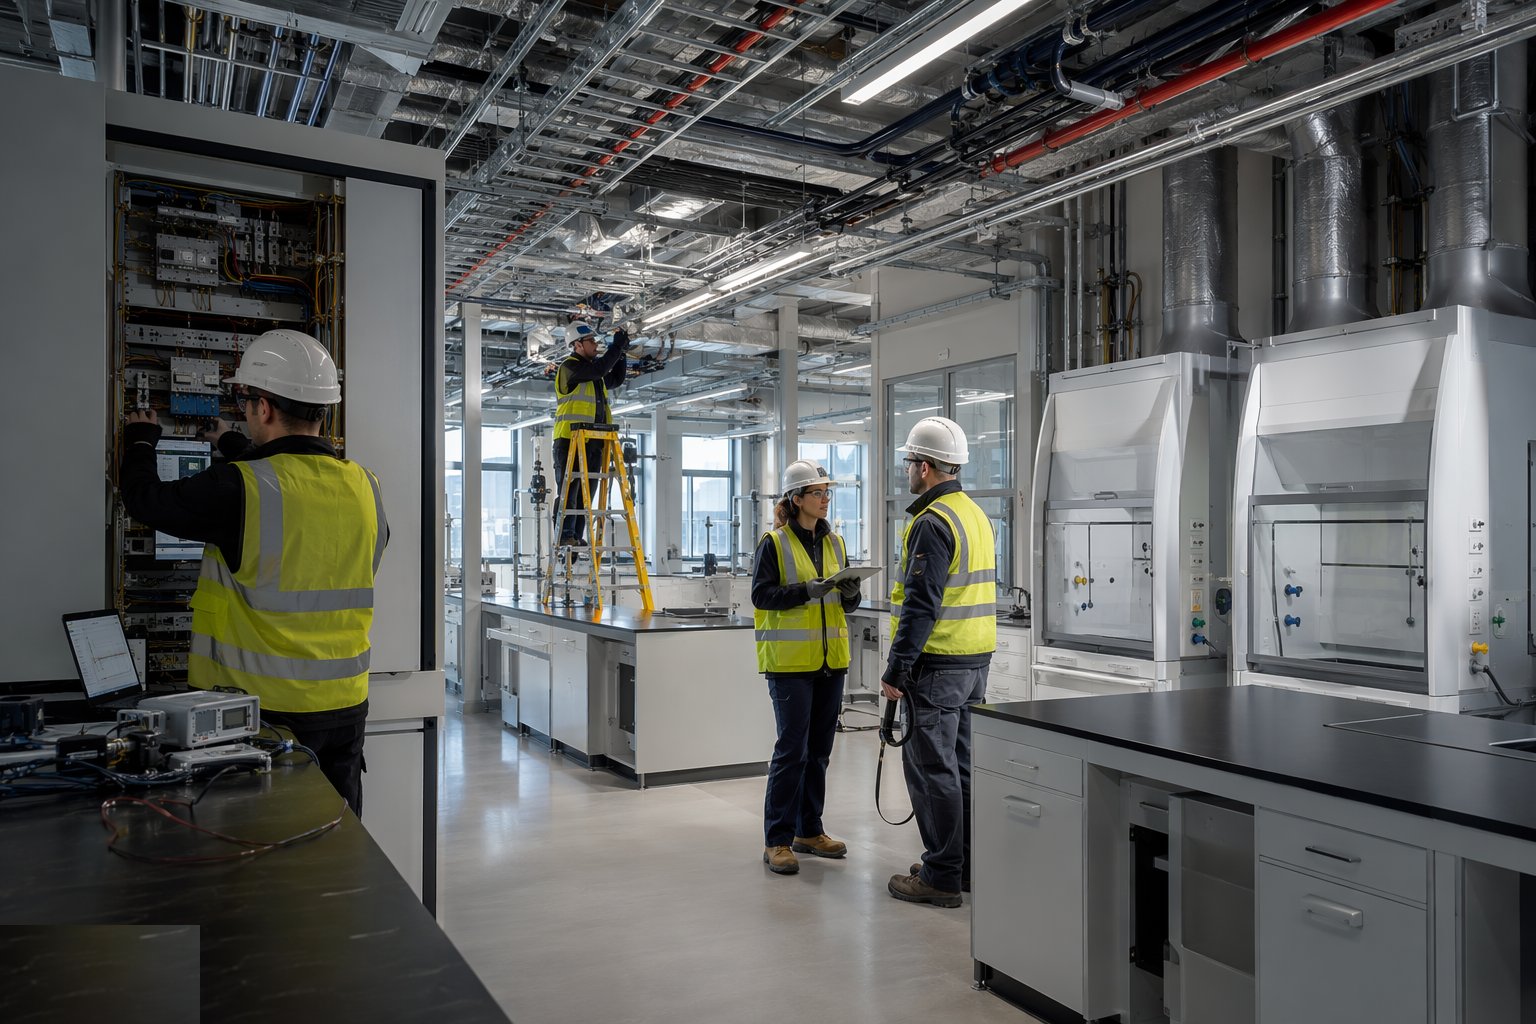
Commissioning is where a lab earns its certificate: air balancing across every room and fume cupboard, face velocities and containment verified, room pressure relationships proven, temperature and humidity control stability logged over days not minutes. Purified water is sampled at plant and point of use, gas systems are certified, alarms and interlocks are function-tested, and the vibration and electromagnetic surveys are run in the instrument rooms with the building fully operational — an empty building passes tests that an occupied one fails. The commissioning records become the baseline for the O&M manuals and the client's own validation.
Plant and equipment
- Fume cupboards with dedicated extract fans, ductwork and discharge stacks
- Purified water plant (RO/deionisation) with ring-main distribution and sanitisation sets
- Laboratory gas manifolds, bulk stores and certified copper/stainless distribution pipework
- Chemical-resistant drainage systems (borosilicate, polypropylene, Vulcathene) with neutralisation tanks
- Factory-built benching and casework; ceiling-mounted service wings and bollards
- Air handling units with run-around or thermal wheels and tight temperature/humidity control
- Vibration isolation: inertia bases, spring mounts and isolated ground-bearing slabs
- Face-velocity, particle, vibration and electromagnetic survey instruments for commissioning
Quality control checks
- Room-by-room services schedules frozen and signed before first fix; every outlet checked against the schedule at second fix
- Pressure and purge test certificates for gas pipework; cleanliness certificates for cleaned-for-service lines
- Fume cupboard containment and face-velocity testing to BS EN 14175 at commissioning
- Air balance and room pressure records per room, witnessed against the ITP
- Purified water sampling at plant and points of use against BS EN ISO 3696 grades
- Vibration and electromagnetic surveys in instrument rooms against the specified VC and field criteria
Safety considerations
- Hot work and pressure testing of gas lines under permit; purging and certification before any live gas introduction
- Hydrogen and specialty gas stores and manifolds: separation distances, ventilation and gas detection before energisation
- Confined space and fall risks in deep drainage runs and neutralisation tank chambers
- Chemical exposure during sanitisation of pure water loops and during first live operation of extract systems
- Work at height in ceiling voids packed with live services — isolation discipline before any void entry
- Heavy, awkward casework and cupboard lifts: mechanical handling planned, manual handling as the exception
Common defects
- Fume cupboards failing face-velocity or containment tests because the duct run was value-engineered after design
- Room air imbalances — extract outpacing supply, doors fighting their closers, cupboards starving
- Purified water quality failing at points of use through dead legs and poor ring-main hygiene
- Vibration criteria missed in instrument rooms because plant isolation or slab stiffness was diluted in build
- Mislabelled or wrongly terminated gas and water outlets — found at validation, corrected at fit-out cost
- Chemical drainage tied into ordinary soil systems or flat-falling, leading to blockages and consent breaches
Best suited for
- University, pharmaceutical and pathology buildings with dense piped services
- Analytical and instrument suites with vibration or electromagnetic criteria
- Teaching labs needing robust, high-occupancy benching
- Any research building where flexibility of the floor plate is a design requirement
How long does Laboratory Construction take?
Typical duration: A wet-lab fit-out typically runs 8–14 months from weathertight shell to validated handover, with commissioning and validation alone taking 6–12 weeks on a well-run job..