Track Construction
From sleeper or slab to stressed, welded continuous rail — the process that turns a prepared trackbed into a railway you can run a train on.
Last updated 2026-07-28 by the BuildPedia Editorial Team.
What is Track Construction?
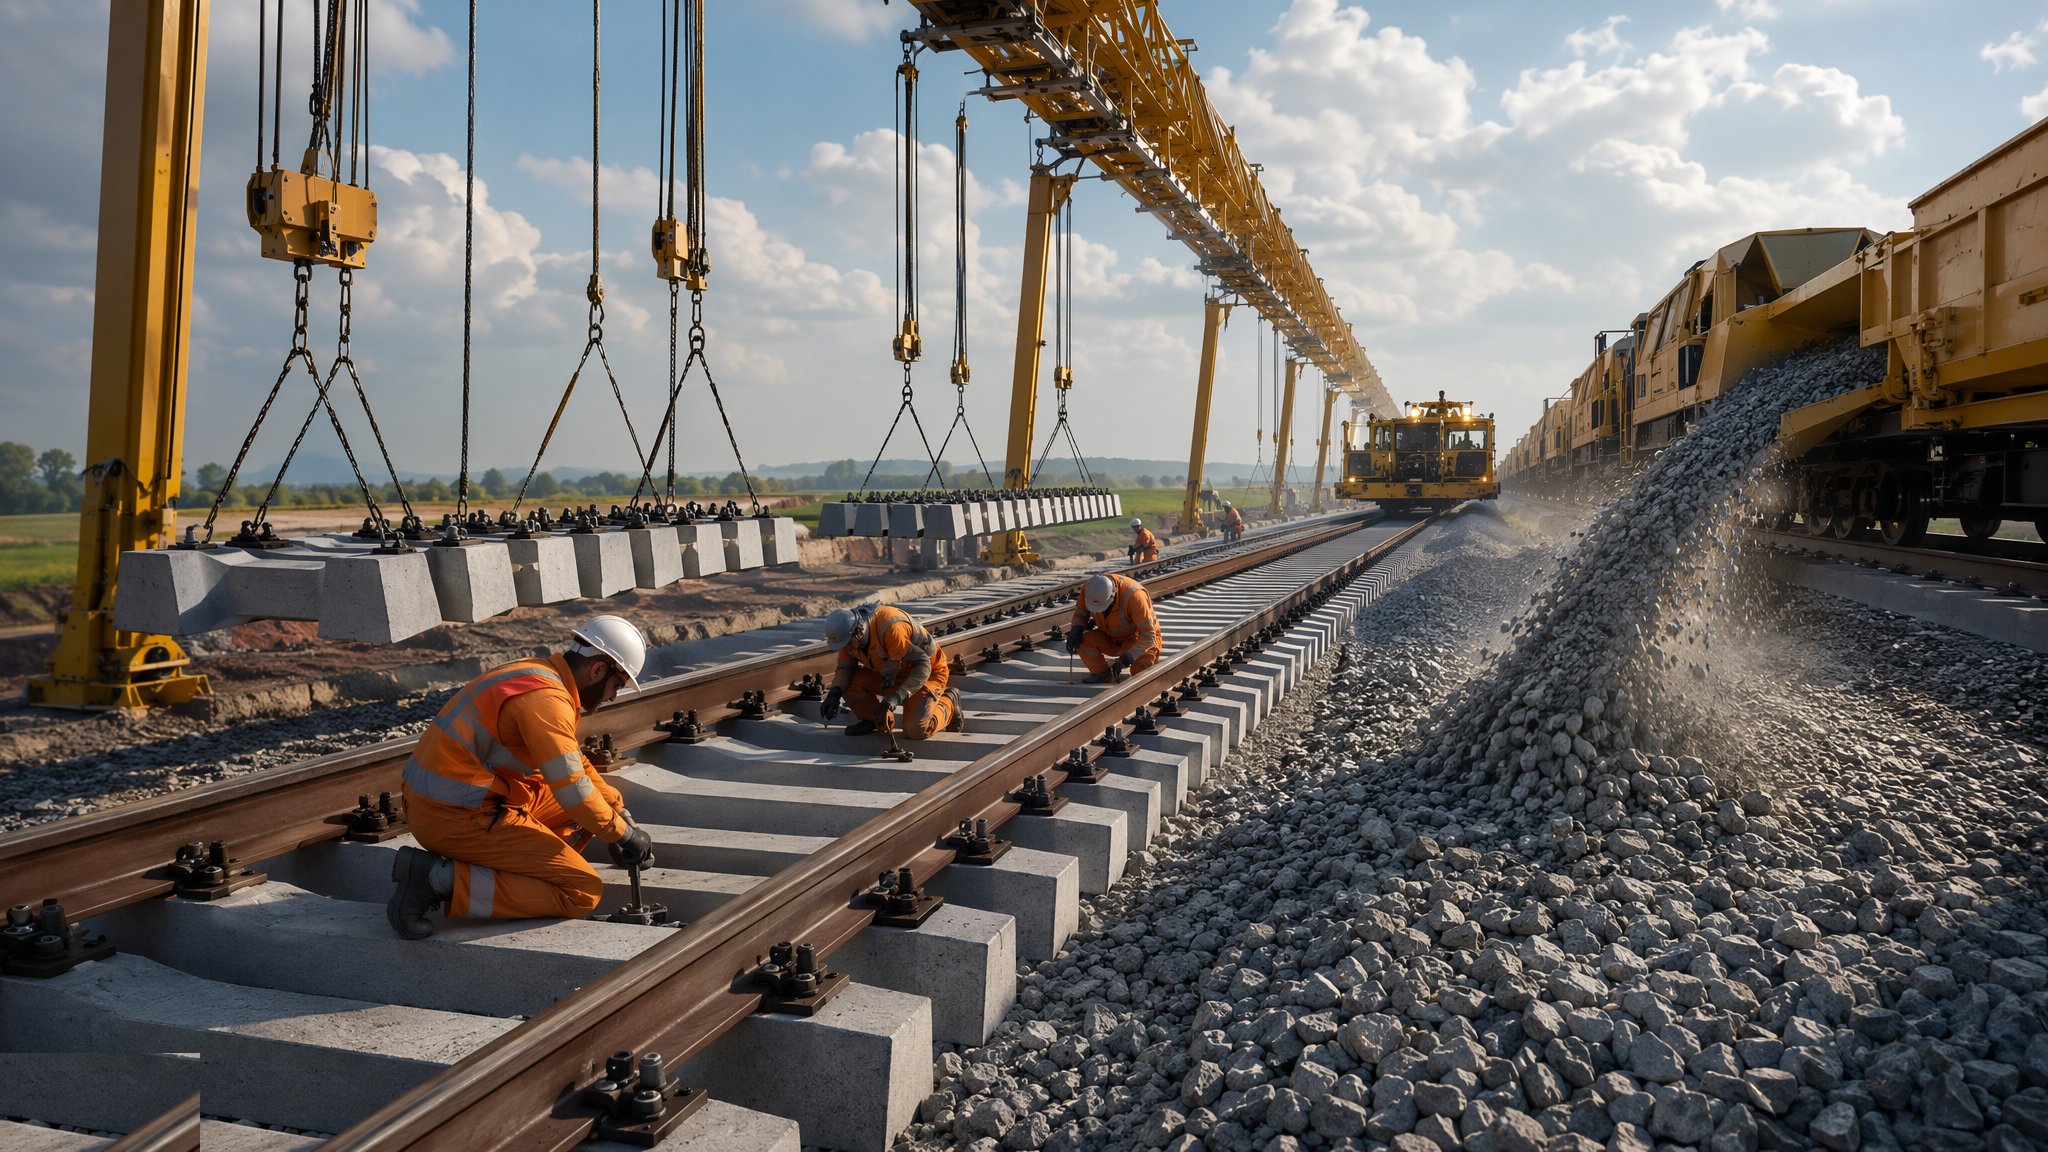
Track is the most recognisable part of a railway and the least forgiving to build. The modern form is continuously welded rail — rail strings of 108 m or 216 m delivered by long welded rail trains, threaded out onto the sleepers, welded together on site and stressed to a neutral temperature so it neither kinks in summer nor pulls apart in winter. It sits on concrete, steel or timber sleepers held by elastic clips in ballast, or it is fixed directly into a concrete slab where the alignment must never move. Either way, the finished geometry — gauge, alignment, level, cant and twist — is held to tolerances measured in millimetres, because every millimetre of error is paid back as ride quality, noise, wear and speed restrictions for the life of the line.
Ballasted track remains the default on conventional railways: sleepers laid on bottom ballast, rail threaded and clipped up, top ballast dropped and regulated, then tamped and lined by heavy on-track machines that lift the track, squeeze the ballast under the sleepers and measure the geometry as they go. Slab track — systems such as RHEDA and its derivatives, or the booted-block floating slabs used in metro tunnels — replaces the ballast with a concrete or asphalt layer and trades a higher build cost for near-zero geometry maintenance, which is why it dominates in tunnels and on new high-speed and metro alignments. In the UK the whole activity sits under Network Rail's track design and construction standards and the acceptance regime of BS EN 13231.
In the Gulf, track is built through heat that fights the fundamental physics of the process. Rail delivered at 45°C ambient is near or above its stress-free temperature for most of the year, so stressing windows are narrow and much welding and de-stressing happens at night. Dubai Metro's at-grade sections, the Etihad Rail corridors and the new metro lines in Doha and Riyadh all had to manage thermal expansion with jointed rail or carefully set stress-free temperatures, and ballast has to be won from quarries — gabbro from the Hajar mountains in the Emirates — whose durability and shape are proven before the first trainload moves.
When and why is Track Construction used?
Track construction follows the accepted trackbed and precedes — or runs alongside — the electrification and signalling fit-out, because those systems hang on and reference the finished rails. It matters because track quality is the product: passengers experience a railway entirely through the geometry of its track, and the geometry is set once, at construction, within the limits the tampers can achieve. It is also the long pole of most programmes — welding, stressing, ballasting and tamping proceed at a few hundred metres per shift per gang — so the whole commissioning sequence is dated from when the last weld cools. Skimp the ballast depth, rush the stressing or accept a weld that should have been cut out, and the railway tells you about it every single day afterwards.
Types of Track Construction
Ballasted track on concrete sleepers
The modern standard for conventional railways: mono-block or twin-block concrete sleepers with elastic fastenings — Pandrol Fastclip and e-Clip families are the everyday names — set in graded ballast to BS EN 13450. Forgiving to build and maintain, and the tampers can correct geometry in service.
Ballasted track on steel or timber sleepers
Steel sleepers where weight and depth are limited — bridges and tight clearances — and timber where tradition or specialist work demands it, such as sidings and heritage connections. Both are minority choices on new-build main lines but remain everyday reality on renewals and depot tracks.
Embedded and direct-fixation slab track
Rail fixed to a concrete slab through resilient baseplates or embedded in a poured system such as RHEDA — no ballast, near-zero settlement, and geometry that stays where it was built. The default for metro tunnels and high-speed alignments; the penalty is that mistakes cannot be tamped out, only broken out.
Floating slab track
A concrete track slab carried on resilient bearings or booted sleepers, isolating the track from the structure beneath. Used in metro tunnels under sensitive buildings where ground-borne noise and vibration limits are contractual — common under city-centre alignments in Dubai and Doha.
Track Construction: step by step
Step 1: Lay bottom ballast and set out the track
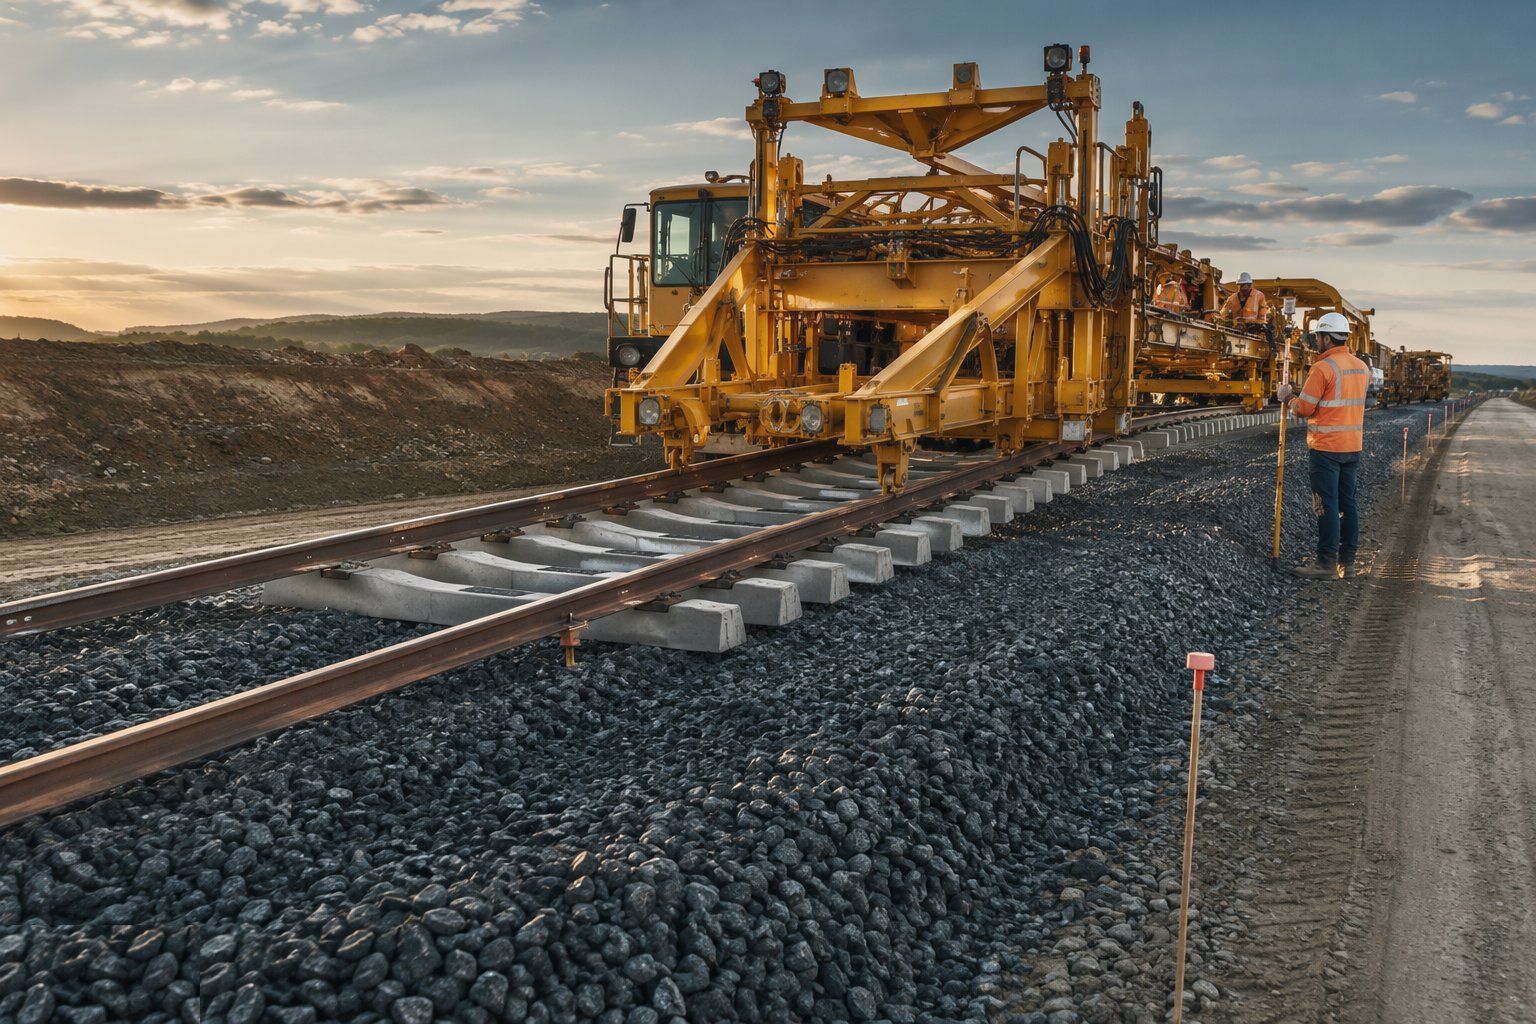
Spread and compact the bottom ballast layer to profile, then set out the track centreline from corridor control with the cant and transition geometry marked for the laying gangs. On slab track this step is replaced by the slab itself — reinforcement, formwork or precast units, and the concrete poured or placed to rail-seat level — with the survey control even tighter because there is no tamp to come.
Step 2: Distribute sleepers and thread the rail
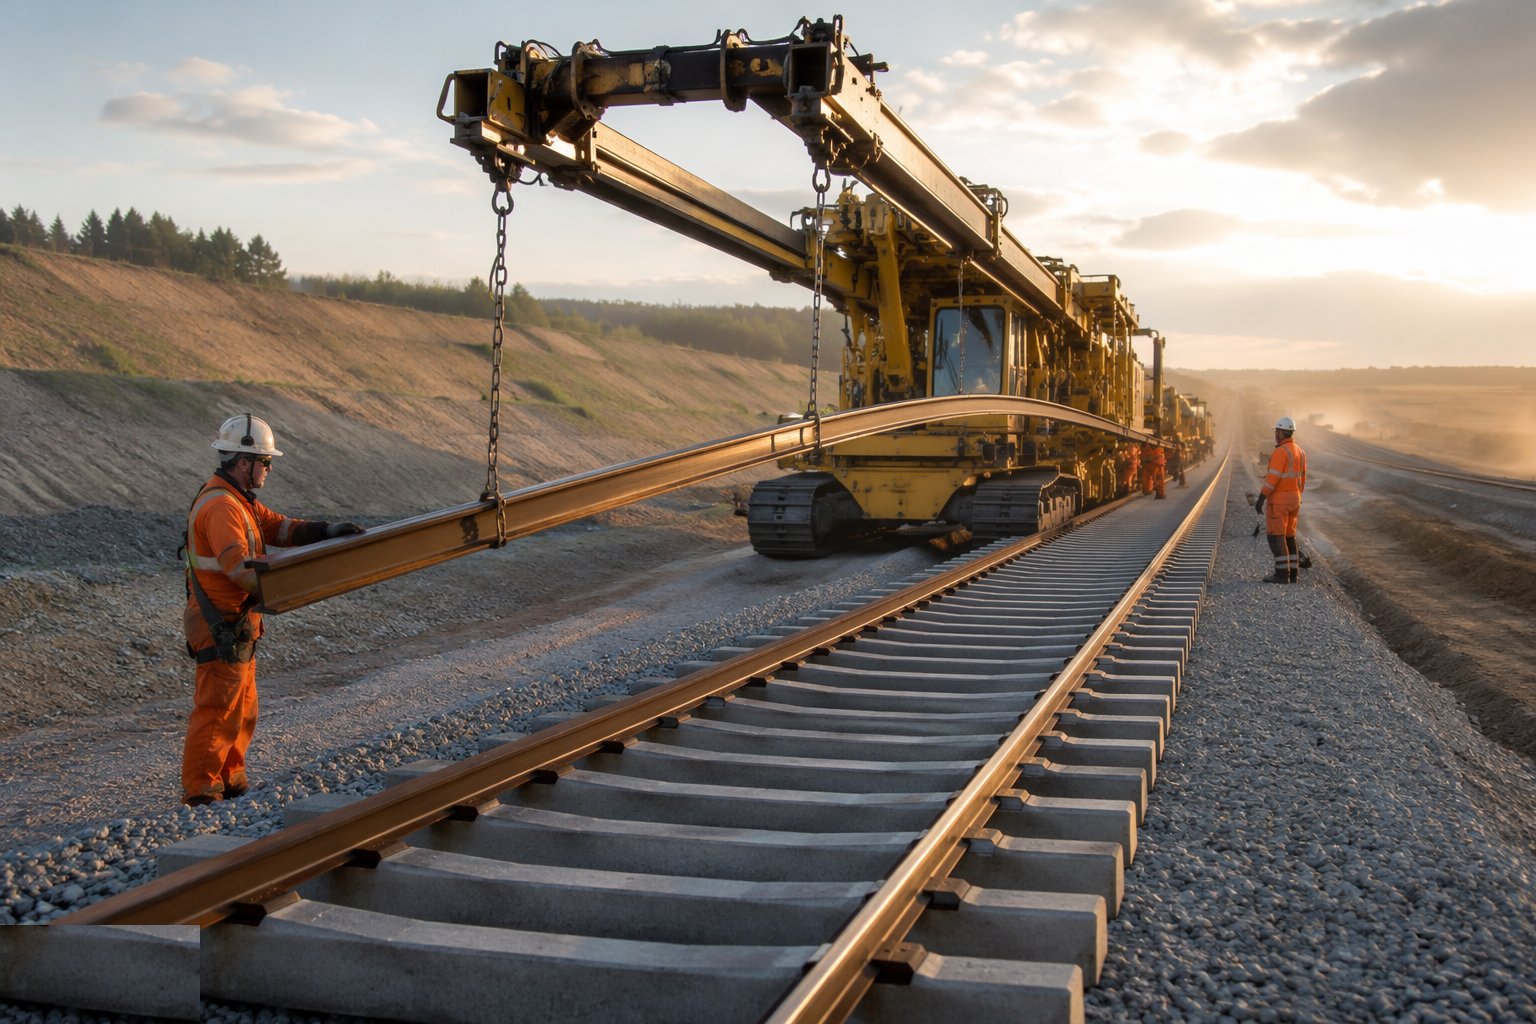
Lay sleepers at the design spacing by crane or sleeper-layer, then thread the long welded rail strings from the delivery train or from rail mounted on the layer, seating the rail in the insulators. Rail is heavy, springy and under nobody's full control while it is moving — the threading path is an exclusion zone, and nobody stands in the line of fire of a string that is being pulled round a curve.
Step 3: Clip up and weld the joints
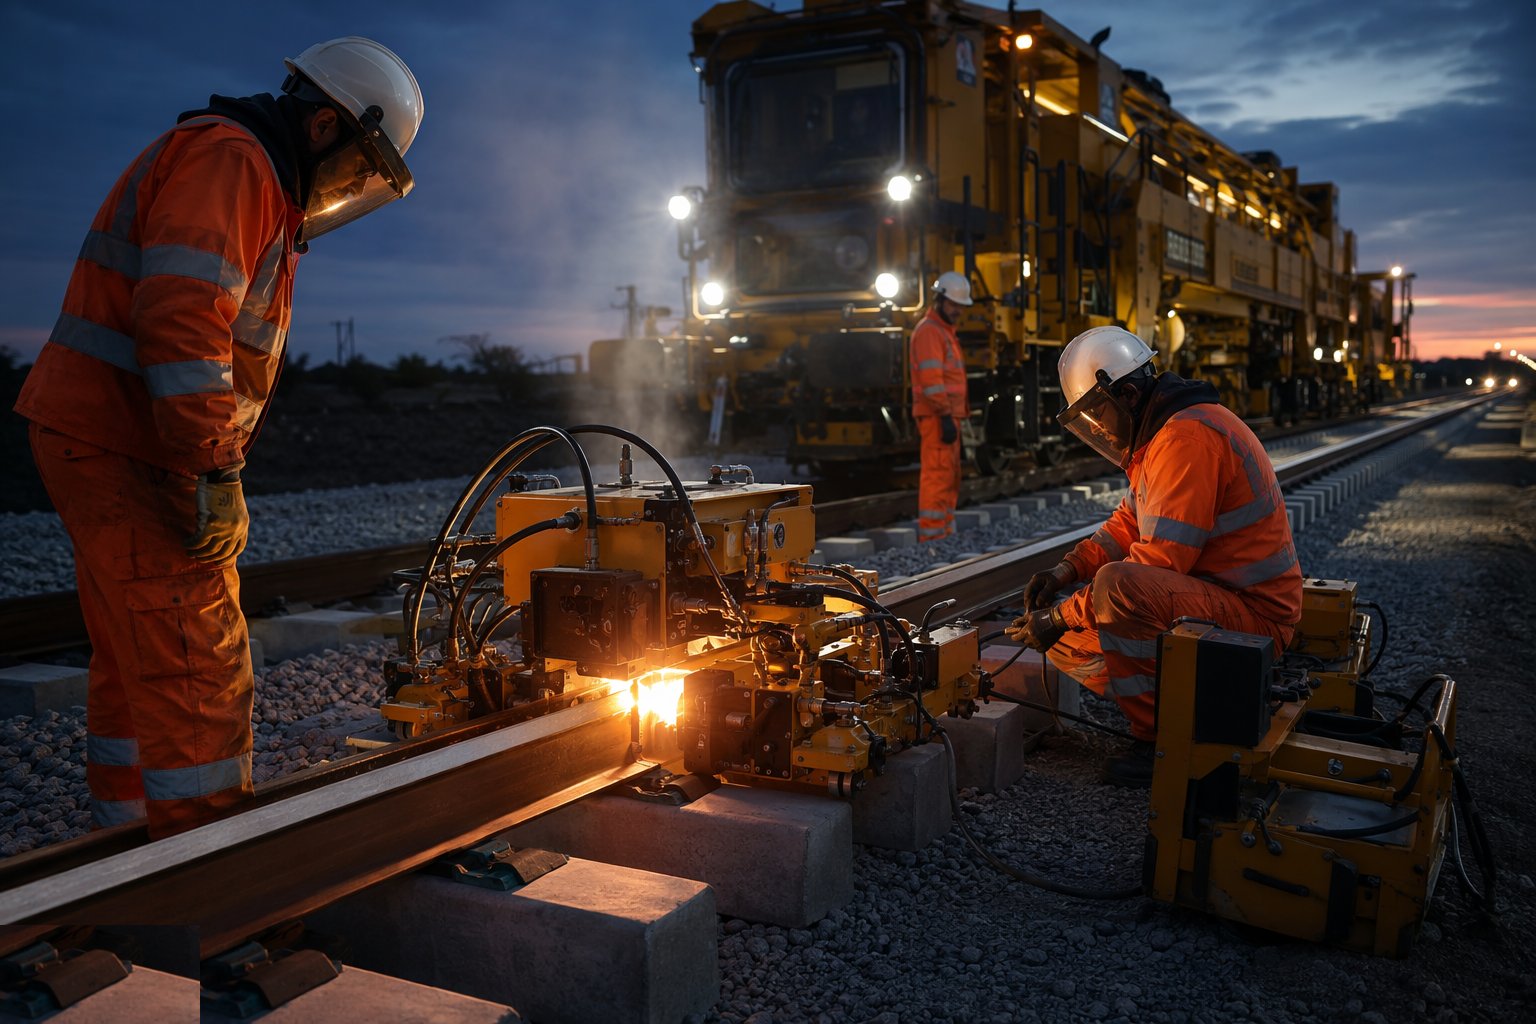
Fasten the rail to the sleepers with the specified clips driven or screwed to the correct toe load, then close the joints by welding: flash-butt welding in a mobile welding unit for the production joints, aluminothermic welding for closures, adjustments and tight locations. Every weld is numbered, logged and tested — visual and dimensional on the day, ultrasonic testing of the population afterwards — because a weld failure under a loaded train is a derailment mechanism, not a maintenance item.
Step 4: Drop and regulate the ballast
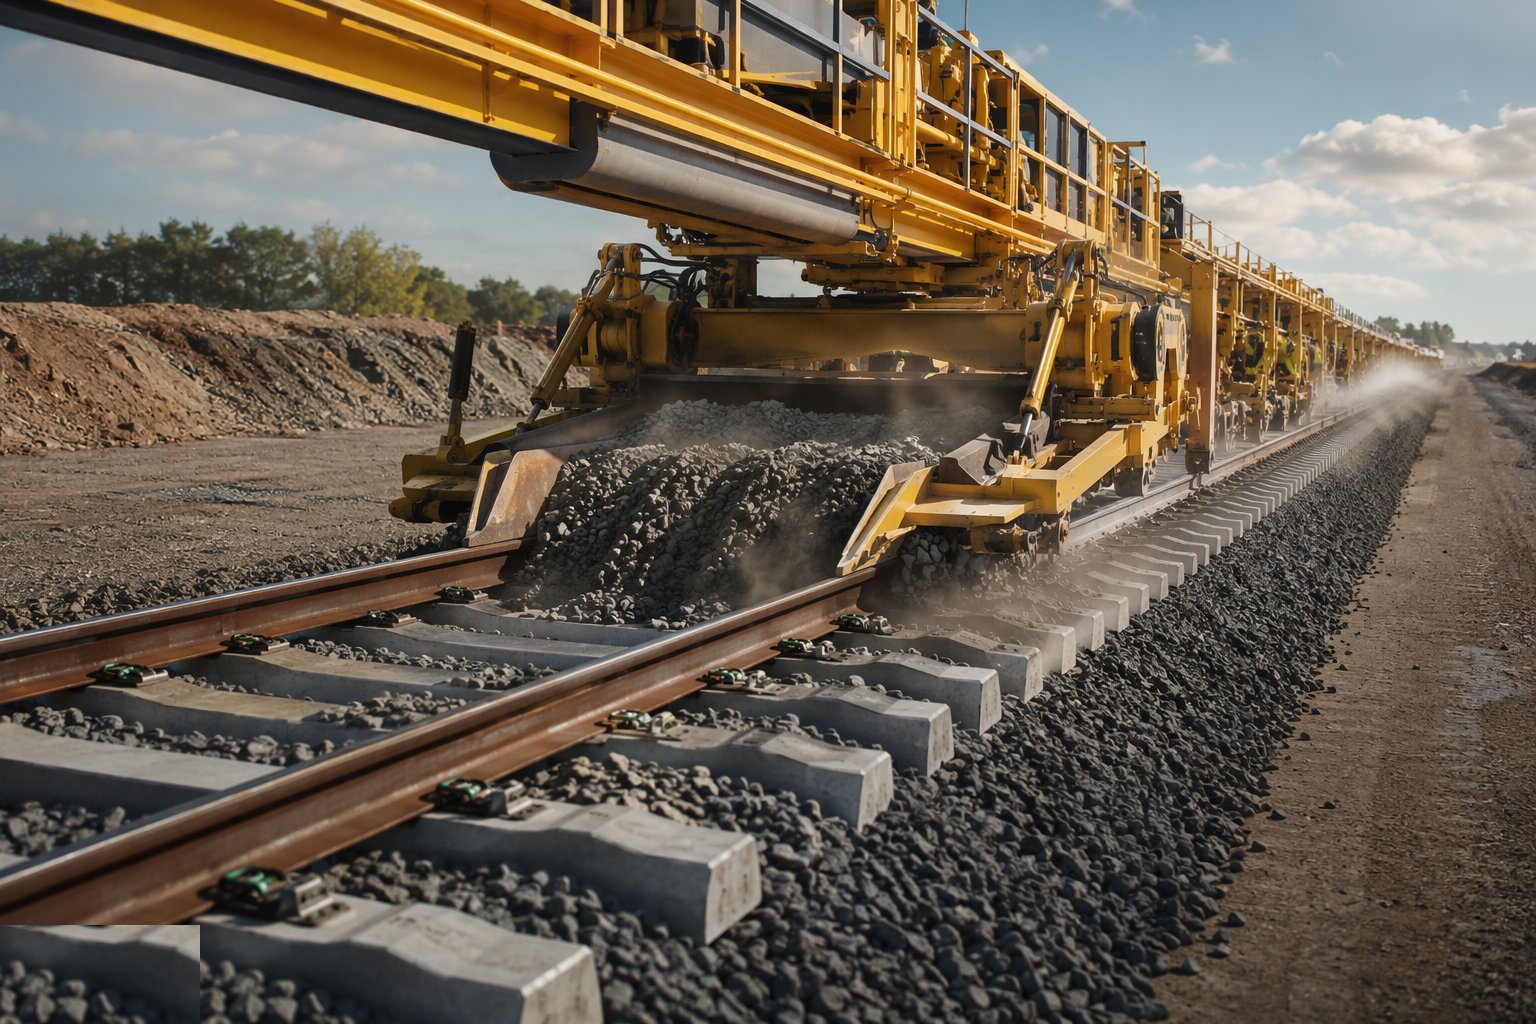
Drop top ballast from hoppers, regulate it to profile with the ballast regulator — shoulders formed, cribs filled, sleepers swept — and take the first pass of the tamper to seat the track into its bed. Ballast depth and shoulder width are measured as you go; the ballast is the spring and the drainage of the system, and skimped shoulders are how tracks buckle later.
Step 5: Stress the rail to its neutral temperature
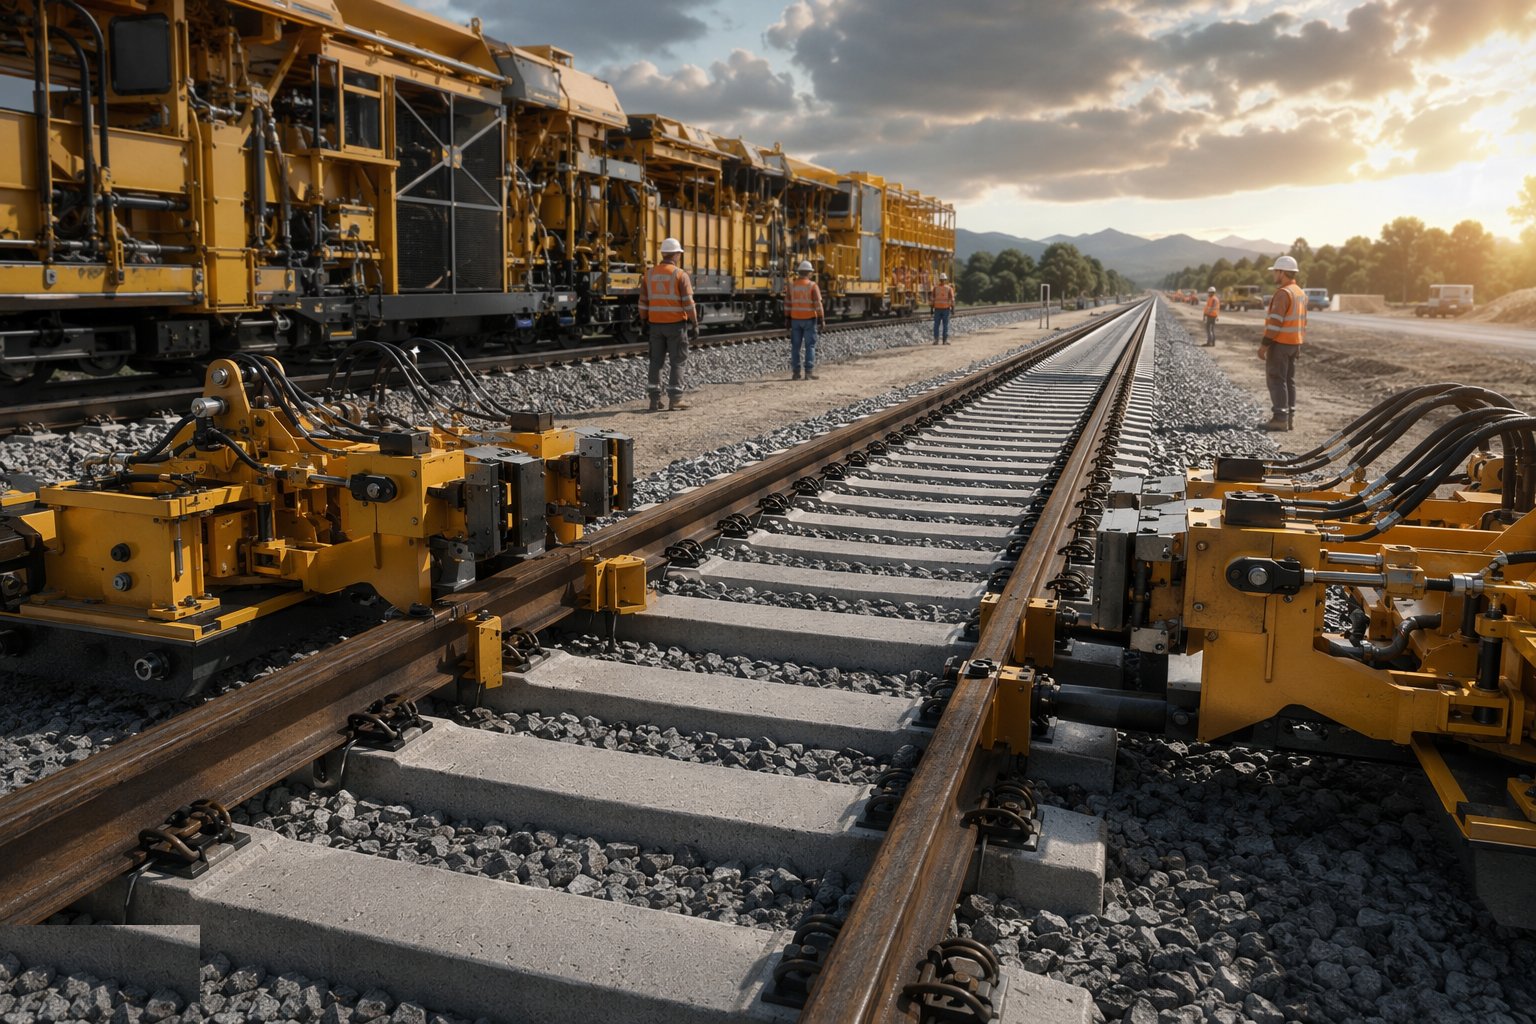
Continuously welded rail must be set so that at the stress-free temperature it carries no thermal force. Measure the rail temperature, pull or de-stress the strings with hydraulic tensors to the calculated length, and fix the rail while recording the stressing certificate for every section. In Gulf heat this work runs at night and early morning; stressing rail at 50°C to a neutral temperature you will never see again is how you buy a winter pull-apart.
Step 6: Tamp, line and measure the final geometry
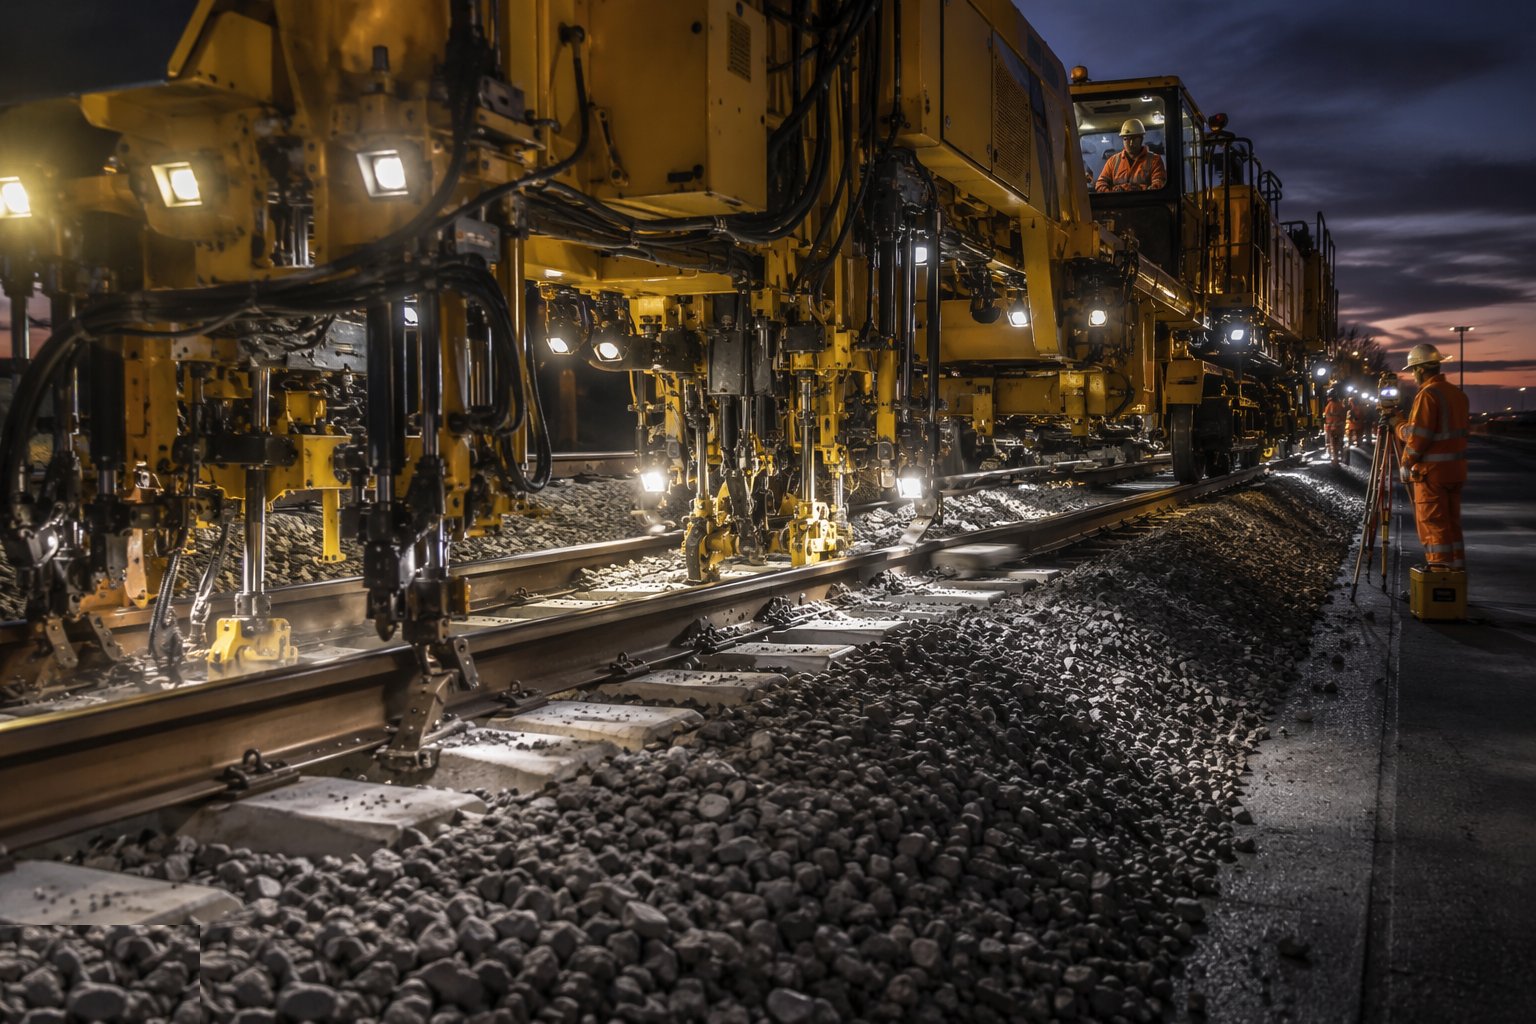
Run the tamping and lining machines through their finishing passes: lift, tamp and align to the design geometry, with the machine's measuring system recording gauge, alignment, level, cant and twist against the design. Measure again with an independent recording trolley, because the tamper's own record is the maker's mark, not the inspector's. Geometry that misses tolerance gets another pass; geometry that cannot be made by tamping gets investigated, because the problem is usually below the ballast.
Step 7: Accept the track and open the access
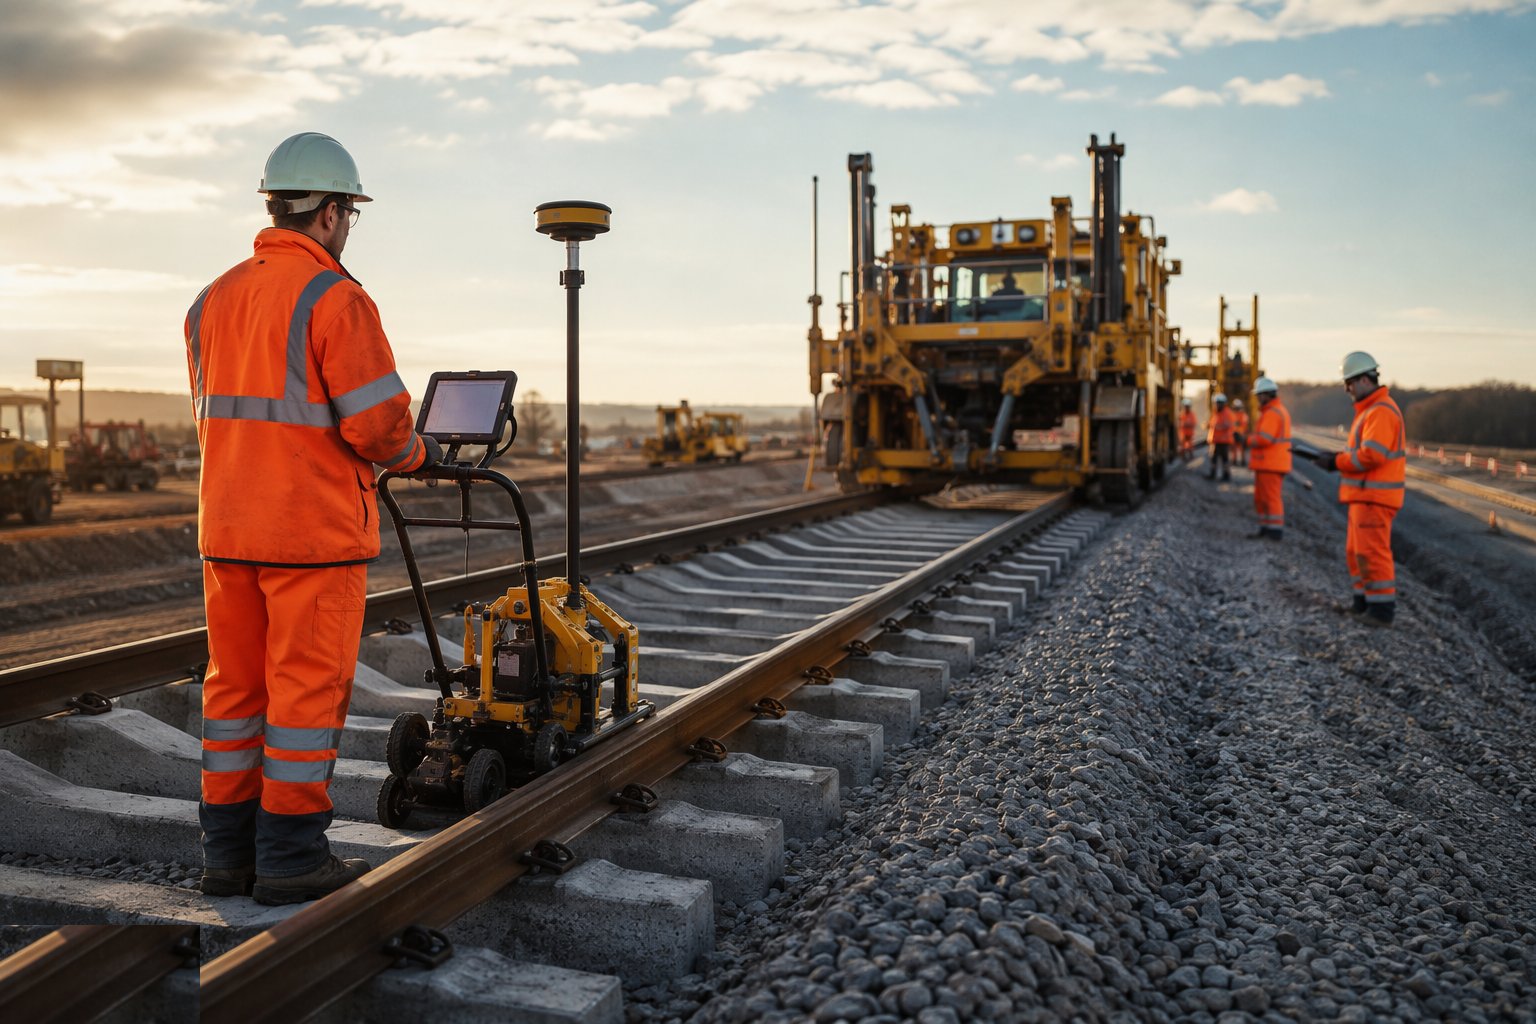
Complete the acceptance package: weld records and NDT results, stressing certificates, geometry records against BS EN 13231 tolerances, ballast depths and the as-built survey. On a live railway the track is then handed to the operator under a planned speed restriction until it beds in; on new-build it becomes the access railway for the systems and testing trains that follow — and every gang after you is now working on or beside an operational asset.
Plant and equipment
- Long welded rail delivery trains and rail threading equipment
- Sleeper layers, cranes and road-rail excavators for sleeper and rail handling
- Mobile flash-butt welding units and aluminothermic welding kits
- Ballast hoppers, ballast regulators and shoulder ploughs
- Tamping and lining machines with integrated geometry measurement
- Hydraulic rail tensors and rail temperature monitoring kit
- Track recording trolleys for gauge, alignment, level and twist
- Ultrasonic weld testing equipment
Quality control checks
- Every weld numbered, logged and ultrasonically tested
- Stressing certificates recorded per section with rail temperatures
- Final geometry recorded against BS EN 13231 tolerances by independent measurement
- Ballast depth and shoulder profile checked on a chainage grid
- Clip toe loads and sleeper spacing audited during laying
- As-built survey of rails completed before systems fit-out starts
Safety considerations
- Exclusion zones around threading rail and welding operations
- On-track machine movements controlled under a planned safe system of work
- Hot work controls for welding — fire watch and extinguishers at every site
- Manual handling of clips, pandrol components and small plant across long corridors
- Night working in heat windows: lighting, fatigue management and rotated crews
- Clear rules once the track becomes the access railway — lookouts, possession discipline
Common defects
- Welds accepted on visual inspection alone — the internal defect finds a loaded axle later
- Rail stressed at the wrong temperature or with gaps in the records — buckles in summer, pull-aparts in winter
- Skimped ballast shoulders — lateral resistance lost and the track kicks out on curves
- Tamping used to correct trackbed faults — the dip returns within months because the cause is below
- Slab track baseplates set to a survey that was never independently checked — a permanent geometry error cast in concrete
- Weld and stressing records incomplete at handover — the operator inherits an asset it cannot certify
Best suited for
- Building the running surface the whole railway is judged by
- High-output plain line where welding trains and tampers set the programme pace
- Metro tunnels and high-speed alignments where slab track buys zero-maintenance geometry
- The access railway that every later stage of the project depends on
How long does Track Construction take?
Typical duration: Plain-line ballasted track with welding and tamping typically achieves 300–600 m per shift per gang; slab track runs slower per metre but carries no tamping or stress programme afterwards..