3D Printing and Additive Construction
An honest look at printed concrete in 2026: what the printers actually do well, the reinforcement problem nobody has solved, and where it has genuinely been used — including Dubai's printed-building programme.
Last updated 2026-07-28 by the BuildPedia Editorial Team.
What is 3D Printing and Additive Construction?
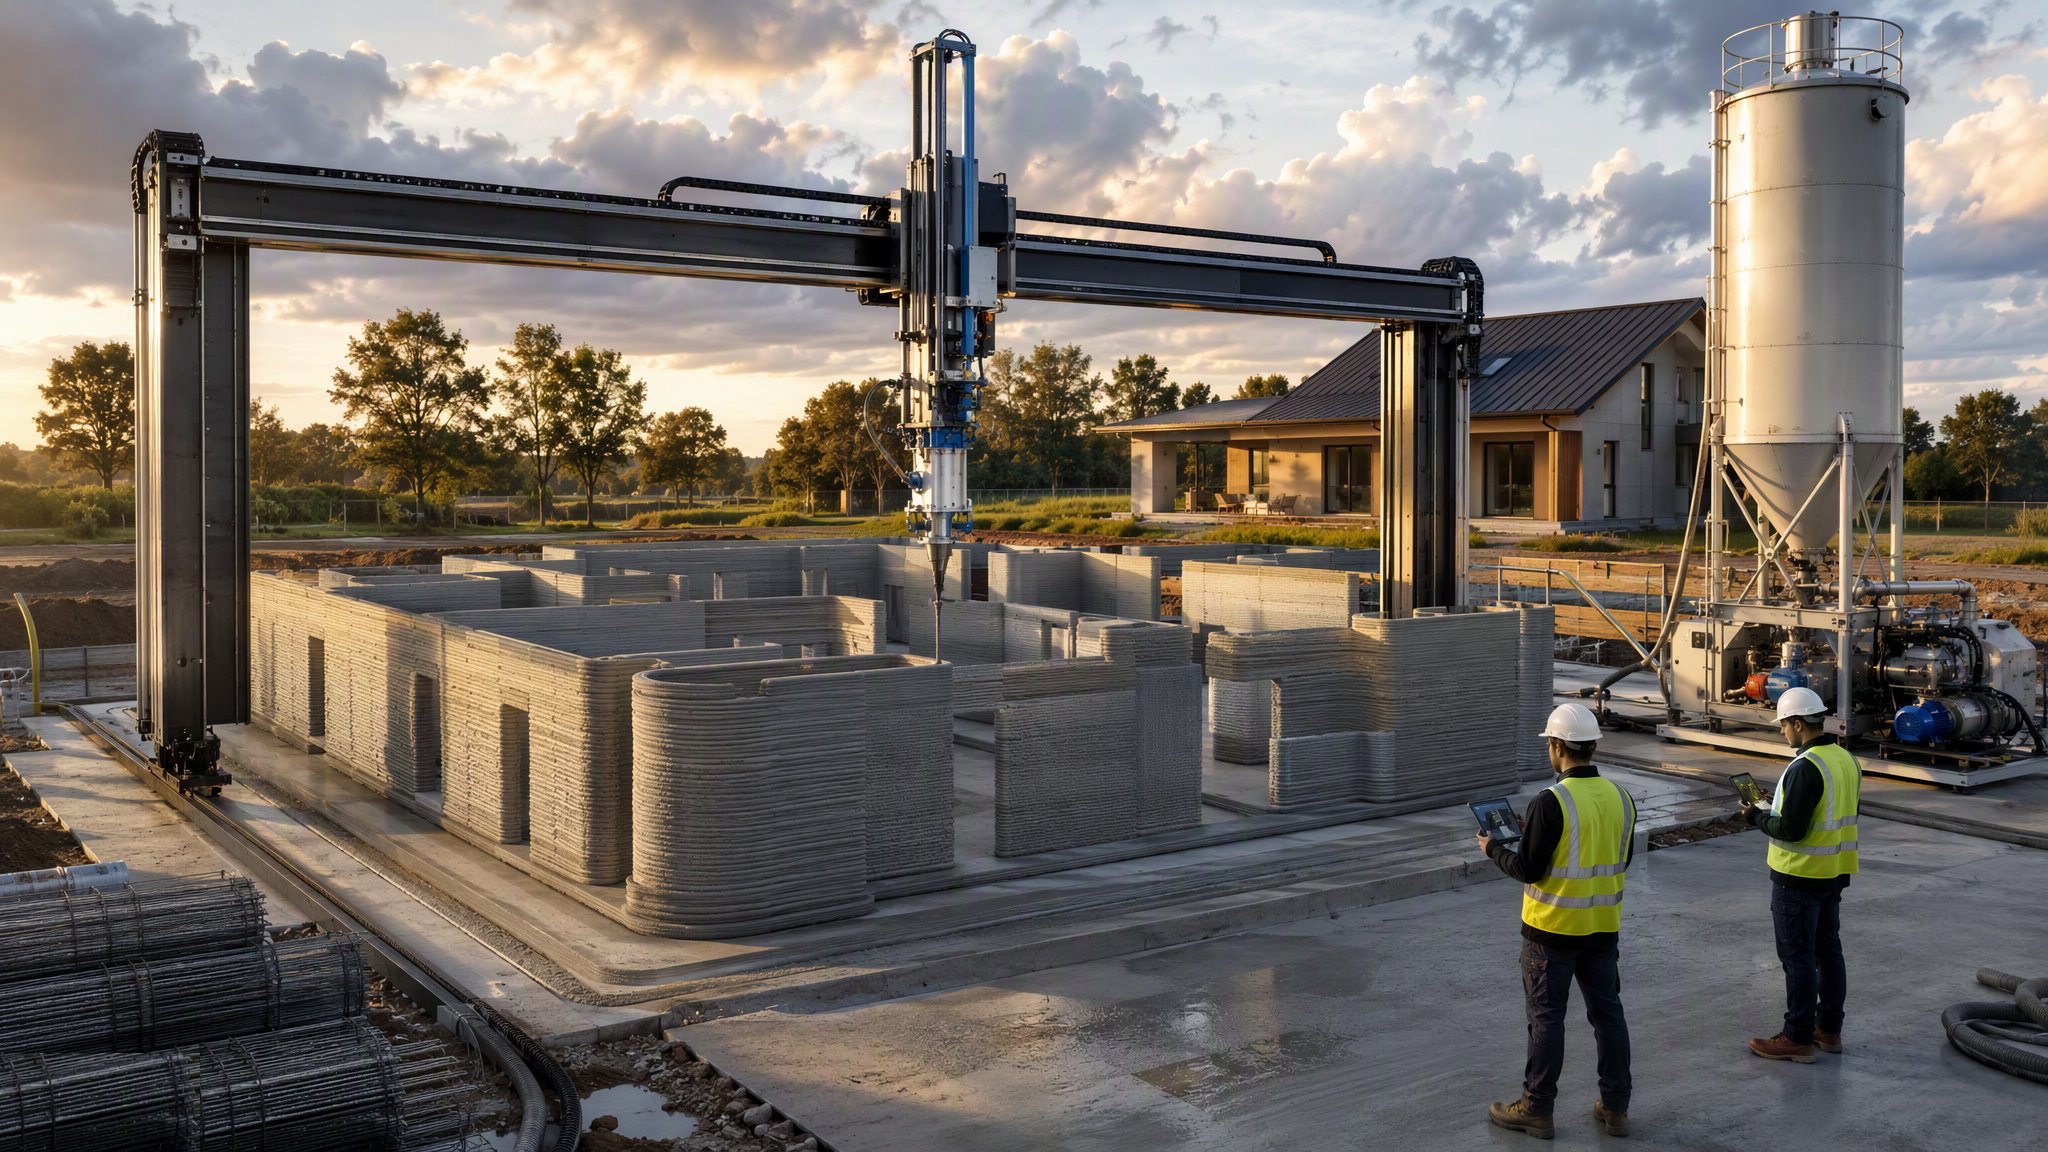
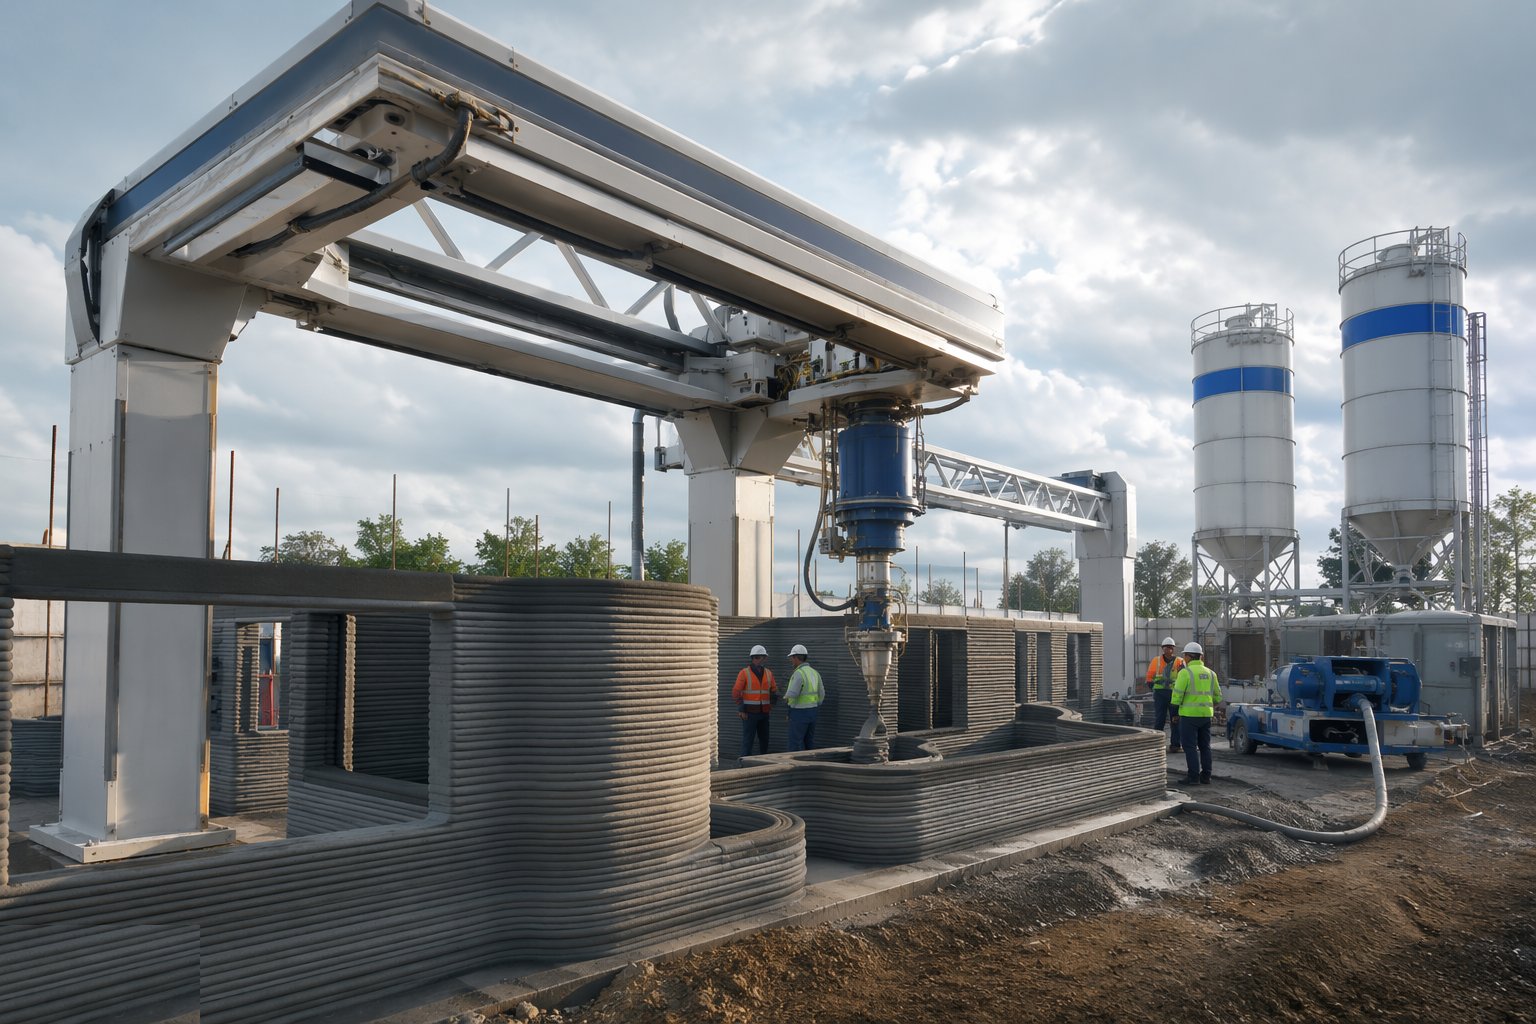
Construction 3D printing in 2026 is neither the revolution the press releases promised nor the gimmick the sceptics claim. What exists and works is large-scale extrusion: a gantry robot or a robotic arm lays down beads of quick-setting cementitious mortar, 20–50 mm wide, layer on layer, building wall shells directly from the digital model — no formwork, no blockwork, no plaster. The printer is fast at what it does: the wall shells of a single-storey house can be extruded in days with a crew of three or four. What the printer does not do is everything else: foundations, reinforcement, slabs, roof, services, finishes, and — critically — any element that has to span or cantilever. The honest framing is that a printer replaces the blockwork gang and the formwork, not the construction industry.
The reinforcement problem is the structural heart of the matter. Codes worldwide design concrete around embedded steel, and there is no mature way to place continuous horizontal reinforcement inside a printed wall as it is being printed — you cannot pause the extrusion to fix bars, and printing over steel fouls the nozzle. The workarounds all have costs: print twin shells and fill the cavity with conventionally reinforced concrete (which is really ICF with extra steps); print lost formwork around a reinforced core; use fibre-reinforced printable mixes (fibres do not replace bars for bending); or post-tension and add reinforcement afterwards. Meanwhile the printable mixes themselves are fussy — they must be fluid enough to pump, stiff enough to hold shape in seconds, and consistent across every batch, because a mix that slumps or tears does not spoil a cube test, it spoils the wall in front of you. Hot climates make the window narrower still; UAE print work is a night-and-winter game or an admixture arms race.
The approvals position decides what can actually be built. In the UK there is no dedicated code route: printed structures are justified as bespoke engineering under the Building Regs, which is possible but slow and expensive per project. The UAE, and Dubai specifically, is where printing has moved furthest into real policy: Dubai Municipality's 3D printing strategy set a target of 25% of new buildings using the technology by 2030, DM has approved and permitted printed buildings (the municipality's own two-storey 640 m² administrative building in Warsan is the largest printed structure to date), and DM issued a dedicated 3D printing standard for construction in 2023 giving an actual approval pathway. That is genuinely ahead of anywhere else — but even in Dubai the completed printed stock is measured in dozens of buildings, not thousands, and nearly all of it is low-rise.
When and why is 3D Printing and Additive Construction used?
Printing earns a serious look where the geometry plays to it: single-storey and low-rise walls with continuous footprints, curved or organic shapes that formwork makes ruinously expensive, remote sites where shipping blocks and formwork costs more than shipping a printer and dry mix, and rapid-deployment contexts — military, humanitarian, infrastructure outbuildings. It is a poor fit for anything tall (cores and slabs still need conventional construction), anything heavily reinforced, and any project where the approval timeline cannot absorb a bespoke structural justification. In Dubai the calculus shifts because the approval pathway exists and the authority actively wants the technology used — but the engineering constraints are the same everywhere.
Types of 3D Printing and Additive Construction
Gantry (Cartesian) printing
A portal frame spanning the building footprint carries the print head in three axes. Dimensionally reliable and the commonest set-up for whole-house printing; the building must fit inside the gantry, which caps plan size and complicates tall work.
Robotic arm printing
A six-axis arm on a track or crawler prints from a compact footprint and reaches around corners; more flexible geometry, less intrinsic accuracy, better for components and features than whole shells.
Printed twin-shell with reinforced fill
The printer extrudes two wall faces as permanent formwork; reinforcement is fixed inside and the cavity filled with structural concrete. Structurally conventional and approvable — at the cost of reintroducing the trades printing was meant to replace.
Off-site printed components
Elements printed in a factory — façade panels, void formers, street furniture, moulds for precast — and delivered to site. Side-steps most site problems and is quietly where the technology does the most real work.
3D Printing and Additive Construction: step by step
Step 1: Design for the process from the first sketch
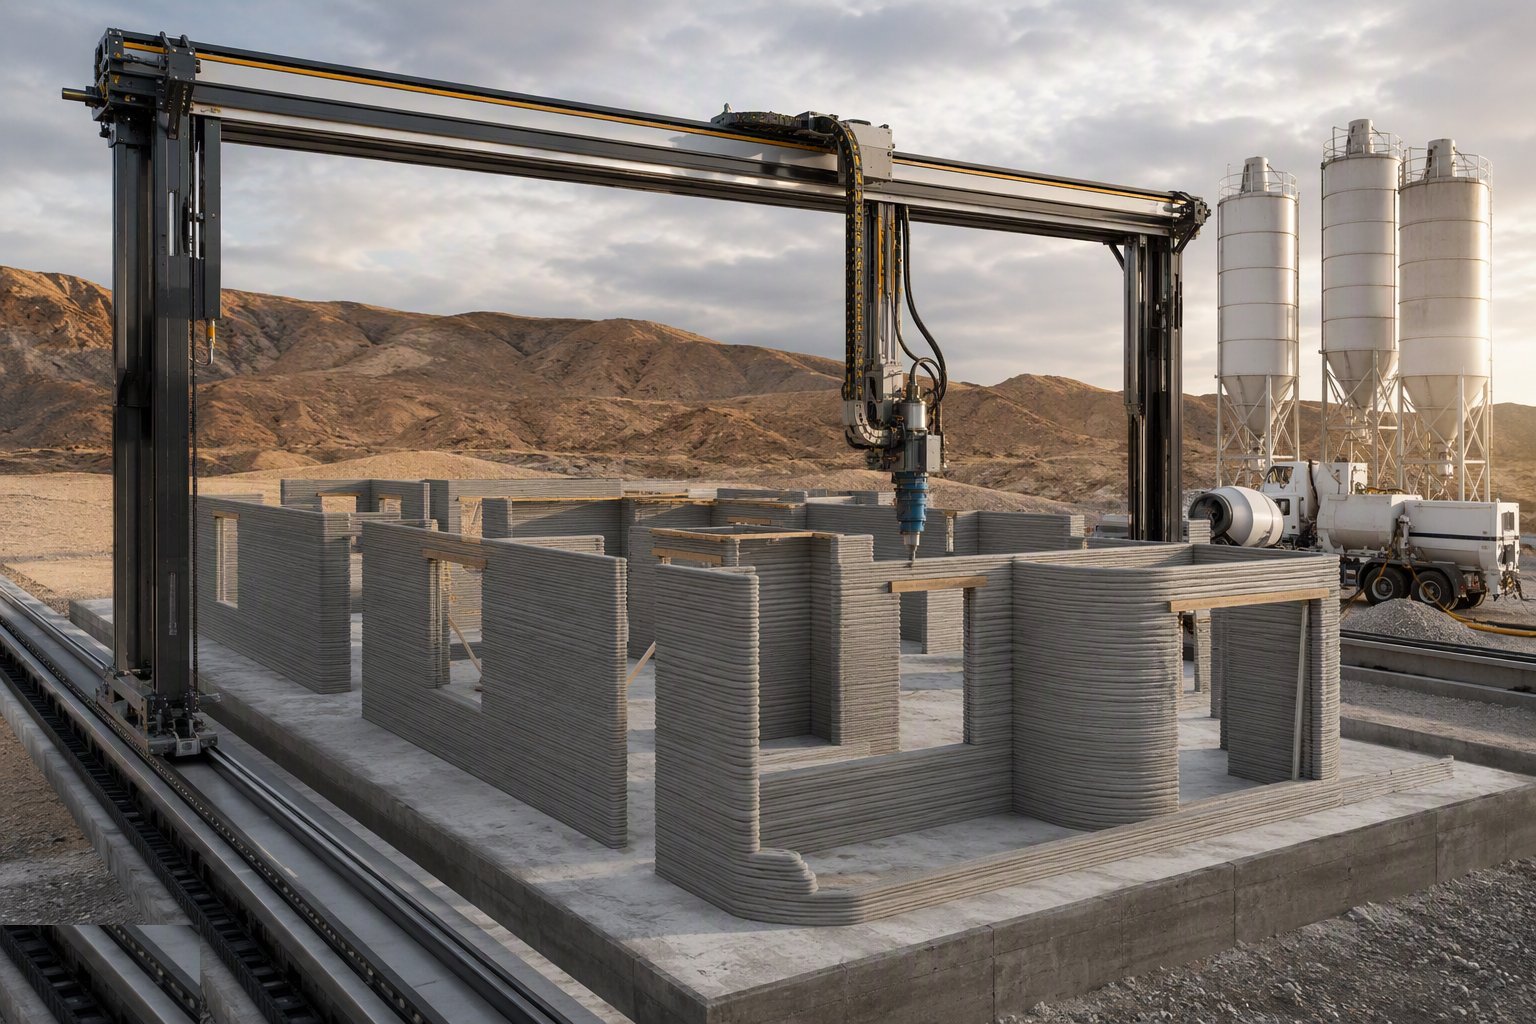
Printed buildings are designed as print paths, not as drawings to be reinterpreted: continuous wall runs the nozzle can complete without stopping, openings detailed with lintel strategies the printer can form or accept, corner radii the extrusion can turn, and wall heights within the layer-stability envelope. The structural strategy — twin-shell fill, printed formwork, fibres plus mesh, conventional frame with printed infill — is chosen now, because it decides the approvals route, the crew and the cost. A design done conventionally and "converted" to print inherits every detail the printer cannot make.
Step 2: Develop and qualify the printable mix
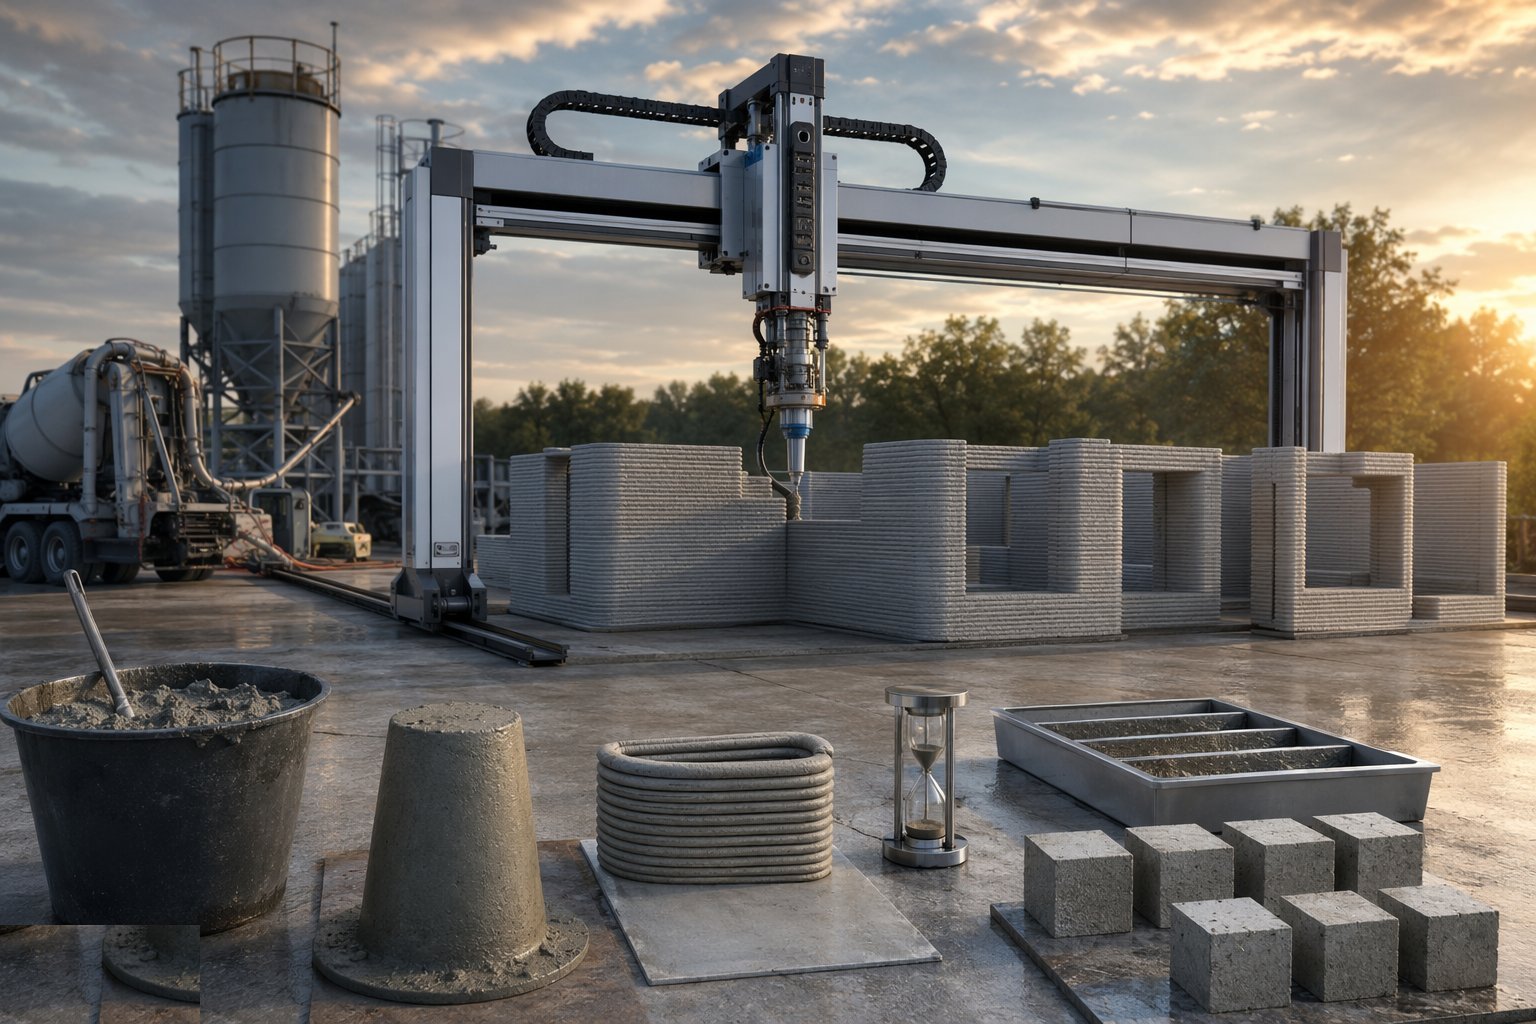
The mix is engineered, not ordered: pumpability, extrudability, buildability (layers must carry the next layer within seconds), open time matched to the print speed, and 28-day strengths verified like any structural concrete. Qualification is per-project and per-climate — a mix qualified in a Dutch spring fails in a Dubai June, so UAE work requalifies for temperature, often shifting to night printing or chilled constituents. Every batch on the day is flow-checked and test-printed before the wall continues; a bad batch mid-wall is cut out, and cold joints in a printed wall are weak planes with poor interlock.
Step 3: Set up the printer and the datum
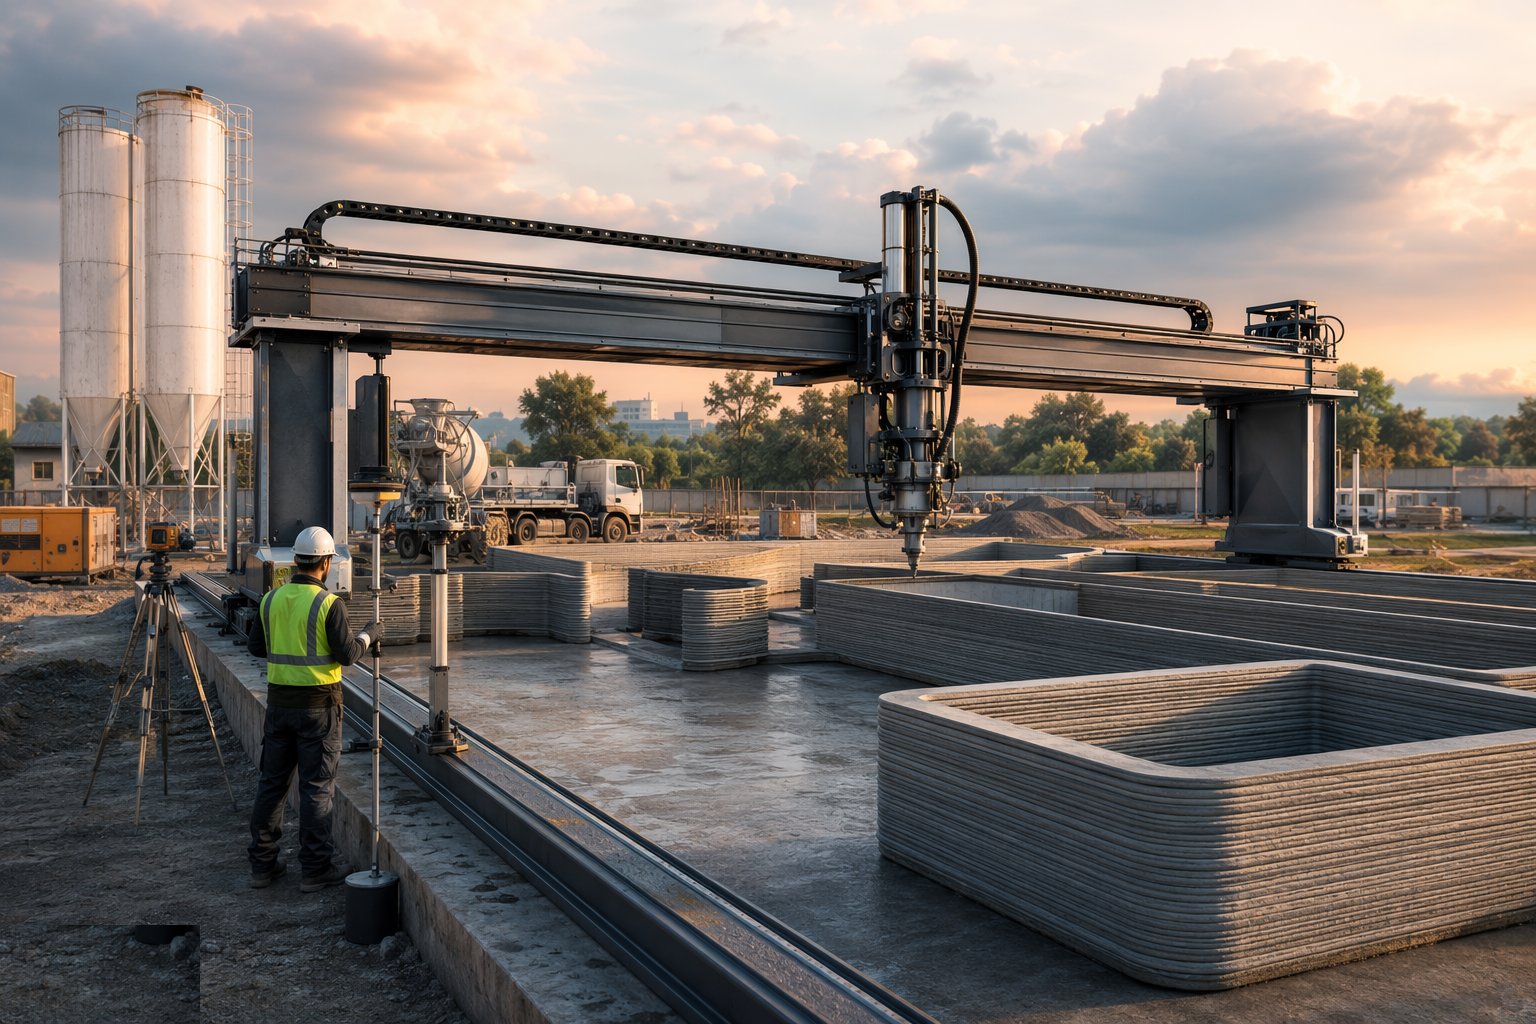
The gantry or robot is installed level and square to the building datum — the printer is only as accurate as its rails, and a rail 10 mm out prints a wall 10 mm out for every layer. The slab it prints from is cast and cured conventionally to a tight level tolerance, because layer one keys the whole wall. Dry-run the full toolpath without material to catch collisions, hose snags and reach limits before there is mortar in the system.
Step 4: Print in controlled layers with continuous supervision
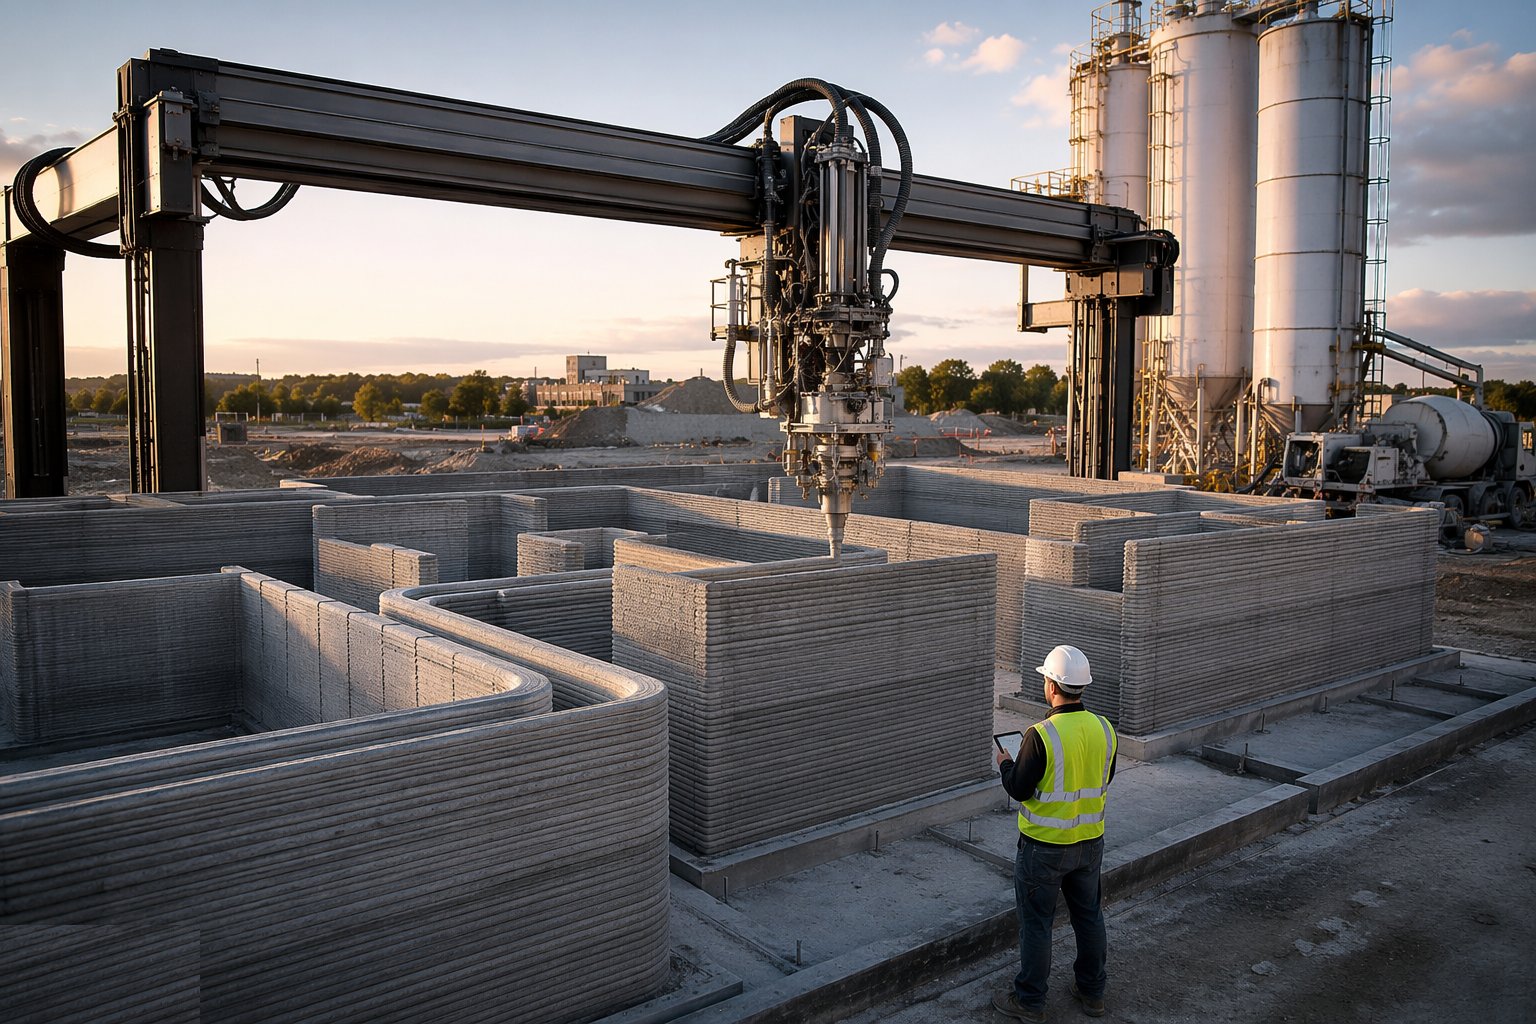
Printing runs as a monitored pour: layer height and bead width verified against the model, inter-layer time held inside the mix's window so layers weld chemically rather than cold-joint, and any stoppage managed — a nozzle blockage or pump fault beyond the open time means a designed stop-end, not a bodged restart. Openings, service conduits and cast-in items are placed by the ground crew between passes on a rehearsed routine, because the printer does not wait. In heat, print at night or under shade and record mix temperature like a hot-weather pour.
Step 5: Solve the reinforcement explicitly
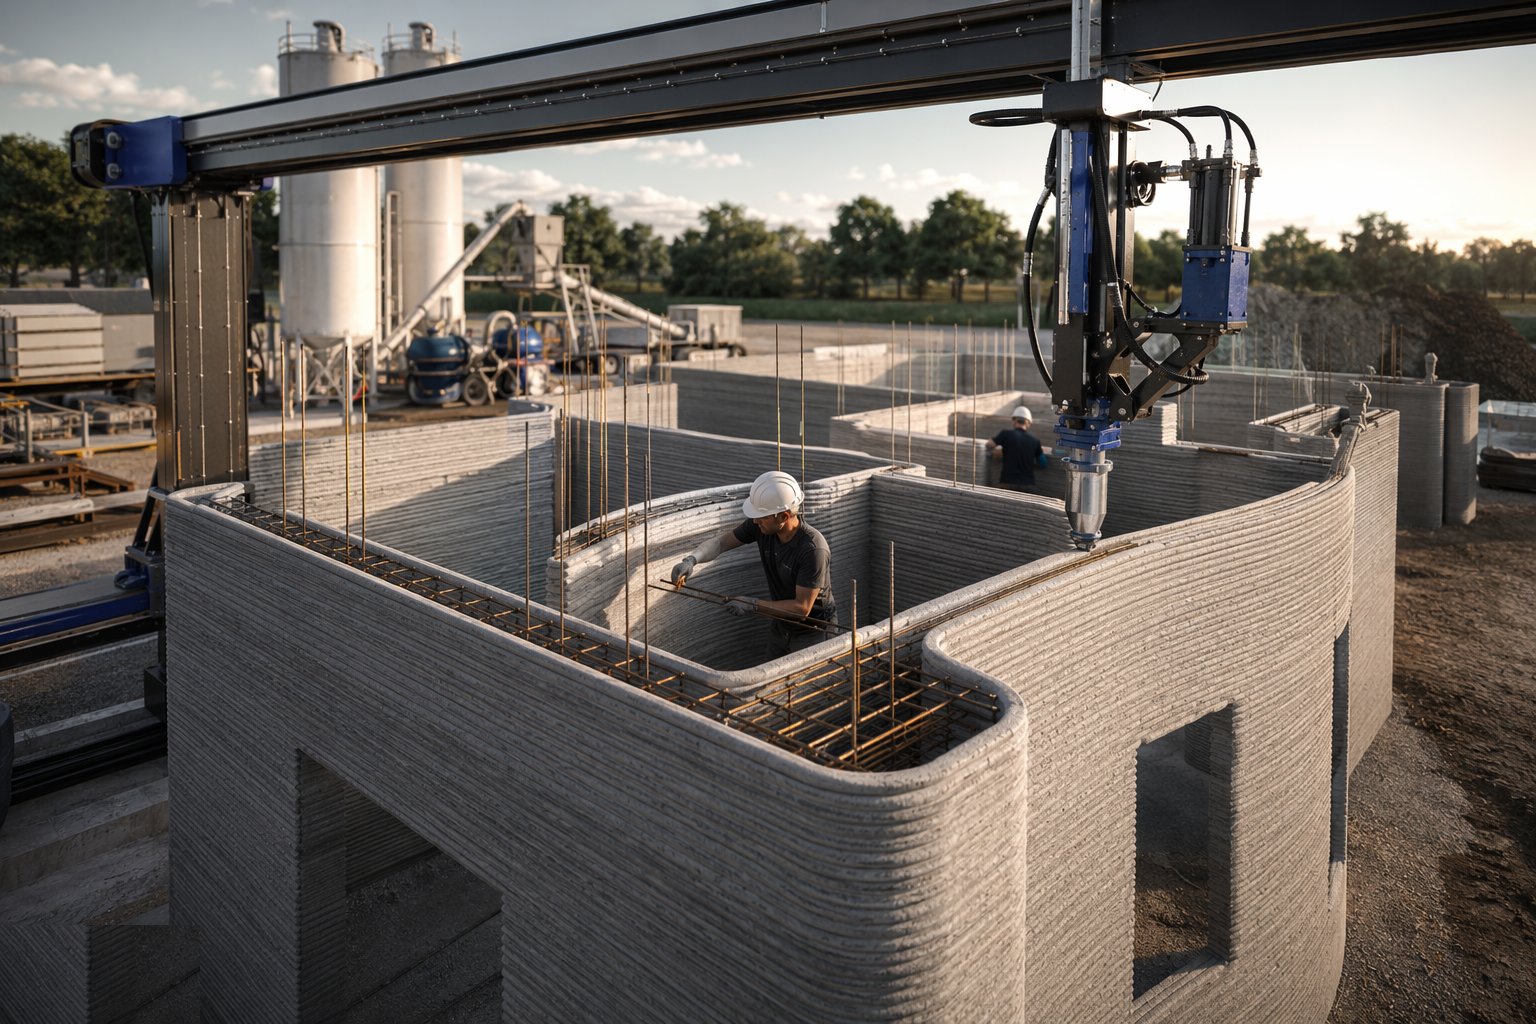
Whatever the strategy, it is executed as a designed operation, not discovered on site: vertical bars into the cavity as it prints, horizontal reinforcement in designed bed courses or bond beams at ring-beam level, lintels over openings conventionally reinforced, and the cavity fill poured in controlled lifts with compaction that reaches the full height — honeycombing inside a printed shell is invisible until it matters. Cover, laps and anchorage are inspected before the fill closes them, exactly as in conventional work, and photographed, because nobody can drill-test a cavity wall afterwards.
Step 6: Complete the conventional 70% honestly
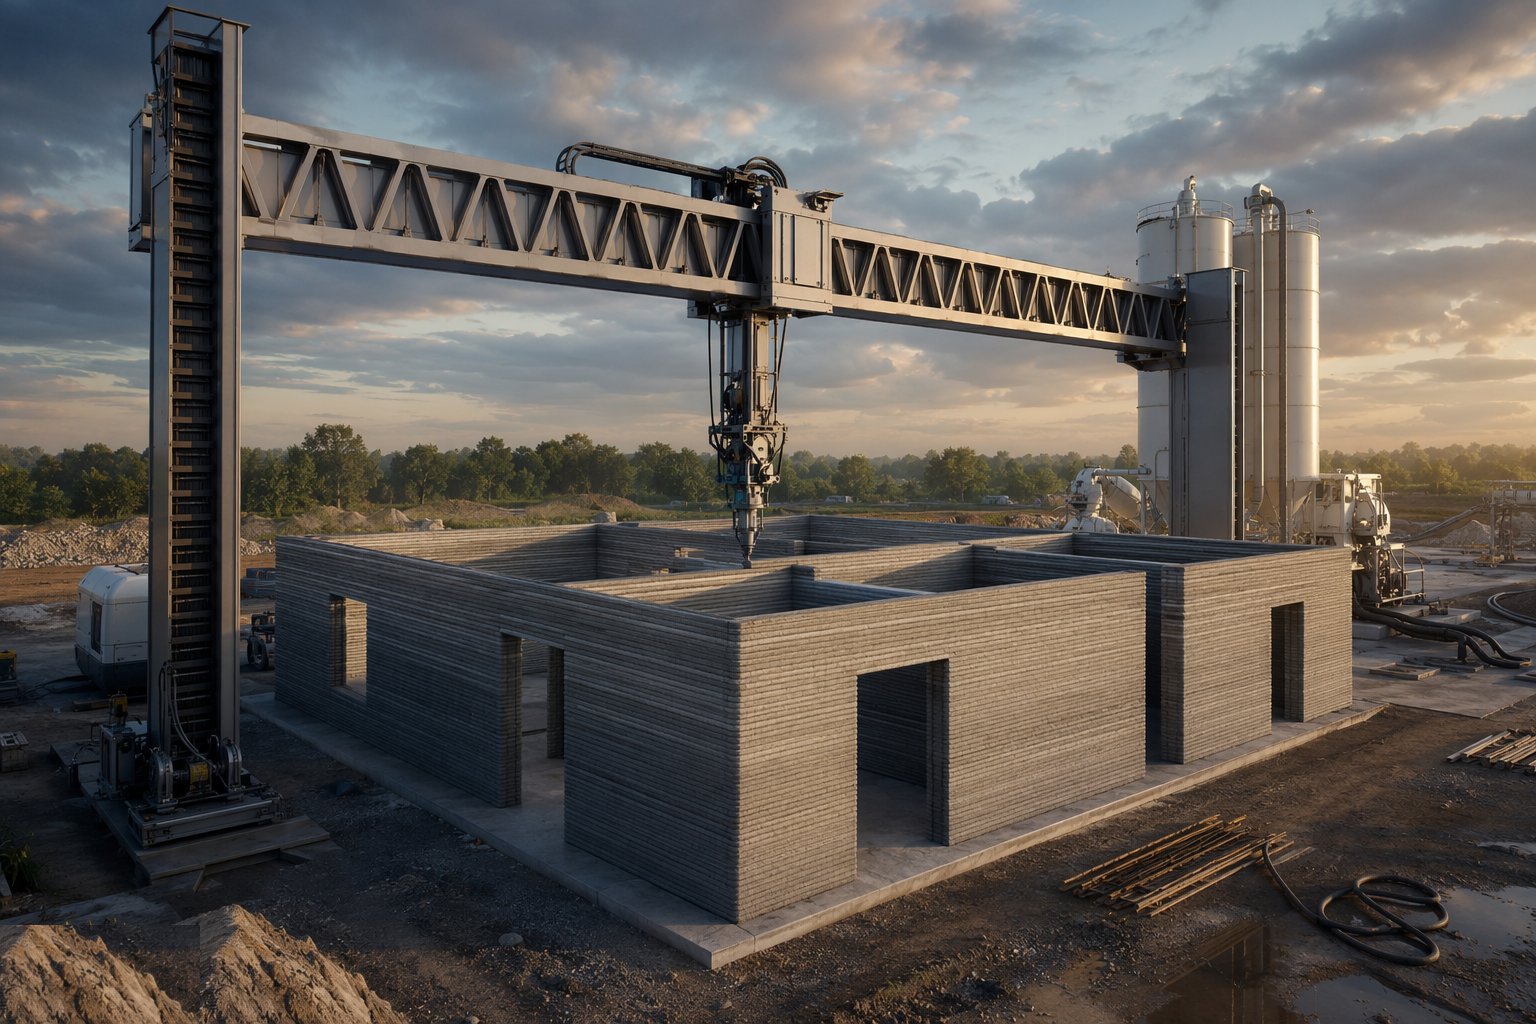
The printer leaves a wall shell; the building still needs its ring beam, roof or slab, services first fix, waterproofing and thermal upgrades (printed walls are not inherently insulating or watertight — the bead geometry leaves micro-channels), external render or cladding, and internal finishes. Programmes that claimed a house in a week quietly become the usual months, which is fine — the saving is real but it is in the walling package, not the whole build. Budget and programme the rest of the works conventionally or the job stalls at shell stage, as many demonstration projects have.
Step 7: Test, approve and document against the actual pathway
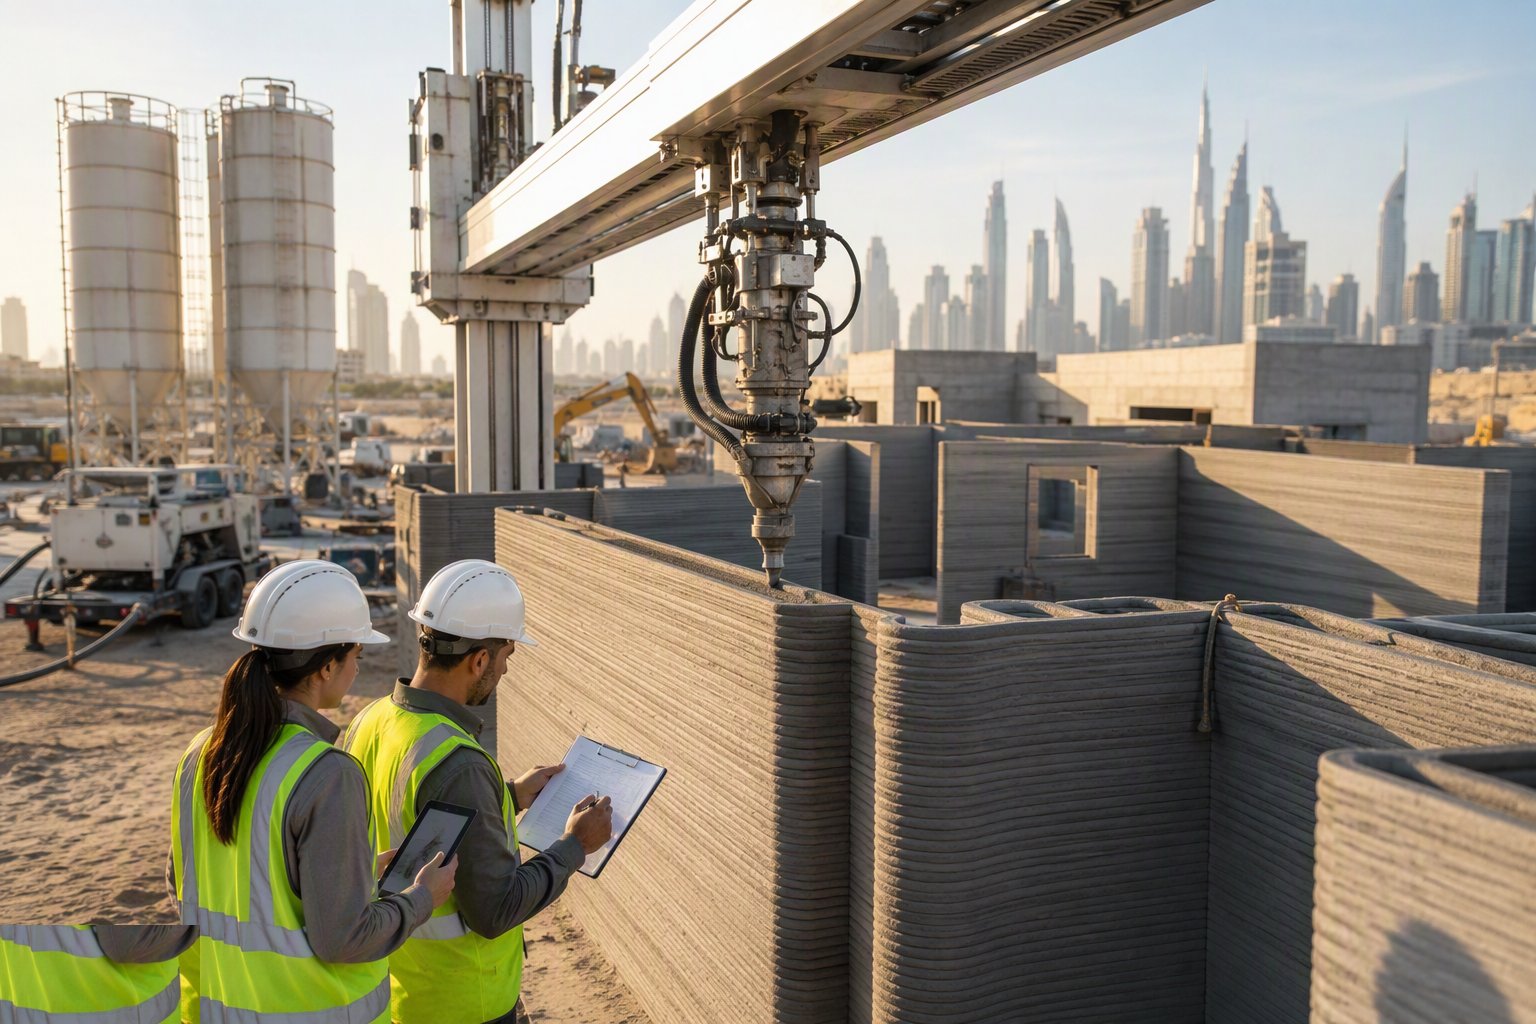
Verification matches the approvals route: in Dubai, to the DM 3D printing standard with its material and structural requirements; elsewhere, bespoke justification with element tests — printed wall panels tested for compression, bending and racking, material certificates for every batch, and structural calculations treating the layered anisotropic material for what it is rather than pretending it is monolithic concrete. The as-built file records print logs, stoppages and repairs: the wall's biography, which is what a future engineer needs when drilling it.
Step 8: Learn what the printer is actually for
Close out with the honest economics: printer mobilisation and crew against the blockwork and formwork package it replaced, square metres of wall per day achieved against the brochure rate, defect and rework rates, and the approval cost per building. The answer decides where it goes next — low-rise housing runs, compound and boundary walls, infrastructure furniture, factory-printed components — and where it does not. The technology is real and improving; the discipline is refusing to use it where a blockwork gang is still cheaper, faster and approvable by breakfast.
Plant and equipment
- Gantry printer or tracked robotic arm with print head and control system
- Mixing and pumping plant matched to the printable mix, with spare pumps
- Silos and batching for dry constituents; admixture dosing systems
- Conventional kit for the cavity fill: poker vibrators, small-line pumps
- Total station and laser levels for printer datum and layer verification
- Test-print slabs, flow cones and batch QC equipment
- Shade structures and night-working lighting for hot-climate printing
- Conventional plant for everything the printer does not do — which is most of the building
Quality control checks
- Mix qualification per project and per climate; batch flow checks and test prints every day
- Printer datum verified before every print session
- Layer height, bead width and inter-layer time logged against the model
- Stoppage and cold-joint records; designed stop-ends only
- Reinforcement and cavity-fill inspection photographed before closure
- Element tests: printed panel compression, bending and racking to the approval pathway
- Print logs retained as the wall's as-built biography
Safety considerations
- Gantry and robot working envelopes hard-guarded — the machine does not see people
- Silica and cement exposure at the mixer and during cut-outs of defective layers
- Pumping pressures and hose management as for any concrete pump
- Manual handling of conduits, lintels and reinforcement placed between passes
- Night printing in hot climates: lighting, fatigue management, hydration
- Electrical and software isolation procedures before anyone enters the print envelope
Common defects
- Cold joints and weak inter-layer bond from stoppages beyond the mix open time
- Slumped or torn layers from a mix outside its buildability window in heat
- Walls out of level from a printer datum set up on an unlevel slab
- Honeycombed cavity fill invisible inside printed twin shells
- Water tracking through bead micro-channels where no render or waterproofing was applied
- Reinforcement omitted or displaced where the print sequence gave no access to fix it
- Demonstration-project syndrome: shell printed fast, building stalled for months at 30% complete
- Approval drag from treating layered printed material as ordinary concrete in the calculations
Best suited for
- Single-storey and low-rise housing with continuous wall runs — the genuine sweet spot
- Curved and organic wall geometry where formwork costs explode
- Remote or rapid-deployment sites: outbuildings, compounds, humanitarian and military works
- Dubai and UAE projects where the DM approval pathway and strategy actively support it
- Factory-printed components: façade panels, void formers, moulds — quietly the most successful use
- Boundary and compound walls, where reinforcement demand is low and speed is high
How long does 3D Printing and Additive Construction take?
Typical duration: The wall shell of a single-storey 100–150 m² house prints in 2–5 days with a 3–4 person crew — genuinely fast. The whole building takes the usual 3–6 months, because the printer only does the walling package. Printer mobilisation and mix qualification run 4–12 weeks per project; in Dubai the DM pathway shortens approval, elsewhere bespoke justification can add months. Judge it as a walling-package accelerator, not a building printer..
Related processes
- Design for Manufacture and Assembly
- Site-Based MMC — Tunnel Form, Jump Form, Slipform, ICF
- Hybrid MMC — Modules on Podiums, Precast on Cores
- Off-Site Logistics, Craneage and Tolerance
- Modern Methods of Construction — What They Actually Are
- Volumetric Modular Construction
- Panelised Systems — Open and Closed Panel
- SIPs, Floor and Roof Cassettes
- Precast Concrete Structures
- Bathroom Pods, Riser and Plant Modules
- Off-Site & Modern Methods sector guide
- Buildings group