SIPs, Floor and Roof Cassettes
Structural insulated panels and prefabricated floor and roof cassettes — fast, airtight and unforgiving of sloppy junctions.
Last updated 2026-07-28 by the BuildPedia Editorial Team.
What is SIPs, Floor and Roof Cassettes?
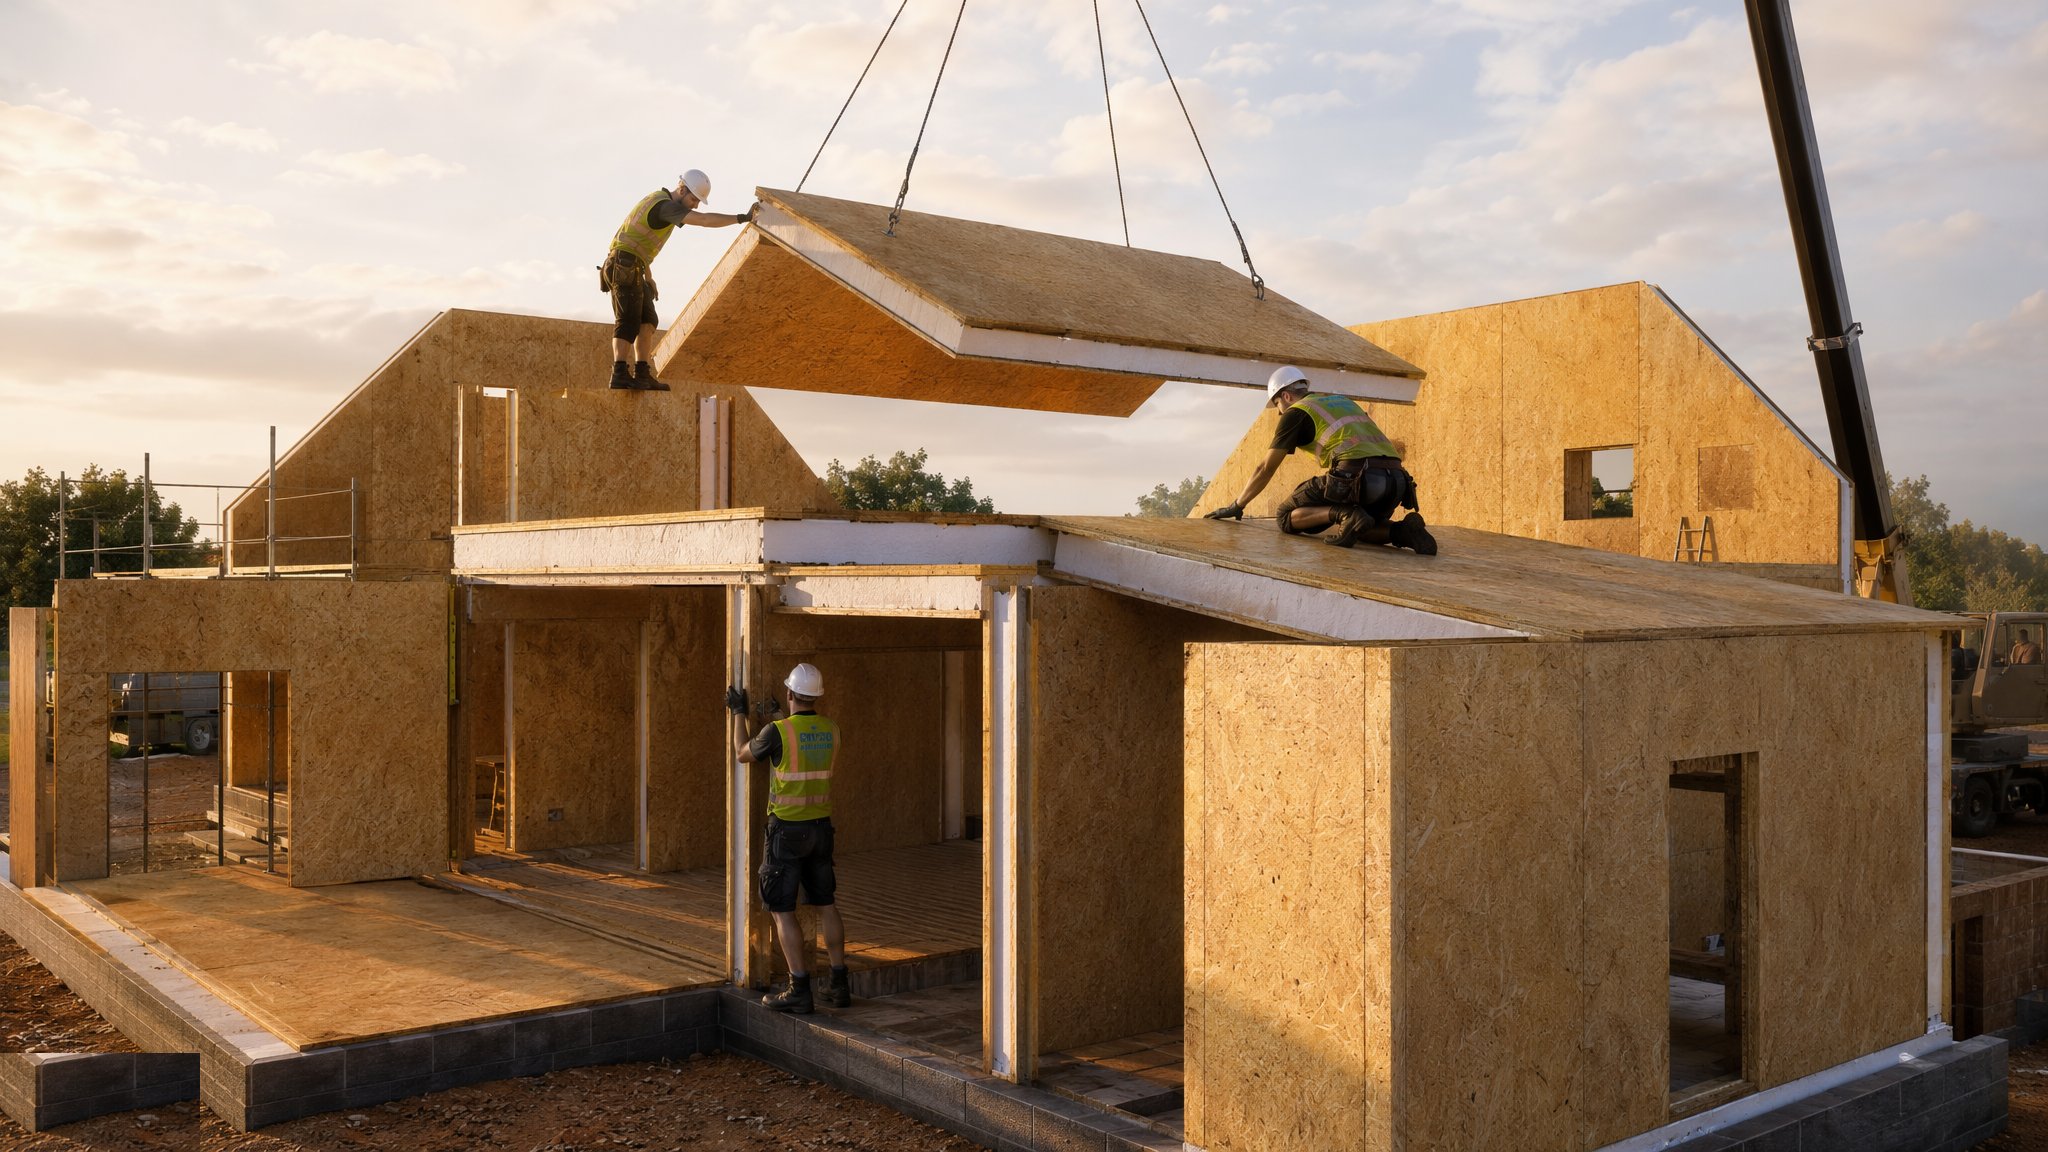
Structural insulated panels — SIPs — are the sandwich version of panelised construction: two OSB faces factory-bonded to a rigid foam core, carrying load as a composite panel instead of a stud frame. Walls and roofs go up in large, light, strong units; a SIPs house shell can be standing and weathertight inside a week. Floor and roof cassettes are the same idea applied horizontally: joisted, decked and sometimes insulated and boarded units craned in as finished floor plates or roof sections instead of being built stick by stick at height. Both belong to the same family of thinking — do the fiddly work in the factory, leave only joints to the site.
That is also the whole risk profile in one sentence: with SIPs and cassettes, the panels are usually fine and the joints are where buildings fail. SIP junctions — wall-to-wall, wall-to-floor, wall-to-roof, every window and door opening — are connected with splines, screws and expanding foam or tape, and they are simultaneously the structure, the airtightness layer and the thermal envelope. A missed bead of foam is a thermal bridge, an air leak and a potential condensation point all at once. Airtightness figures of 1–3 m³/h·m² are routine on well-built SIPs jobs, which is exactly why the ventilation has to be designed properly — an airtight box with no MVHR is a condensation factory.
The other honest caution is the roof. SIP roofs are commonly detailed as warm roofs, and any break in the insulation continuity or vapour control at ridges, eaves and penetrations puts moist indoor air against cold timber — the classic hot-roof condensation failure that shows up as mould and rotten OSB three winters later. In the UAE neither system has real traction — precast concrete owns the repetition market — and timber sandwich panels in a hot-humid coastal climate would need a condensation and termite strategy that concrete simply does not.
When and why is SIPs, Floor and Roof Cassettes used?
SIPs suit housing, apartments and small commercial buildings where speed, thermal performance and airtightness are the drivers and the design can be resolved to panel level before production. Cassettes suit any timber-frame or hybrid scheme where floors and roofs repeat and crane access exists — they cut weeks of joisting, decking and working-at-height off the programme. Both struggle with late design change (every opening is engineered), sites without crane standing, and clients who want to add a rooflight in month nine. The condensation and fire detailing must come from the system designer, not be improvised on the scaffold.
Types of SIPs, Floor and Roof Cassettes
SIP wall panels
Loadbearing OSB-faced panels, typically 100–175 mm of foam core, forming the structural external wall and the insulation in one. Splines, sole plates and ring beams connect them; a service void is battened off the inner face.
SIP roof panels
Spanning roof panels ridge-to-eaves with no trusses, giving open vaulted spaces. Warm-roof by nature — the vapour control and insulation continuity at ridges, hips and penetrations decide whether the roof survives its fifth winter.
Floor cassettes
Joisted, decked floor units — sometimes insulated and pre-boarded underneath — craned onto the wall plates storey by storey. Immediate working platform, no loose joisting at height, holes for stairs and services cut in the factory.
Roof cassettes
Insulated and felted roof sections craned onto the wall tops, making the building weathertight in hours instead of weeks. Standard on volume housing in the Netherlands and growing in the UK; crane-dependent and unforgiving of out-of-square walls below.
SIPs, Floor and Roof Cassettes: step by step
Step 1: Resolve the design to panel level before ordering
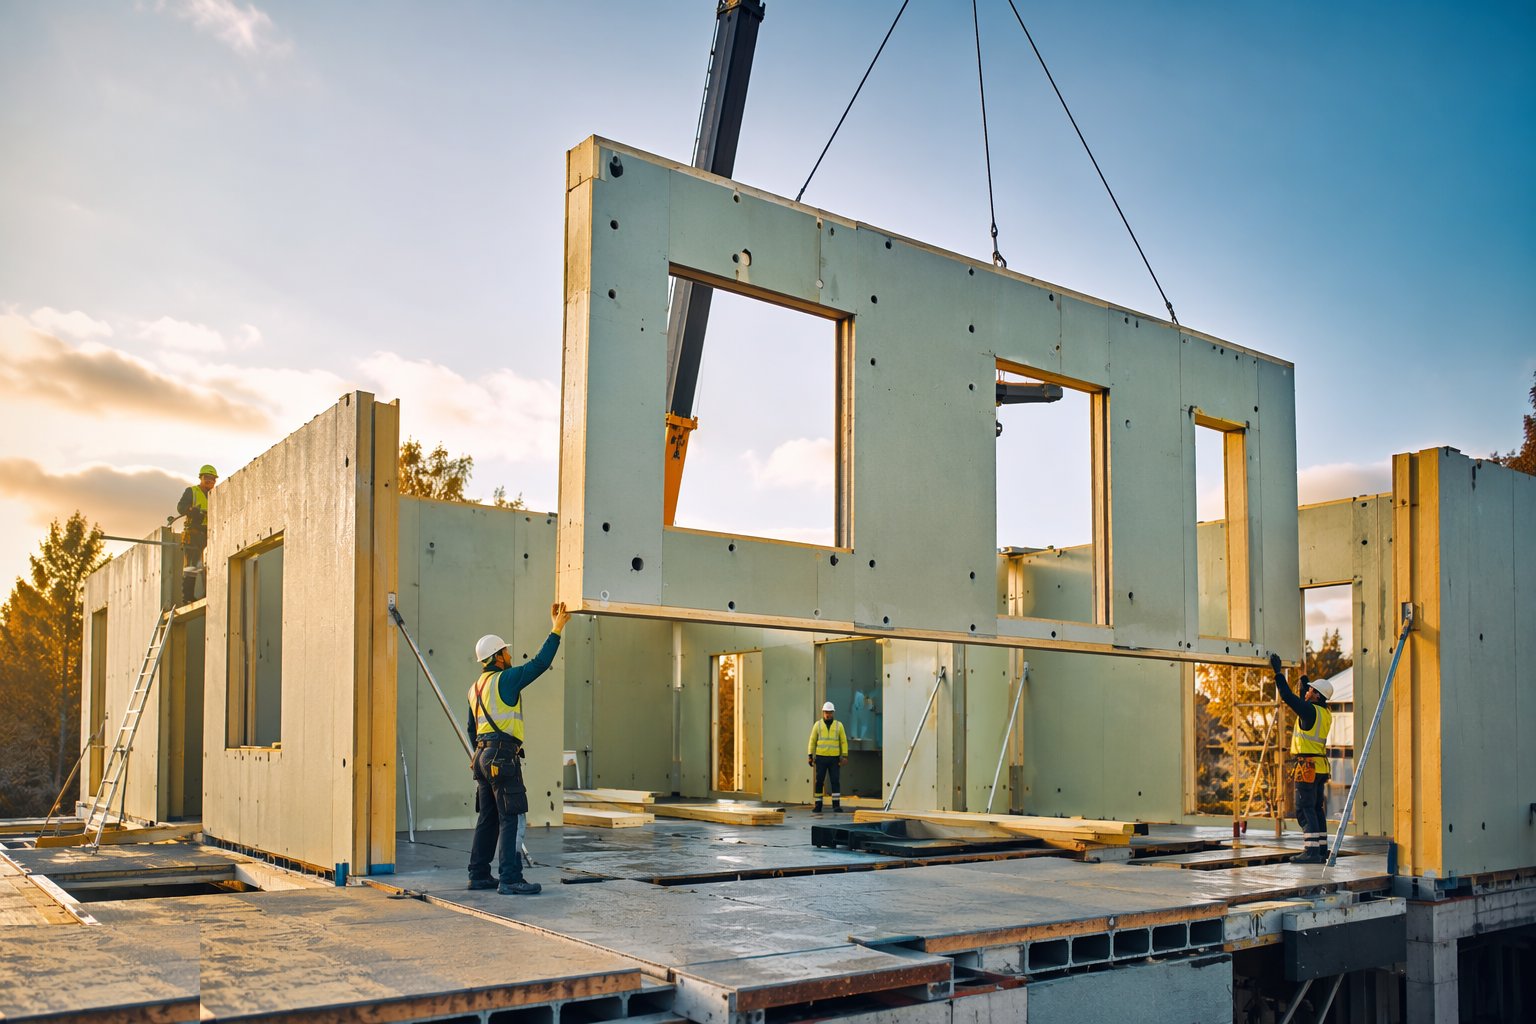
Every opening, junction, beam pocket and service route is fixed on the cutting drawings before the factory runs — a SIP is an engineered component, and moving a window after cutting means a new panel, not a bigger hole. Load checks cover the point loads (steel posts and splines where panels carry beams), and the cassette layouts fix stair openings, service holes and edge trims to the millimetre.
Step 2: Survey the base and set the sole plates dead level
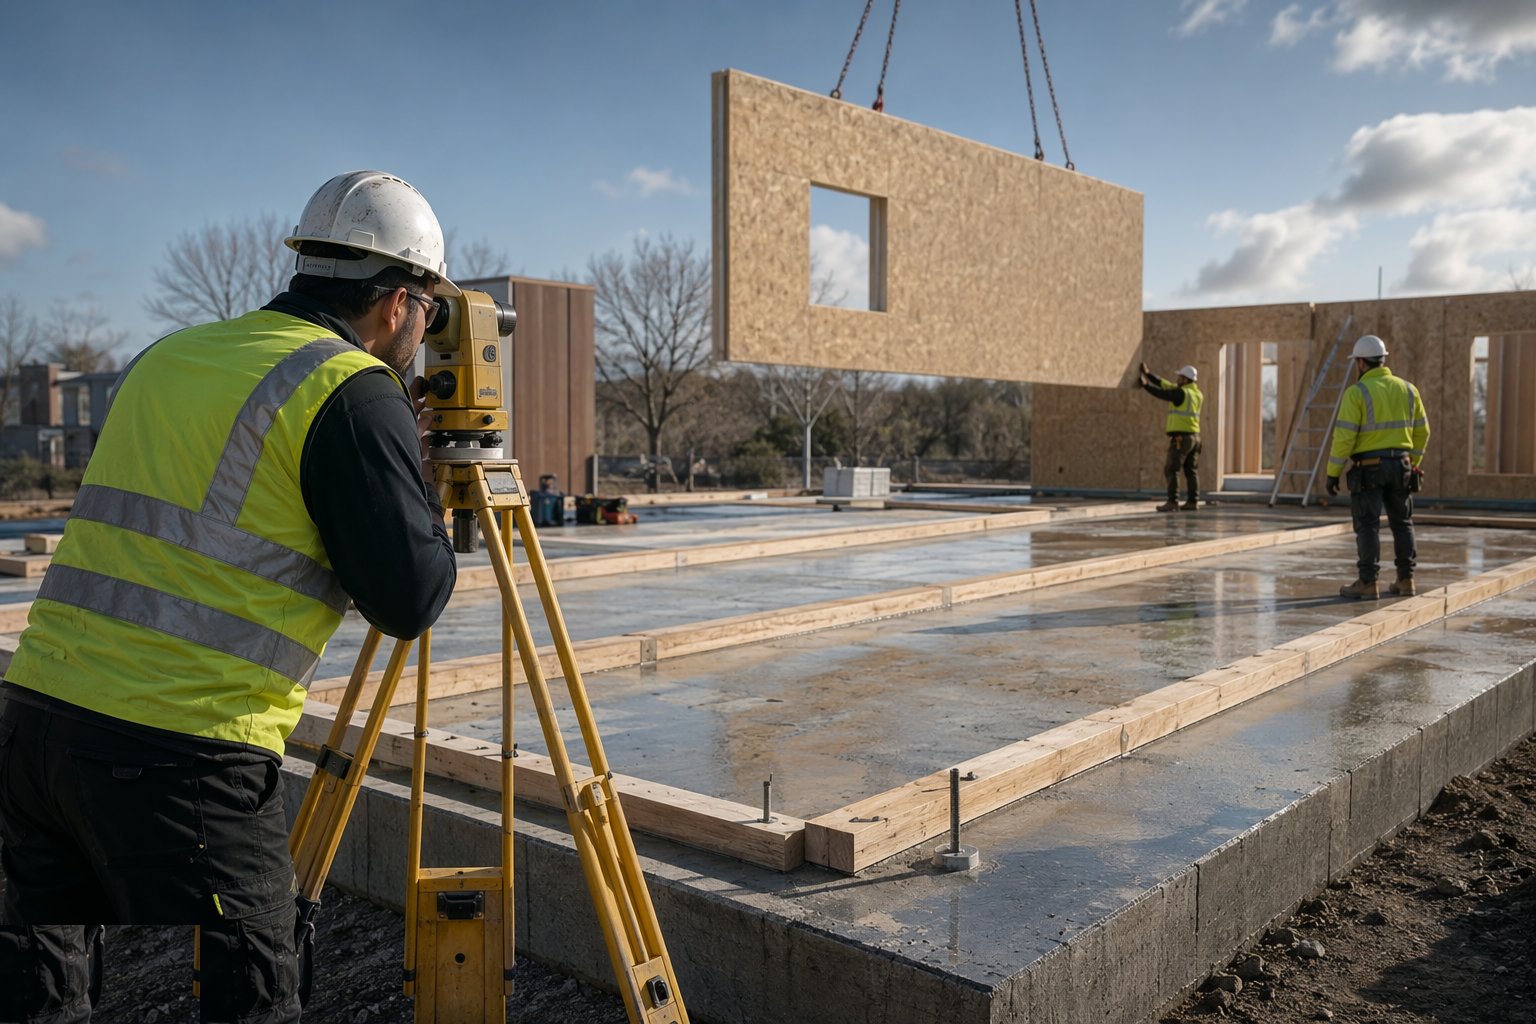
SIPs have even less tolerance for a wavy base than stud panels — the panel is rigid, so a 10 mm dip in the slab becomes a rocking wall and joints that will not pull up. Sole plates are levelled on shims or mortar to the system tolerance, DPM lapped and sealed under them, and the setting-out checked on diagonals because a parallelogram foundation makes every roof joint a fight.
Step 3: Erect the wall panels with joints sealed as you go
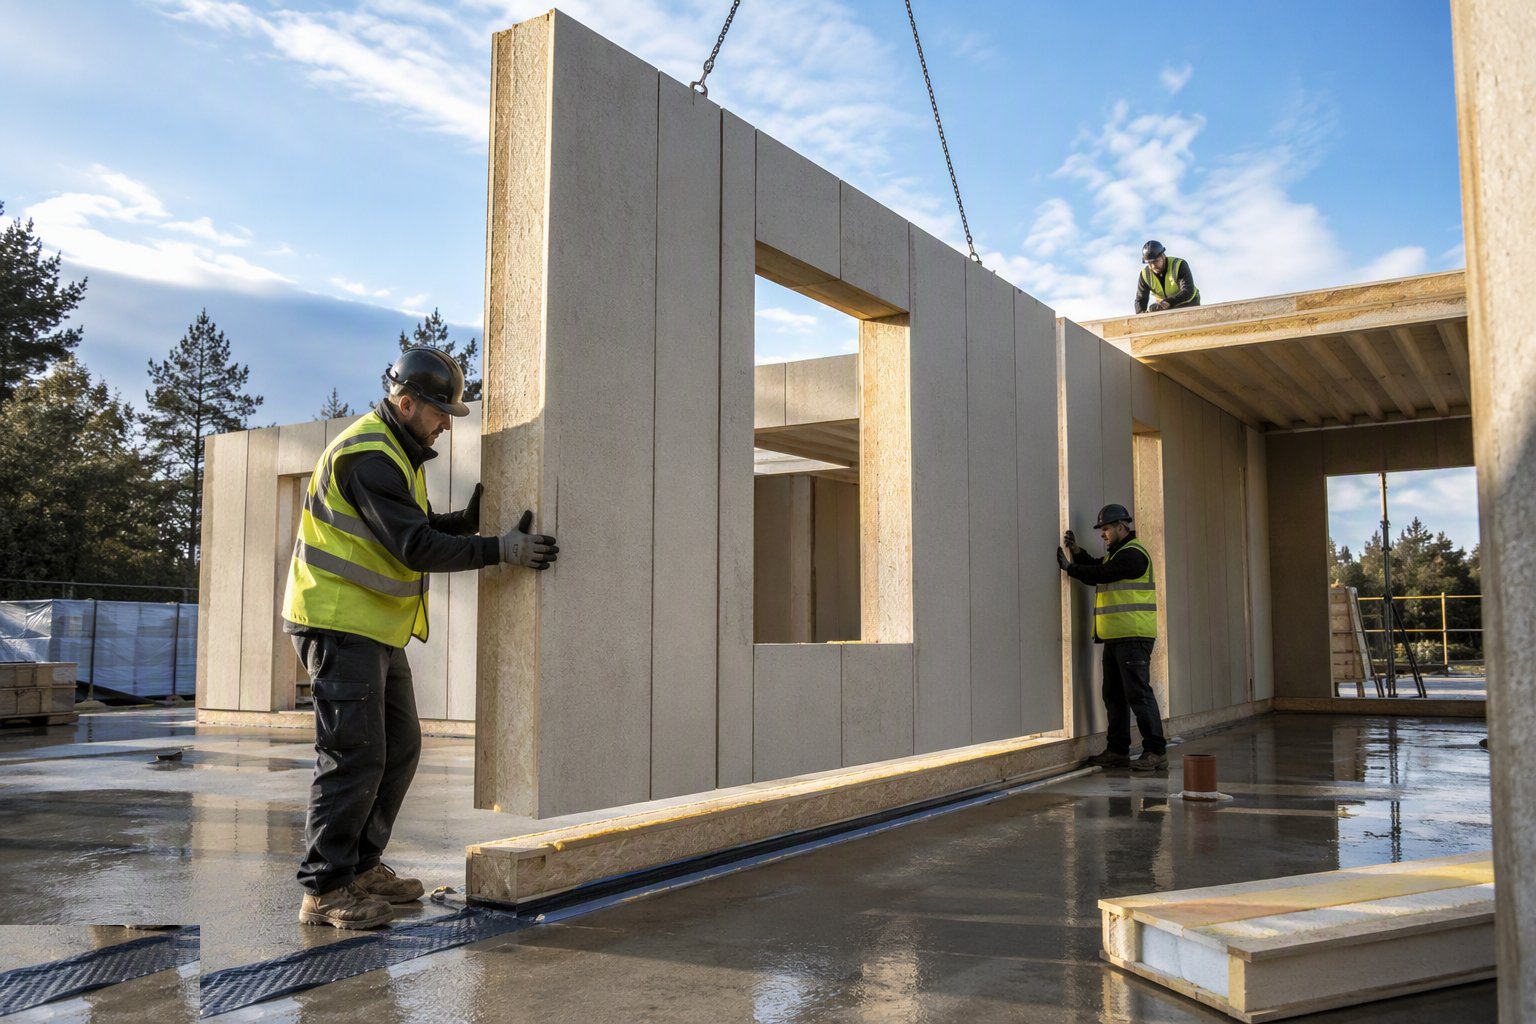
Panels are lifted or walked into position, seated on the sole plate over its sealant bead, and jointed with splines, screws at the specified centres and expanding foam or tape in every joint channel — as each panel goes in, not as a mopping-up pass later. Corners and junctions get their engineered connection details, and every joint is checked for full foam fill before the next panel hides access to it.
Step 4: Install ring beams, posts and the intermediate floor
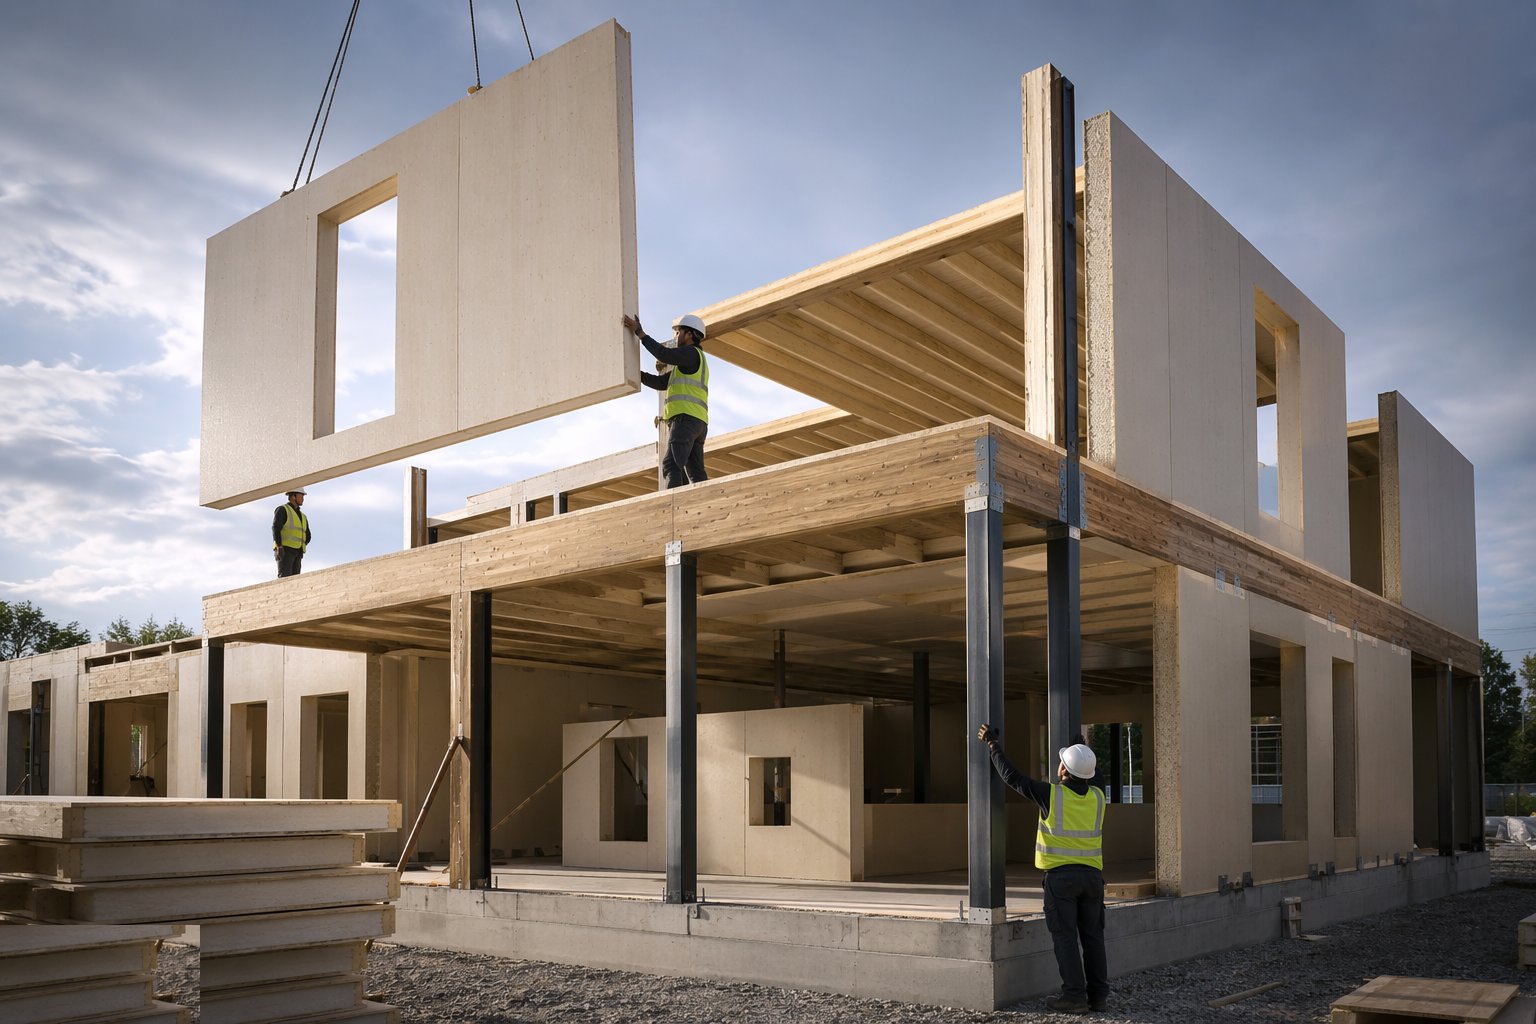
The first-floor ring beam or ledger seats in its panel recesses with the specified fixings; steel or glulam posts go in where the engineer put them to carry point loads down through the panel system. Floor cassettes are craned on, seated on the bearing line with their acoustic and fire stops at edges, fixed and deck-screwed — and the platform is instantly a safe working level, which is half the point.
Step 5: Land the roof — panels or cassettes — and close the ridge
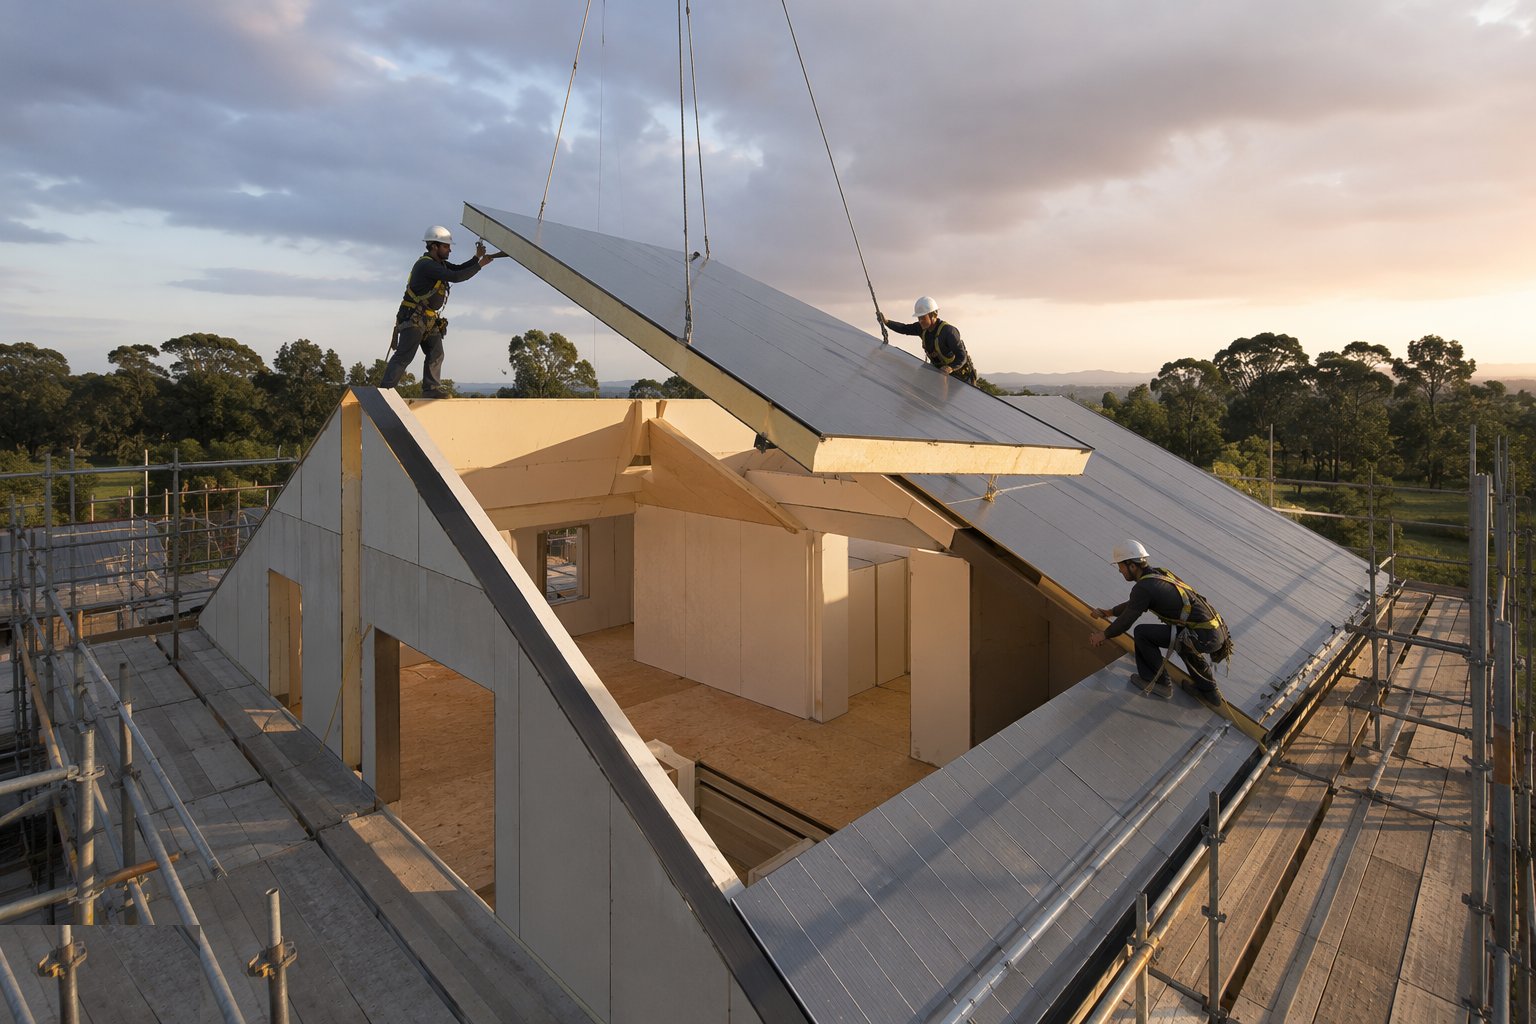
Roof panels span eaves to ridge on their bearings with ridge beams where spans demand, joints splined and foamed, eaves and verge details closed per the system. Roof cassettes land as pre-insulated sections with their membrane laps continuing across joints. The ridge, every penetration and every valley gets its vapour-control and insulation-continuity detail — this is where the condensation risk lives, and where inspection time is best spent.
Step 6: Seal the envelope and test the airtightness early
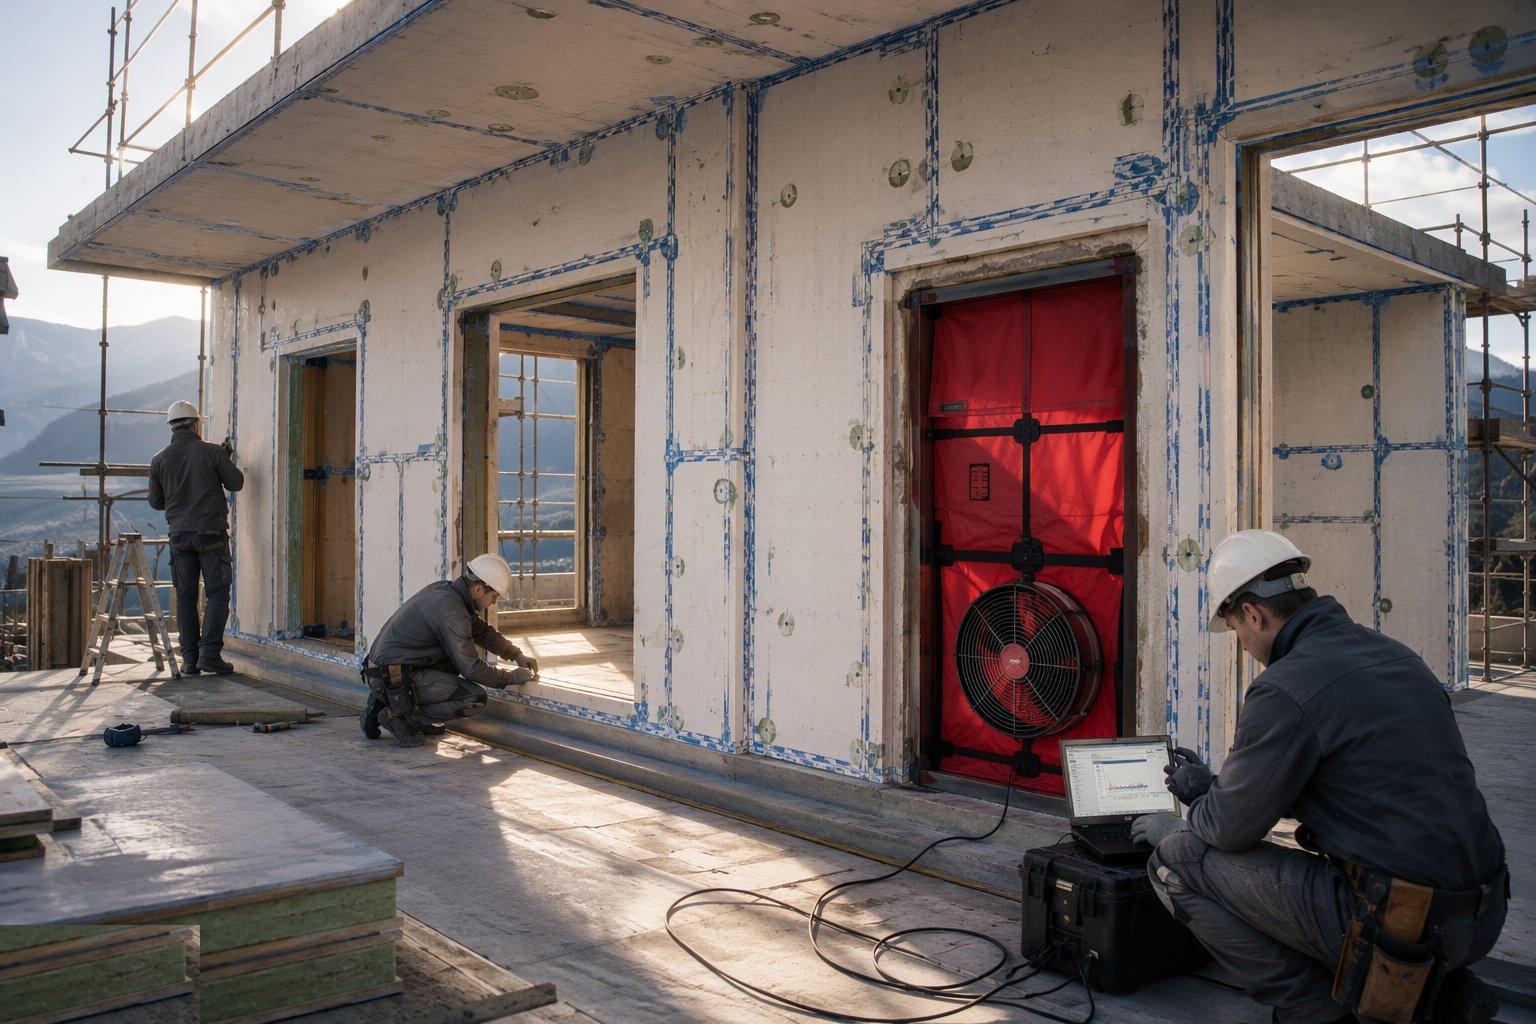
The whole envelope — panel joints, sole-plate line, window and door perimeters, service entries — is sealed to the airtightness layer, then blower-door tested as soon as the shell is closable, while every leak is still accessible. SIPs jobs should be chasing 1–3 m³/h·m²; finding the leaks now costs smoke pencils and tape, finding them after plasterboard costs ceilings.
Step 7: Run services in the voids, not through the core
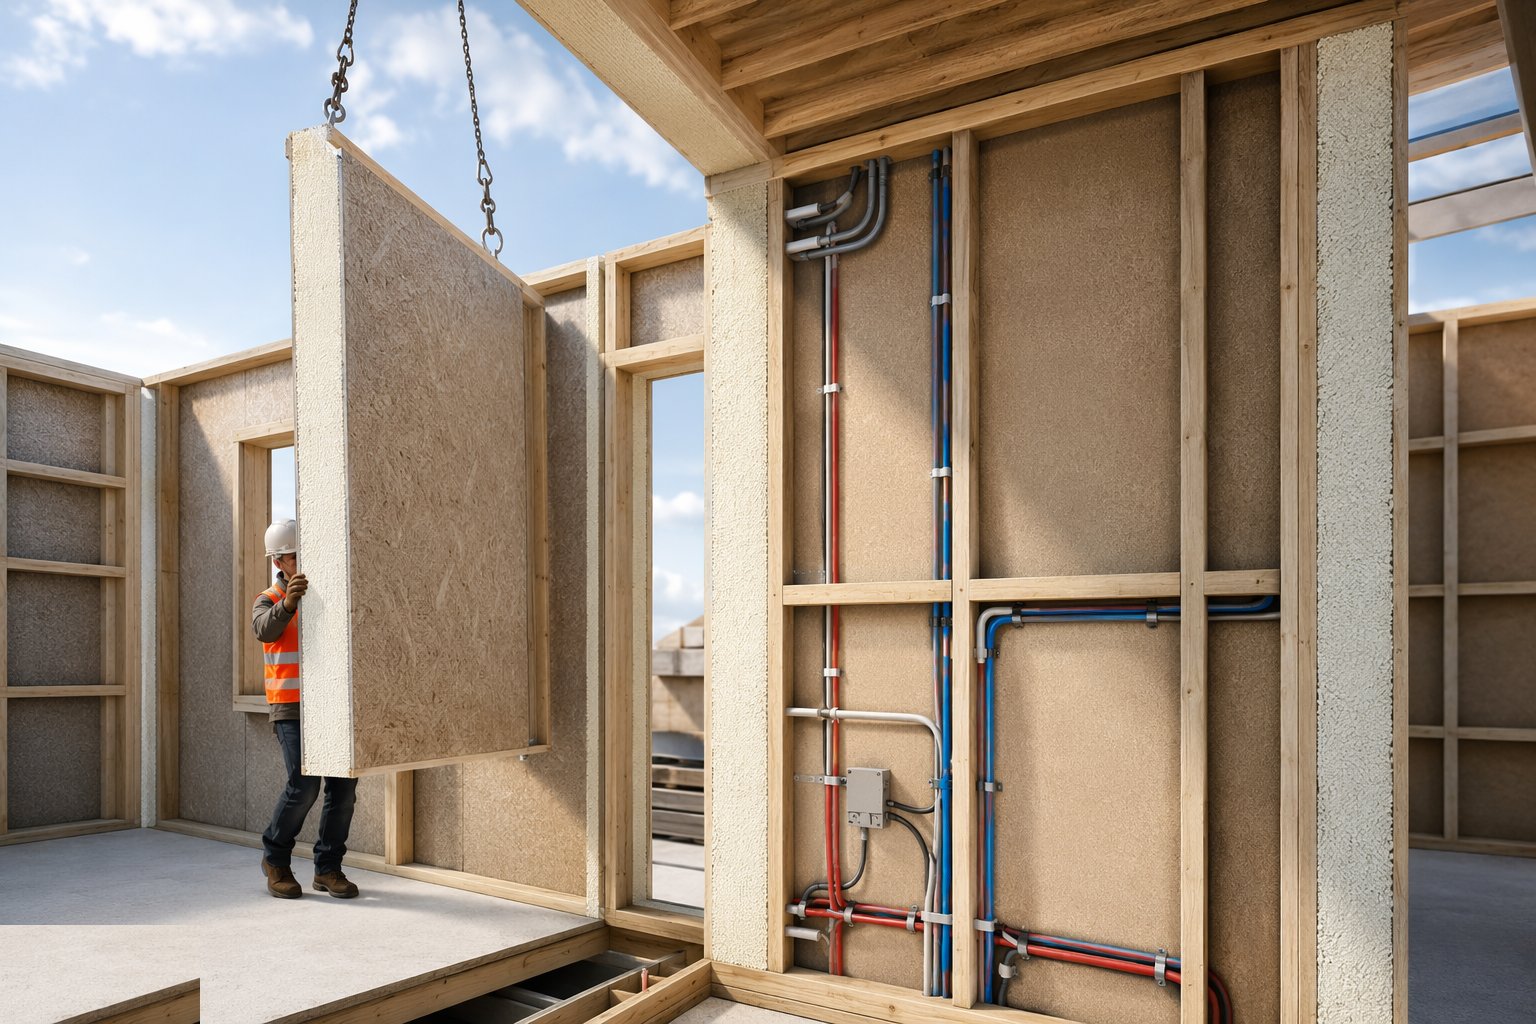
Services run in the battened service void on the inner face and through the routes the factory cut — chasing the foam core for cables is a thermal bridge and a structural no-no outside the engineered chases. Holes through the envelope (extracts, flues, MVHR) are sleeved, sealed and taped both faces, because each one is an air leak and a vapour path until proven otherwise.
Step 8: Ventilate, line out and hand over the moisture strategy
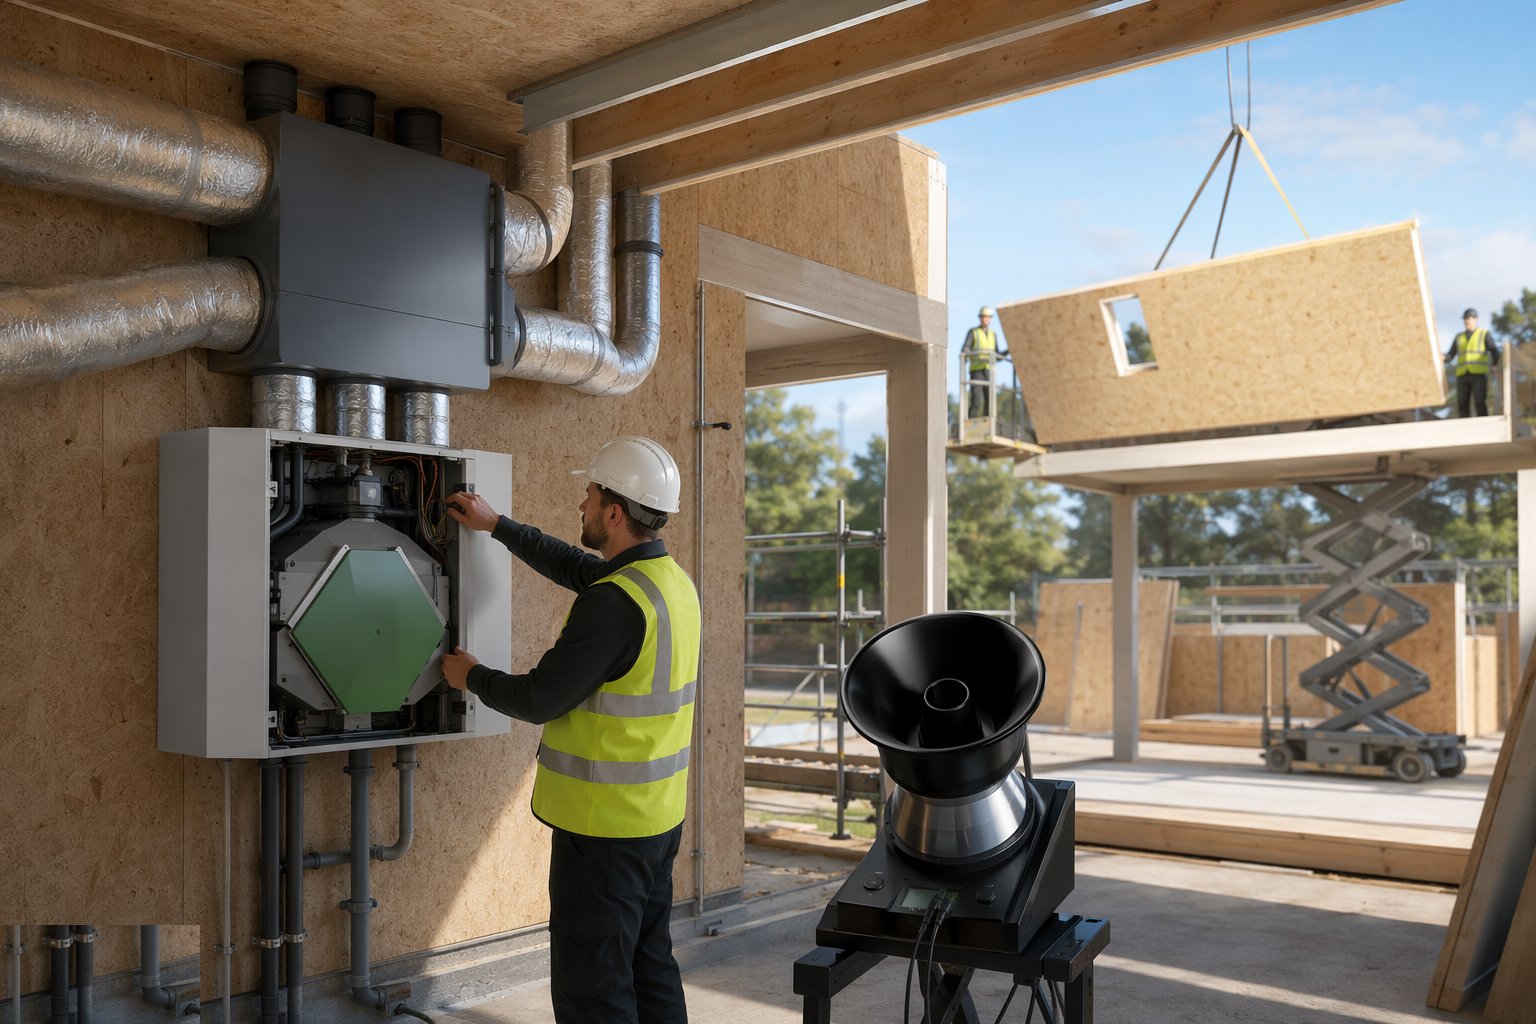
An airtight SIPs shell needs its designed ventilation — typically MVHR — commissioned and balanced, with the extract rates witnessed. Linings go on over the service void, moisture readings on the panels are recorded for the file, and the handover includes the maintenance truth: this building manages its moisture mechanically now, and a switched-off MVHR unit is a defect, not a lifestyle choice.
Plant and equipment
- Crane or telehandler with panel and cassette lifting beams
- Panel trolleys and suction/handling aids for walking panels on the ground floor
- Screw guns, spline jigs and expanding foam / tape sealing kit
- Hot-wire or saw cutting kit for site adjustments (engineered only)
- Blower-door test kit and smoke pencils for airtightness work
- Moisture meters and hygrometers for the envelope moisture file
Quality control checks
- Cutting drawings frozen and reconciled to the setting-out before production
- Sole plate level and diagonal check signed off before panel one
- Every joint checked for foam fill, spline engagement and screw centres before concealment
- Blower-door test at weathertight shell stage, leaks fixed before linings
- Ridge, eaves and penetration vapour-control details inspected and photographed
- Moisture readings on panels and cassettes recorded at close-in
- MVHR commissioning figures witnessed against the design airflows
Safety considerations
- Large light panels catch wind easily — lifting limits and hand-hold discipline in gusts
- Working at height sharply reduced but not eliminated: edge protection until the roof closes
- Expanding foam and adhesives — COSHH, ventilation during sealing work
- Manual handling of panels on foot — team lifts, planned routes, no solo heroics
- Immediate-edge-risk on freshly landed cassettes — openings guarded before the platform is used
- Cutting OSB and foam: dust extraction and FFP3, and fire watch on any hot work nearby
Common defects
- Hot-roof condensation: mould and OSB decay at ridges and penetrations where vapour control failed
- Air-test failures from unsealed sole-plate lines and window perimeters
- Thermal bridging at joints foamed incompletely — cold stripes on the thermal camera
- Creaking floors and cracked finishes from cassettes on out-of-level bearings
- Panels cut on site beyond the engineered allowances, weakening the structure
- Interstitial damp in walls where services were run through the core instead of the void
Best suited for
- Low-energy and Passivhaus-leaning housing where airtightness is the headline
- Fast shell programmes — a house shell weathertight in days, a school in weeks
- Vaulted and open roof spaces that trusses would clutter
- Volume housing with crane access and repeating floor plates (cassettes)
- Extensions and infill where a light, fast, dry envelope beats wet trades
How long does SIPs, Floor and Roof Cassettes take?
Typical duration: A SIPs house shell: 5–15 site days to weathertight. Cassettes cut a storey's floor programme from a week of joisting and decking to a day of crane picks. The variables: panel count, crane availability, base tolerance, and how ruthlessly the design was frozen at cutting-drawing stage..
Related processes
- Modern Methods of Construction — What They Actually Are
- Volumetric Modular Construction
- Panelised Systems — Open and Closed Panel
- Precast Concrete Structures
- Bathroom Pods, Riser and Plant Modules
- Design for Manufacture and Assembly
- Site-Based MMC — Tunnel Form, Jump Form, Slipform, ICF
- Hybrid MMC — Modules on Podiums, Precast on Cores
- Off-Site Logistics, Craneage and Tolerance
- 3D Printing and Additive Construction
- Off-Site & Modern Methods sector guide
- Buildings group