Cat A Fit-Out
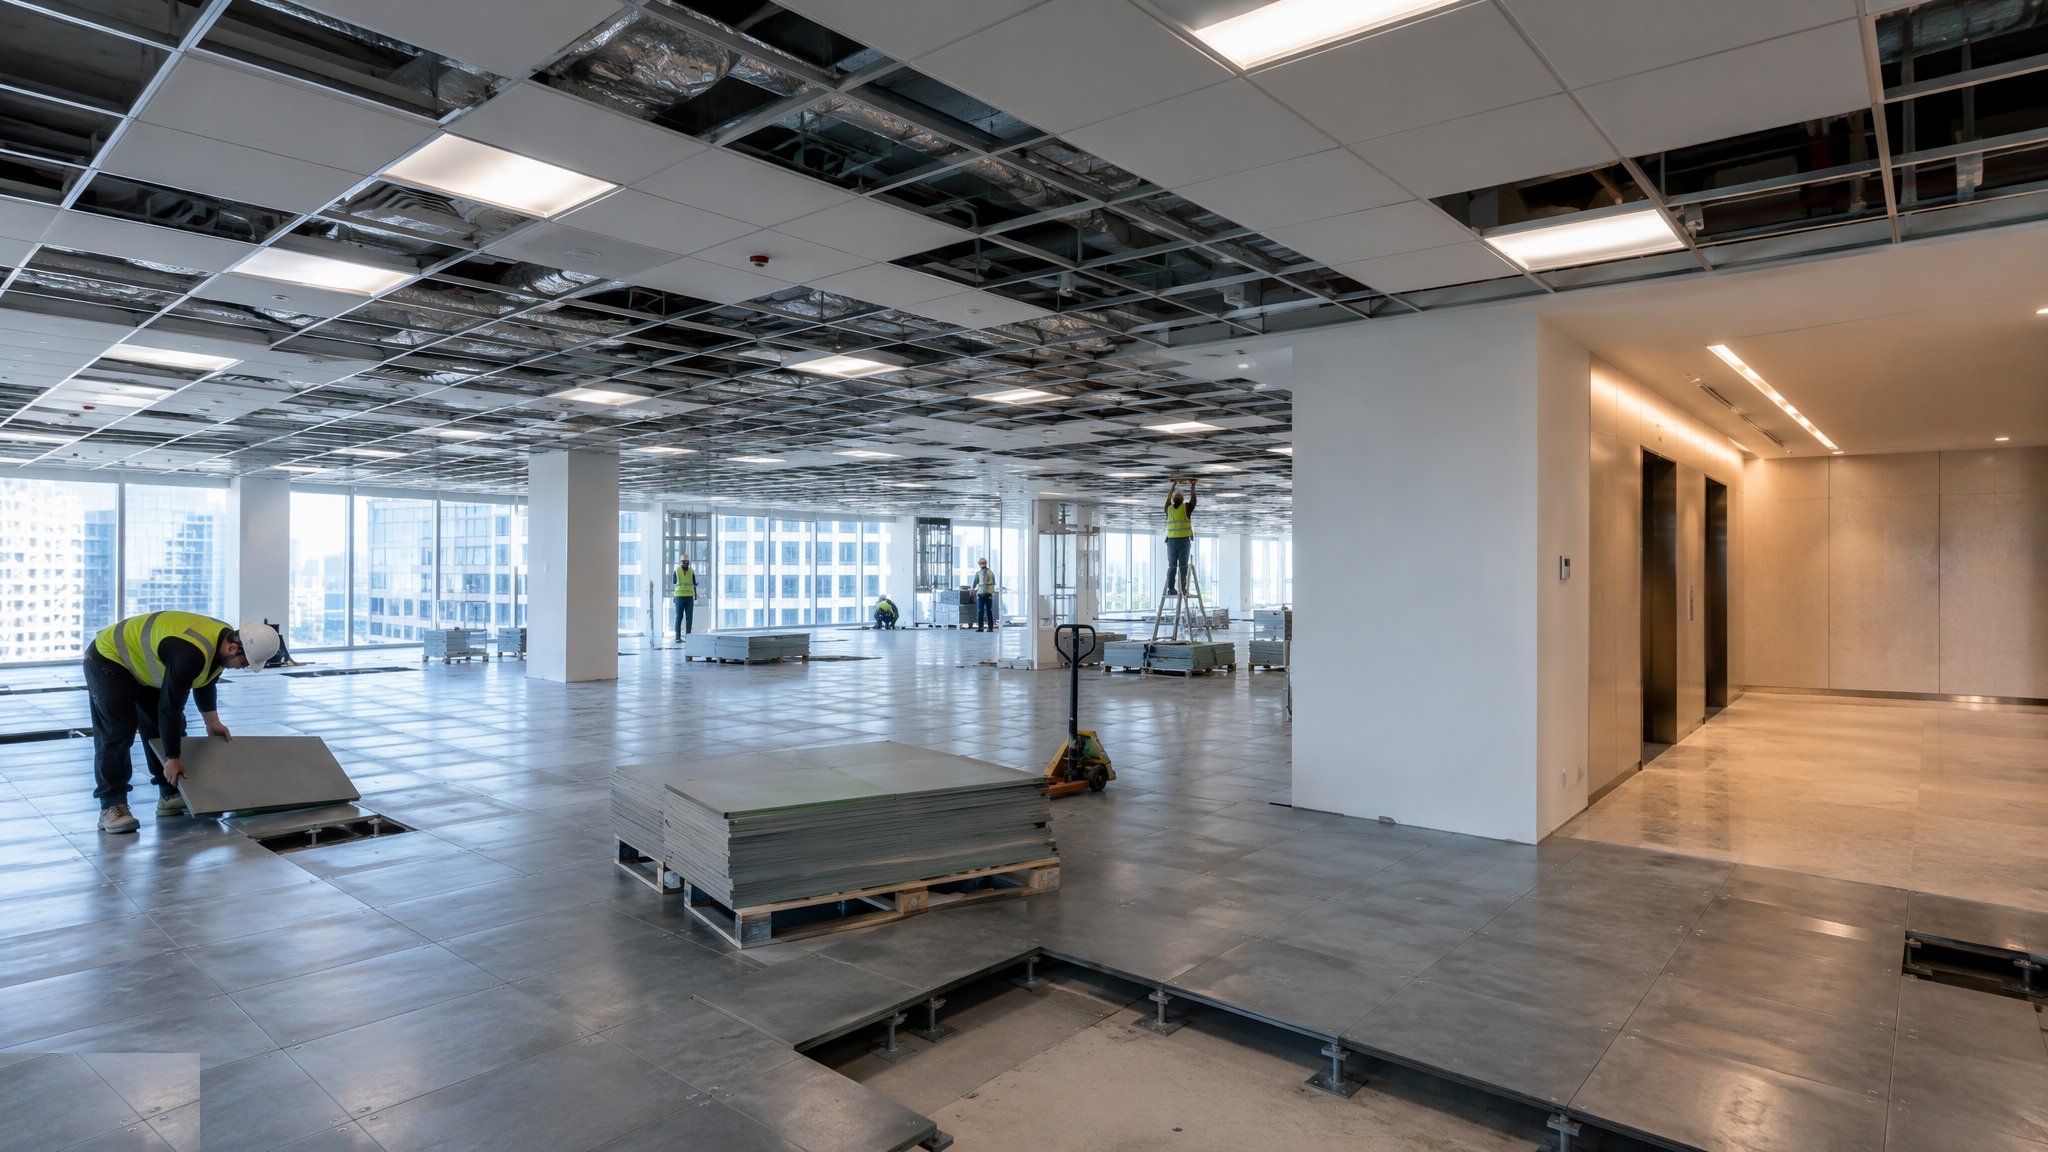
The landlord's finish — raised access floors, suspended ceilings and background services to every floor, with the core, lobby and WCs fully finished — making a bare frame lettable.
Last updated 2026-07-28 by the BuildPedia Editorial Team.
What is Cat A Fit-Out?
Cat A is the finish standard a landlord delivers so that a letting agent can walk a tenant onto a floor and sell them the view, the light and the ceiling height without apology. Definitions drift between markets and agents, but the working line is this: Cat A is everything the building needs to function as a background for tenants, and nothing that belongs to a tenant's layout. Raised access floors on pedestals with a structural floor beneath; suspended ceilings on a regular grid; background mechanical and electrical services terminated to a sensible default layout — diffusers, lighting rows, sprinklers and the capacity for small power; finished landlord's areas — the reception and lobby, core corridors, lift lobbies and WCs — decorated and complete. The office floors themselves are deliberately neutral: no partitions, no carpet worth arguing about, no tenant branding.
The vocabulary matters commercially. Shell and core stops earlier — structure, envelope and core only, sometimes without even screed — and leaves the Cat A works to the tenant or a later phase. Cat A, as above, is the lettable background. Cat A+ (or Cat A plus) pushes toward plug-and-play: finished floors, basic tea points, sometimes furniture-ready floors aimed at occupiers who want speed over bespoke design. In the UK the benchmark is what the BCO's Guide to Specification and the local letting agents call Grade A; in the Gulf the same tiering exists around the free zones and Grade A towers, with authority fit-out approvals running through the relevant jurisdiction — DM, DDA or Trakhees in Dubai — and Civil Defence sign-off on any modification to fire systems, even in a landlord fit-out.
The engineering content is modest but the coordination is not. A raised access floor must land at its specified finished floor level with the flatness and pedestal rigidity that a thousand castor chairs will test; the void beneath carries the floor boxes and small power the tenant will actually use. The suspended ceiling grid must reconcile the services above it — diffuser positions, sprinkler drops, lighting rows, speakers and detectors — onto a grid the eye reads as calm and regular. And the whole floor must be commissioned to a background standard: air flows, temperatures and lighting levels that prove the base build works, before a tenant's fit-out changes any of it.
When and why is Cat A Fit-Out used?
Cat A follows weathertight floors and tested MEP first fix, and it precedes both marketing and Cat B: agents show Cat A floors, tenants sign on them, and their fit-out designers then draw over what the landlord actually built. It matters because Cat A is the building's product: the ceiling height, the floor void depth, the WC finishes and the lobby stone are what the rent is compared against, and defects here are defects in the asset, not the snag list. It also matters contractually — the Cat A specification is the baseline the tenant's licence to alter will be measured against, and the baseline commissioning results are what the landlord produces when a tenant's fit-out is blamed for a floor that never cooled properly. Get the access floor level, the ceiling grid and the background services right, and Cat B is a tenant's problem; get them wrong and every letting inherits your mistake.
Types of Cat A Fit-Out
Shell and core
Structure, envelope and finished common parts only — the office floors left as bare slabs and riser terminations. Rare on speculative Grade A schemes, but used where anchor tenants are expected to self-deliver, or where the market is slow and the landlord defers the Cat A spend.
Cat A (standard landlord's fit-out)
Raised access floors, suspended ceilings, background MEP terminated to a default layout, finished core and WCs. The lettable baseline: neutral, functional, and deliberately incomplete in exactly the places a tenant will want control.
Cat A+ / plug-and-play floors
Cat A pushed toward readiness — finished flooring, basic tea points, sometimes furniture packages or fitted meeting rooms on marketing floors. A leasing product as much as a construction standard: speed to occupancy traded against the tenant's freedom to design.
Cat A Fit-Out: step by step
Step 1: Fix the Cat A specification and the letting standard
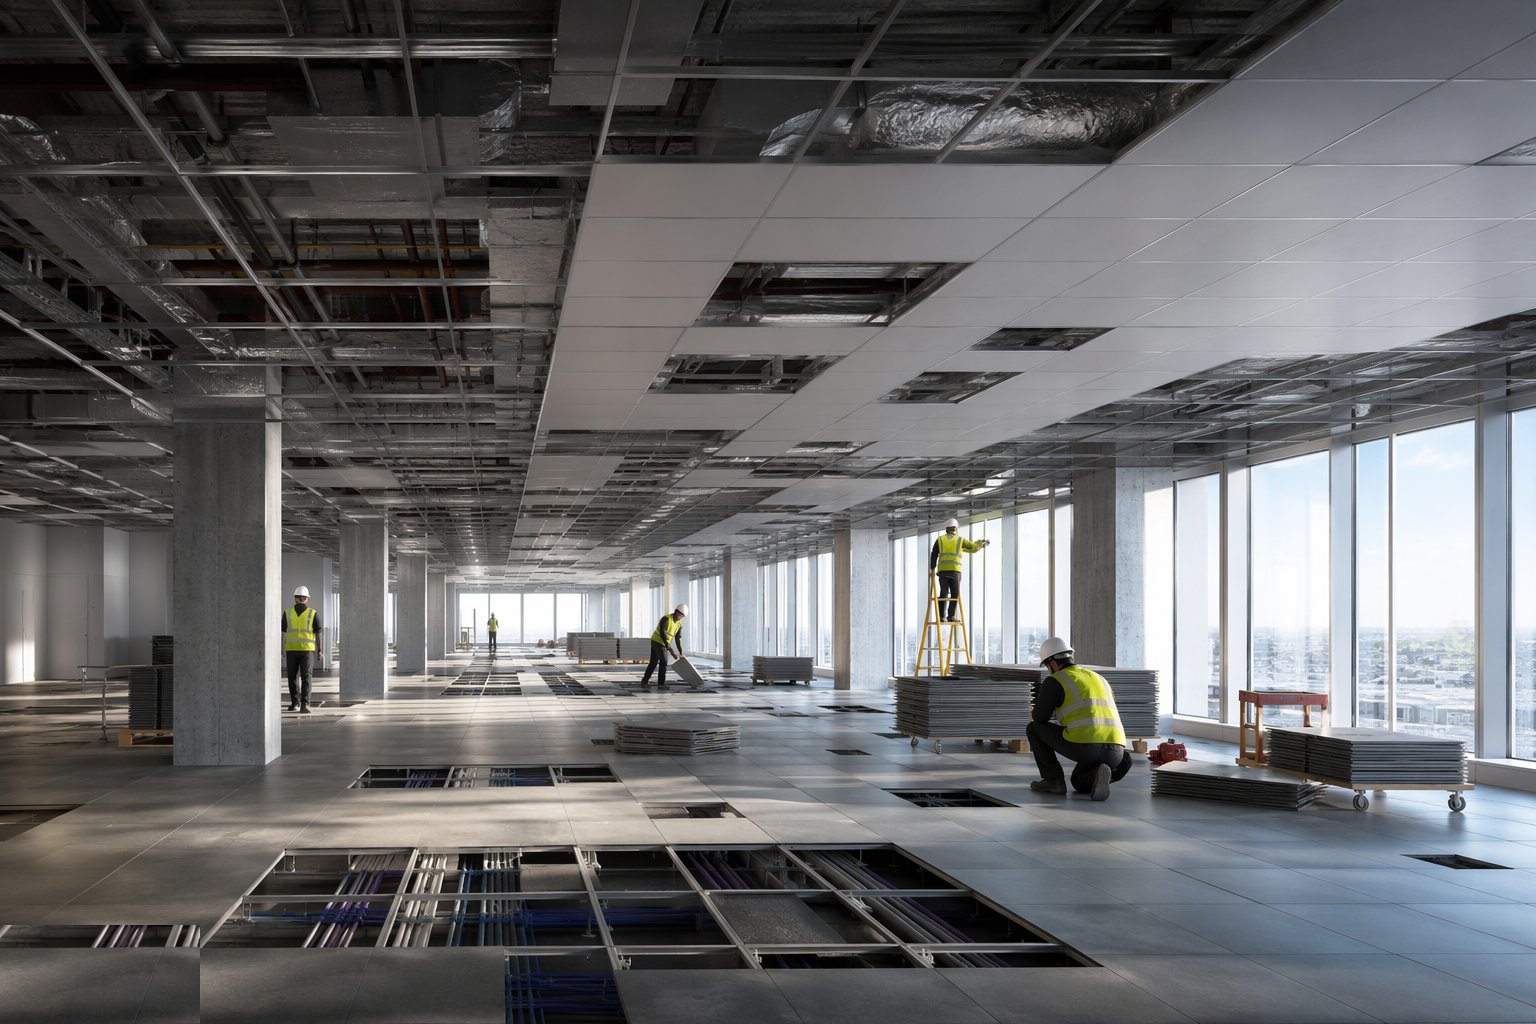
Before materials are ordered, the Cat A scope is pinned down with the leasing team: finished floor level and void depth, ceiling height and grid module, lighting type and control zones, diffuser and sprinkler layouts, WC and shower provision, cycle facilities if they are in the base build, and the lobby specification the marketing renders promised. This document is the contract between construction and leasing — agents will sell from it, tenants' surveyors will check against it, and every deviation becomes either a variation or an apology. Gridlines, datum levels and the sample bay are agreed and built first: one floor done to full standard, inspected and signed, becomes the template for the rest.
Step 2: Install the raised access floor
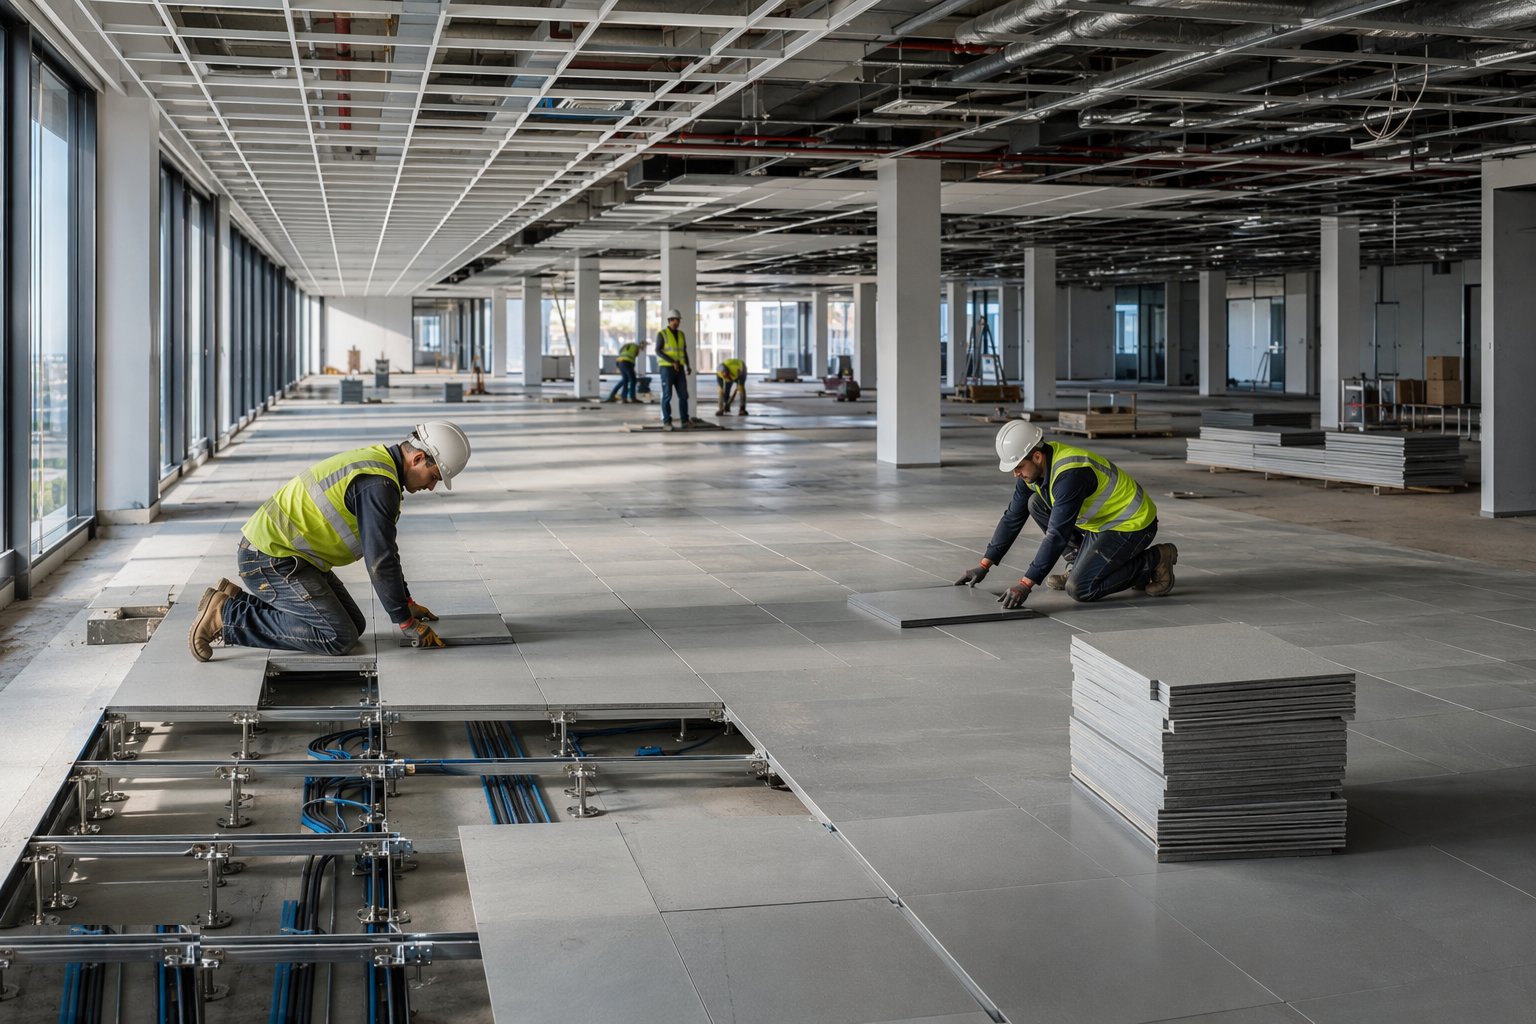
The structural slab is cleaned, checked for level and marked out on the pedestal grid. Pedestals are glued and screwed at their centres, levelled with laser control to the finished floor level — typically 150–300 mm of void on commercial floors — with stringers added where the specification or heavy zones demand. Panels are laid, levelled and checked for rock and lippage: an access floor that rattles or dishes under footfall is the first thing a tenant's surveyor finds. Floor boxes, grommets and cut panels at the core and perimeter are fitted as the layout demands, and the finished level is verified against the lift thresholds and core doors, because a 15 mm step at the lift lobby is a trip hazard with a corporate logo on it.
Step 3: Terminate the background services to the floor
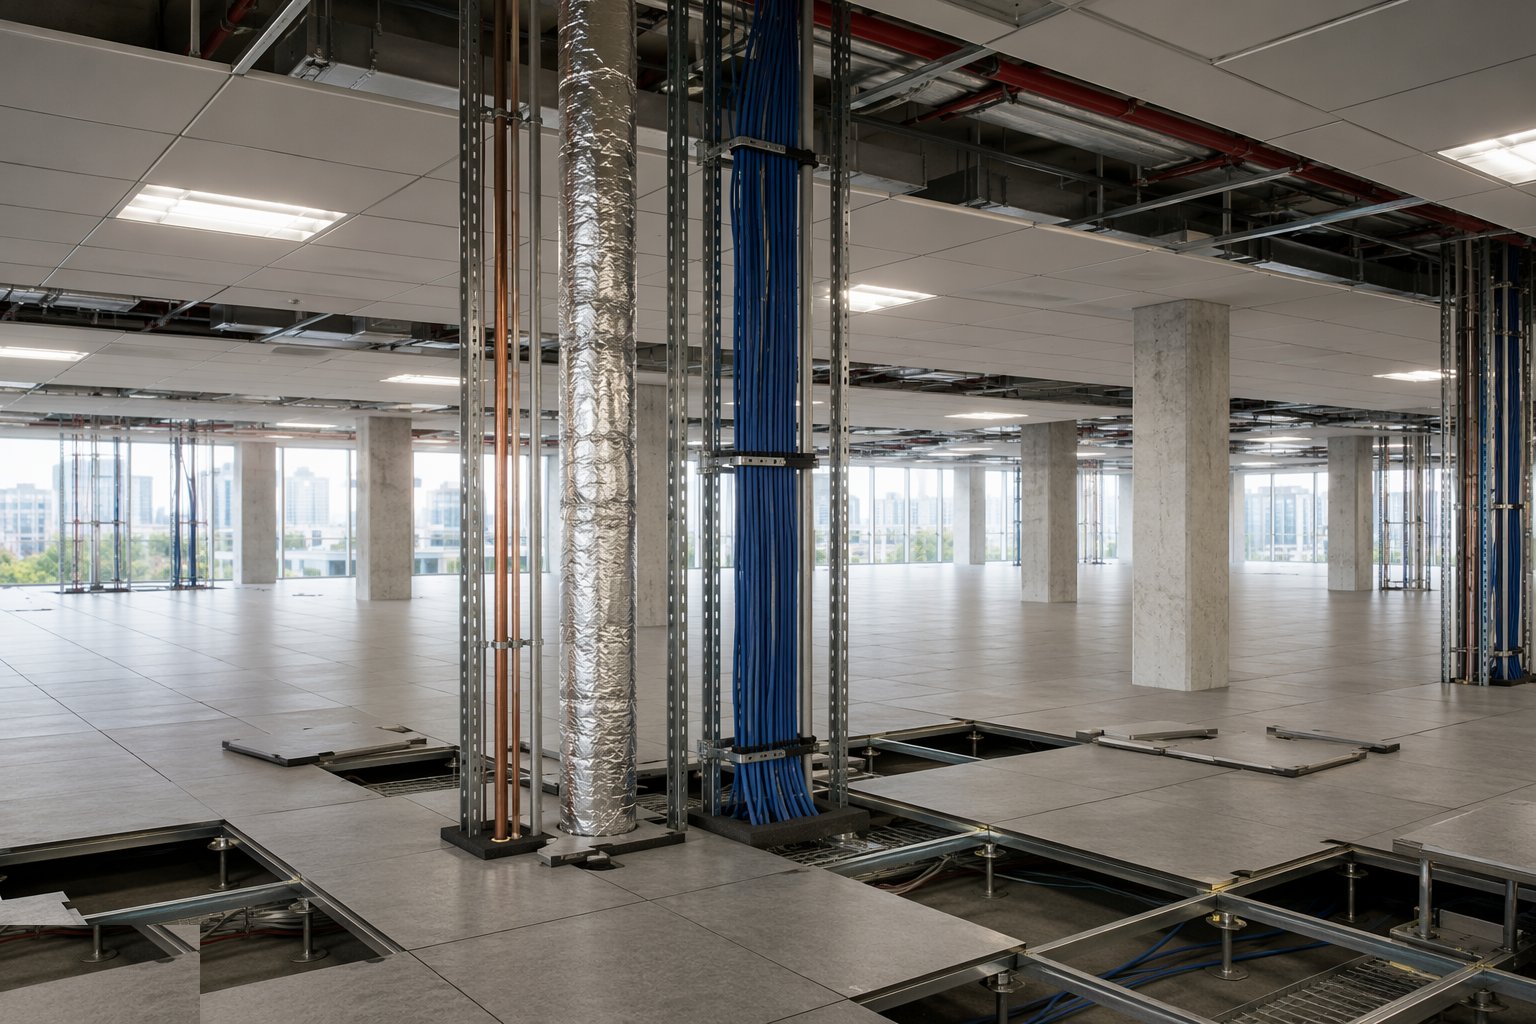
The first-fix services are terminated to the default Cat A layout: diffusers and grilles on their duct drops, sprinklers dropped to ceiling level on armovers, lighting rows hung and wired to their control zones, detectors, speakers and emergency lighting fitted, and small power run to floor boxes in the access floor void. Everything lands on the agreed ceiling module — a diffuser half a tile off its grid position is the kind of detail that reads as carelessness across forty floors. Pre-commissioning continues in parallel: air volumes set provisionally, waterside systems live to the floor, lighting and controls addressed, so the floor can be demonstrated working, not just finished.
Step 4: Install the suspended ceilings
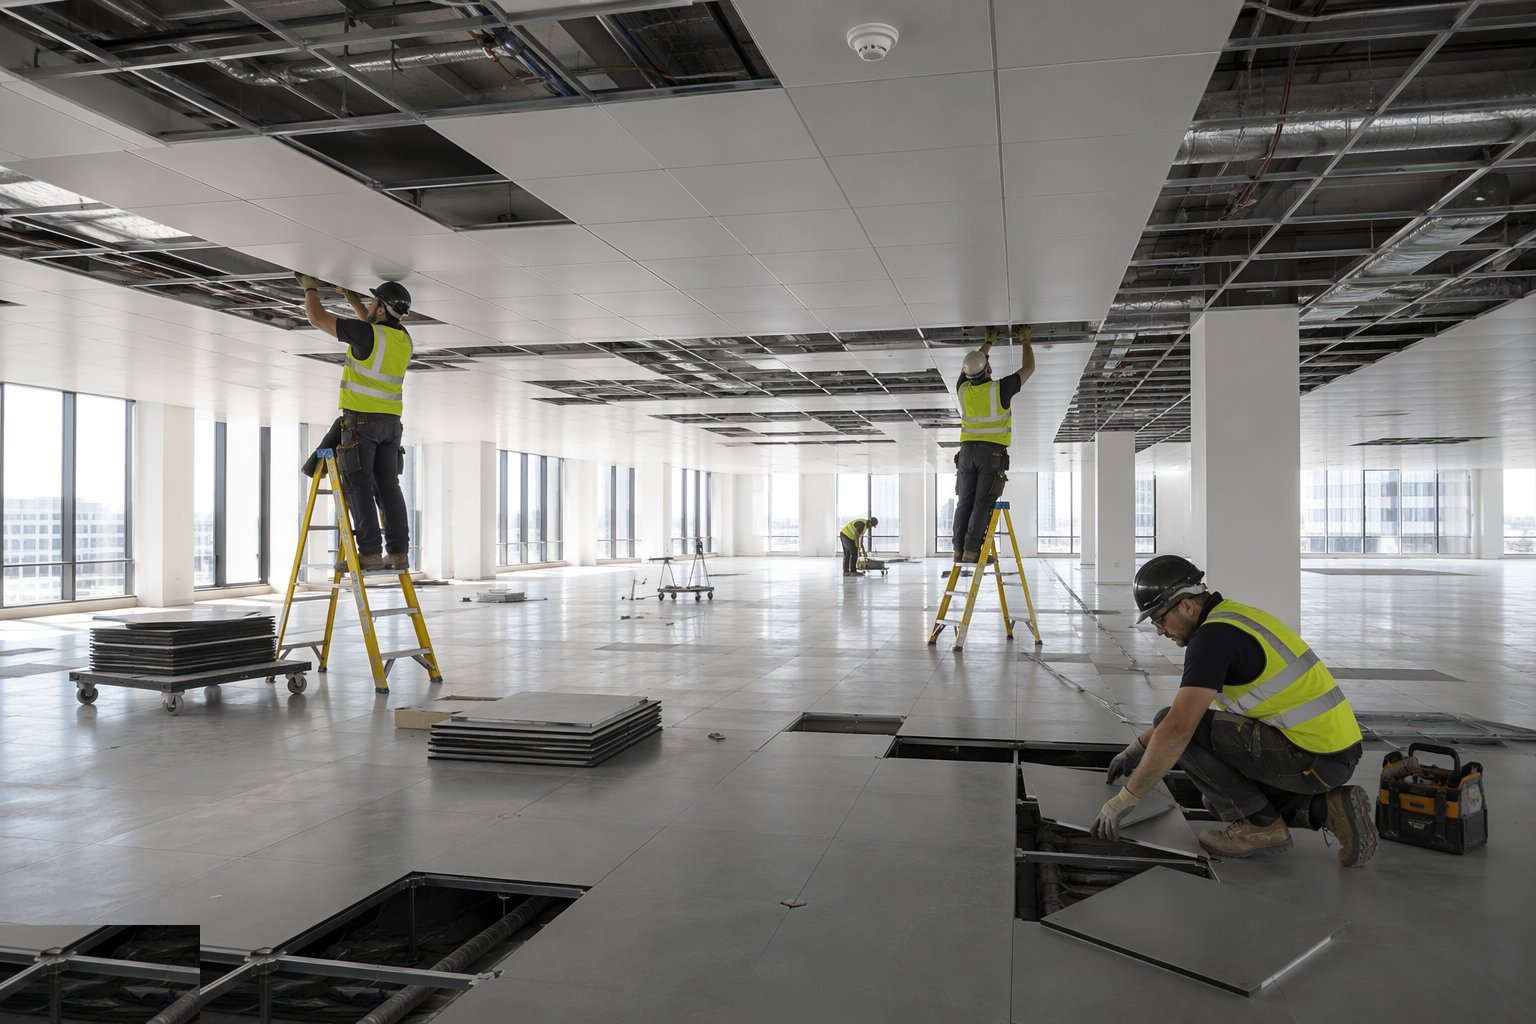
The ceiling grid is set out from the reflected ceiling plan — perimeters first, then the grid module hung on its wires from the soffit, braced where the specification demands and levelled throughout. Tiles or metal pans go in after the services above are inspected and signed, because every tile lifted later is a fingerprint and a chip. The grid reconciles every penetration: diffusers framed, sprinklers centred in tiles, lighting rows continuous and aligned, access panels where valves and dampers need them. A good ceiling is silent engineering — regular, level, and boring — and it is achieved by refusing to close any bay until the services above it are proven.
Step 5: Finish the core, lobby and WCs
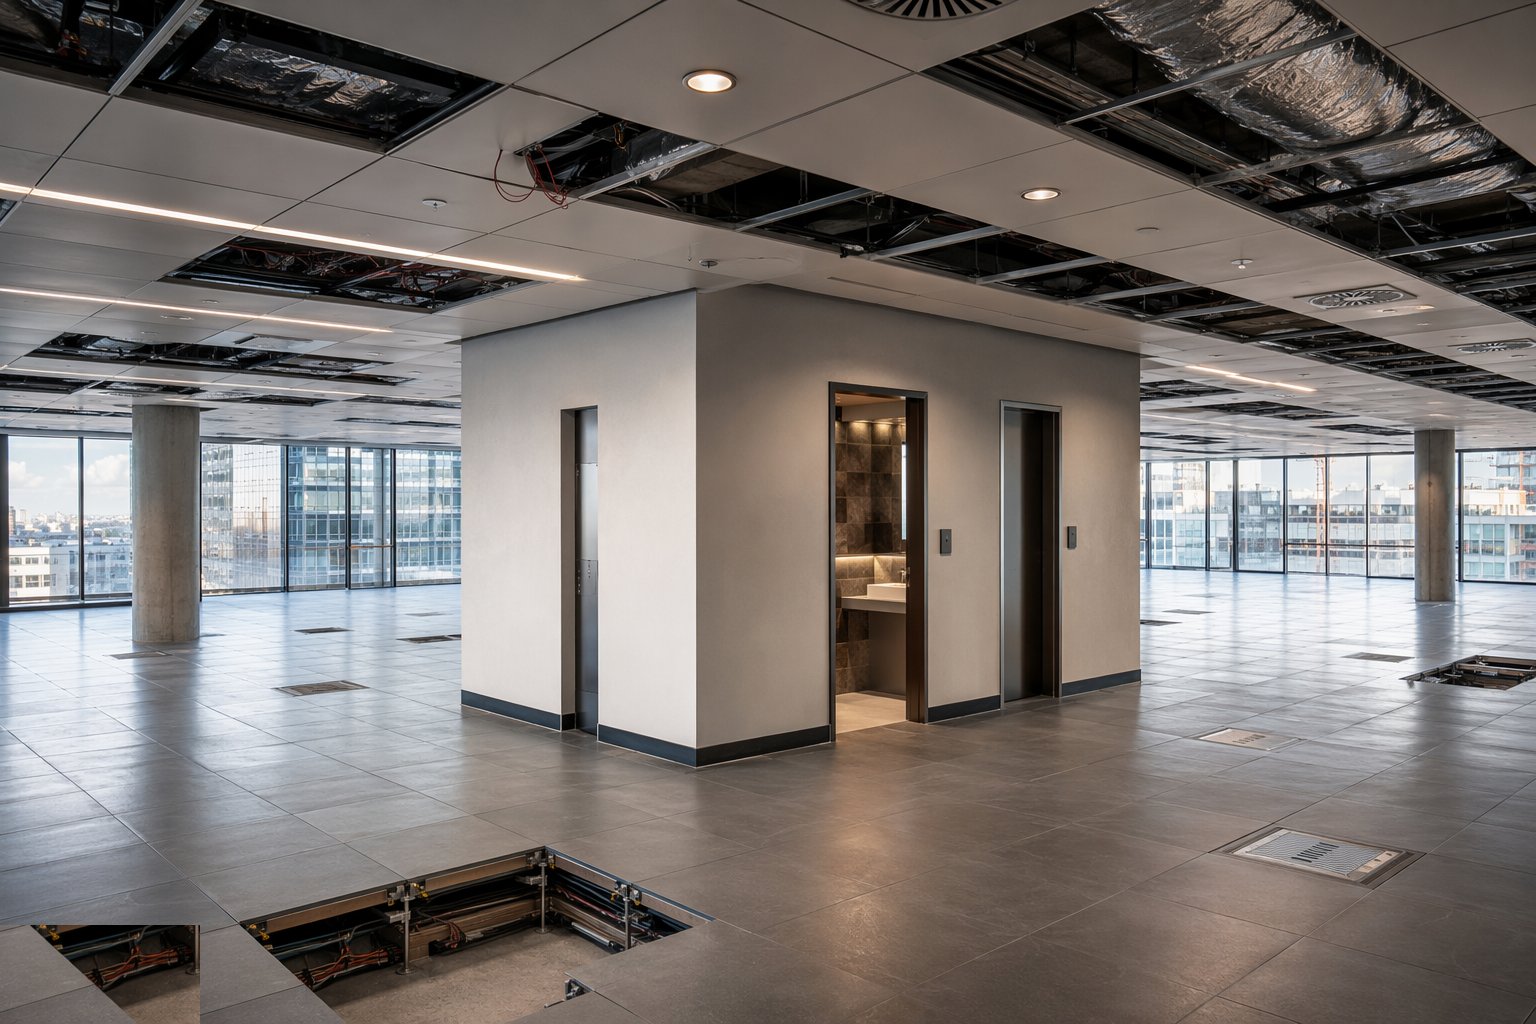
The landlord's areas carry the building's first impression: lobby stone or porcelain on level substrates, feature walls and reception desk to the architect's details, lift lobby finishes floor by floor, and the WCs fitted out — cubicles, sanitaryware, vanities, mirrors and accessories — with the showers and changing facilities where the base build includes them. These are conventional finishing trades executed to a showcase standard: grout lines straight, silicone joints neat, ironmongery aligned, and the snagging done to a letting agent's eye rather than a site agent's. Core corridors and staircases are decorated and balustraded to their fire and accessibility requirements, with the signage and wayfinding that make the building legally complete.
Step 6: Commission the background systems and prove the floor
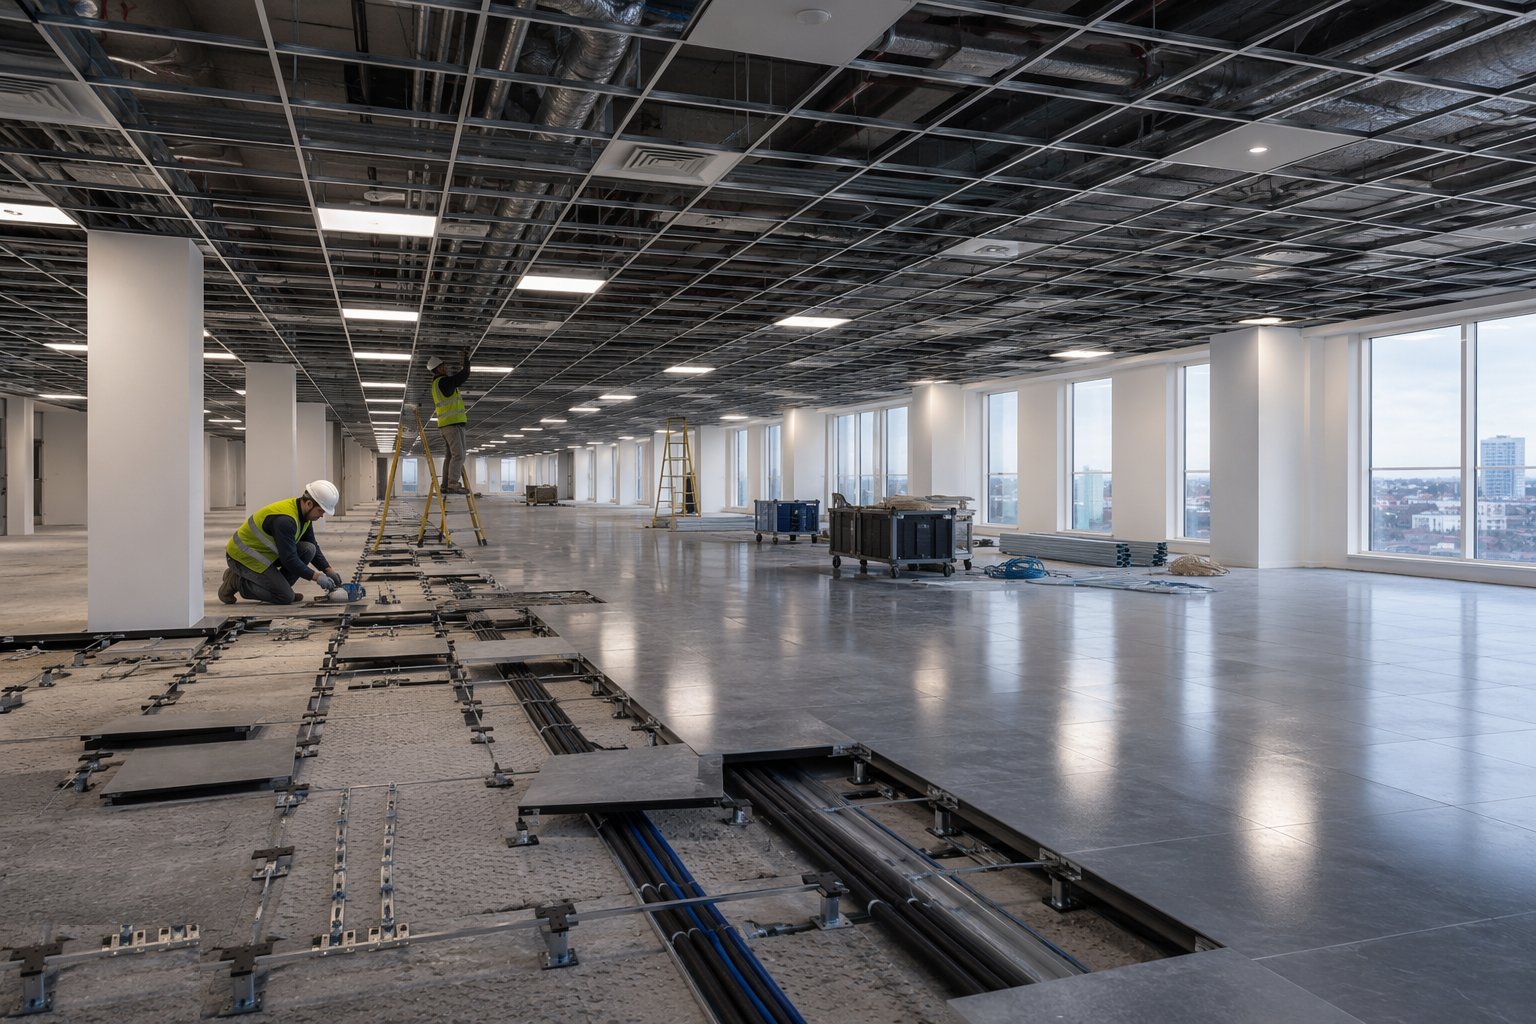
Before handover to leasing, each floor is proven as a working background: air flows regulated to the Cat A design, temperatures held across a working day, lighting levels and controls verified zone by zone, and the small power and floor boxes tested. The results are recorded floor by floor — they are the baseline every Cat B commissioning conversation will start from, and the landlord's evidence when a tenant's dense fit-out overheats a floor that was fine. The sample-bay standard is applied on inspection: one agreed benchmark floor, every other floor measured against it, and the snag list closed before the agents' photography, not after.
Plant and equipment
- Laser levels and rotating lasers for pedestal and grid setting-out
- Access floor installation kit: pedestal levelling tools, panel lifters and cutters
- Ceiling grid installation tools: wire cutters, lasers and tile handling equipment
- Stone and porcelain cutting equipment with water suppression for lobby finishes
- MEWPs and podium steps for ceiling-level work
- Airflow measurement and commissioning instruments for background proving
- Floor box and small power installation and test equipment
Quality control checks
- Sample bay signed by the letting team before production floors proceed
- Access floor level, flatness and rock checked on a grid per floor; finished floor level verified at thresholds
- Ceiling grid level and module checked against the reflected ceiling plan — services centred on the grid
- Baseline commissioning results recorded per floor: air volumes, temperatures, lighting levels
- WC and lobby finishes inspected to the showcase standard with photographic snagging records
- Fire-stopping and sprinkler sign-offs maintained through every ceiling modification
Safety considerations
- Ceiling-level work from MEWPs and podiums: stable platforms, no standing on grids or services
- Panel and tile handling: manual handling controls on repetitive lifting at shoulder height
- Cutting stone, metal and grid: silica and metal dust control, water suppression and RPE
- Working over live risers and plant: permits and isolation where floors are partially energised
- Public and agent access during marketing: segregated routes, hard-hat control and clean, safe viewing floors
Common defects
- Access floor rocking or dishing — pedestals unlevelled or unglued, found by the first tenant's chair castors
- Finished floor level wrong at the core — steps at lift thresholds and ramped apologies at doorways
- Ceiling grid fighting the services — diffusers and sprinklers off-module across whole floors
- Ceilings closed before services sign-off — tiles lifted, chipped and never quite right again
- Lobby stone lippage and hollow-bedded tiles — the showcase finish failing under footfall
- Baseline commissioning skipped — no evidence when the overheating complaints arrive after Cat B
Best suited for
- Speculative Grade A offices where letting agents need a clean, neutral product
- Landlord works establishing the baseline for tenant licences to alter
- Buildings marketing floors while fit-out trades are still climbing
- Core, lobby and WC finishes that carry the building's first impression
How long does Cat A Fit-Out take?
Typical duration: Cat A typically follows at one floor per 2–4 weeks with multiple trades stacked, plus 2–3 months for the lobby, core and WCs — a 30-storey building usually completes Cat A in 6–10 months, phased behind the façade..