Asphalt Surfacing — Binder & Surface Course
The blacktop the public judges: binder course and surface course laid hot, compacted within the window, and tested to the millimetre.
Last updated 2026-07-28 by the BuildPedia Editorial Team.
What is Asphalt Surfacing — Binder & Surface Course?
Asphalt surfacing is the laying and compaction of hot-mix bituminous material into the road's running layers — base, binder and surface course — within a tight temperature window. It looks like the part of roadbuilding everyone knows: hot black material, a paver, rollers, done. In reality it is the most time-critical operation in the whole sequence. Every load of mixed material leaves the plant with a clock running — it must be transported, laid and compacted while it is still hot enough to work — and every decision about temperature, joints and roller pattern is made once, in minutes, and locked into the road for twenty years. The flexible pavement's wearing and structural bituminous layers are typically a binder course for shape and strength with a surface course (still widely called the wearing course in everyday speech) for grip, texture and waterproofing.
In the UK the mixtures are specified to the BS EN 13108 family: asphalt concrete to BS EN 13108-1 for binder courses and bases, hot rolled asphalt to BS EN 13108-4 and stone mastic asphalt to BS EN 13108-5 for surface courses, with thin surfacing systems certified through BBA. Transport, laying and compaction follow BS 594987, and the Specification for Highway Works Series 900 ties it all to the contract. Modern practice is performance-driven: cores for density and air voids, texture depth for skid resistance, ride quality measured in earnest — the days of judging a mat by eye ended with the specification.
In the UAE the enemy is not cold joints but heat that never stops. Summer pavement surface temperatures can climb far beyond anything a UK mix designer contemplates, and rutting — permanent deformation under slow, heavy traffic — is the dominant failure mode. The answer is stiffer binders: polymer-modified bitumen is commonly specified on major corridors, performance-graded binder selection in the Superpave tradition is standard Gulf practice, and mixes are designed and approved through the RTA's materials processes with wheel-tracking and rutting evidence. Much of the laying happens at night, when both the air and the traffic are kinder, and the long haul distances from plant to site make insulated, sheeted transport non-negotiable.
When and why is Asphalt Surfacing — Binder & Surface Course used?
Surfacing follows the accepted base and usually runs late in the programme, with the surface course often left until kerbs, ironwork and footways are substantially complete so the final layer lands on a clean, finished road rather than a building site. It matters because the surface course is the only layer the public ever sees or touches — its texture, its ride, its joints and its wet-weather grip are the road's reputation — and because the binder and base courses beneath it are the structural insurance the whole pavement design is written against. Poor compaction or a bad joint is not a cosmetic issue; it is where water gets in and the pavement starts to die. At the small end — a footway, a drive, a private estate road — the mat is hand-laid or laid by a mini paver, and the temperature window gets crueller because small loads cool fast; the joint and compaction discipline is unchanged, which is why a domestic driveway still fails first at its joints and edges.
Types of Asphalt Surfacing — Binder & Surface Course
Asphalt concrete (AC) binder and base course
Dense, continuously graded asphalt concrete to BS EN 13108-1 — the workhorse structural layer, laid in one or more lifts to build the pavement's strength and shape. Typical designations run AC 20 or AC 32 dense binder course; it is waterproof, strong and unglamorous, and almost nobody will ever see it again once the surface course lands on top.
Hot rolled asphalt (HRA) surface course
A sand-rich, mortar-dense mix to BS EN 13108-4 with pre-coated chippings rolled into the surface to provide texture and skid resistance. A traditional British surface for heavily trafficked roads — exceptionally durable and waterproof, but it demands skill: the chipping application, the rolling and the temperature control decide whether it lasts decades or fats up in the first hot spell.
Stone mastic asphalt (SMA)
A gap-graded, stone-skeleton mix to BS EN 13108-5, bound with a rich bitumen-and-filler mastic often stabilised with fibres. Tough, rut-resistant and with good texture, SMA is the modern default surface course on trunk roads and a common choice on heavy Gulf corridors with polymer-modified binders — provided it is laid hot and compacted hard, because SMA is less forgiving of low temperatures than dense mixes.
Thin surface course systems
Proprietary thin surfacings — typically 15–40 mm — laid by purpose-built pavers with integrated bond coat spray bars, certified under BBA-type schemes. Fast to lay, quiet under traffic and excellent for maintenance resurfacing, they rely on a sound, level substrate: a thin surfacing cannot correct the shape of the road beneath it, it can only follow it.
Asphalt Surfacing — Binder & Surface Course: step by step
Step 1: Plan the paving operation
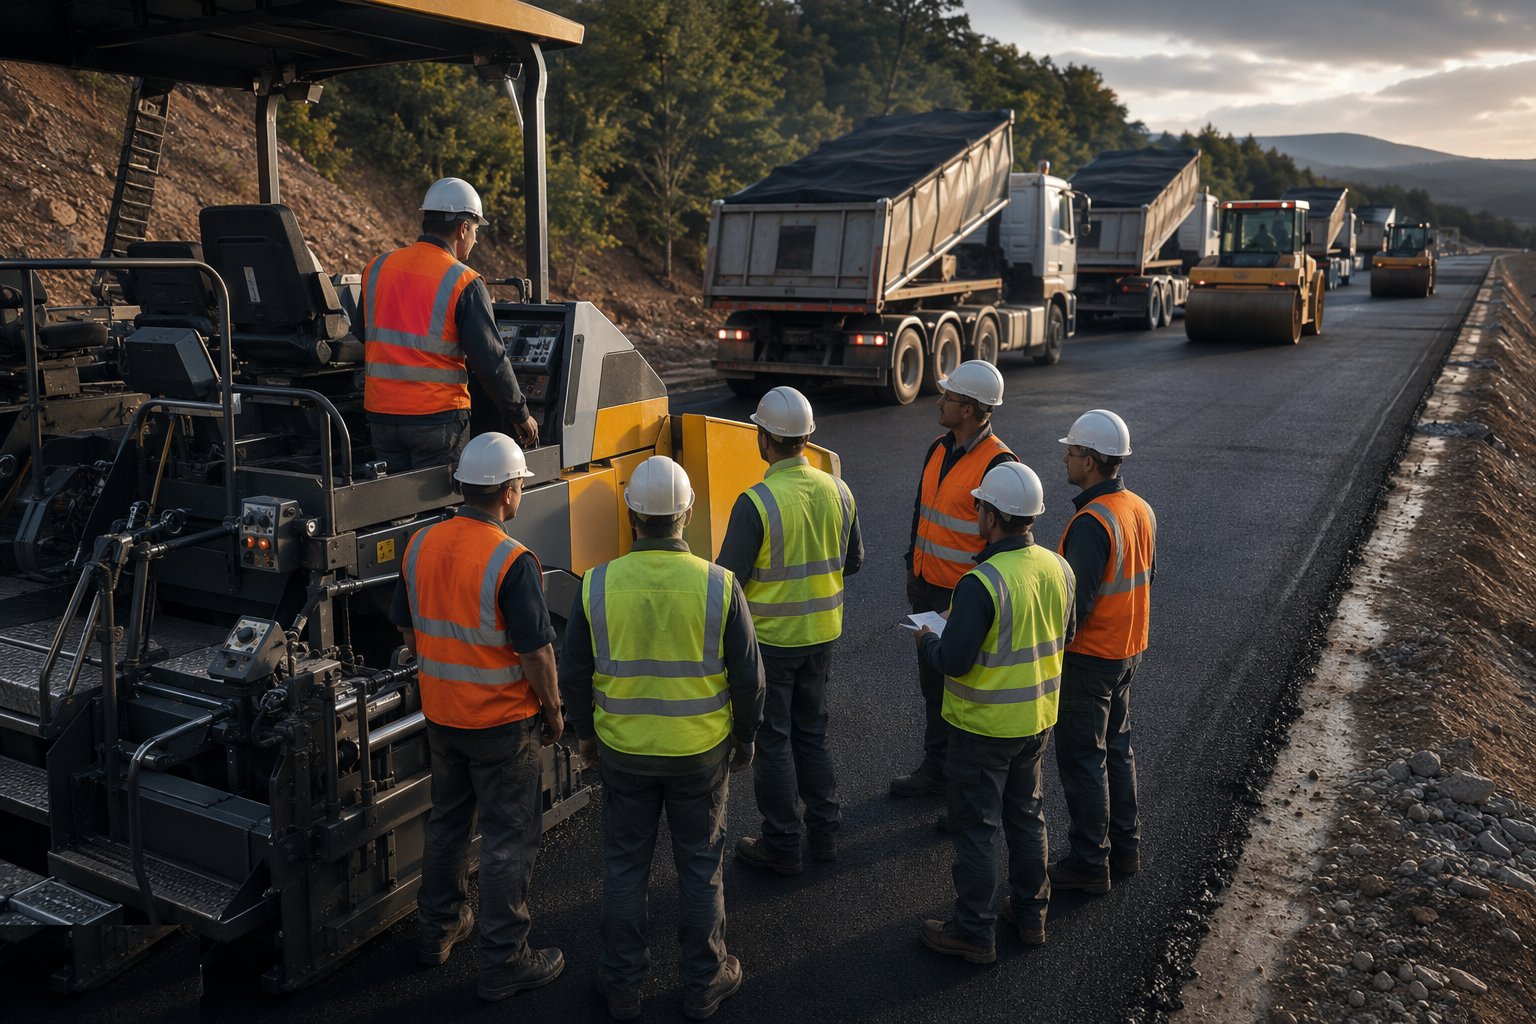
Approve the mix design — job mix formula with plant trials behind it — and plan the shift: tonnage, plant output, haul time, paver spread rate and roller capacity all balanced so the mat never waits for lorries and lorries never queue with cooling loads. Fix the joint strategy before you start: where longitudinal and transverse joints will fall, which lane runs first, and how tie-ins to existing surfacing will be cut and prepared. Check the weather — BS 594987 will not let you lay into standing water or onto a frozen substrate — and in the Gulf, plan night shifts around the heat and the traffic windows the RTA permits allow.
Step 2: Prepare the substrate
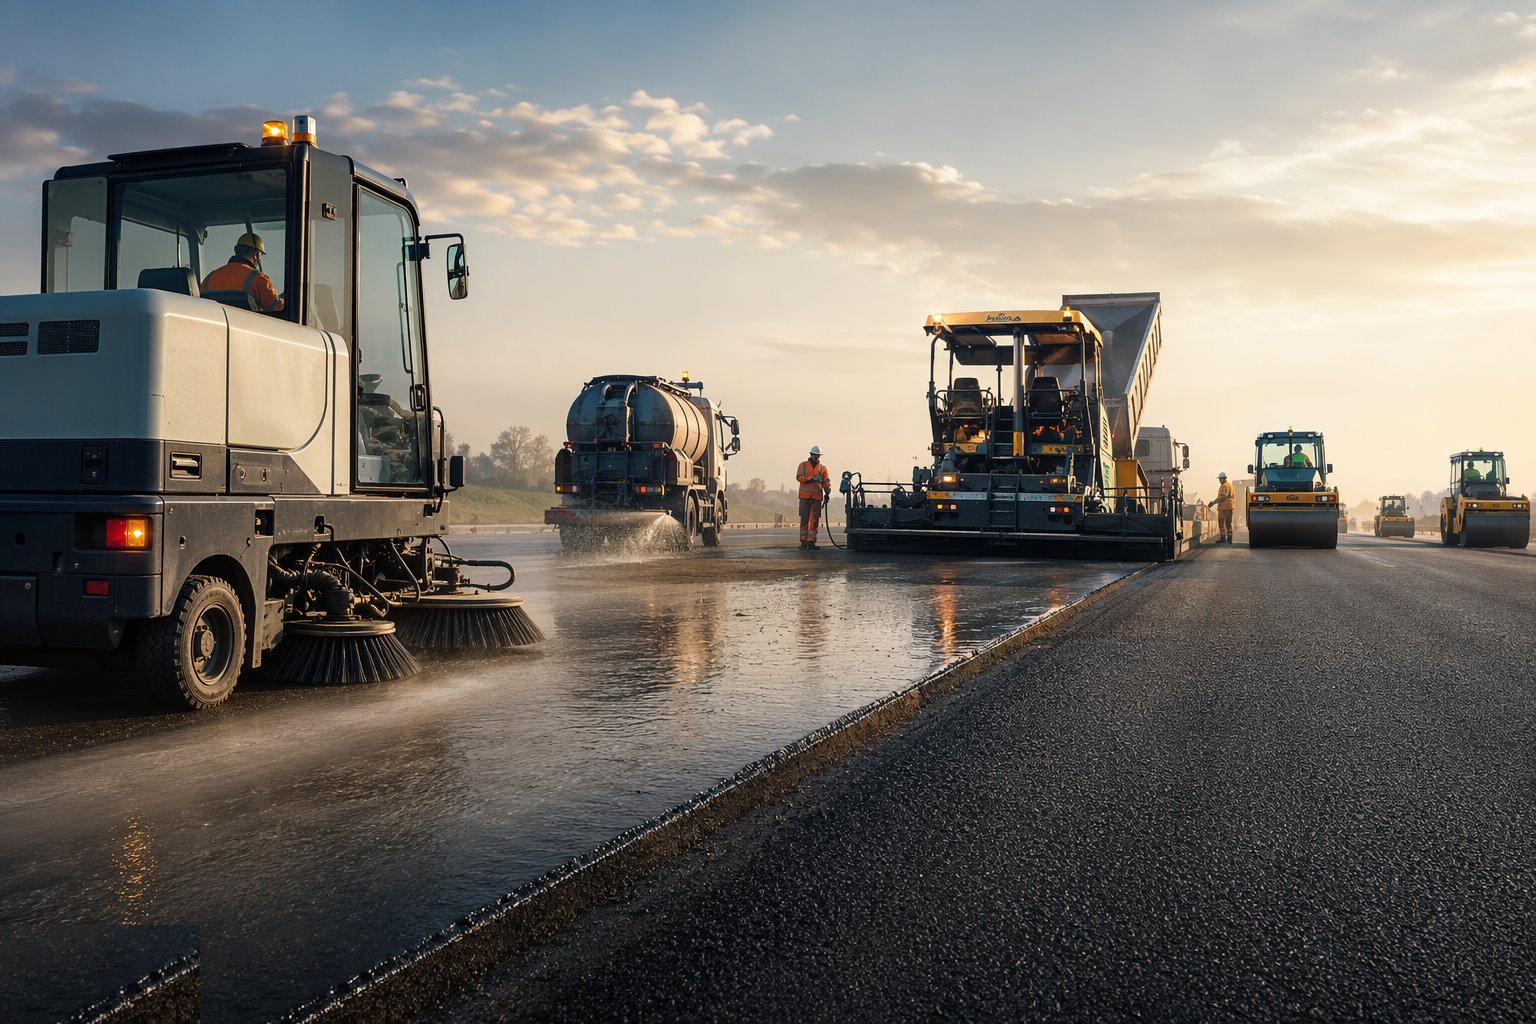
The layer below must be clean, sound, dry and at level: sweep or blow off dust and debris, repair any damage, and cut back and square the edges at tie-ins. Apply the bond coat or tack coat — bitumen emulsion sprayed at a controlled rate across the full width, not just the joints — and let it break before paving. Skipping or under-applying bond coat is how layers delaminate: each bituminous layer must be bonded to the one below so the pavement acts as one structure, not a stack of loose plates.
Step 3: Regulate ironwork and set the levels
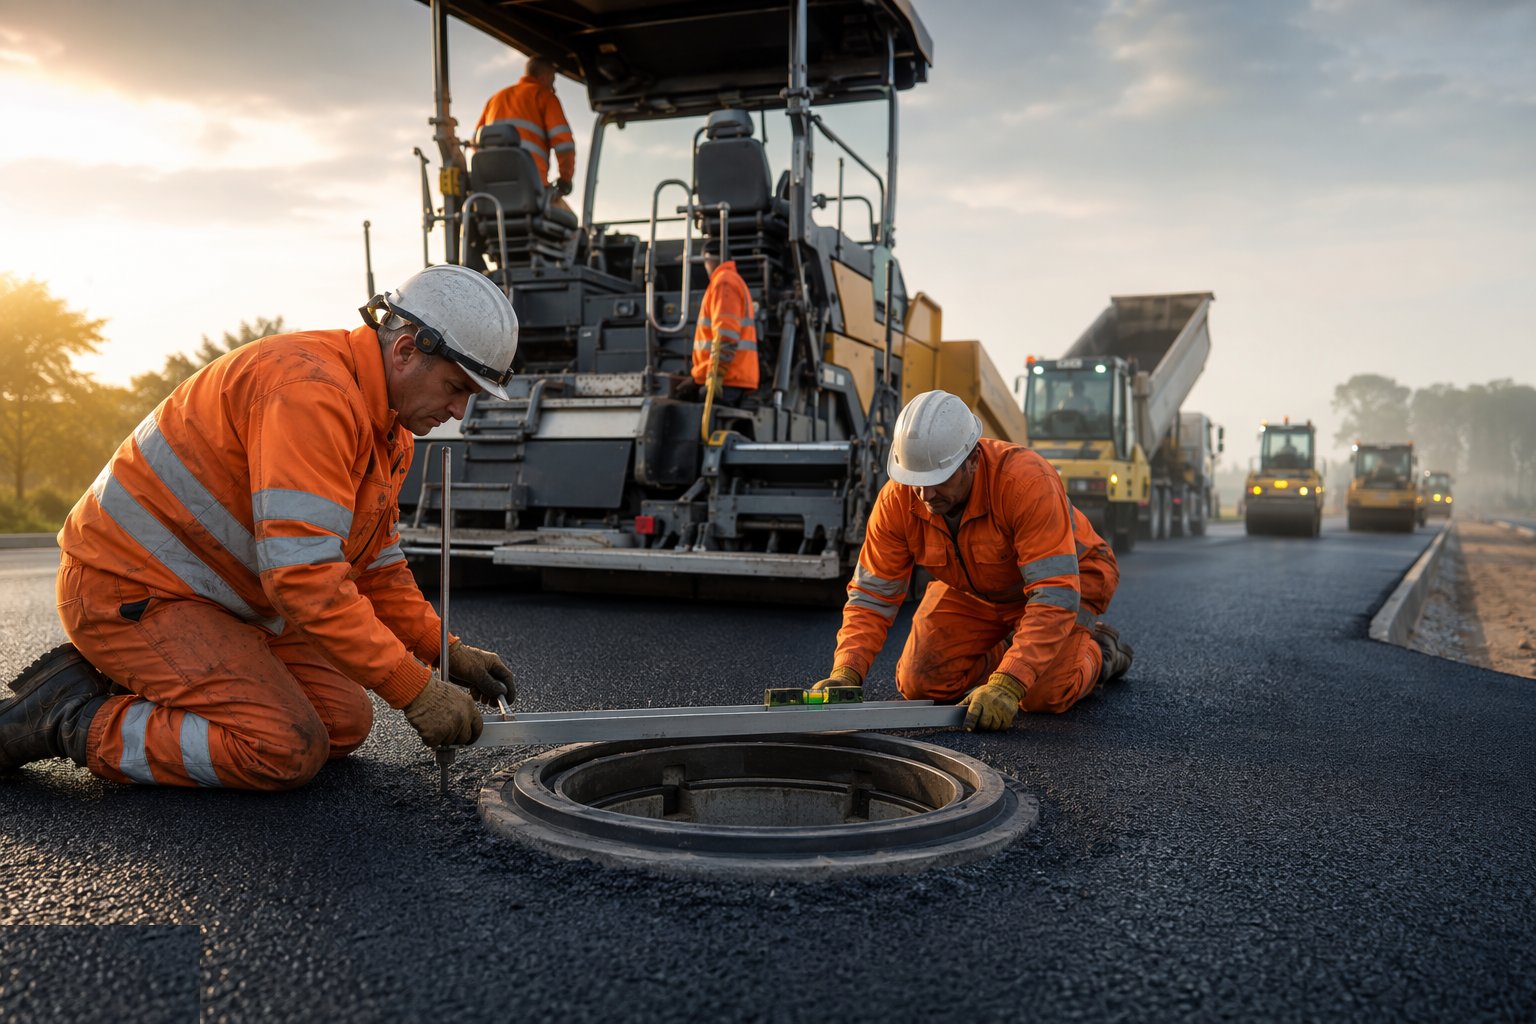
Raise or adjust manhole covers, gully frames and boxes to the design levels before or with the surfacing — frames set flush with the finished surface, seated on proper mortar or proprietary systems, never perched on broken kerb and hope. Set paver level control: joint-matching shoe, ski or averaging beam off the adjacent mat, or wire/level reference where the design demands. Ironwork set wrong here is ironwork that rocks, rattles and ponds forever.
Step 4: Deliver and lay the mat
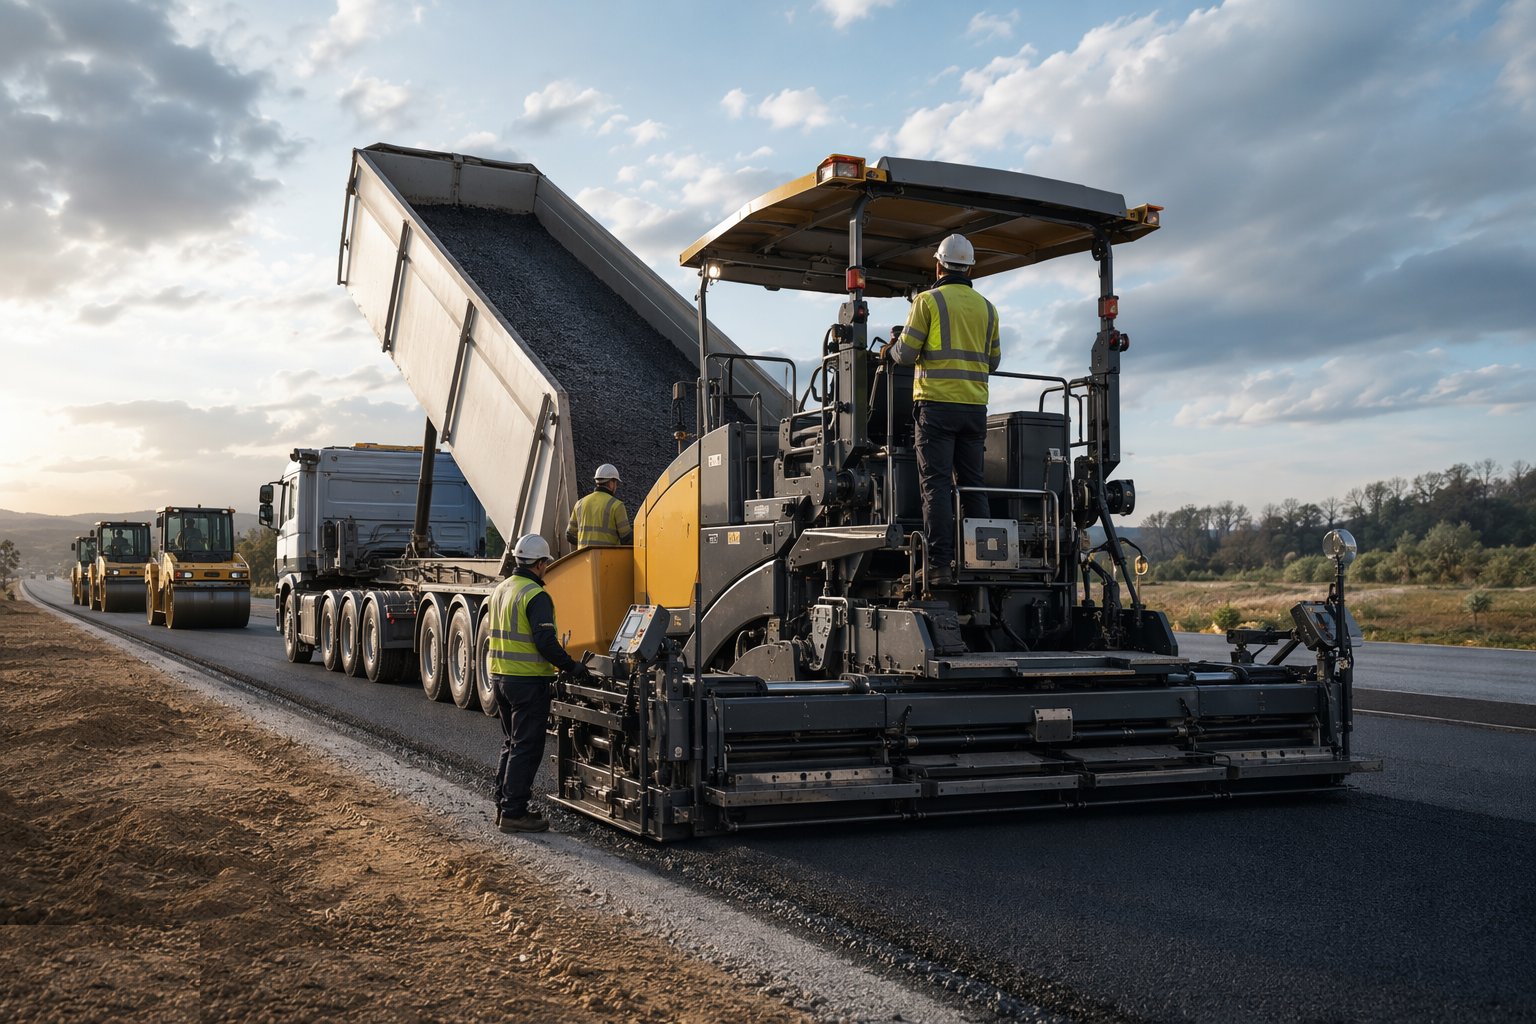
Lorries arrive insulated and sheeted; check and record delivery temperatures, reject loads that have cooled below the laying window or show segregation or coating problems. The paver lays at a steady speed — stopping and starting prints bumps into the mat — with the screed heated and the augers feeding an even head of material across the full width. Hand work around ironwork and gullies is kept to a minimum and compacted while hot; raked, cool, segregated hand-placed patches fail first and always.
Step 5: Compact within the temperature window
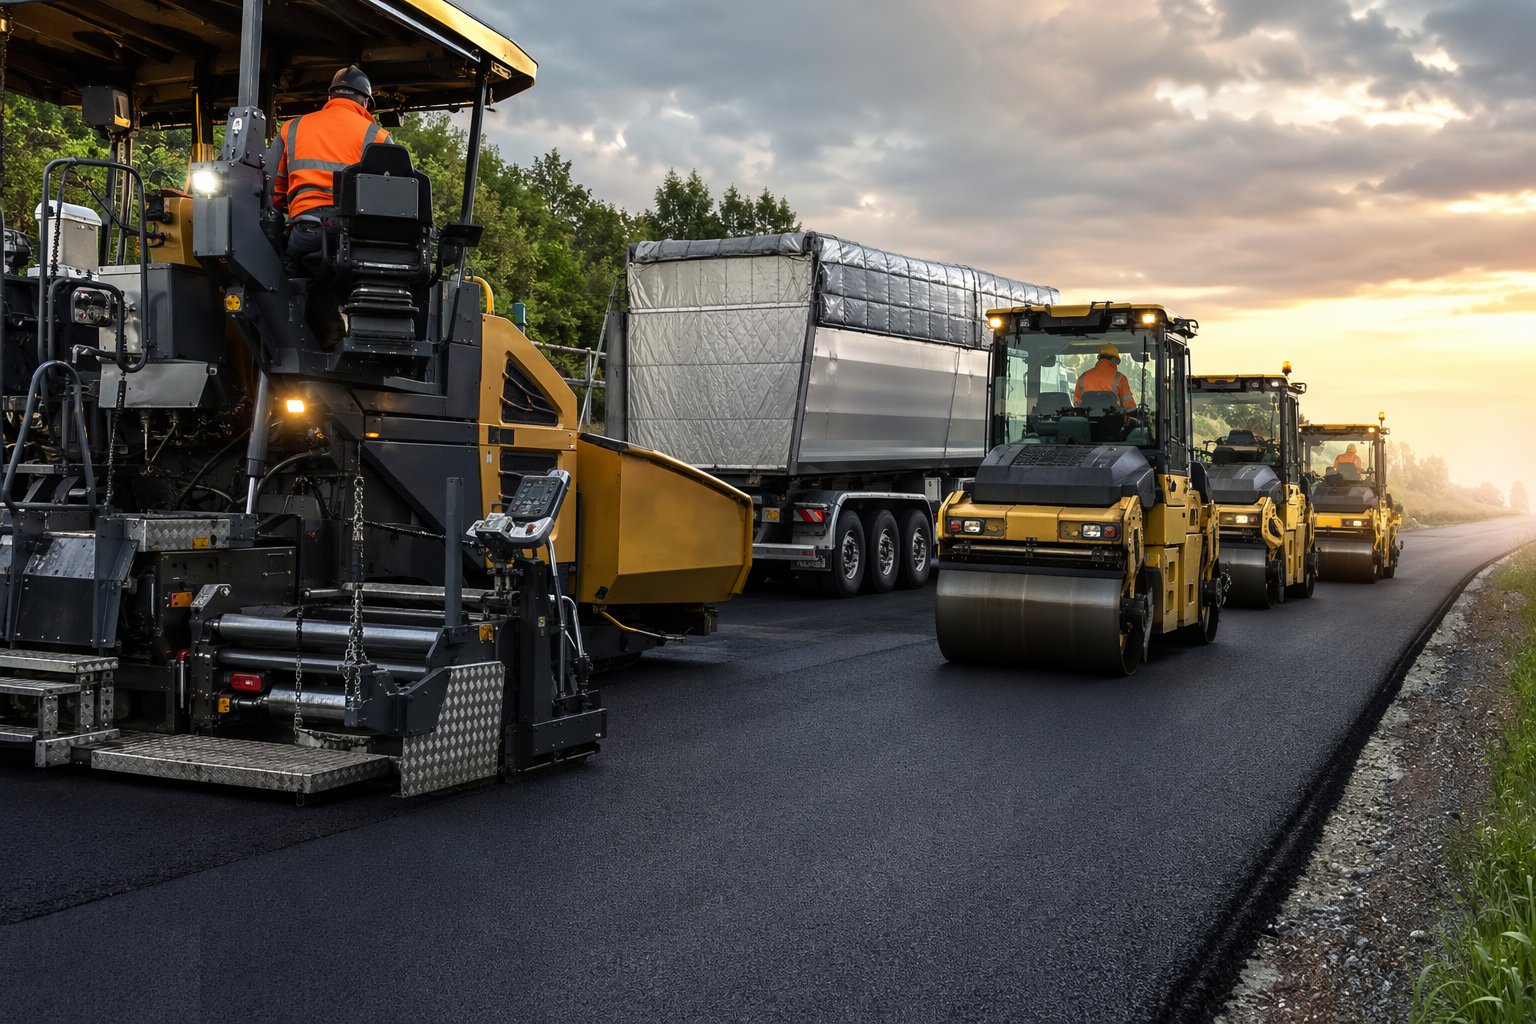
The roller train works to the pattern proven on the trial strip: breakdown rolling close behind the paver while the mat is hot, intermediate rolling to density, finishing passes to iron out marks. Vibratory tandem rollers do the heavy work, pneumatic-tyred rollers knead and seal, and the edges and joints get the attention the middle never needs. Check mat temperature as you roll — below the compaction window the aggregate crushes rather than densifies, and density gained late is density you never actually got.
Step 6: Form the joints properly
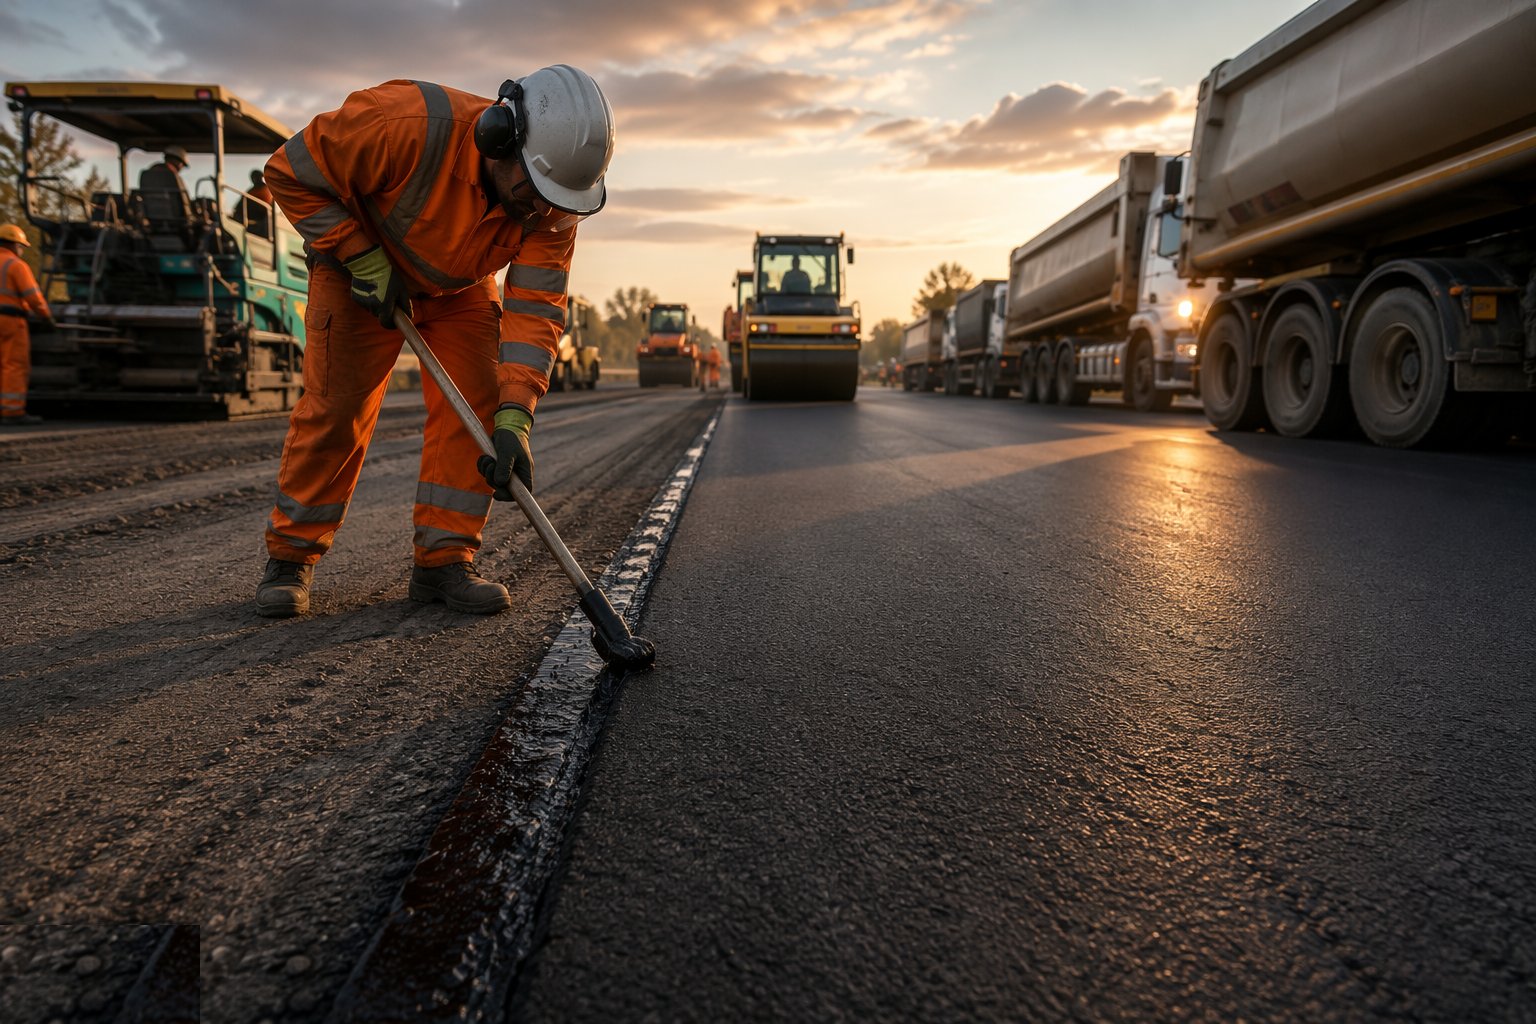
Joints are where pavements fail first, so treat them as structures. Longitudinal joints: cut back the cold edge to full-depth sound material, paint with bitumen, and lay the next lane hot against it, rolling the joint from the hot side. Transverse joints: cut back vertically, clean, tack and lay across with the paver starting off a timber or iron ramp. A joint should be invisible and waterproof; if you can find it by boot or by puddle a week later, it was done badly.
Step 7: Core, test and survey the finished layer
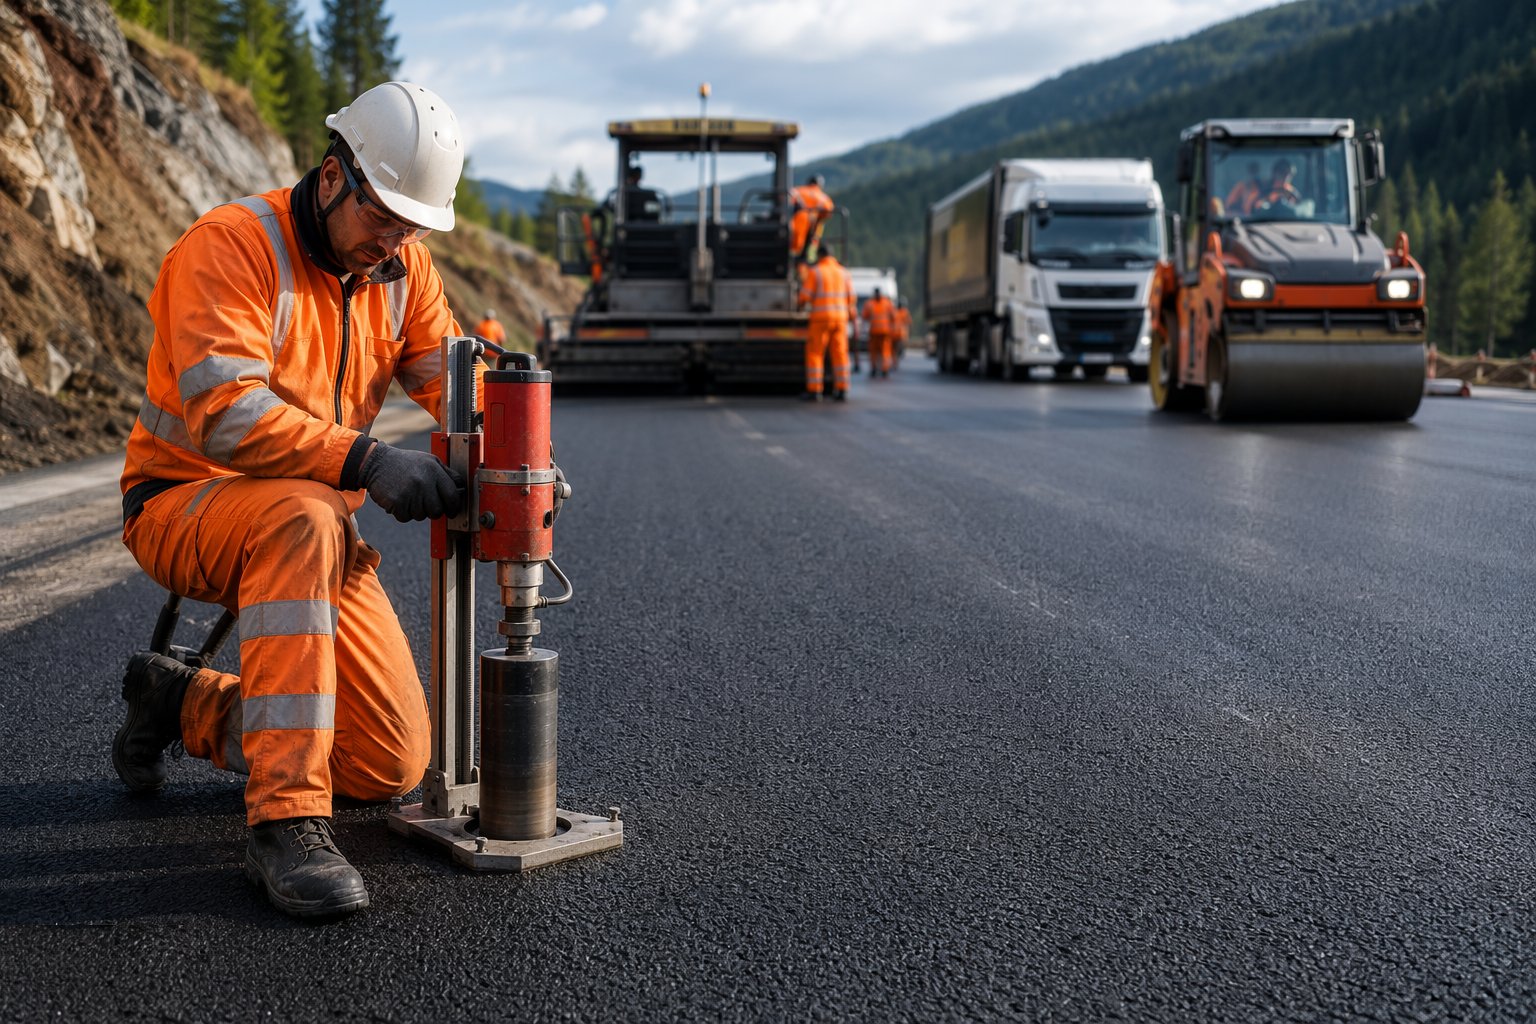
Cut cores on the specified grid for thickness and density — air voids against the mix design, refusal density where the specification calls for it — and patch the core holes properly. Survey finished levels and ride quality, and measure texture depth on the surface course by volumetric patch test where specified; network-level skid resistance is verified by SCRIM or equivalent surveys after opening. Every result goes on the record: the surface you hand over is defined by its test file, not by how it looked on the night.
Step 8: Open to traffic and protect the fresh mat
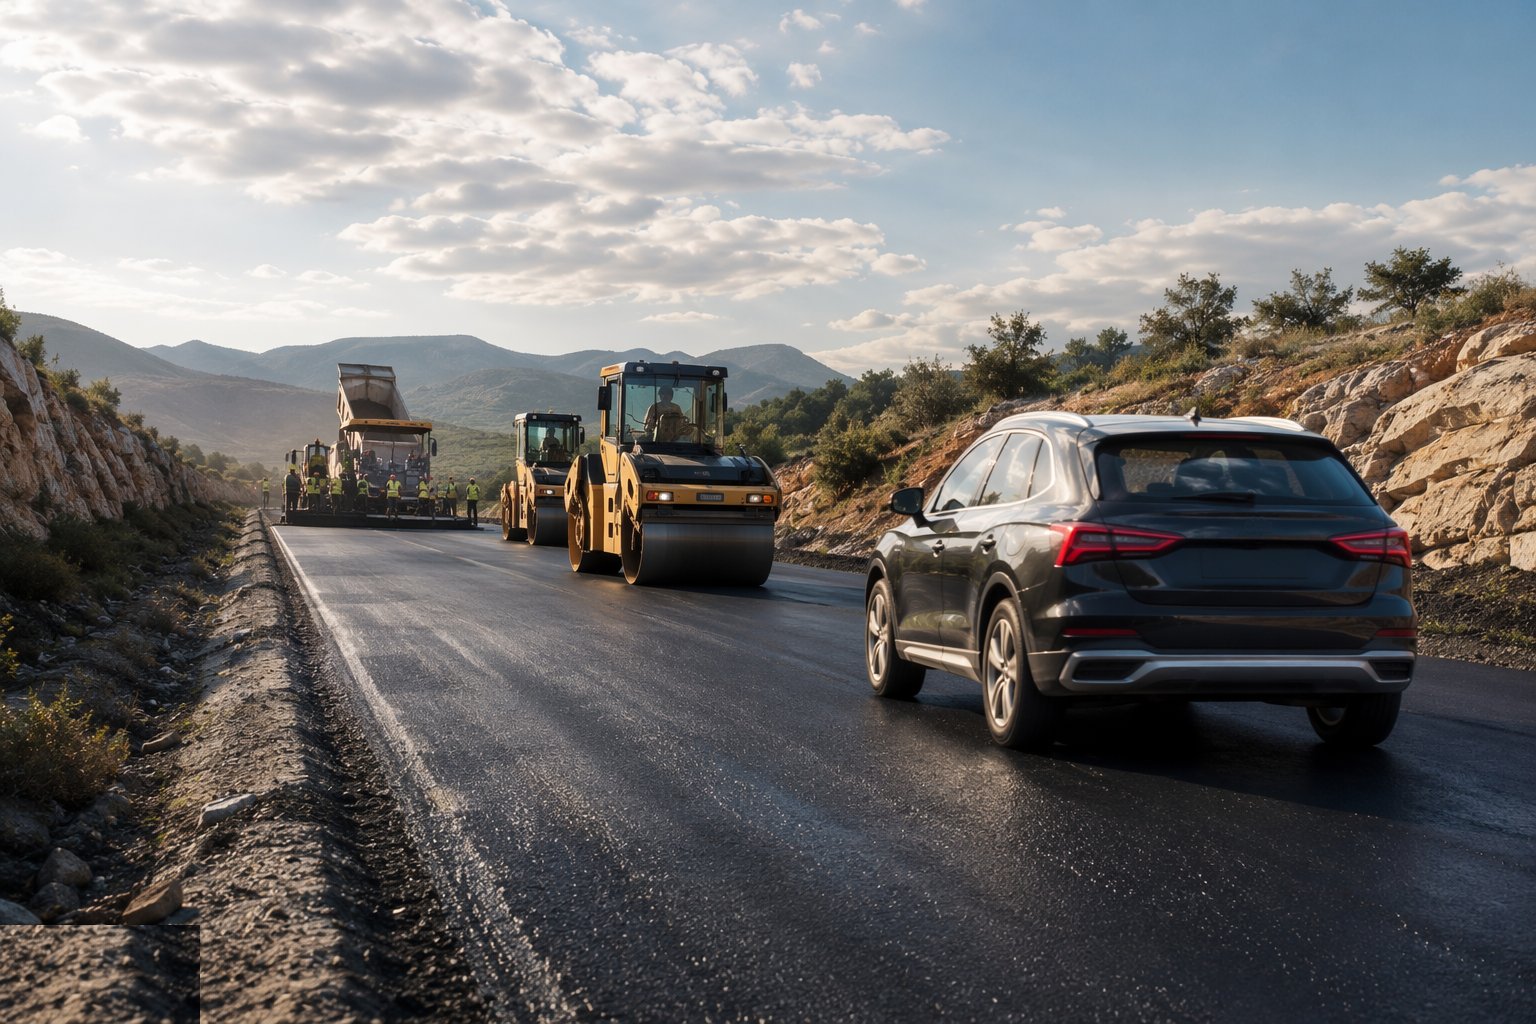
Do not open until the mat has cooled enough to carry traffic without marking — fresh asphalt in a Gulf afternoon will take tyre prints, power-steering scuffs and early-life ruts if released too soon. Sweep up loose chippings, remove the temporary ramps, and hand the road back under the agreed traffic management sequence. In live-corridor work the handback per phase is agreed with the highway authority or RTA inspectors; the paperwork and the cones move together.
Plant and equipment
- Asphalt pavers with heated screeds and level control; spray pavers for thin surfacing
- Tandem vibratory rollers, pneumatic-tyred rollers and small plate/drum rollers for edges
- Insulated, sheeted tippers and shuttle buggies (material transfer vehicles) on long hauls
- Bond coat sprayers and hand lances for joints and tie-ins
- Planing/milling machines for tie-in cutting and regulating
- Core drills, infrared thermometers and density testing kit
- Chipping spreaders for HRA surface course
- Lighting towers and traffic management for night and live-corridor surfacing
Quality control checks
- Approved job mix formula; plant calibration and mix temperature records from the plant
- Delivery temperature checks on every load — rejected loads documented
- Bond coat coverage and rate verified before each lane
- Cores for thickness and density on the specified grid; air voids within tolerance
- Finished levels, ride quality and texture depth tested and filed
- Joint construction inspected as laid — joints are a witness point, not a detail
- Skid resistance verified post-opening (SCRIM or GripTester) where specified
Safety considerations
- Hot material: burns PPE, no exposed skin near the screed, burn first-aid on the paving train
- Paver and roller work within live traffic management — exclusion zones and agreed reversing rules with banksmen
- Reversing lorries feeding the paver: one agreed signal chain, nobody between lorry and paver
- Bitumen fume and night-work fatigue: rotation, lighting and supervision on long shifts
- Gulf summer laying: heat stress management even at night, hydration and shaded rest areas
- Public protection at every interface — driveways, crossings, bus stops — while the road is half-paved
Common defects
- Cold or segregated mat compacted anyway — ravelling and potholes within the first winter
- Bond coat missed or diluted — layers delaminate and the surface course slides under braking traffic
- Poorly formed joints fretting open — the classic line of potholes down the lane boundary
- Flushing or rutting in hot climates from binder too soft for the temperature regime — the polymer-modified binder was specified for a reason
- Chippings not embedded in HRA — loose stone across the carriageway and a texture that never formed
- Ironwork left high or low of the finished level — rocking covers, ponding and a snag list entry
- Surface course laid over a binder course left exposed and dirty for weeks — the bond was lost before the tack went down
Best suited for
- The riding surface the travelling public judges the whole road by
- Binder and surface courses laid hot and compacted within the window
- Night and possession working on live networks
- Joints, levels and texture tested to the millimetre before opening
How long does Asphalt Surfacing — Binder & Surface Course take?
Typical duration: A surfacing gang typically lays 300–800 tonnes per shift — commonly several shifts per kilometre per layer, with surface course often phased to follow kerbs, ironwork and footway completion..
Related processes
- Bulk Earthworks — Cuttings & Embankments
- Drainage & Utility Corridors
- Subgrade Preparation & Capping
- Sub-base & Base Construction
- Kerbs, Footways & Road Furniture
- Road Markings, Signage & Lighting
- Testing, Commissioning & Asset Handover
- Corridor Access & Enabling Works
- Survey Control & Ground Investigation
- Roads & Highways sector guide
- Transport Infrastructure group