Kerbs, Footways & Road Furniture
The finishing trades that contain the carriageway, carry the pedestrian and give the road its edge — kerbs, footways and the furniture in between.
Last updated 2026-07-28 by the BuildPedia Editorial Team.
What is Kerbs, Footways & Road Furniture?
Kerbs look like decoration and are anything but. The kerb line contains the carriageway pavement against the sideways thrust of traffic, channels surface water to the gullies, protects the footway and gives the surfacing gang its level datum. Footways and paved areas carry the same engineering in miniature: formation, sub-base, laying course and surface, with falls that must shed water and never pond, and tactile surfaces that guide visually impaired pedestrians at every crossing. Get the edge wrong and the carriageway unravels from the sides while pedestrians trip on rocking flags.
In the UK this work is specified to Series 1100 of the Specification for Highway Works (kerbs, footways, cycleways and paved areas). Precast concrete kerbs are manufactured to BS EN 1340 and laid on a fresh concrete bed with a concrete backing haunch — bedded, jointed and backed, never perched on dabs of mortar. Footway surfaces are precast concrete flags to BS EN 1339, flexible asphalt construction, or block paving to BS 7533, with tactile blister paving at crossing points following the Department for Transport's guidance on tactile walking surface indicators. Road furniture — vehicle restraint systems to Series 400, pedestrian guardrail, bollards and street furniture — completes the corridor's protection.
In the UAE the same trades follow RTA and municipality standard details. Precast concrete kerbs are universal, with granite and stone kerbs in prestige districts; interlocking concrete block footways are common because utility openings are frequent and blocks reinstate cleanly — but only when the edge restraint and laying course are done properly, or the whole pavement creeps and spreads. Vehicle crossings and dropped kerbs onto public roads need RTA approval, and where works touch the right of way they run under the road reserve permit regime. Summer heat dictates the working pattern: concrete beds and mortars placed at dawn or night, with curing taken seriously in air that dries a mortar bed before it hydrates.
The smallest job in this stream is the one a householder actually buys: the dropped-kerb vehicle crossover — approved by the highway authority (or the RTA in Dubai), laid on the same concrete bed and haunch, and inspected just like a kilometre of trunk-road kerbing.
When and why is Kerbs, Footways & Road Furniture used?
Kerbs usually go in after the pavement foundation and before the final surface course — the kerb line sets the surfacing levels, and laying surface course against an established kerb gives the clean edge and correct upstand for drainage. Footways follow once the duct crossings and service entries that run beneath them are in, because digging up a finished footway is the fastest way to make an enemy of the highway authority. It matters because the edge details carry the road's drainage, accessibility and containment: a kerb laid flat ponds water, a missing tactile blister fails an audit, and a kerb without its concrete haunch gets pushed out by the first HGV that clips it.
Types of Kerbs, Footways & Road Furniture
Precast concrete kerbs and channels
Half-battered and bull-nosed profiles to BS EN 1340, bedded on fresh concrete and backed with a haunched backing to line and level. The default UK and Gulf road edge: robust, cheap and repairable. Variants include quadrants, droppers and transition kerbs, plus combined kerb-and-drainage units that collect surface water through slots in the kerb face where gullies are impractical.
Natural stone and specialist kerbs
Granite setts and kerbs for prestige or high-abuse locations, and specialist units such as bus stop kerbs with their overhang-friendly profile, and high containment kerbs where vehicles must be kept off footways. Heavier, costlier and less forgiving to lay — stone kerbs demand a full bed and tight joints, and chipped faces are rejected, not hidden.
Footways: flags, flexible and block paving
Precast flags to BS EN 1339 bedded on a full mortar or screeded laying course; asphalt footways laid in two layers over sub-base; and concrete block paving to BS 7533 on screeded laying-course sand with rigid edge restraint. Each has its failure signature — rocking flags, fretted asphalt edges, spreading blocks — and all three trace back to the same sins: poor bedding, no edge restraint, or a sub-base nobody compacted.
Road restraint and street furniture
Vehicle restraint systems — steel safety barrier and wire rope to Series 400 with tested terminals and transitions — pedestrian guardrail at crossings and schools, bollards, cycle stands and the miscellany of street furniture. Barriers are safety-critical structures: post depth, torque, overlap direction and terminal type are all specified, and the whole system only works installed exactly as tested.
Kerbs, Footways & Road Furniture: step by step
Step 1: Set out the kerb lines and levels
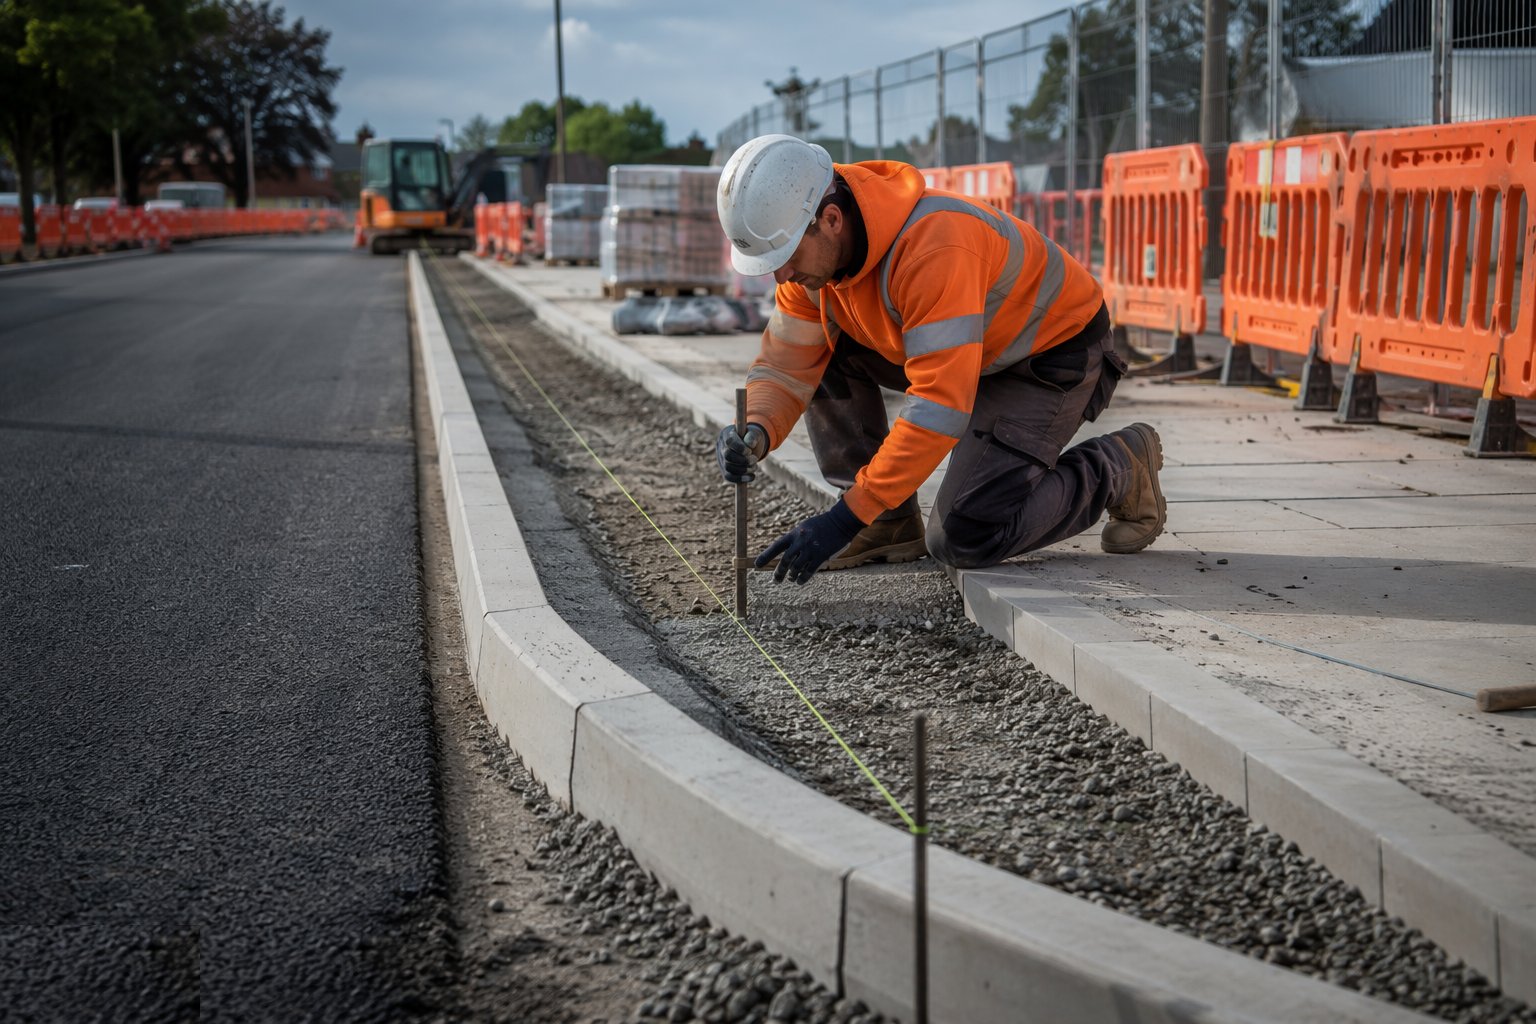
Set out the kerb line from the road geometry with pins and a taut string line, fixing the top-of-kerb levels that the surfacing will follow — the kerb is the datum for everything after it. Check the upstand against the drainage design: too low and water runs onto the footway, too high and pedestrians face a trip step and vehicles ground their sills. On radii, set out tight enough pins that the line flows; a kerb line that wobbles announces itself to every driver for the next thirty years.
Step 2: Excavate the kerb race and lay the concrete bed
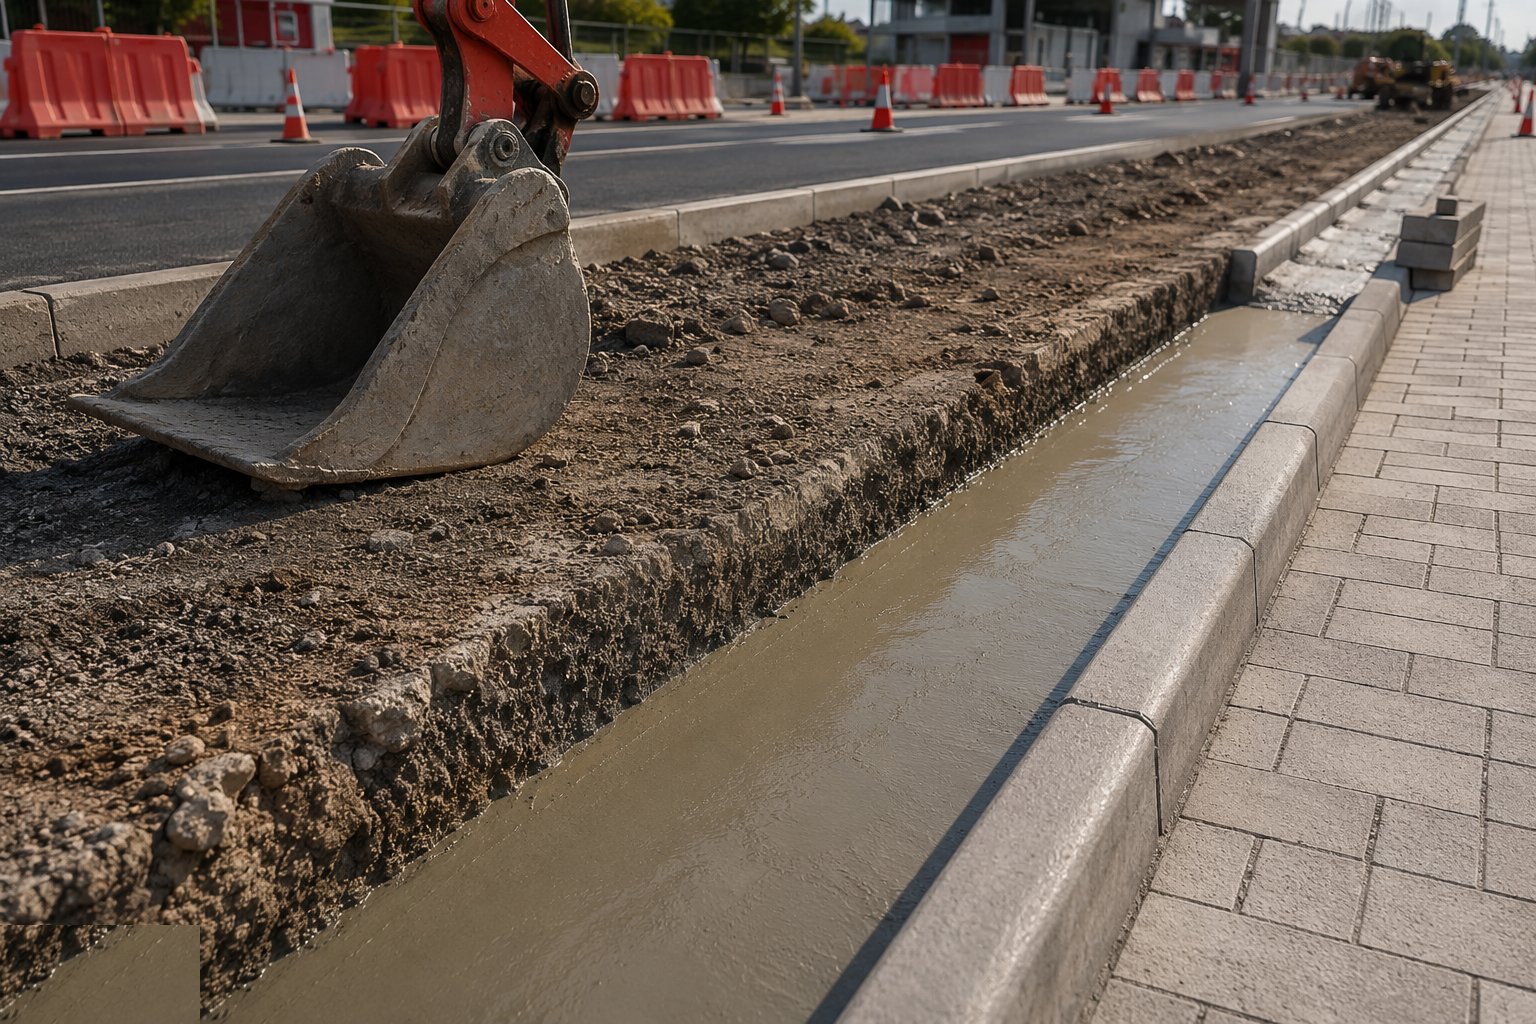
Excavate the kerb race to depth and width, compact the base, and lay a fresh concrete bed — typically a stated strength class to Series 1100 — to the correct depth so the kerb seats at design level. Work in lengths you can lay kerbs onto while the bed is fresh; a kerb pressed onto a bed that has gone off is a kerb on a hard, unforgiving lump. In Gulf heat this means early or night working with curing protection, because a bed that dries before it sets gives you nothing.
Step 3: Lay, joint and haunch the kerbs
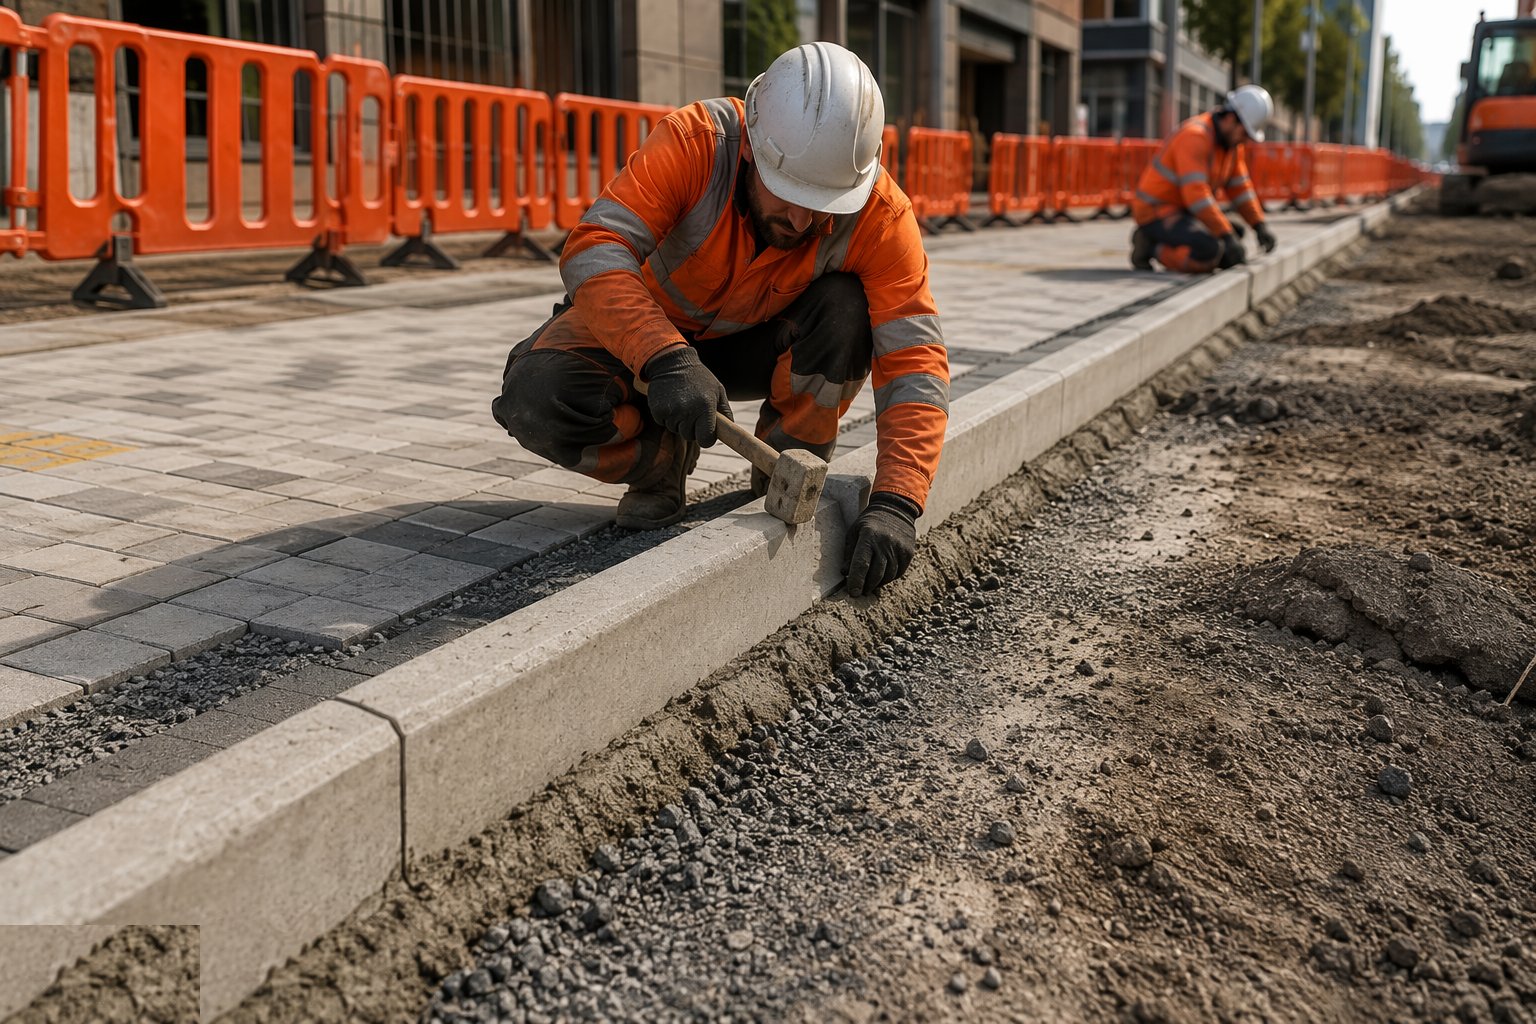
Set kerbs to the string line, bedded and tapped to level, with joints close and pointed or buttered as specified — not gaping and dry. Back with the concrete haunch to the specified profile, well compacted and shaped, because the haunch is what stops traffic pushing the kerb line over. Use mechanical handling — kerb grabs, vacuum lifters — for heavy units: a precast kerb is a hernia waiting to happen. Check line and level continuously; you are building the edge the whole corridor will be judged by.
Step 4: Build the footway formation and sub-base
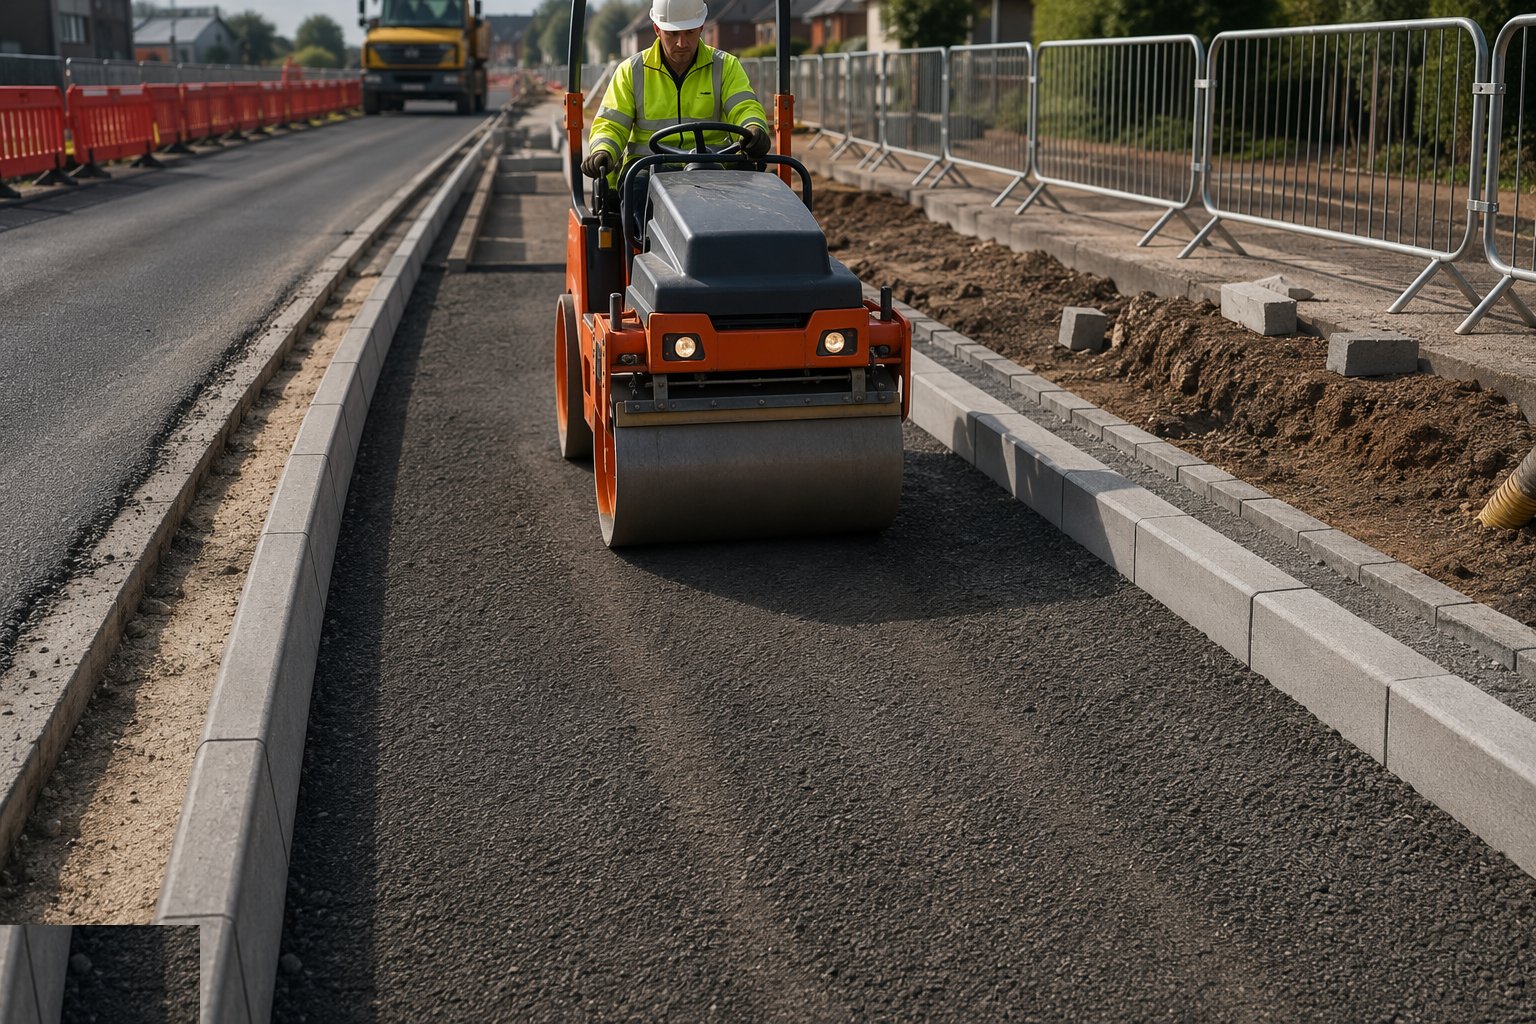
Strip to formation, prove the ground, and lay the footway sub-base compacted in layers to falls that drain — crossfall towards the kerb, never flat and never ponding against a boundary wall. Cut in the duct crossings and chambers first: anything forgotten goes in now or by a reinstatement later. Keep the sub-base clean and dry; a footway over a churned, saturated formation is a footway of rocking flags by spring.
Step 5: Lay the footway surface and tactile paving
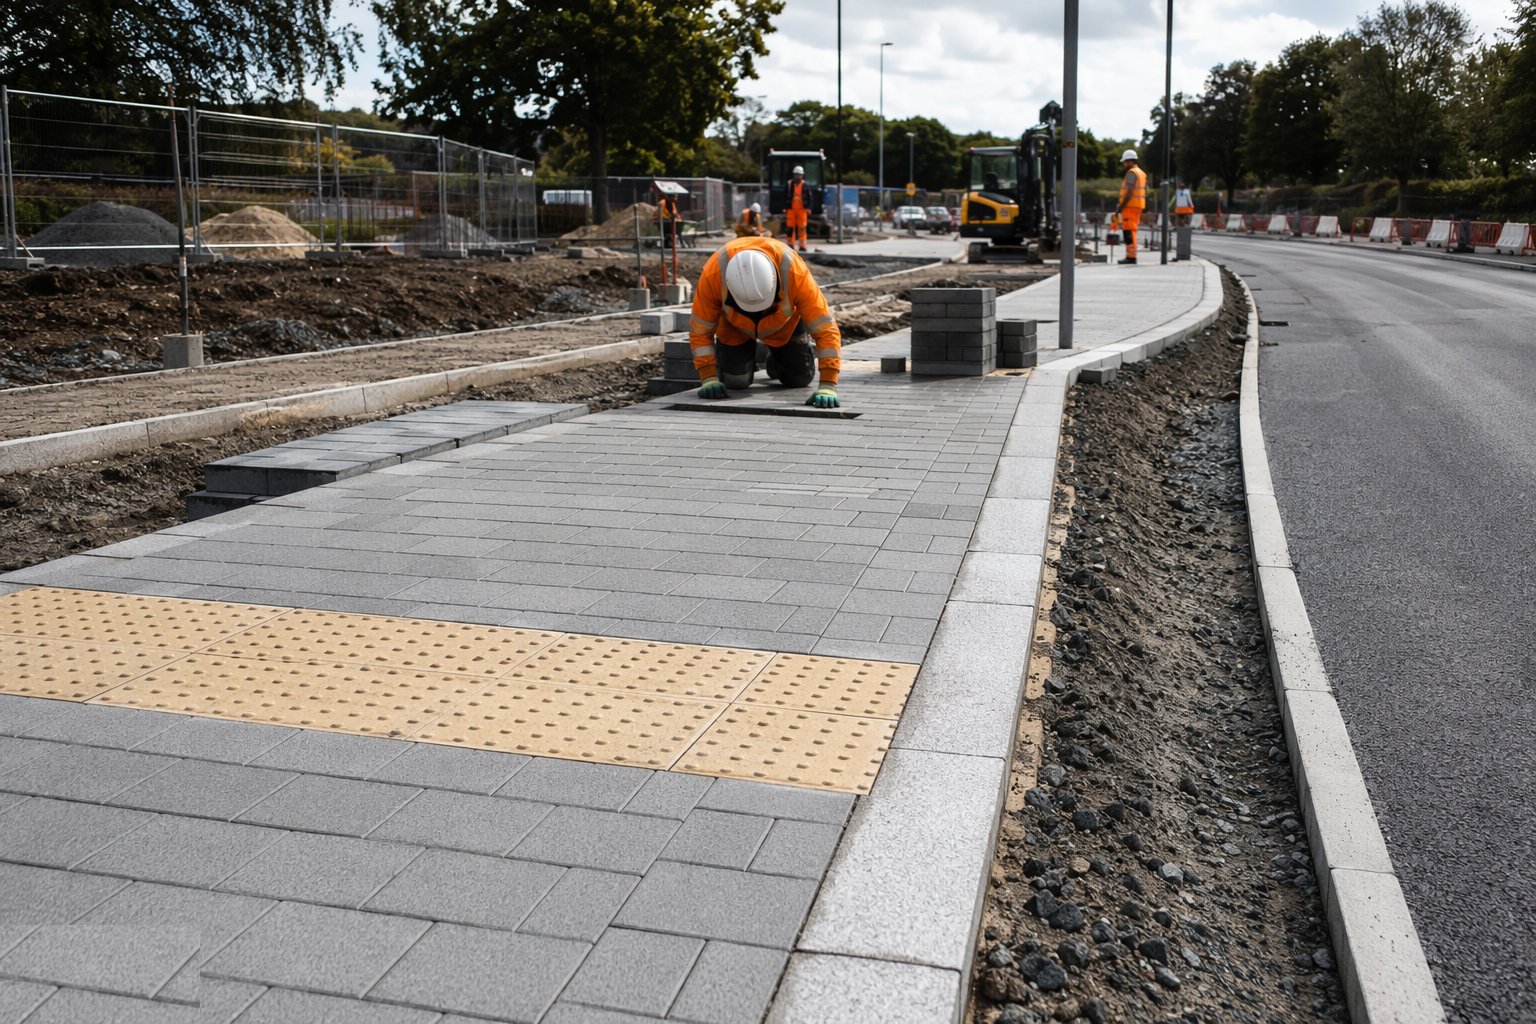
Flags on a full, consistent bed — screeded laying course or full mortar bed — tapped to level with joints tight and falls true; no corner dabs, because a dabbed flag rocks and cracks. Asphalt footways are laid and compacted hot in their layers with clean, tacked edges; block paving goes on screeded laying-course sand, compacted and jointed with kiln-dried sand, locked by edge restraint that is structural, not decorative. At every controlled crossing, lay tactile blister paving to the correct layout and colour contrast per the guidance — it is an accessibility feature, not a pattern.
Step 6: Install the restraint systems and furniture
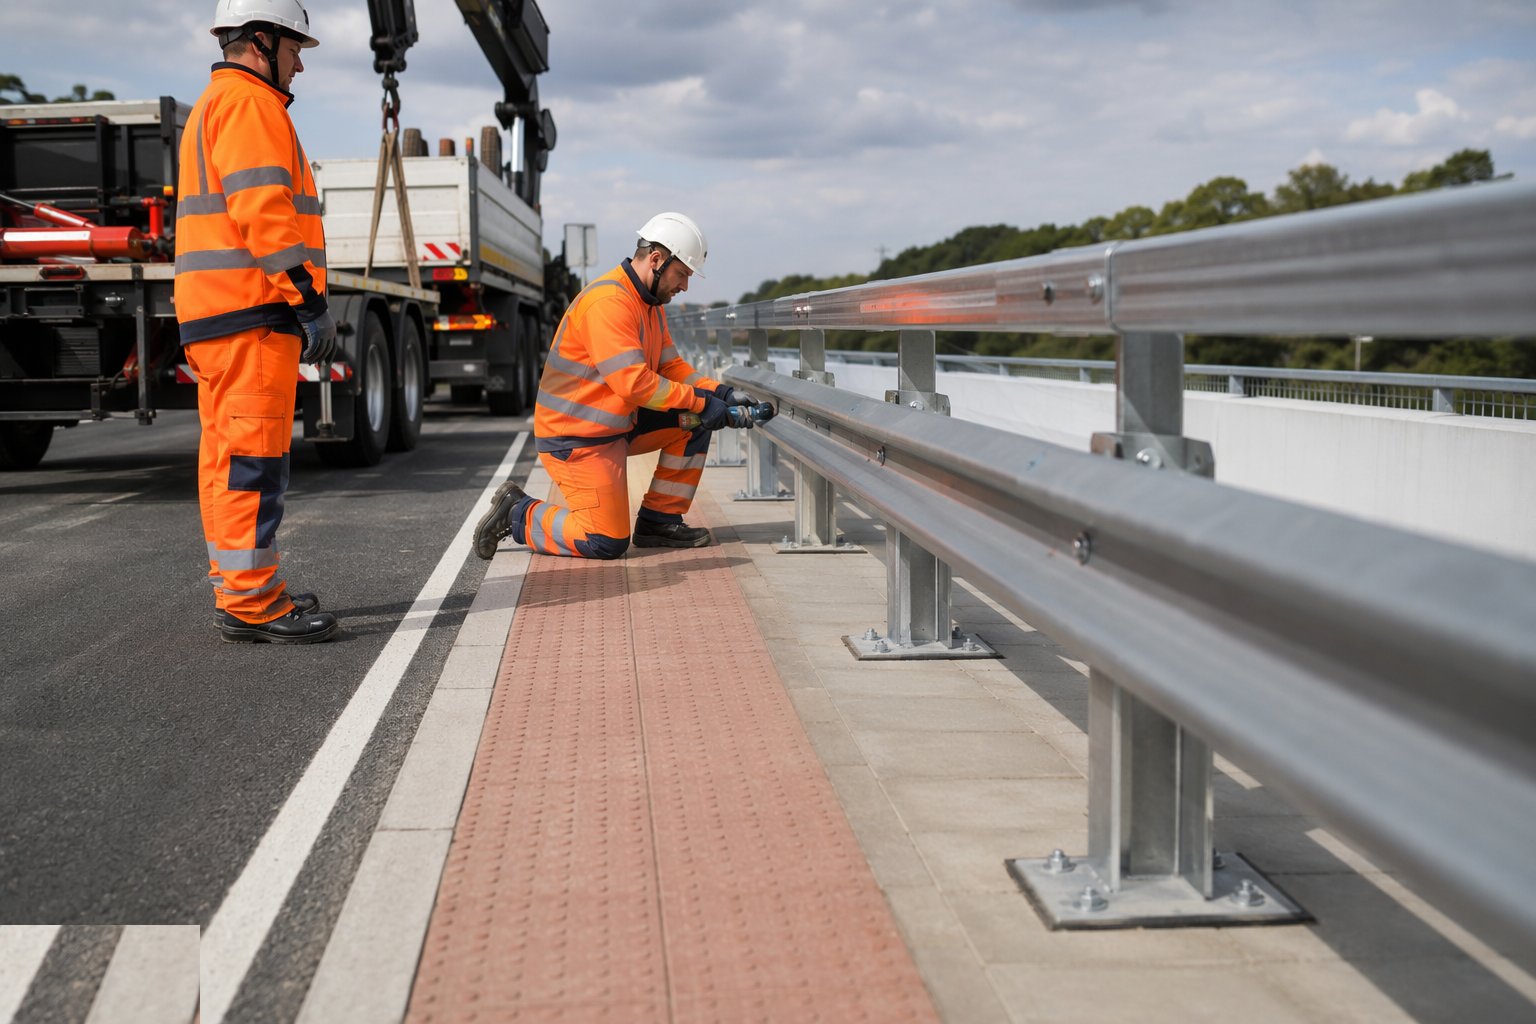
Drive or auger barrier posts to line and embedment depth, torque the beams, and install the terminals and transitions exactly as the tested system demands — a barrier is a crash-tested machine, and any improvisation voids it. Pedestrian guardrail goes up where the safety audit puts it, panels oriented so the visibility gap is at driver eye height. Bollards, cycle stands and furniture are set plumb and level on proper foundations; the difference between street furniture and street litter is the concrete below it.
Step 7: Check tolerances, protect and hand over
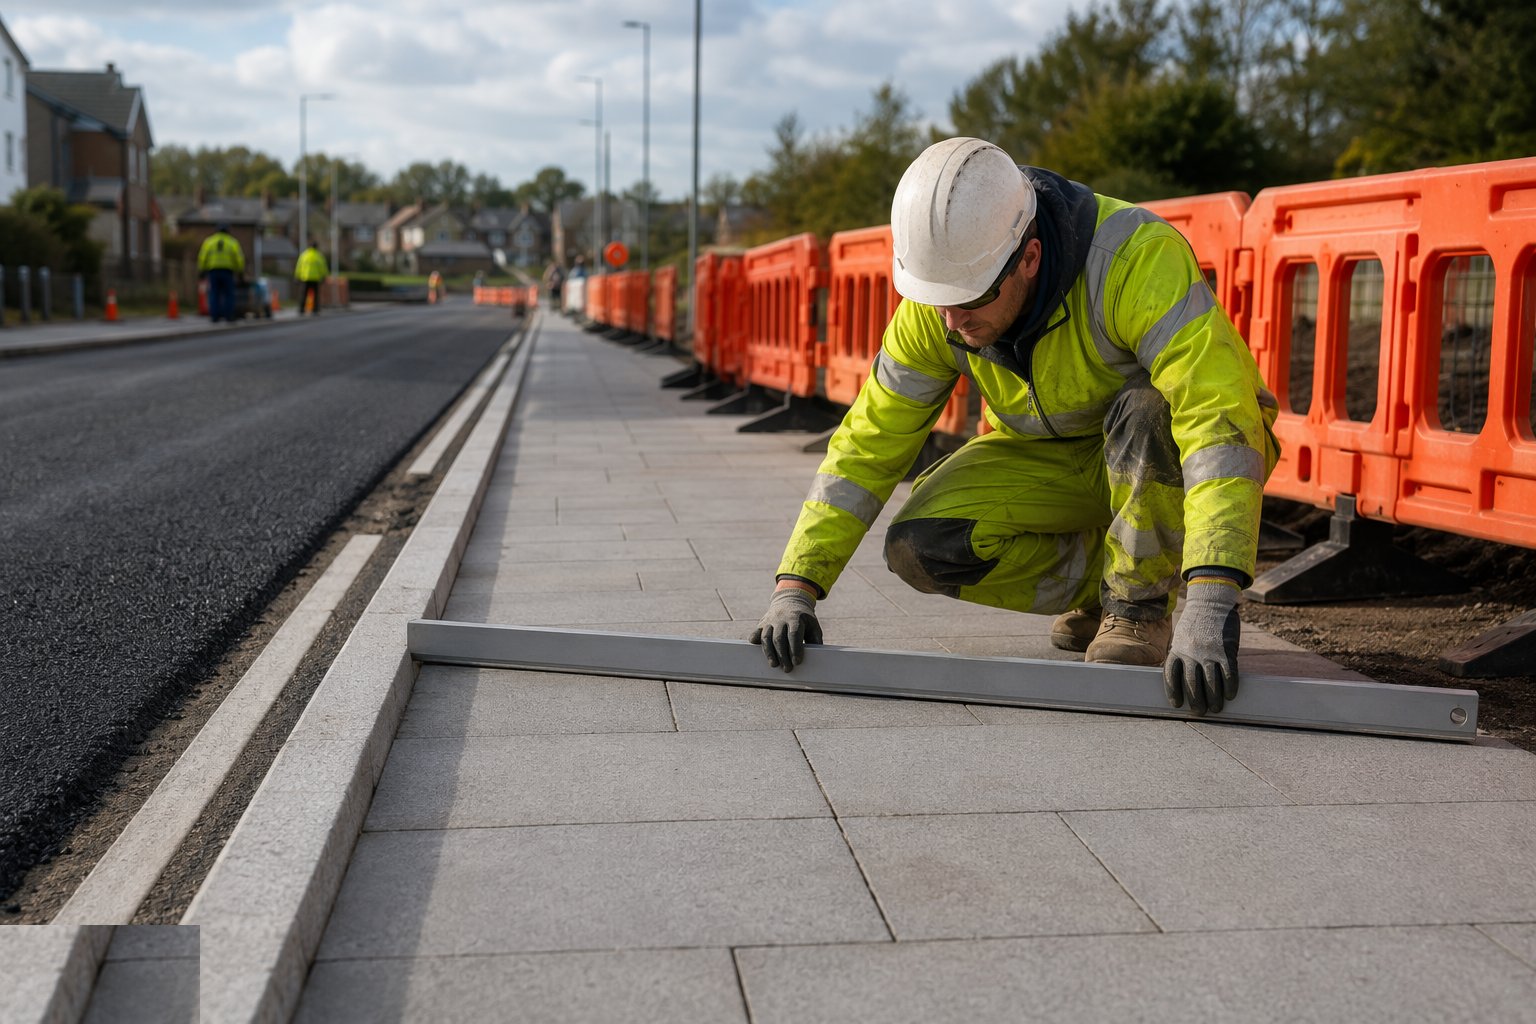
Survey kerb line and level against tolerance, walk every footway with a straight edge and a boot — rocking flags are found by standing on them, not by looking — and check drainage falls with a level or a hose where in doubt. Protect fresh beds and haunches from traffic until they have strength, and keep site traffic off finished footways. The snag list at this stage is the adopting authority's first impression; a corridor that drains, runs true and feels solid underfoot is halfway to adoption before the paperwork starts.
Plant and equipment
- Excavators with kerb grabs and vacuum lifters for unit handling
- Concrete supply and skip/barrow runs for beds and haunches
- Plate compactors and small rollers for footway layers
- Abrasive cut-off saws with water suppression for cutting units
- String lines, pins, lasers and straight edges for line and level
- Post drivers and augers for barrier and guardrail posts
- Screed rails and laying-course kit for flags and block paving
- Torque wrenches and embedment gauges for barrier installation
Quality control checks
- Kerb line and level surveyed against tolerance before surfacing follows it
- Bed and backing concrete to the specified class, placed fresh and cured
- Flags and blocks on full beds — the boot test finds every rocking unit
- Footway falls checked so water runs to the kerb, never to the doorway
- Tactile paving layouts at crossings checked against the guidance, colour contrast included
- Barrier post embedment, torque, overlap direction and terminal type inspected against the system drawings
- Utility crossings and chamber frames set to finished level before surfacing
Safety considerations
- Manual handling: mechanical lifting for kerbs and flags — no heroics with 50 kg units
- Cutting dust is respirable crystalline silica: water suppression and RPE, enforced not offered
- Kerb-race excavations beside live traffic: barriers, banksmen and agreed exclusion zones
- Fresh concrete and mortar: skin protection and eyewash on the gang
- Public interface on open footways — safe signed pedestrian diversions maintained at all times
- Post driving beside buried services: scan and permit to dig before the first post
- Heat management for hand-laying trades in Gulf summer — rotated crews, dawn and night shifts
Common defects
- Kerbs perched on dabs or a stale bed — rocking, settlement and a wavy line within months
- Backing haunch omitted or skimped — the kerb line pushed out by the first heavy vehicle
- Flags laid on spot mortar — rocking, cracking and trip claims
- Footway falls wrong — water ponds at the back of the footway or runs to the shopfront
- Block paving without proper edge restraint — the pavement creeps and opens at the joints
- Tactile blister paving missing, wrong layout or wrong colour at crossings — failed accessibility audit
- Barrier terminals improvised — a restraint system that spears or pockets instead of redirecting
Best suited for
- Containing the carriageway and giving the road its finished edge
- Footways, crossings and tactile paving for the pedestrian
- Barriers, fencing and street furniture installed to specification
- The detail trades that release the road to traffic
How long does Kerbs, Footways & Road Furniture take?
Typical duration: A kerb gang typically lays 100–300 m per day depending on radius and access; footways run at similar rates once crossings are in — allow 1–3 weeks per corridor section for kerbs and footways combined..
Related processes
- Drainage & Utility Corridors
- Subgrade Preparation & Capping
- Sub-base & Base Construction
- Asphalt Surfacing — Binder & Surface Course
- Road Markings, Signage & Lighting
- Testing, Commissioning & Asset Handover
- Corridor Access & Enabling Works
- Survey Control & Ground Investigation
- Bulk Earthworks — Cuttings & Embankments
- Roads & Highways sector guide
- Transport Infrastructure group