Subgrade Preparation & Capping
Proving the formation and building the capping layer — the low-cost working platform that decides whether the pavement above it lasts.
Last updated 2026-07-28 by the BuildPedia Editorial Team.
What is Subgrade Preparation & Capping?
Between the bulk earthworks and the blacktop sits the least glamorous and most consequential part of a road: the subgrade — the soil the road stands on — and the capping that improves it. The terms matter. The subgrade is the ground itself, cut or filled; the formation is the prepared top surface of that subgrade; and capping is a relatively cheap layer of granular or stabilised material placed on weak formation to create a stiff, workable platform for the pavement. Get this foundation wrong and no thickness of asphalt above will save you — the pavement will crack, rut and pump within a few winters.
In the UK, pavement foundation design follows CD 225 of the Design Manual for Roads and Bridges, which works on the strength of the subgrade expressed as its CBR or, increasingly, its surface modulus — with a published conversion between the two for CBR values in the 2–12 per cent range. The earthworks themselves are specified to Series 600 of the Specification for Highway Works. Where the subgrade is too weak, CD 225 sets out the improvement menu: excavate and replace between 500 and 1,000 mm of soft material with granular fill, reinforce mechanically with geotextiles or geogrids, or stabilise the soil in place with lime or cement. The chosen route decides the capping thickness and the foundation class the whole pavement is then designed on.
In the UAE the foundation conversation has its own accent. Dune sands compact readily and can give respectable CBR values, but they are uniform, can be collapsible, and carry heavy loads poorly when loose — so compaction and proof testing are everything. Sabkha, the salt-crusted coastal flat, must be excavated out or treated before anything is built on it, and saline groundwater within a metre or two of the surface in coastal zones attacks both the fill chemistry and the plant working in it. Materials for capping and fill are approved through the RTA's materials approval processes, and in the right of way the work proceeds under the road reserve permits issued under Dubai's Executive Council Resolution No. 54 of 2021 regime.
When and why is Subgrade Preparation & Capping used?
Subgrade preparation and capping follow immediately after the bulk earthworks reach formation, because formation exposed to weather and plant traffic degrades by the day — it must be proven, covered and protected, not admired. It matters because the foundation is the cheapest place to buy pavement performance: a metre of capping over a weak subgrade costs a fraction of the extra asphalt or the early-life reconstruction you would otherwise be funding. Every test result at this stage — the CBRs, the plate tests, the density results — is also the evidence that the designer's assumptions were true, and the pavement designer's hold point before bound layers start. The same foundation logic governs a driveway or a patio: prove the subgrade, separate the soft spots with geotextile, compact in layers — the CBR test becomes a proof roll and a practised eye, but a drive built on unproven soft formation ruts and pumps exactly like a failed capping, only cheaper to redo and twice as embarrassing.
Types of Subgrade Preparation & Capping
Granular capping from acceptable fill
The workhorse: well-graded granular material — site-won where the earthworks classification allows, imported where it does not — placed and compacted in layers to Series 600 capping classes. Cheap, fast and forgiving, it is the default answer wherever a few hundred millimetres of decent rock will lift the subgrade to the required foundation class.
Lime or cement stabilised capping
Weak or marginal soils improved chemically rather than replaced: lime to dry out and modify wet clays, cement to gain strength, mixed in place or in a plant and cured like the chemical process it is. Stabilisation saves muck away and import, but it has a working window and a curing period — traffic it too early and the set is broken before it forms.
Geosynthetic-reinforced capping
A geotextile separator over the subgrade with geogrid within or beneath the capping, letting a thinner granular layer do the work of a thicker one. The geotextile stops the capping punching into soft formation and the formation pumping up into the capping; the geogrid locks the granular layer together. Standard practice over soft alluvium in the UK and over treated sabkha edges in the Gulf.
Direct-on-subgrade foundations
Where the subgrade is genuinely strong — dense granular soils, rock at formation, well-compacted dune sand — CD 225 permits the sub-base to sit directly on formation with no capping at all. The saving is real, but so is the obligation to prove the strength: the formation must hit its design modulus and survive a proof roll, or the capping goes back in.
Subgrade Preparation & Capping: step by step
Step 1: Prove the formation against the design
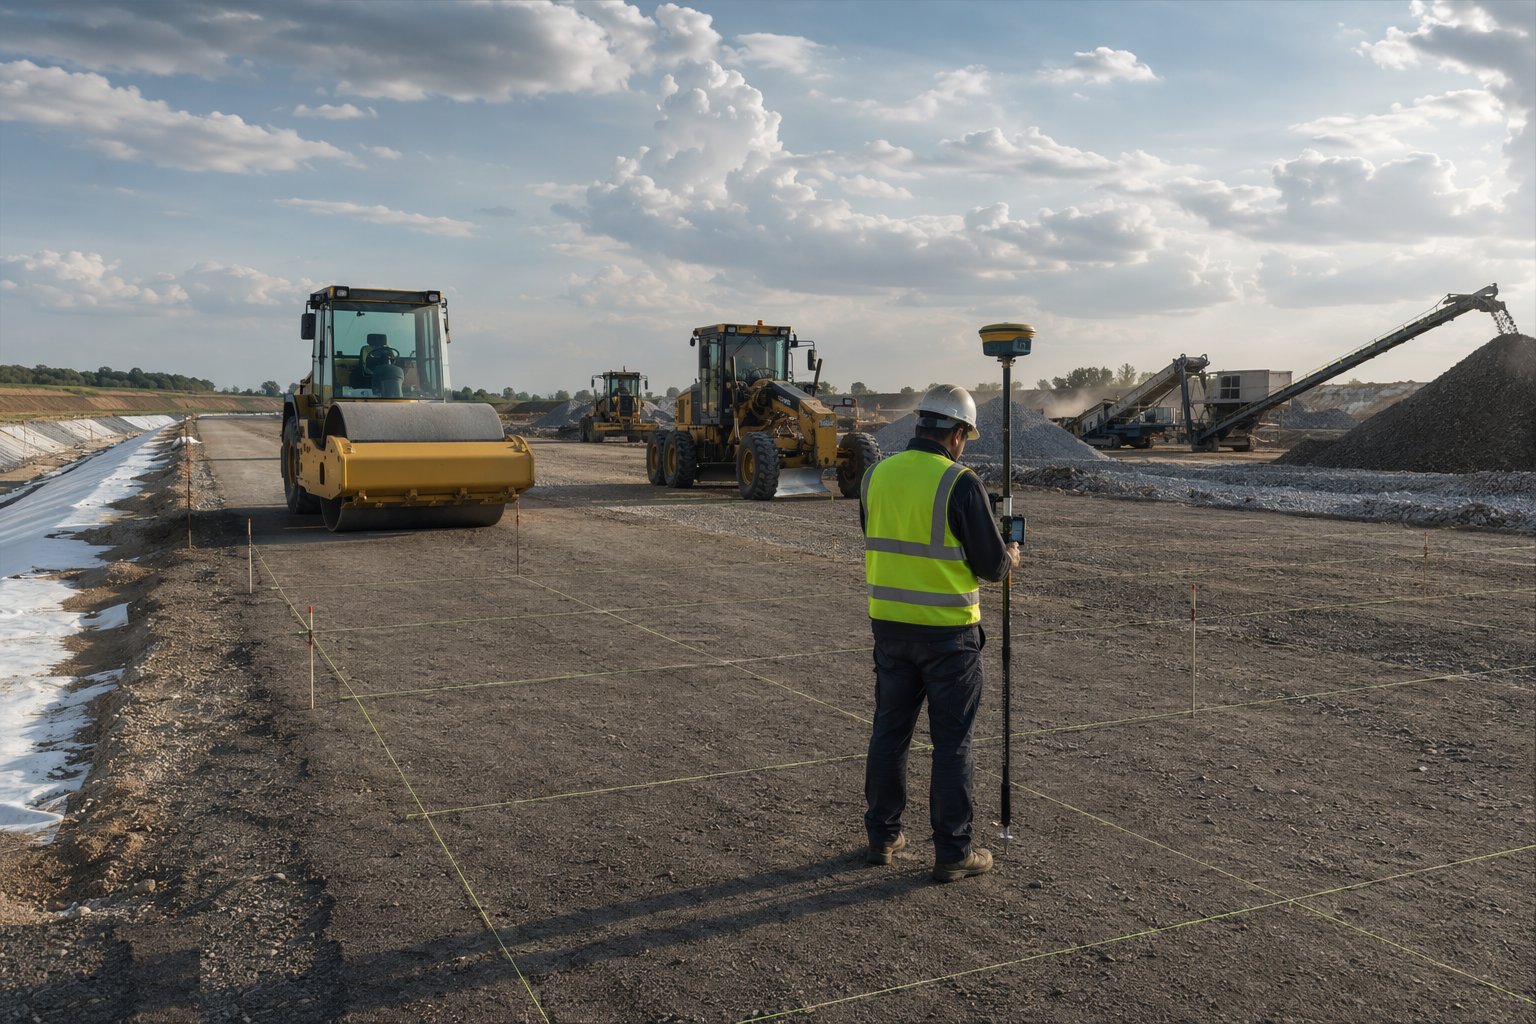
Before anything is placed, verify that the formation matches what the pavement designer assumed. Survey levels on a grid, proof roll with a loaded vehicle or towed roller watching for weave, rutting and pumping, and confirm strength with in-situ CBR, plate-bearing or lightweight deflectometer tests. Every soft, wet or deflecting area is marked out for treatment — the design CBR is a promise, and this is where you find out whether the ground is keeping it.
Step 2: Treat the weak spots
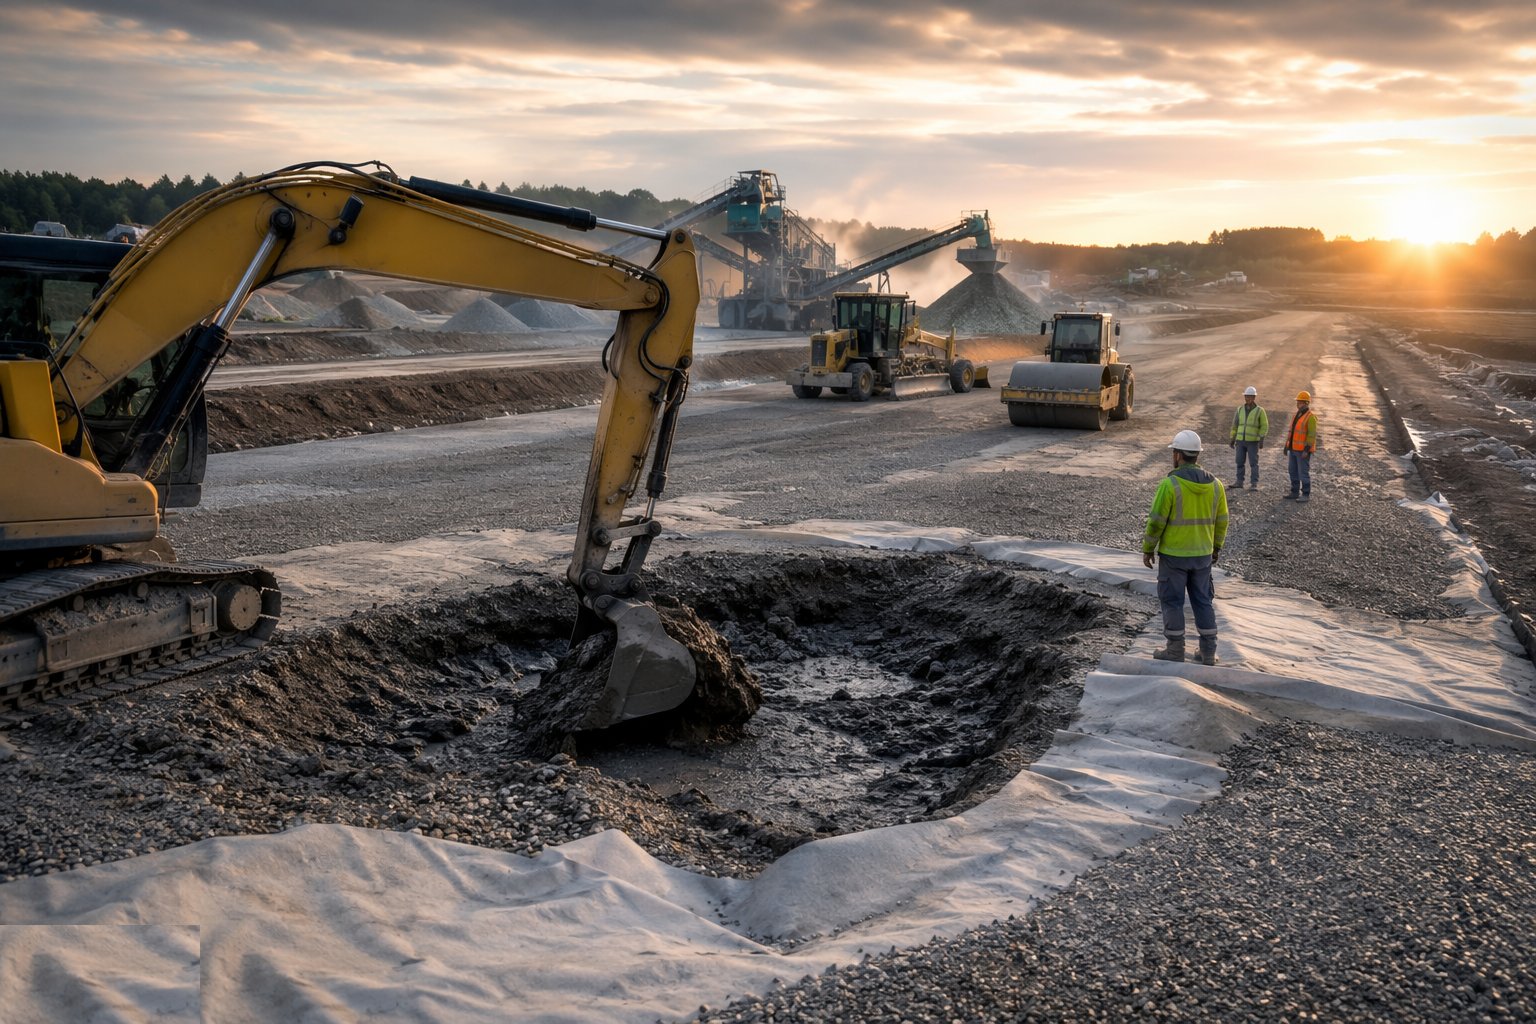
Excavate soft, wet or contaminated patches to firm ground and replace with granular fill in compacted layers, or bridge them with geotextile and extra capping where the designer agrees. In the Emirates this is where sabkha comes out — the salt-rich crust and the loose saturated sand beneath are removed to sound material, because stabilising or burying sabkha stores up settlement and heave for later. Keep the excavation dry; in coastal ground that means pumping to an approved discharge, not into the storm network without consent.
Step 3: Stabilise where the design calls for it
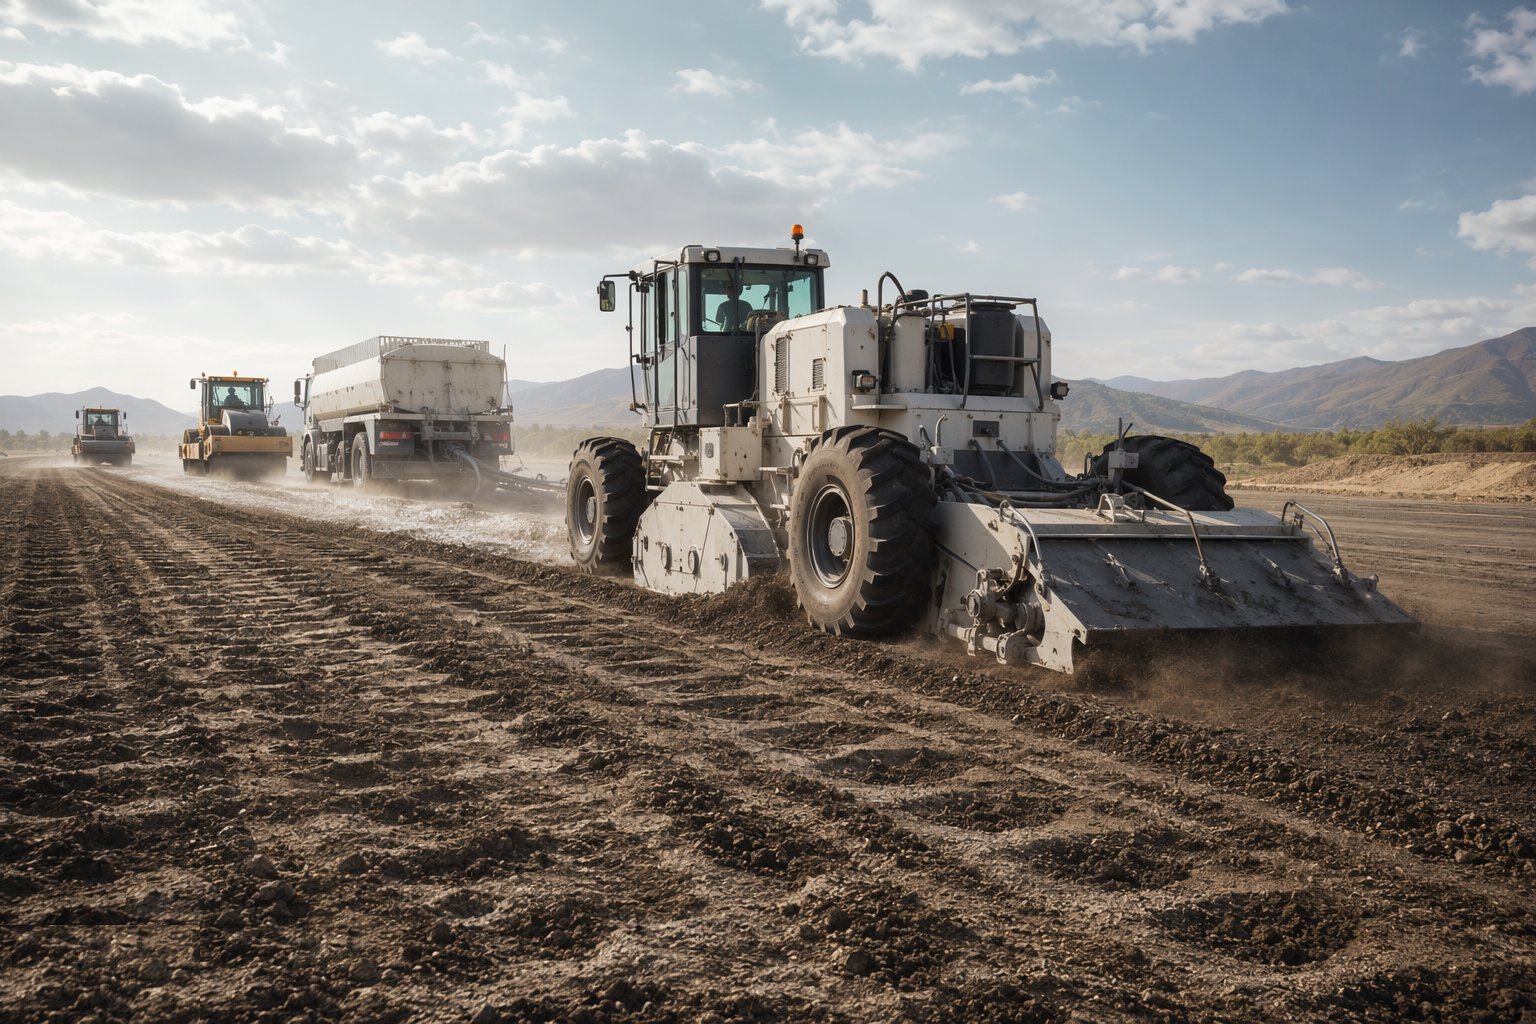
Where stabilisation is the chosen improvement, spread the lime or cement at the design rate with calibrated spreaders, mix to full depth with a rotovating stabiliser, and compact within the binder's working window. Trim to level, then cure — keep the surface moist or sealed and keep traffic off for the specified curing period. Binder content, mixing depth and uniformity are tested, and the cured layer is strength-tested before it is accepted: stabilisation that is skipped on any of these is just expensive dirt.
Step 4: Lay geotextiles and geogrids
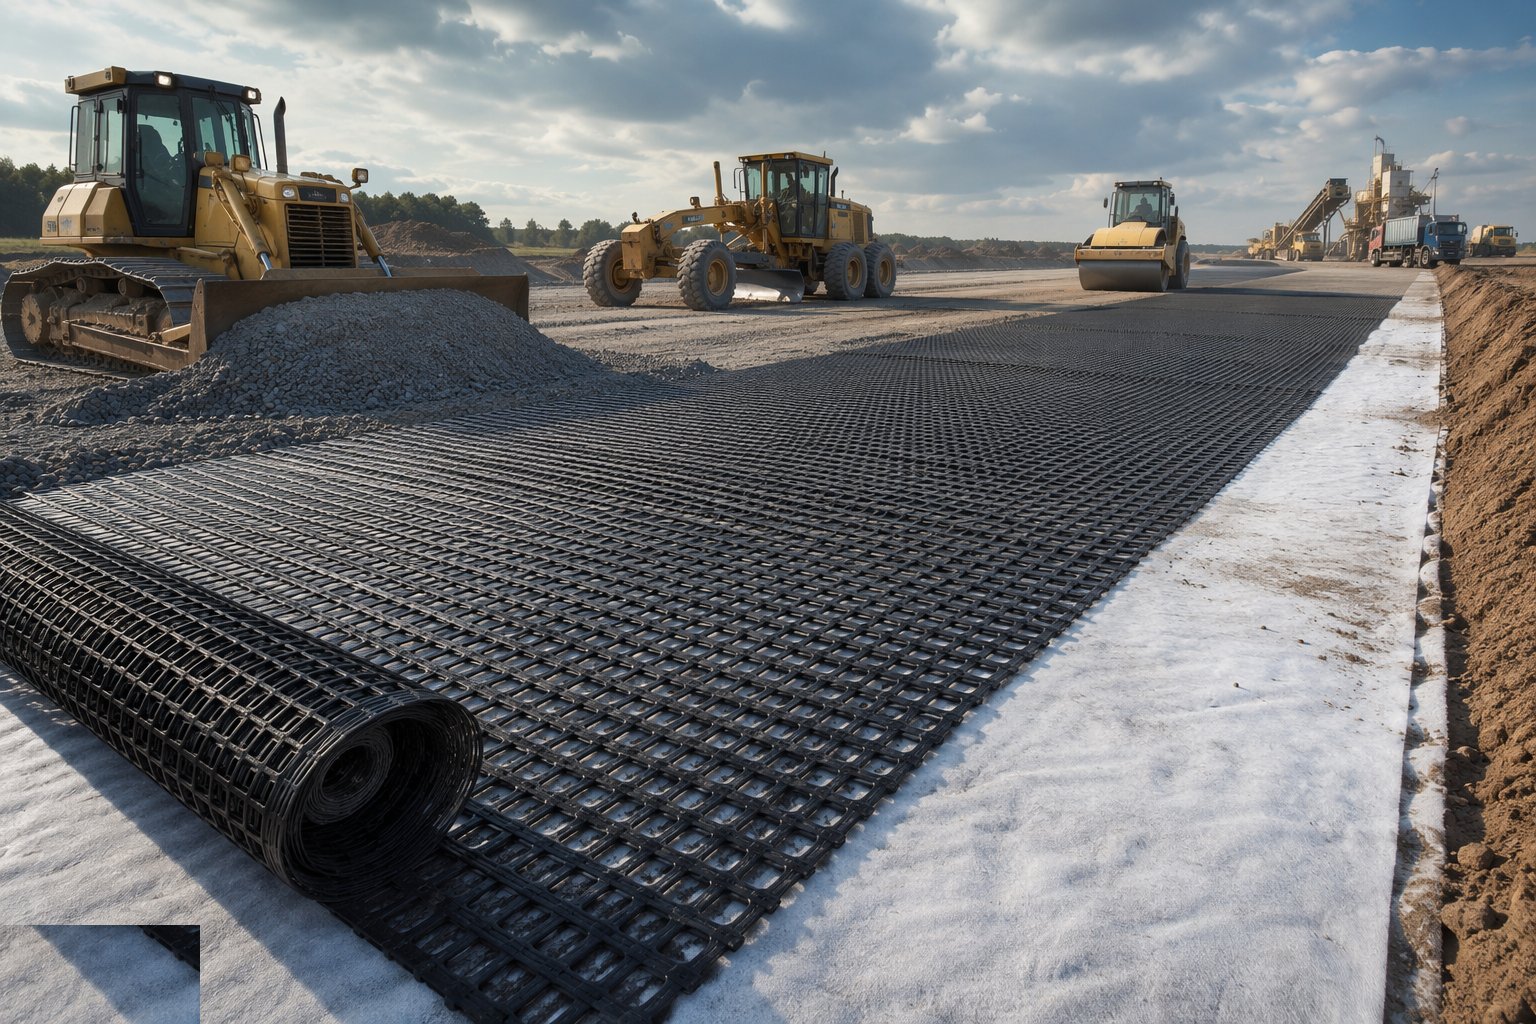
Roll out separation geotextile directly onto the prepared formation with the specified overlaps, pinning or weighting it against wind — in a shamal that means sandbags, because an unsecured sheet over a kilometre of formation becomes a sail. Geogrid goes down taut, overlaps laced or bodkin-jointed as specified, and the first layer of fill is end-tipped and pushed forward over it, never dumped directly and never tracked over bare grid. Photograph every run before covering; you will never see it again.
Step 5: Place and compact the capping in layers
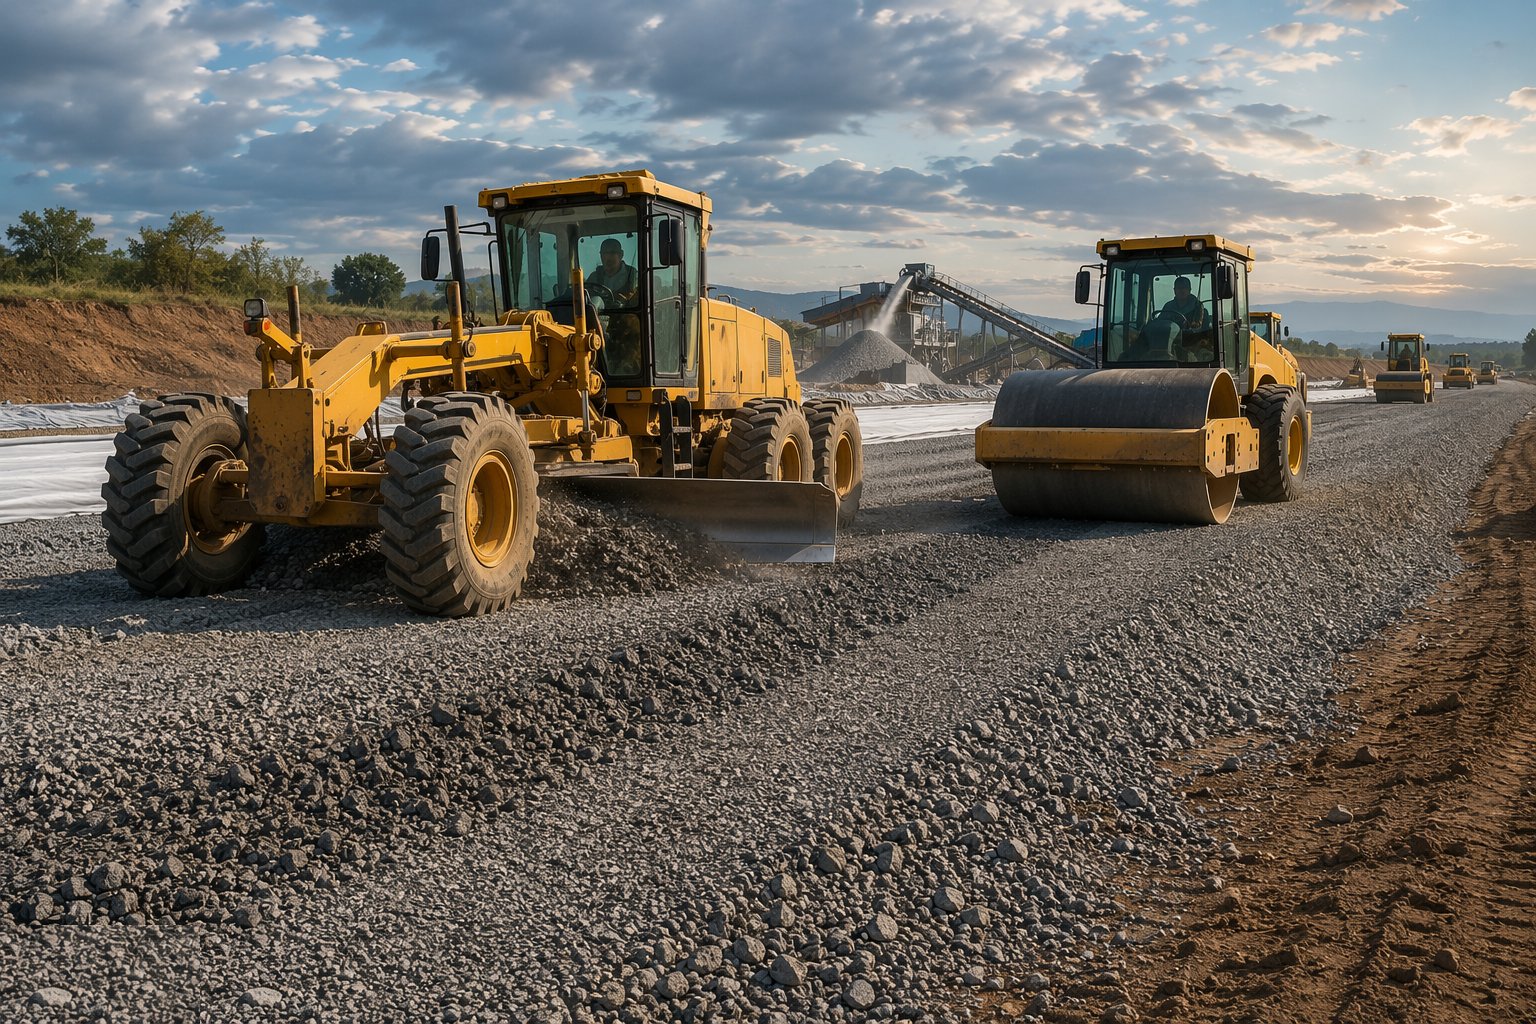
Spread capping in even layers — typically 150–225 mm compacted depending on the plant — with a grader or dozer, keeping the surface crowned so rain sheds. Condition moisture with a water bowser to near optimum and compact with the specified roller pattern: smooth drum on granular, padfoot where the material is cohesive. Do not let haul plant wander across finished layers; a tested layer that is then rutted by a stray dumper is a failed layer.
Step 6: Test the completed foundation
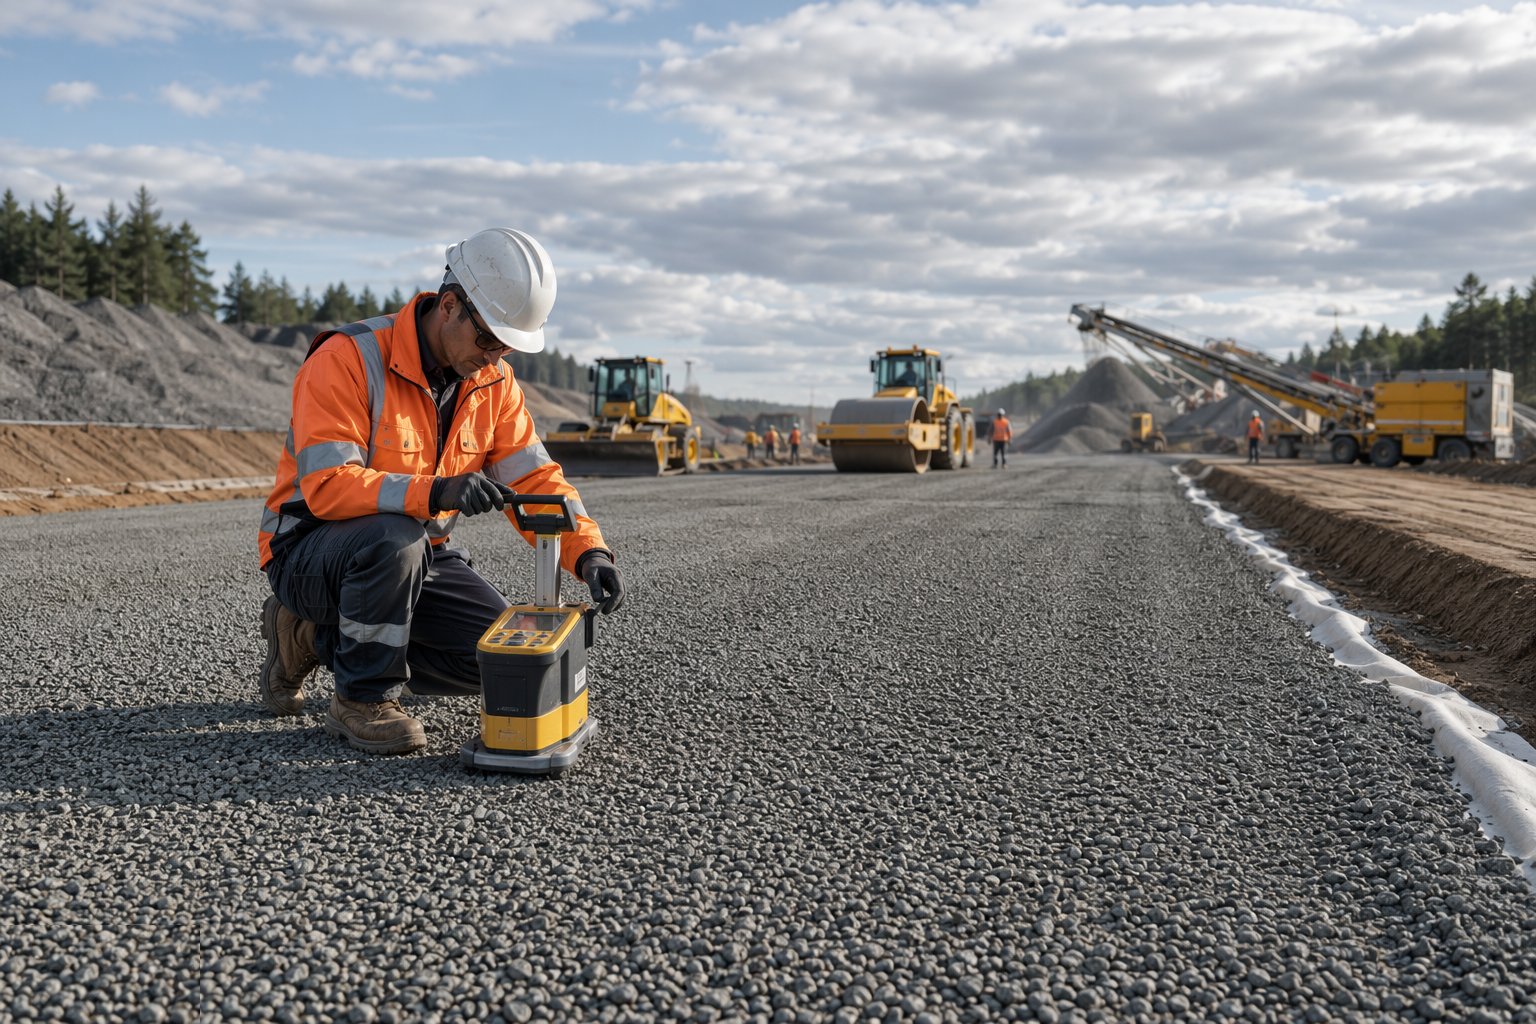
Test in-situ density on a grid per layer — nuclear density gauge or sand replacement — and verify levels and thickness by survey. Where the foundation design is modulus-based, verify the surface modulus with plate-bearing or falling/lightweight deflectometer testing on the completed capping, because that number, not the layer thickness alone, is what the pavement design consumes. Results that miss the target mean more passes, more material, or a conversation with the designer — in that order.
Step 7: Protect the platform and hand over
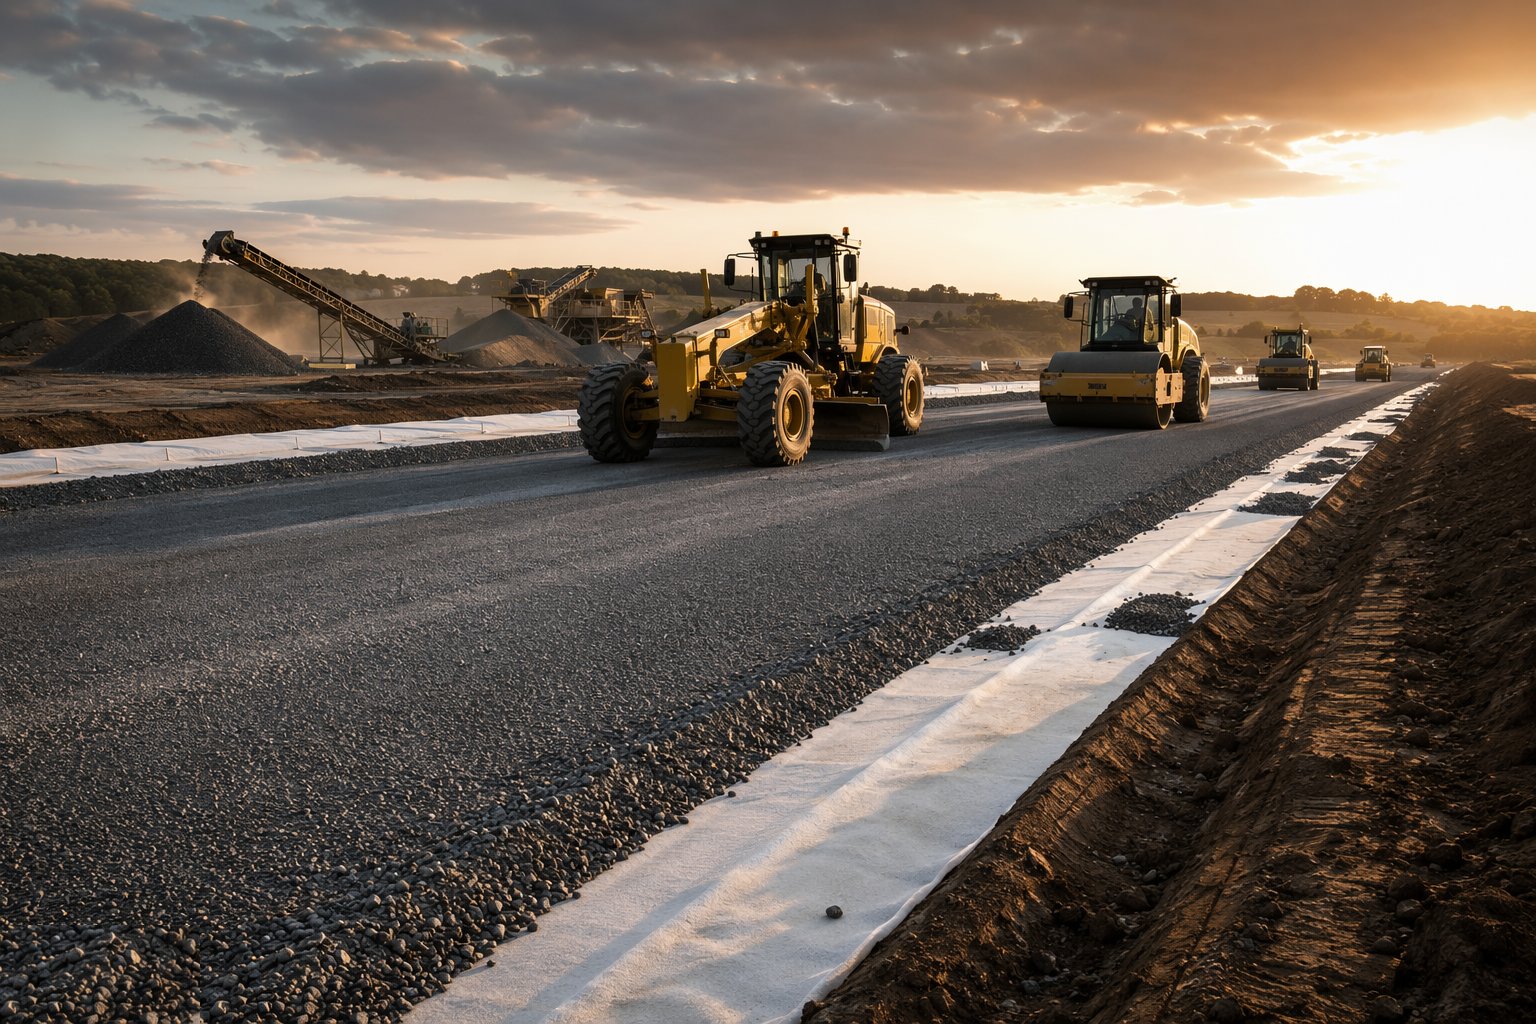
The finished capping is a construction asset: route plant over it in managed lanes, keep drainage running so water never ponds, and repair any damage before the sub-base follows. Formation and capping acceptance is a formal hold point — the pavement works start on an accepted, tested platform with the records filed, or they do not start. Any period of exposure before the next layer gets planned, because a platform left open through a wet month may need re-testing before it can be used.
Plant and equipment
- Motor graders and GPS-controlled dozers for spreading and trimming
- Rollers: smooth-drum vibratory, padfoot and pneumatic-tyred
- Stabilisation train: binder spreaders, rotovating mixer and water tanker
- Articulated dump trucks and tippers for fill movements
- Water bowsers for moisture conditioning and dust suppression
- Proof roller or loaded lorry for formation proof rolling
- Nuclear density gauge, sand replacement kit and CBR/plate-bearing test sets
- Lightweight or falling weight deflectometer for modulus verification
Quality control checks
- Formation levels and thickness surveyed on a grid before covering
- Proof rolling witnessed, with every deflecting area mapped and treated
- In-situ density testing per layer against the specification
- CBR, plate-bearing or deflectometer results reconciled to the design modulus
- Stabilisation: binder content, mixing depth and cured strength all tested
- Geosynthetic type, overlaps and condition photographed before covering
- Foundation acceptance hold point signed off before sub-base starts
Safety considerations
- Plant and pedestrian segregation on the working platform; banksmen at tipping points
- Dust suppression on granular works — a permit condition on Gulf corridors, not a courtesy
- Lime and cement handling: eye and skin protection, wash-down facilities on site
- Roller and grader operation near soft edges — no plant within a safe distance of uncompacted verges
- Pumping and dewatering discharge only to approved outlets with consent
- Heat management and midday-break compliance for crews in Gulf summer working
Common defects
- Capping placed on formation that was never proof rolled — the soft spot arrives with the first frost or the first truck
- Fill placed too wet or too dry and compacted anyway — density results that never come
- Stabilised layer trafficked before curing — the chemical set broken and the strength gone
- Geotextile torn by tracked plant turning on it — separation lost exactly where it was needed
- Sabkha left in place and bridged optimistically — settlement and sulphate heave within a few years
- Finished platform used as a free-for-all haul route, then surfaced without re-testing
Best suited for
- Proving and improving the formation before any pavement layer is laid
- Weak or variable subgrade needing capping or lime/cement stabilisation
- The low-cost platform that decides whether the pavement above it lasts
- Haul routes and working platforms serving the rest of the job
How long does Subgrade Preparation & Capping take?
Typical duration: Typically 1–3 weeks per kilometre of dual carriageway section, longer where stabilisation curing or sabkha excavation is involved..
Related processes
- Corridor Access & Enabling Works
- Survey Control & Ground Investigation
- Bulk Earthworks — Cuttings & Embankments
- Drainage & Utility Corridors
- Sub-base & Base Construction
- Asphalt Surfacing — Binder & Surface Course
- Kerbs, Footways & Road Furniture
- Road Markings, Signage & Lighting
- Testing, Commissioning & Asset Handover
- Roads & Highways sector guide
- Transport Infrastructure group