Sub-base & Base Construction
The structural platform: granular sub-base and bound base layers that spread every wheel load into the ground.
Last updated 2026-07-28 by the BuildPedia Editorial Team.
What is Sub-base & Base Construction?
If the capping is the working platform, the sub-base and base are the structure. The sub-base spreads concentrated wheel loads into the foundation below; the base — on flexible pavements usually bituminous and built with the surfacing train, on heavier designs hydraulically bound or lean concrete — is the principal load-carrying layer. This is the part of the pavement that has to be right first time, because everything that fails above it can be planed off and relaid, while a failed base means digging up the road.
In the UK these layers are specified to Series 700 (road pavements — general) and Series 800 (unbound, cement and other hydraulically bound mixtures) of the Specification for Highway Works. The default sub-base is Type 1 unbound mixture — a well-graded crushed rock that compacts to a dense, interlocked platform — placed and compacted in controlled layers with density and level testing throughout. Hydraulically bound mixtures, batched with cement or other binders to the BS EN 14227 family, give a far stiffer platform for heavily trafficked roads, but they behave like a weak concrete: they crack as they shrink and cure, and that behaviour has to be designed for, not discovered.
In the UAE the materials come from different places but the physics is the same. Crushed gabbro and limestone aggregates are hauled from quarries in the Hajar mountains, and cement-stabilised sand and gravel bases are common on heavily trafficked corridors where rut resistance matters from day one. All materials run through the RTA's source and mix approval processes, deliveries are scheduled around heat — concrete and bound materials are commonly placed at night in summer — and the curing discipline is unforgiving: a bound base that dries before it hydrates in 45°C air is a layer of expensive rubble.
When and why is Sub-base & Base Construction used?
Sub-base and base construction follows the accepted capping or formation and precedes the bituminous surfacing, because the paving train needs a stiff, level, clean platform to work from — paver levels, ride quality and even compaction of the asphalt all start from the layer beneath. It matters because the base carries the structural load for the design life: an under-compacted sub-base shows up as rutting and cracking in the surface course within a few years, and a hydraulically bound base that was cured badly reflects every one of its shrinkage cracks straight into the blacktop above. Scale down to a private drive or an estate cul-de-sac and nothing changes but thickness and plant: Type 1 spread and compacted in two or three layers with a roller or a heavy plate, moisture right and levels checked, because the block paving or asphalt above will copy whatever the sub-base gives it.
Types of Sub-base & Base Construction
Type 1 unbound granular sub-base
Well-graded crushed rock laid to Series 800 (clause 803 practice), compacted in layers to a dense, interlocked platform. Unbound means no cement — its strength comes entirely from grading and compaction, which is why moisture condition and pass counts are policed so hard. It doubles as the construction haul route once down, which is both its convenience and its biggest abuse risk.
Hydraulically bound and cement-bound bases
Aggregates batched with cement or blended binders to BS EN 14227, mixed in a plant, placed within a working window and cured. The result is a stiff, strong base for heavy traffic — but it shrinks as it hydrates, so transverse cracking is designed in, induced by sawcutting or accepted and sealed, never left to chance. Untrafficked until cured: the working window and curing regime are the specification, not guidance.
Stabilised sand sub-base (Gulf practice)
Local dune sands and sand-gravel blends stabilised with cement where imported crushed rock is expensive or remote. Common on Gulf corridors, it turns a uniform, poorly graded sand into an engineered layer — provided the mixing is uniform and the curing disciplined. Saline or sulphate-bearing sands need the binder chemistry checked before they are used at all.
Lean concrete and rigid bases
Where the pavement is rigid or the loading is exceptional — ports, industrial estates, bus lanes — the base is lean concrete or a continuously reinforced slab, placing this process at the boundary with concrete paving. Joints, dowels and curing follow concrete discipline rather than pavement-layer discipline, and the surfacing above, if any, is a thin asphalt layer over a designed joint pattern.
Sub-base & Base Construction: step by step
Step 1: Accept the platform and set out the layers
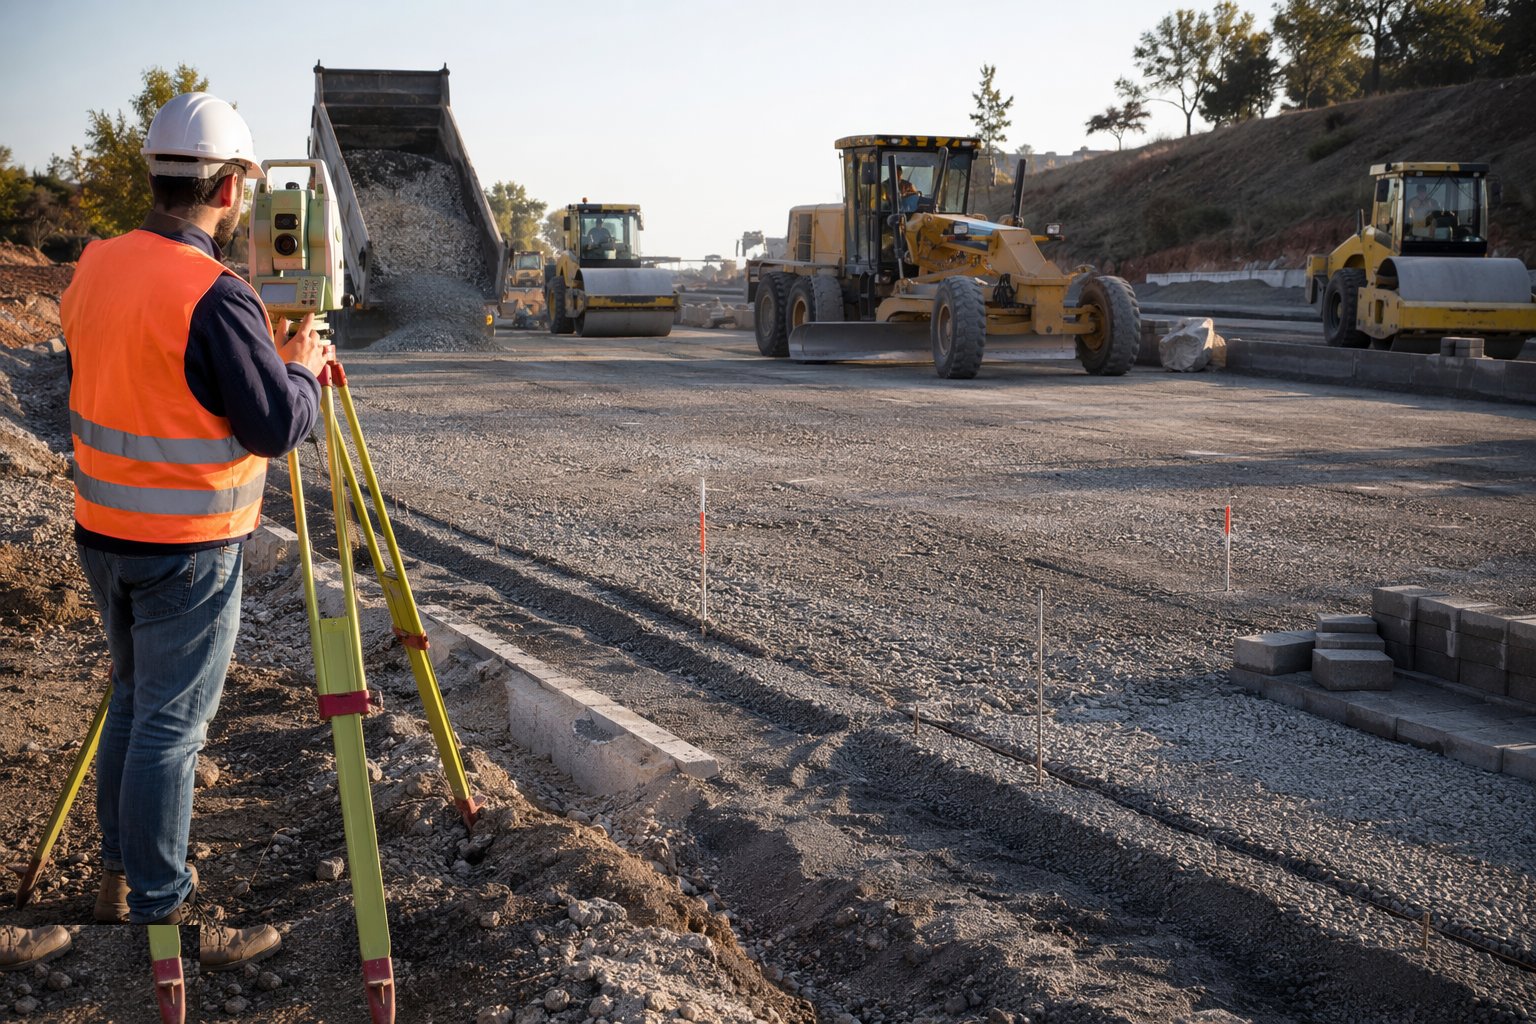
Start from a signed-off capping or formation: check the hold point is closed, the surface is clean, undamaged and at level, and drainage is still running. Set out layer thicknesses and finished levels with pins, rails or laser reference, and plan the delivery and laying sequence so trucks never run on a layer that is not yet compacted and tested. Any damage to the platform from the intervening weeks is repaired and re-tested now, not after the sub-base is down.
Step 2: Approve the materials before they arrive
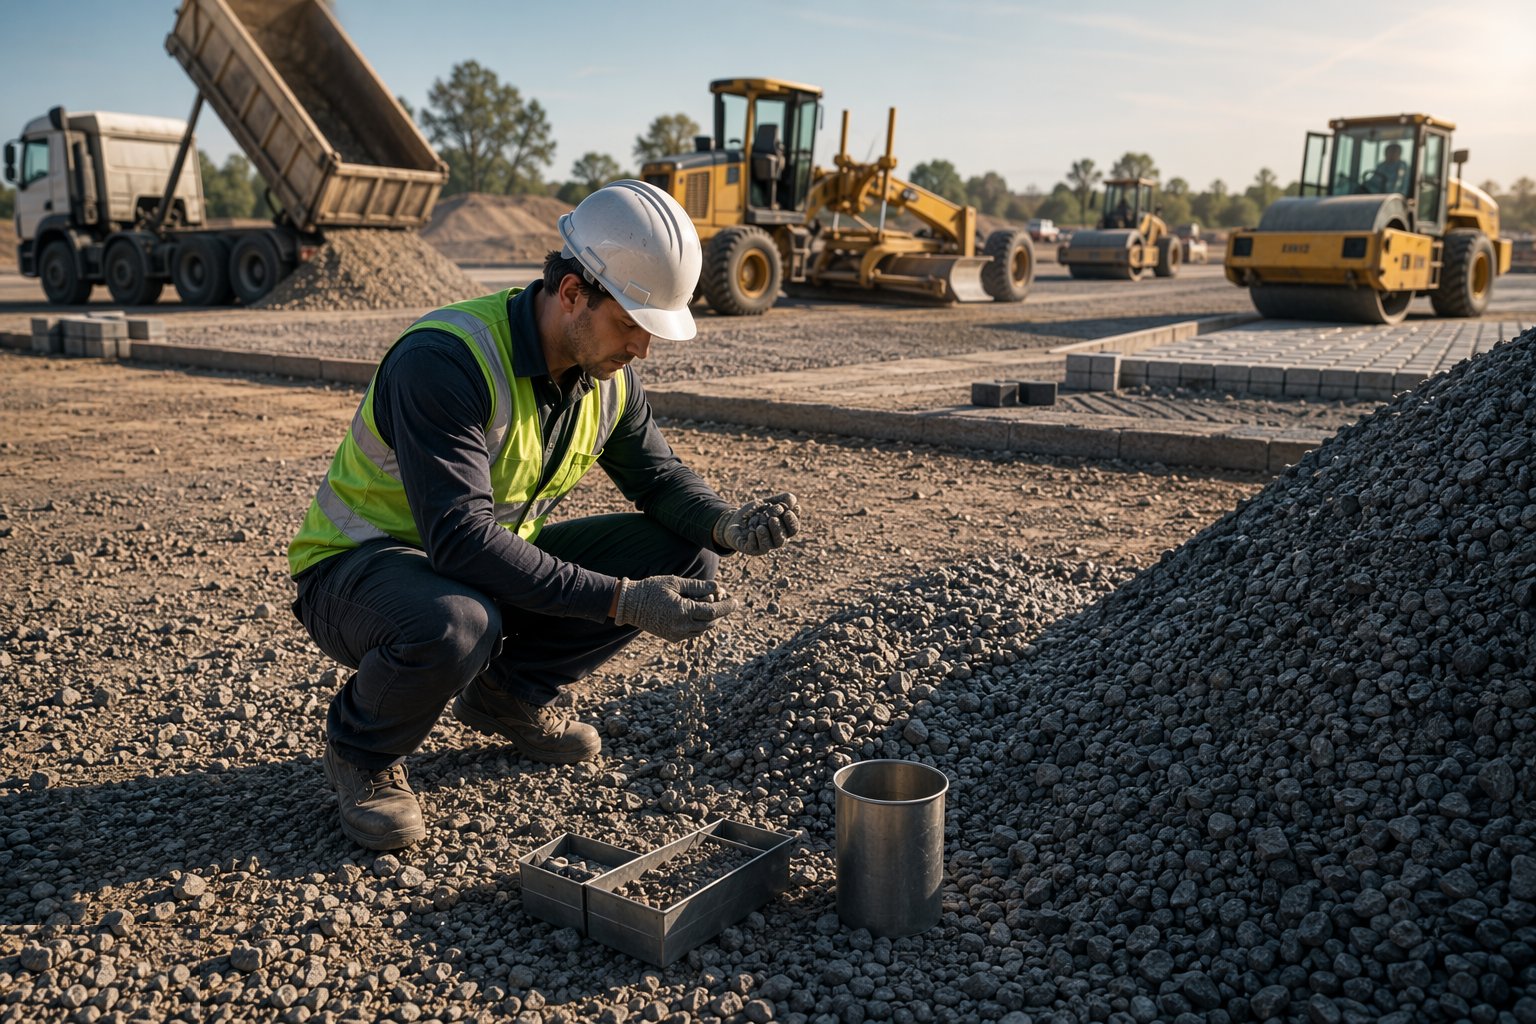
Source approval is paperwork with teeth: grading envelopes, plasticity, durability and — in the Gulf — soundness and chloride/sulphate chemistry certificates for every source, approved before the first load leaves the quarry. For bound mixtures the mix design goes through trial batches and the authority's approval process. A load that arrives without traceable certification is turned away; the cost of an empty lorry is nothing next to the cost of ripping out a rejected layer.
Step 3: Spread the sub-base in controlled layers
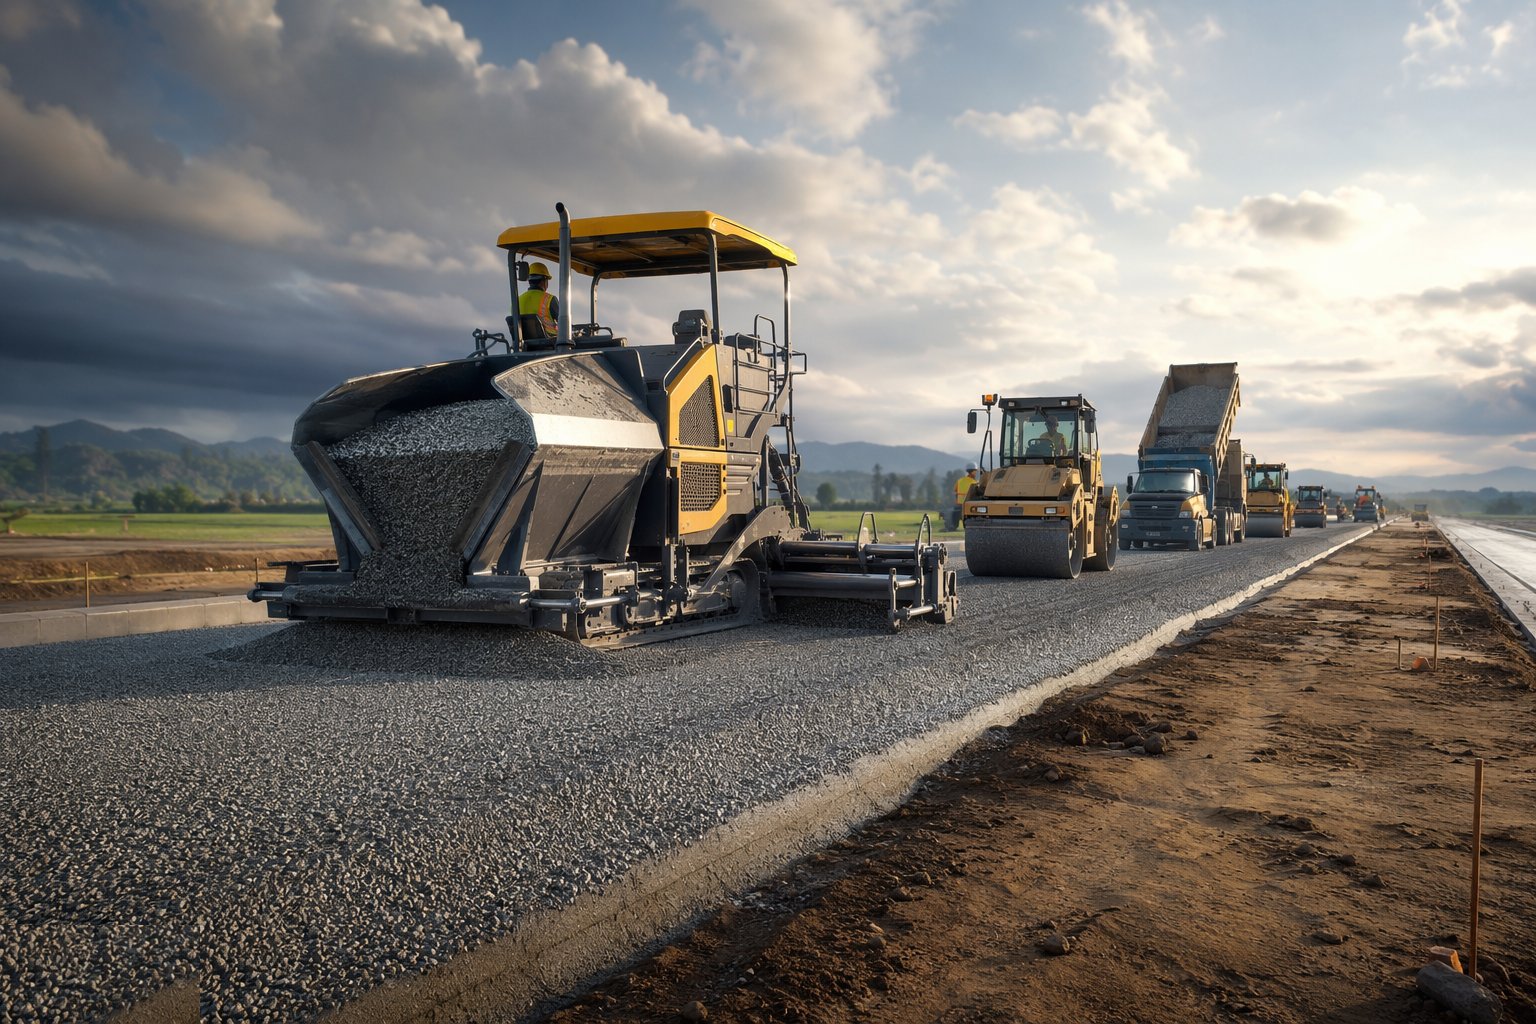
End-tip and spread with a paver for the best levels, or a grader where access dictates, in layers thin enough to compact fully — commonly 150–225 mm compacted. Keep the material moisture near optimum: too dry and it will not lock, too wet and it pumps under the roller. Watch for segregation at the tips and the spreader edges — coarse nests and fines pockets are future soft spots — and keep the surface shaped so rain always has somewhere to go.
Step 4: Compact to density and prove it
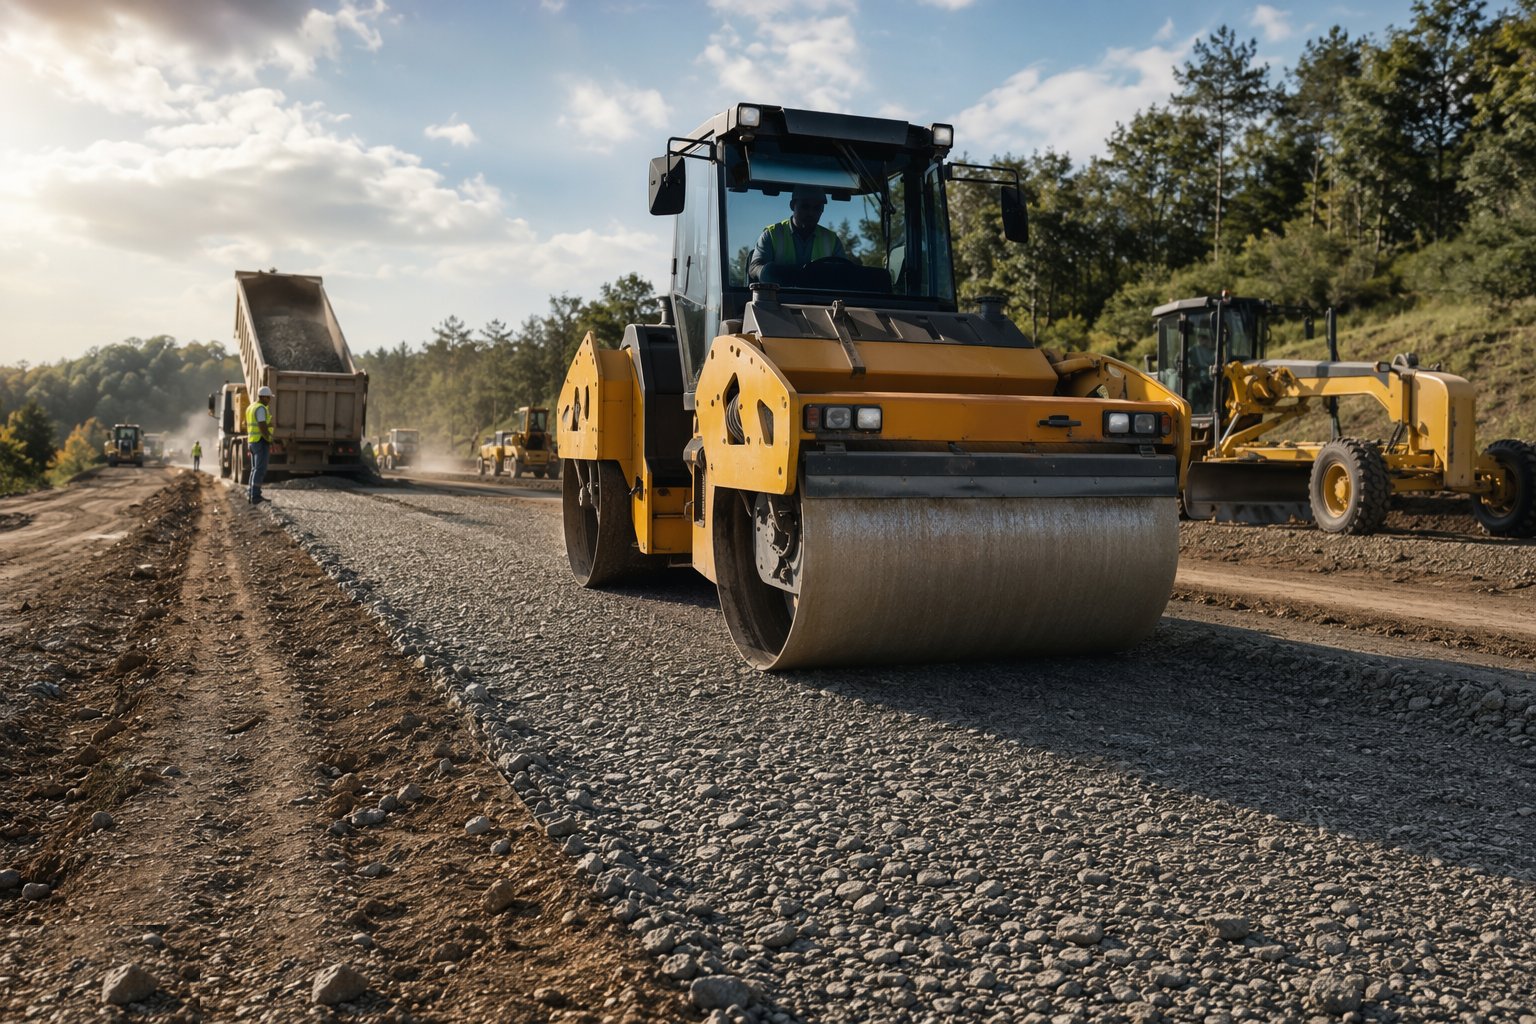
Roll with the pattern the method specification or trials established: initial passes without vibration, then vibratory compaction, then finishing passes — smooth drum on granular, with pneumatic-tyred rollers to knead the surface tight. Test in-situ density on a grid per layer; a failed area is ripped, re-conditioned and re-compacted, never averaged against a neighbouring pass. Levels and thickness are surveyed as you go, because the binder course above can only be as level as what it sits on.
Step 5: Place, finish and cure bound bases
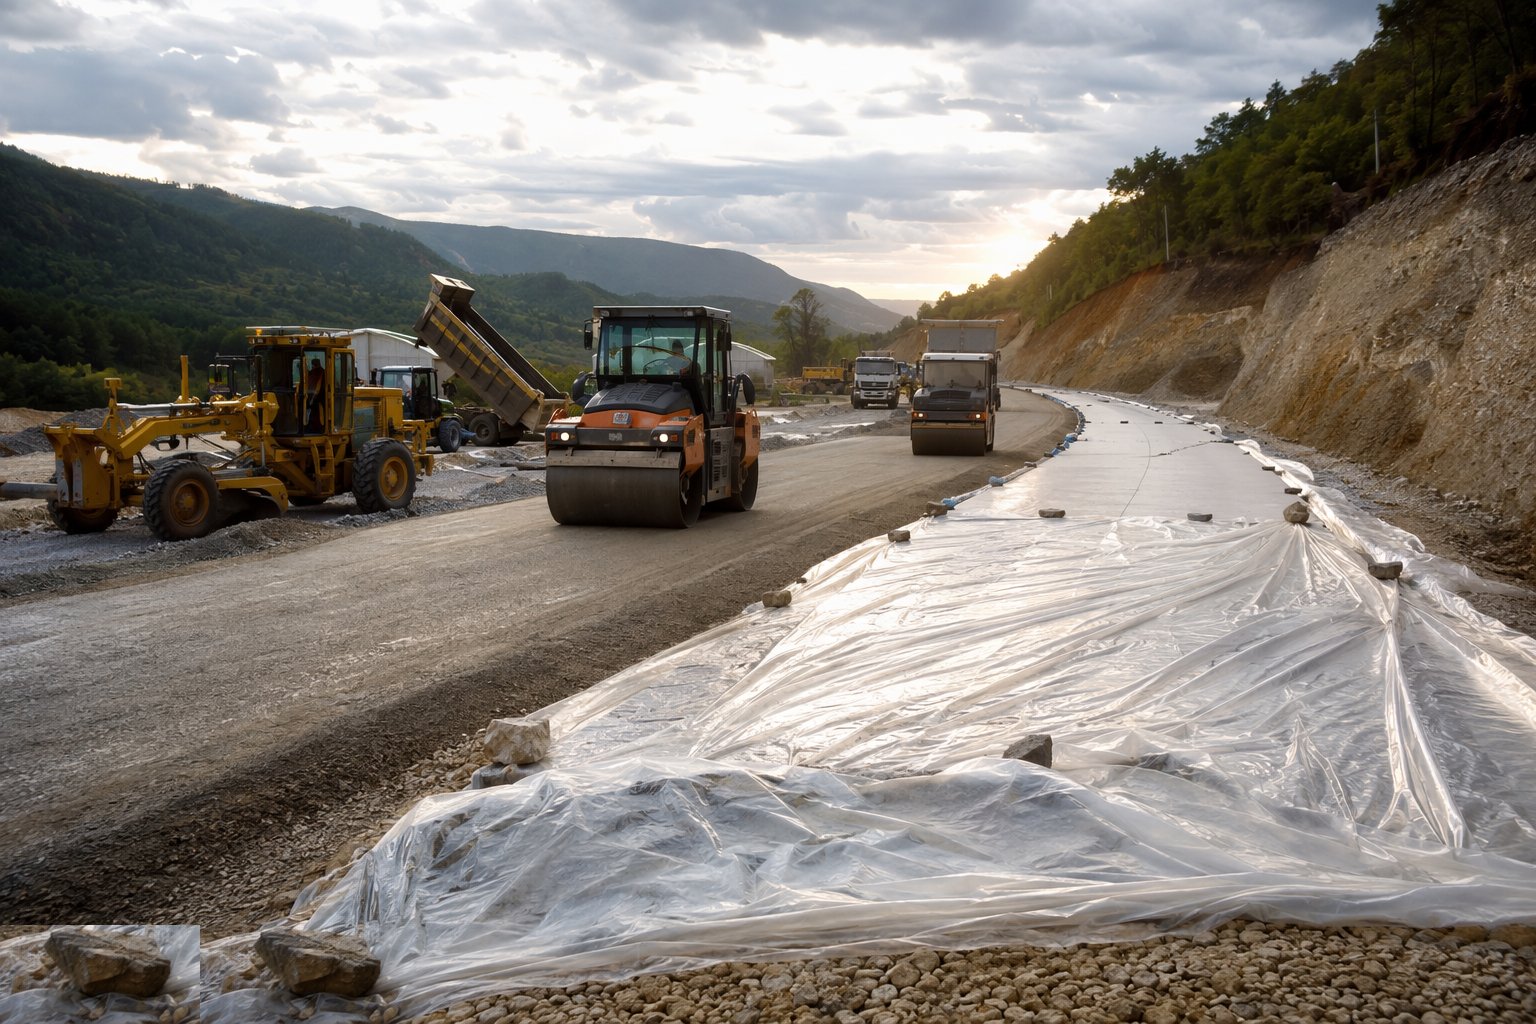
For hydraulically bound or cement-stabilised layers, batch through a pugmill, deliver and place within the binder's working window — which shrinks brutally in Gulf heat, hence night paving in summer. Spread, compact and trim to level before initial set, sawcut induced joints where the design calls for them, then cure: curing membrane spray, wet hessian or polythene, kept in place for the full curing period with no traffic. Strength specimens — cubes or cores — prove the layer before it is loaded or surfaced.
Step 6: Protect the completed layer until surfacing
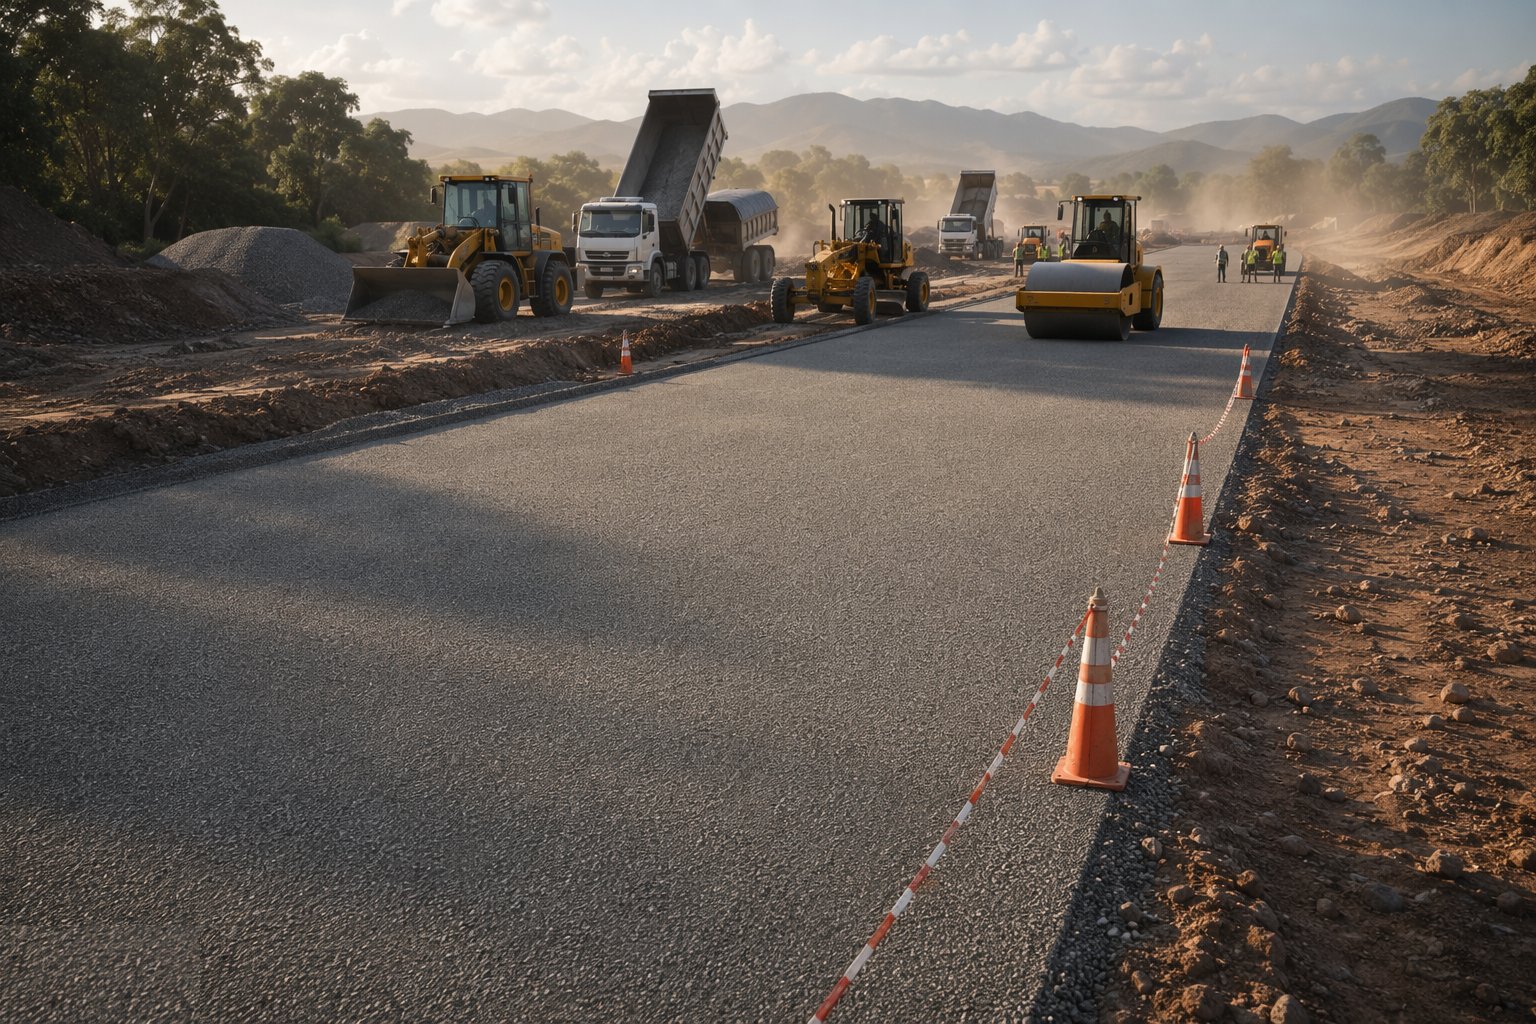
A finished sub-base or base is not a car park or a materials store: control trafficking to what is necessary, keep standing water off it, and repair rutting or contamination before the surfacing arrives. Where unbound sub-base must carry construction traffic, expect to re-trim, re-compact and re-test the top before the blacktop. The layer acceptance — densities, levels, strengths, deflection where specified — is a hold point the surfacing process starts from.
Plant and equipment
- Pavers with screed control for sub-base and bound base laying
- Motor graders for spreading where pavers cannot reach
- Rollers: smooth-drum vibratory and pneumatic-tyred
- Pugmill mixing plant for hydraulically bound mixtures
- Articulated dump trucks and insulated tippers for bound materials
- Water bowsers and curing membrane sprayers
- Nuclear density gauge, sand replacement kit and plate/deflection test sets
- Sawcutting rigs for induced joints in bound layers
Quality control checks
- Source and mix approvals in hand before first delivery; load tickets traceable
- In-situ density testing per layer on a grid, with failures re-compacted
- Layer levels and thickness surveyed against the pavement design
- Bound layers: working time observed, curing records kept, strength specimens passing
- Induced joints sawcut on time — late sawcutting means the crack chooses its own line
- Platform re-tested after construction trafficking before surfacing is allowed on it
- Layer acceptance hold point closed before binder course starts
Safety considerations
- Plant and pedestrian segregation across wide, open paving areas — visibility is the hazard
- Reversing delivery trucks to pavers and tips: banksmen, exclusion zones, camera checks
- Cement and lime dust: respiratory and eye protection during spreading and mixing
- Silica dust from sawcutting — water suppression and RPE, not paper masks
- Night paving in Gulf summer: lighting, fatigue management and rotated crews
- Unstable edges: no plant running to the lip of an uncompacted layer
Common defects
- Segregated sub-base — coarse at the edges, fines in the middle — rutting under the blacktop within a few years
- Layer too thick to compact: density achieved at the top, nothing at the bottom
- Bound base placed outside its working window in summer heat — cold joints and a weak layer
- Curing skipped or the membrane blown off — shrinkage cracks that map straight into the surface course
- Sub-base used as an uncontrolled haul route, then surfaced over the ruts
- Saline sand stabilised without chemistry checks — swelling and disintegration where sulphate meets cement
Best suited for
- Structural layers spreading every wheel load into the subgrade
- Granular and bound layers laid to level, thickness and density
- High-output paving where compaction windows and weather rule the shift
- The engineered foundation for asphalt or concrete surfacing
How long does Sub-base & Base Construction take?
Typical duration: Typically 1–2 weeks per kilometre of carriageway for unbound sub-base; add curing time — commonly 7 days or more — before hydraulically bound layers can be trafficked or surfaced..
Related processes
- Survey Control & Ground Investigation
- Bulk Earthworks — Cuttings & Embankments
- Drainage & Utility Corridors
- Subgrade Preparation & Capping
- Asphalt Surfacing — Binder & Surface Course
- Kerbs, Footways & Road Furniture
- Road Markings, Signage & Lighting
- Testing, Commissioning & Asset Handover
- Corridor Access & Enabling Works
- Roads & Highways sector guide
- Transport Infrastructure group