Below-Ground Drainage Installation
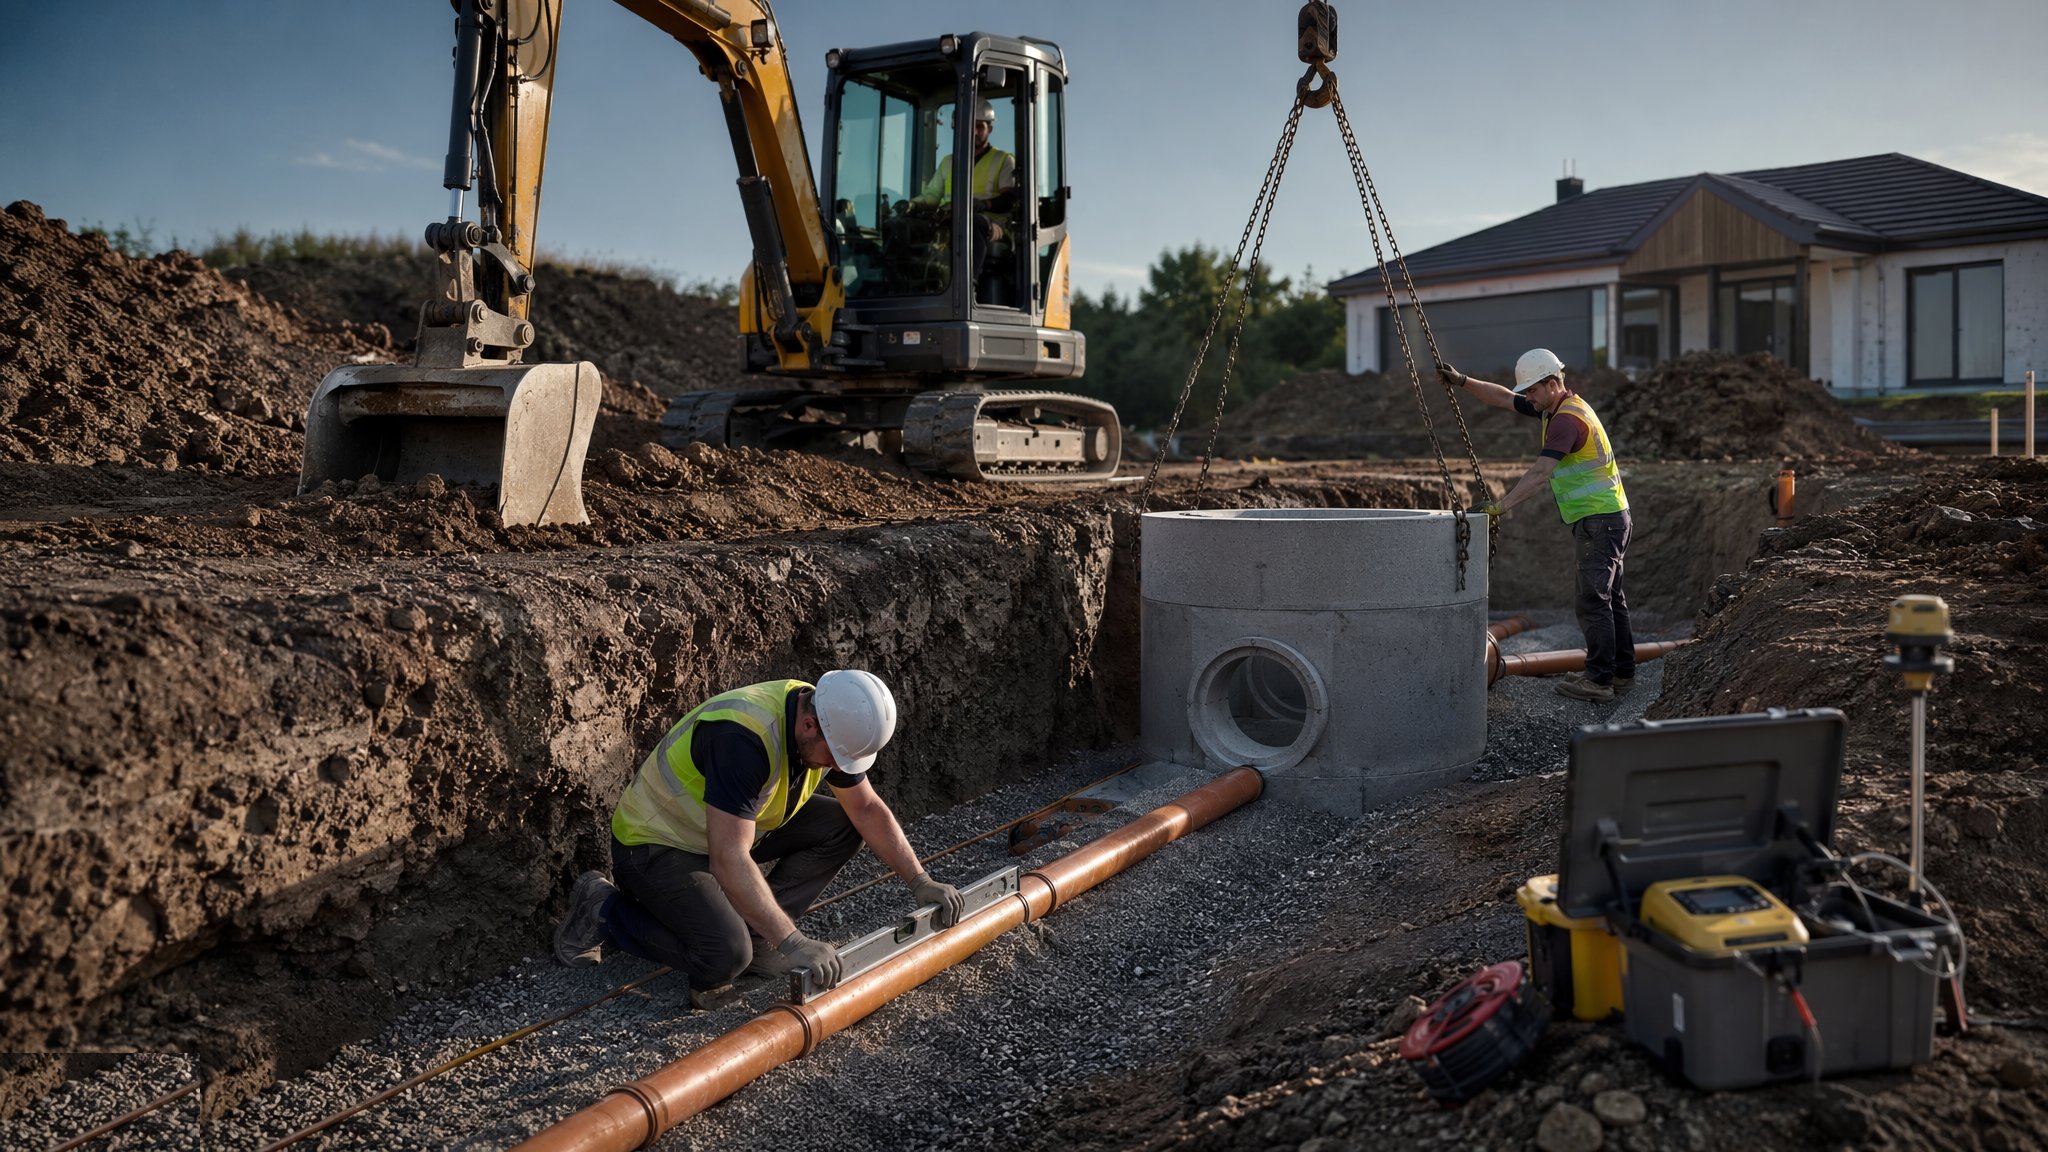
Foul and surface water drainage around buildings — pipes, manholes and connections laid to fall, tested, and adopted or approved.
Last updated 2026-07-28 by the BuildPedia Editorial Team.
What is Below-Ground Drainage Installation?
Below-ground drainage is the first buried service on most building sites and the last one anyone wants to dig up again. The runs are short compared with civils work — from the building to the boundary or the manhole — but the rules are identical: right pipe, right bed, right fall, tested and recorded before backfill. Foul drainage takes the soil and waste to the sewer or treatment system; surface water takes the roof and hard-standing runoff to the sewer, a soakaway or a SuDS feature. The two never meet except where the sewerage undertaker says so, because cross-connections are pollution events with paperwork attached.
On a single villa the job is a digger, a few lengths of 110 mm and a couple of manholes; on a tower podium or an office plot it is a small network with connections into adopted systems. In the UAE, drainage connects per the municipality or developer's infrastructure, with DM/DDA/Trakhees approvals and, on many plots, a pumped connection where falls will not do it. Everywhere, the test — air or water — and the survey record are what separate a drainage run from a future excavation.
When and why is Below-Ground Drainage Installation used?
Drainage goes in early — after setting out, often before or with the foundations — because it is the deepest service and everything else crosses over it. It exists to get foul water away hygienically and surface water away without flooding the plot or the neighbour. It is tested before backfill because a failed joint found after the landscaping is a garden dug up; and it is recorded on as-builts because the next person to dig on that plot deserves to know what is down there.
Types of Below-Ground Drainage Installation
Homes & villas — gravity to sewer
110 mm foul runs from the WC groups to manholes, 110 mm surface water from downpipes, shared or separate per the undertaker's rules, with inspection chambers at every change of direction and the boundary. The UK norm; adoption or building control sign-off closes it.
Plots without gravity — pumped & package systems
Low plots, basements and UAE villas below the connection invert use a pumped rising main from a small wet well or a package pumping station. Non-return valves, alarms and a power plan matter more here than pipe falls.
Soakaways & SuDS
Surface water to soakaway crates or pits sized by percolation test, increasingly required in the UK instead of sewer connections; silt traps upstream, overflow routes designed, and never near foundations — 5 m is the customary stand-off.
Tower podiums & office plots
Site-wide networks at podium or landscape level connecting to the adopted or municipal system, with trunk connections, backdrops where levels demand, and approvals from the sewerage undertaker or DM/DDA before a pipe is laid.
Below-Ground Drainage Installation: step by step
Step 1: Set out lines, levels and connection points
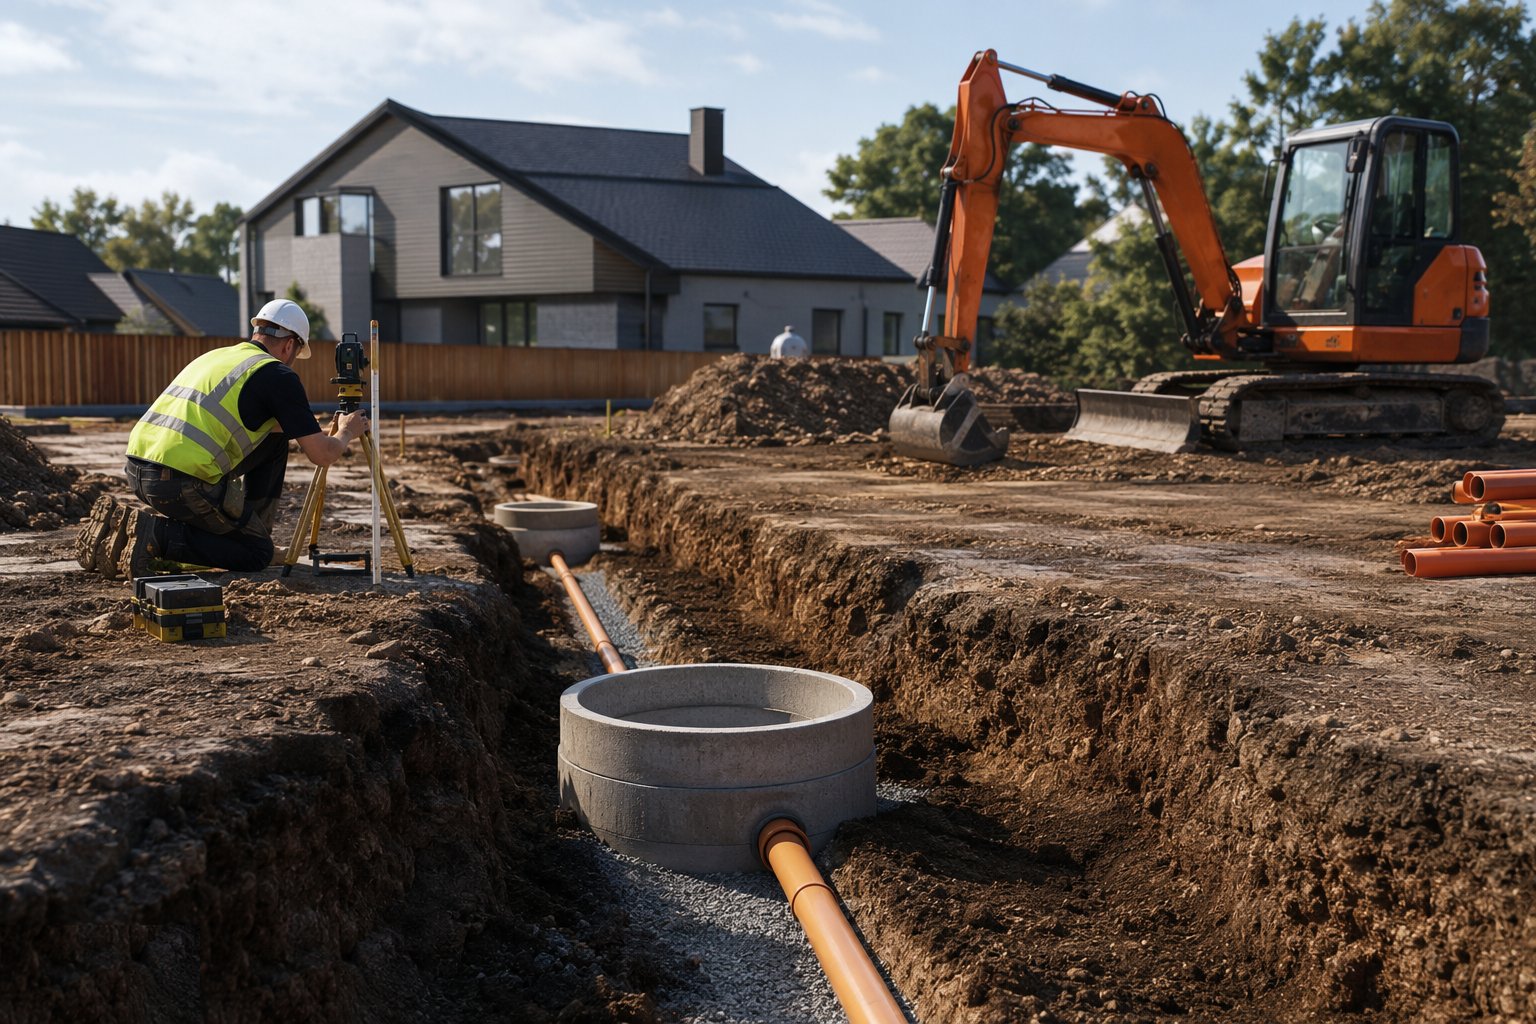
The drainage layout is set out from the drawings: manhole positions, pipe lines, and critically the invert levels at both ends — the connection point is fixed by the undertaker's system, and the building end by the plumbing, so the fall between them is arithmetic, not optimism. Existing services on the route are located and marked before the bucket goes in.
Step 2: Excavate the trenches
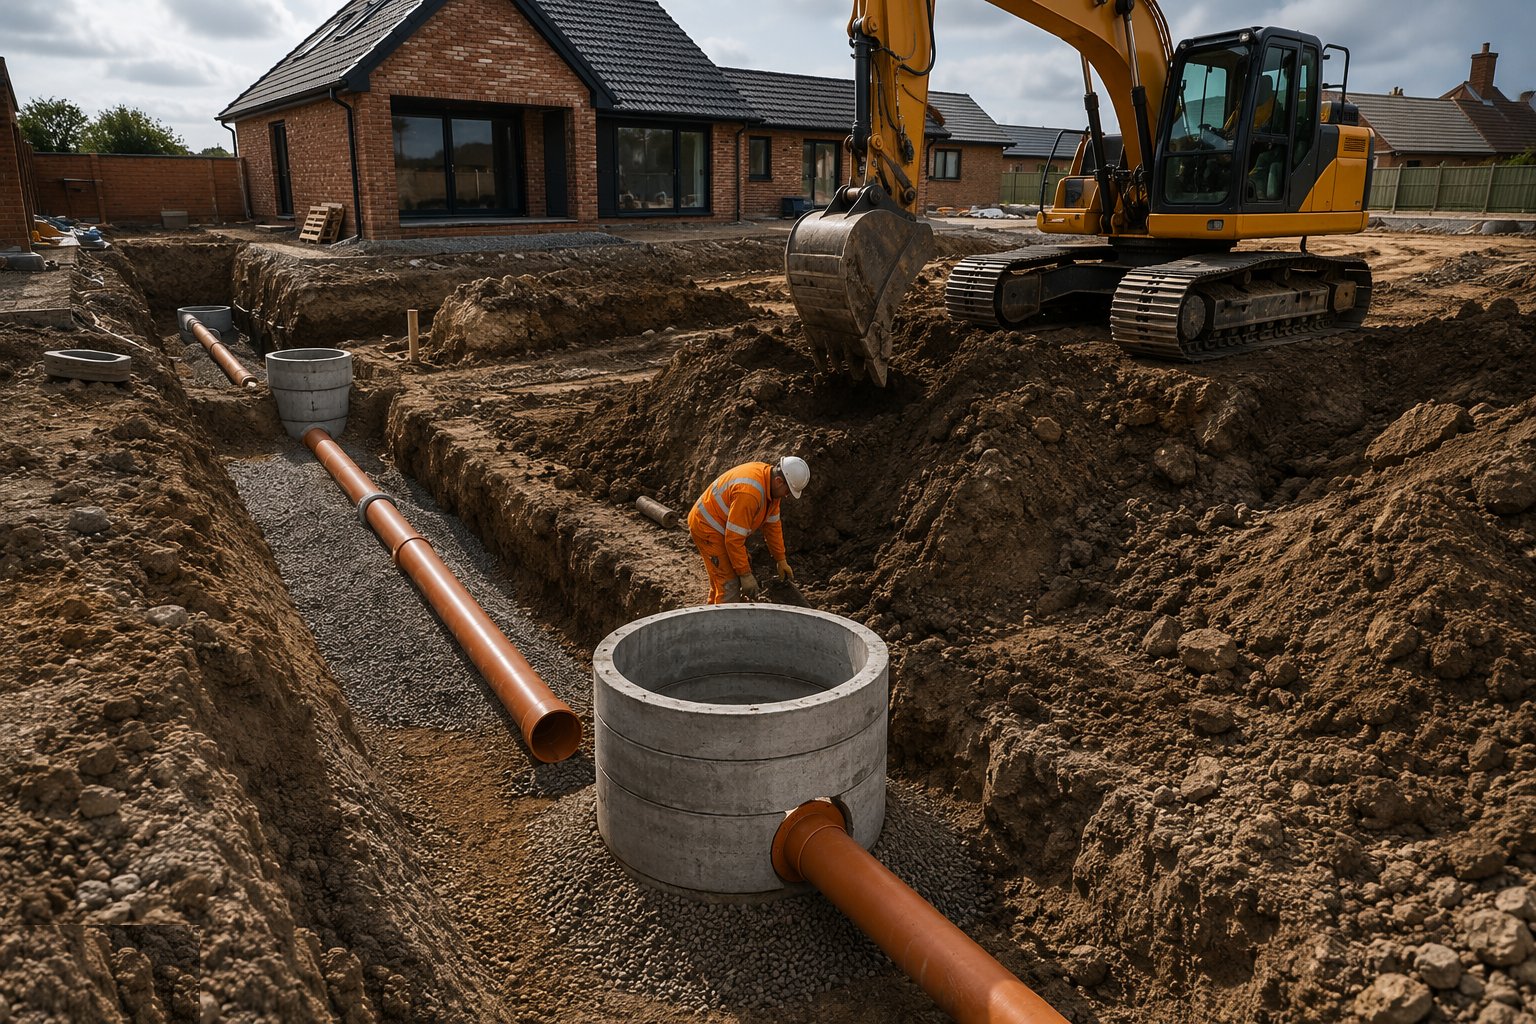
Trenches are dug to line and level, just wide enough to work, with the formation trimmed and any soft spots dug out and replaced with compacted granular material. Trench support goes in where depth or ground demands it, and the pipe zone stays clean — a drainage trench is not a spoil dump or a sump for the site's rainwater.
Step 3: Lay the bedding and the pipes
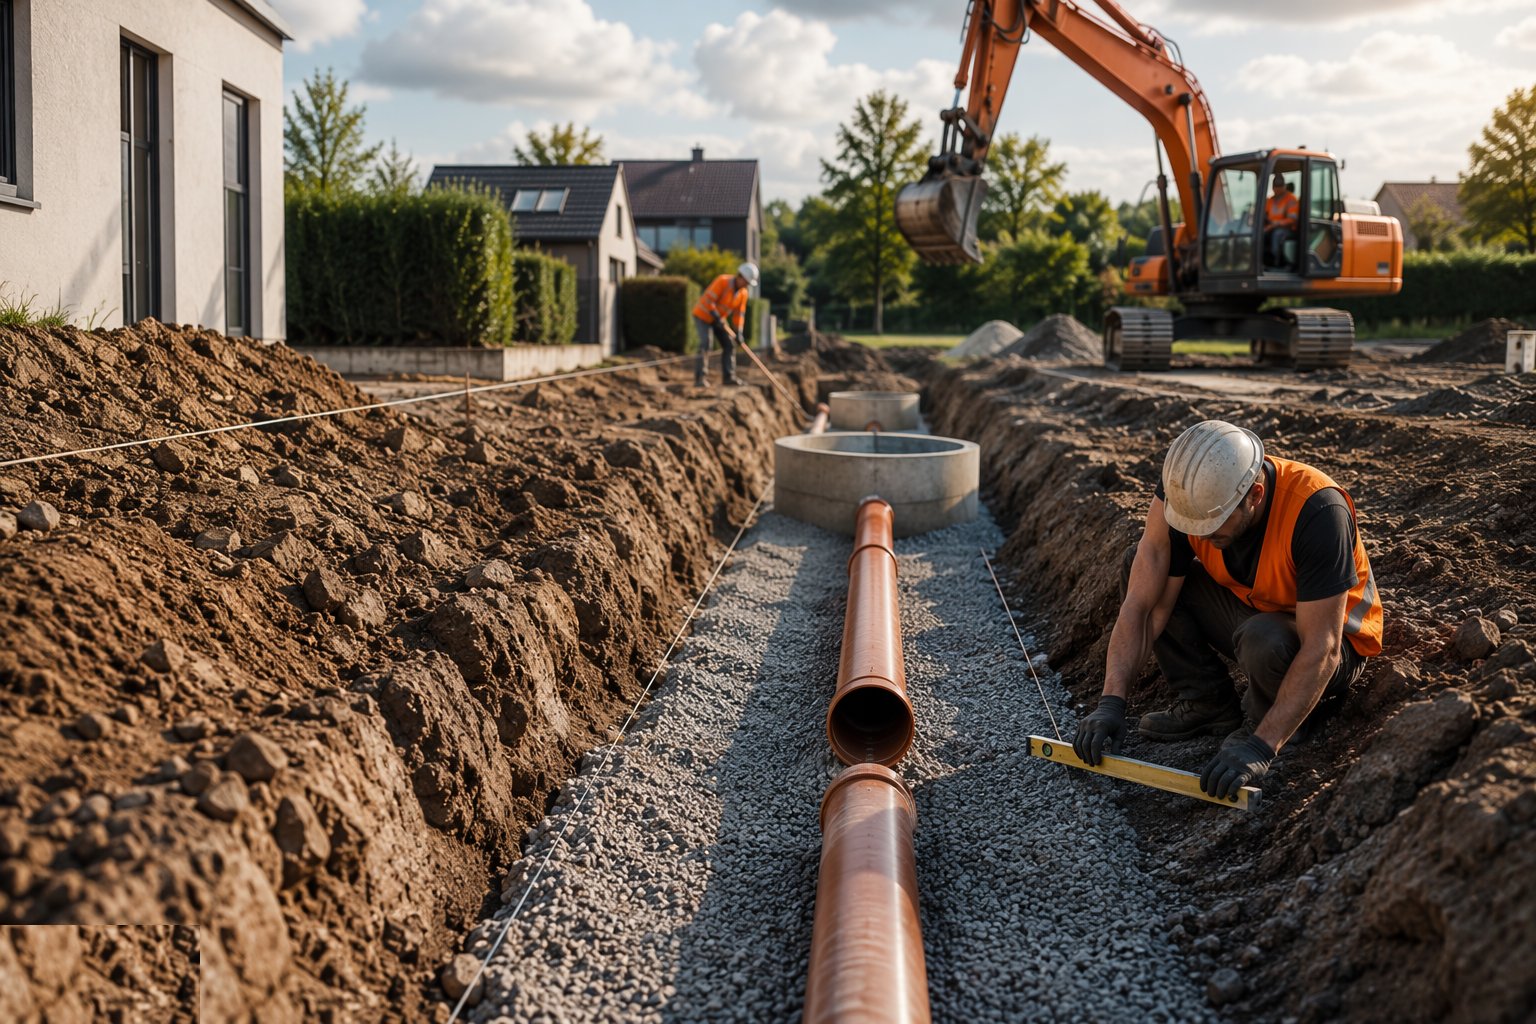
A granular bed (typically 100 mm) is laid to fall — laser or sight rails, not eye — and pipes are laid socket-uphill, joints home, line and level checked as each length lands. Bends and junctions go where the drawing puts them, with rodding access at the heads of runs and every change that a rod cannot negotiate.
Step 4: Build manholes and inspection chambers
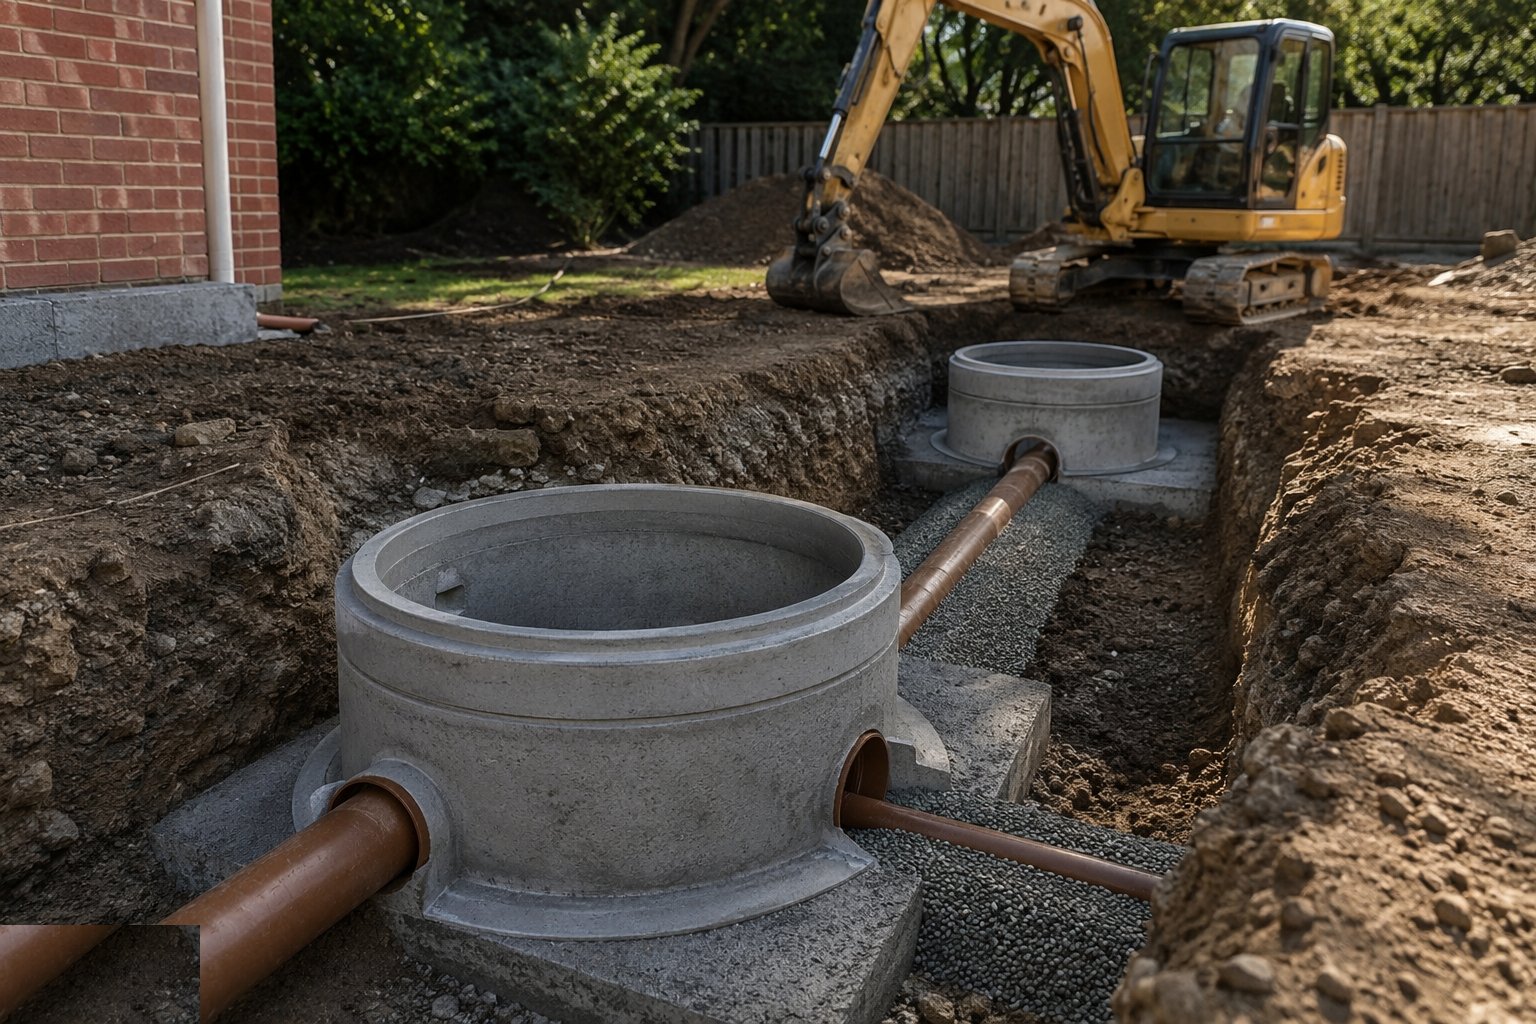
Manholes are built or set as precast rings or chambers on a concrete base, benched in concrete with the channels formed smooth, and stepped or laddered per the depth rules. Cover levels are set to the finished ground — paving or lawn — with frames bedded properly so a mower or a car does not rock them loose in year one.
Step 5: Connect to the sewer, soakaway or pump
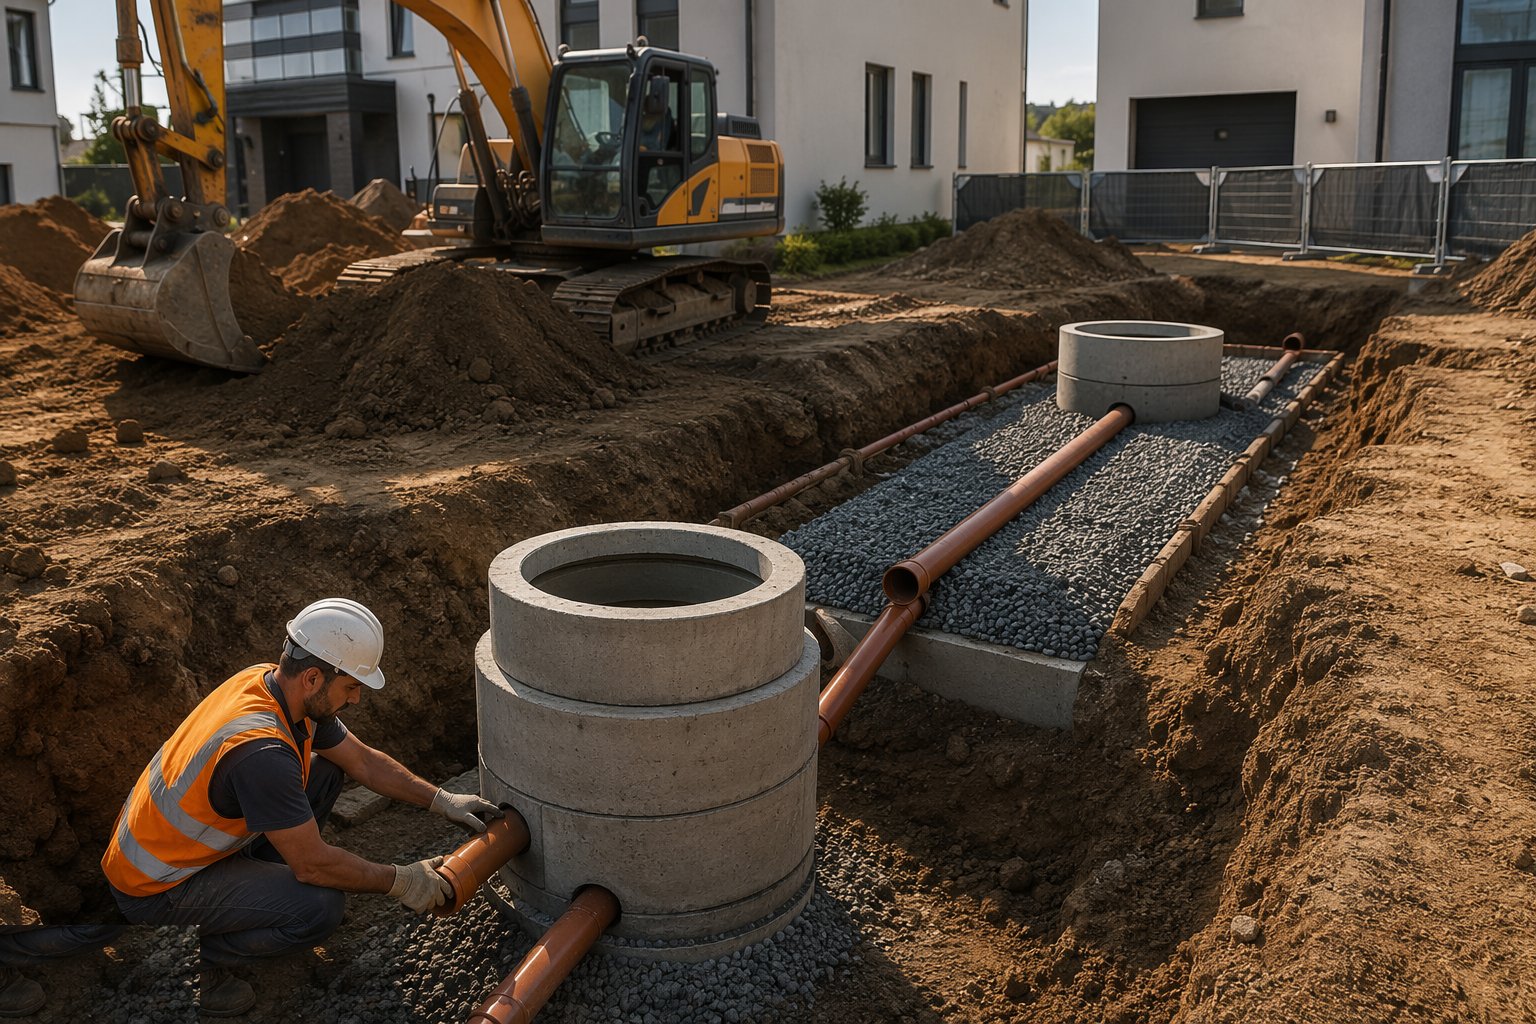
The downstream connection is made to the undertaker's rules — often by them or under their inspection in the UK, or per DM/DDA approval in the UAE. Soakaways are wrapped, filled with their media and silt-trapped upstream. Pump chambers get their pumps, non-return valves, guide rails and alarm floats set and wired.
Step 6: Test before backfill
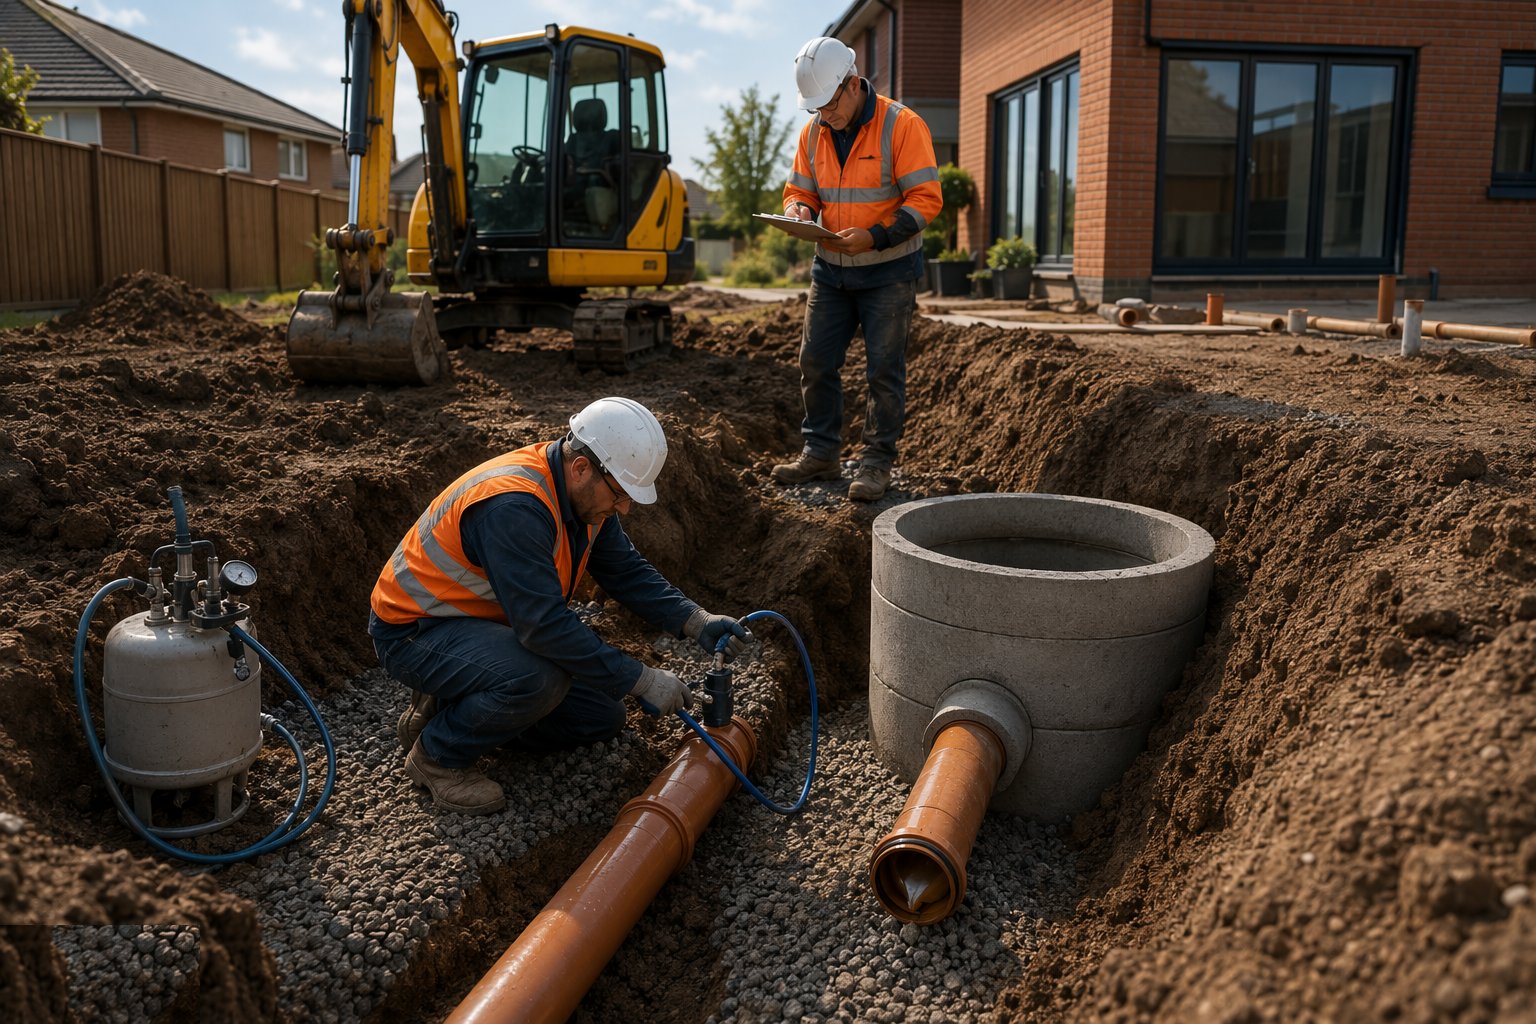
Foul runs are air or water tested joint by joint and witnessed; surface water is tested or at minimum flow-proved. The test certificate goes in the file before a speck of backfill hides a joint. Building Control, the warranty provider or the municipality inspector sees what they need to see while they can still see it.
Step 7: Backfill and compact in layers
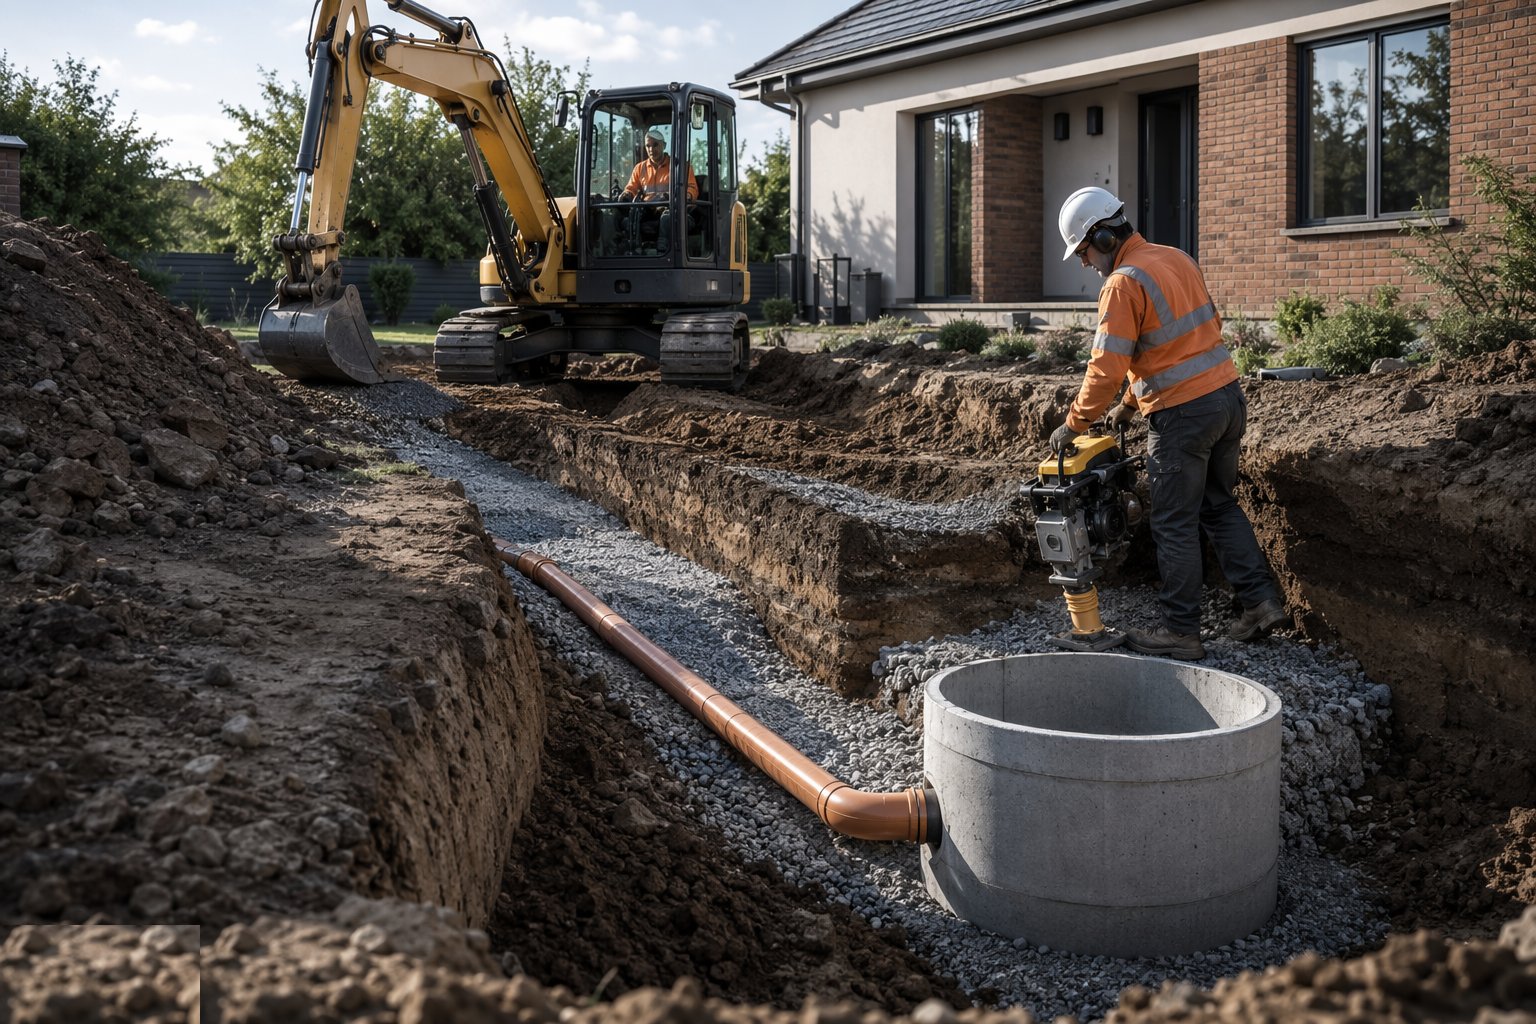
Sidefill and surround go in in granular material to 300 mm over the pipe, compacted carefully — no whacker plates directly on the pipe — then trench backfill in compacted layers so the road or garden above does not sink a trench-shaped hollow next spring. Warning tape goes in over the run.
Step 8: Survey, record and hand over
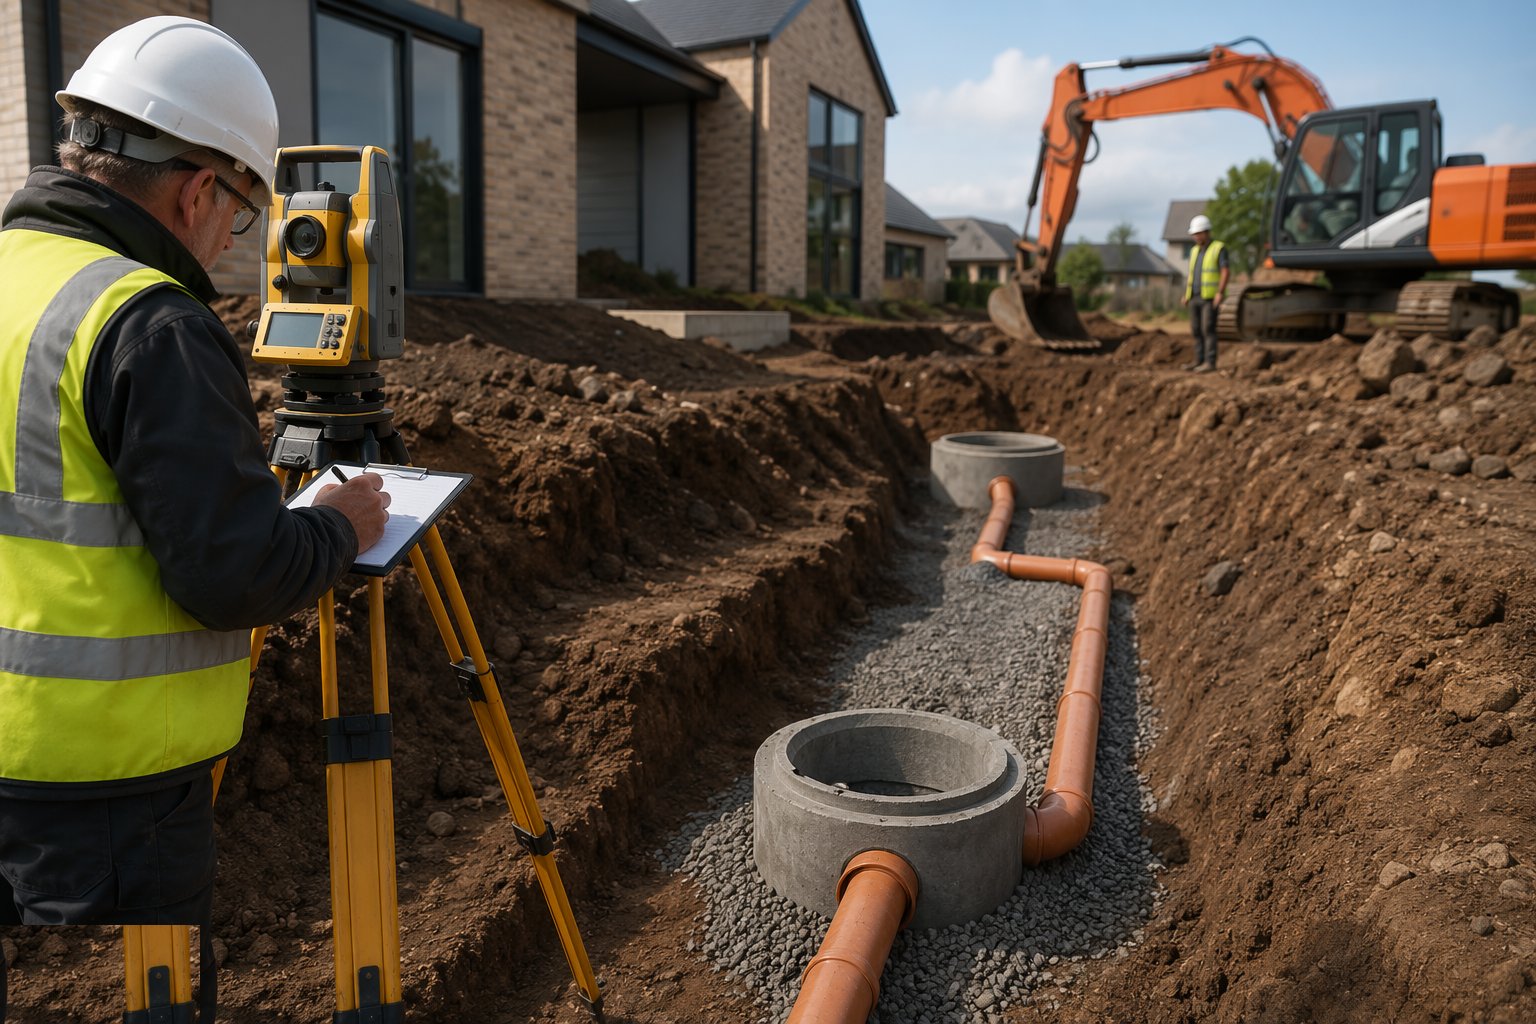
As-built levels and positions are surveyed and drawn — every manhole, invert and run — with the test certificates and any adoption or approval paperwork. On UK sites this feeds building control sign-off and any Section 104 adoption; on FIDIC projects it joins the Taking-Over documentation. The plot now knows where its drainage is, in writing.
Plant and equipment
- 360° excavator with buckets and a pipe lifter
- Laser level or pipe laser; sight rails and boning rods
- Trench sheets, boxes or battering per the excavation assessment
- Plate compactors and trench rammers
- Air/water test kit with calibrated gauges
- Dewatering pump where the water table intrudes
- Manhole lifting equipment and concrete for bases and benching
Quality control checks
- Invert levels checked at both ends and at every manhole against the design
- Pipe, bedding and surround materials per specification
- Joint and fall verification recorded as each run is laid
- Air/water test certificates witnessed before backfill
- Manhole benching and channel finish inspected
- As-built survey of positions and inverts before surfaces close
Safety considerations
- Excavation support and inspections; no unsupported deep trenches
- Underground service scans and permits to dig before excavation
- Edge protection, ladders and access to open manholes and trenches
- Confined space rules for deep manhole work
- Plant/pedestrian segregation around the digger and the trench
- Contaminated ground precautions on brownfield plots
Common defects
- Flat or back-fallen runs that hold water — set out by eye instead of level
- Displaced joints from backfill dumped on the pipe instead of placed
- Cross-connections: surface water in the foul or vice versa, found at adoption
- Sunken trenches under paving from uncompact backfill
- Manholes ponding or proud because cover levels ignored the finished levels
- Unrecorded runs: the next excavation finds them with the bucket
Best suited for
- Every building plot — the first buried service and the most tested one
- Homes and villas connecting to adopted sewers or soakaways
- Low-lying and basement developments needing pumped drainage
- Tower podiums and office plots feeding municipal systems
- SuDS-led sites where surface water stays on the plot by design
How long does Below-Ground Drainage Installation take?
Typical duration: A villa plot: 3–5 days. A housing plot network: weeks rolling with the foundations. The test and the as-built: a day each, and worth every hour..
Related processes
- Chasing & First-Fix Cutting for Services
- MEP — Plumbing (First & Second Fix)
- MEP — Electrical (First & Second Fix)
- Ventilation & Air Conditioning
- Sanitary Installation
- Windows & Doors Installation
- Flooring & Floor Finishes
- Private Swimming Pool Construction
- CCTV & Security Systems Installation
- TRVs & Heating Controls
- Soft Landscaping & Gardens (Homes & Villas)
- Carpentry — First & Second Fix
- Brick Wall Construction
- Block Wall Construction
- Concrete Structural Walls
- Damp Proofing — DPC, DPM and Cavity Trays
- Firestopping and Passive Fire Protection
- Below-Ground Drainage Installation in Residential & Housing
- Below-Ground Drainage Installation in Land Development & Earthworks
- Building Trades & Methods sector guide
- Buildings group