Concrete Structural Walls
Cast in situ and precast concrete walls — cores, shear walls and basement walls that carry the building and hold it steady.
Last updated 2026-07-28 by the BuildPedia Editorial Team.
What is Concrete Structural Walls?
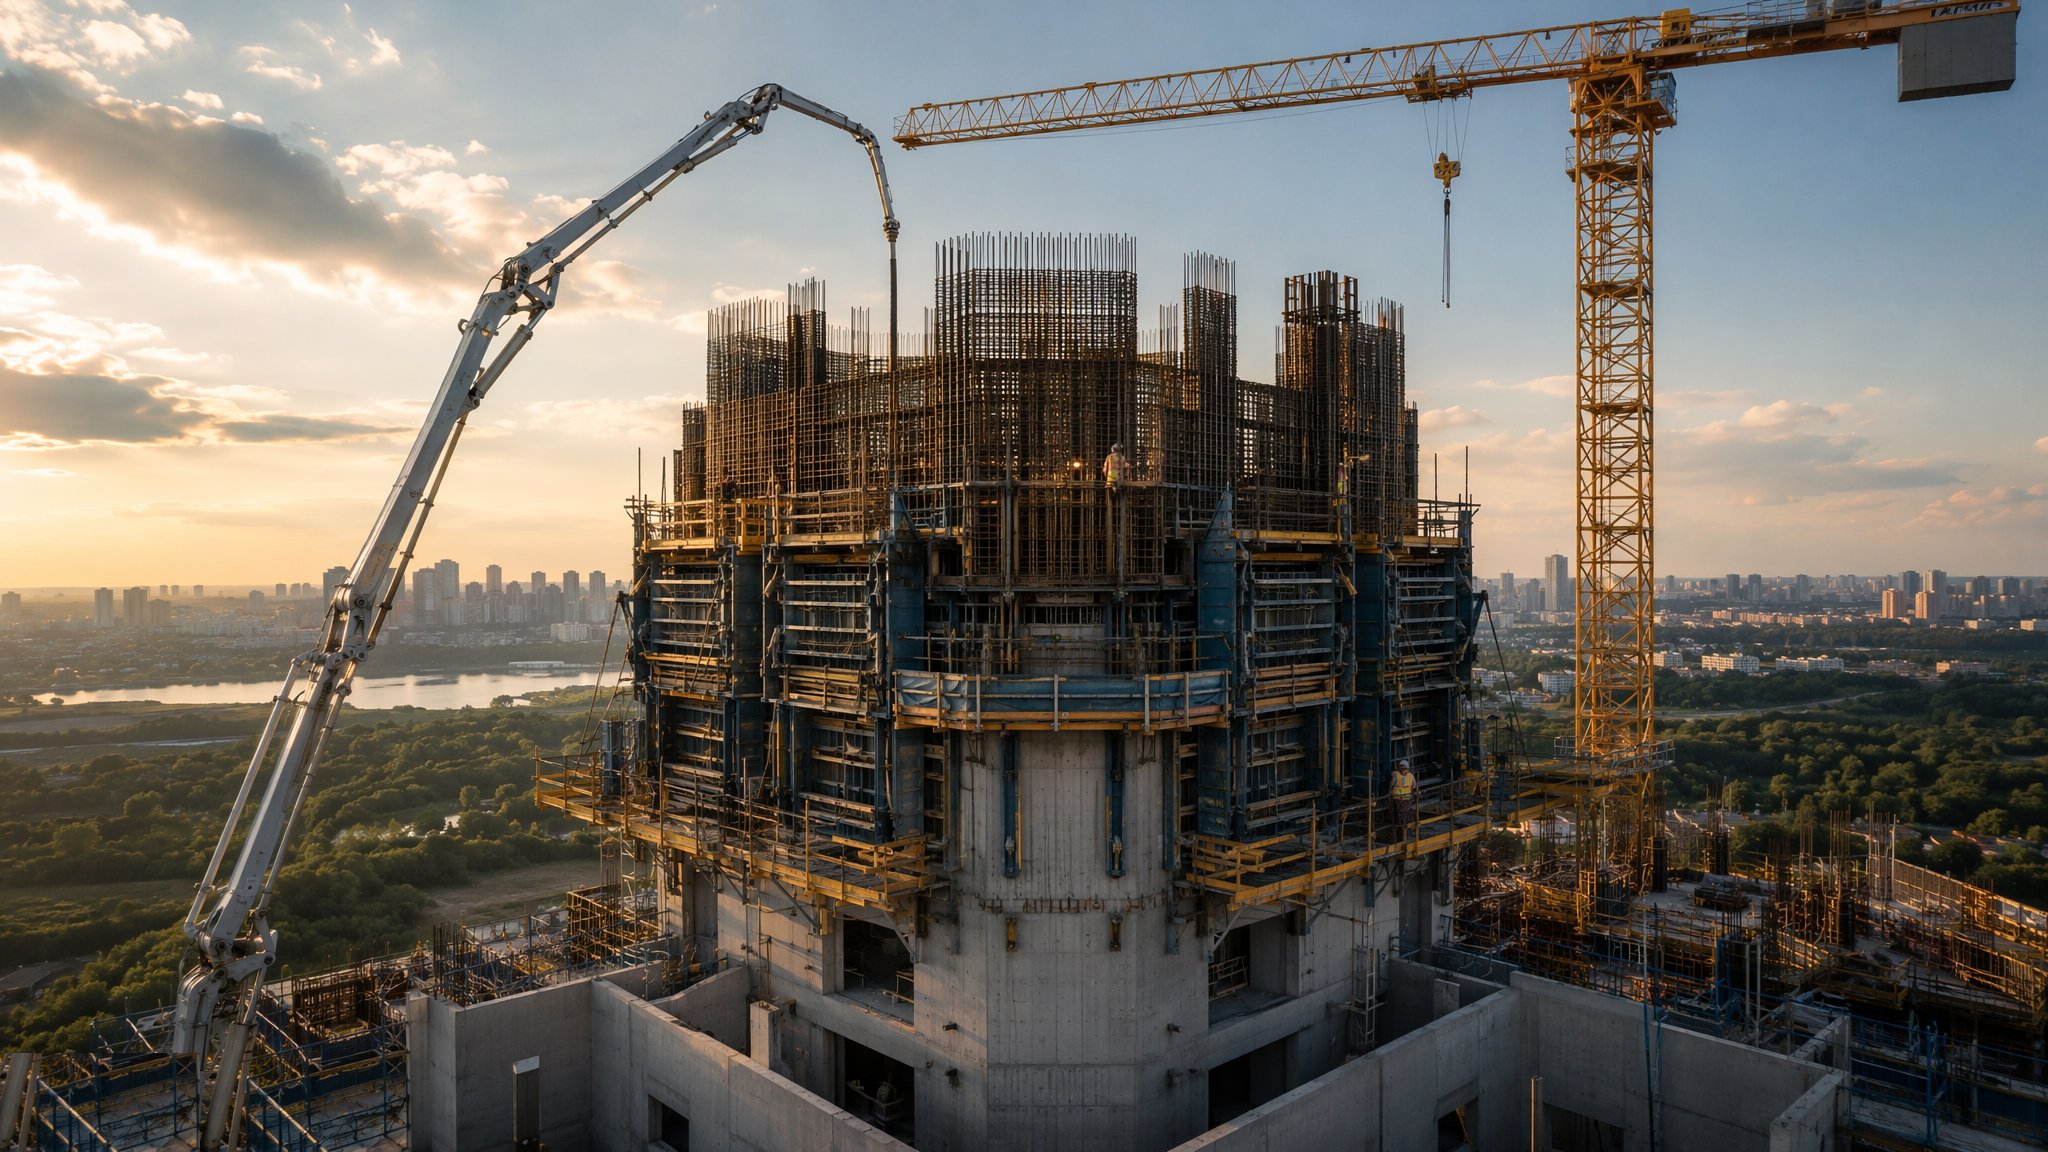
Where brick and block are craft trades, structural concrete walls are an engineering exercise that happens to be built by hand. The core walls of a residential or office tower carry the lifts and stairs and take the wind; shear walls in villas and low-rise blocks stiffen the frame; basement walls hold back the ground and the water. The two families are cast in situ — formwork, reinforcement, pour, strike, repeat — and precast, where factory-made panels are craned in and stitched together. Most towers use cast in situ for the core and columns; precast shines on villas, boundary walls and repetitive low-rise where the factory does the quality control.
The quality is decided before the concrete arrives: cover, laps, couplers, kickers, formwork ties and pour joints are all set out on paper, and every one of them has a failure mode the site has seen before. In the UAE, hot-weather concreting adds its own chapter — chilled mixes, night pours, curing compounds and temperature monitoring are routine, not exotic.
When and why is Concrete Structural Walls used?
Structural walls go in with the frame sequence — core first on a tower (often jumped ahead of the slabs), shear walls with each floor, basement walls after the excavation support is in. Cast in situ is chosen for monolithic strength, water resistance and awkward shapes; precast for speed, finish and repetition. The wall thickness, reinforcement and concrete class come from the structural design; the site's job is to build exactly that, prove it with cubes or cylinders, and leave a face the follow-on trades can use.
Types of Concrete Structural Walls
Tower cores — cast in situ, jumpform or climbform
The lift and stair core of a residential or office tower, poured in storey-height lifts with self-climbing formwork running ahead of the floor plates. Reinforcement densities are high, openings are cast in with formed boxes, and survey control keeps the core plumb over 30 storeys.
Shear walls — cast in situ, storey-height
Individual stiffening walls in low and mid-rise blocks and villas, formed with panel or table formwork off the slab. Simpler kit than a core, but the same rules: kicker control, cover, pour rates and curing.
Precast wall panels
Factory-cast solid or sandwich panels craned onto grout beds, propped, and stitched with in situ joints and couplers. Standard for UAE villa construction and increasingly for low-rise housing: fast, good finish, but every lift is a crane pick with the tolerances fixed in the factory.
Basement and retaining walls
Water-resisting concrete walls cast against piled or diaphragm wall faces, or double-faced against excavation support. Waterproofing is in the concrete itself plus waterbars at every joint; kicker and day-joint quality decides whether the basement weeps.
Concrete Structural Walls: step by step
Step 1: Set out, survey control and kicker preparation
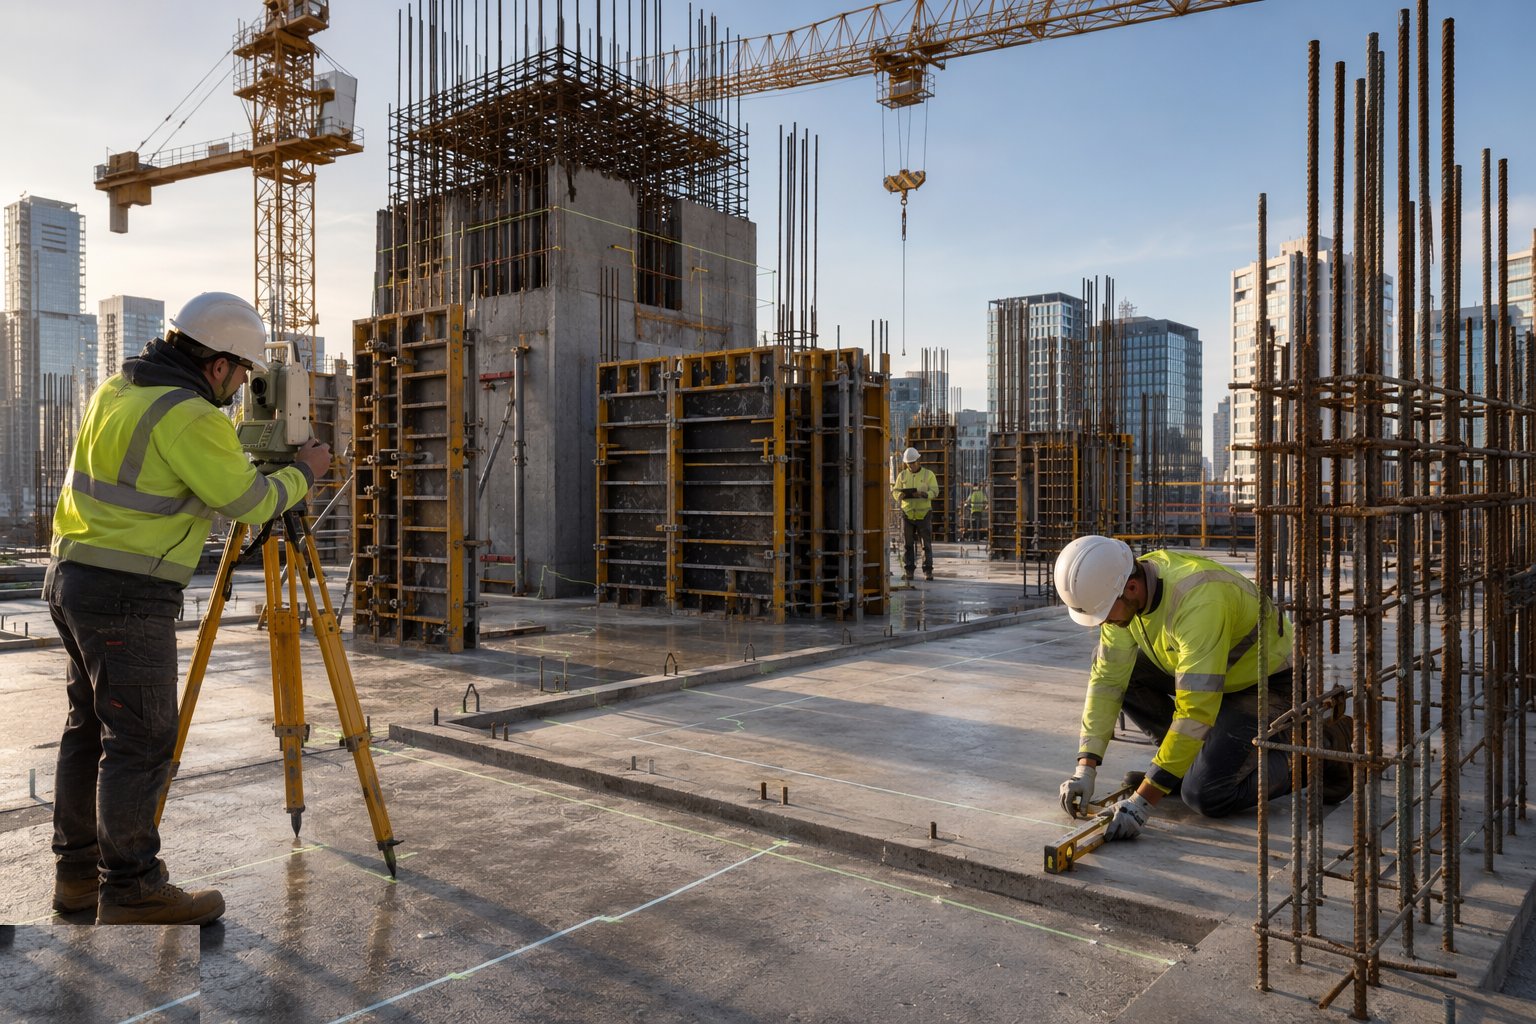
Wall lines and opening positions are set out on the slab from the control grid, and the kicker — the 50–75 mm starter upstand cast with the slab — is checked for line and level. A bad kicker is planed back or packed and re-formed; building formwork off a wandering kicker is how walls end up out of plumb by the third lift. Starter bars are checked for position, lap length and cleanliness before anything closes.
Step 2: Fix reinforcement, couplers and cast-in items
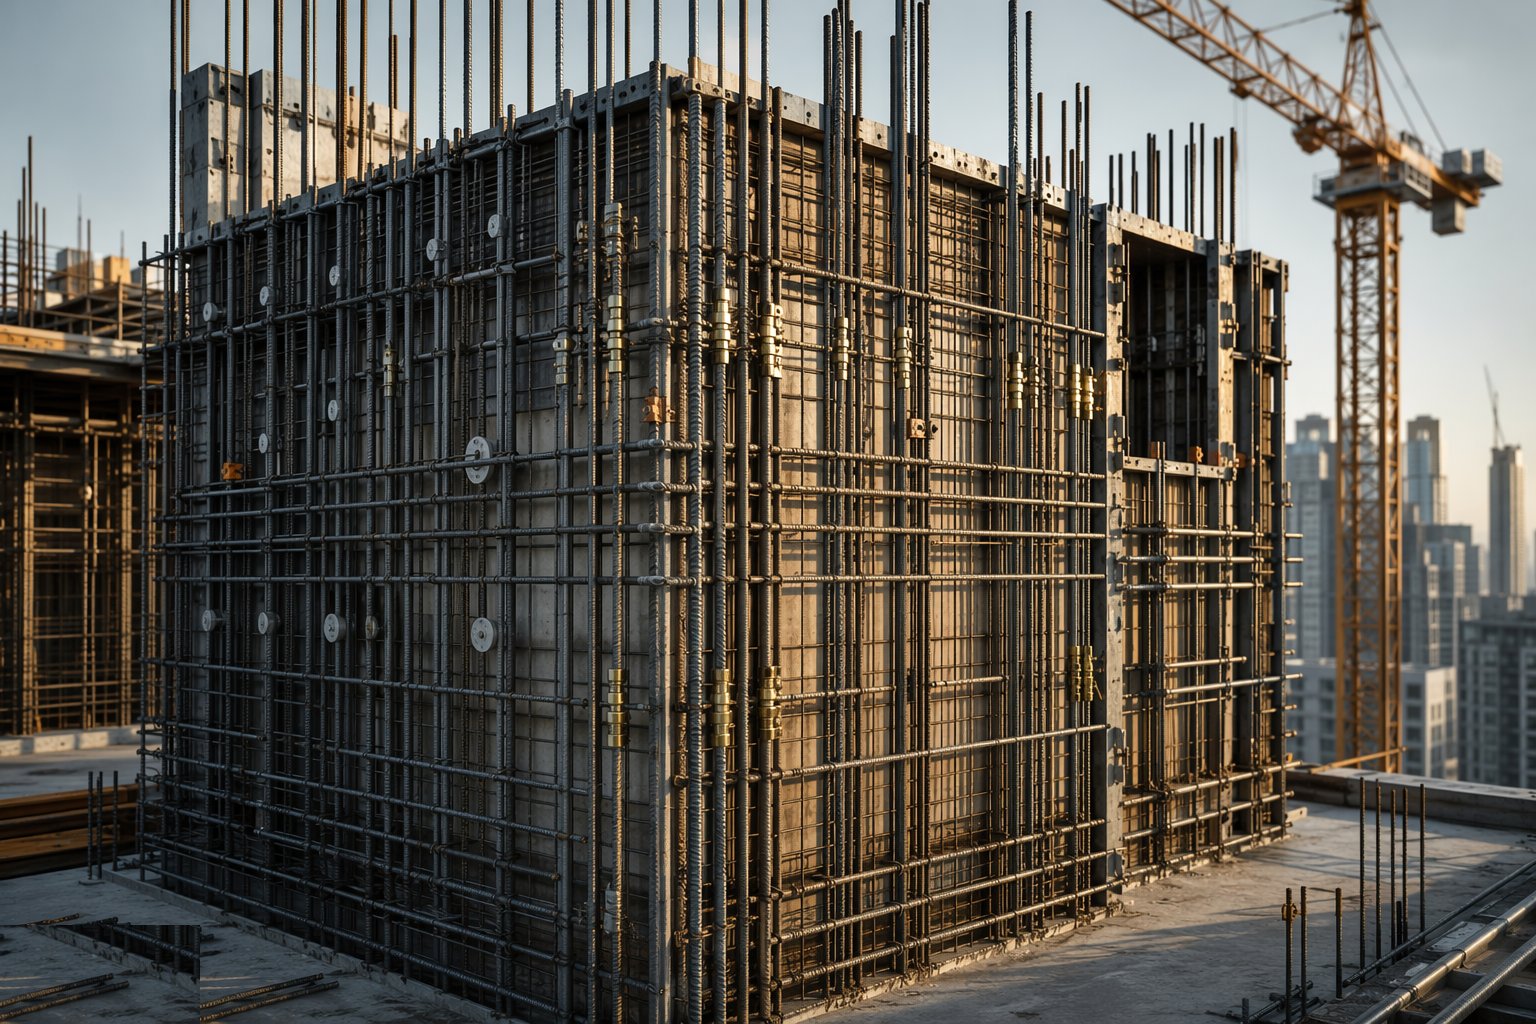
Vertical and horizontal bars are fixed to the schedule with the specified laps, cover spacers on both faces, and couplers where bars continue into the next lift. Cast-in items — MEP sleeves through the wall, box-outs for doors and openings, anchor channels, earthing bosses — are fixed and surveyed now, because drilling a structural wall later is a design conversation nobody wants. An inspection sign-off covers the lot before formwork closes.
Step 3: Erect and true the formwork
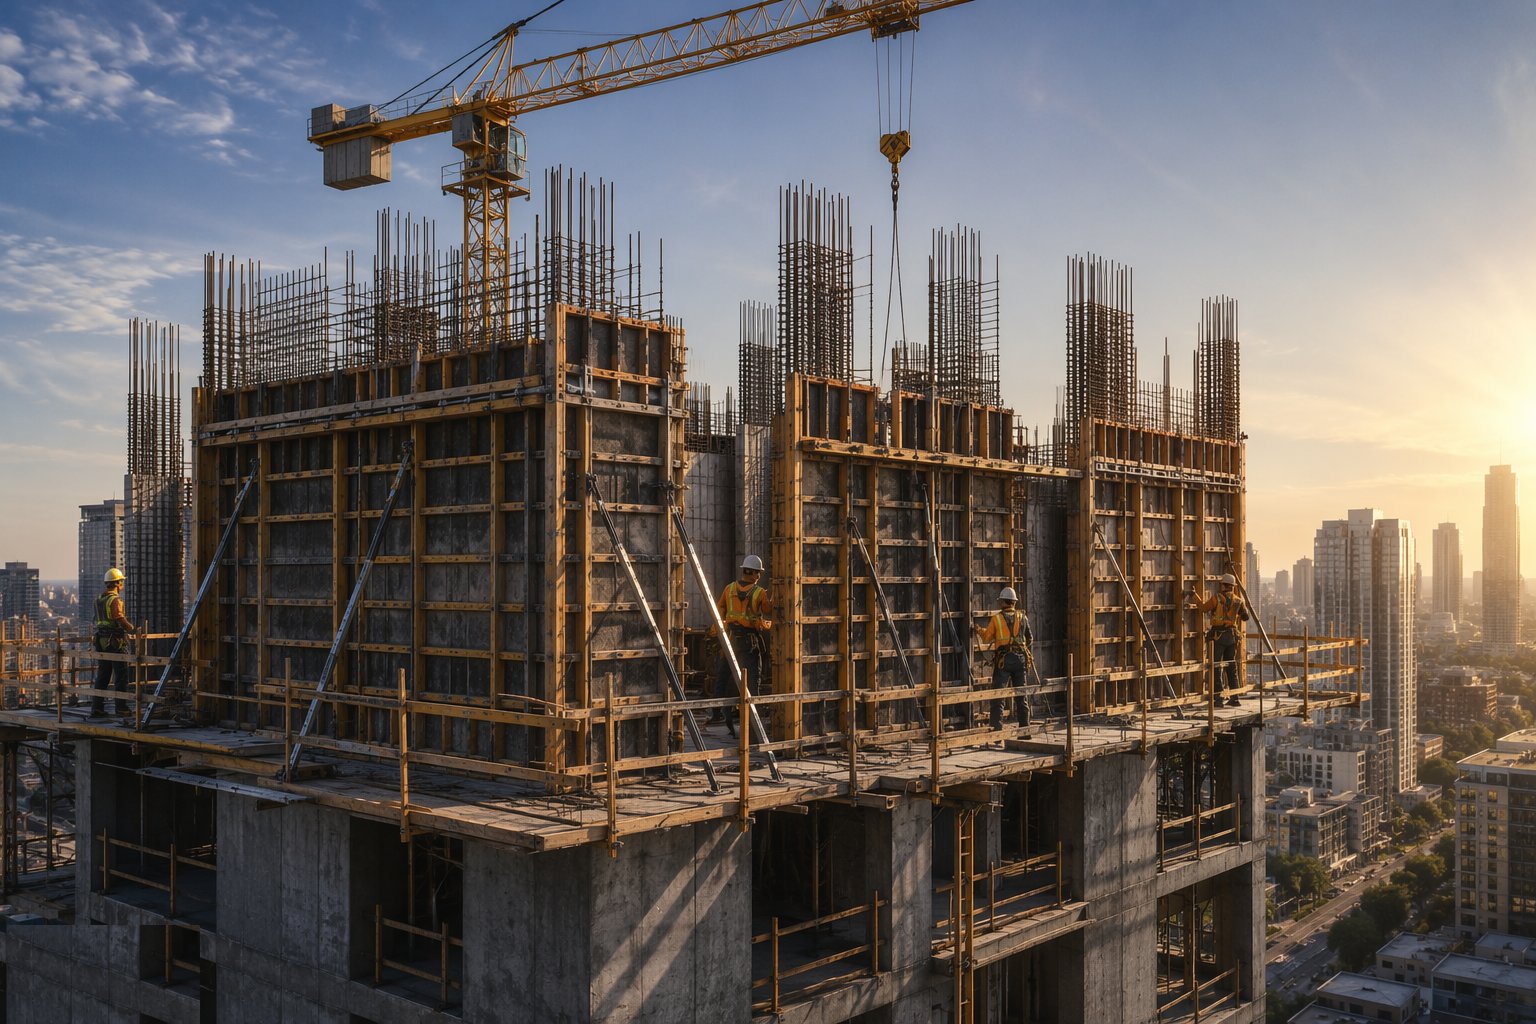
Panel systems, jumpform or traditional ply-and-timber faces go up plumb, with ties at the designed centres, walings and soldiers to take the pour pressure, and stop-ends at joints. Face dimensions, plumb and opening positions are checked with the surveyor. Release agent goes on the faces; grout-tight tape or foam seals the kicker joint so the bottom of the wall does not honeycomb.
Step 4: Pre-pour checks and concrete ordering

The pour card is signed: cover, laps, couplers torqued, cast-ins in place, formwork clean and true, waterbars in at joints, and the right mix ordered — class, slump, maximum aggregate size, and in the UAE a chilled or iced mix with a delivery-time limit in summer. Pump lines are routed and vibrators counted: one working, one spare.
Step 5: Pour in controlled lifts and vibrate
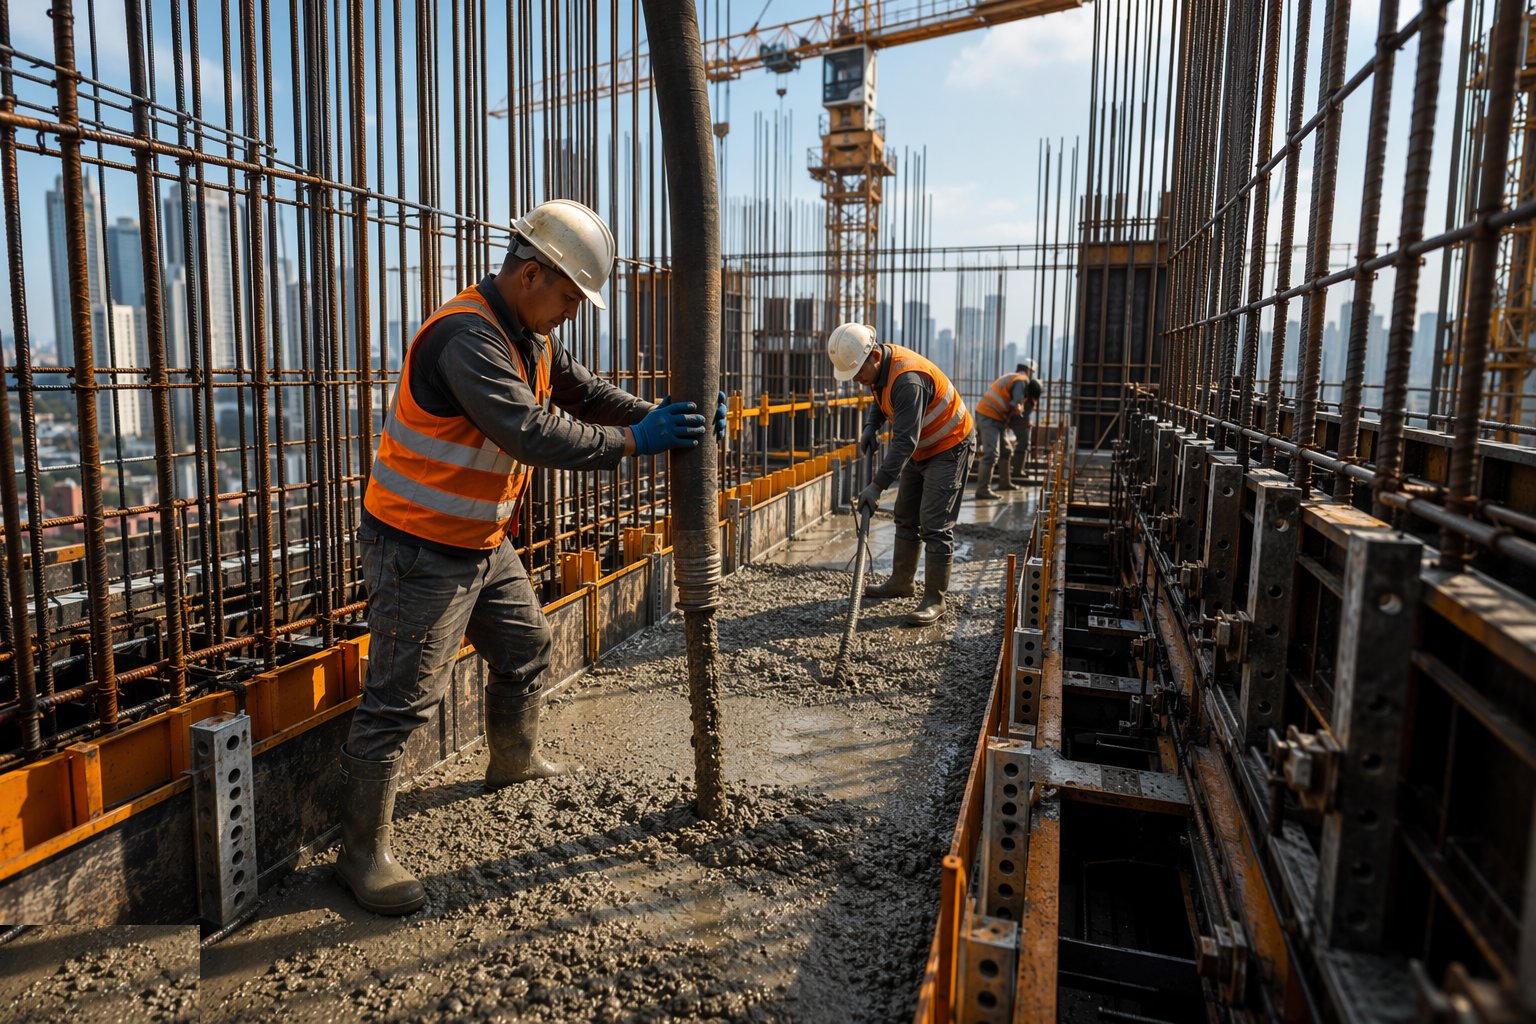
Concrete goes in in layers of 300–500 mm, each layer vibrated into the one below with the poker withdrawn slowly — no dragging the poker sideways, no over-vibrating the face into sand streaks. Pour rate respects the formwork design pressure. In hot weather, pour at night or early morning, shade the pump lines and record concrete temperature on arrival against the spec limit.
Step 6: Cure and strike on strength, not habit
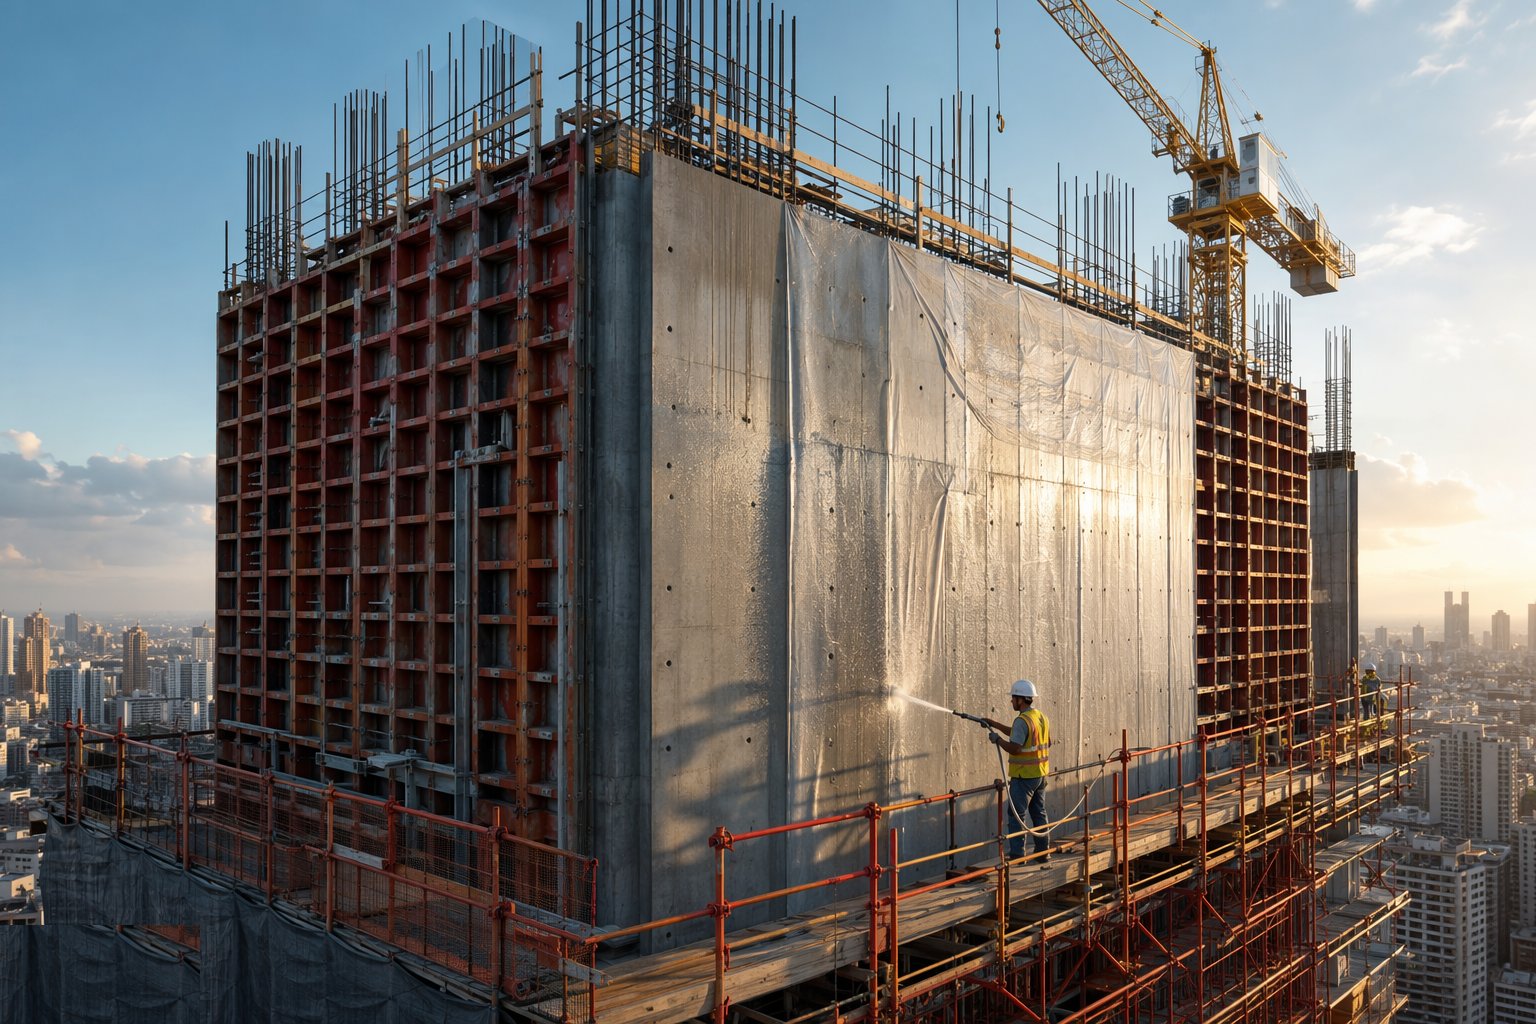
Curing starts the moment the face can take it: curing compound, wet hessian, or leaving the formwork on as a moisture shield — seven days is the honest number for water-resisting and structural walls. Formwork strikes when the cube or cylinder results, or the maturity calculation, say the concrete can carry itself plus construction load — not when the programme wants the panels back.
Step 7: Make good, inspect and record
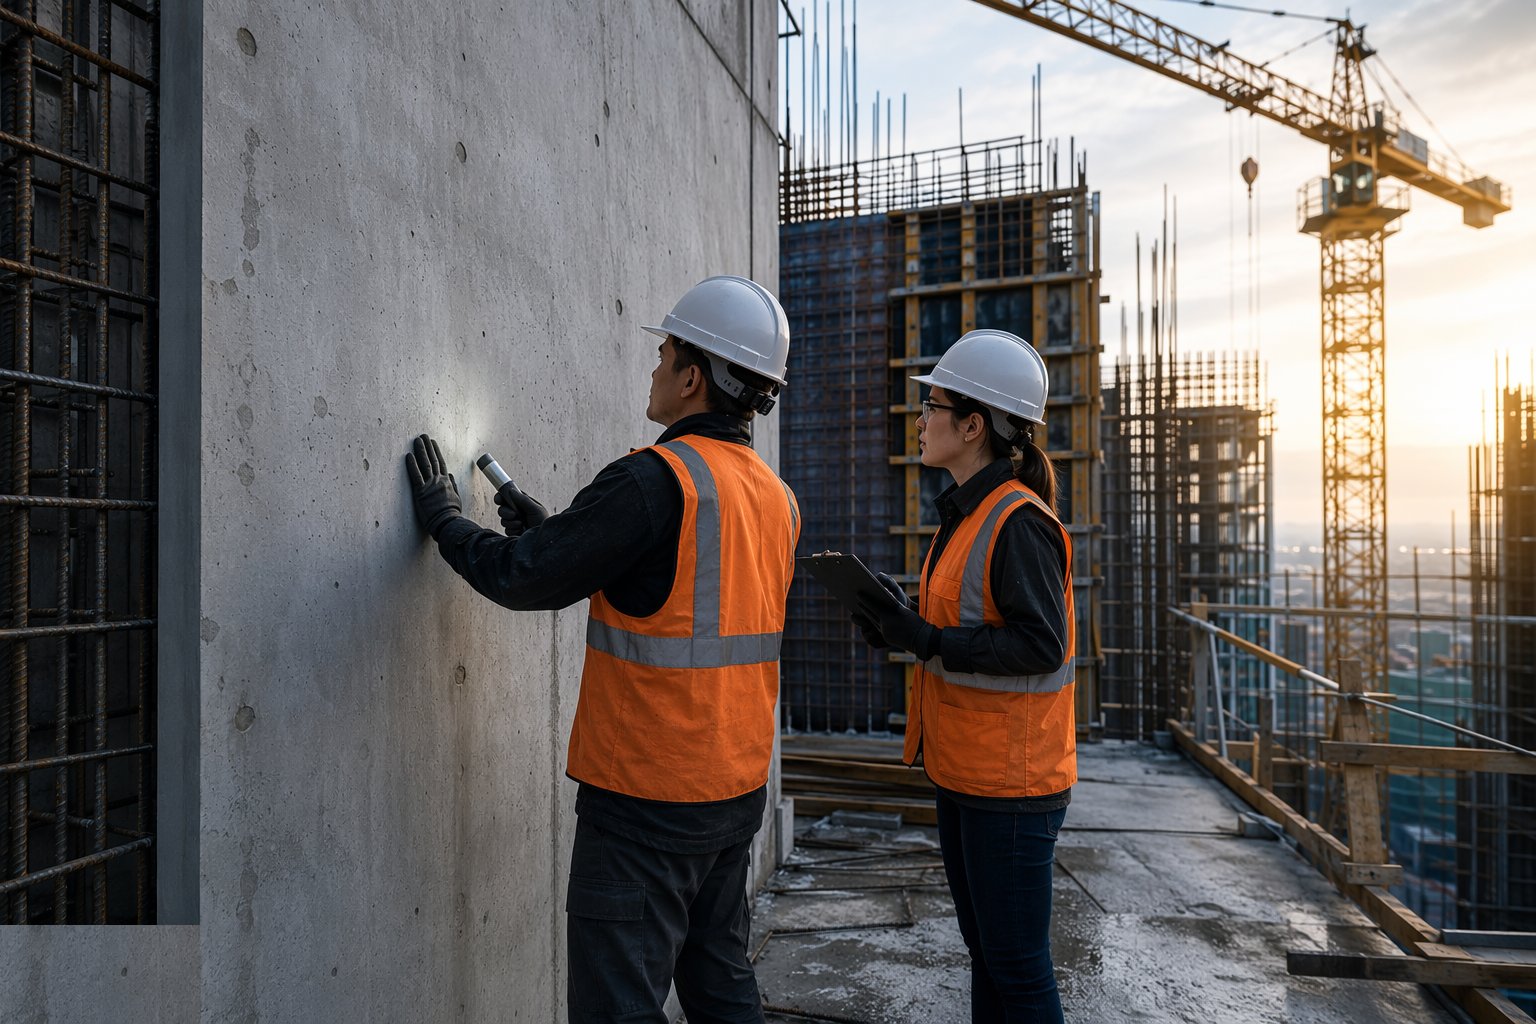
Tie holes are filled with the specified mortar, box-out edges tidied, and the face inspected for honeycombing, blow-holes, cracking and cover compliance. Defects are repaired with approved mortars under method statement — never bagged over and hidden. As-built survey records the wall position and plumb against tolerance, and pour records, test results and inspections go to the quality file.
Step 8: Interface with the next lift or the follow-on trades
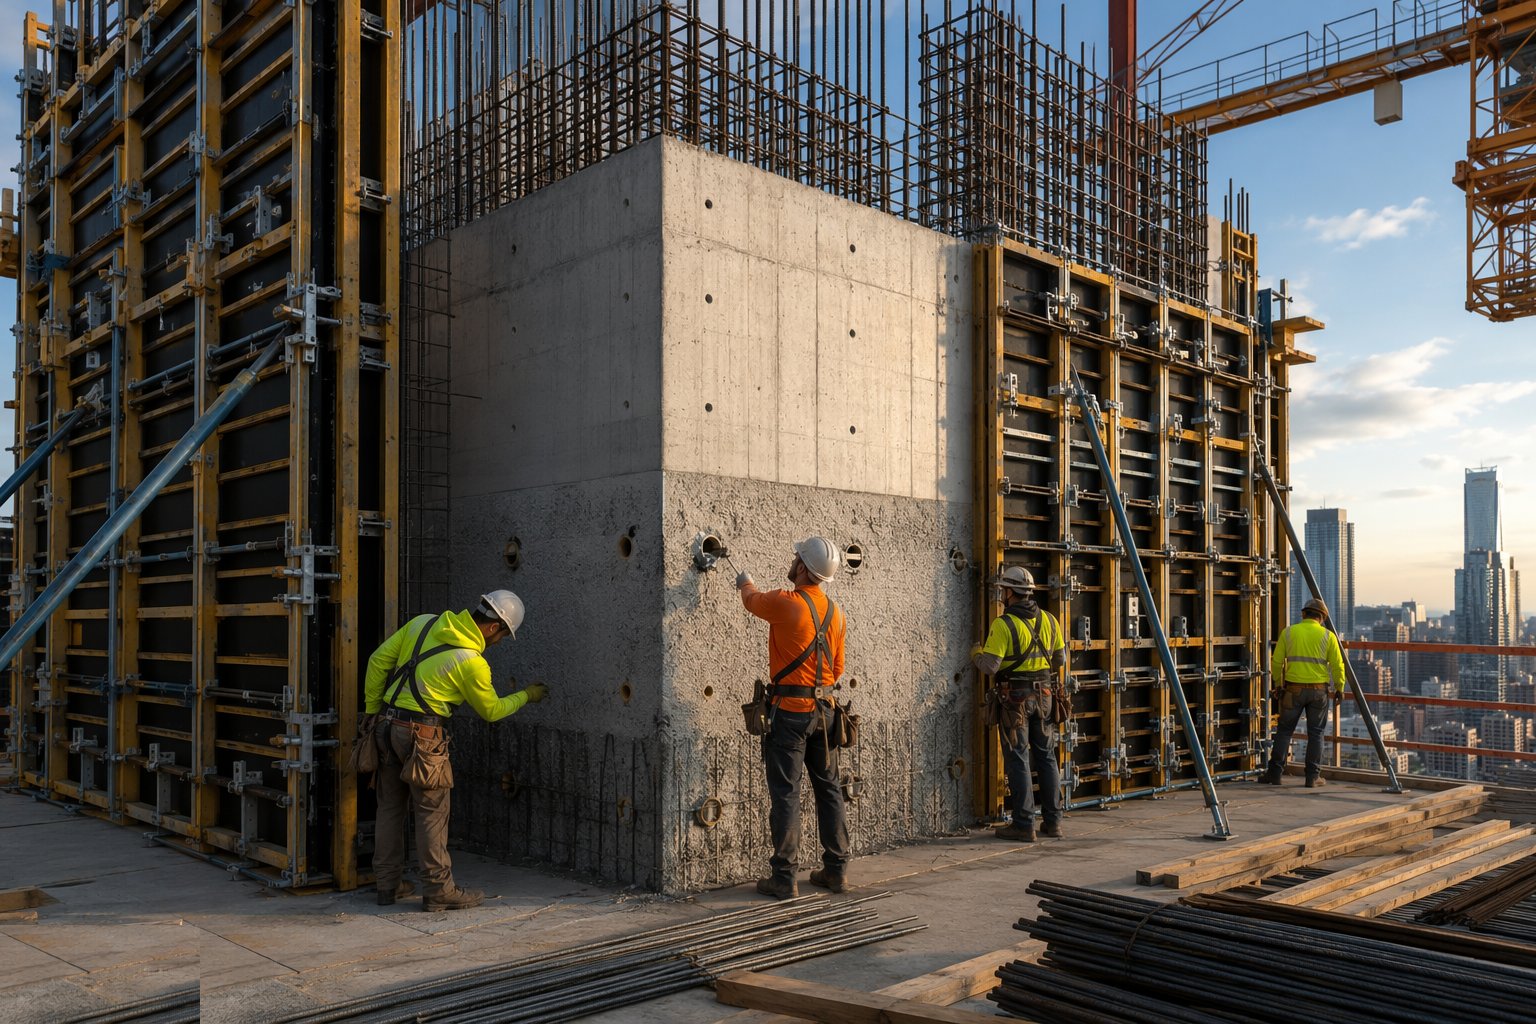
Coupler caps are checked, kicker or joint surfaces for the next lift are scabbled or prepared to expose aggregate, and the wall is handed over: to the formwork gang for the next storey, to the precast erectors for panel stitches, or to first fix with the cast-in sleeves exactly where the services drawings expect them.
Plant and equipment
- Formwork systems: panel, table, jumpform/climbform for cores
- Tower or mobile crane; concrete pump and placing boom
- Poker vibrators (working plus spares)
- Rebar cutters, benders and coupler torque wrenches
- Survey kit: total station, plumb lasers, automatic level
- Curing kit: sprayers, hessian, water carts; ice/chilled water in hot climates
- Scabblers and breakers for joint preparation and repairs
Quality control checks
- Reinforcement inspection signed off before closing formwork — laps, cover, couplers
- Formwork plumb, face dimensions and tie pattern checked against design pressure
- Concrete delivery tickets matched to the specified mix; slump and temperature on arrival
- Cube/cylinder sets per pour with striking and 28-day results tracked
- Cover meter survey of struck faces; honeycomb and defect register with repairs
- Waterbar continuity at every joint on water-resisting walls
- As-built position and verticality survey per lift
Safety considerations
- Formwork and falsework designed, checked and inspected before pour (permit to load)
- Reinforcement cages: impalement caps on starters, stable panel erection sequences
- Concrete burns — gloves, boots, eyewash; pump line exclusion zones during priming
- Crane lifts for panels and skip work under a lift plan with a slinger/signaller
- Propping of precast panels until stitches reach strength; no load until certified
- Night-pour lighting, fatigue management and noise controls near neighbours
Common defects
- Honeycombing at kickers and congested corners from poor vibration or grout loss
- Cold joints and colour bands from unplanned pour stops
- Cracking from early striking, thermal shock or missing curing in hot weather
- Misplaced sleeves and box-outs — the MEP clash discovered at second fix
- Out-of-plumb cores compounding up a tower from weak survey control at lift one
- Leaking basement walls at day joints where waterbars were displaced or omitted
Best suited for
- Tower cores and shear walls on residential and office towers
- Villa and low-rise construction — cast in situ shear walls or precast panels
- Basements and retaining walls needing water-resisting concrete
- Swimming pool shells and tanks (see the pool guide for the wet side)
- Any structure where monolithic strength and fire resistance lead the design
How long does Concrete Structural Walls take?
Typical duration: A storey-height shear wall: 2–4 days per pour cycle. A jumpform core: 3–5 days per storey once running. A precast villa wall set: days, with the factory lead time upstream..
Related processes
- Brick Wall Construction
- Block Wall Construction
- Damp Proofing — DPC, DPM and Cavity Trays
- Firestopping and Passive Fire Protection
- Chasing & First-Fix Cutting for Services
- MEP — Plumbing (First & Second Fix)
- MEP — Electrical (First & Second Fix)
- Ventilation & Air Conditioning
- Below-Ground Drainage Installation
- Sanitary Installation
- Windows & Doors Installation
- Flooring & Floor Finishes
- Private Swimming Pool Construction
- CCTV & Security Systems Installation
- TRVs & Heating Controls
- Soft Landscaping & Gardens (Homes & Villas)
- Carpentry — First & Second Fix
- Concrete Structural Walls in Residential & Housing
- Concrete Structural Walls in Commercial & Workplace
- Concrete Structural Walls in Healthcare
- Building Trades & Methods sector guide
- Buildings group