Brick Wall Construction
Laying brickwork that stays plumb, bonded and weather-tight — from a garden wall to a full cavity envelope.
Last updated 2026-07-28 by the BuildPedia Editorial Team.
What is Brick Wall Construction?
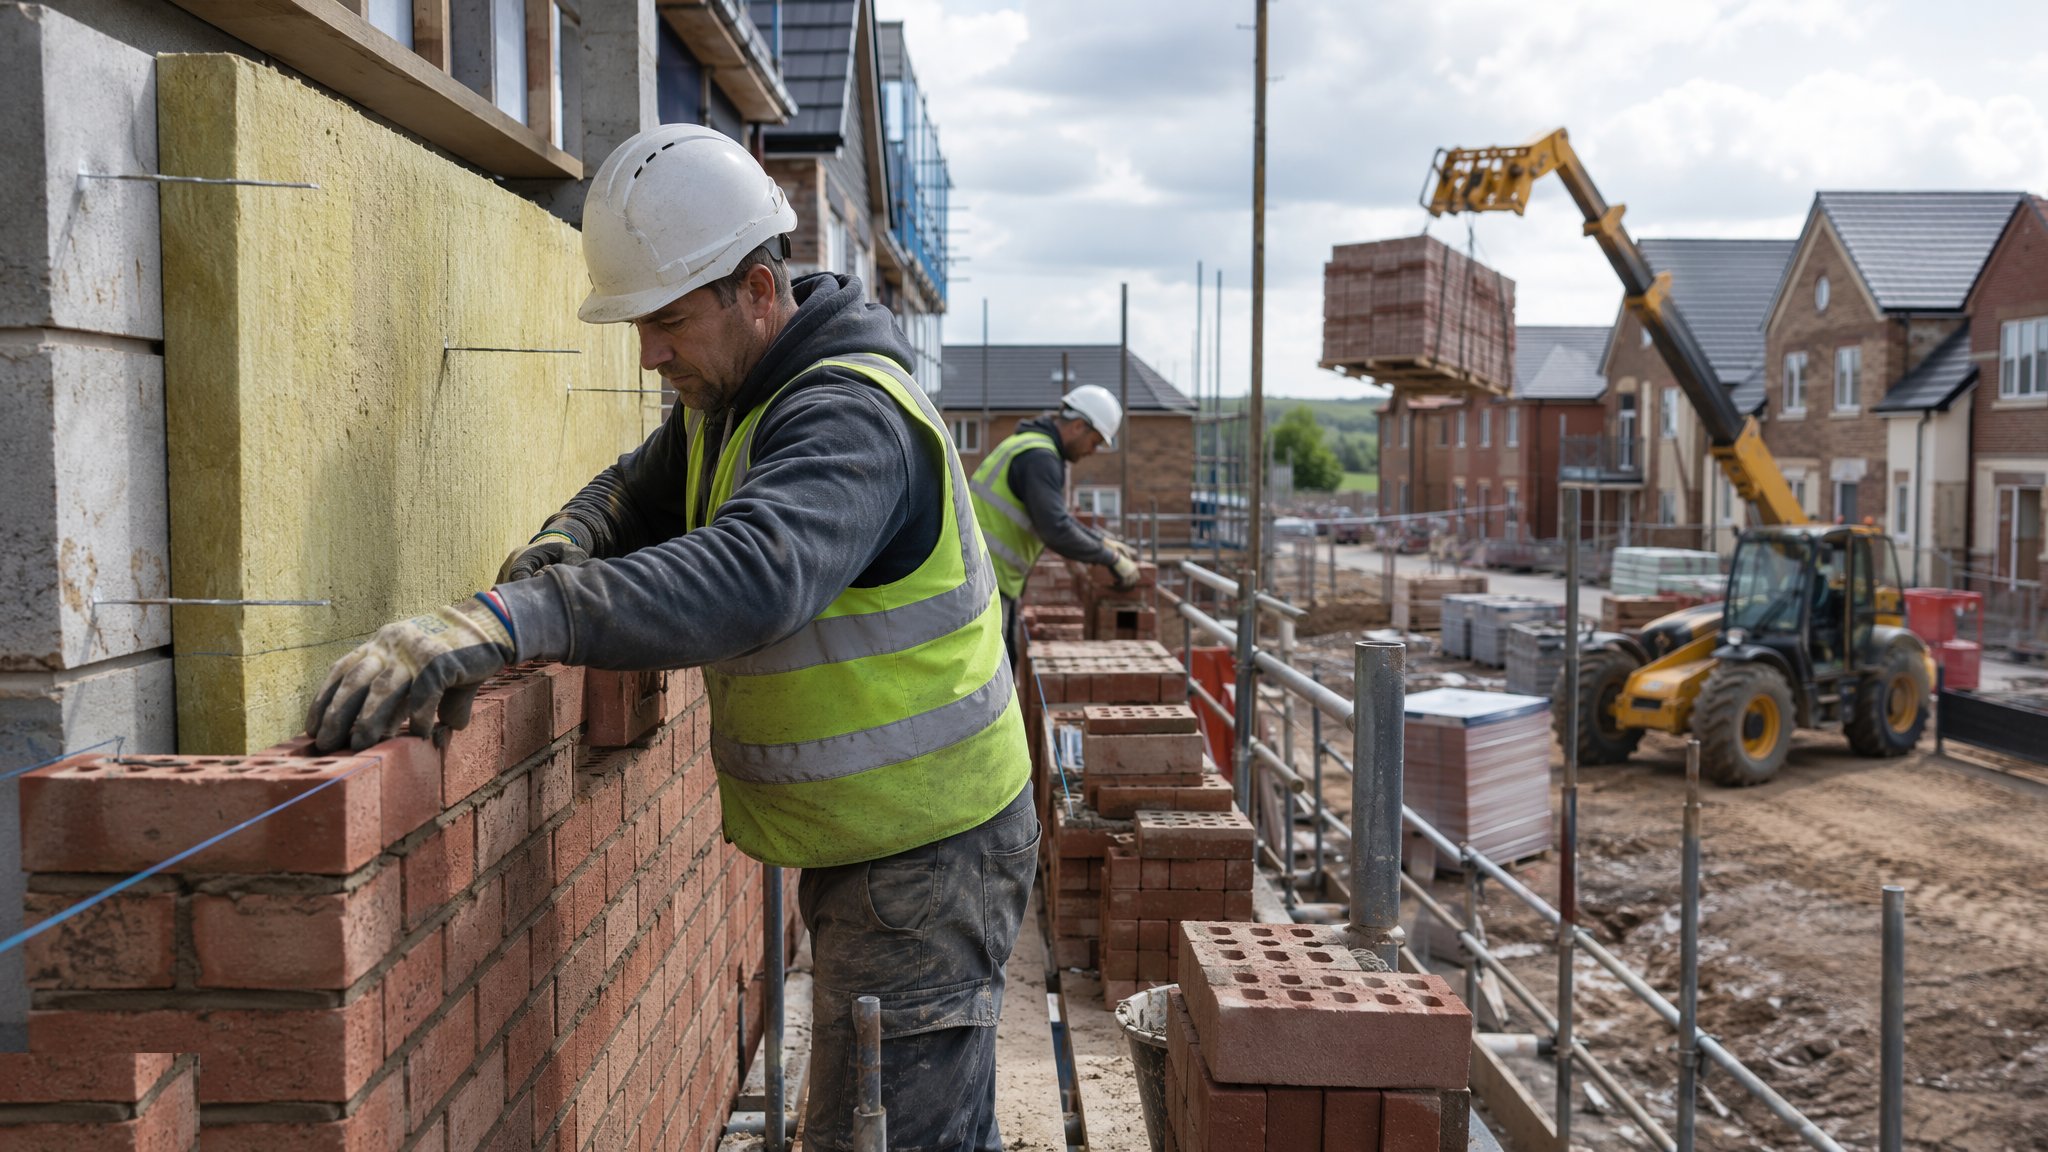
Brickwork is the oldest trade on the site and still the one everyone judges first. A good brick wall is not just bricks in mortar: it is a cavity, a damp-proof course, wall ties at the right centres, lintels with bearing, movement joints where the elevations run long, and pointing that sheds water instead of soaking it up. On homes and villas in the UK the cavity wall is the default — an outer leaf of facing brick, a 100 mm cavity increasingly full of insulation, and an inner leaf of blockwork doing the structural work. In the UAE brick is less common as a facing material, but the same laying discipline applies to boundary walls, planter walls and feature masonry.
The craft is in the repetition: gauge the corners first, run the line, keep the perpends vertical, and never let the mortar get ahead of the laying. Most brickwork defects that show up two winters later — cracking, spalling, damp patches — were baked in at this stage by missing ties, bridged cavities or mortar mixed wrong on a hot afternoon.
When and why is Brick Wall Construction used?
Brickwork follows the oversite slab or foundation blockwork and runs ahead of the roof, because the walls carry the plate, the joists or the frame connections. It is chosen for durability, fire resistance, thermal mass and a face that needs no further finish. On residential towers it appears as infill or feature work around a concrete frame; on homes and villas it is often the structure itself. The choice of brick, mortar class and cavity width is set by the exposure zone and, in the UK, Part L thermal targets and Part A structure; in the UAE, by DM/DDA approved drawings and the municipality's thermal insulation requirements.
Types of Brick Wall Construction
Homes & villas — brick/block cavity wall
The UK housing standard: outer facing brick leaf, insulated cavity (typically 100–150 mm), inner blockwork leaf tied across with stainless wall ties. DPCs, cavity trays and weep holes manage water; the inner leaf carries the floors and roof.
Solid brick wall (215 mm)
Boundary walls, garden walls and older construction: a single structural thickness in English or Flemish bond. No cavity to bridge, but no cavity to drain either — coping, DPC and pointing quality do all the weather defence.
Residential & office towers — brick infill and feature work
Brick slips or full brickwork built off the concrete frame or support angles: entrance features, podium elevations, infill panels between columns. Movement joints and support systems are engineered because the frame moves and the brick does not.
UAE boundary & screen walls
Rendered block is more common, but face-brick boundary and screen walls appear on villas and compounds. Hot-weather curing, sulphate-resistant mortar in saline ground and movement joints at close centres matter more than frost resistance.
Brick Wall Construction: step by step
Step 1: Set out and check the DPC
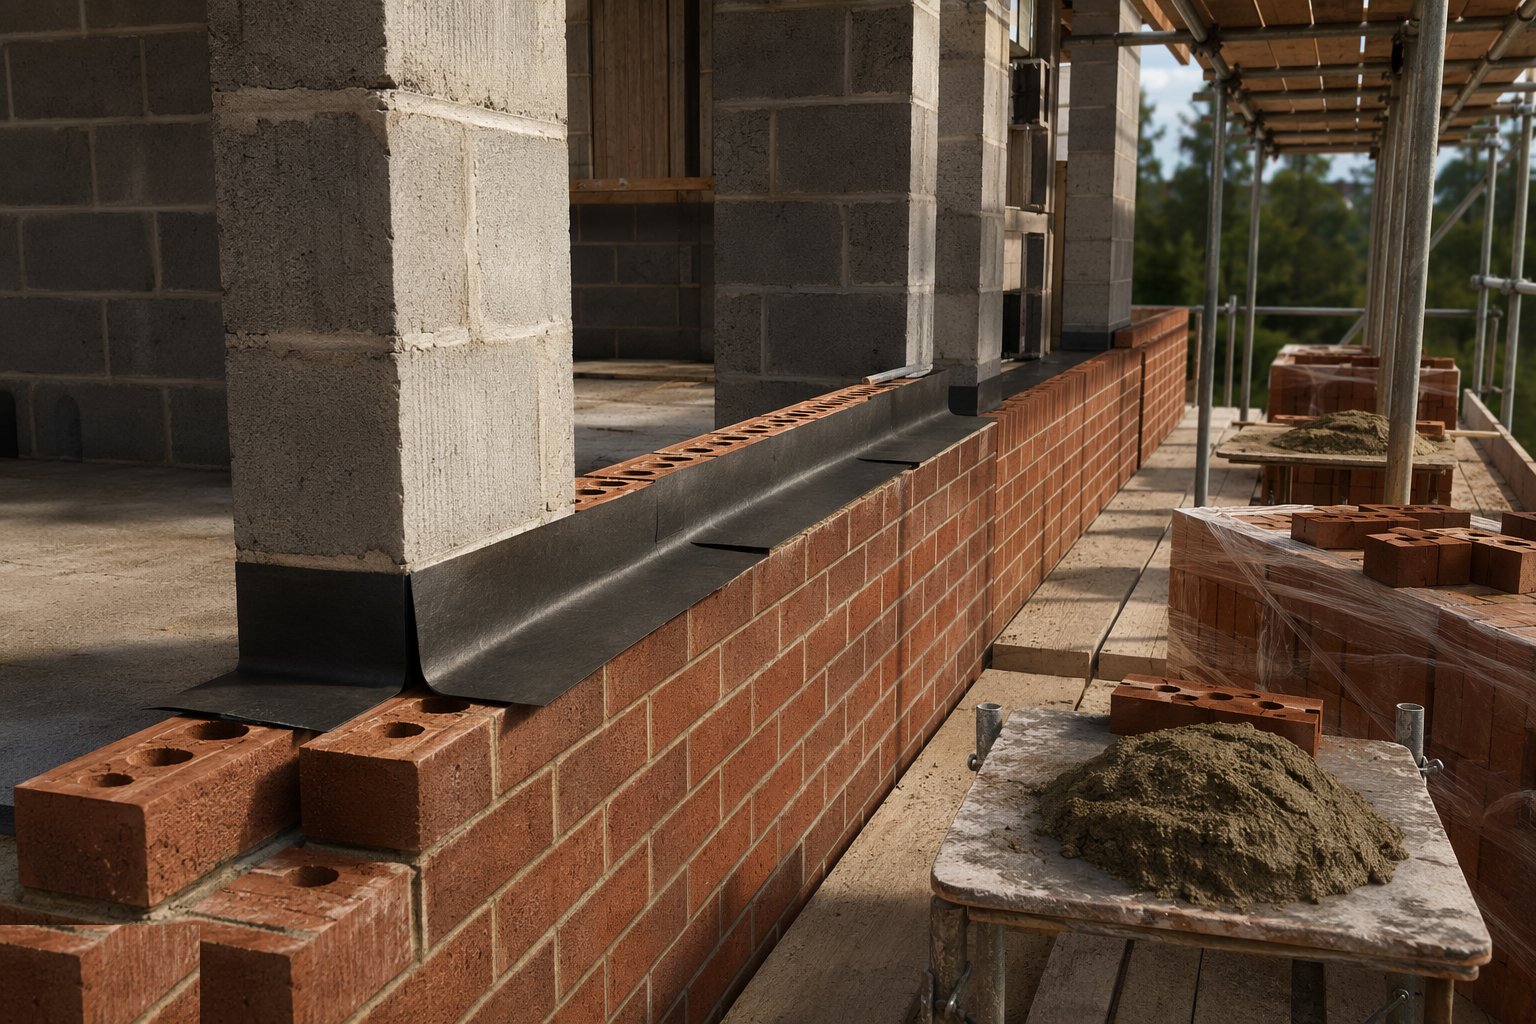
Before a brick is laid, set out the wall line off the datum, check the slab or foundation is level within tolerance, and confirm the DPC is down, lapped and in the right plane — 150 mm above external ground level, continuous through every junction. Lay the first course dry to plan the bond, the perpends and where the cut bricks land, so you are not sliver-cutting at every opening.
Step 2: Gauge the corners and quoins
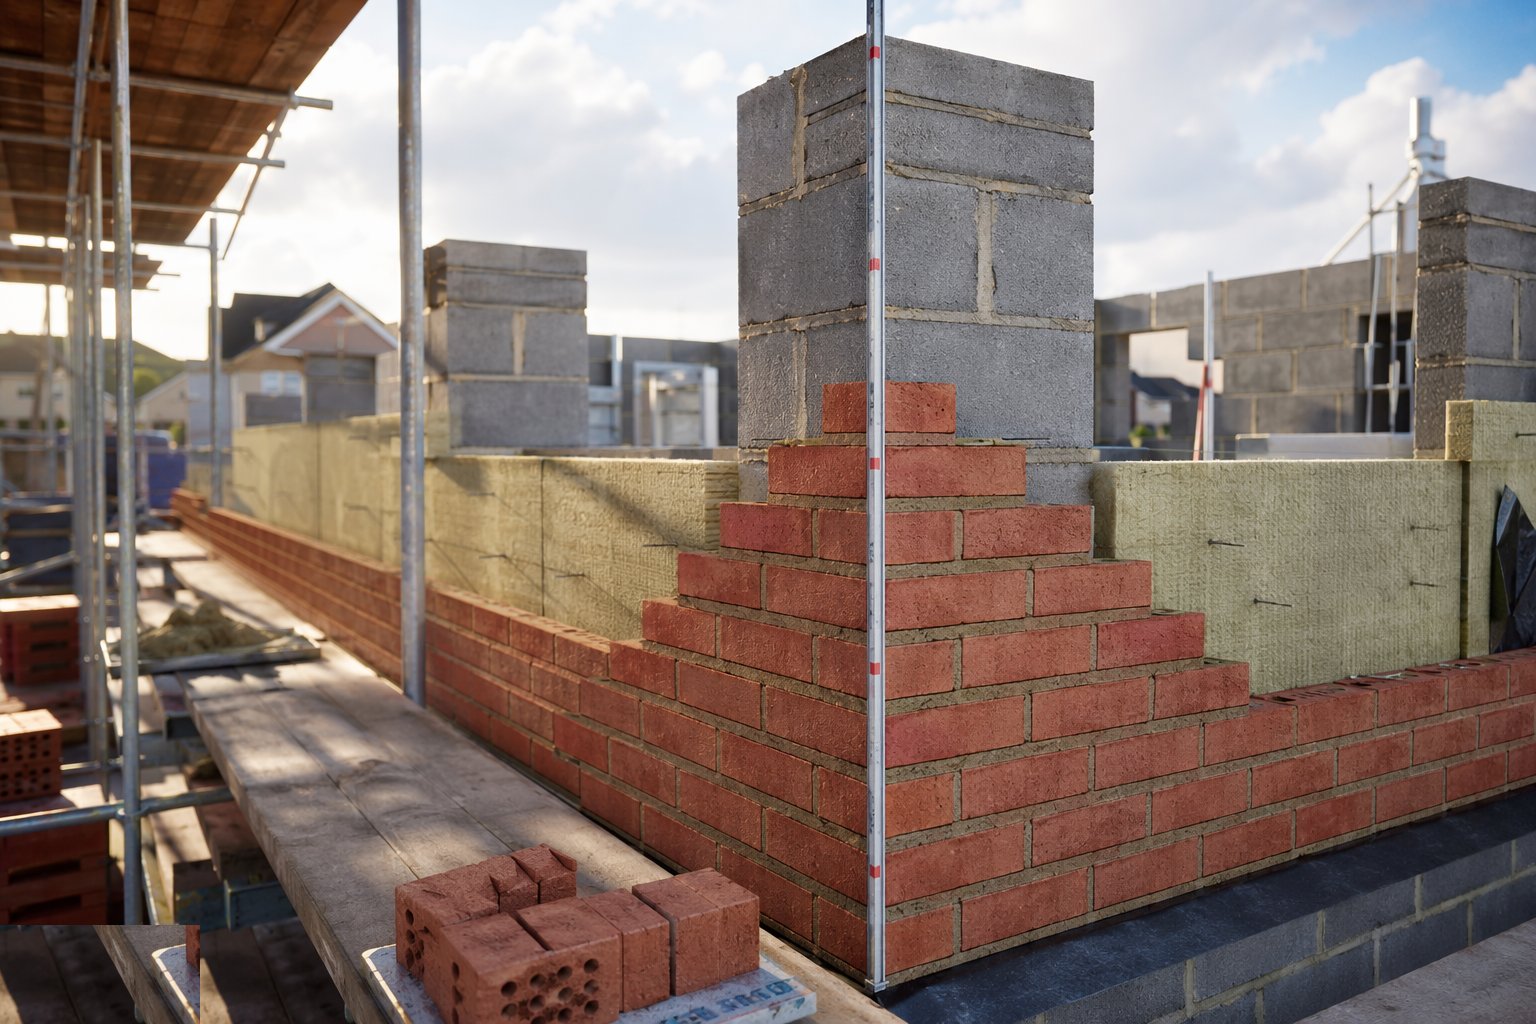
Build the corners first, four to six courses high, racked back, with the gauge rod (storey rod) against every course. These corners are the control for everything between them — if the corner is out of plumb or off gauge, every course above inherits the error. Check plumb both faces, check level across, then line between them.
Step 3: Run the courses to the line
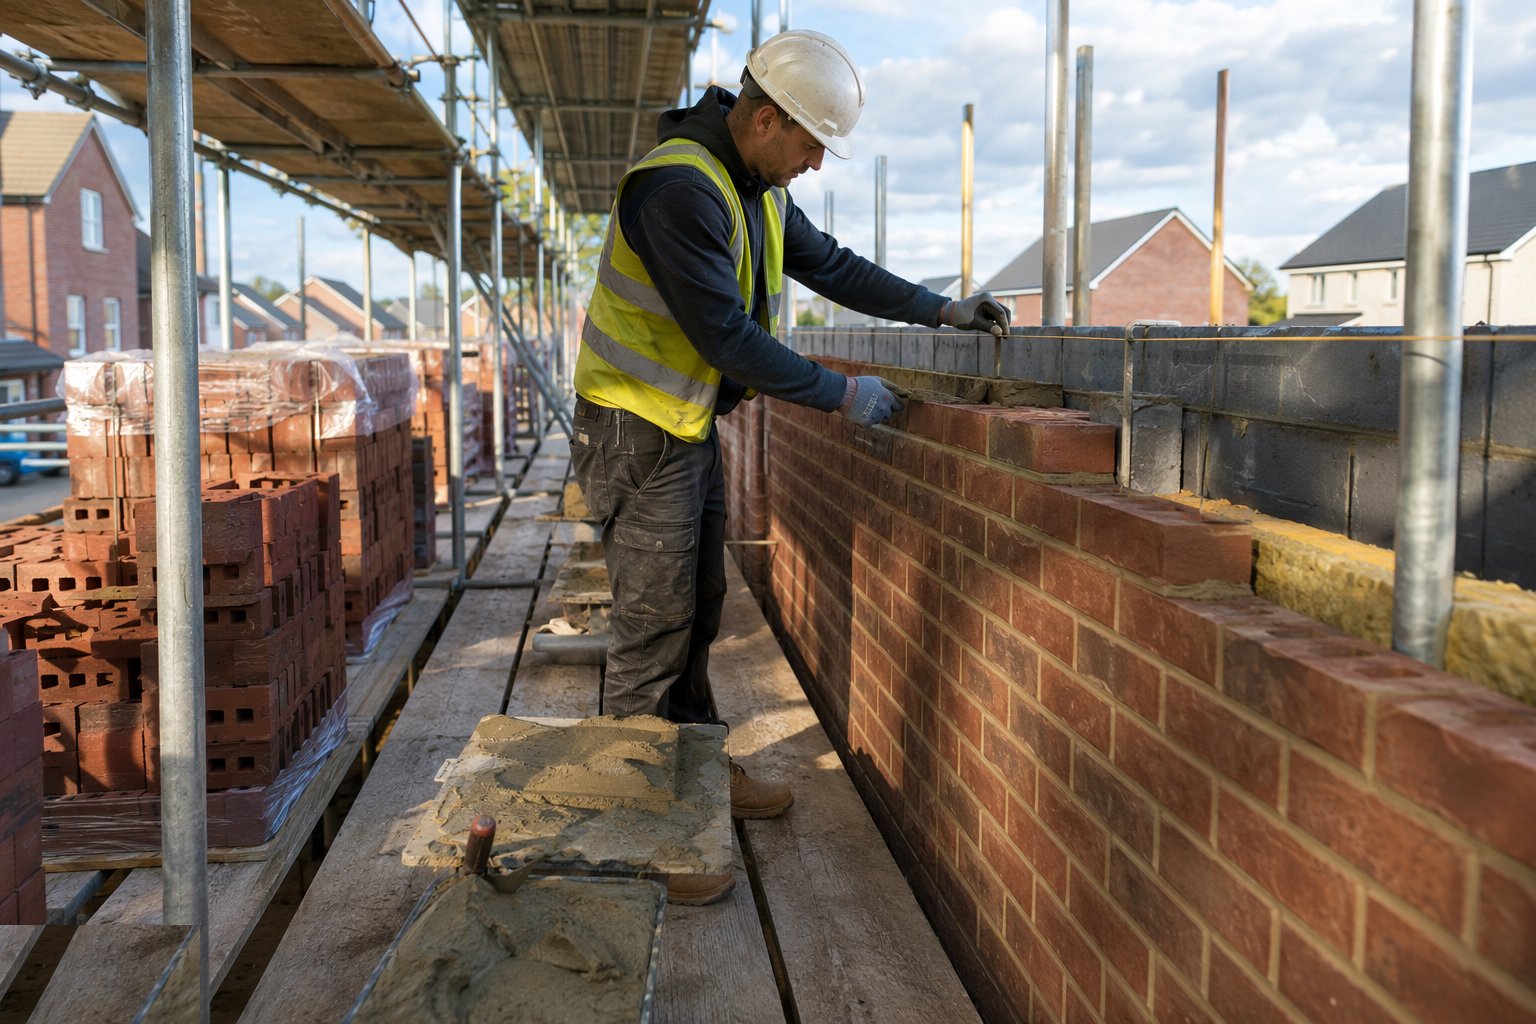
Mortar spread for two or three bricks at a time, full bed joints, perpends filled — not tipped and pointed later. Work to the line at every course, keep joint thickness at 10 mm nominal, and tool the joints as you go to compact the face. In hot weather or with high-suction bricks, wet the bricks and use the boards; in the UK winter, stop below 3 °C falling and protect fresh work from frost.
Step 4: Install wall ties, insulation and cavity control
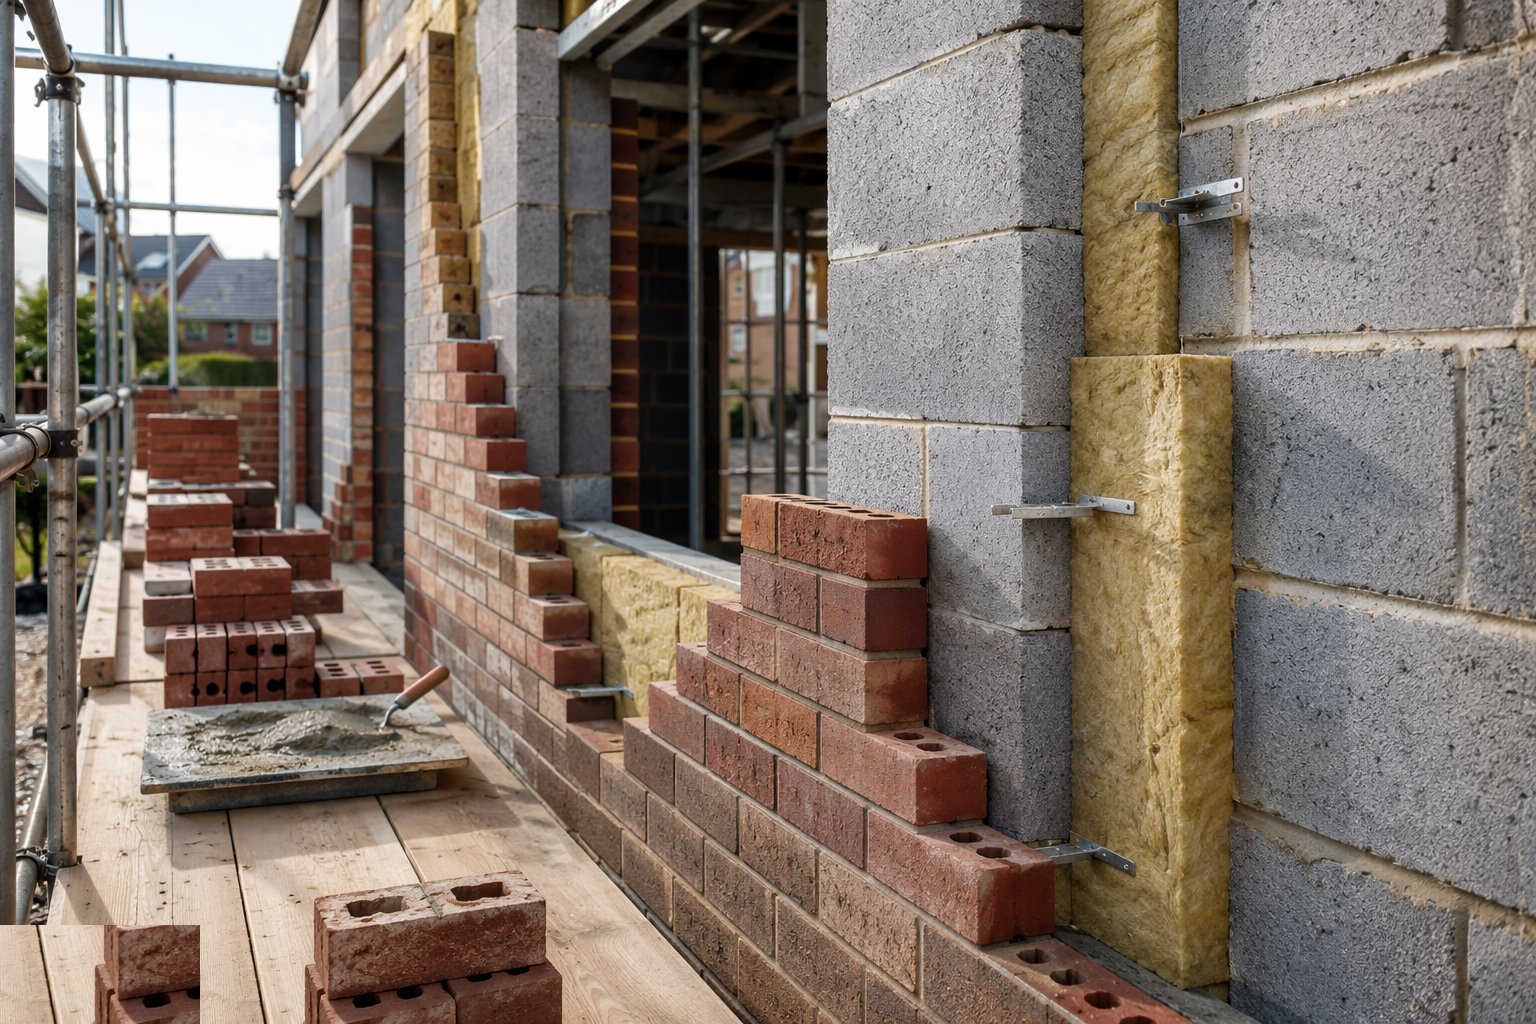
Wall ties go in at the specified centres — typically 900 mm horizontally and 450 mm vertically, doubled around openings — bedded level, sloping to the outer leaf, never the reverse. Partial-fill boards clip to the ties; full-fill batts are held back against the inner leaf with retaining clips. Clean mortar droppings off ties and the cavity bottom as you rise, with battens pulled and lift-outs at the base.
Step 5: Form openings — lintels, bearings and cavity trays
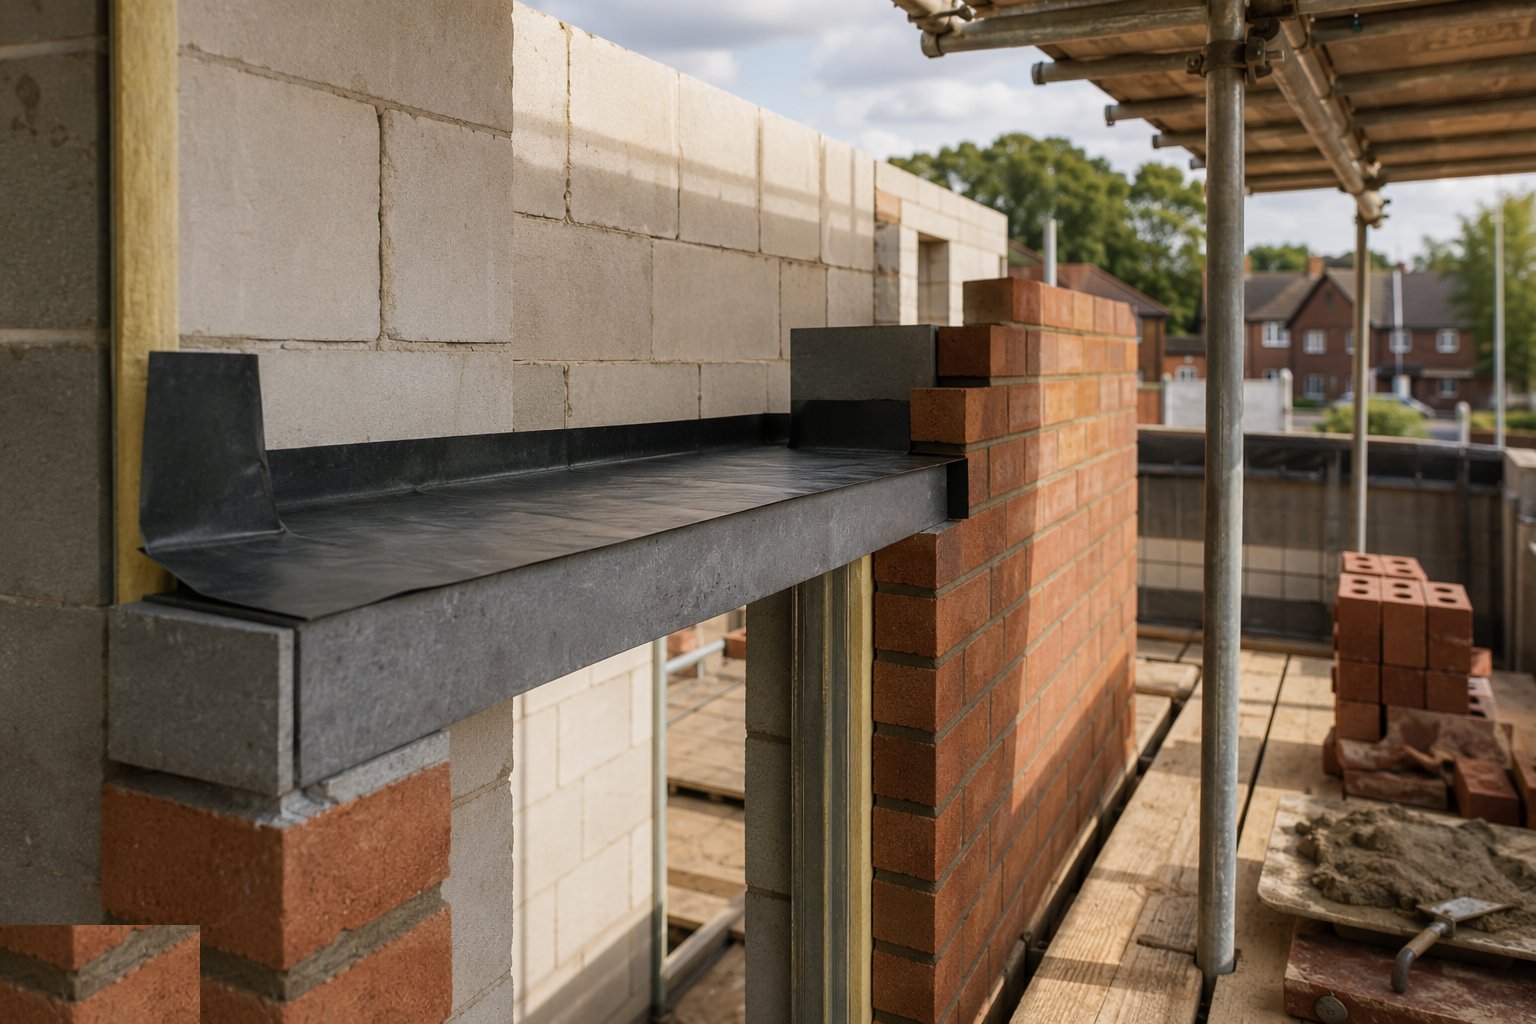
At door and window openings, set the lintel on its full bearing (150 mm minimum each end unless specified), on a level bed, with the cavity tray or DPC over it turned up to the inner leaf and weep holes every fourth perpend above. Temporary propping under long lintels stays until the mortar over has gained strength.
Step 6: Build piers, returns and movement joints
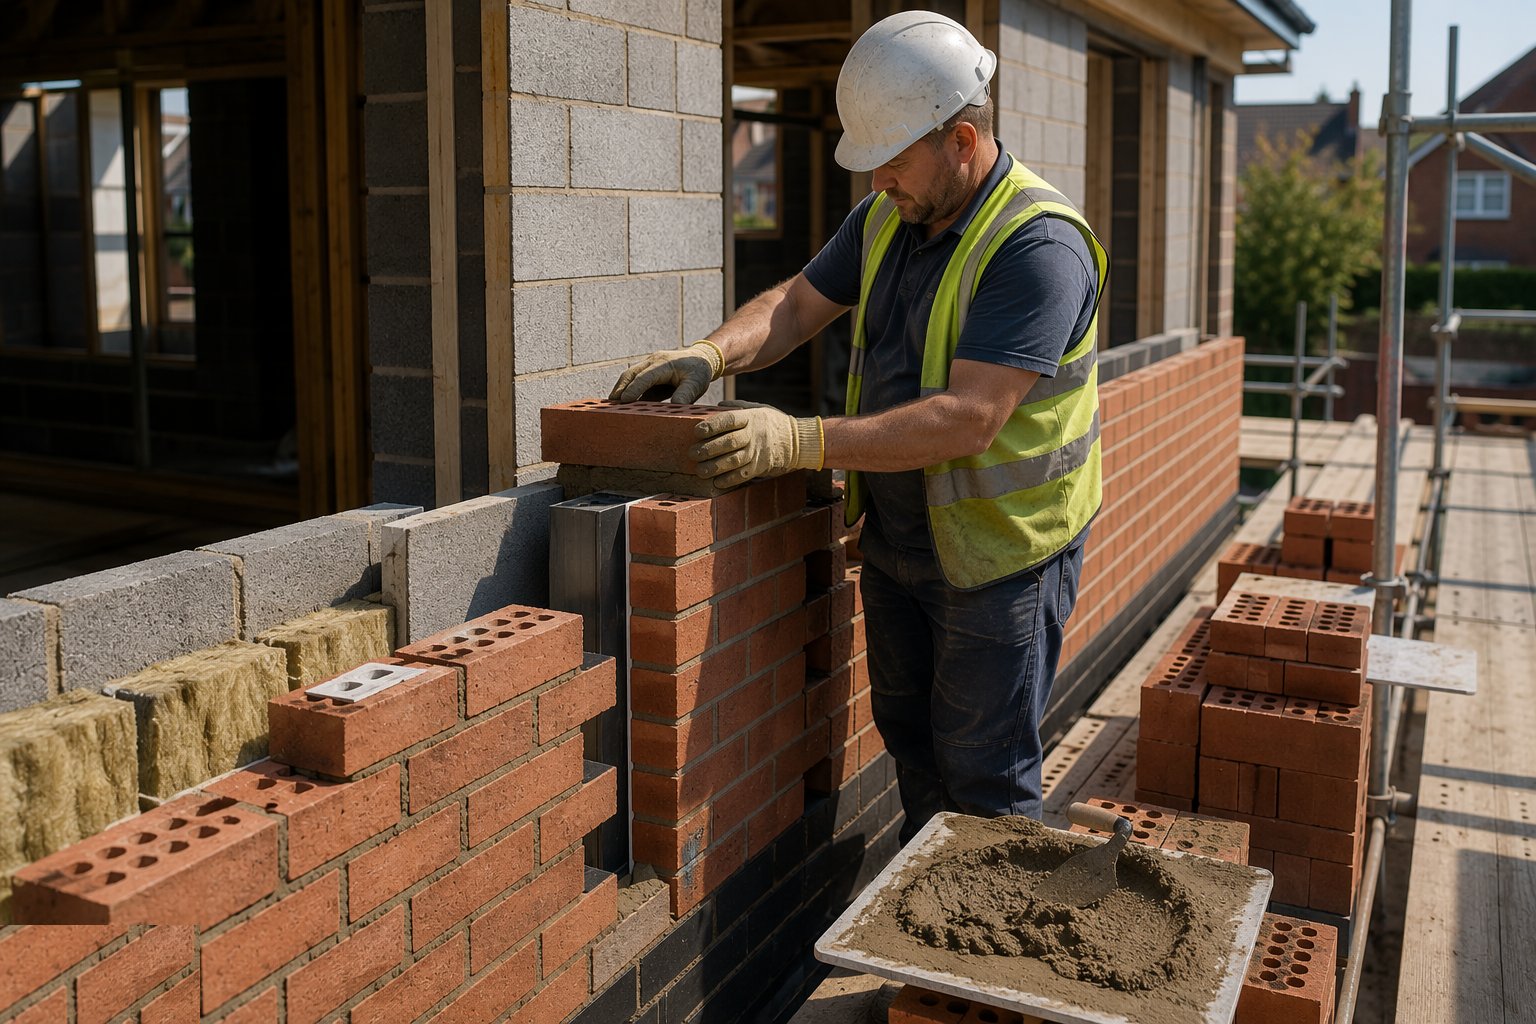
Piers stiffen long runs and carry concentrated loads — build them bonded into the wall, not stitched on. Where the elevation exceeds the movement-joint spacing (around 12 m for clay brick, 6 m for concrete or calcium silicate), form the vertical joint, slip-tie across it and seal with backer rod and mastic at the finish.
Step 7: Toothing, bonding and connections
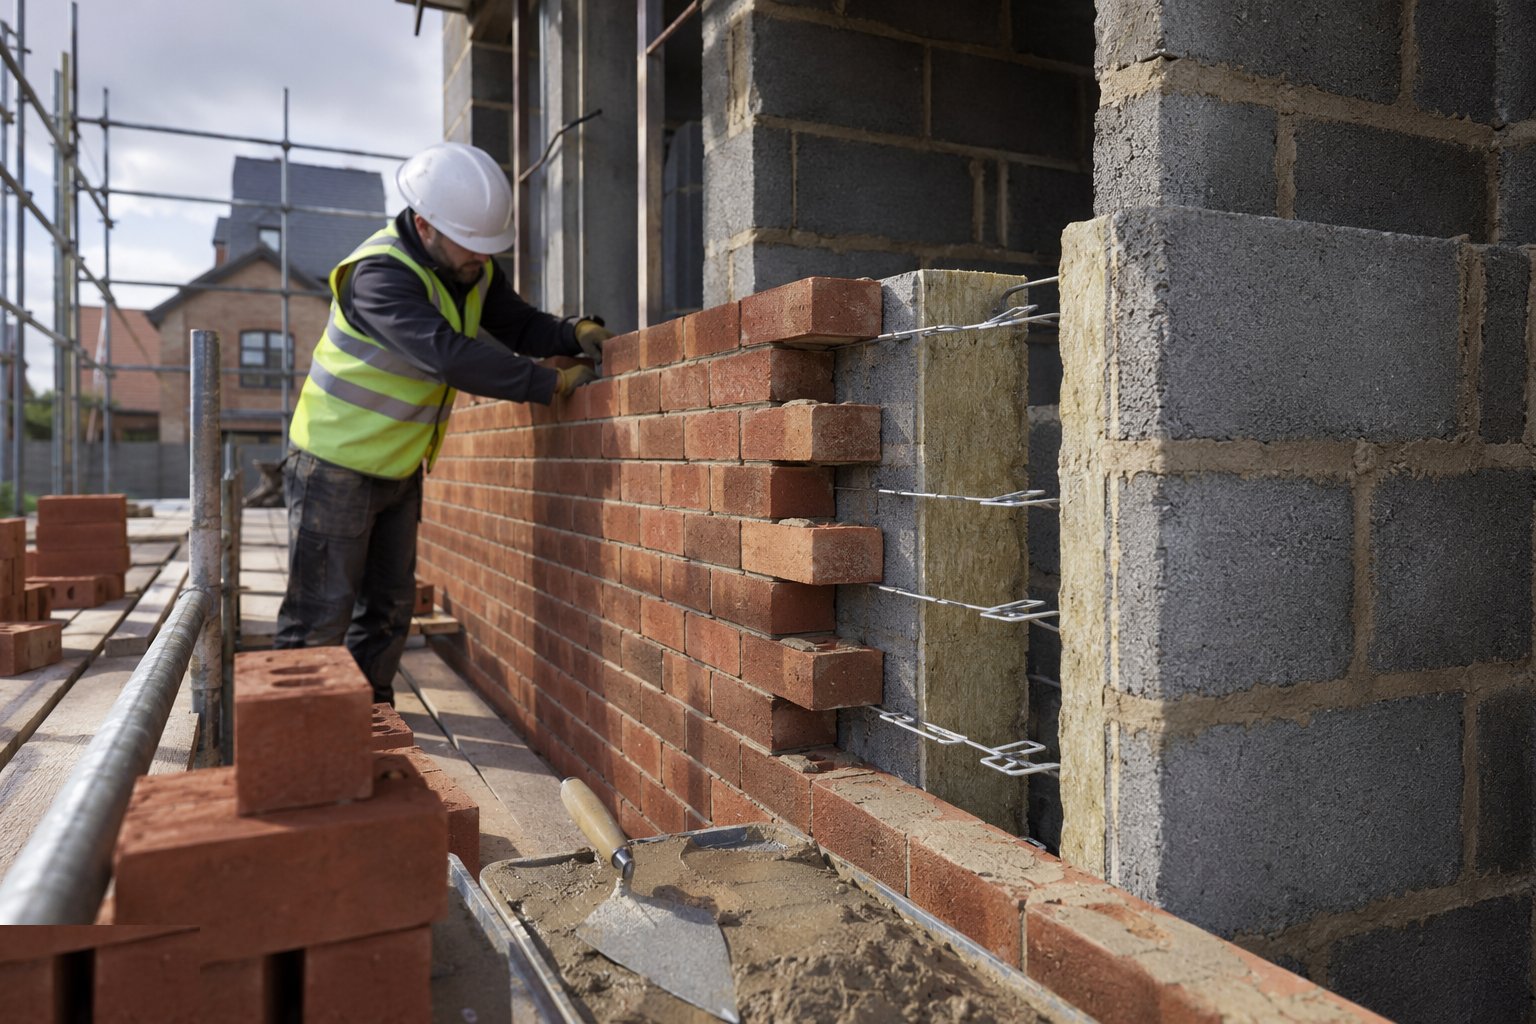
Where new brickwork meets existing, tooth or use proprietary wall starters fixed to the sound face — never just butt the joints and hope. Bed wall plates on mortar with straps at centres, and fix restraint straps down the cavity to floors and roofs as the courses pass them, while you can still see what you are fixing to.
Step 8: Point, clean down and protect
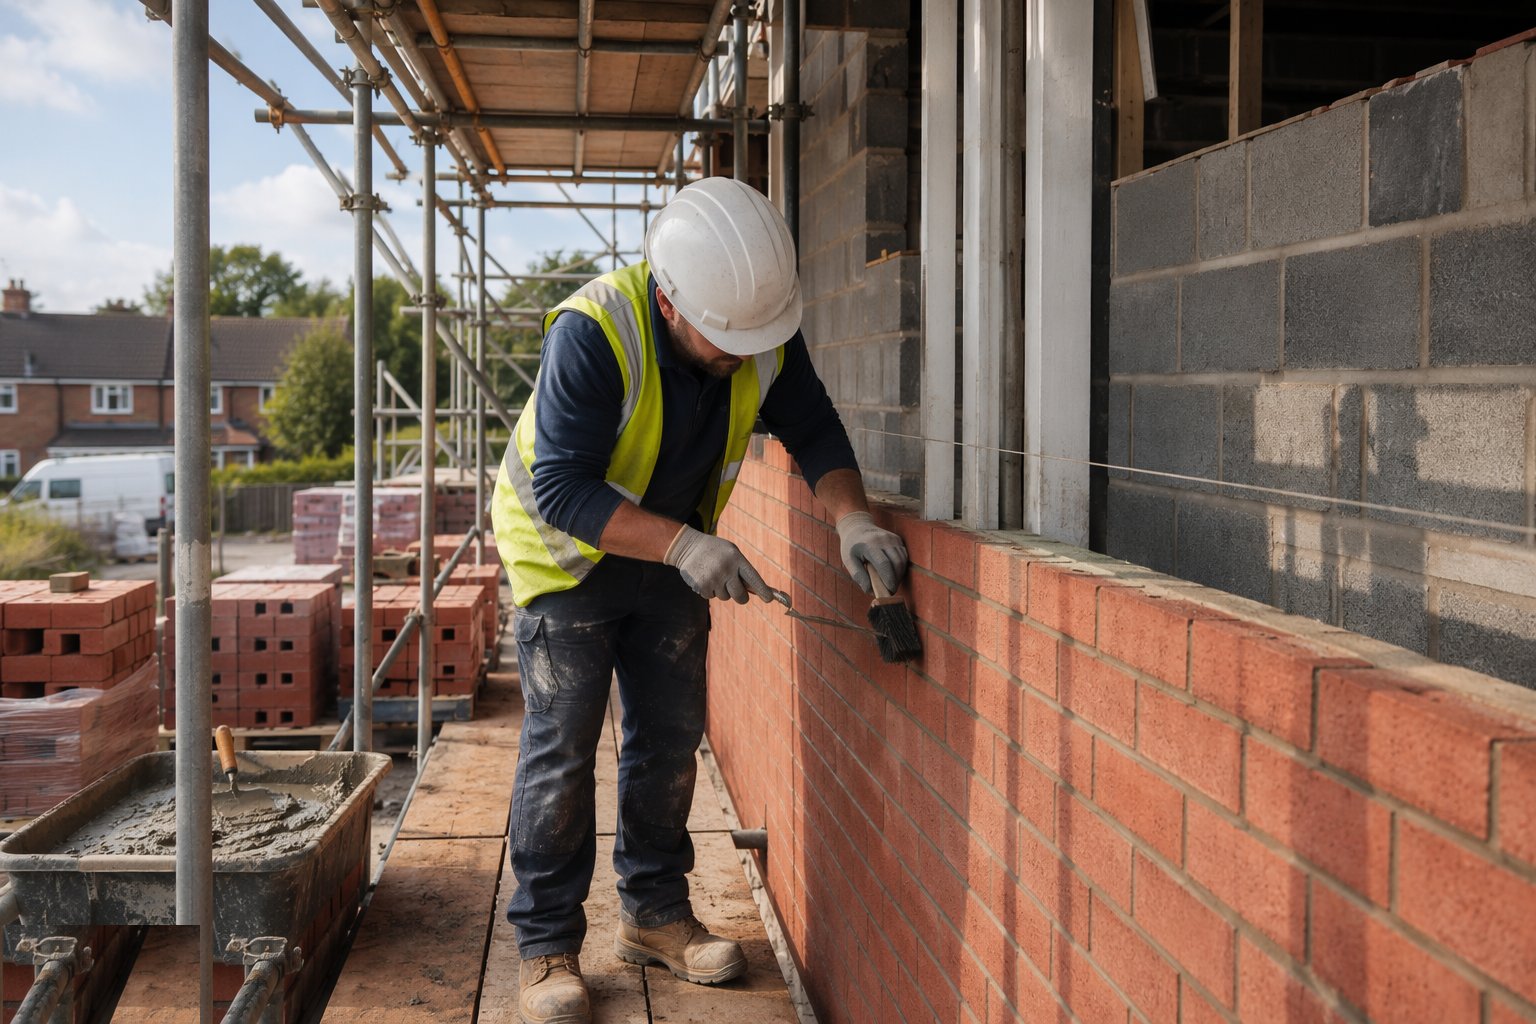
Tool or weather-strike the joints to compact them, brush down same day, and acid-wash only as a last resort with a test panel first. Cover the wall heads against rain overnight — saturated fresh work effloresces and frost-damages. Snag the face before scaffold comes down: perpends aligned, no smears, weep holes open, trays visible at inspection.
Plant and equipment
- Brick and block saws with dust suppression
- Mortar mixer or silo, mortar boards and spot boards
- Scaffold or trestles with loading bays
- Gauge rods, lines, pins, levels and plumb rules
- Telehandler or crane with brick cages for loading out
- Cavity battens, clean-out equipment and inspection mirror
- Gantry/sheeting for weather protection in winter or summer heat
Quality control checks
- Mortar mix design and batching records; retempering prohibited after initial set
- Course gauge and plumb checked every lift against the storey rod
- Wall tie type, spacing, embedment and slope inspected before cavity closes
- DPC, cavity tray and weep hole continuity recorded with photographs
- Lintel bearing and level checked per opening
- Cube or prism samples where structural masonry is specified
Safety considerations
- Manual handling: brick packs split, lifting aids for repeated courses above waist height
- COSHH: cement burns — barrier cream, gloves, eyewash at the mixer
- Silica dust from cutting: water suppression and RPE, not dry sweeping
- Working platforms loaded within rating; brick guards at scaffold edges
- Newly built walls braced against wind until tied and cured
- Hot-weather work in the UAE: shaded mixing, hydration breaks, midday working-hour rules in summer
Common defects
- Efflorescence and lime bloom from saturated fresh work left unprotected
- Cracked panels where movement joints were omitted on long elevations
- Damp patches from bridged cavities — droppings on ties, mortar in the tray
- Spalling faces from frost on saturated brick or wrong mortar class
- Sagging lintels and cracked reveals from short bearings or early loading
- Bulging walls where tie spacing was stretched or ties omitted
Best suited for
- Homes and villas — cavity construction as the default UK housing envelope
- Boundary, screen and garden walls in both UK and UAE residential work
- Feature and podium elevations on residential and office towers
- Anywhere a durable, low-maintenance face with thermal mass is wanted
- Infill to concrete or steel frames where movement can be detailed out
How long does Brick Wall Construction take?
Typical duration: A gable end on a house: 2–4 days for a gang. A full detached house envelope: 3–6 weeks with the blockwork inner leaf. Tower infill: programme per floor plate..
Related processes
- Block Wall Construction
- Concrete Structural Walls
- Damp Proofing — DPC, DPM and Cavity Trays
- Firestopping and Passive Fire Protection
- Chasing & First-Fix Cutting for Services
- MEP — Plumbing (First & Second Fix)
- MEP — Electrical (First & Second Fix)
- Ventilation & Air Conditioning
- Below-Ground Drainage Installation
- Sanitary Installation
- Windows & Doors Installation
- Flooring & Floor Finishes
- Private Swimming Pool Construction
- CCTV & Security Systems Installation
- TRVs & Heating Controls
- Soft Landscaping & Gardens (Homes & Villas)
- Carpentry — First & Second Fix
- Brick Wall Construction in Residential & Housing
- Brick Wall Construction in Commercial & Workplace
- Building Trades & Methods sector guide
- Buildings group