MEP — Plumbing (First & Second Fix)
Hot and cold water, heating pipework and soil connections — first fix carcassing to second fix commissioning.
Last updated 2026-07-28 by the BuildPedia Editorial Team.
What is MEP — Plumbing (First & Second Fix)?
Plumbing splits cleanly into two acts. First fix is everything inside the fabric: cold water mains and distribution, hot water flow and return, heating pipes to radiator positions, and the above-ground soil and waste connections that join the sanitaryware to the stack. It happens while the walls are open and the floors are up, in copper, press-fit, or multilayer composite depending on the spec. Second fix comes after plaster and decoration: the sanitaryware goes in (see the sanitary installation guide for that trade detail), radiators hang, valves and TRVs are fitted, and the whole system is filled, flushed, balanced and commissioned.
The build type changes the scale, not the logic. A villa has a tank or a mains-pressure cylinder and a handful of bathrooms; a residential tower has boosted cold water, risers with pressure-reducing zones, and hundreds of identical bathrooms where repetition is the quality plan; an office floor has tea points, WCs and a landlord riser. In the UAE the roof tank and booster set replace the UK loft tank, water comes from DEWA (or ADDC elsewhere), and pipe runs need protecting from roof-space heat that would cook a cold supply in July.
When and why is MEP — Plumbing (First & Second Fix) used?
First fix follows the structure and chases (see the chasing guide) and must finish before screeds, plaster and ceilings close — it exists because buried pipework can only be tested and seen once. Second fix follows decoration, because sanitaryware and radiators are finished goods that paint and plaster destroy. Pressure testing bridges the two: nothing gets covered until the test certificate exists, and nothing gets commissioned until the system is flushed clean of the flux and swarf the first fix left behind.
Types of MEP — Plumbing (First & Second Fix)
Homes & villas — UK
Mains-fed or tank-fed cold water, combi boiler or unvented cylinder for hot water, and a wet heating circuit to radiators with TRVs. Pipework in copper, press-fit or plastic behind dry lining and in floor voids, with isolation at every group so a leak does not drain the house.
Homes & villas — UAE
DEWA supply to a roof or ground tank, booster pump distribution, and electric or heat-pump water heaters serving groups of bathrooms. Pipework routed in chases and service voids, insulated where it crosses hot roof spaces, with drainage vented to the stack per municipality rules.
Residential towers — zoned risers
Boosted cold water from plant room tanks, risers split into pressure zones with PRVs, hot water from central plant with a pumped return so the top-floor tap does not run cold for two minutes. Identical bathroom pods or in-situ bathrooms repeat per floor — the first one is the benchmark, the rest are production.
Office towers — landlord & tenant split
Landlord risers and shell WC cores with capped tees for tenant connections; tenant fit-out adds tea points and any showers. Sub-metering, isolation per floor, and a clear demarcation of what is Cat A and what is Cat B.
MEP — Plumbing (First & Second Fix): step by step
Step 1: Set out routes, falls and connection points
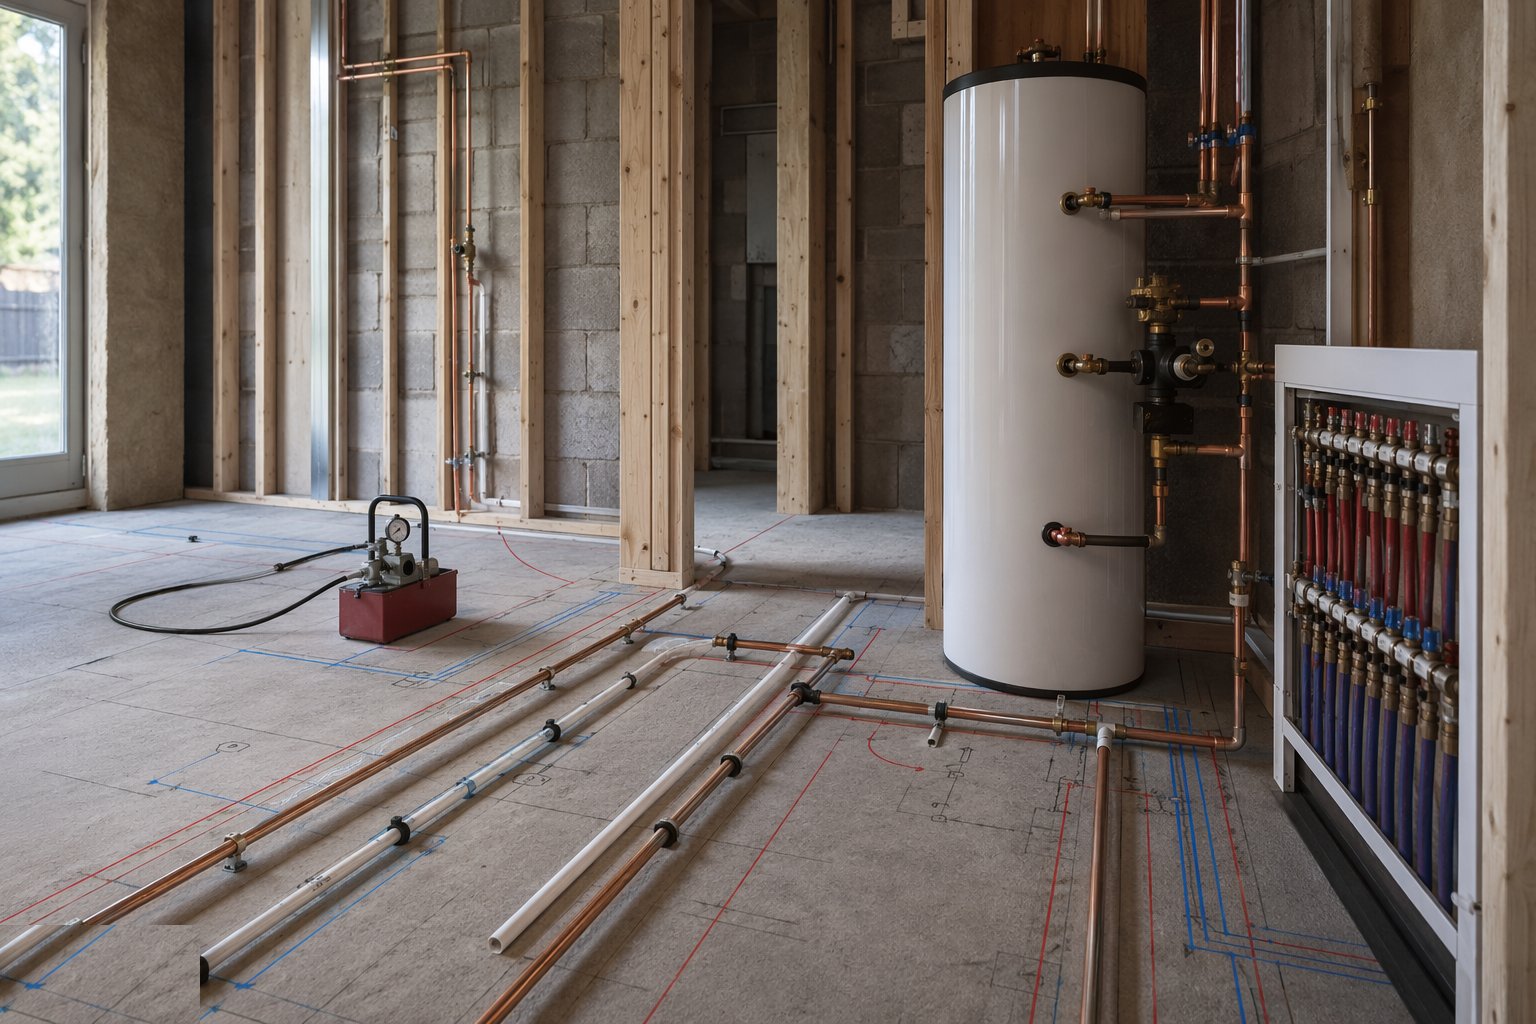
Mark the pipe routes, valve positions and connection points from the services drawings before a joint is made: falls on waste runs (18–90 mm per metre depending on size), space for insulation, and access to every valve and test point that will ever need a hand on it. Coordinate against the other services now — the drawing says where things go, the ceiling void decides what actually fits.
Step 2: Install mains, tanks and boosted supplies
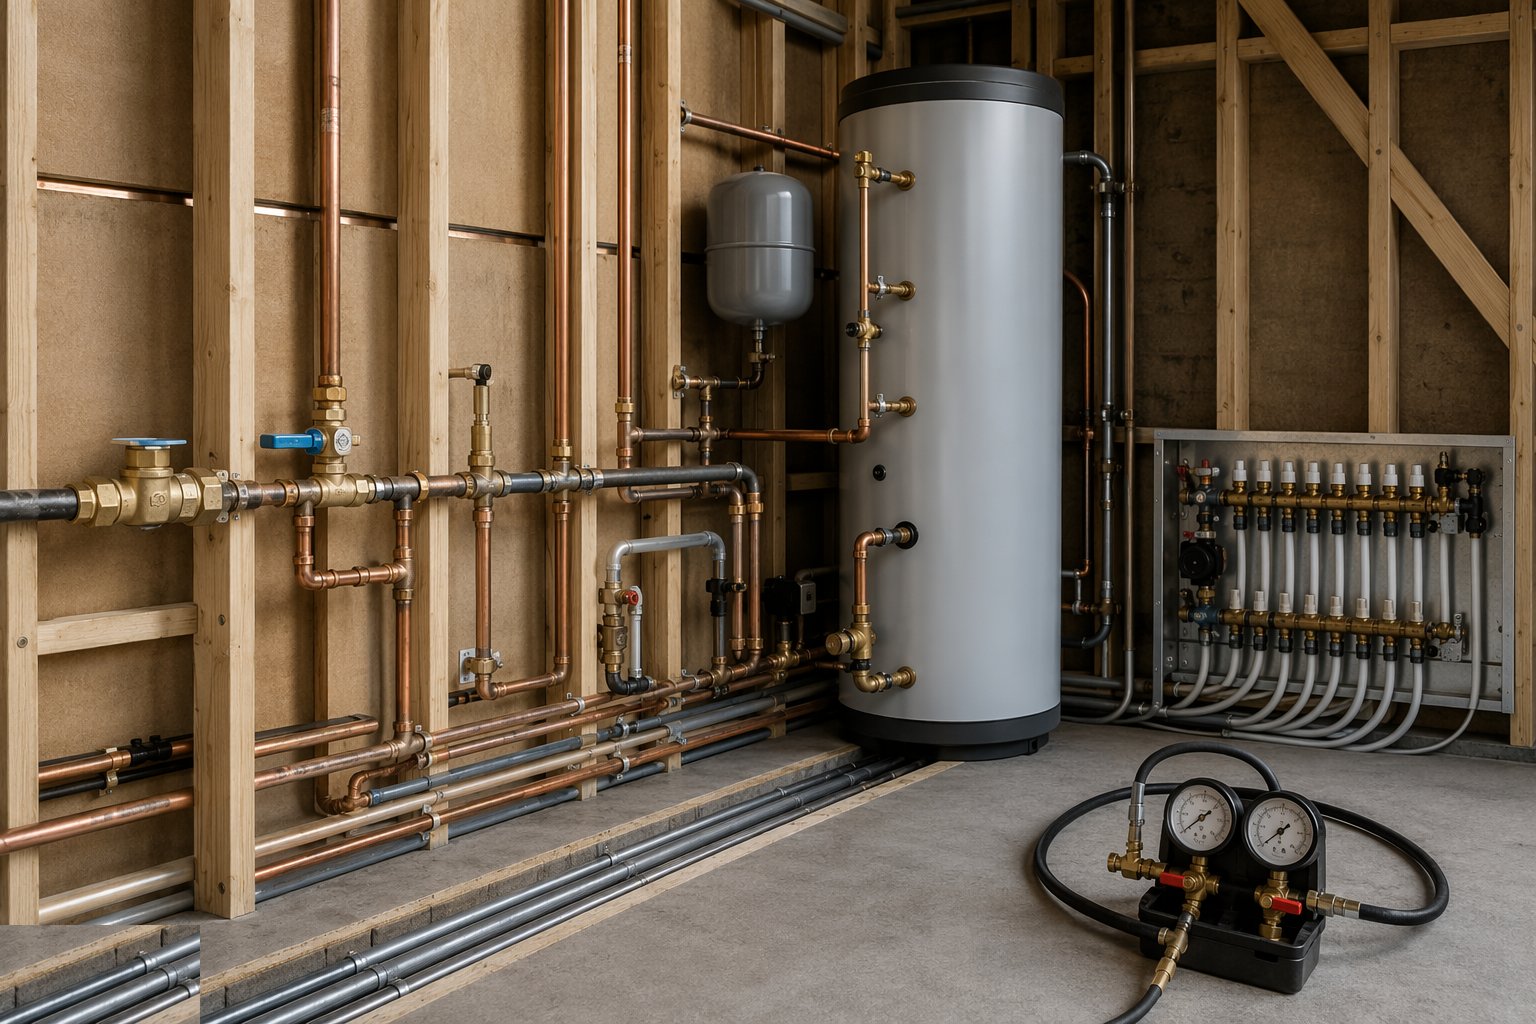
The incoming main, stop tap, and any storage (UK loft tank or unvented cylinder; UAE roof or ground tanks with booster sets) go in first, with the certification the water authority wants — WRAS-approved fittings in the UK, DEWA/ADDC-compliant materials and approved connection details in the Emirates. Booster sets and PRVs are set to the design duty, not the factory default.
Step 3: Run distribution pipework — first fix
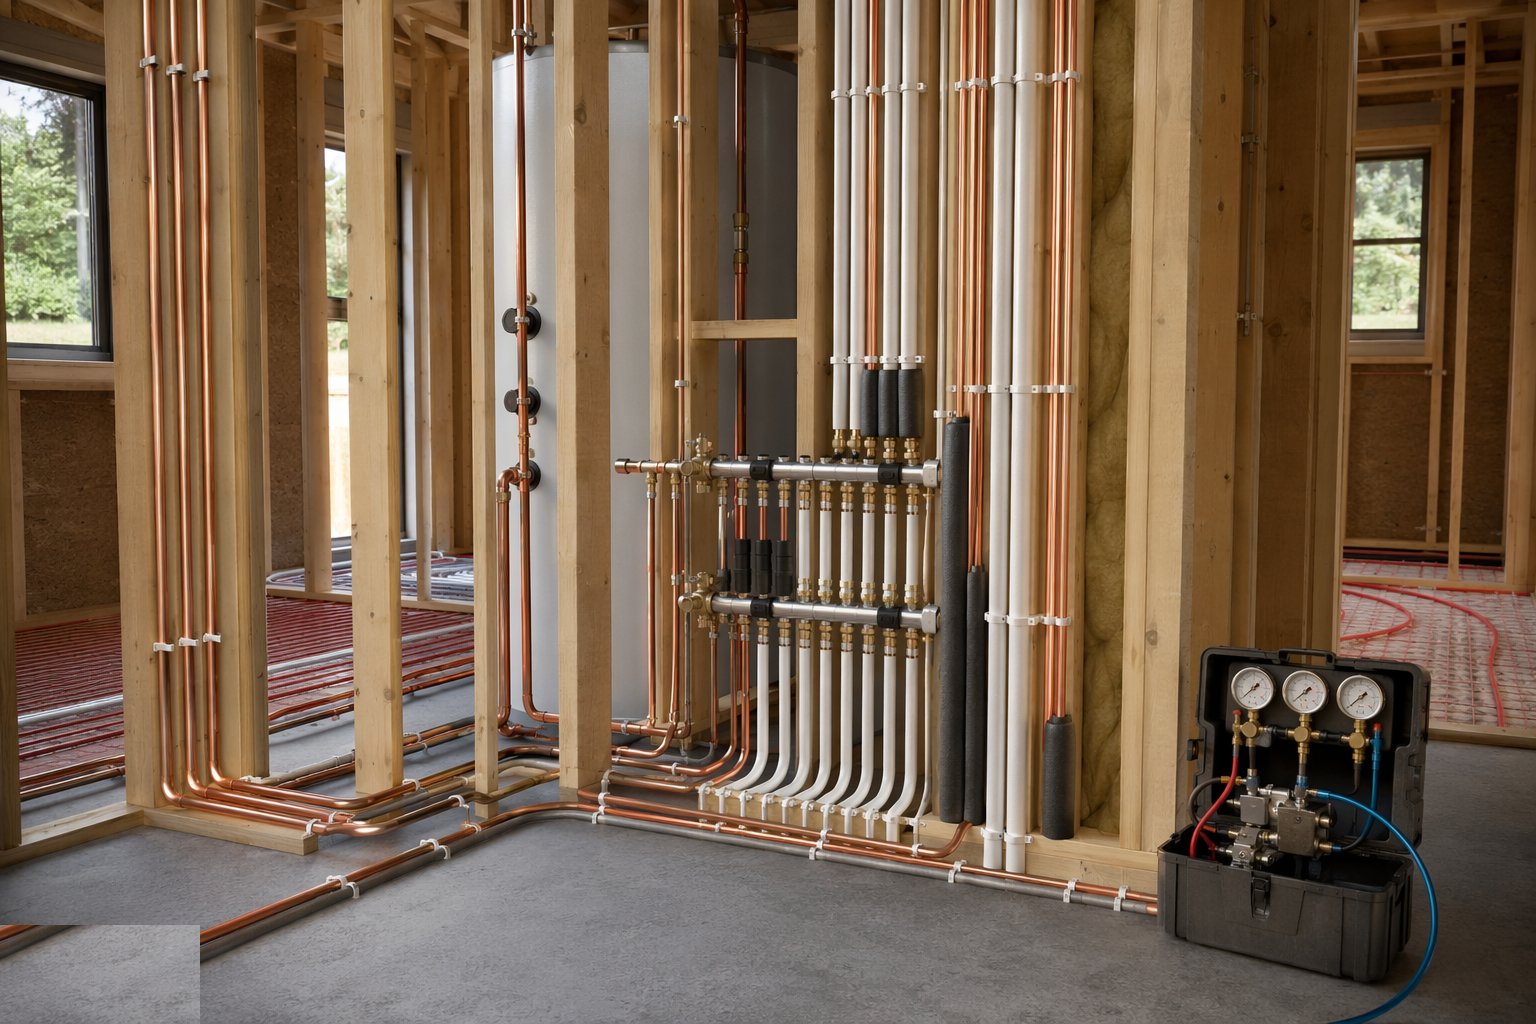
Hot and cold distribution and heating flow/return are run to every outlet position, clipped at centres, sleeved through structure, and insulated as the spec requires. Joints are made to the system's rules — soldered, pressed or crimped with calibrated tools — and every run is labelled or logged while it can still be seen. Pipework in chases and screeds follows the agreed routes from the chasing plan.
Step 4: Install soil, waste and vent connections
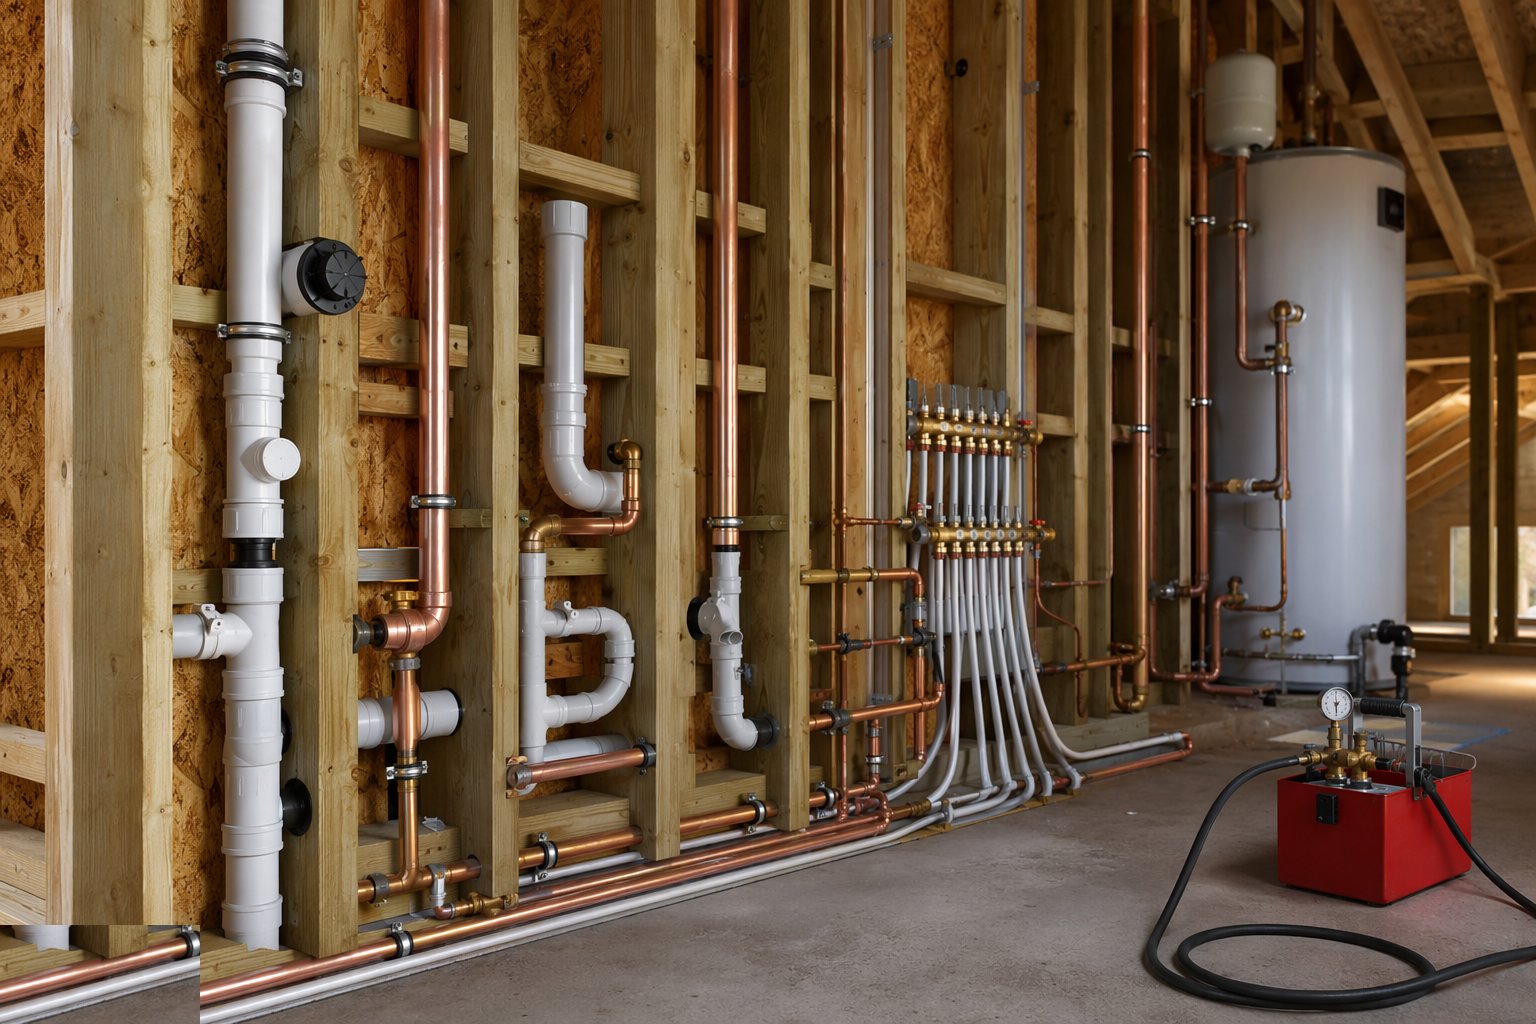
Above-ground soil and waste connects each appliance position to the stack with the right falls, access at bends and base of stacks, and venting or air-admittance valves where the design allows. Cross-connections between waste streams are a cross-contamination incident waiting for a blockage — keep foul and waste on their designed paths.
Step 5: Pressure test and flush before covering
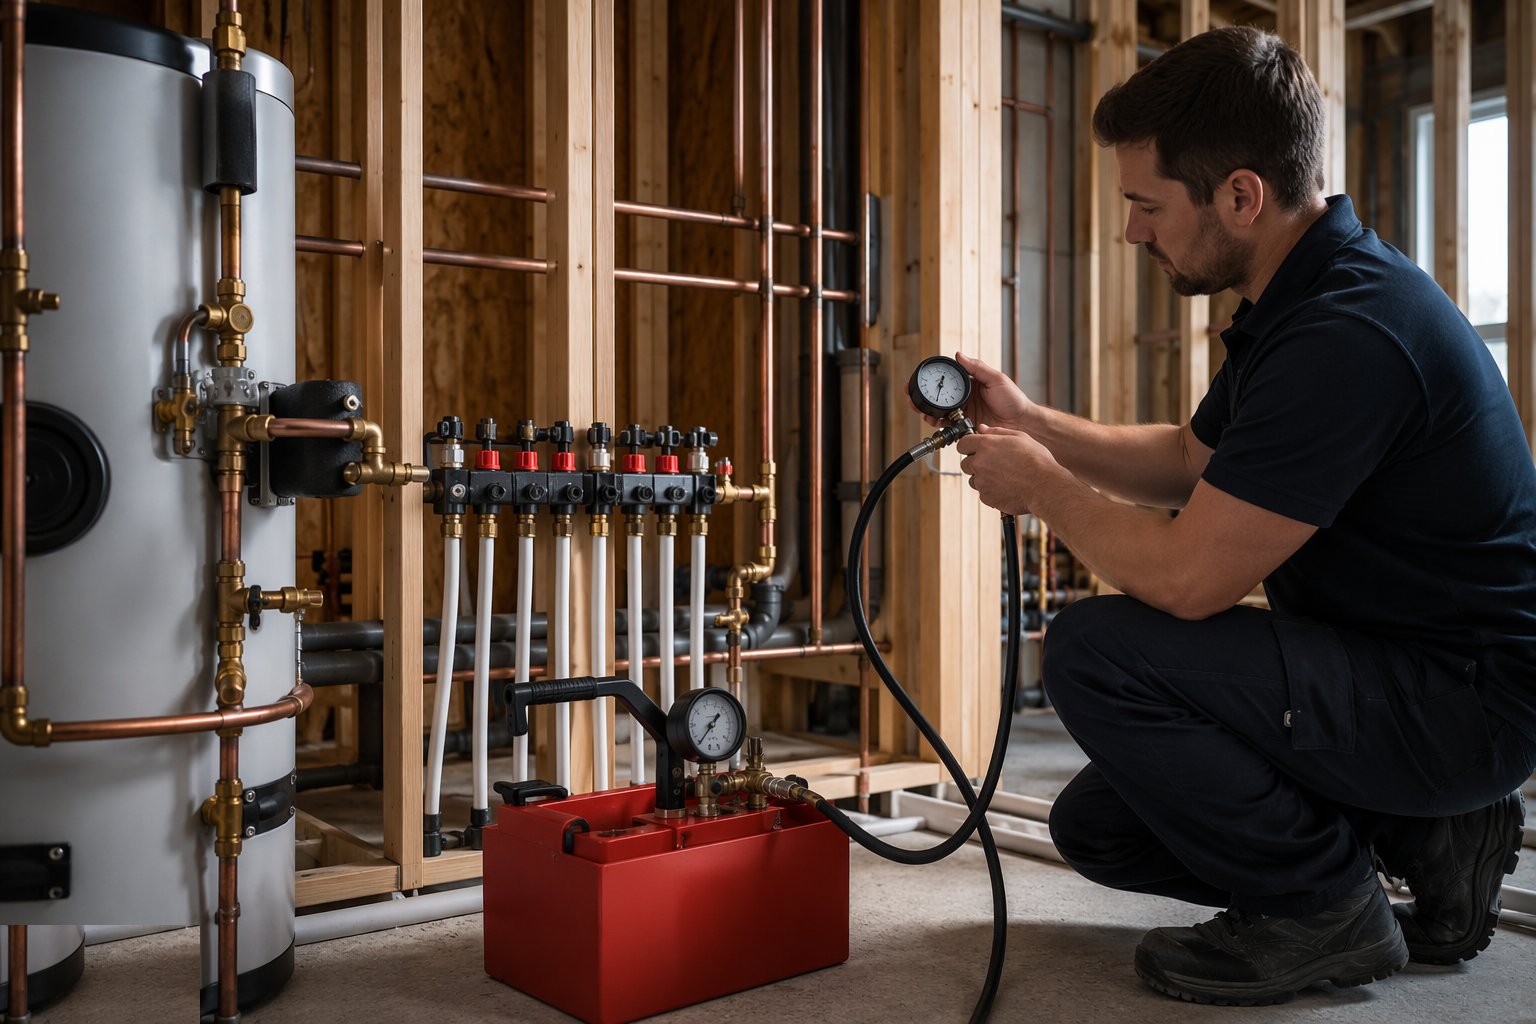
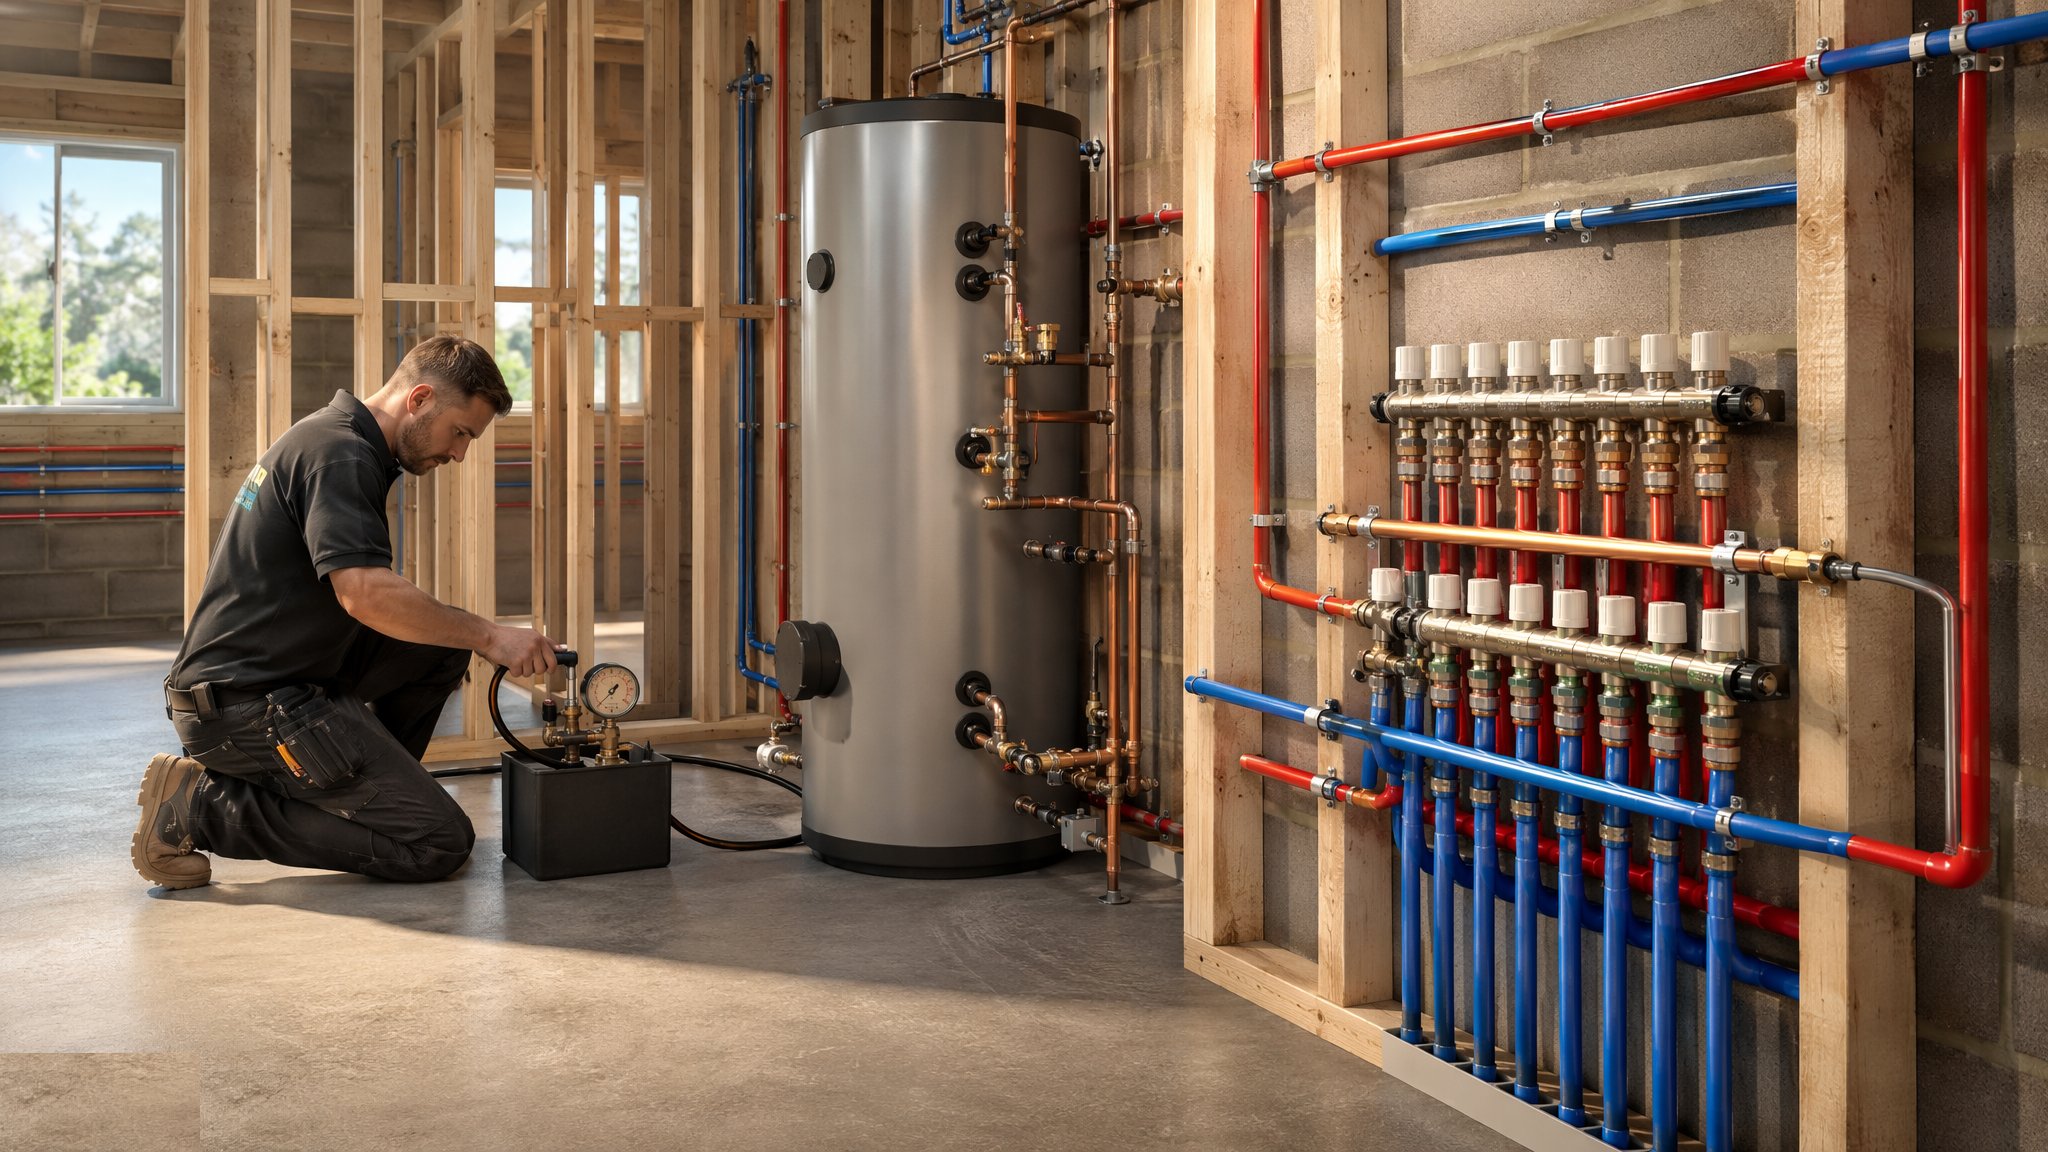
Water systems are pressure tested to the specified figure and held, witnessed, and certified; heating circuits get the same treatment before screeds and ceilings close. Only then is anything buried, boarded or plastered. At second fix the whole system is flushed until the water runs clean — flux, swarf and jointing debris out — and where the spec says so, dosed and sampled.
Step 6: Second fix — radiators, valves and controls
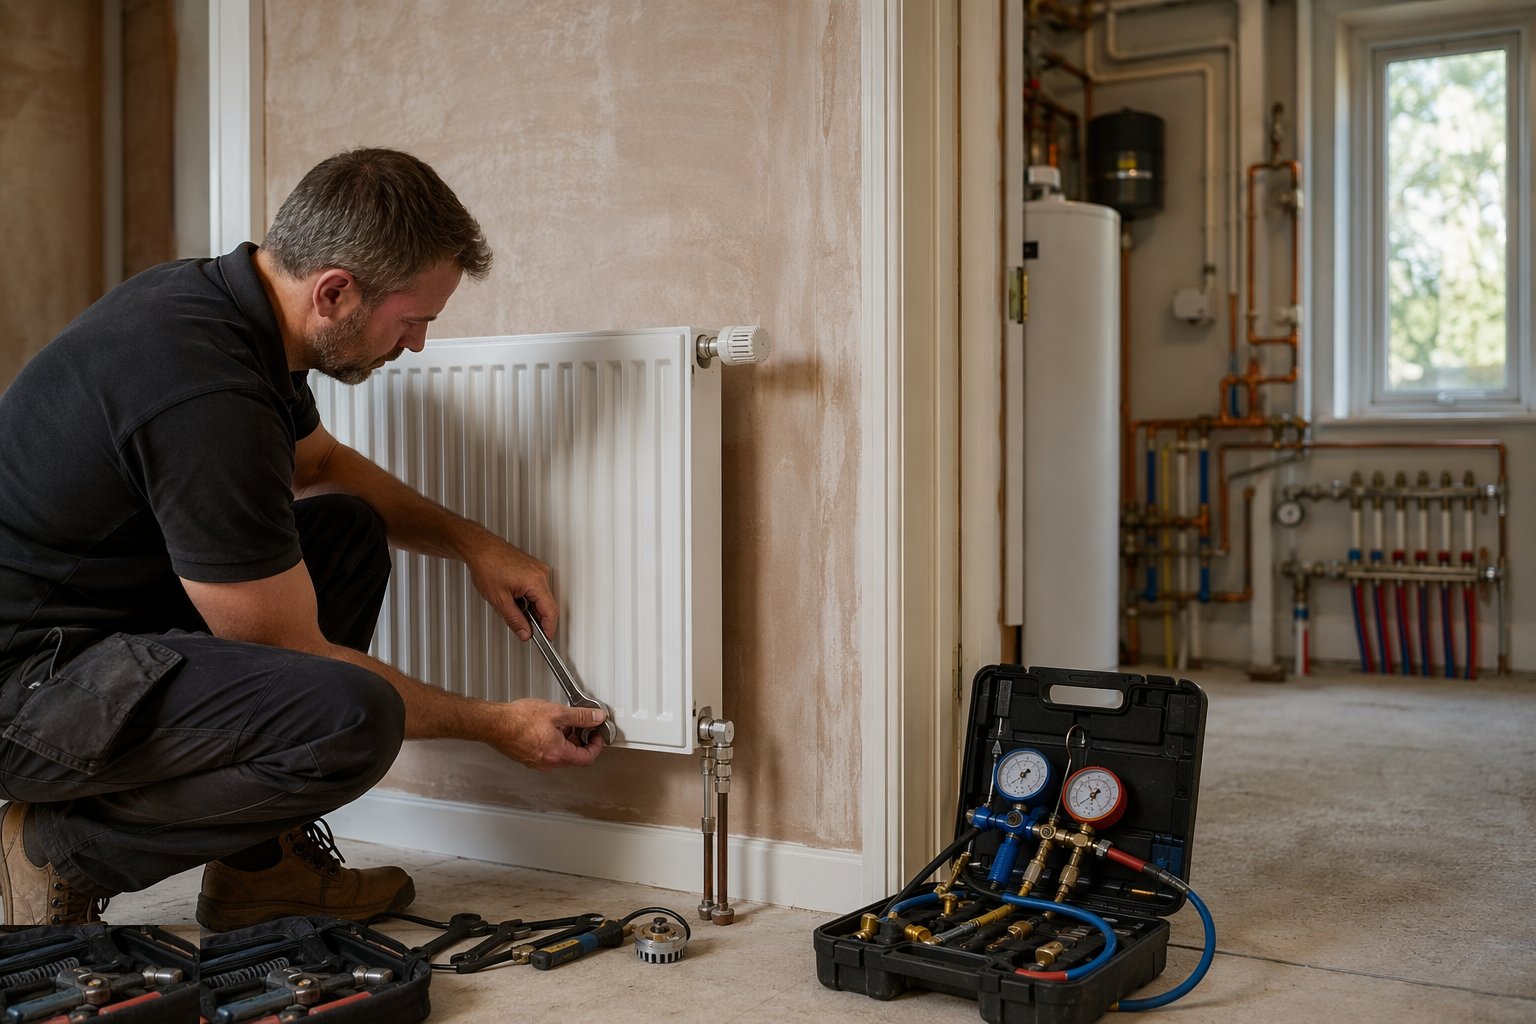
After decoration: radiators hang on their brackets piped to the first-fix tails, TRVs and lockshields go on (see the TRV & heating controls guide for the balancing logic), and cylinders, pumps and motorised valves are wired and plumbed to the controls schematic. Every joint made at second fix is tested again under system pressure before it is trusted.
Step 7: Fill, vent, balance and commission
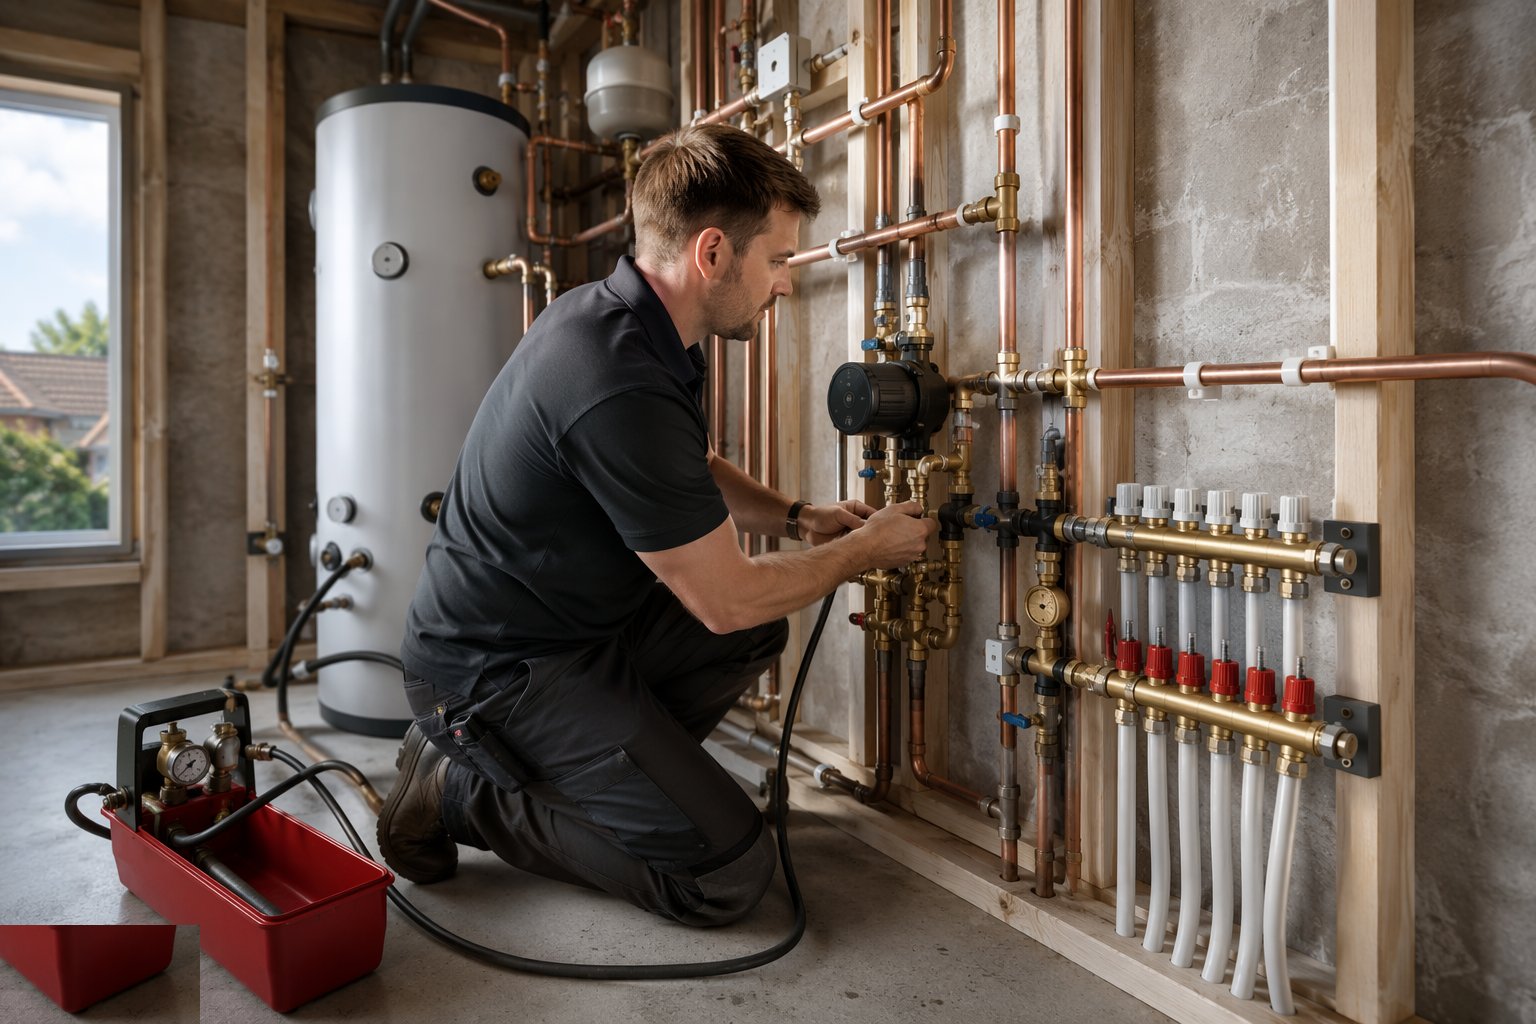
The system is filled, vented at every high point and radiator, and the pump and valves are commissioned against the design: flow rates set at the balancing valves, hot water temperatures verified at outlets (and limited where scalding is a risk), heating balanced so the far bedroom warms like the near one. Commissioning sheets record every reading.
Step 8: Handover — certification, isolation plan and O&M
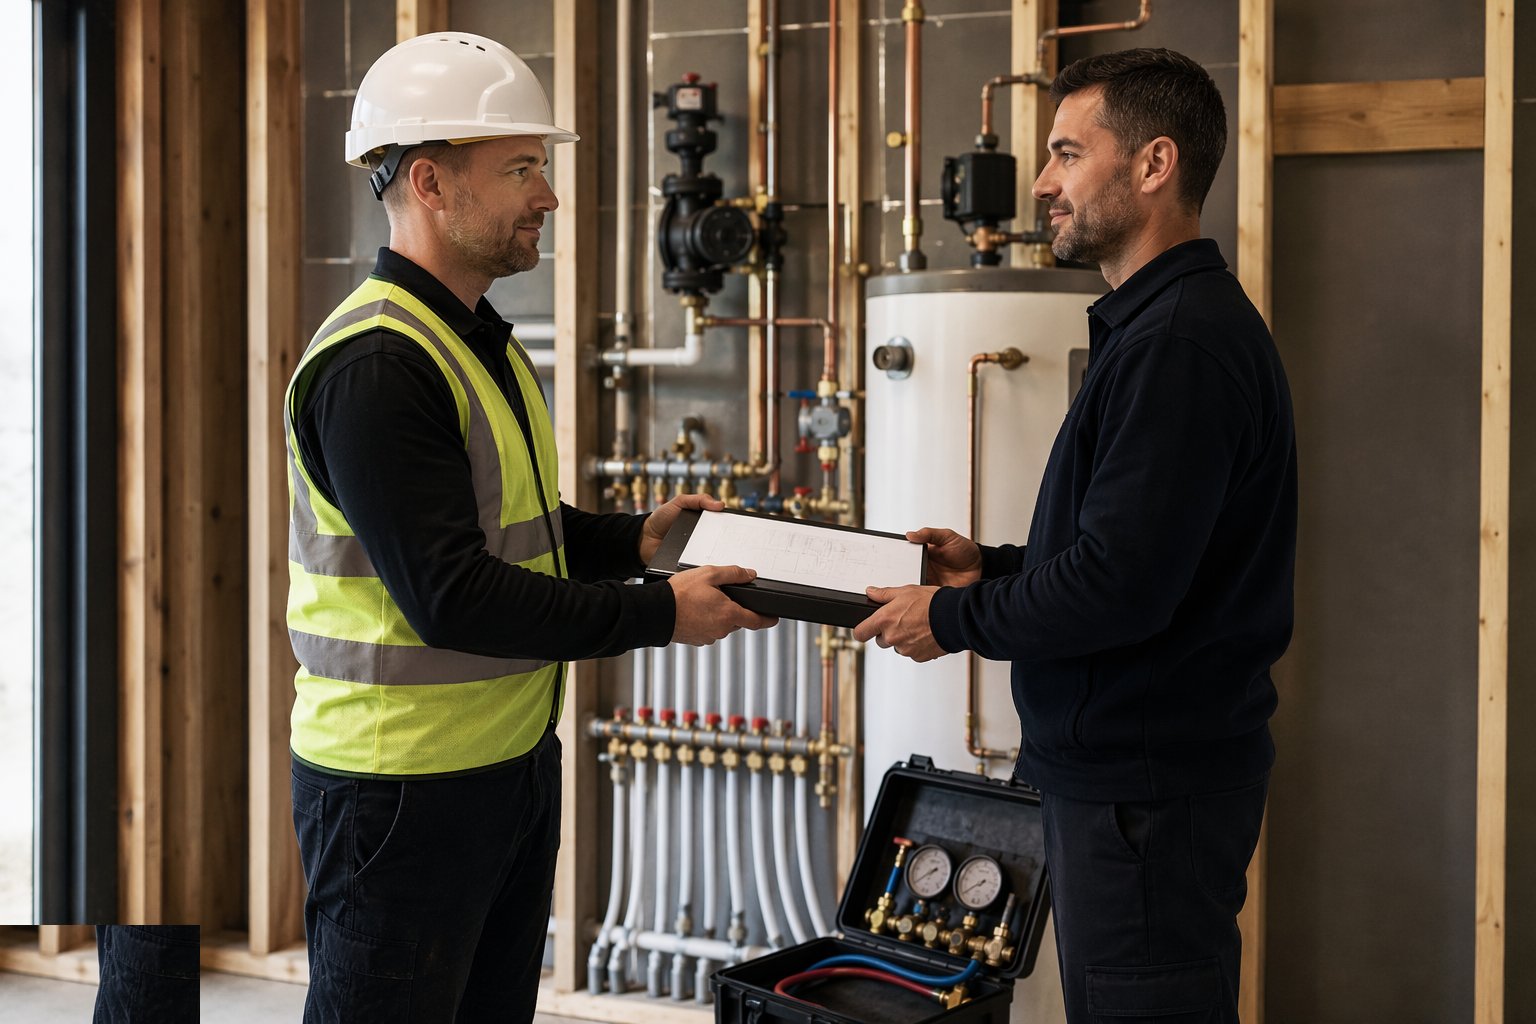
The handover pack carries the pressure test certificates, flushing and dosing records, commissioning sheets, unvented or water-authority notifications, and an isolation diagram a stranger could use at 2 a.m. On FIDIC projects this feeds the documentation behind the Taking-Over Certificate; on a house it is the folder that makes the warranty claim simple.
Plant and equipment
- Press-fit or crimp tools with calibrated jaws; soldering kit where specified
- Pipe cutters, benders and threading kit for steel work
- Pressure test pumps and gauges (calibrated)
- Flushing pumps and dosing pots
- Inspection camera for stack and waste verification
- Manometers and flow-measuring devices for commissioning
- Freezing kit for live-system modifications
Quality control checks
- Materials approved and certified (WRAS / DEWA-compliant) before installation
- Jointing method statements and calibrated tool checks
- Pressure test certificates witnessed before any covering
- Falls on waste runs checked with level and recorded
- Flush verified clean; water samples where specified
- Commissioning sheets: temperatures, flow rates and balance figures against design
Safety considerations
- Hot works permit for soldering and brazing, with fire watch
- Scalding and stored-pressure precautions on filling and draining
- Legionella control: no dead legs, stored water temperatures managed
- COSHH on fluxes, cleaners and dosing chemicals
- Manual handling of cylinders, tanks and cast soil pipe
- Working in roof spaces and risers: edge protection, heat stress in UAE roof voids
Common defects
- Pinholed copper and failed joints from flux left in the system — no flush
- Water hammer and noisy pipes from undersized clips and unvented dead legs
- Airlocks and cold radiators from poor venting and no balancing
- Blocked wastes from falls run flat and access omitted at bends
- Leaks at second fix where first-fix tails were capped but never re-tested
- Scalding or lukewarm outlets where mixing valves were never commissioned
Best suited for
- Every inhabited building — homes, villas, towers, offices
- Wet heating systems paired with radiators and TRVs
- Boosted, zoned supplies on anything over a few storeys
- UAE villas where tank, booster and heat protection define the design
- Office cores where landlord/tenant demarcation drives the layout
How long does MEP — Plumbing (First & Second Fix) take?
Typical duration: A house: 3–5 days first fix, 2–3 days second fix. A tower floor of bathrooms: a rolling cycle per floor. Commissioning: days, but only after everything upstream is genuinely complete..
Related processes
- Concrete Structural Walls
- Damp Proofing — DPC, DPM and Cavity Trays
- Firestopping and Passive Fire Protection
- Chasing & First-Fix Cutting for Services
- MEP — Electrical (First & Second Fix)
- Ventilation & Air Conditioning
- Below-Ground Drainage Installation
- Sanitary Installation
- Windows & Doors Installation
- Flooring & Floor Finishes
- Private Swimming Pool Construction
- CCTV & Security Systems Installation
- Brick Wall Construction
- Block Wall Construction
- TRVs & Heating Controls
- Soft Landscaping & Gardens (Homes & Villas)
- Carpentry — First & Second Fix
- MEP — Plumbing (First & Second Fix) in Residential & Housing
- MEP — Plumbing (First & Second Fix) in Commercial & Workplace
- MEP — Plumbing (First & Second Fix) in Hospitality & Tourism
- Building Trades & Methods sector guide
- Buildings group