Sanitary Installation
WCs, basins, baths and showers — the second-fix trade where plumbing, tiling and sealing meet the user.
Last updated 2026-07-28 by the BuildPedia Editorial Team.
What is Sanitary Installation?
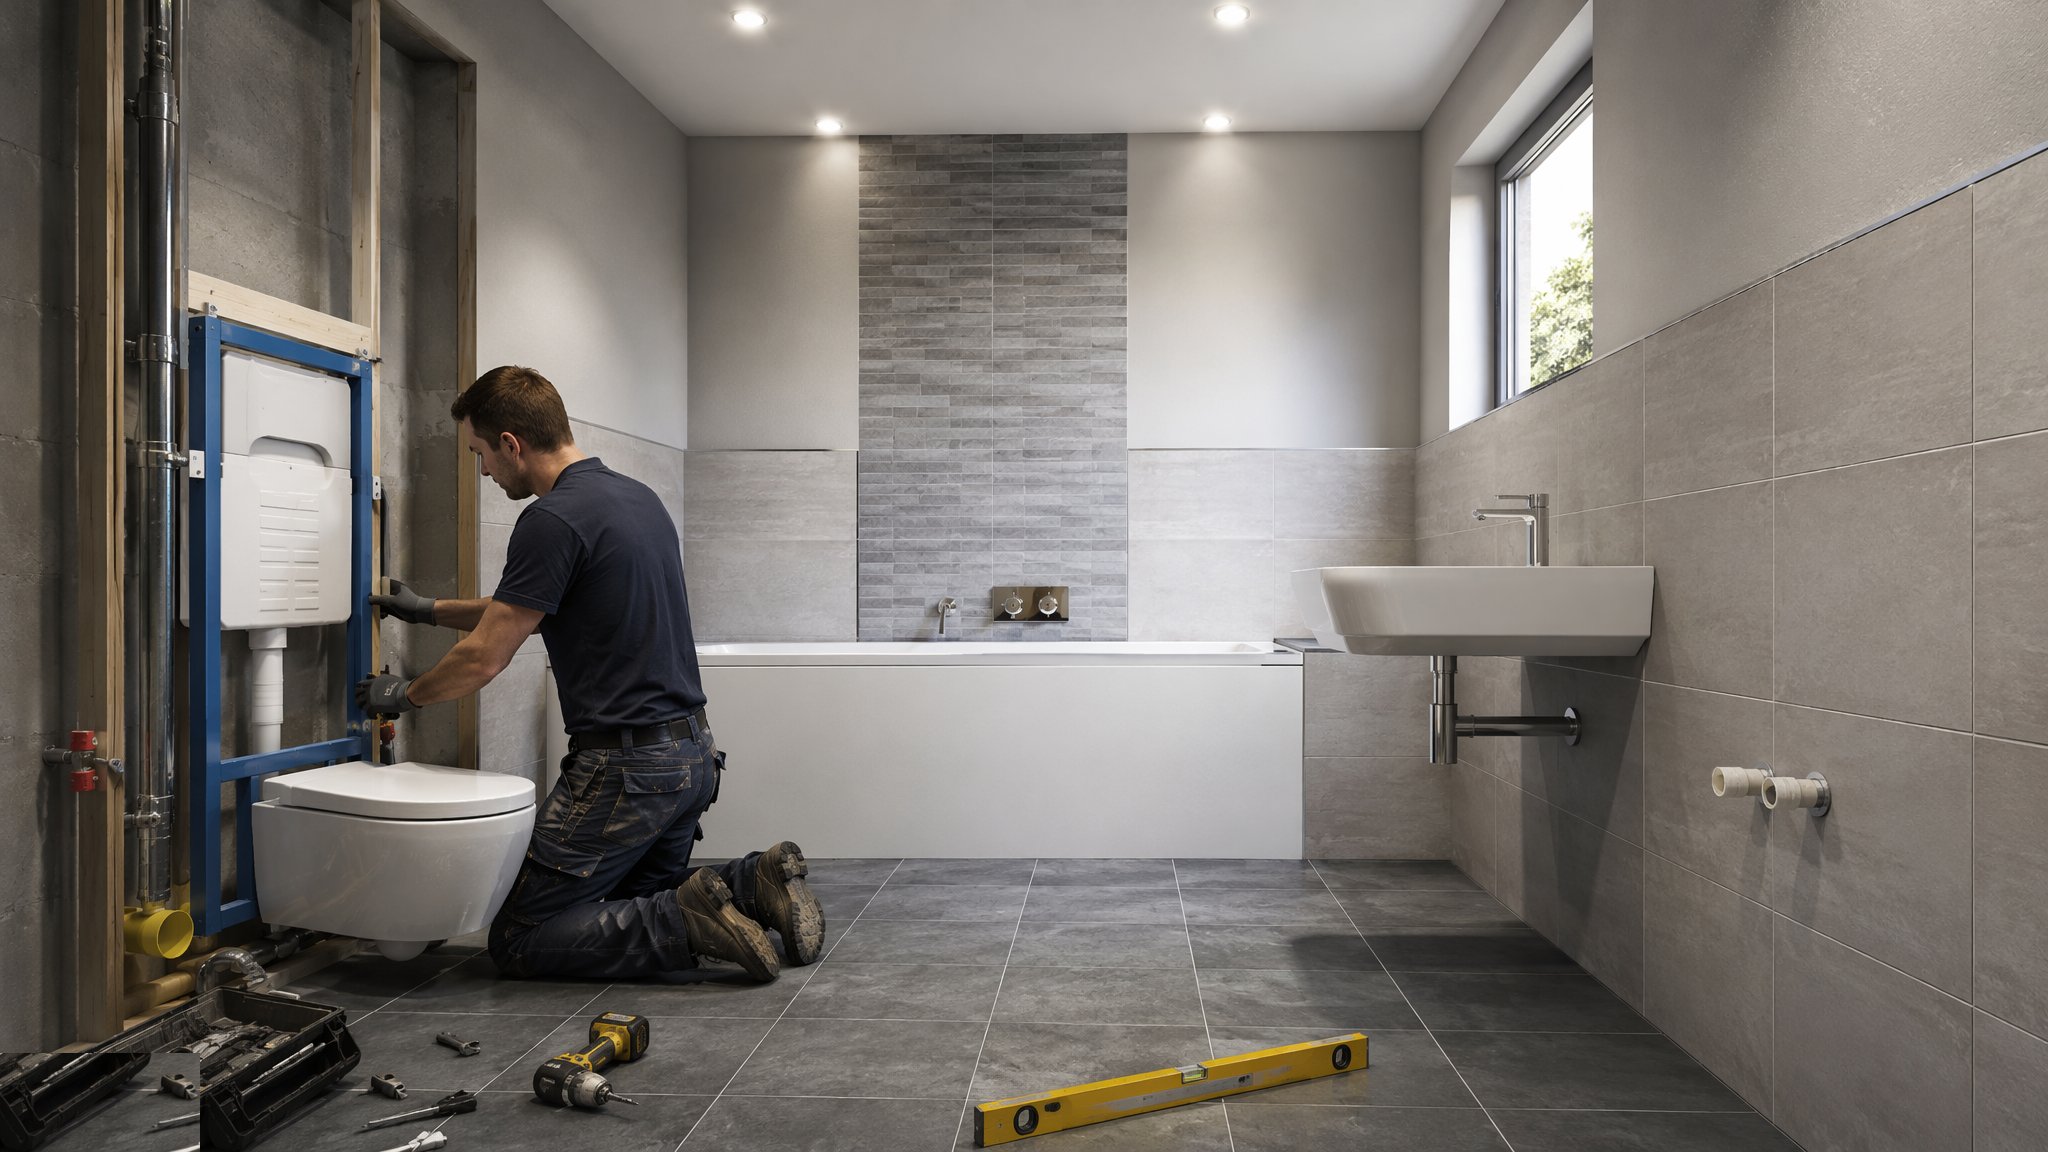
Sanitary installation is the second-fix trade that fits the bathroom and kitchen ware — WCs, basins, baths, showers and their connections — onto the first-fix pipework hidden months earlier. It is where the plumbing stops being engineering and starts being furniture: the WC, basin, bath and shower tray land on first-fix tails that were set out long before, and if those tails are 30 mm out, the vanity unit will not fit and everyone learns about it on the same afternoon. The trade is a discipline of interfaces: the plumber owns the connections, but the tiling, the boxing, the silicones and the finished floor decide whether the room works. On a house it is one bathroom at a time; on a tower it is the same bathroom three hundred times, which is why the first one is built as a mock-up and argued over before the rest are released.
Quality lives in the details nobody photographs: frames and cisterns fixed true before the wall closes, waste connections with falls inside the boxing, every penetration sealed against the room's water, and a commissioning flush that proves every trap and joint. In the UAE add the water-authority approved fittings list and the reality that a leaking concealed cistern in a high-rise is somebody else's ceiling below.
When and why is Sanitary Installation used?
Sanitary installation is a second-fix trade — after plaster, after tiling or in sequence with it, before the final silicone and snag — because the ware is finished goods that site work destroys. It exists to turn first-fix tails into working rooms, and it is commissioned because a bathroom that has never been flushed, filled and checked is a leak with a date on it. The sequence within the room matters: trays and frames before the wall finishes, ware after the tiling, sealing last.
Types of Sanitary Installation
Homes & villas — conventional bathrooms
Close-coupled or back-to-wall WCs, vanity basins, baths and shower enclosures on timber or solid floors, fitted around the tiling. Flexibility is high; the enemy is the improvised change that moves a tail after the boxing is built.
Towers — repeated bathrooms & pods
Wall-hung ware on concealed frames, identical riser connections per floor, and sometimes factory-built bathroom pods craned in complete. The mock-up bathroom sets the standard; every later room is checked against it, and the frame heights are set once, correctly, three hundred times.
Offices — WC cores & accessible WCs
Core toilet blocks with commercial-grade ware, sensor or lever taps, accessible WCs to the dimensional standards, and janitor provision. Durability and maintainability outrank aesthetics; every cistern and valve must be reachable without demolishing the wall.
Wet rooms & level-access showers
Tanked floors with formed falls to a drain, waterproofing as a system with certified details at every penetration, and drainage that has to work with a tile finish. The waterproofing test happens before a tile is laid — flooding a wet room after the mosaic is an expensive education.
Sanitary Installation: step by step
Step 1: Verify first-fix positions against the room
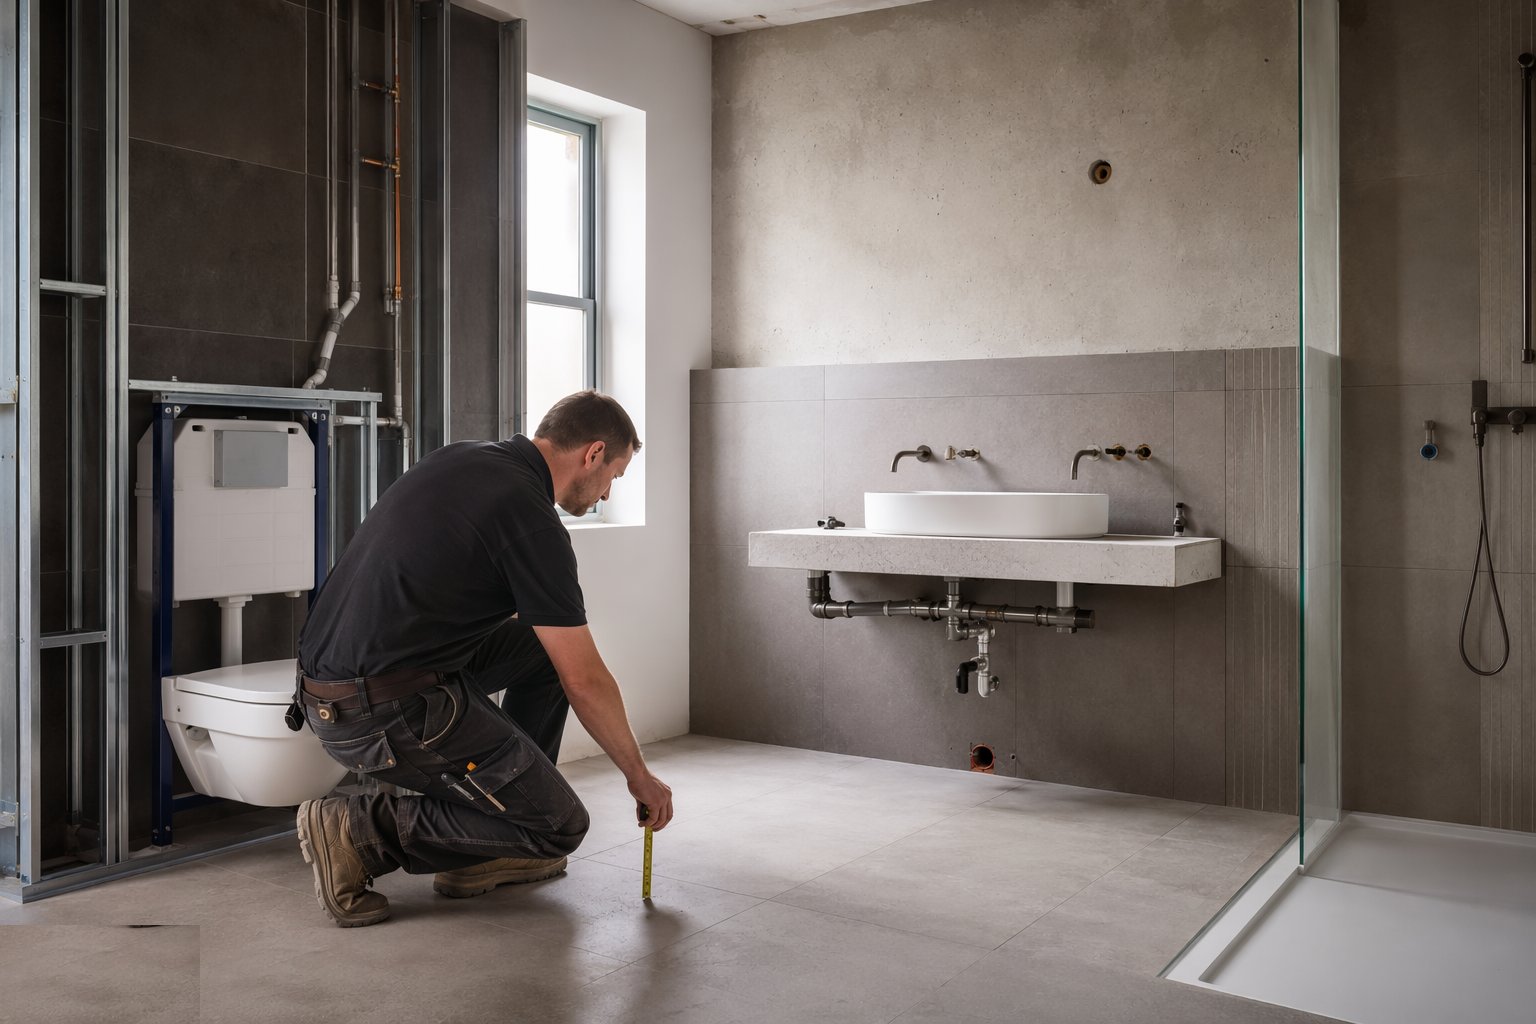
Before anything is fixed, the tails are checked against the sanitary schedule and the actual furniture: WC outlet centres, basin waste heights, shower valve positions, and the frame positions for wall-hung ware. Discrepancies are resolved now with the plumber, while the wall is still open — not after the tiles are booked.
Step 2: Install frames, cisterns and shower trays
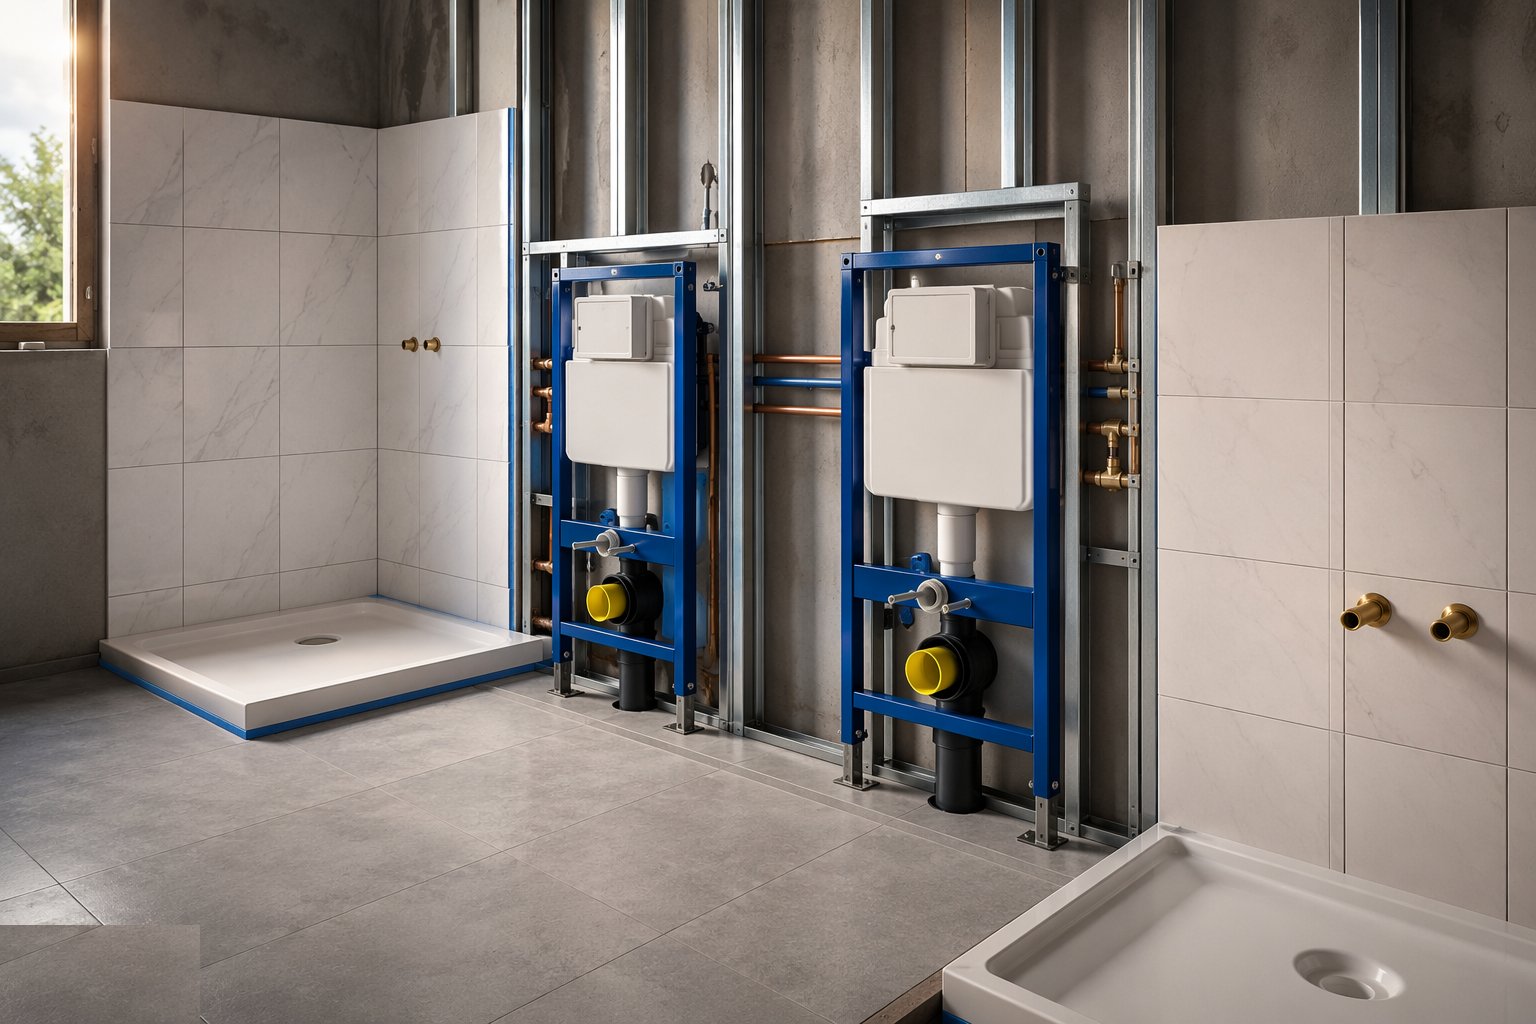
Concealed frames are fixed plumb, square and at the finished-floor datum — the 400 mm pan height or the accessible 450 mm is set here, not at the pan. Shower trays bed solid and level with the waste connected and tested; wet-room formers and tanking go down with their test. Then the wall can close around them.
Step 3: Coordinate the tiling and boxing
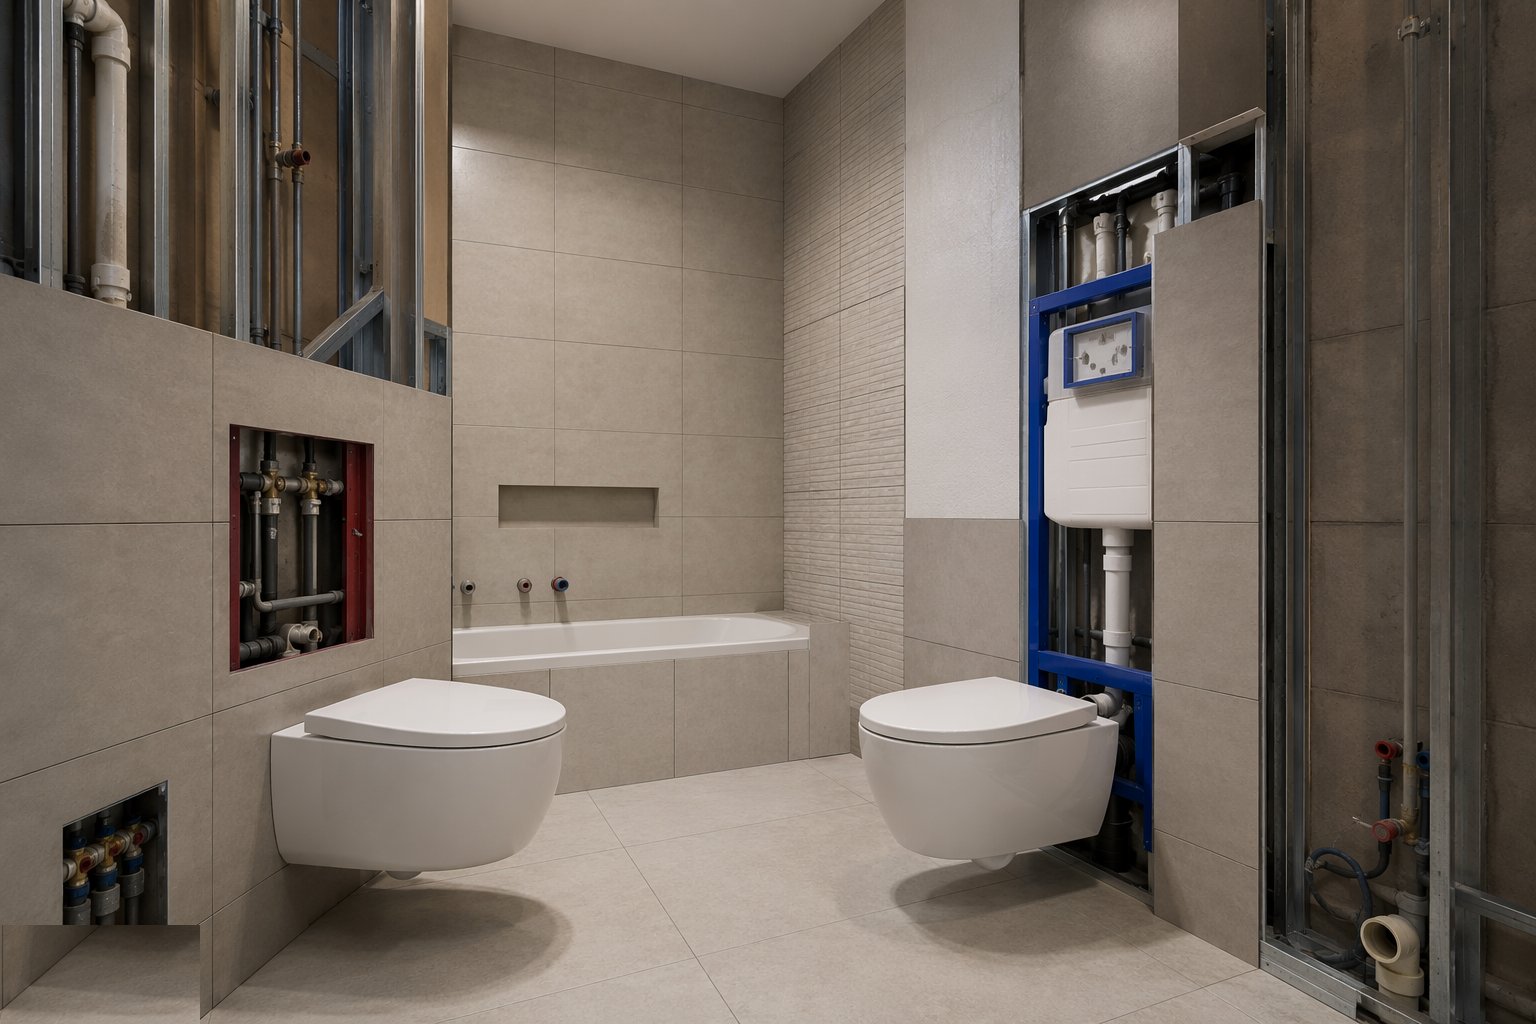
Boxing and duct panels are built to give access to every valve and cistern; tiling sequences around the ware positions with cut tiles kept away from the visible focal points. Penetrations through the tanking are made once, sealed with the system's own gaskets, and logged. The room's dimensions are confirmed against the units before the last tile sets.
Step 4: Set and connect the ware
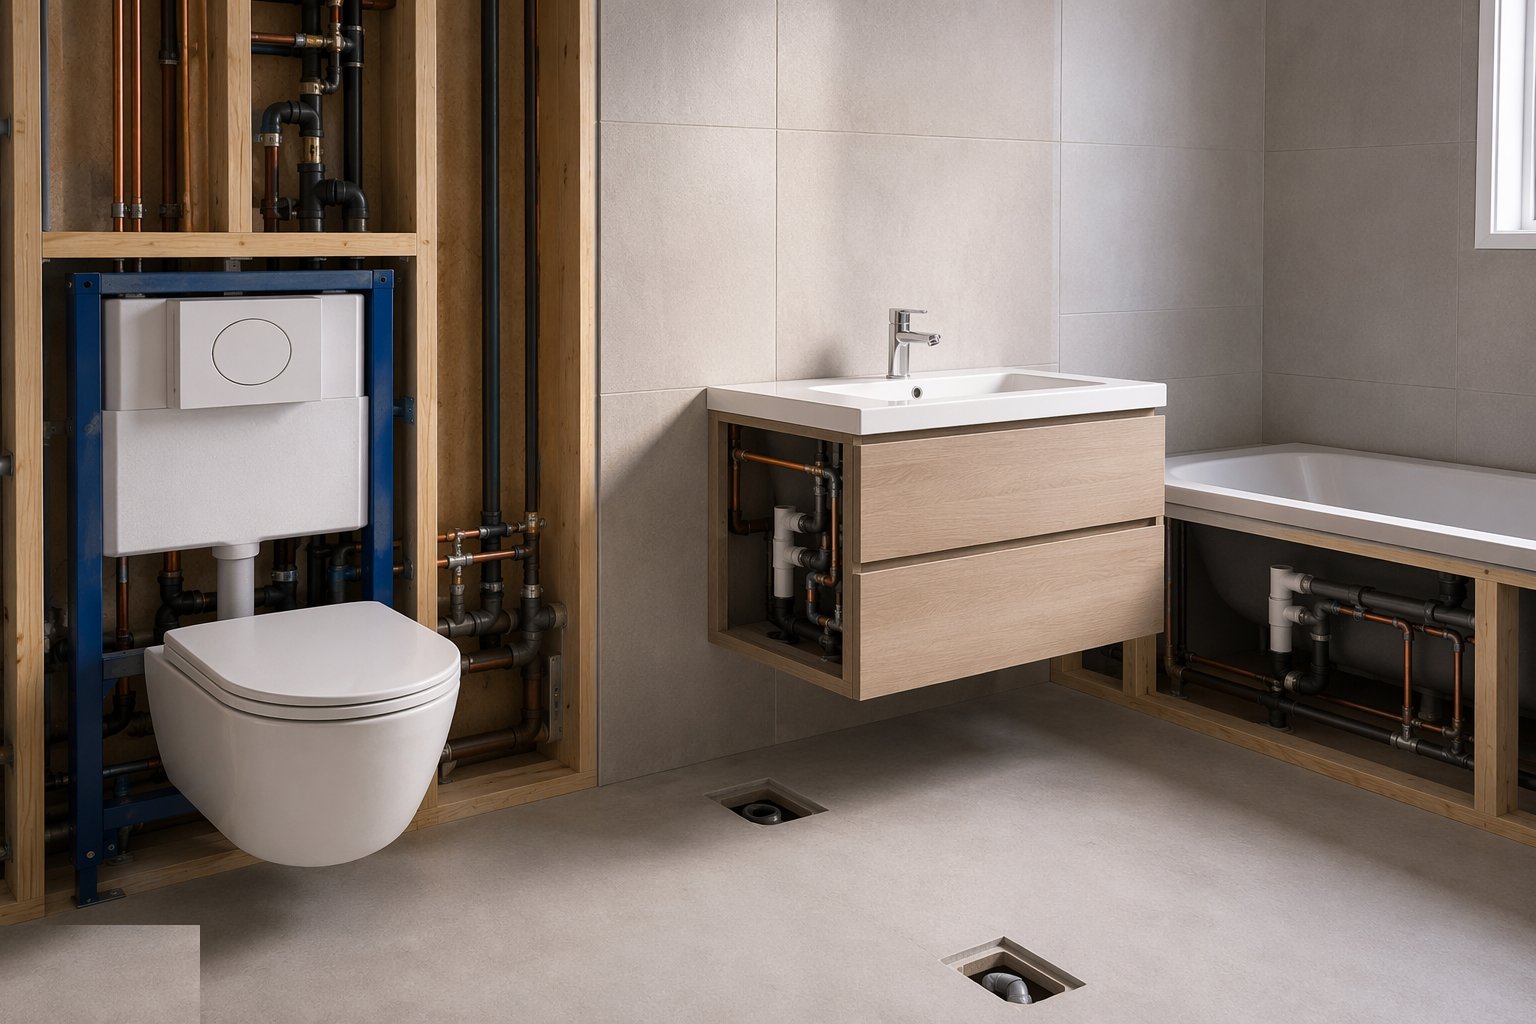
WCs connect to their outlets with the correct connectors — no bodged offsets — basins and vanity units fix level and solid, taps and wastes are fitted with the right washers and sealants, and baths are bedded and supported per the manufacturer, not perched. Everything is connected hand-tight plus a fraction; porcelain and brass threads both lose fights with enthusiasm.
Step 5: Fit accessories, screens and second-fix trims
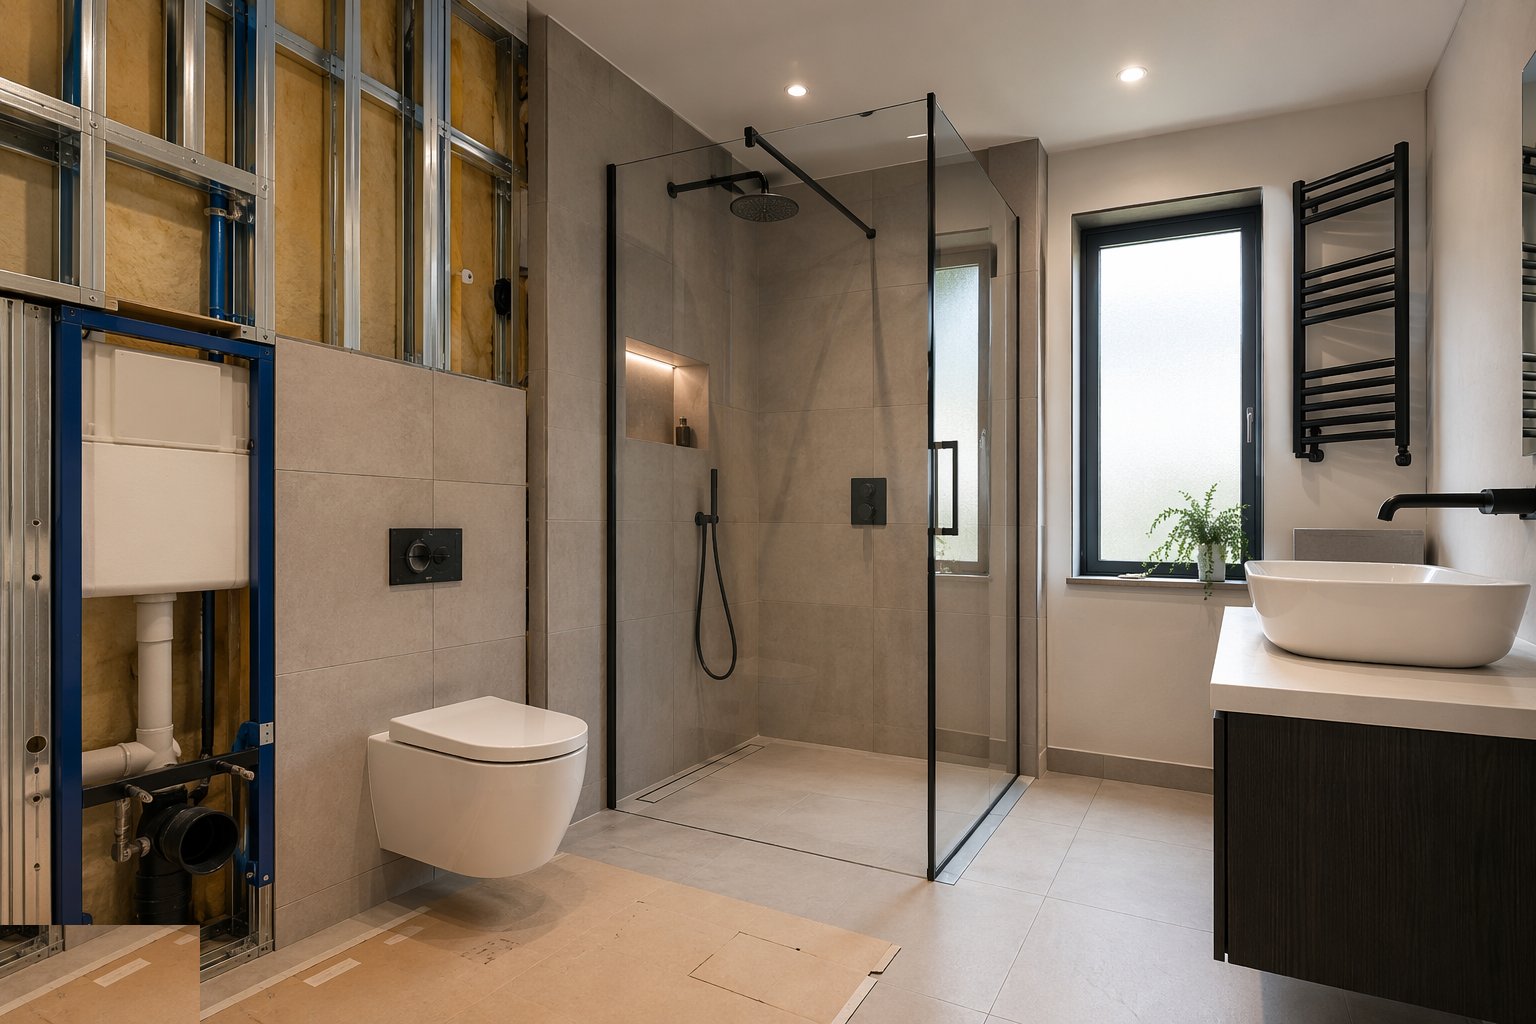
Shower screens, doors, rails and accessories fix into structure or proper anchors — never into a void of plasterboard hope. Trim kits go on the concealed valves, flush plates on the frames, and the room is checked function by function against the schedule before sealing.
Step 6: Fill, flush and test everything
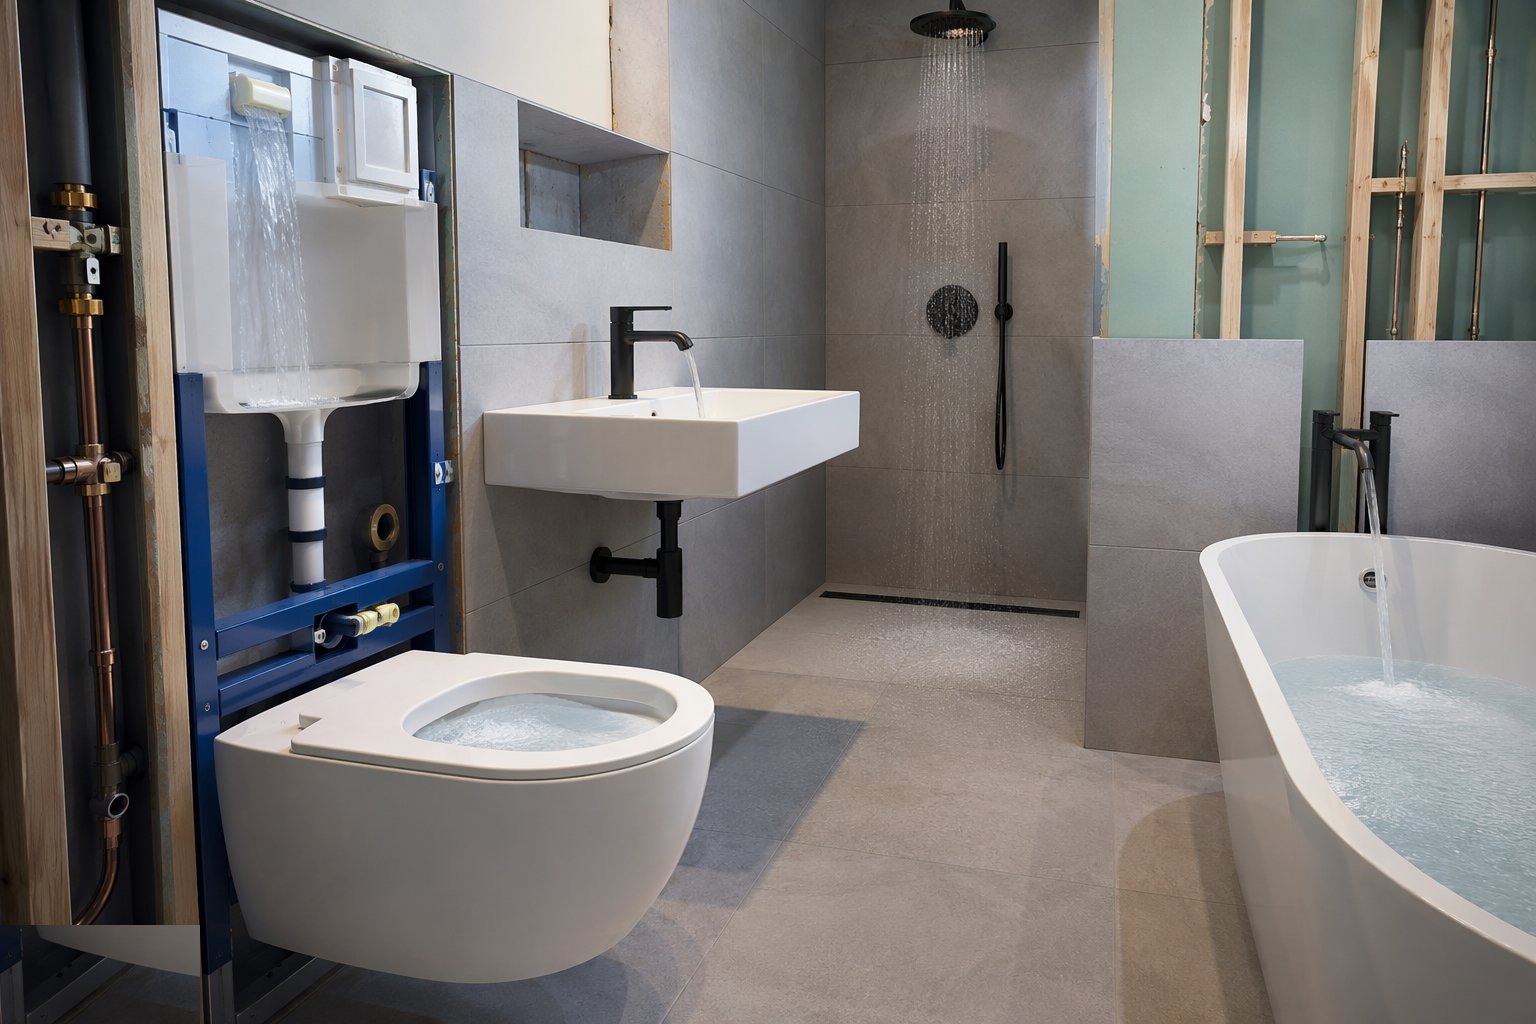
Every appliance is filled, flushed and run: cisterns fill and flush without leaks, wastes drain without weeping, showers run hot and cold in the right directions, and traps hold their seals. Overflows are proved by actually overflowing them. The test is witnessed where the contract requires it, and recorded either way.
Step 7: Seal and finish
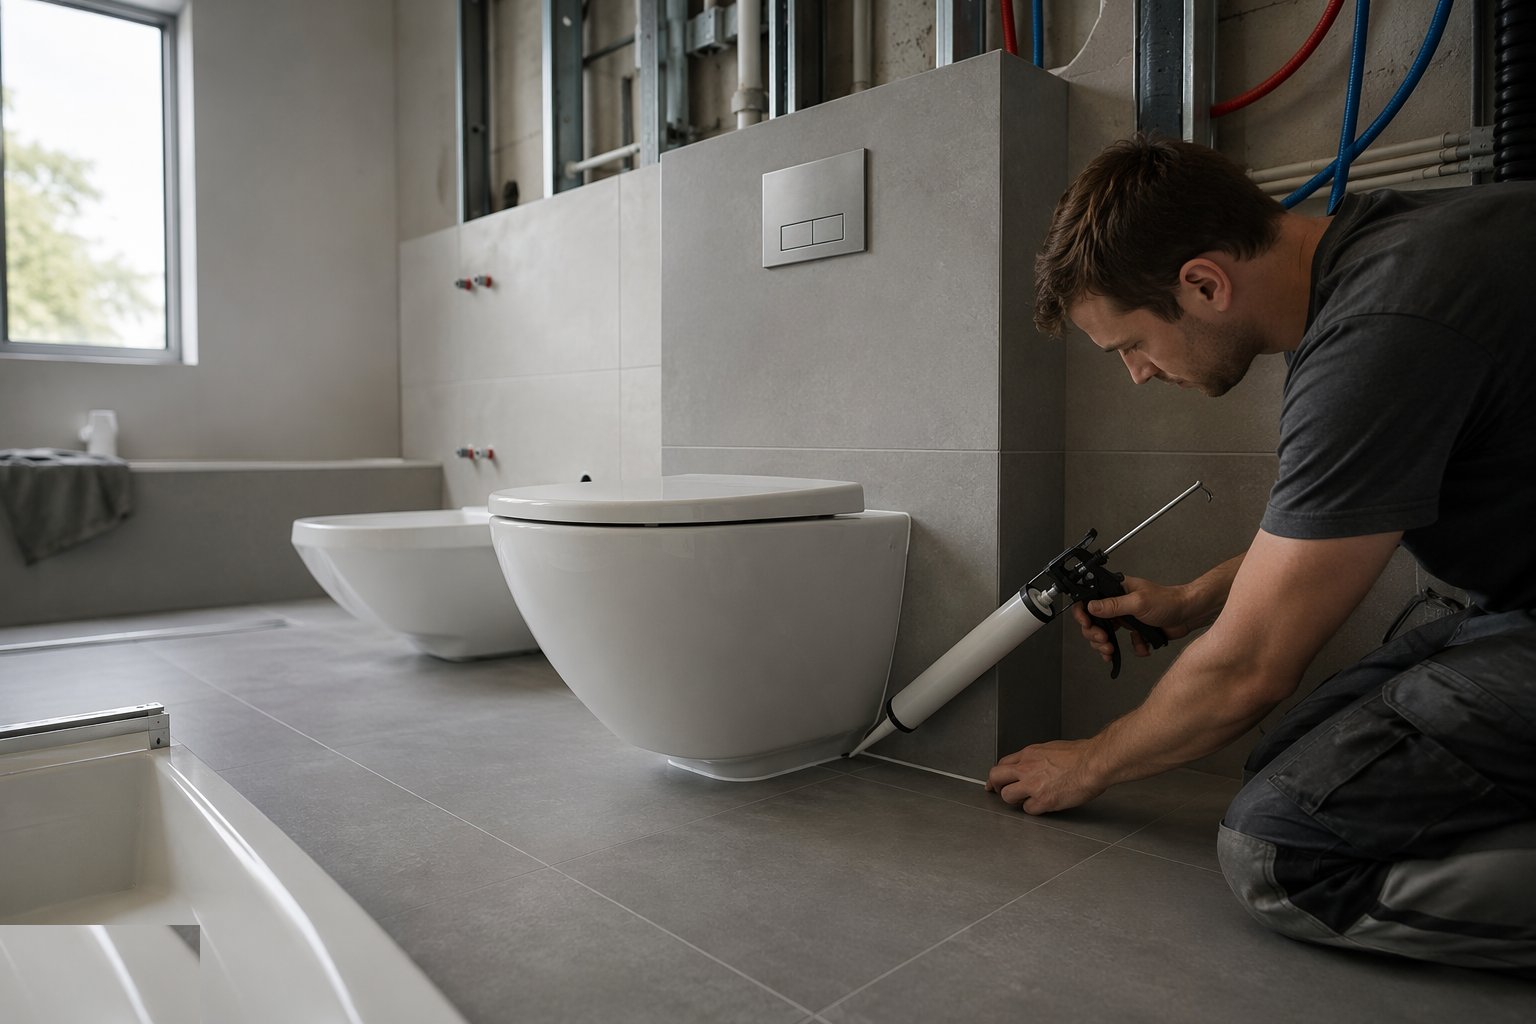
Sanitary silicone seals the ware to the wall and floor junctions — tooled, continuous, and only after testing so a leak is not sealed in. Sealant at movement points matches the system's requirements. The room is cleaned, protected, and the door gets its sign: finished means finished, not a store for the next trade's offcuts.
Step 8: Snag, document and hand over
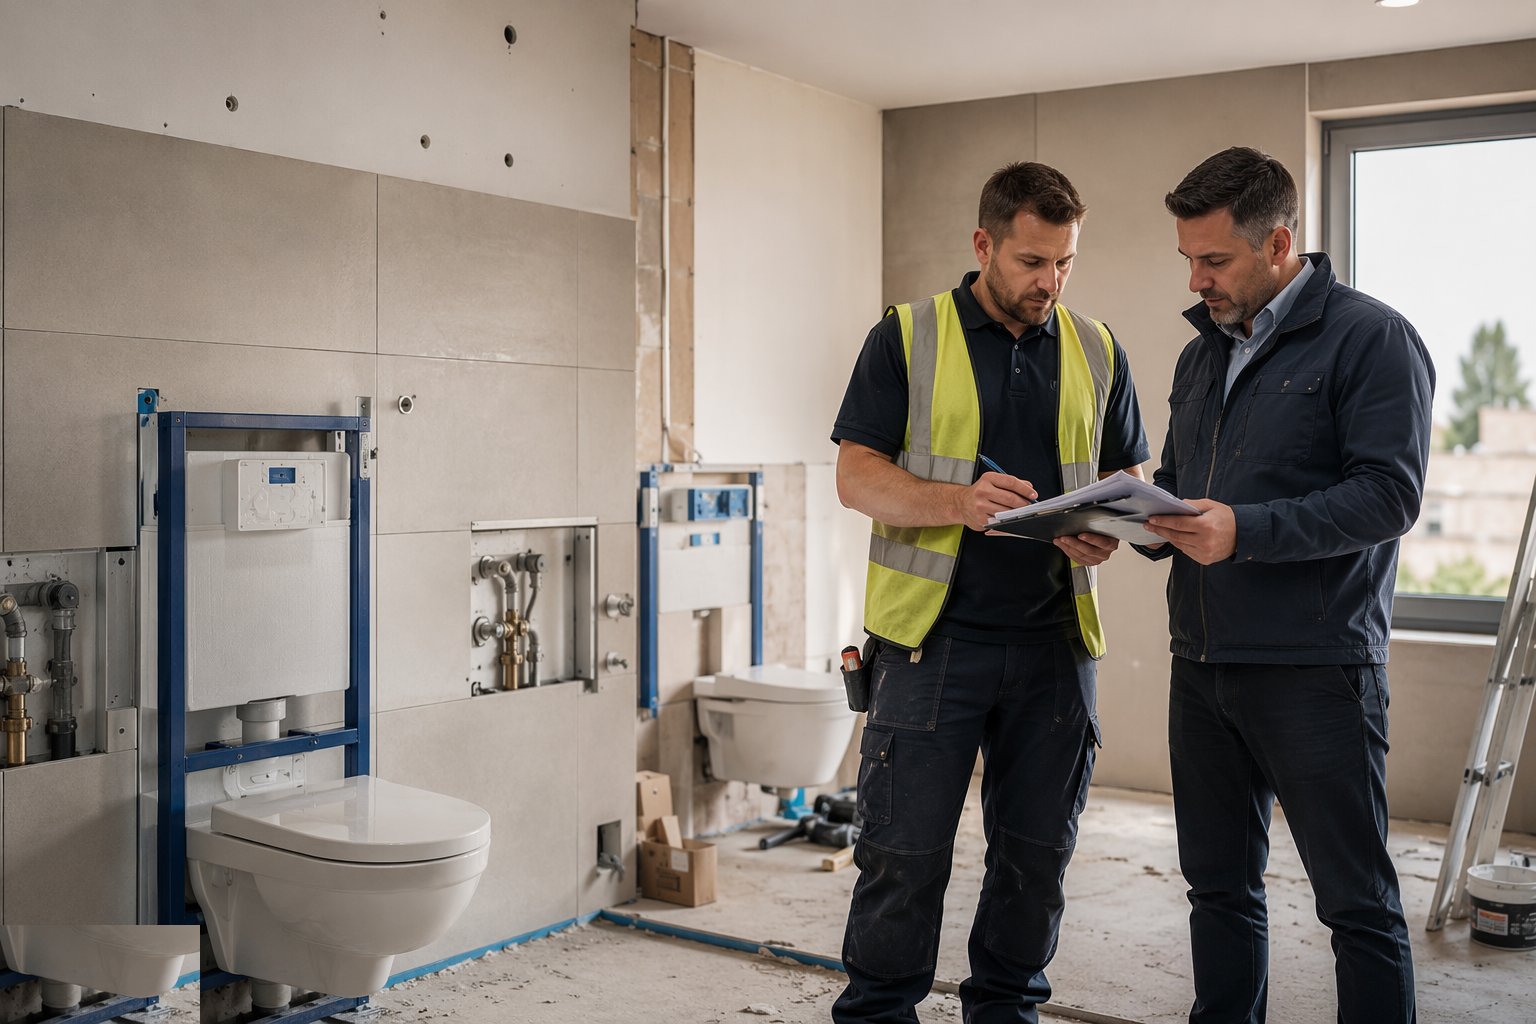
The snag list covers chips, scratches, loose seats, stiff taps and sealant gaps; the documentation covers the commissioning records, guarantees, care instructions and the key that actually opens the access panel. On a tower, the room is photographed as the release benchmark; on a villa, the owner walks through it with the person who will answer the phone later.
Plant and equipment
- Core drills and diamond holesaws for porcelain and tile
- Laser levels and datums for frame and tray setting
- Pipe and waste connection kits, torque-limited drivers
- Test kit: plugs, hoses and gauges for fill/flush proving
- Suction lifters for screens and heavy ware
- Silicone and sealing tools matched to the system
- Floor and surface protection for finished rooms
Quality control checks
- First-fix positions signed off against the sanitary schedule before walls close
- Frame and tray levels recorded against finished floor datum
- Tanking and waterproofing tested and certified before tiling
- Fill/flush/overflow test records per room
- Access panel locations verified against the O&M needs
- Snag and benchmark photographs for repeated rooms
Safety considerations
- Manual handling: baths, trays and screens — two-person lifts and lifters
- Cuts from porcelain, glass screens and sharp waste fittings
- Silica dust on tile drilling — extraction and RPE
- COSHH on sealants, adhesives and cleaners
- Hot water scalding during testing of mixing valves
- Housekeeping in finished rooms: trip hazards and protection
Common defects
- Leaking concealed cisterns discovered via the ceiling below
- WCs that rock or leak at the pan connector from tails set out of position
- Cracked trays and failed seals from trays bedded on dabs instead of solid
- Wet rooms leaking at penetrations where tanking was punctured after testing
- Inaccessible valves and cisterns behind tiled panels with no access
- Taps running reversed or mixing valves uncommissioned — scalding risk
Best suited for
- Every bathroom, shower room and WC in every build type
- Tower bathrooms where one mock-up sets three hundred rooms
- Accessible and level-access provision with certified tanking
- Office cores where maintenance access is the design driver
- UAE villas and apartments on approved fittings and high-rise leak discipline
How long does Sanitary Installation take?
Typical duration: One bathroom: 2–4 days across the tiling sequence. A tower floor of bathrooms: a rolling crew per floor. Testing and sealing: the day nobody should compress..
Related processes
- MEP — Plumbing (First & Second Fix)
- MEP — Electrical (First & Second Fix)
- Ventilation & Air Conditioning
- Below-Ground Drainage Installation
- Windows & Doors Installation
- Flooring & Floor Finishes
- Private Swimming Pool Construction
- CCTV & Security Systems Installation
- TRVs & Heating Controls
- Soft Landscaping & Gardens (Homes & Villas)
- Carpentry — First & Second Fix
- Brick Wall Construction
- Block Wall Construction
- Concrete Structural Walls
- Damp Proofing — DPC, DPM and Cavity Trays
- Firestopping and Passive Fire Protection
- Chasing & First-Fix Cutting for Services
- Sanitary Installation in Residential & Housing
- Sanitary Installation in Commercial & Workplace
- Sanitary Installation in Hospitality & Tourism
- Building Trades & Methods sector guide
- Buildings group