Façade & Cladding
The building's face — brick, render, rainscreen and curtain walling, and the fire details behind them.
Last updated 2026-07-28 by the BuildPedia Editorial Team.
What is Façade & Cladding?
The façade is where structure meets weather, thermal performance meets architecture, and — since Grenfell — where fire engineering meets criminal liability. UK regulation now requires the external walls of residential buildings over 18 m to be built from materials of limited combustibility: the combustible aluminium composite (ACM) panels with polyethylene cores that fuelled that fire are banned, and A2 or A1-rated cores are the specification. Whether it is a brick outer leaf on a house, a render system on a block, a rainscreen on a mid-rise or unitised curtain walling on a tower, the same principles hold: support the skin, drain the water, stop the fire, allow the movement.
Behind every cladding panel or brick leaf there is a secondary support system of brackets and rails, a build-up of insulation and membranes, and a series of fire barriers and cavity closers that nobody will ever see again after the panels close. That hidden layer is where façade quality lives. The visible face is only as good as the rails, the fixings and the barriers holding it.
When and why is Façade & Cladding used?
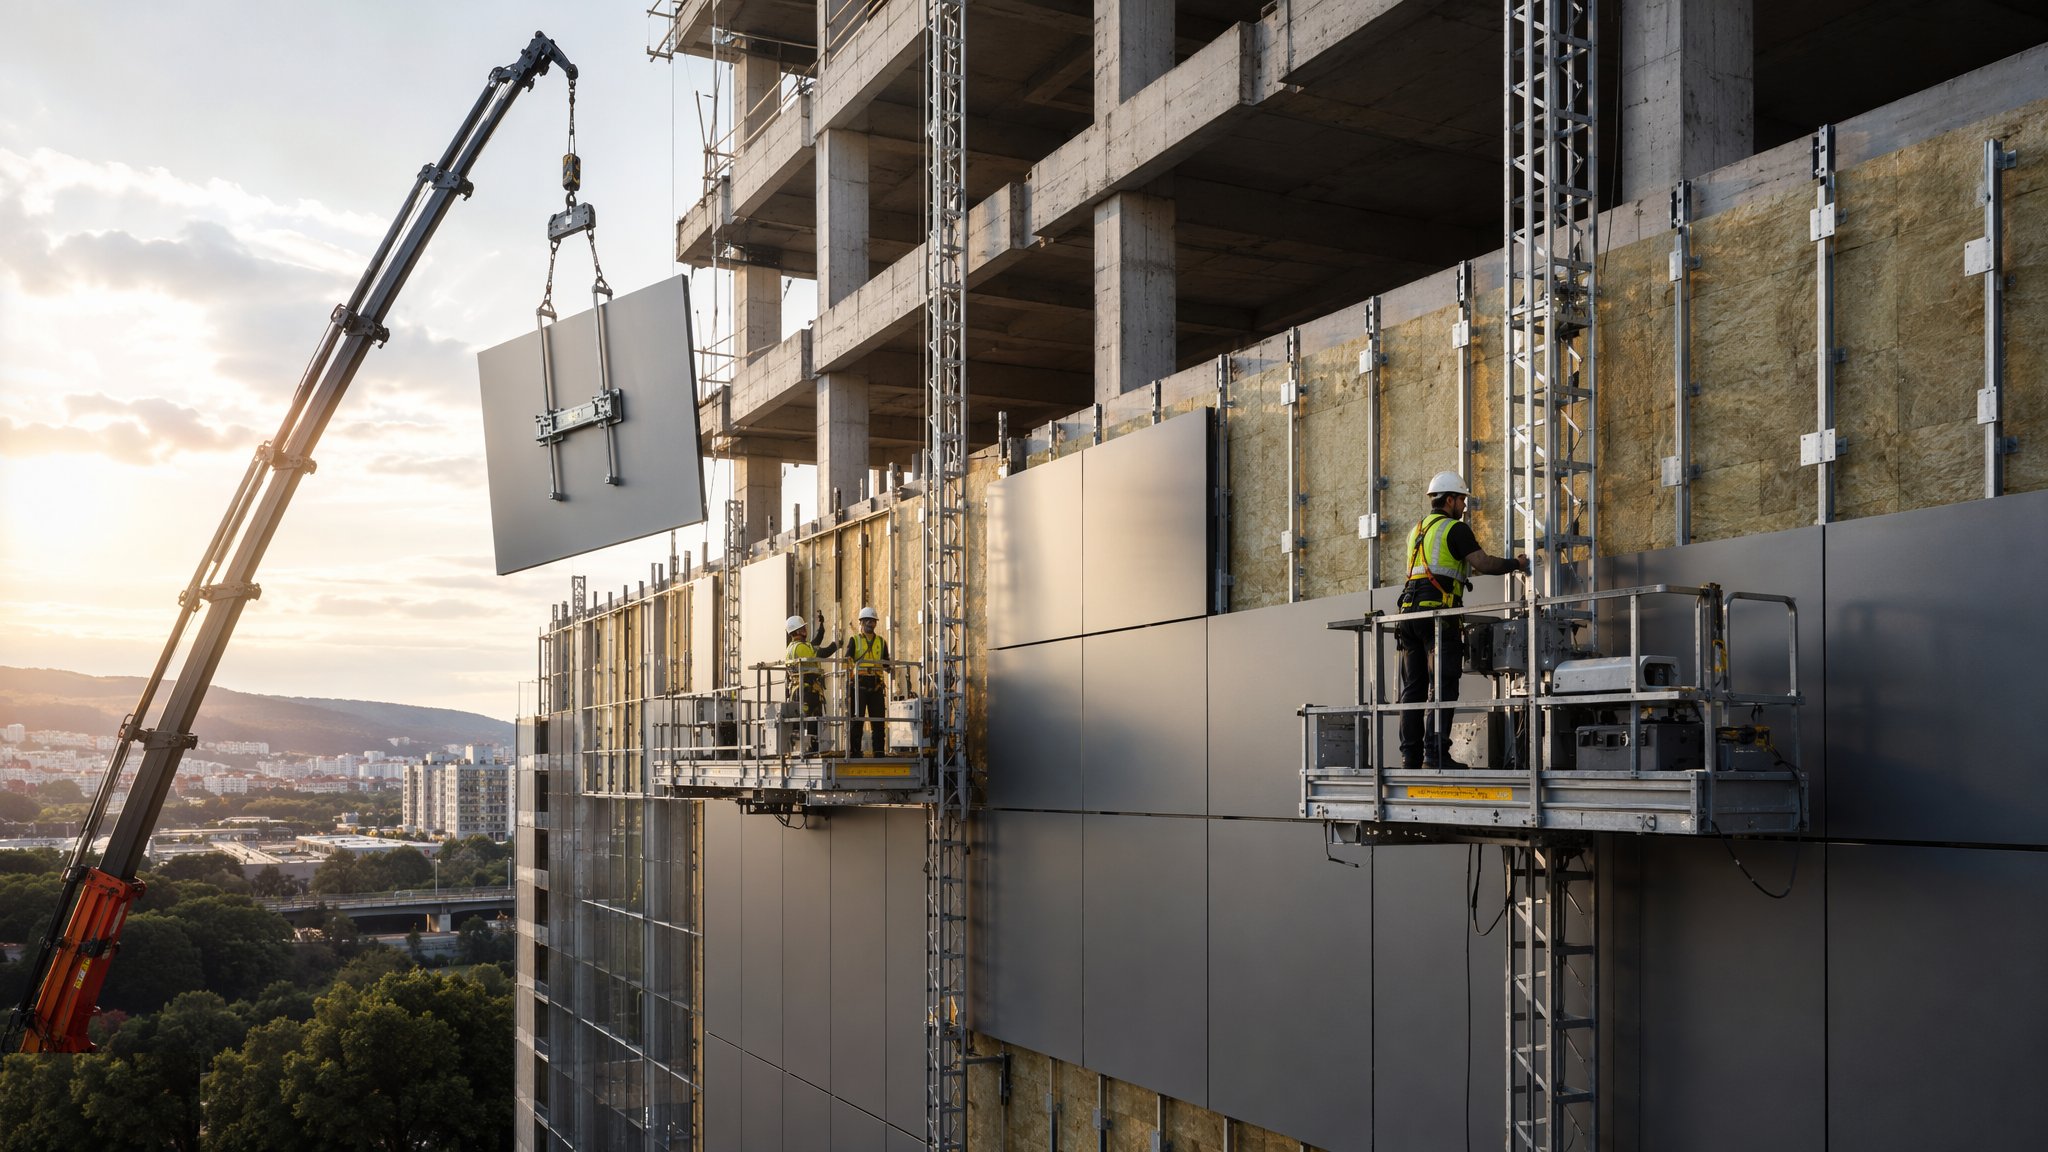
Façade works follow the frame and the weathertight line, and run floor by floor behind scaffold or mast climbers on low- and mid-rise, or from the slab edge with cranes on towers. The process matters because the façade is the building's energy performance, its weather defence and its fire strategy in a single assembly — and post-Grenfell regulation (Approved Document B and the Building Safety Act 2022 regime for higher-risk buildings) makes the golden thread of design, materials and installation records a legal requirement, not good practice. In the UAE the same logic is enforced differently: façades require Dubai Civil Defence approval under the UAE Fire and Life Safety Code of Practice (2018 edition), strengthened after a series of tower façade fires — fire-tested and listed systems, flame-spread test evidence and, on applicable projects, third-party House of Expertise review. The façade also carries the building's Al Sa'fat or Estidama energy performance: U-values, solar gain and thermal bridging are scored at the skin.
Types of Façade & Cladding
Brickwork outer leaf
The traditional drained-cavity wall: brickwork tied back to the structure, standing on lintels or support angles at each floor on framed buildings. Durable, repairable and familiar — but slow, and dependent on cavity trays, weeps and ties being right at every floor.
Render and EWI systems
Thin-coat renders on carrier board or external wall insulation (EWI, also called ETICS) fixed to masonry or frame, finished with silicone or acrylic render. Excellent thermal upgrade and a clean modern face — with movement joints, base tracks, bead details and fire-rated fixings deciding whether it stays on and stays dry. Render over blockwork is the everyday UAE villa finish, with stone or porcelain cladding on higher-end work.
Rainscreen cladding
Panels — terracotta, fibre cement, metal, stone — on a rail-and-bracket support system with a drained and ventilated cavity behind, over insulation fixed to the substrate. The cavity equalises pressure and drains driven rain; fire barriers close the cavity at compartment lines. Aluminium composite panels must have fire-rated cores — polyethylene cores are banned on taller UK residential buildings and rejected in UAE Civil Defence approvals. Materials carry reaction-to-fire classifications that must match the building's requirements.
Curtain walling: unitised and stick
Stick systems assemble mullions and transoms on site and glaze them piece by piece — flexible, slower, cheaper to ship. Unitised panels are glazed in the factory and craned onto slab-edge brackets in minutes per panel — the tower standard in the UK and the overwhelming norm on UAE towers, with factory quality and site tolerance absorbed by the brackets. Systems are tested for air, water and wind performance to CWCT standards, and inter-storey movement and stack joints are engineered, not improvised.
Façade & Cladding: step by step
Step 1: Survey the structure and set the support grid
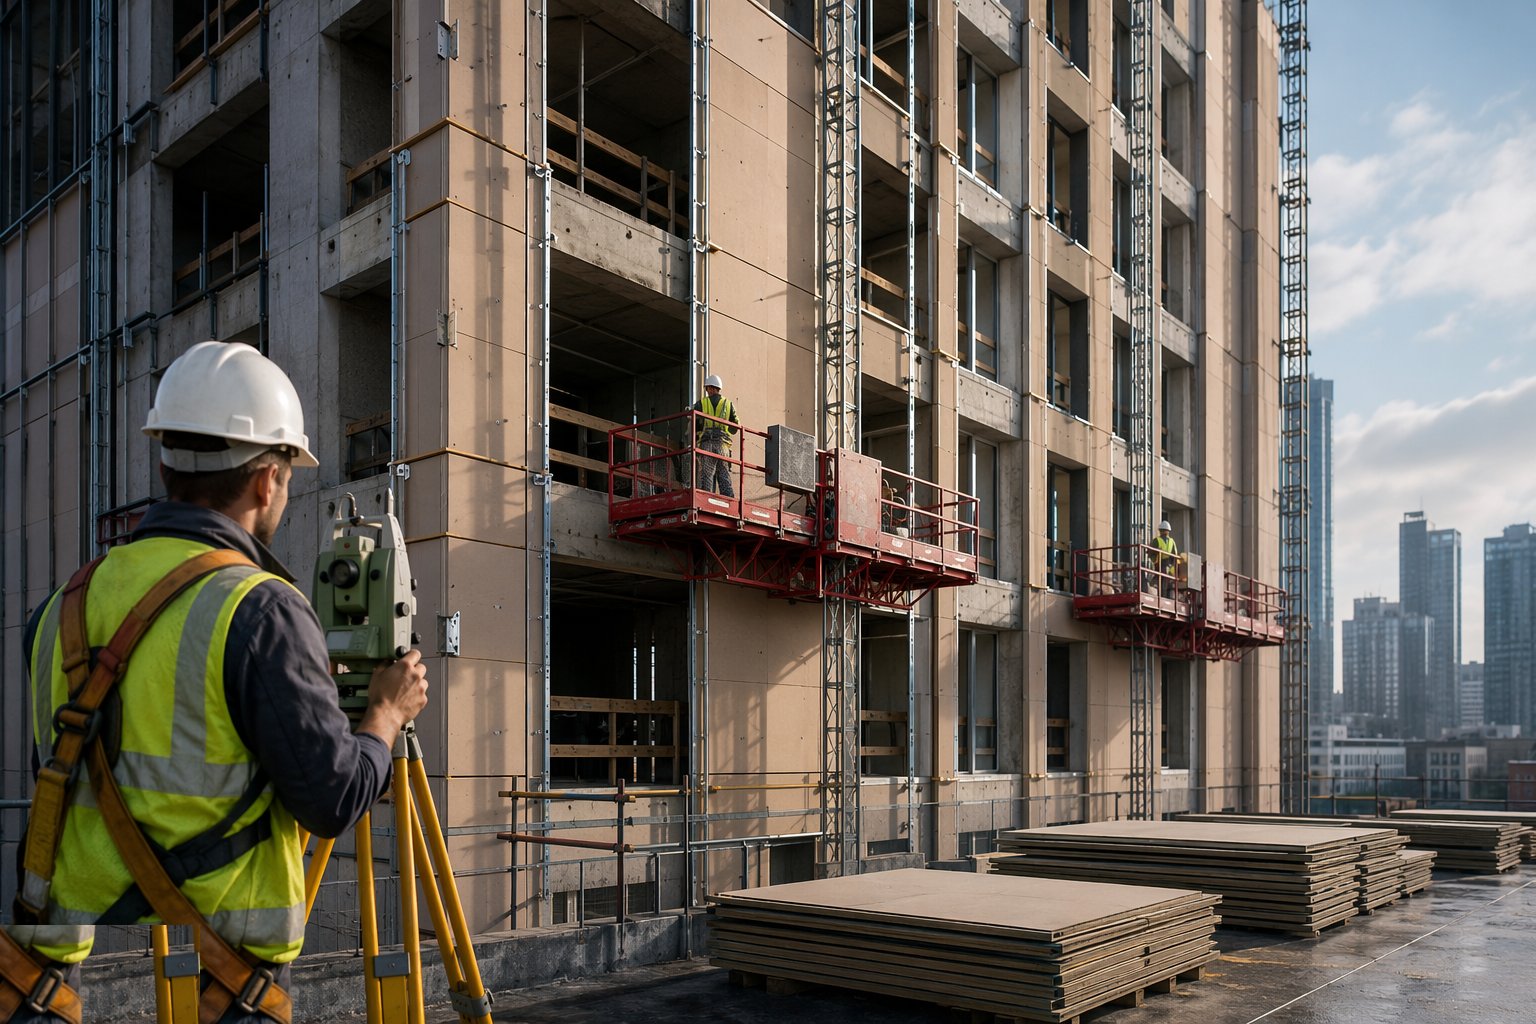
Survey the slab edges or the substrate for line, level and plumb — the façade must absorb the frame's as-built tolerances through its brackets, and you need to know the worst case before setting out. Establish the bracket and rail grid from the design, checking edge distances and substrate strength. Pull tests on fixings into the actual substrate verify the assumed capacities.
Step 2: Install brackets and support rails
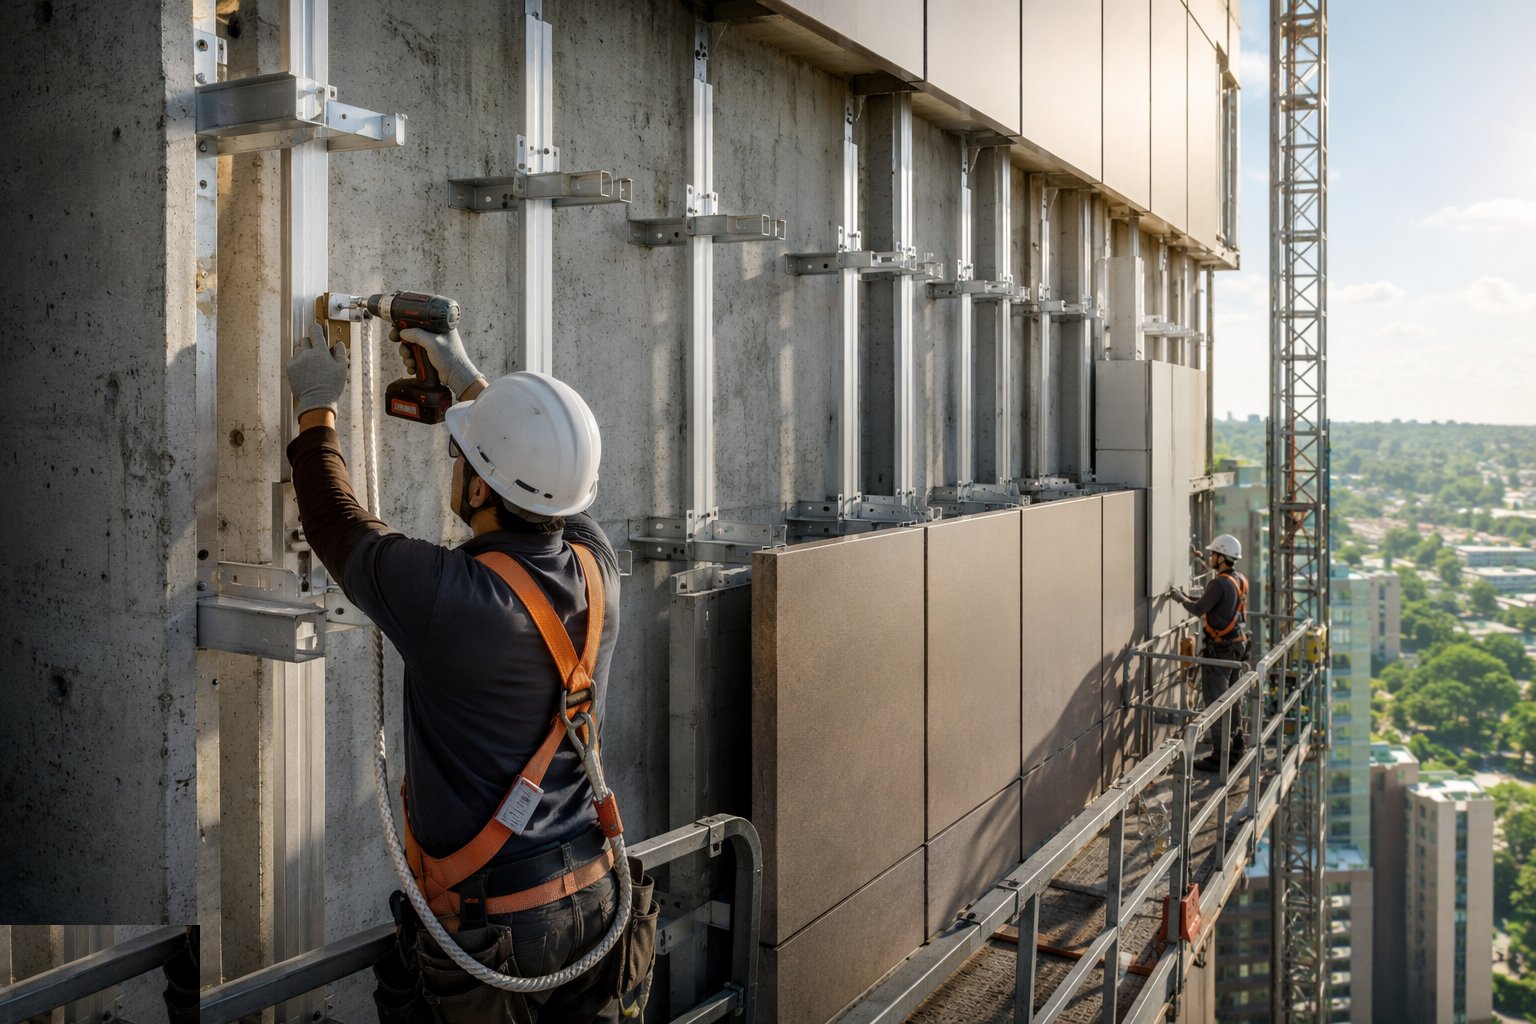
Brackets are fixed to the structure at the surveyed positions, with thermal isolator pads where specified to cut cold bridging. Rails go on level and true, with slotted holes and movement allowances per the design — the system must let the frame move without fighting it. Torque checks on the fixings are recorded; this layer carries everything.
Step 3: Fix insulation, membranes and fire barriers
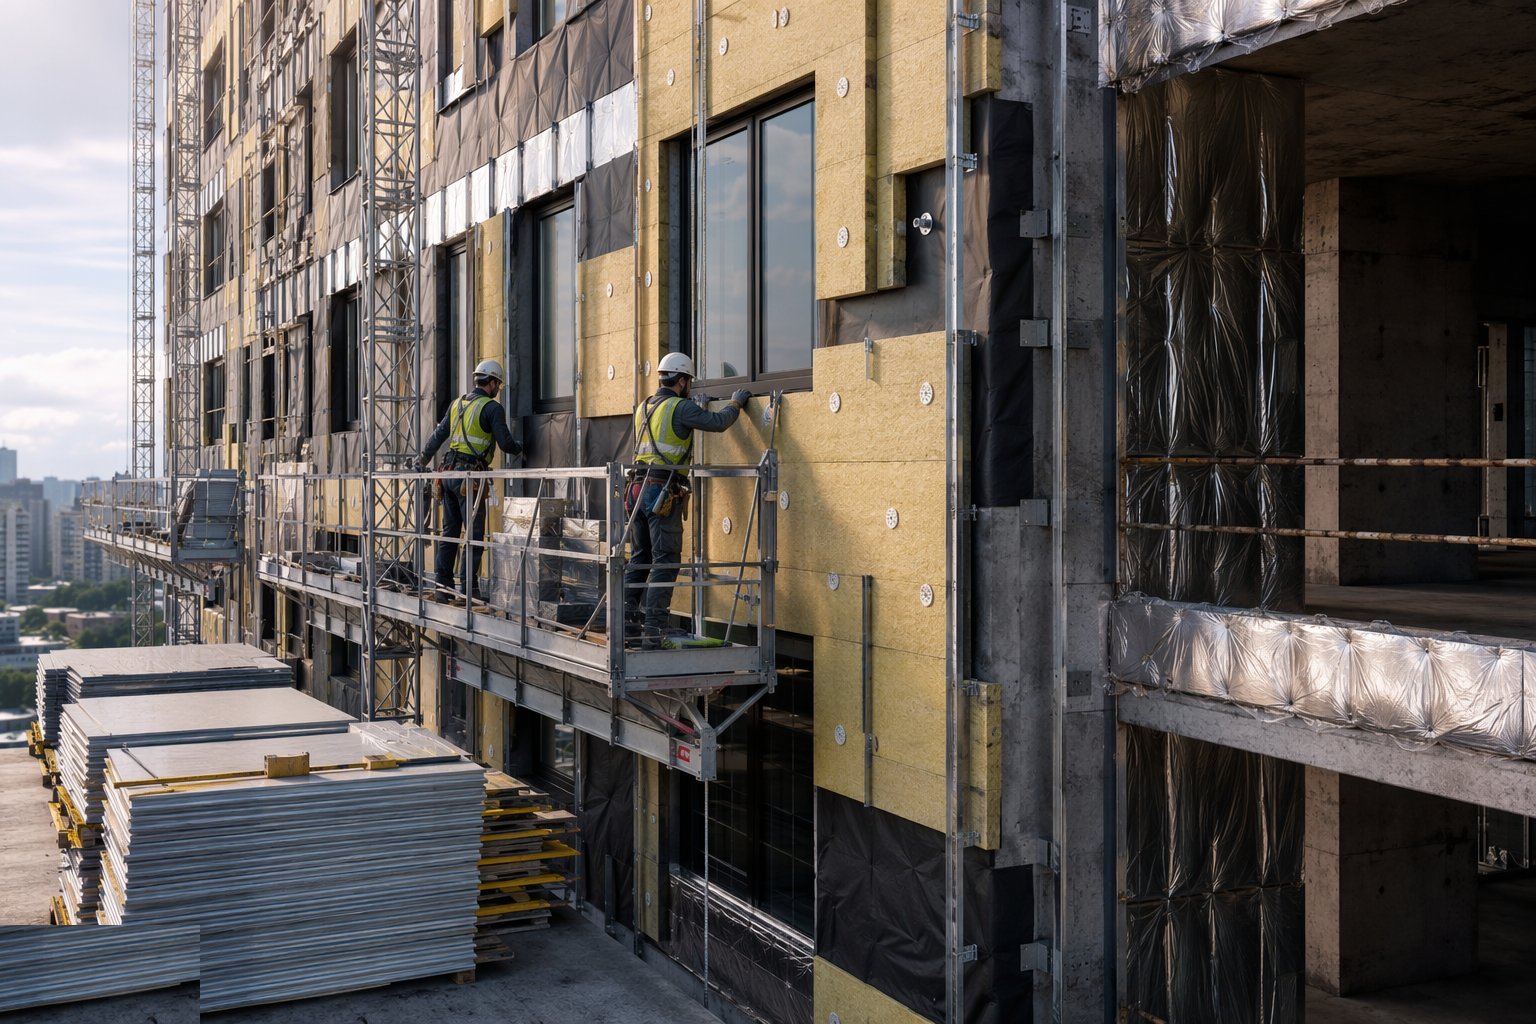
Insulation boards are fixed tight with the specified pattern of fire-rated fixings, joints staggered and gaps filled. Breather membranes or sheathing boards close the build-up per the system. Cavity fire barriers are installed at every compartment floor and wall line and around openings — mechanically fixed, compressed correctly, and photographed before closure. These photos are the golden thread evidence.
Step 4: Install the weather barrier and cavity drainage
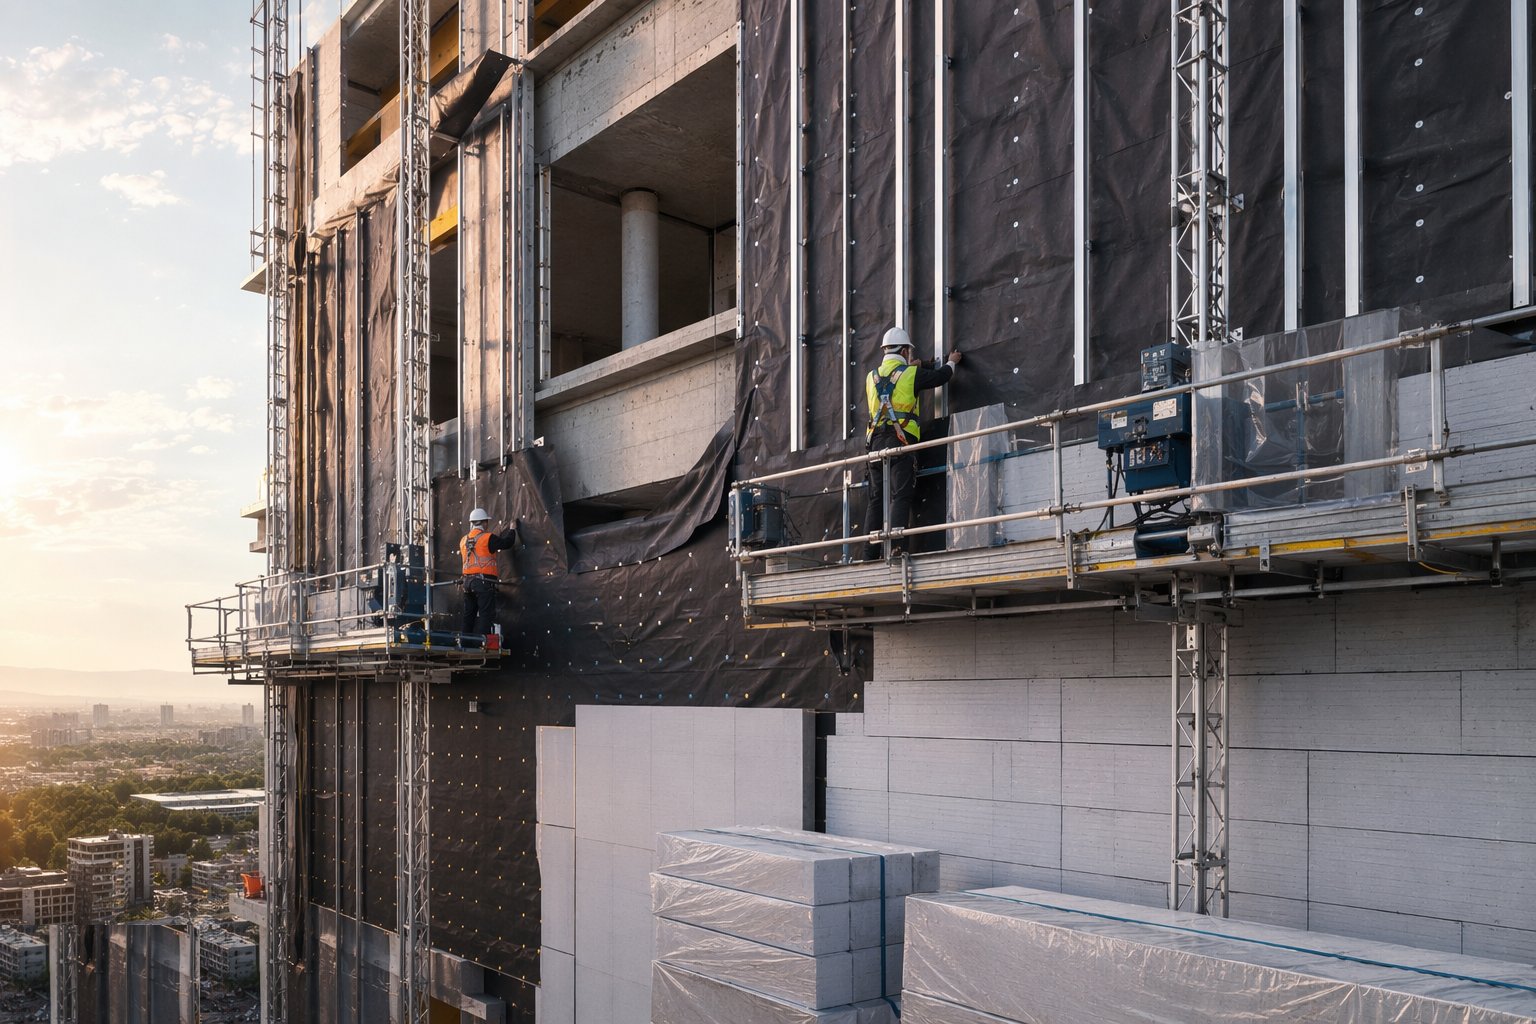
Cavity trays, flashings and drainage channels are formed at floor levels and openings to intercept and expel water, with weeps and ventilation slots left clear. On render and EWI, base tracks, beads and movement joints are set out per the layout drawing. The drained cavity stays clear: a rainscreen cavity full of mortar and offcuts is a water feature.
Step 5: Hang the panels or build the leaf
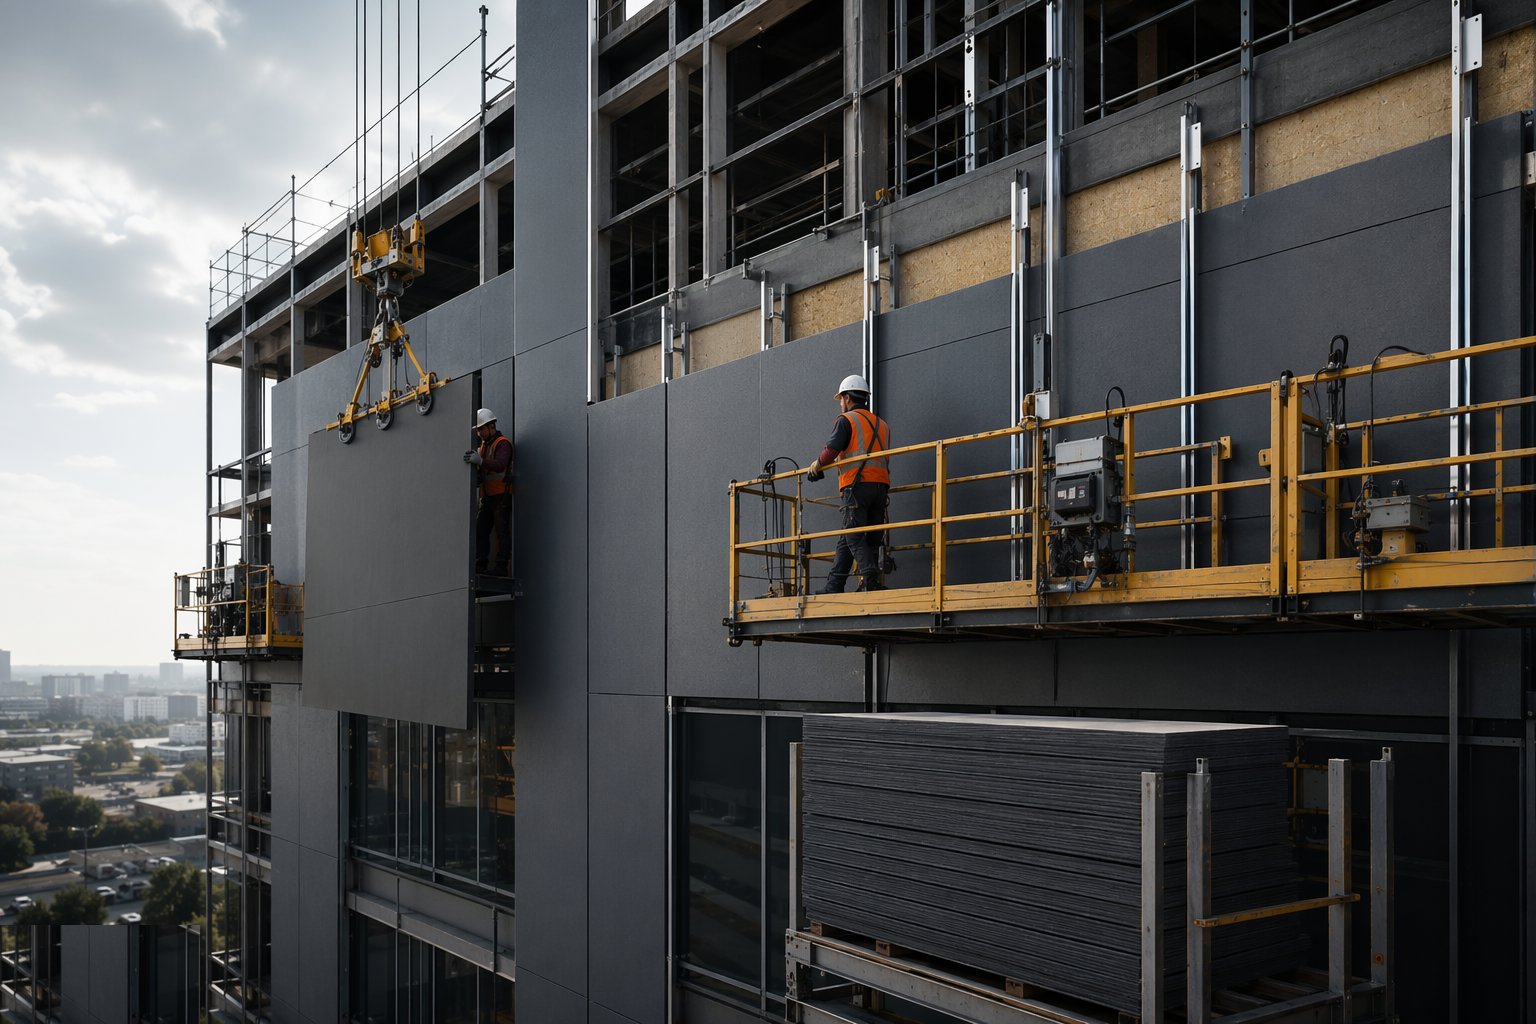
Rainscreen panels are hooked, clipped or riveted to the rails in sequence, aligned off set lines and torqued per the schedule. Brickwork rises on its support angles with ties at the specified density and trays above. Curtain wall units land on their brackets, are adjusted for line and level within the tolerance, and locked. Every elevation is set out from fixed datums — never panel-to-panel drift.
Step 6: Seal, interface and complete the envelope
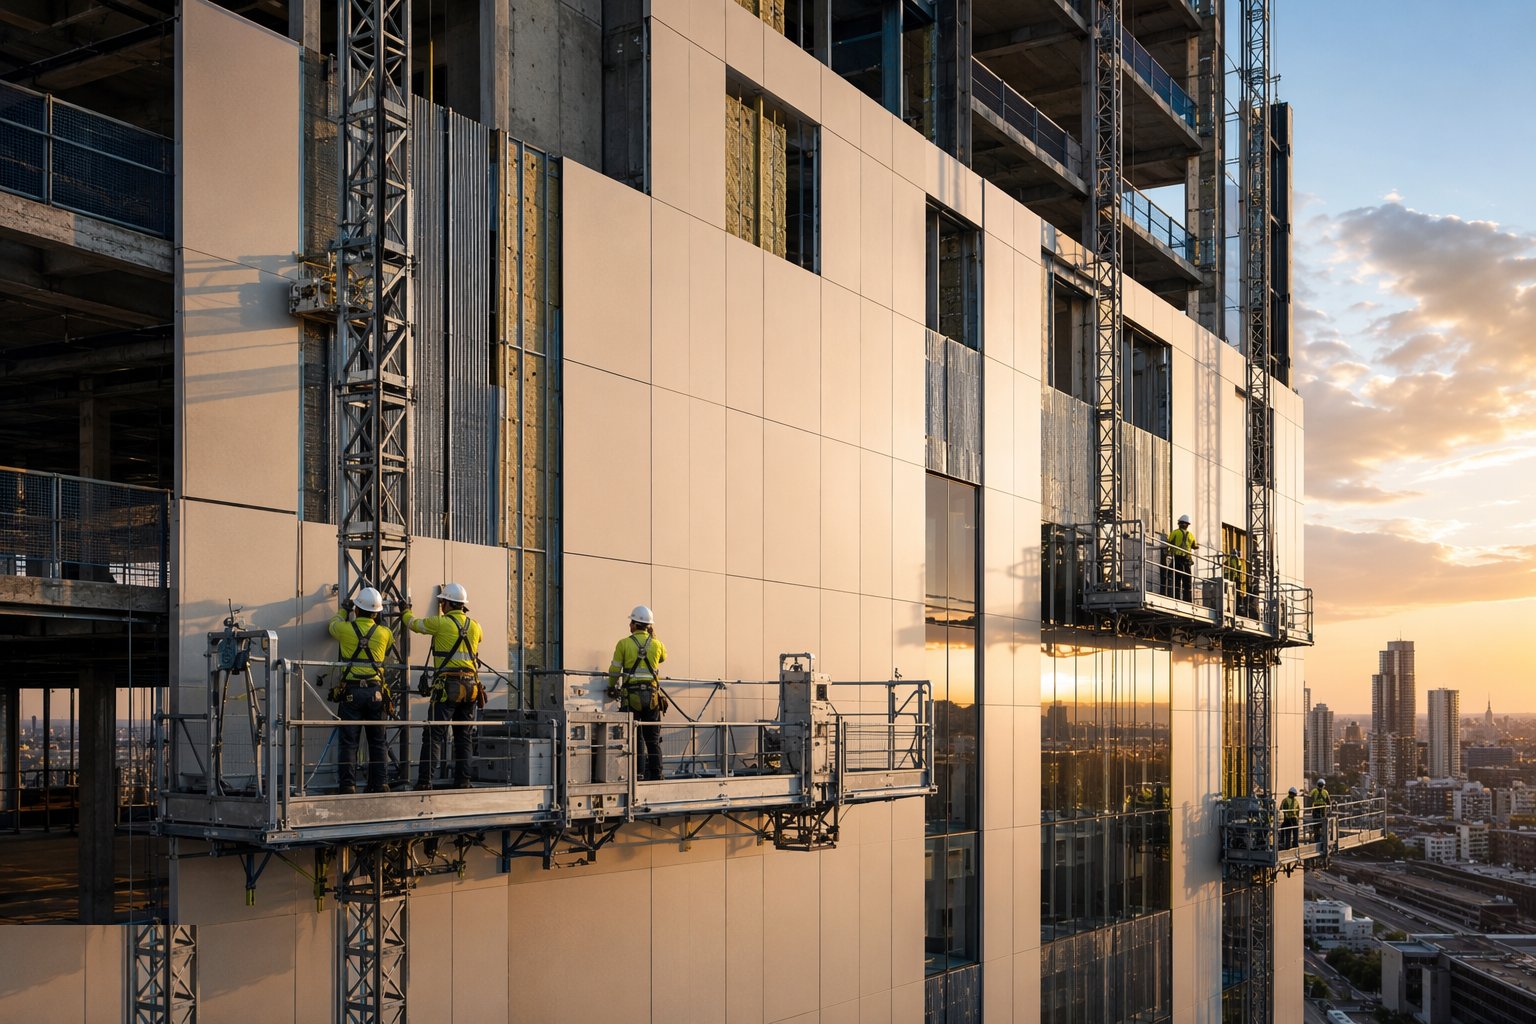
Joints are sealed with the specified backing and sealant geometry; interfaces with windows, roofs and adjacent systems are closed with designed details. Cavity closers and fire stops around openings complete the compartmentation. Air seals at every floor edge and junction are part of the air-tightness strategy, and are inspected before they disappear behind panels.
Step 7: Inspect, test and certify the façade
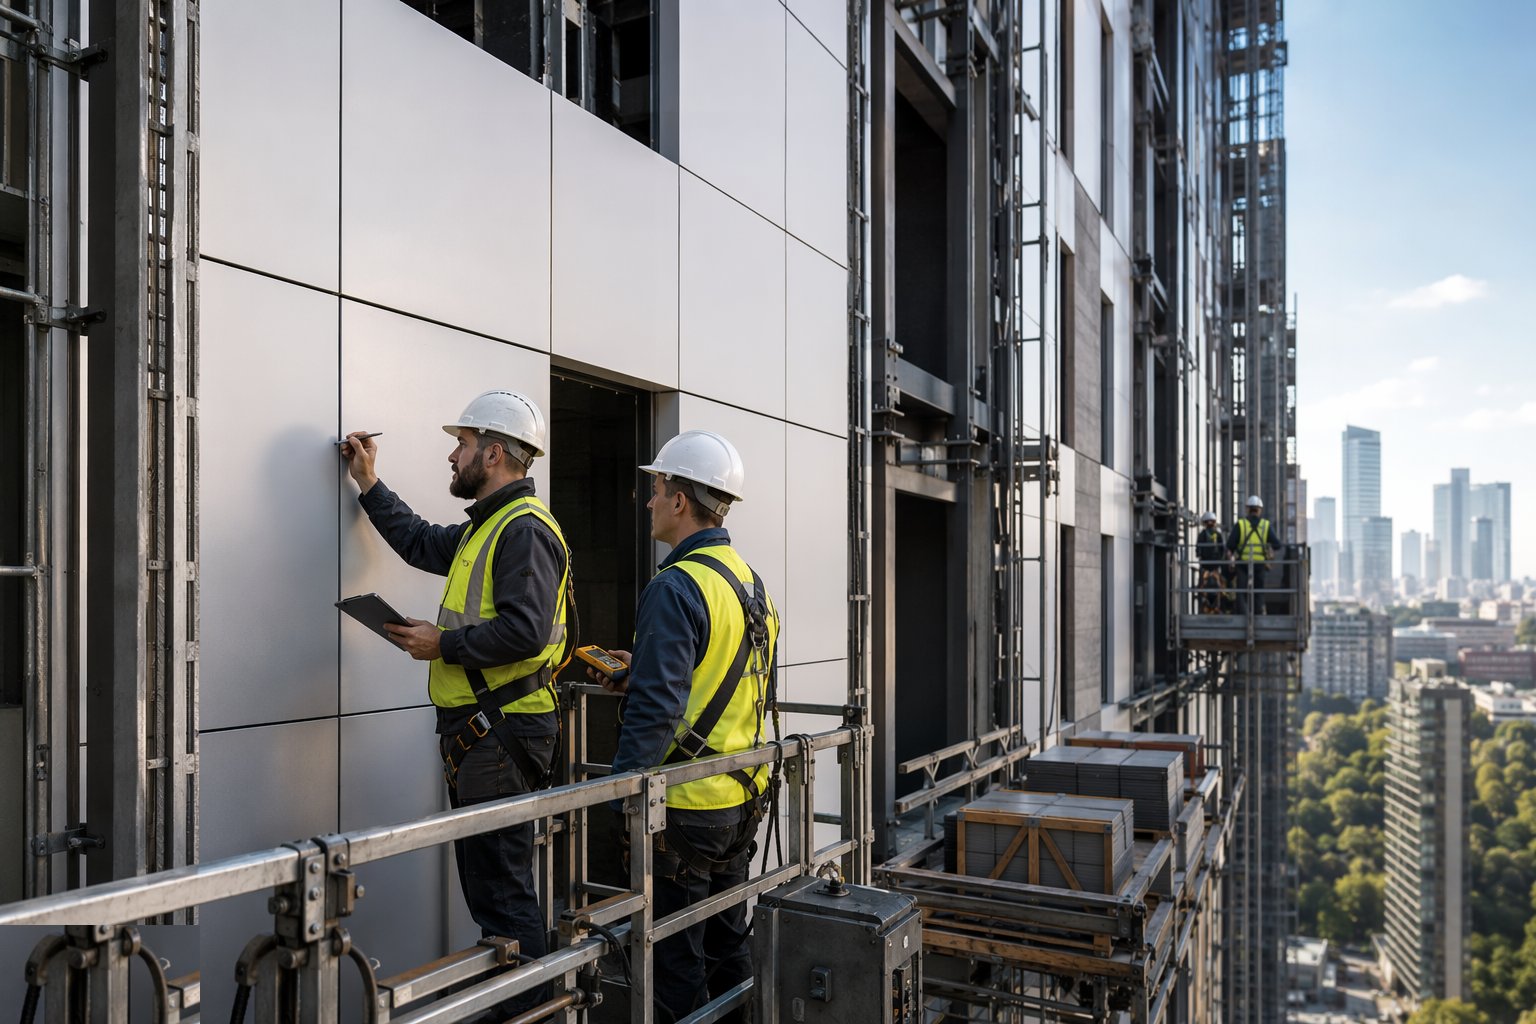
Hose testing or site water-tightness testing on curtain walling samples; visual and torque audits on cladding fixings; fire barrier inspections on a recorded schedule. The façade QA pack — design, calculations, material classifications, fixing records, photos and test results — is assembled as a statutory handover document for higher-risk buildings. Snags are closed before the access comes down.
Plant and equipment
- Scaffolds, mast climbers and MEWPs; cradles on towers
- Craneage for panels and unitised modules, with vacuum lifters
- Torque wrenches and pull-test equipment for fixings
- Cutting and fabrication tools for rails and panels
- Survey lasers and datum lines
- Hose test / water-tightness test rigs
Quality control checks
- Bracket and fixing pull tests on the actual substrate
- Torque records for support fixings and panel clips
- Fire barrier installation inspections — photographed before closure
- Material reaction-to-fire classifications verified against the design
- Line, level and plumb surveys per elevation
- Water-tightness testing on curtain walling; hose tests at interfaces
Safety considerations
- Leading-edge fall protection on slab edges until the façade closes them
- Exclusion zones under panel lifts; vacuum lifter checks
- Mast climber and cradle inspections, tie-in checks and rescue plans
- Manual handling and cutting controls for boards and panels
- Hot works and sealant controls; COSHH for adhesives and foams
Common defects
- Fire barriers missing, gapped or squashed flat behind panels
- Wrong fixings or edge distances — panels on borrowed strength
- Cavity trays missing or weeps blocked — water tracking to the interior
- Panels drifting off datum — cumulative misalignment across an elevation
- Sealant joints too thin or unbonded — two-year weather seals
- Insulation gapped at brackets — cold bridges and condensation lines
Best suited for
- The weatherproof envelope on everything from houses to towers
- Rainscreen and curtain walling where speed and performance justify the cost
- Brick, block and render elevations on housing and villas
- UAE facades engineered for heat, dust, driving sand and thermal movement
- Fire-remediation and recladding schemes on existing blocks
How long does Façade & Cladding take?
Typical duration: 3–8 weeks for low-rise elevations; 4–12 months for tower façades running floor by floor..
Related processes
- Steel Frame Construction
- Masonry & Timber Frame
- Floor Slabs & Screeds
- Roofing
- Insulation Systems
- Windows, Doors & Glazing
- MEP First Fix
- Internal Finishes
- MEP Second Fix & Commissioning
- External Works & Landscaping
- Testing, Handover & Snagging
- Site Access & Enabling Works
- Site Clearance & Demolition
- Setting Out & Survey Control
- Earthworks & Excavation
- Dewatering & Groundwater Control
- Shallow Foundations
- Piling & Deep Foundations
- Basement & Substructure
- Waterproofing and Tanking
- Concrete Frame Construction
- Façade & Cladding in Commercial & Workplace
- Brickwork outer leaf — method
- Render and EWI systems — method
- Rainscreen cladding — method