MEP First Fix
Ducts, pipes, cables and containment — the hidden nervous system, installed before the walls close.
Last updated 2026-07-28 by the BuildPedia Editorial Team.
What is MEP First Fix?
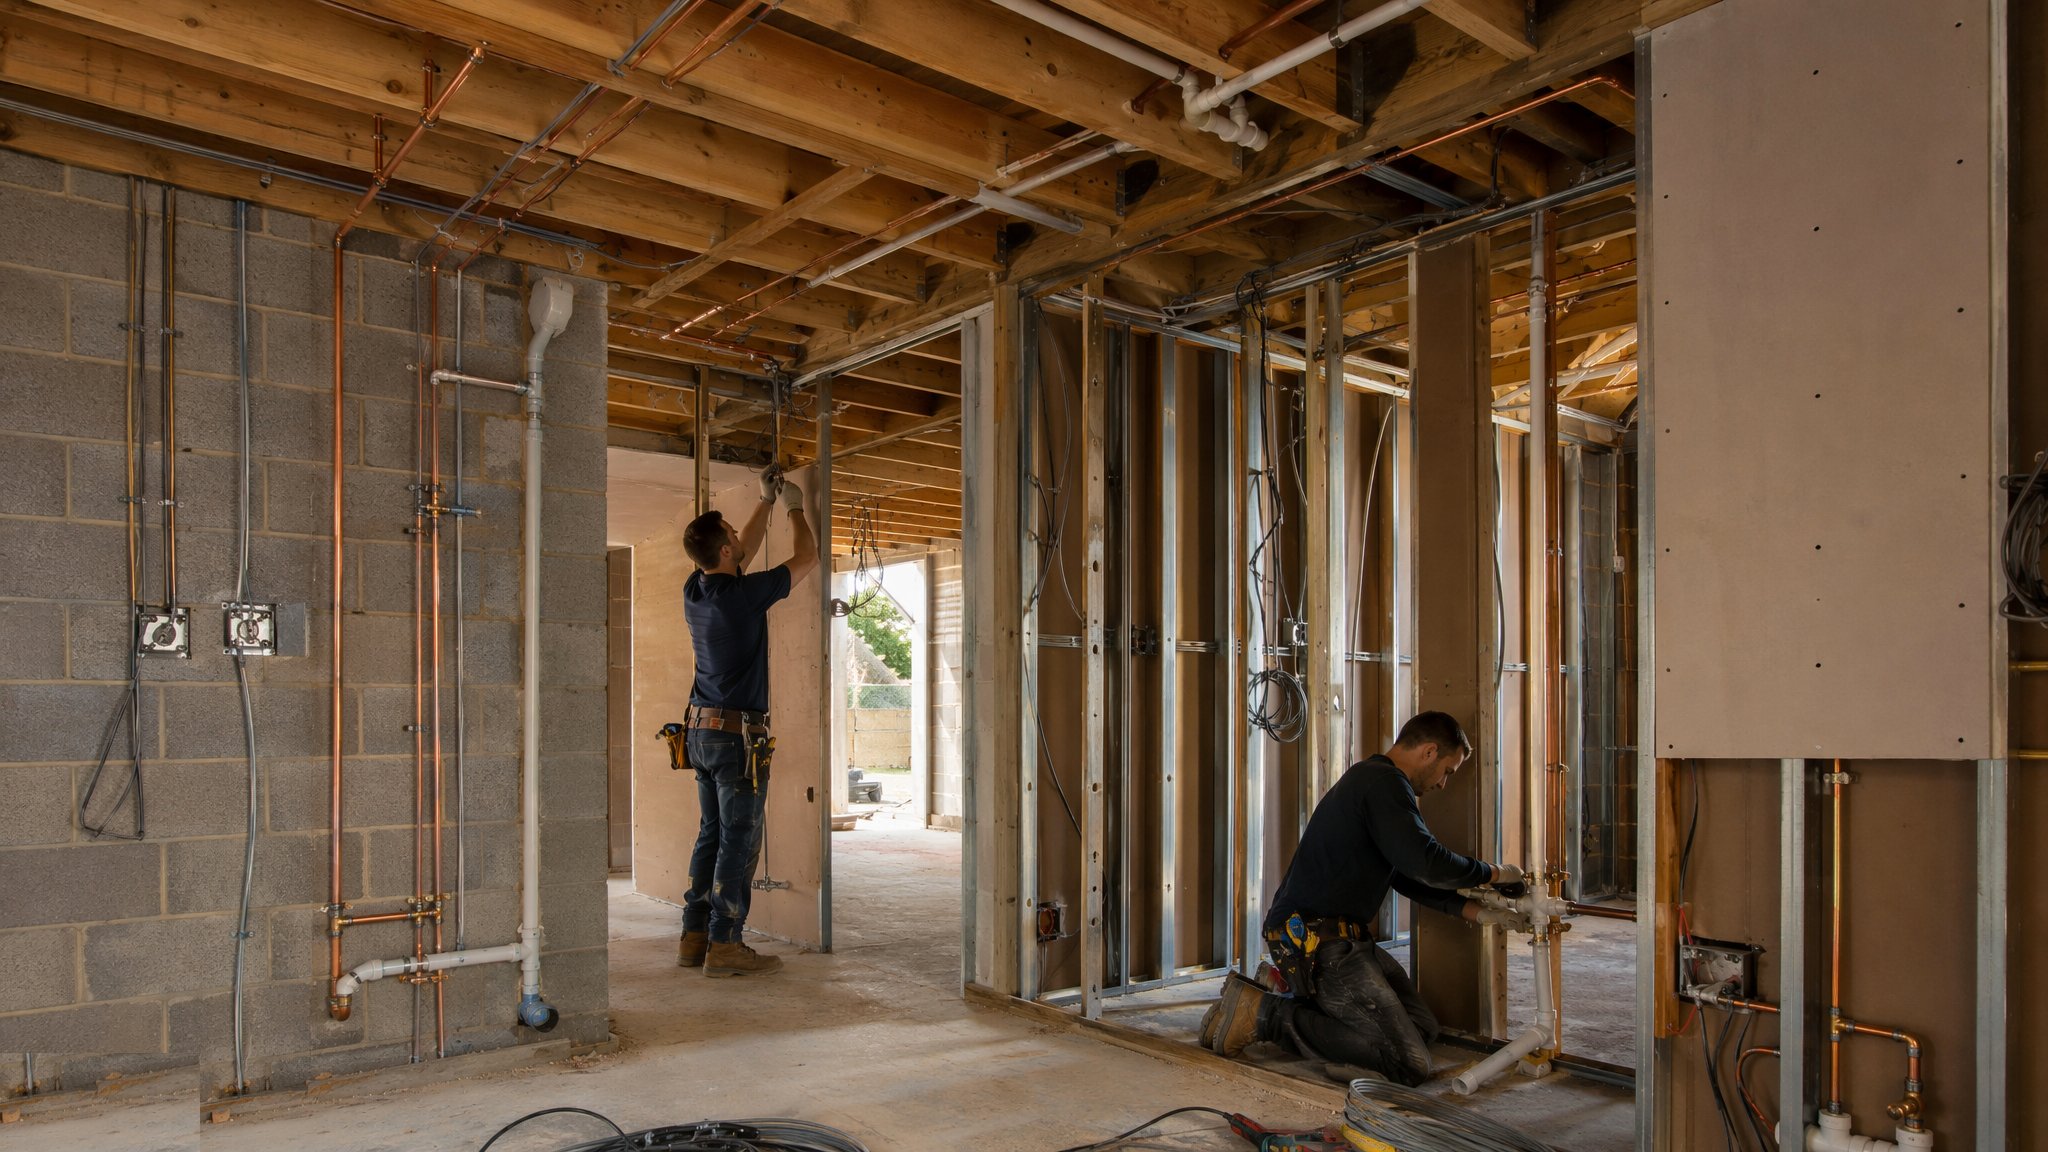
First fix is everything mechanical, electrical and plumbing that lives inside the structure: ductwork and pipework routes, cable containment, risers, back boxes, soil and waste runs, and the builder's work holes and sleeves that let them pass through the building. Once the walls are boarded and the ceilings are up, all of it disappears — which is exactly why it must be right, tested and photographed before it does.
On anything larger than a house, first fix is a coordination exercise before it is an installation exercise. The services share the ceiling void and the risers with the structure, and the drawing that wins is the coordinated one — produced through BIM clash detection or painful experience. The golden rule of the ceiling void: gravity wins. Drainage gets its falls first, then big ducts, then pipes, then cable — in that order of inflexibility. In the UK the governing documents are BS 7671 (the IET Wiring Regulations, 18th edition) for the wiring and the Water Supply (Water Fittings) Regulations 1999 for the plumbing. In the UAE the same stage is gated by authority hold points: MEP rough-in is a milestone inspection by Dubai Municipality, the DDA or Trakhees before ceilings are closed, released through Work Inspection Requests, with Civil Defence listed materials for fire-related systems and DEWA requirements governing the main intake, metering and earthing.
When and why is MEP First Fix used?
First fix follows the weathertight shell and the frame, and precedes boarding and finishes, because every buried route must be installed, tested and recorded while it is still accessible. It matters because services defects found after closure are the most disruptive in the building — a leaking joint above a finished ceiling or an un-sleeved cable in a fire compartment is a ceiling-down repair, and the photographs taken at first fix are the only map anyone will ever have. In a single house the coordination happens in the heads of the electrician and the plumber rather than in a BIM model, but the physics is unchanged — drainage still takes its falls first, chases still weaken walls, and every buried joint is still tested and photographed before the walls close.
Types of MEP First Fix
Mechanical: ventilation and heating distribution
Ductwork for ventilation and MVHR systems, heating pipework from boilers or plant to emitters, and refrigerant or chilled water routes in larger blocks. Ducts demand space and straight runs; every bend costs pressure and noise. Plant space and riser allocation are settled at design and defended at first fix. In the Gulf, where there is no heating season to speak of, distribution is chilled water to fan-coil units — often fed by district cooling — or direct-expansion split and VRF refrigerant systems.
Electrical: containment and wiring
Cable tray, trunking and conduit routes, back boxes for every accessory, and the wiring itself pulled in before boarding. Circuits are planned from the distribution boards; fire-rated fixings are now the standard so cables cannot fall and entangle firefighters. Earthing and bonding routes go in with the wiring, not after it.
Plumbing: soil, waste and supply
Soil stacks and waste runs with their designed falls and access points; hot and cold supply pipework, insulated and clipped; connections to the incoming mains and the drainage below. Falls are non-negotiable — a back-falling waste is a blockage subscription. Every joint above a ceiling gets tested before it is hidden.
Builderswork and fire stopping
The holes, sleeves, chases and cast-in items that let services pass — ideally designed and cast in, not core-drilled through the structure later. Chases in blockwork are limited in depth and position to preserve the wall's strength, and structural columns are never chased. Every penetration through a fire compartment gets a fire-stopping system tested to BS EN 1366-3 or -4, labelled and photographed. This unglamorous scope is where compartmentation succeeds or silently fails.
MEP First Fix: step by step
Step 1: Coordinate the routes before installing anything
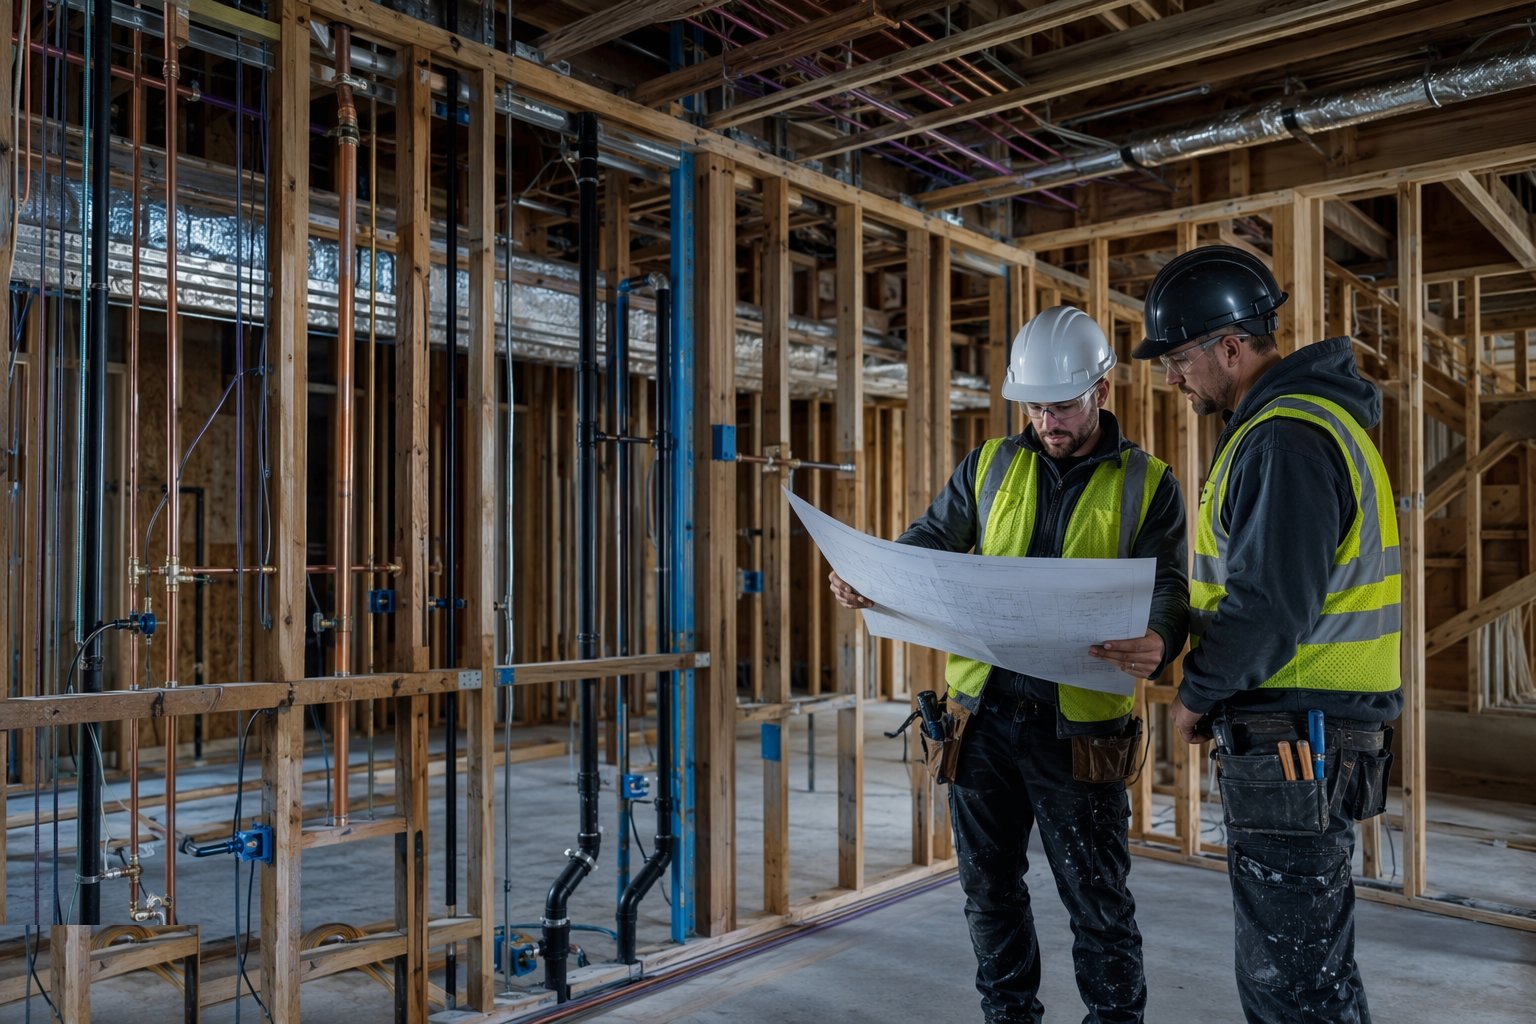
Freeze the coordinated layout — from the BIM model clash detection on larger jobs, or from marked-up ceiling and riser drawings on smaller ones. Agree the service priorities: drainage falls first, then ductwork, then pipes, then cables. Walk the routes on site with the structure as-built; a beam that moved 50 mm in construction moves every service that crosses it.
Step 2: Form builder's work, sleeves and holes
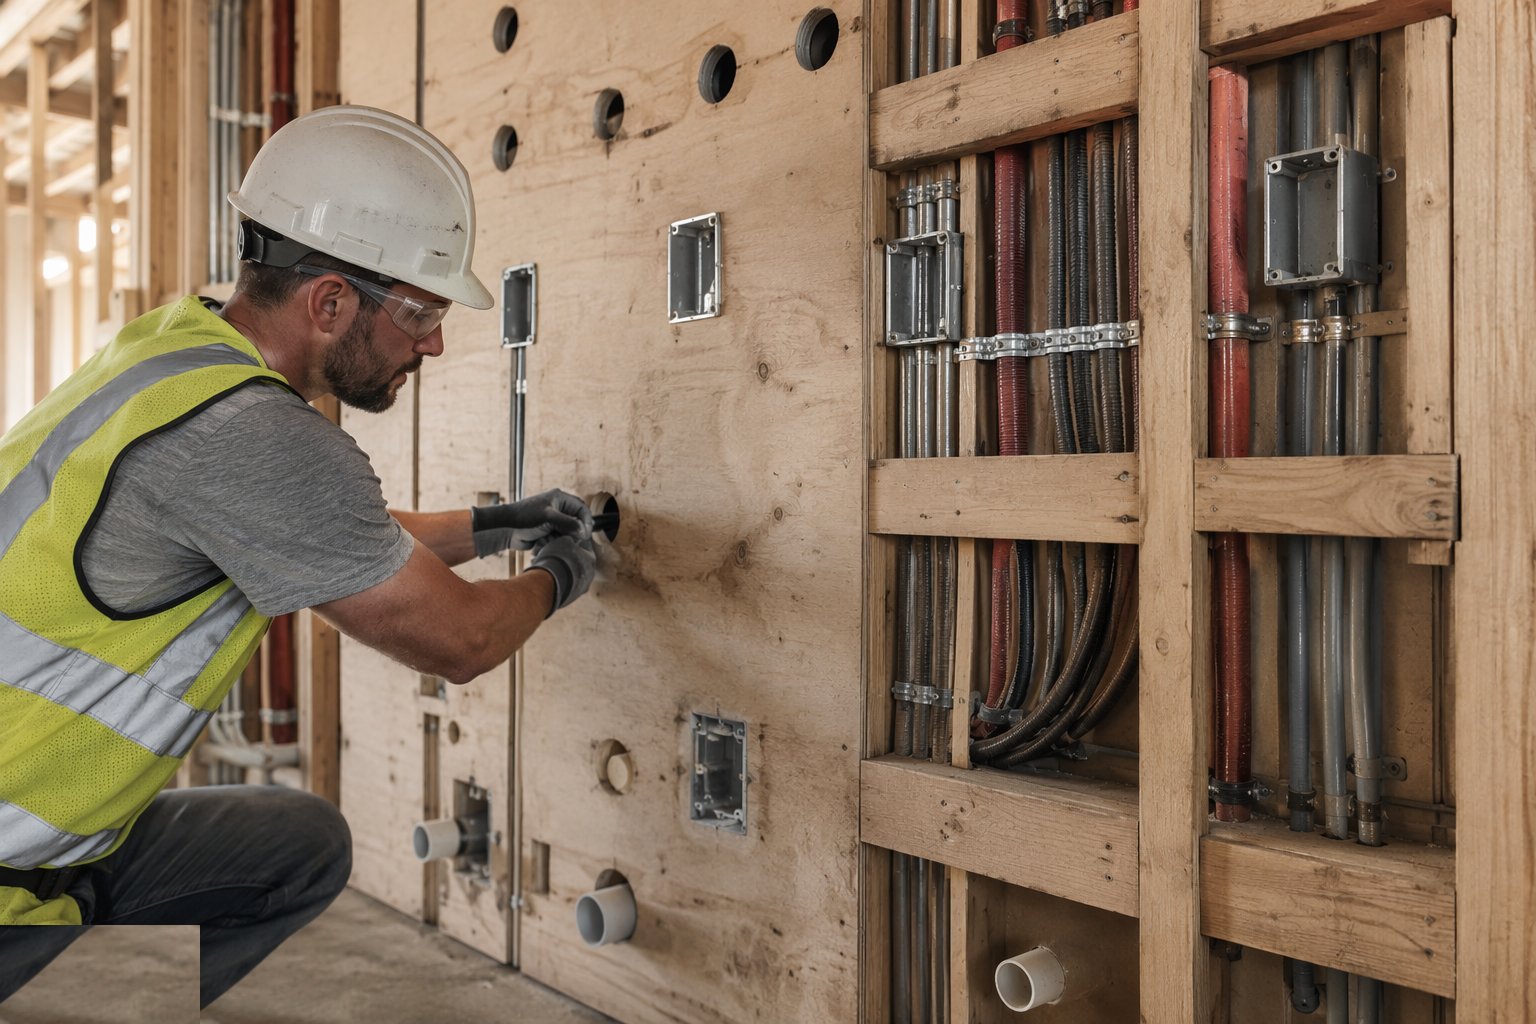
Core or form the penetrations per the builder's work drawing — in designed positions, with structural approval near beams and slabs. Sleeves are set for pipes through walls and floors, with fire stopping to follow. Any deviation from the coordinated drawing is raised, not improvised: an uncoordinated hole through a beam is a structural non-conformance.
Step 3: Install the risers and main distribution
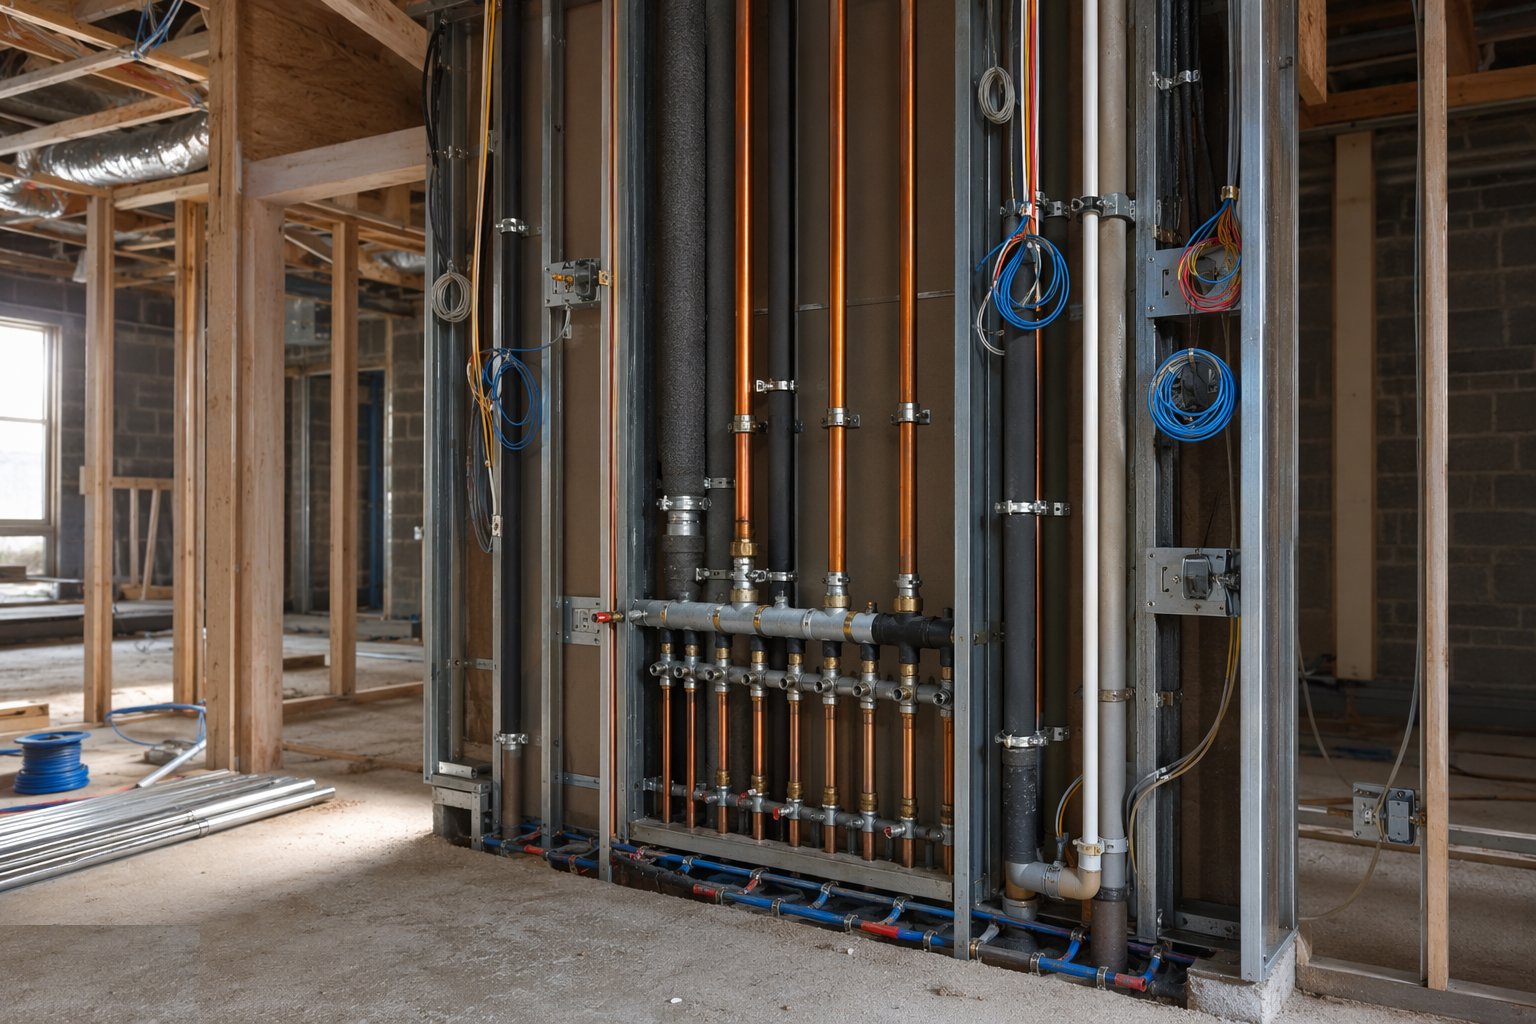
Risers go in first as the vertical backbone: soil stacks, heating mains, cold water risers, electrical rising mains and containment. Supports are fixed to structure at the designed centres, with expansion and anchorage per the design. Riser floors are fire-stopped as each service passes — or the riser becomes a chimney connecting every floor.
Step 4: Run horizontal distribution: ducts, pipes and tray
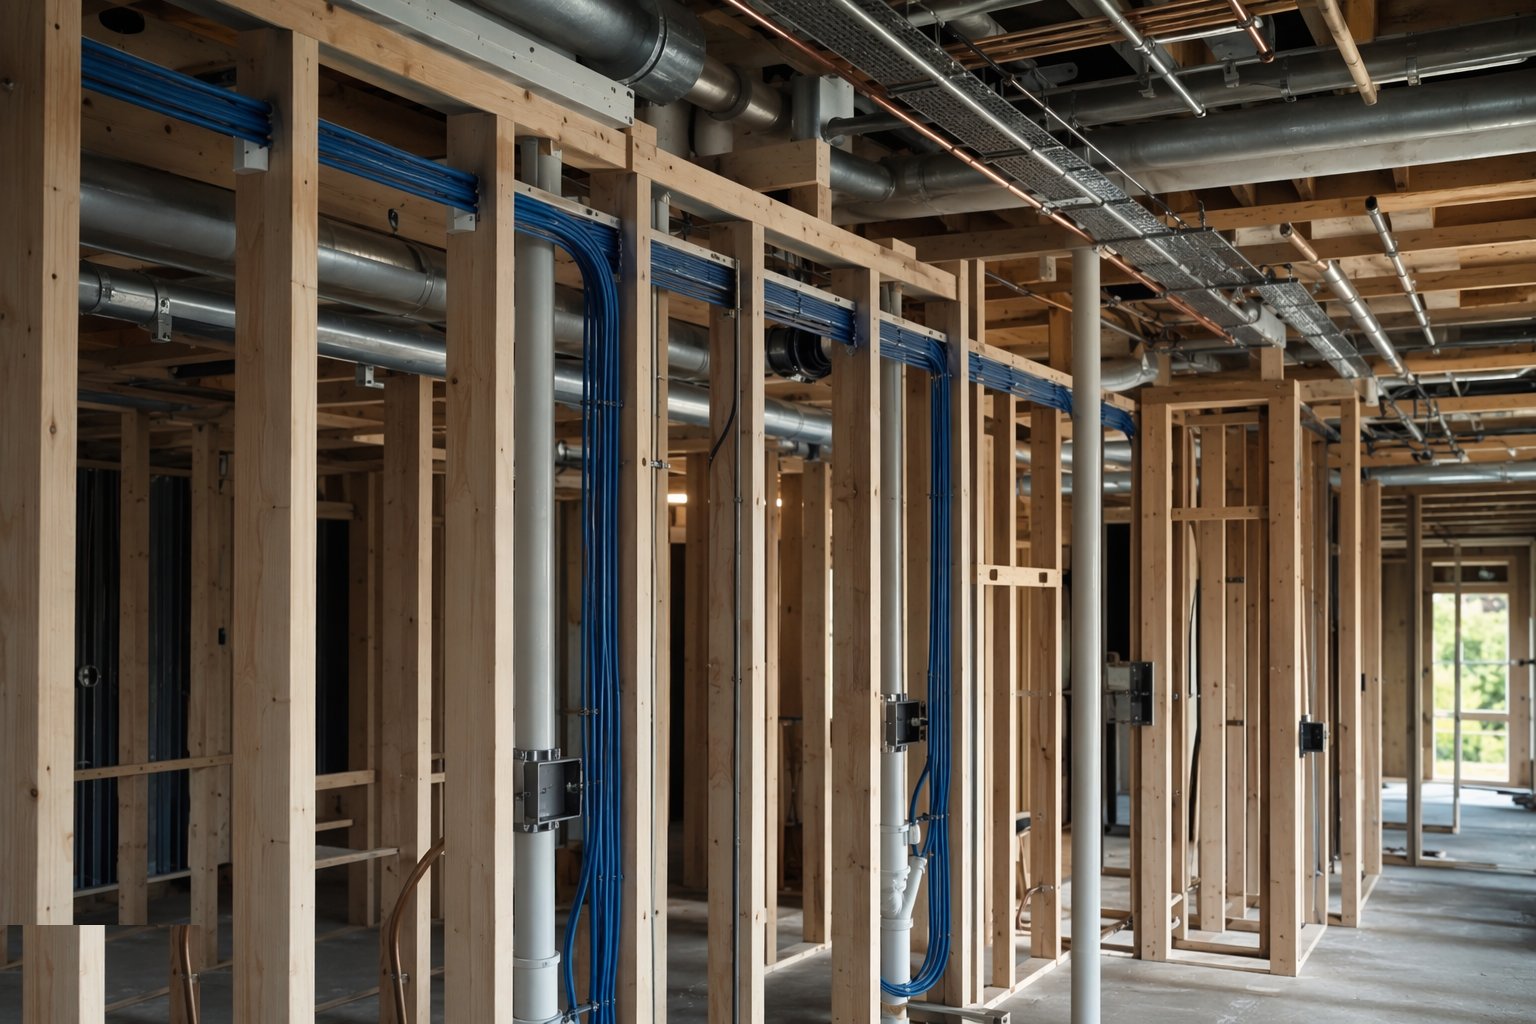
Ductwork is installed on its hangers with joints sealed and access panels where dampers and components need them. Pipework follows with correct falls, brackets and expansion allowance, insulated as the runs are tested. Cable tray and trunking complete the ceiling void, with separation from services that interfere — and every route leaving headroom for the ceiling that follows.
Step 5: First-fix wiring and back boxes
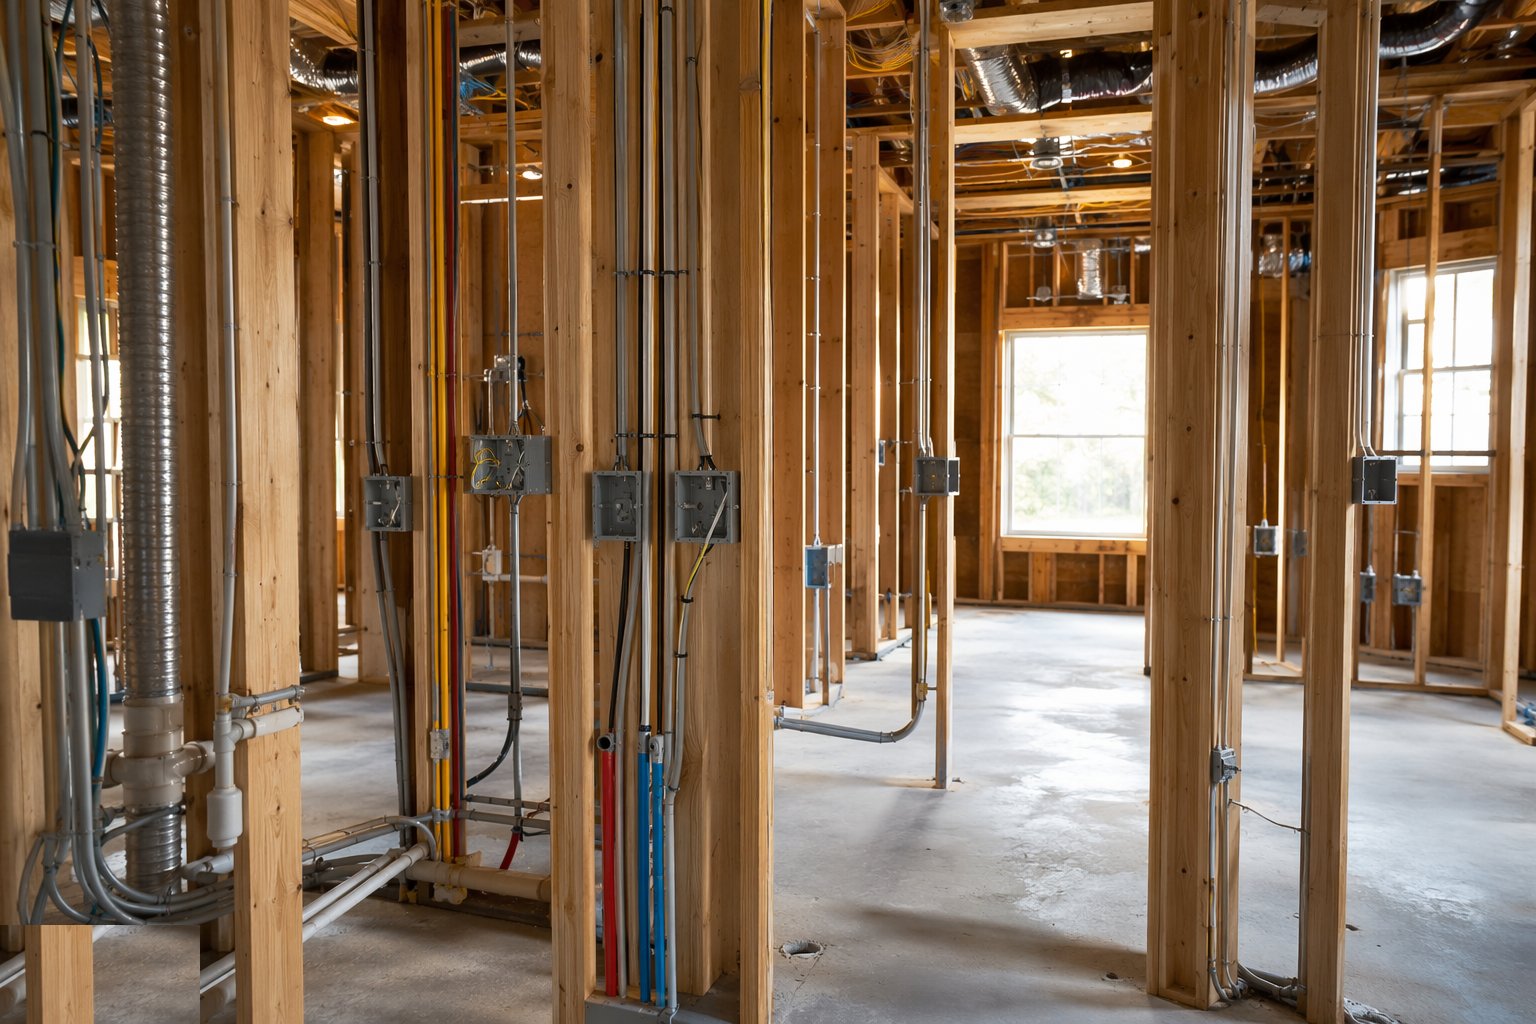
Back boxes are set to the layout at consistent heights; cables are pulled, clipped or in containment, and dressed to the boards. Fire-rated clips and fixings secure surface runs. Circuit identification is labelled at both ends as it goes in — a hundred unlabelled cables at the board is a week of tracing nobody programmed.
Step 6: Plumbing rough-ins: soil, waste and supply
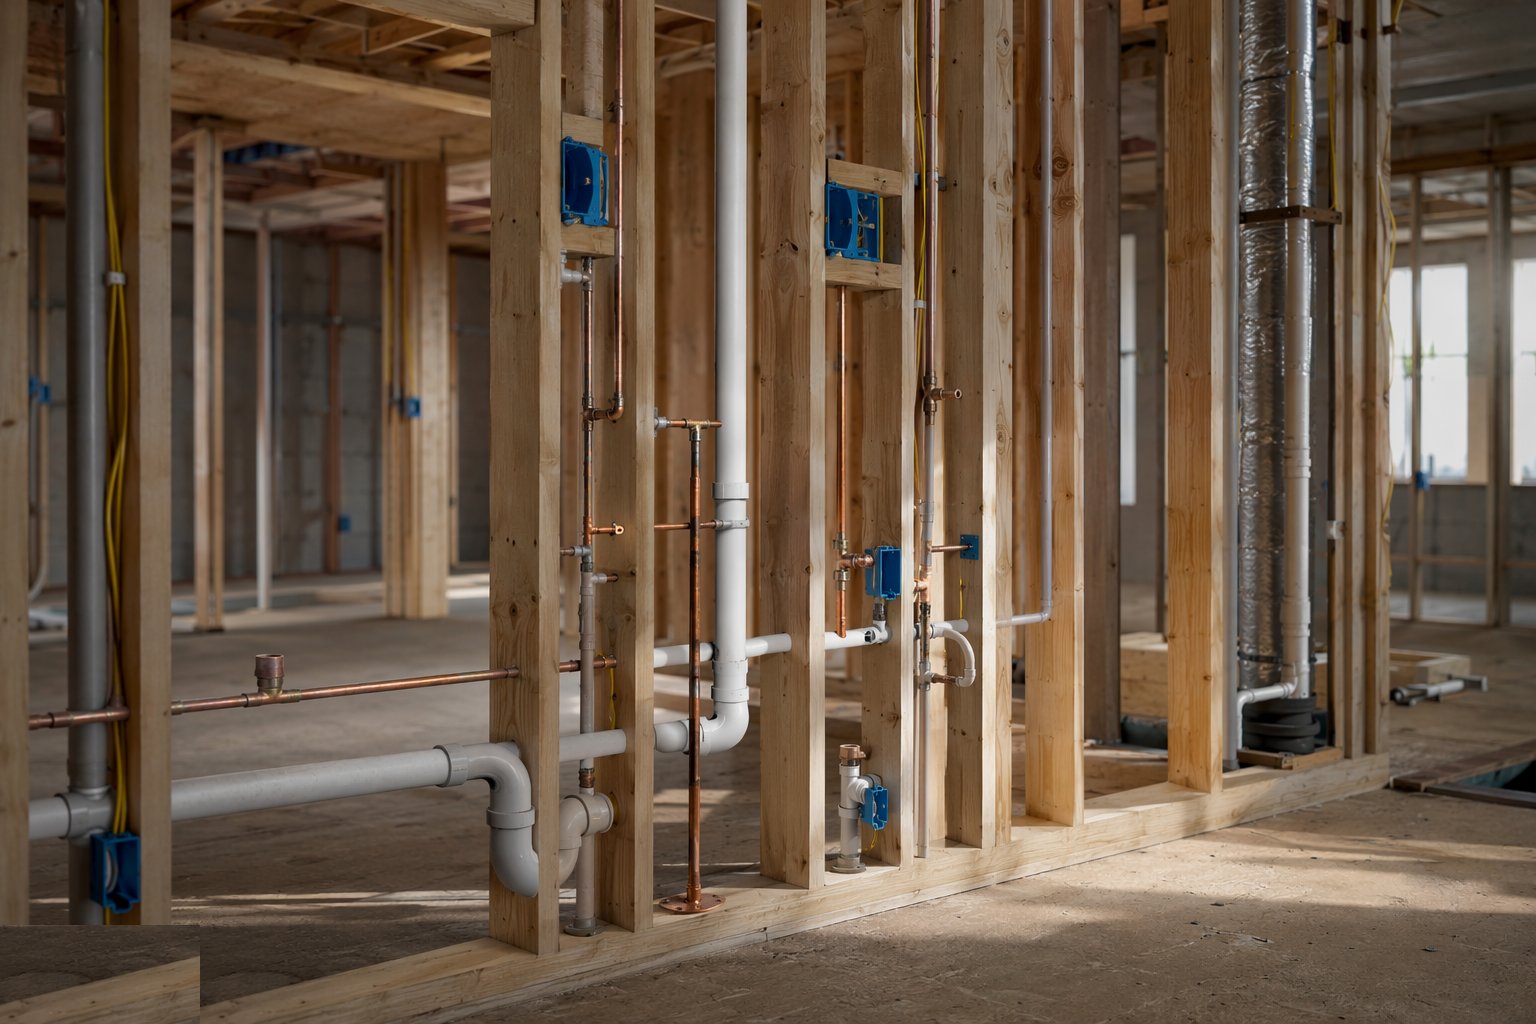
Soil and waste runs are set to their falls with access at changes of direction; supply pipework is run, insulated and clipped, with isolation valves where the design puts them. Terminal positions — sanitaryware connections, radiator tails, appliance points — are set from the finishes drawings, because a pipe 30 mm off becomes an exposed offset after tiling.
Step 7: Test before closure
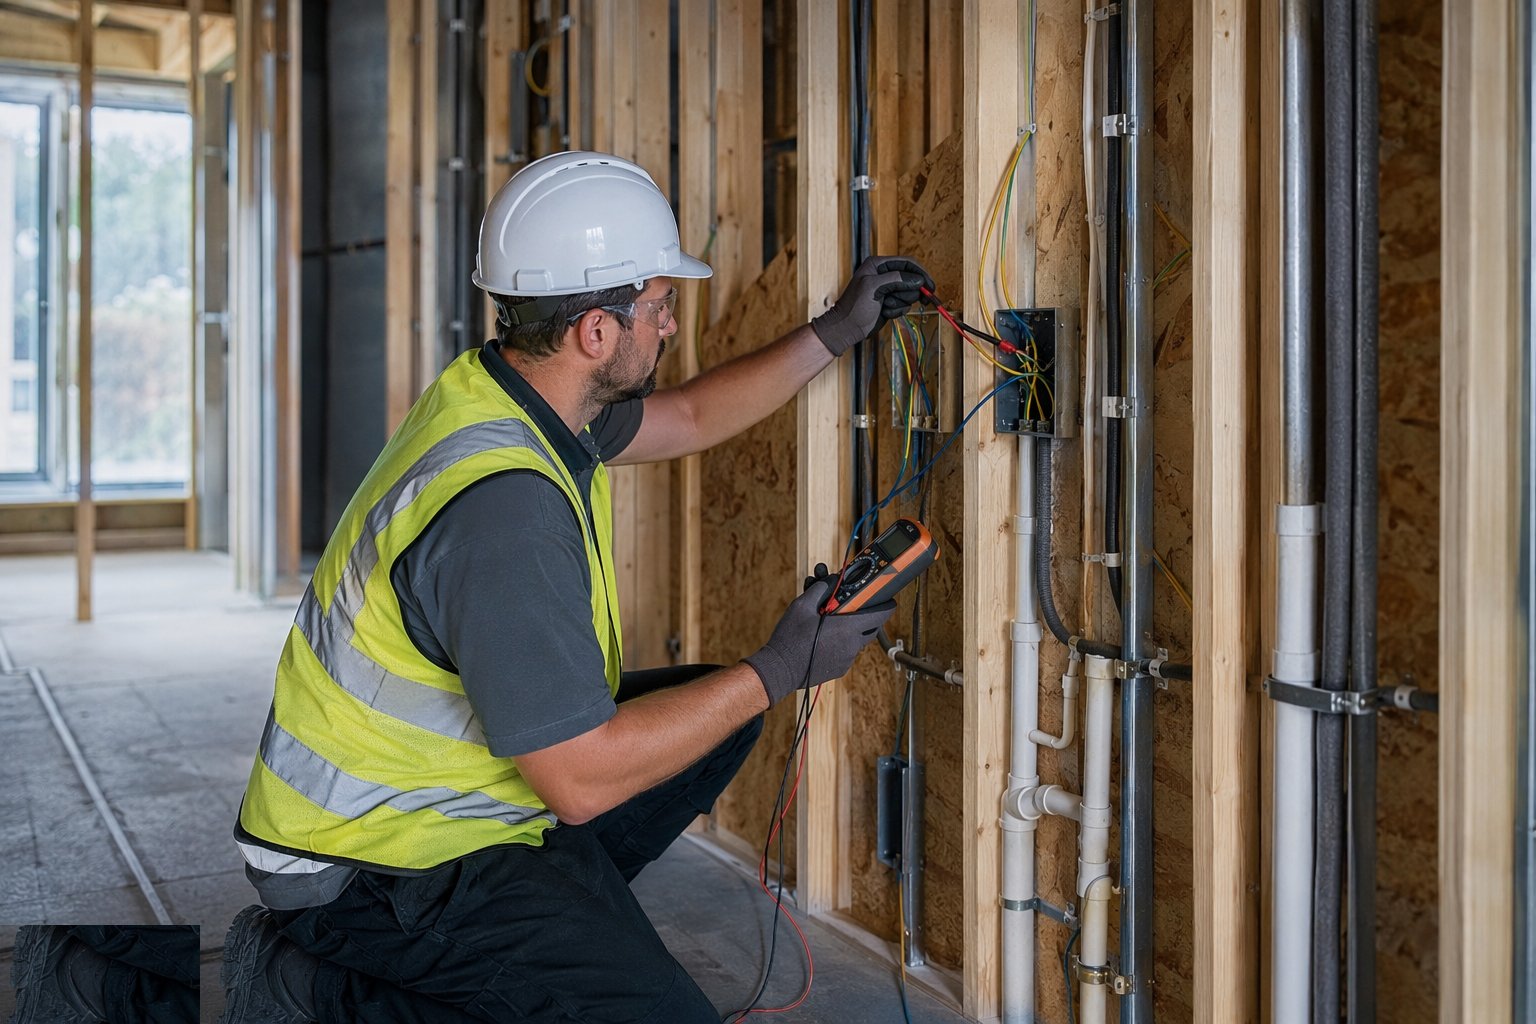
Pressure-test the pipework — water systems under test pressure held and witnessed, drainage air- or water-tested, ductwork leakage-tested where specified. Electrical continuity and insulation resistance tests verify the wiring before energisation. Every test is recorded, and every hidden joint is photographed with its location dimensioned. The photo file is a deliverable.
Step 8: Fire stop, label and hand over to boarding
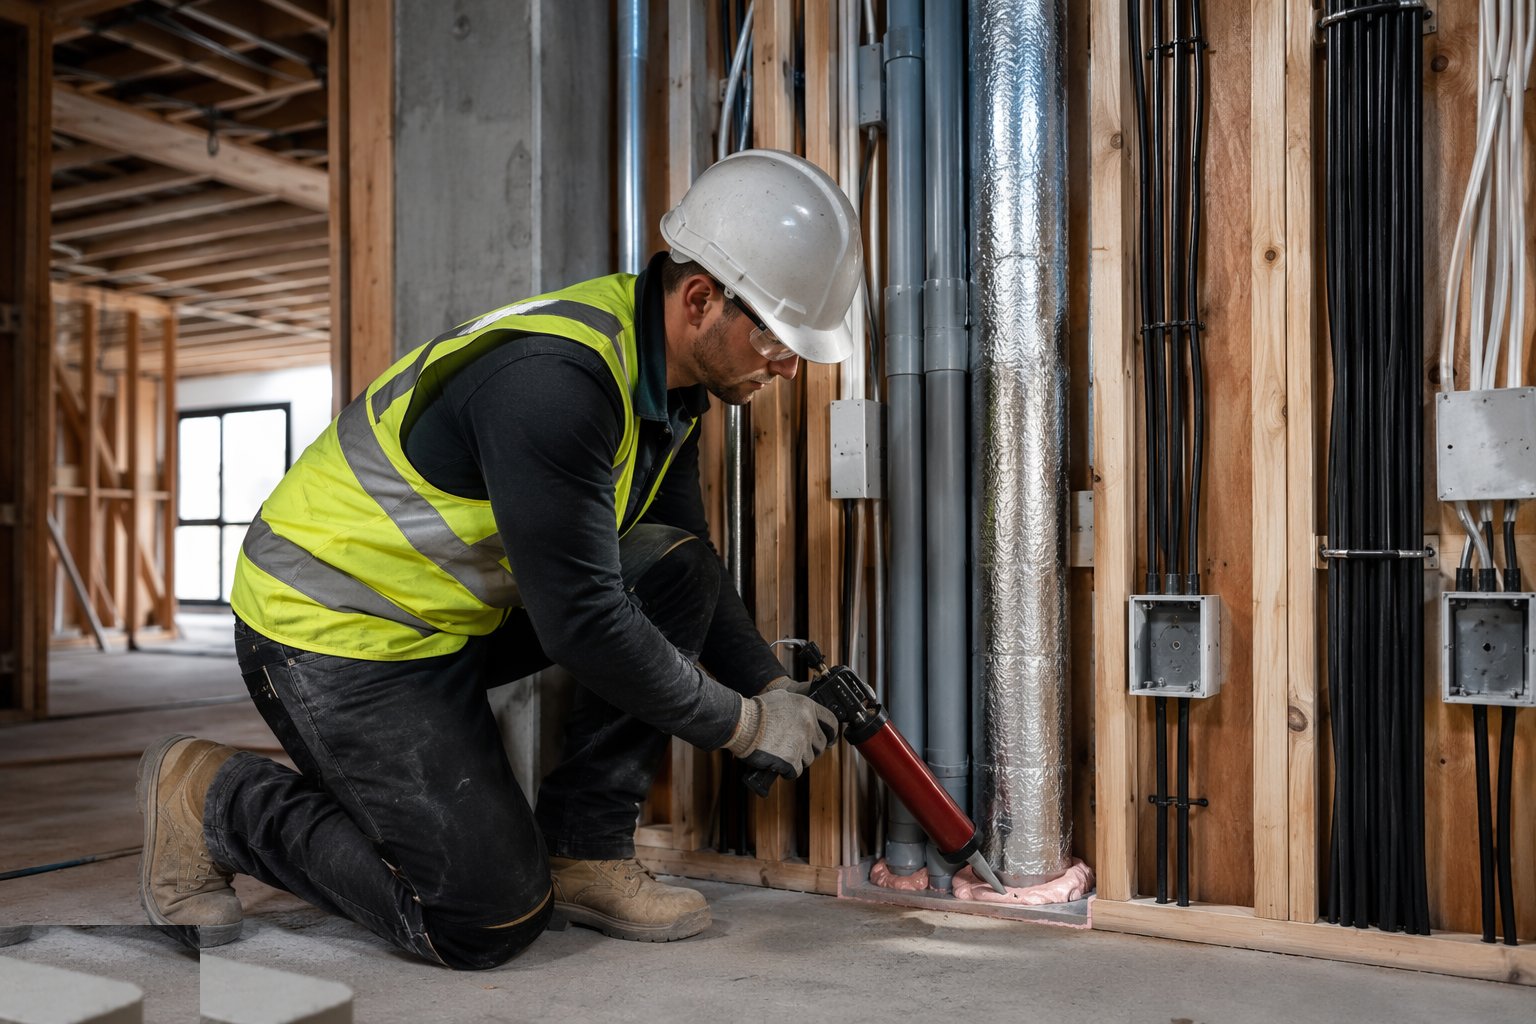
All penetrations through compartment lines are fire-stopped with tested systems, labelled with installer and date. Routes are labelled, valves tagged, and the as-installed markups updated. A joint inspection with the boarding trade walks every wall and ceiling before closure — the last chance anyone gets to see the building's nervous system.
Plant and equipment
- Pipe threading, press-fit and soldering equipment
- Core drills and SDS breakers for builder's work
- MEWPs, podiums and towers for ceiling work
- Cable pulling equipment, tray and trunking tools
- Pressure test pumps, air test kits, duct leakage testers
- Label printers, cameras and the markup drawings
Quality control checks
- Coordinated drawings issued for construction before installation
- Pressure test certificates for every water system, witnessed
- Drainage air/water test records before closure
- Electrical dead tests: continuity and insulation resistance
- Fire-stopping register with photographs and installer labels
- As-installed markups maintained daily, not at the end
Safety considerations
- Hot works permits and fire watch for soldering and brazing
- Work at height in ceiling voids — platforms, not ladders-and-hope
- Electrical safe isolation when working near live services
- Dust and fume control for chasing and core drilling
- Manual handling for duct sections and pipe bundles
Common defects
- Back-falling waste runs — recurring blockages after occupation
- Untested joints above ceilings — leaks discovered from the floor below
- Fire stopping missed or mastic-only at service penetrations
- Cables without fire-rated fixings — collapse in a fire
- Unlabelled circuits and valves — commissioning guesswork
- Clashes discovered at boarding — ceilings dropped or bulkheads improvised
Best suited for
- Every serviced building — the hidden systems installed before the walls close
- Blocks and towers where risers and ceiling voids must be coordinated service by service
- Housing schemes repeating types where standardised first fix pays back
- UAE builds gated by authority rough-in inspections before ceilings are closed
- Refurbishments threading new services through an existing structure
How long does MEP First Fix take?
Typical duration: 1–2 weeks per house; 2–5 months across a residential block, running floor by floor behind the frame..
Related processes
- Roofing
- Façade & Cladding
- Insulation Systems
- Windows, Doors & Glazing
- Internal Finishes
- MEP Second Fix & Commissioning
- External Works & Landscaping
- Testing, Handover & Snagging
- Site Access & Enabling Works
- Site Clearance & Demolition
- Setting Out & Survey Control
- Earthworks & Excavation
- Dewatering & Groundwater Control
- Shallow Foundations
- Piling & Deep Foundations
- Basement & Substructure
- Waterproofing and Tanking
- Concrete Frame Construction
- Steel Frame Construction
- Masonry & Timber Frame
- Floor Slabs & Screeds
- MEP First Fix in Commercial & Workplace
- MEP First Fix in Healthcare
- Mechanical: ventilation and heating distribution — method
- Electrical: containment and wiring — method