Roofing
Pitched trussed rafters and warm flat roofs — the hat that has to keep the weather out for fifty years.
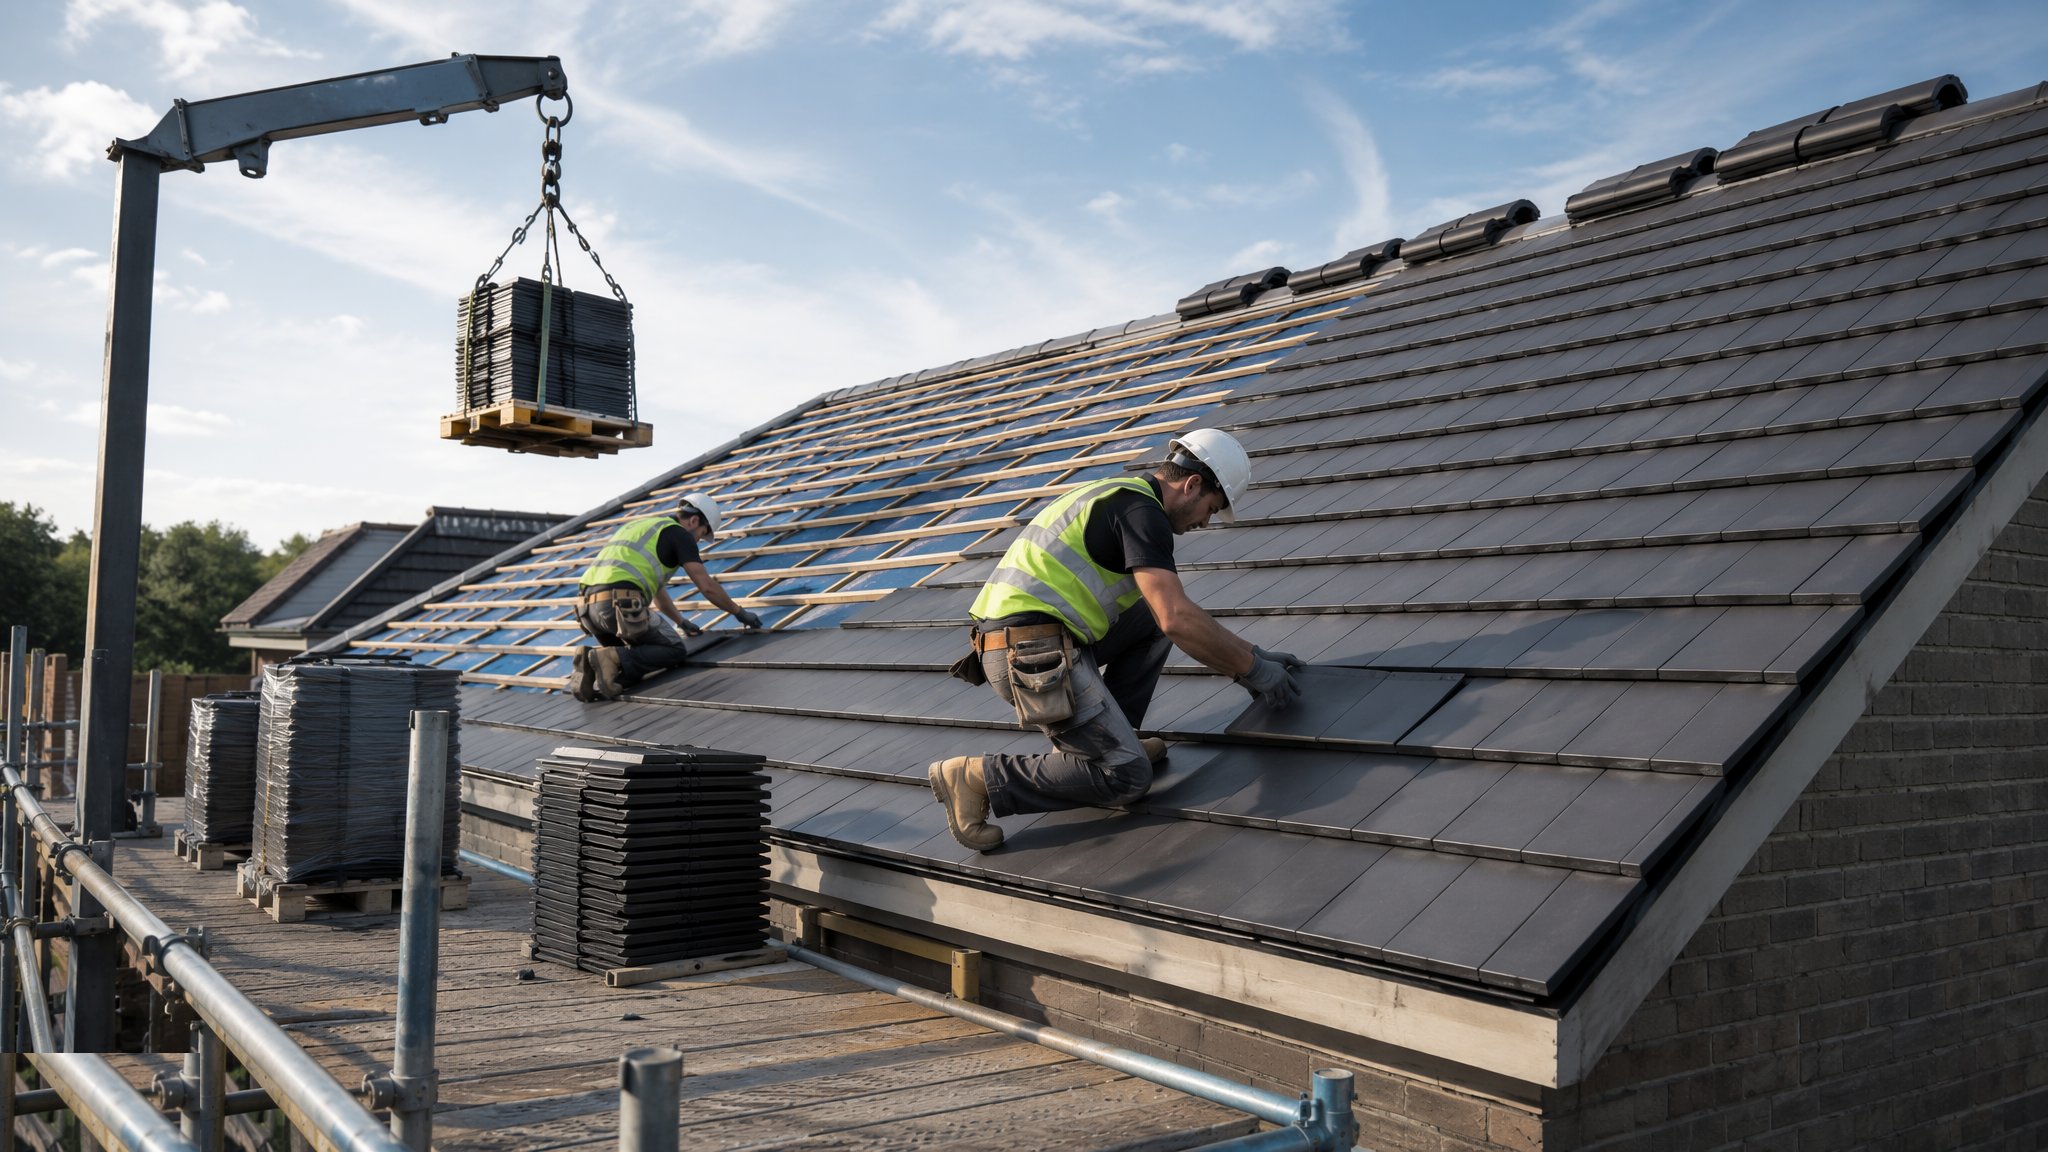
Last updated 2026-07-28 by the BuildPedia Editorial Team.
What is Roofing?
The roof is the building's first and last defence, and it is built in the worst working conditions on the job — at height, in the wind, on a deadline to get weathertight. Pitched roofs on homes are trussed rafters carrying battens, underlay and tiles; flat roofs on extensions and towers are layered systems — deck, vapour control, insulation, membrane — whose performance depends on falls, laps and terminations more than on the brand of membrane.
Most flat roof failures are not membrane failures; they are detail failures — upstands too low, outlets blocked, falls to nowhere, penetrations sealed with hope. Most pitched roof leaks come from abutments, valleys and fixings. The engineer's eye on a roof goes straight to the details, because the middle of the sheet or the middle of the tile field rarely lets go.
When and why is Roofing used?
Roofing follows wall-plate level on low-rise work or the completed frame on towers, and it is programme-critical because every interior trade waits for weathertightness. Warm-deck construction — insulation above the deck — is the modern default for flat roofs, keeping the structure warm and the condensation risk outside. In the UAE most residential roofs are flat concrete roofs waterproofed with torch-applied bituminous membranes over a screed laid to falls, finished with tiles or pebbles; relentless UV and roof-surface temperatures punish membranes and sealants, high-reflectance cool roofs are pushed by the Dubai Building Code and Al Sa'fat, and rare but intense shamal rain finds every weak outlet and low upstand. The process matters because roof defects are expensive, disruptive and usually discovered by the occupants in a storm.
Types of Roofing
Pitched roofs with trussed rafters
Factory-made trussed rafters at 400–600 mm centres span wall to wall, braced into a stable system per the truss designer's layout. Battens over a breathable underlay carry tiles or slates, with rainwater goods — gutters and downpipes — completing the system at the eaves. Fast, engineered and unforgiving of site modification — cut a truss member and you have cut the roof.
Cut roofs and traditional carpentry
Rafters, purlins and ridges cut and fixed on site — flexible for complex roofs, lofts and heritage work, at the cost of skilled labour and slower progress. The carpentry is the engineering: birdsmouths, purlin props and collars all carry load, not just shape.
Warm flat roofs: single-ply, felt and liquid
Deck, vapour control layer, then insulation, then the waterproofing on top: mechanically fixed or adhered single-ply membranes, multi-layer reinforced bitumen felt, or cold-applied liquid systems. Each has its detailing regime at upstands, outlets and penetrations — and all of them fail at the details first.
Green and inverted roofs
Insulation above the waterproofing (inverted — water-resistant XPS boards only, held down by ballast or paving) or a planted build-up over it (green). The membrane is protected from UV and thermal shock and can last far longer, but it must be right first time — finding a leak under 150 mm of soil is archaeology.
Roofing: step by step
Step 1: Set out and erect the structure
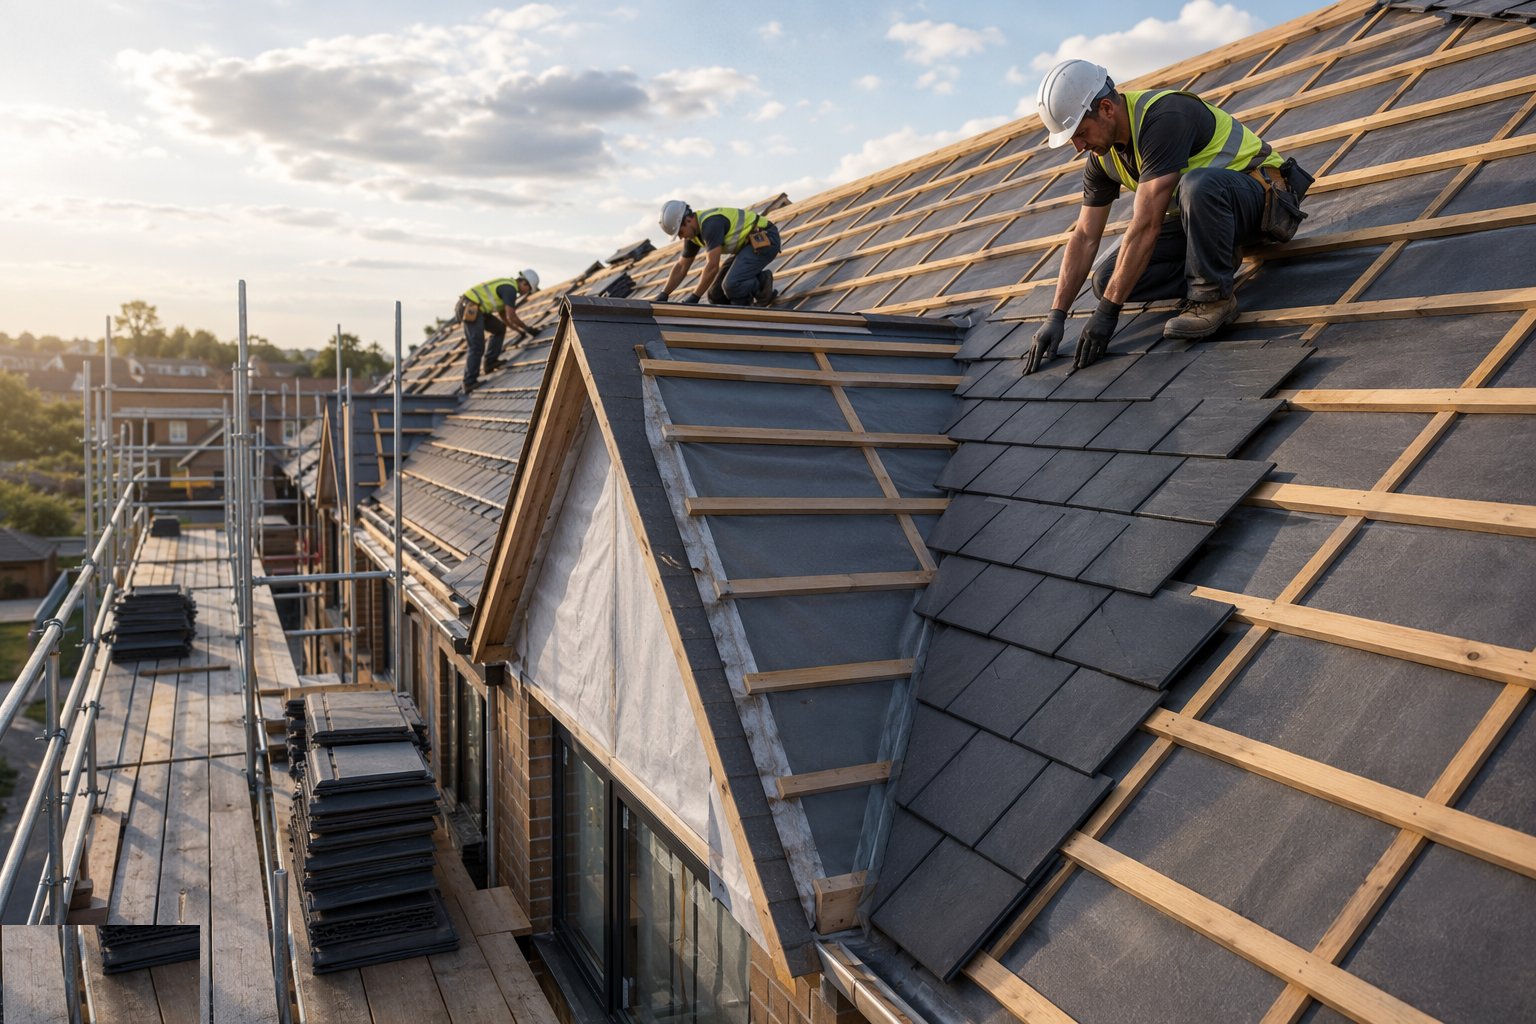
Pitched: trussed rafters are lifted in sequence, set to line on the wall plates, temporarily braced, then permanently braced with longitudinal, diagonal and chevron bracing exactly per the truss designer's layout — bracing is structure, not tidiness. Flat: the deck (timber, metal or concrete) is checked for level, falls and fixings, because the waterproofing can only follow the shape it is given.
Step 2: Form the falls and the drainage
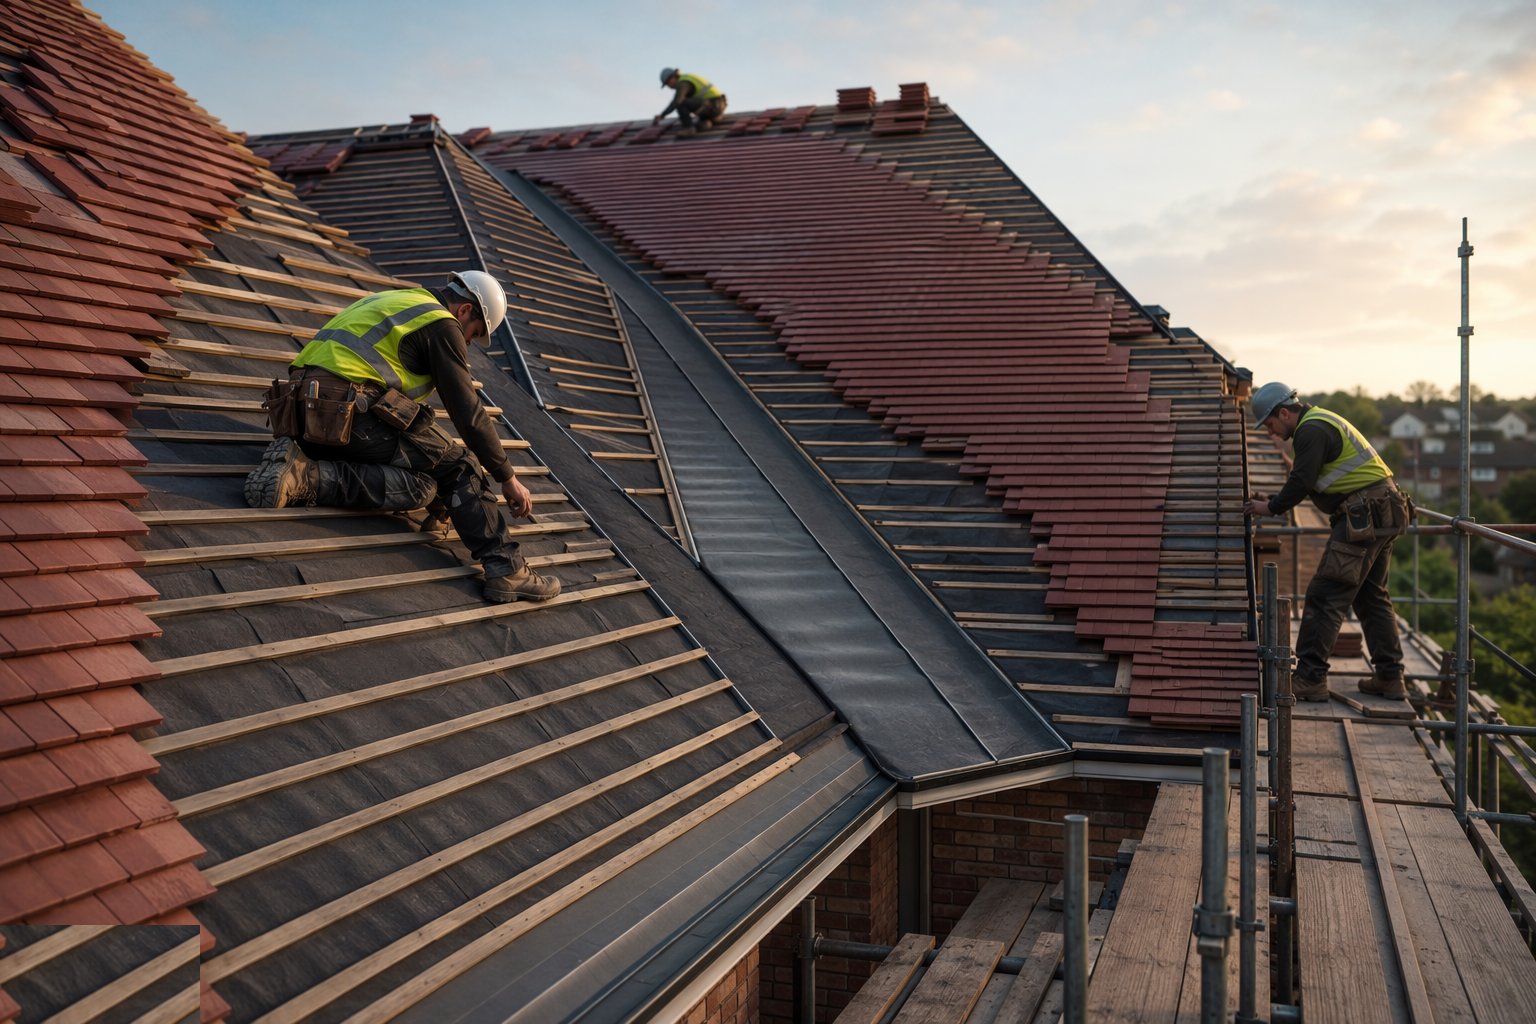
Flat roofs are never flat: they need designed falls — 1:40 by design so that at least 1:80 is achieved once deflection and tolerances have eaten their share — formed by tapered insulation, firrings or the structure. Outlets, gutters and overflows are positioned at the low points with the falls actually running to them; a hose test before covering is the cheap way to prove it. Ponding is not an aesthetic issue; it is a load and a leak waiting.
Step 3: Install the underlay / vapour control layer
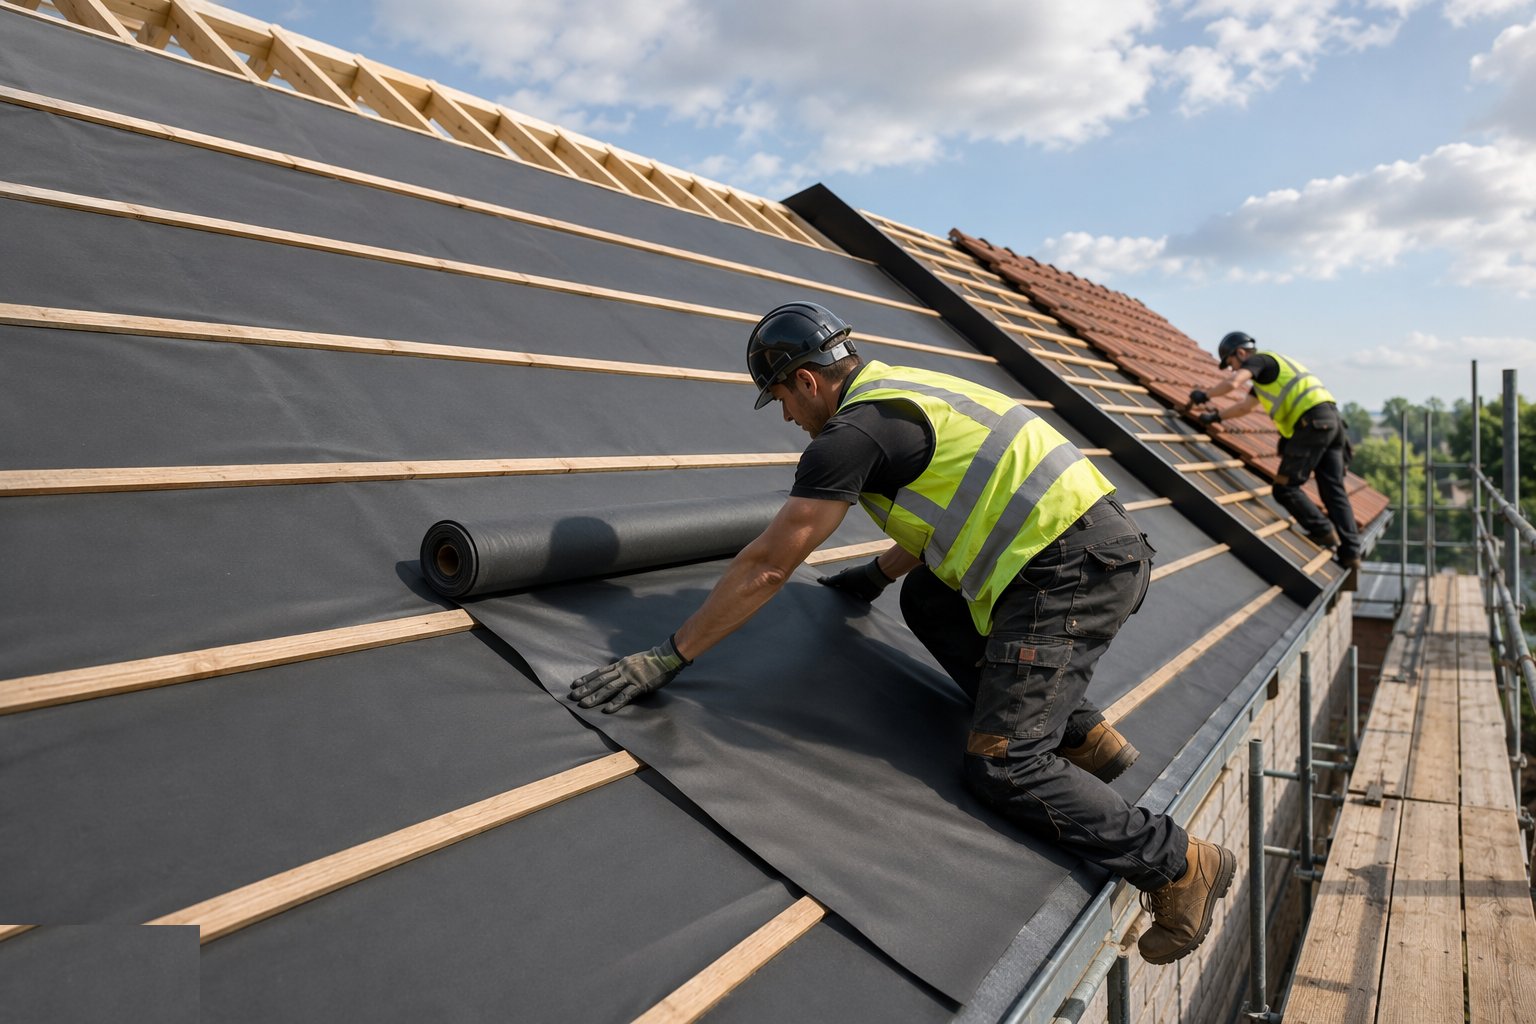
Pitched: breathable underlay is lapped, draped and carried into the gutters with the specified laps and eaves support. Flat: the VCL goes down sealed at every lap and penetration — it is the line that keeps internal moisture out of the cold zone. Both are walked as little as possible and patched with matching material where damaged.
Step 4: Fix insulation and battens
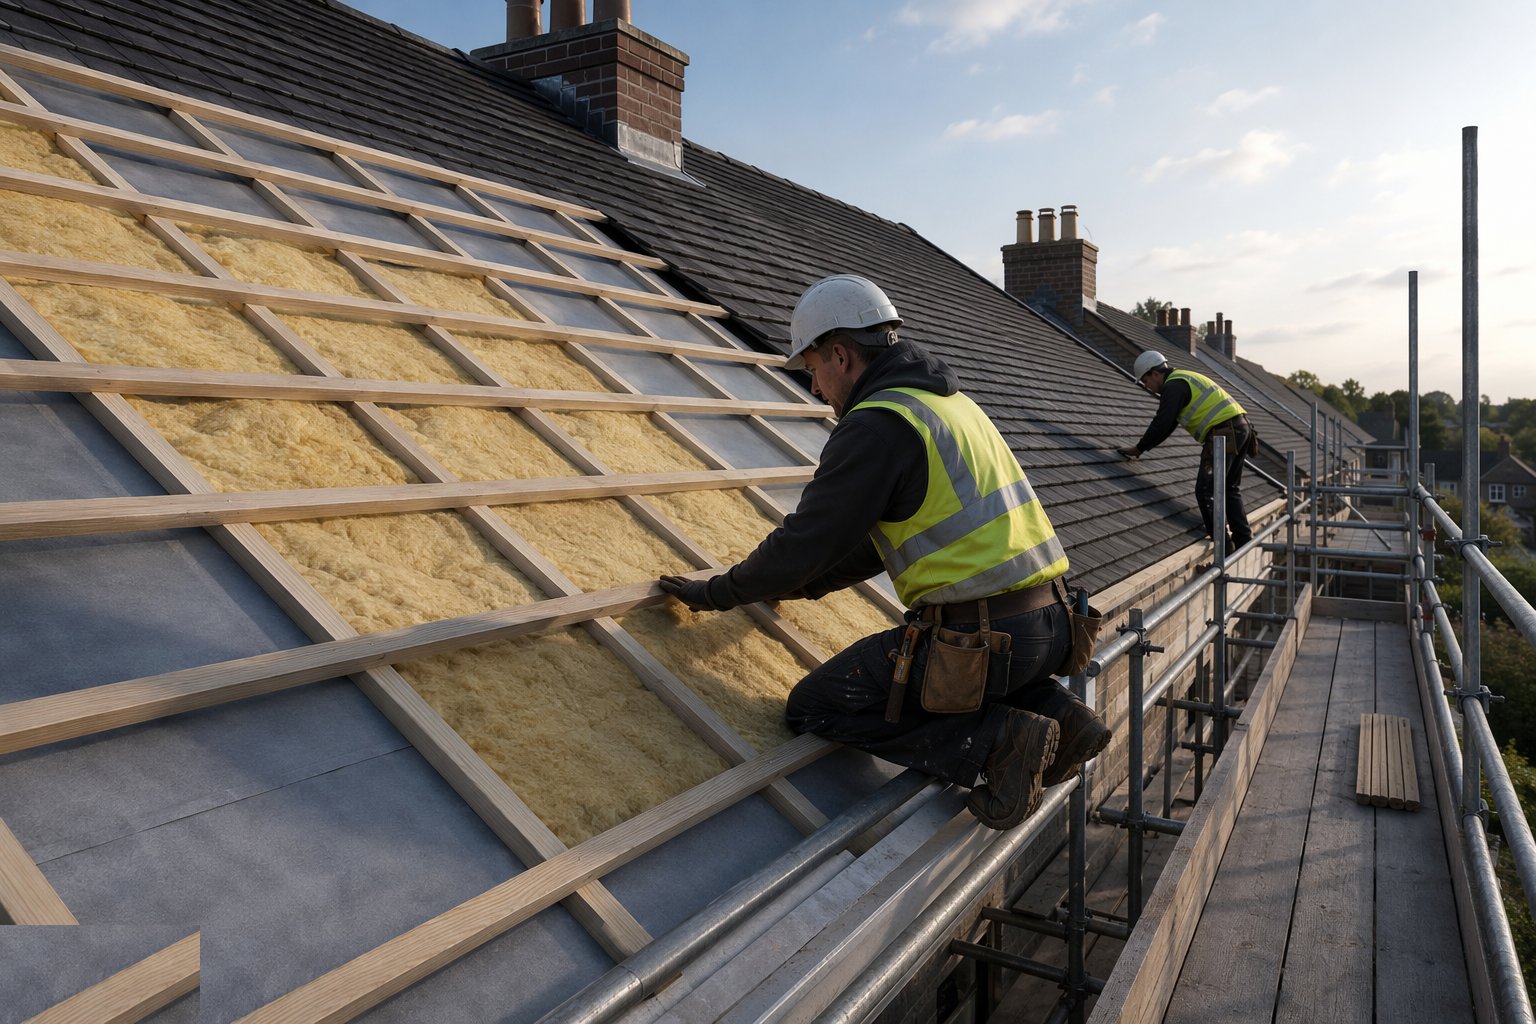
Pitched roofs insulate at ceiling level (cold roof) or between/above rafters (warm roof) with the ventilation paths maintained. Flat warm roofs get boards mechanically fixed or adhered through to the deck, staggered and tight. Battens on pitched roofs are gauged to the tile, fixed with the specified nails and set out so cut tiles land at the verges and ridges properly.
Step 5: Lay the covering: tiles or membrane
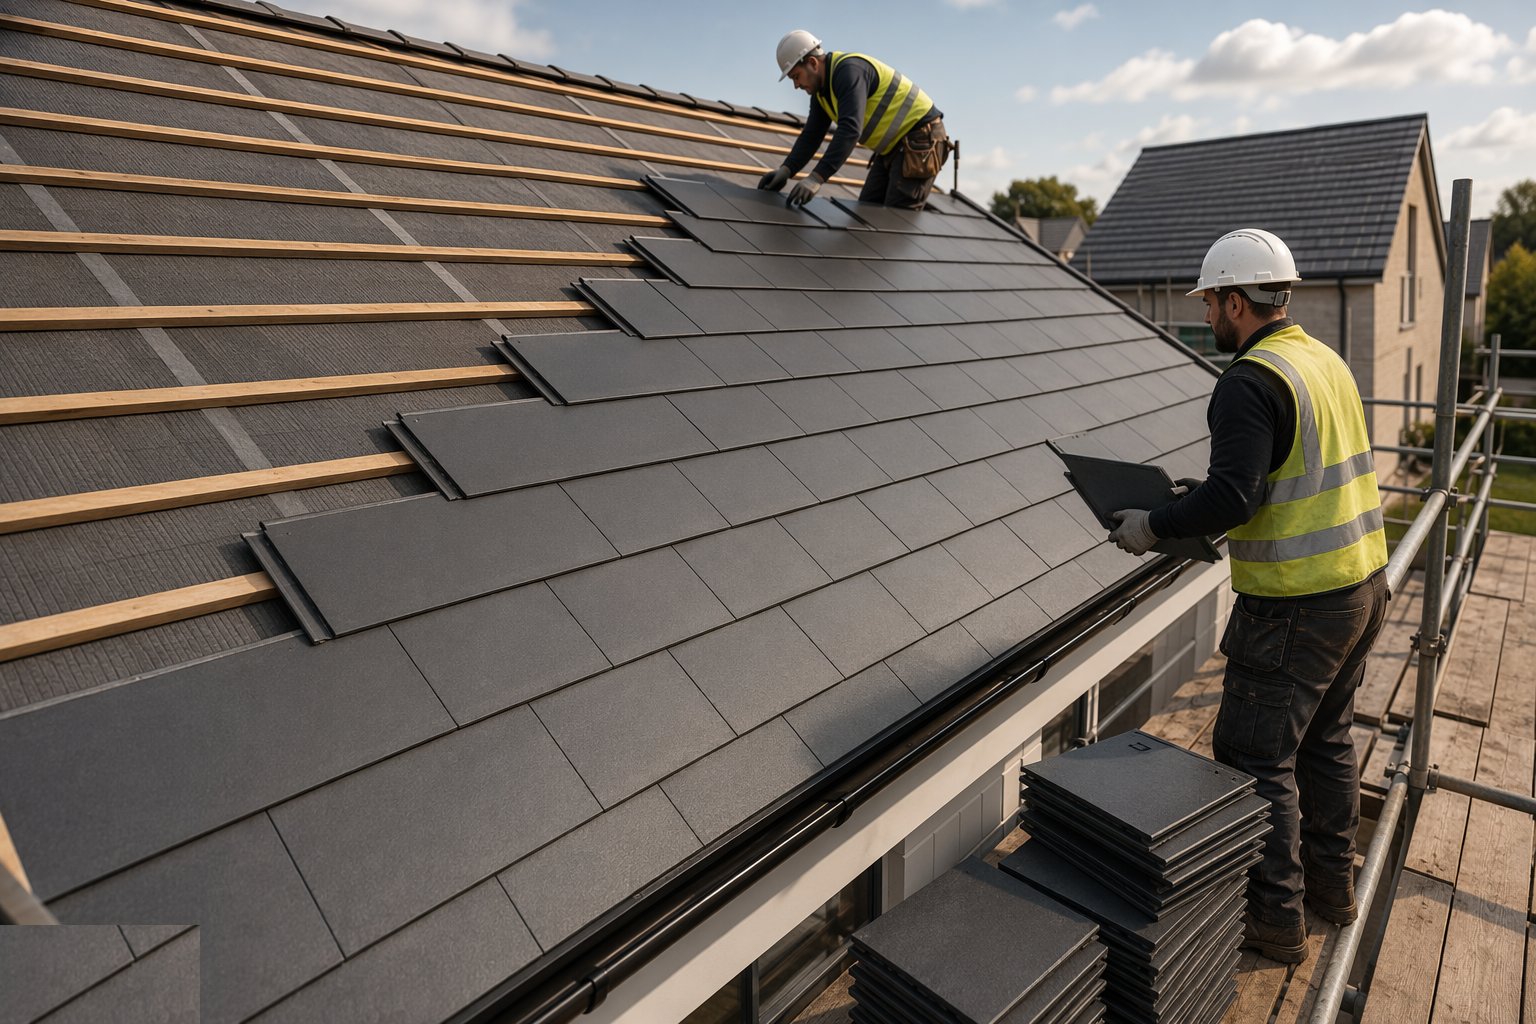
Tiles and slates are laid from the eaves up with the designed headlap, fixed per the wind-uplift calculation — every tile clipped or nailed where the exposure demands. Membranes are laid to the system rules: laps welded or torched and probe-tested, terminations chased or under counter-flashing, upstands to at least 150 mm above finished roof level. Work proceeds in bays, and no bay is left half-lapped overnight.
Step 6: Detail the edges, abutments and penetrations
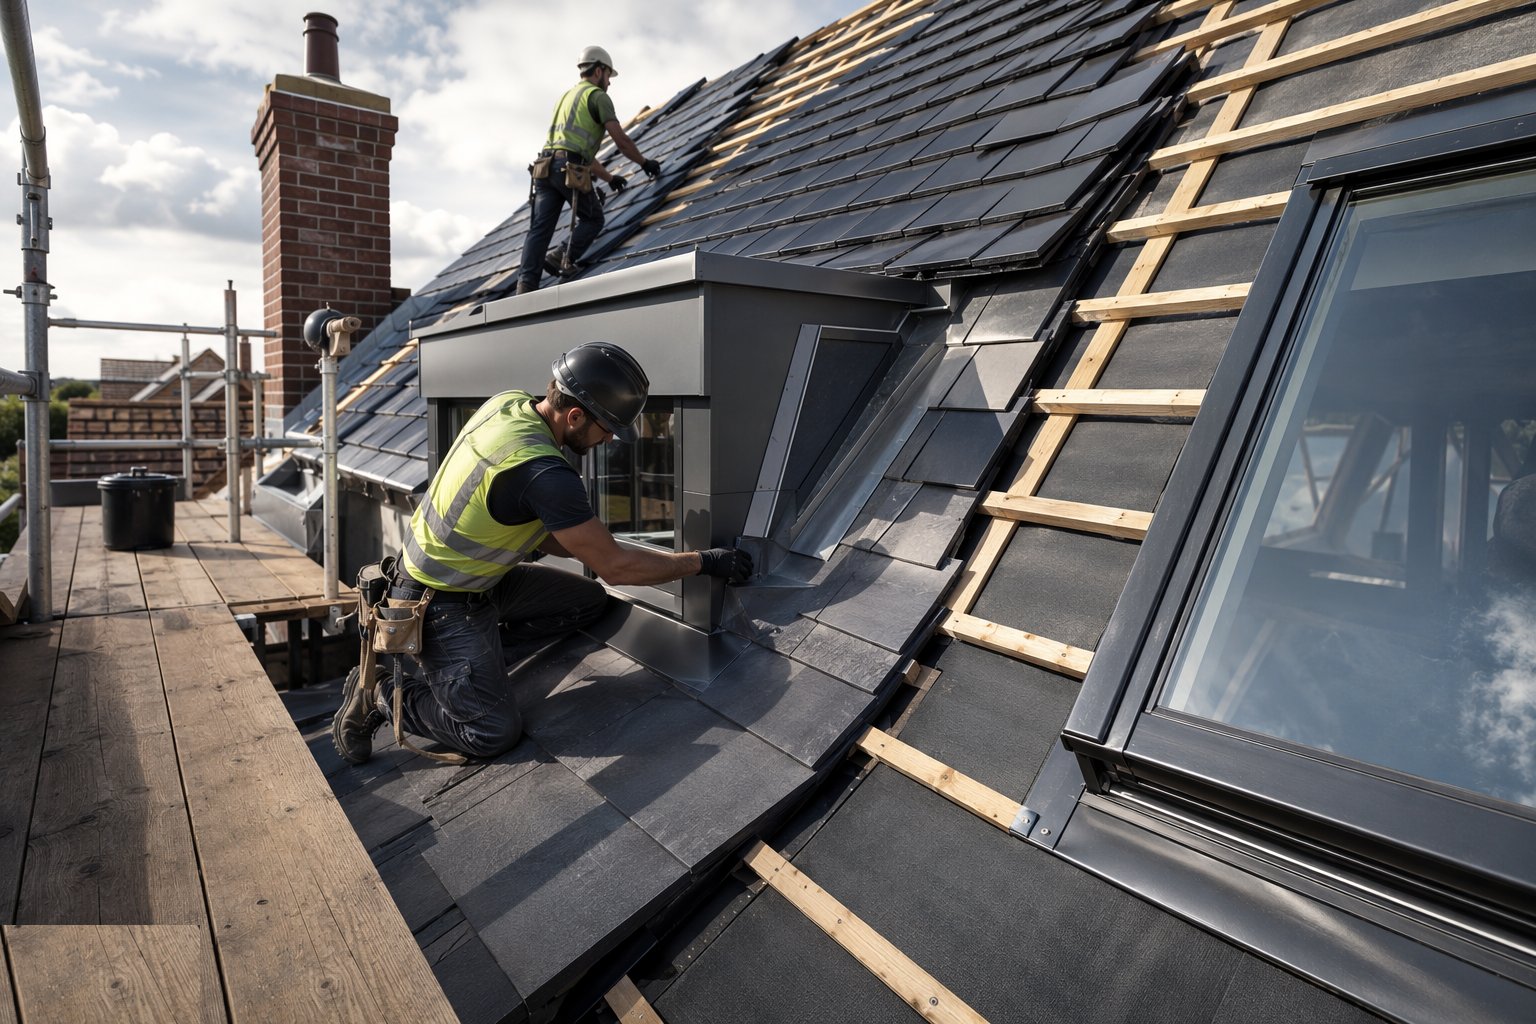
Leadwork or proprietary flashings at abutments, chimneys and walls — lead in the right code, Code 4 for flashings and Code 5 or heavier for gutters, dressed in lengths that allow thermal movement; dressed and welded membrane at outlets and pipes; verges, ridges and dry-fix systems fixed per the manufacturer. Every penetration gets a designed detail from the drawings, not an improvised mastic collar. This is the stage that decides the leak record for the next decade.
Step 7: Test, inspect and certify
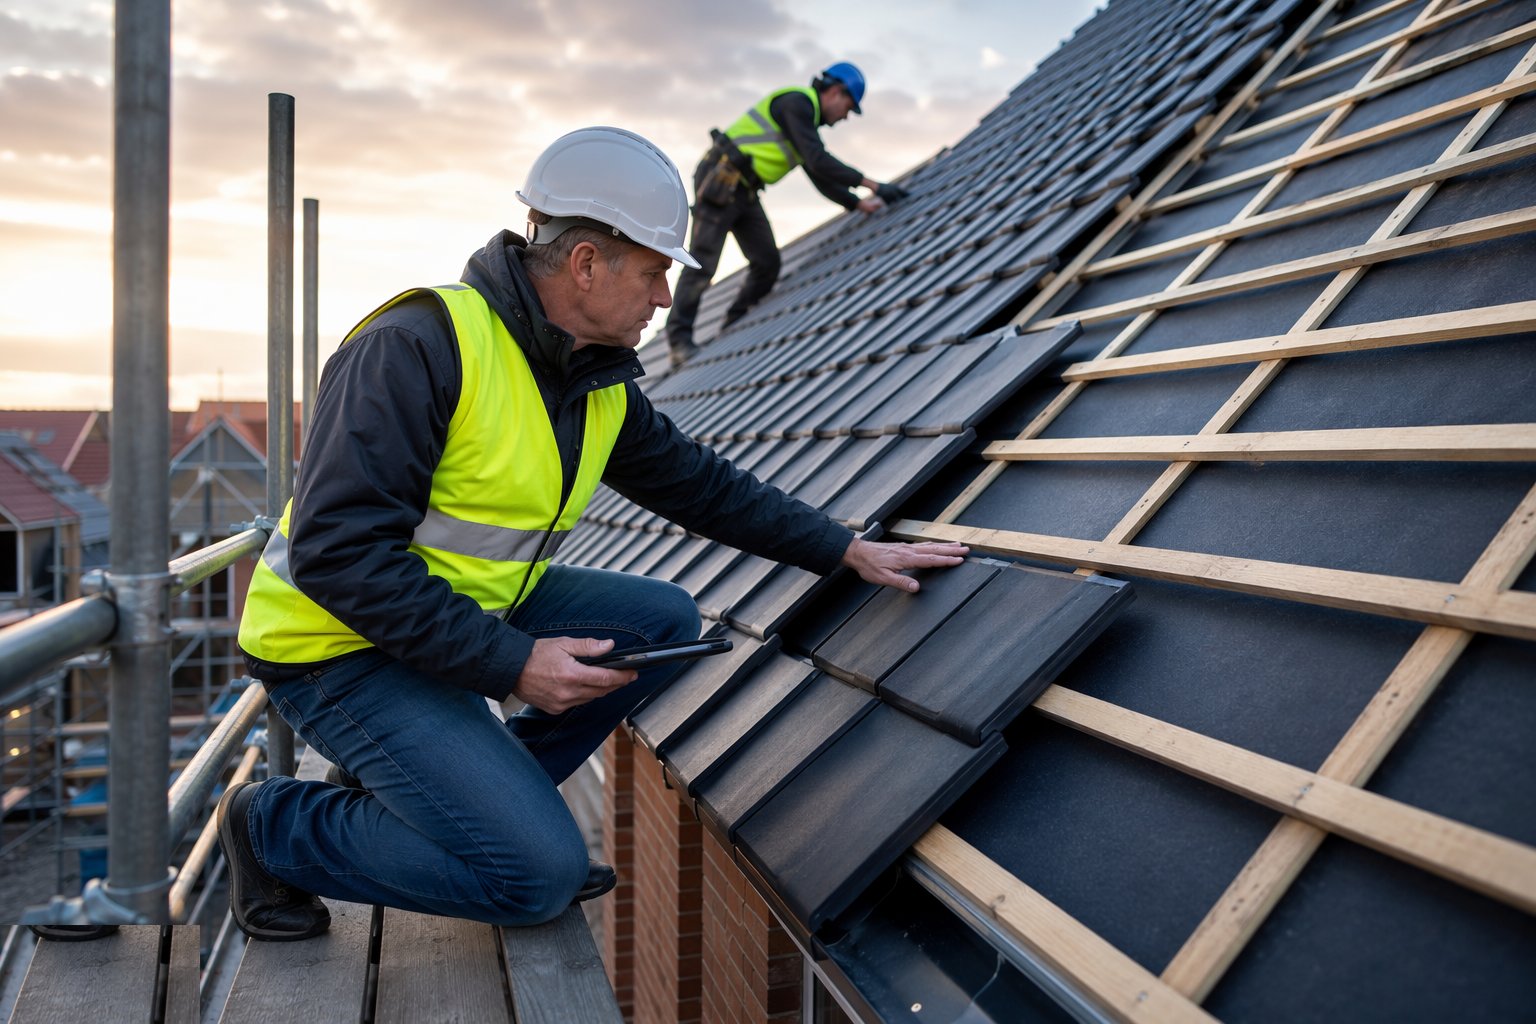
Flat roofs: flood test or electronic leak detection (holiday/spark testing on suitable systems) before any covering or handover. All roofs: a full visual inspection of laps, fixings, flashings and drainage, ideally with a hose. Warranties — manufacturer and installer — are issued against the inspection records. Gutters and outlets are left clean, guarded where specified, and flowing.
Plant and equipment
- Crane or telehandler for trussed rafters and materials; roof loading bays
- Scaffolds, edge protection, roof ladders and MEWPs
- Nail guns, saws and carpentry kit
- Hot-air welders, torches or liquid applicators for membranes
- Tapered insulation cutting equipment
- Flood-test plugs or electronic leak detection kit
Quality control checks
- Trussed rafter bracing installed per the designer's layout — inspected before covering
- Coverings laid to BS 5534 (slating and tiling) or BS 6229 (flat roofs) as applicable
- Batten gauge and fixing checks against the tile specification
- Tile fixing schedule matched to the wind-uplift calculation
- Membrane lap probe tests and weld tests per bay
- Upstand heights, outlet positions and falls verified — hose or flood test
- Electronic leak detection / flood test records before handover
Safety considerations
- Edge protection or fall-arrest at every open edge and fragility
- Fragile surfaces: nets, covers or crawling boards — assume every sheet is fragile
- Truss erection exclusion zones and lifting plans
- Hot works permit and fire watch for torched felt
- Weather limits: no membrane work in wind or on wet decks
Common defects
- Falls to nowhere — ponding at mid-span, outlets high and dry
- Upstands below 150 mm — wind-driven rain over the top
- Underlay not drained into the gutter — water tracking into the eaves
- Missing tile fixings in the exposure zone — first storm strips the verge
- Mastic used as a flashing — a two-year repair pretending to be a detail
- Truss members cut on site for a flue or a loft ladder
Best suited for
- Pitched roofs on housing — trussed rafters, tiles and breathable membranes
- Warm flat roofs on extensions, apartment blocks and podiums
- Re-roofing and refurbishment where the covering has reached the end of its life
- UAE flat roofs detailed for extreme heat, UV and rare but violent rain
- Getting any building weathertight so the fit-out trades can follow
How long does Roofing take?
Typical duration: 1–2 weeks per house roof; 4–12 weeks for large flat roof areas including testing..
Related processes
- Concrete Frame Construction
- Steel Frame Construction
- Masonry & Timber Frame
- Floor Slabs & Screeds
- Façade & Cladding
- Insulation Systems
- Windows, Doors & Glazing
- MEP First Fix
- Internal Finishes
- MEP Second Fix & Commissioning
- External Works & Landscaping
- Testing, Handover & Snagging
- Site Access & Enabling Works
- Site Clearance & Demolition
- Setting Out & Survey Control
- Earthworks & Excavation
- Dewatering & Groundwater Control
- Shallow Foundations
- Piling & Deep Foundations
- Basement & Substructure
- Waterproofing and Tanking
- Roofing in Commercial & Workplace
- Pitched roofs with trussed rafters — method
- Cut roofs and traditional carpentry — method
- Warm flat roofs: single-ply, felt and liquid — method