Shallow Foundations
Strips, pads and rafts — spreading the building's weight onto good ground near the surface.
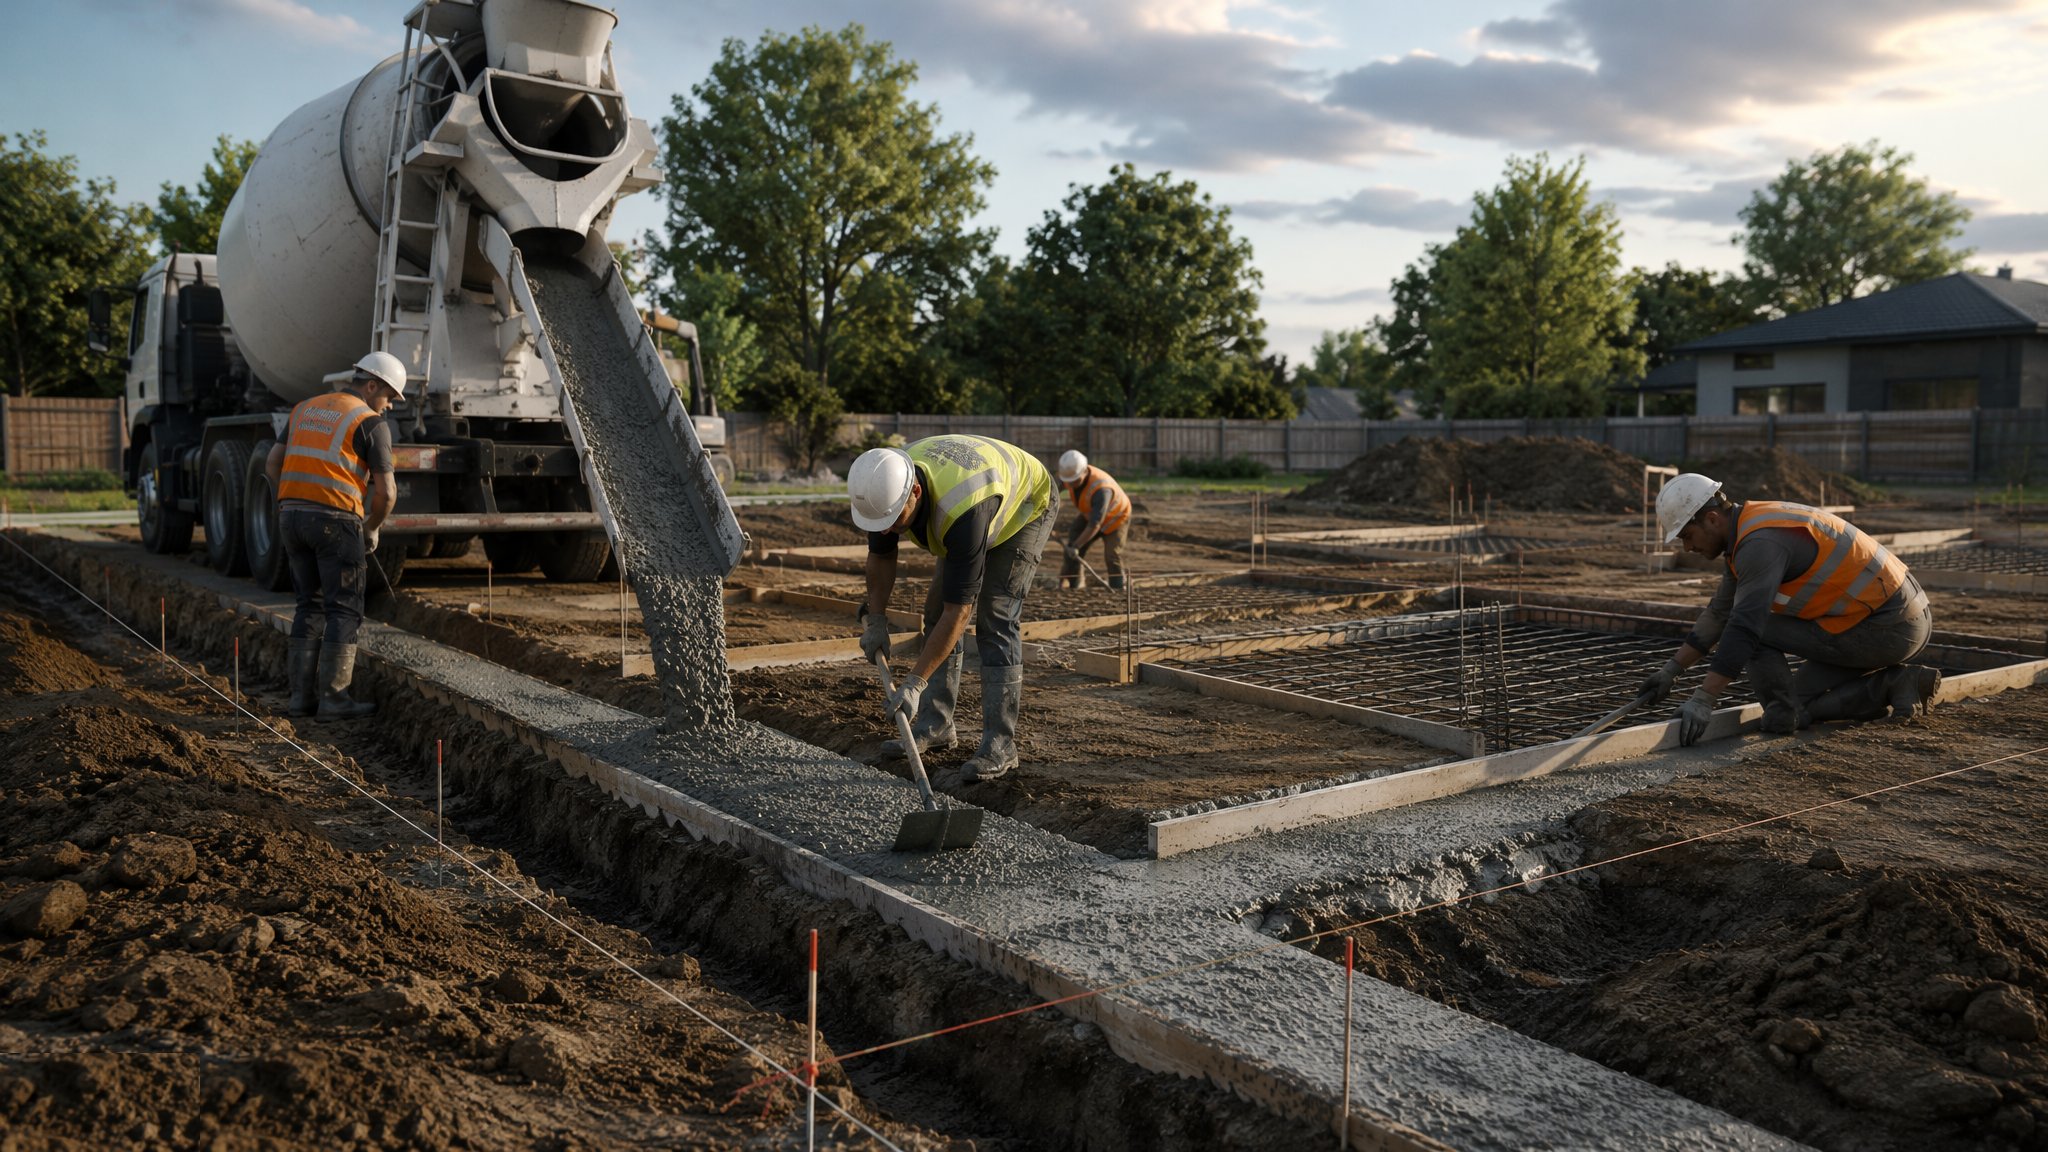
Last updated 2026-07-28 by the BuildPedia Editorial Team.
What is Shallow Foundations?
Where decent bearing ground exists within a metre or two of the surface, shallow foundations are the economical answer: simple excavations, concrete, and reinforcement where the loads demand it. Most houses and low-rise buildings in the country stand on strip foundations a few hundred millimetres deep — a detail so standard it looks trivial, right up until the ground turns out not to be standard.
The engineering is in the ground verification and the detailing, within the framework of BS 8004 and Eurocode 7. The foundation width comes from the load divided by the allowable bearing pressure — with deemed-to-satisfy tables in Approved Document A and the NHBC Standards covering most housing — and the depth comes from frost (external foundations are normally at least 450 mm deep in the UK), shrinkable clay, trees and the need to find undisturbed strata. Every trench is inspected before concrete, because a strip foundation poured over a soft spot or a desiccated root zone is a crack with a date on it.
When and why is Shallow Foundations used?
Shallow foundations follow earthworks and formation approval, and are chosen when the near-surface soils can carry the loads with acceptable settlement. Where weak ground, deep fill, mining or heavy loads rule that out, the design moves to rafts or piling. In the UAE, strips and pads suit villas founded on dense sands, while variable or salt-bearing sabkha ground pushes designs towards rafts and durability-led detailing. They matter because the foundation is the one element you can never economically replace.
Types of Shallow Foundations
Strip foundations
A continuous ribbon of concrete under load-bearing walls, typically 450–750 mm wide and 150–300 mm thick for housing. Trenchfill variants pour concrete nearly to ground level, saving blockwork below ground; traditional shallow strips have masonry brought up to DPC level. The default for domestic construction on decent ground.
Pad foundations
Isolated square or rectangular bases under columns, sized from load over bearing pressure and reinforced against bending and punching shear. Pads suit steel and frame construction where loads arrive at points. They can be linked by ground beams to carry walls and resist differential movement.
Raft foundations
A reinforced concrete slab spanning the whole footprint, spreading loads over the maximum area — the answer for weak or variable ground, mining areas and sites with made ground. Flat rafts, edge-thickened rafts and cellular rafts trade concrete for ground stiffness. Often cheaper than deep strips on poor ground once excavation and disposal are priced honestly, and the common answer in the Gulf where sabkha or variable sands make strip behaviour unpredictable.
Wide-strip and stepped foundations
On sloping sites strips are stepped at masonry-course increments, with the step overlap at least the depth or 300 mm. Where bearing is marginal, strips are widened and reinforced. Both are detailing exercises as much as calculations — the drawings must show every step and change of level.
Shallow Foundations: step by step
Step 1: Confirm the design against the ground investigation
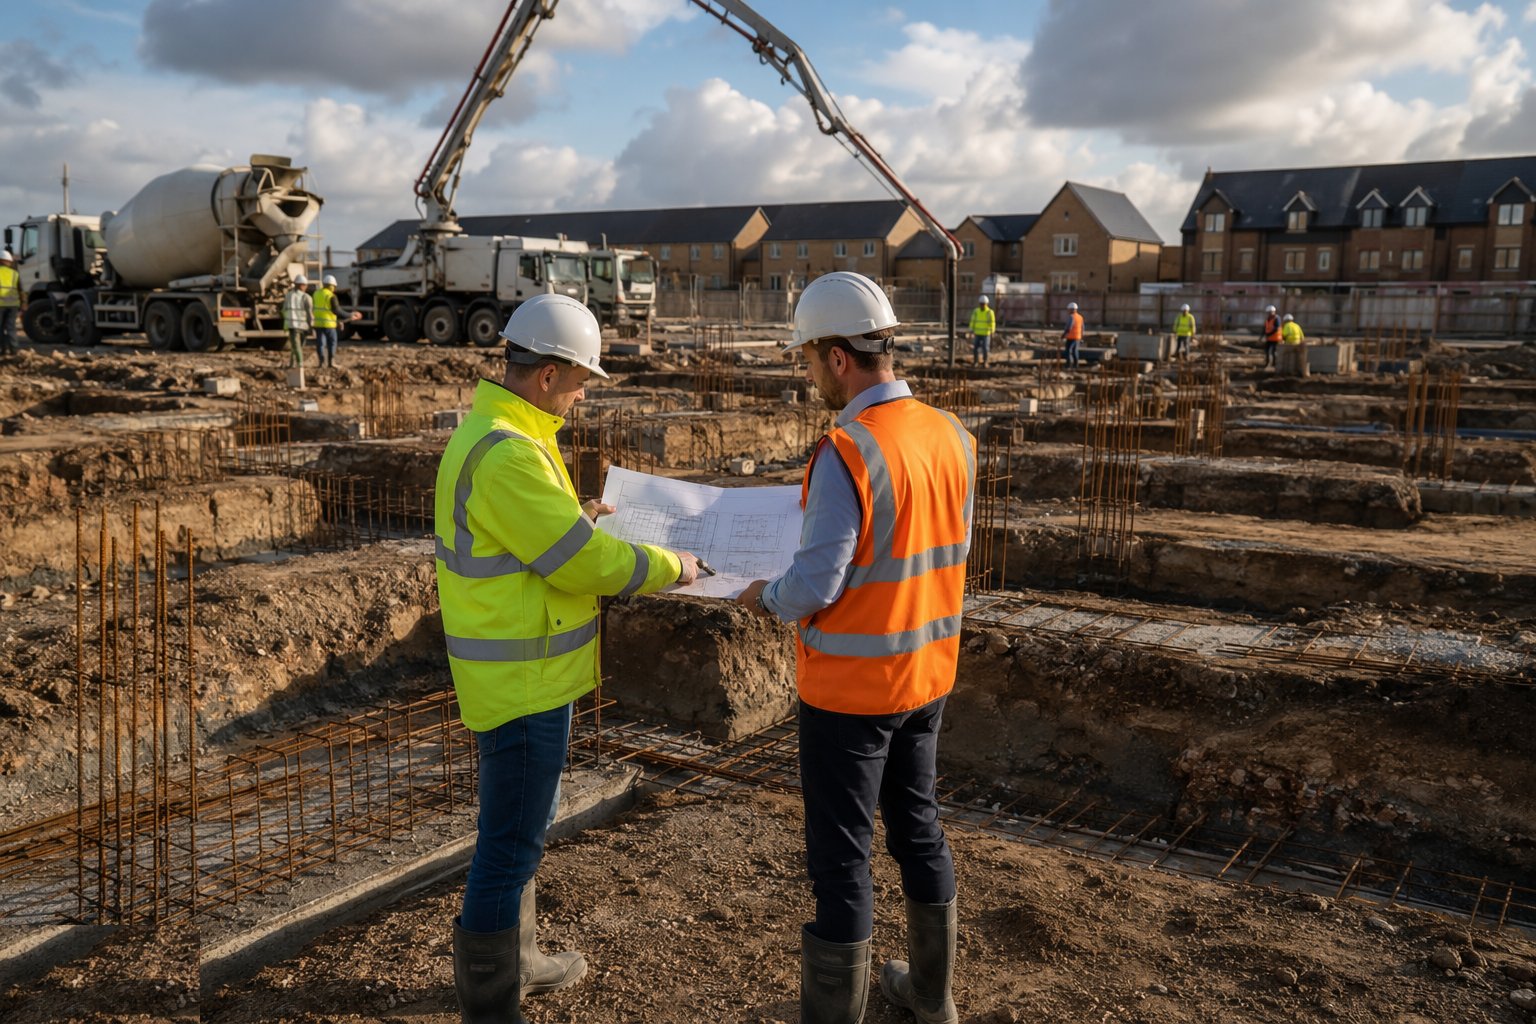
Check the foundation type, width and founding depth against the GI and any updates — a ground-bearing slab design on a site that turns out to have 2 m of fill needs to change before the dig, not during it. Confirm the allowable bearing pressure, the required founding stratum and any special measures for trees, clay or mining.
Step 2: Excavate trenches or pads to line and level
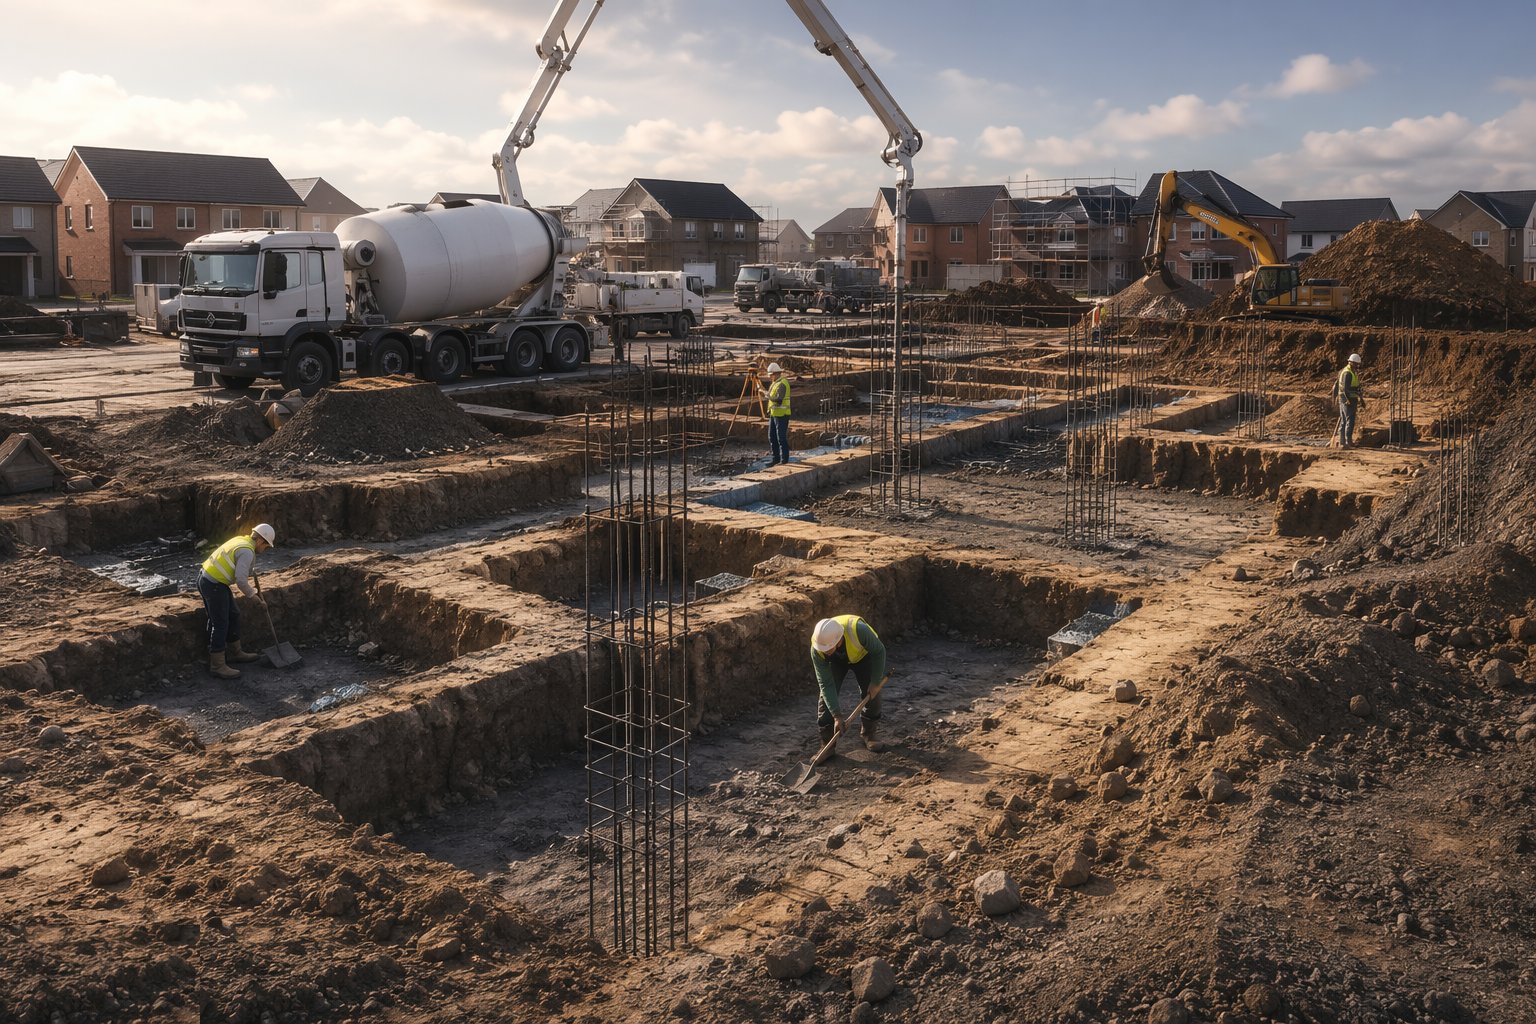
Dig to the setting-out profiles with a trenching bucket, keeping the base clean and undisturbed. Founding level is checked from the site datum as the dig proceeds. Over-dig is made good with concrete, never loose backfill. In clay, programme the dig to pour the same week — open trenches and wet weather are enemies.
Step 3: Engineer's inspection of the formation
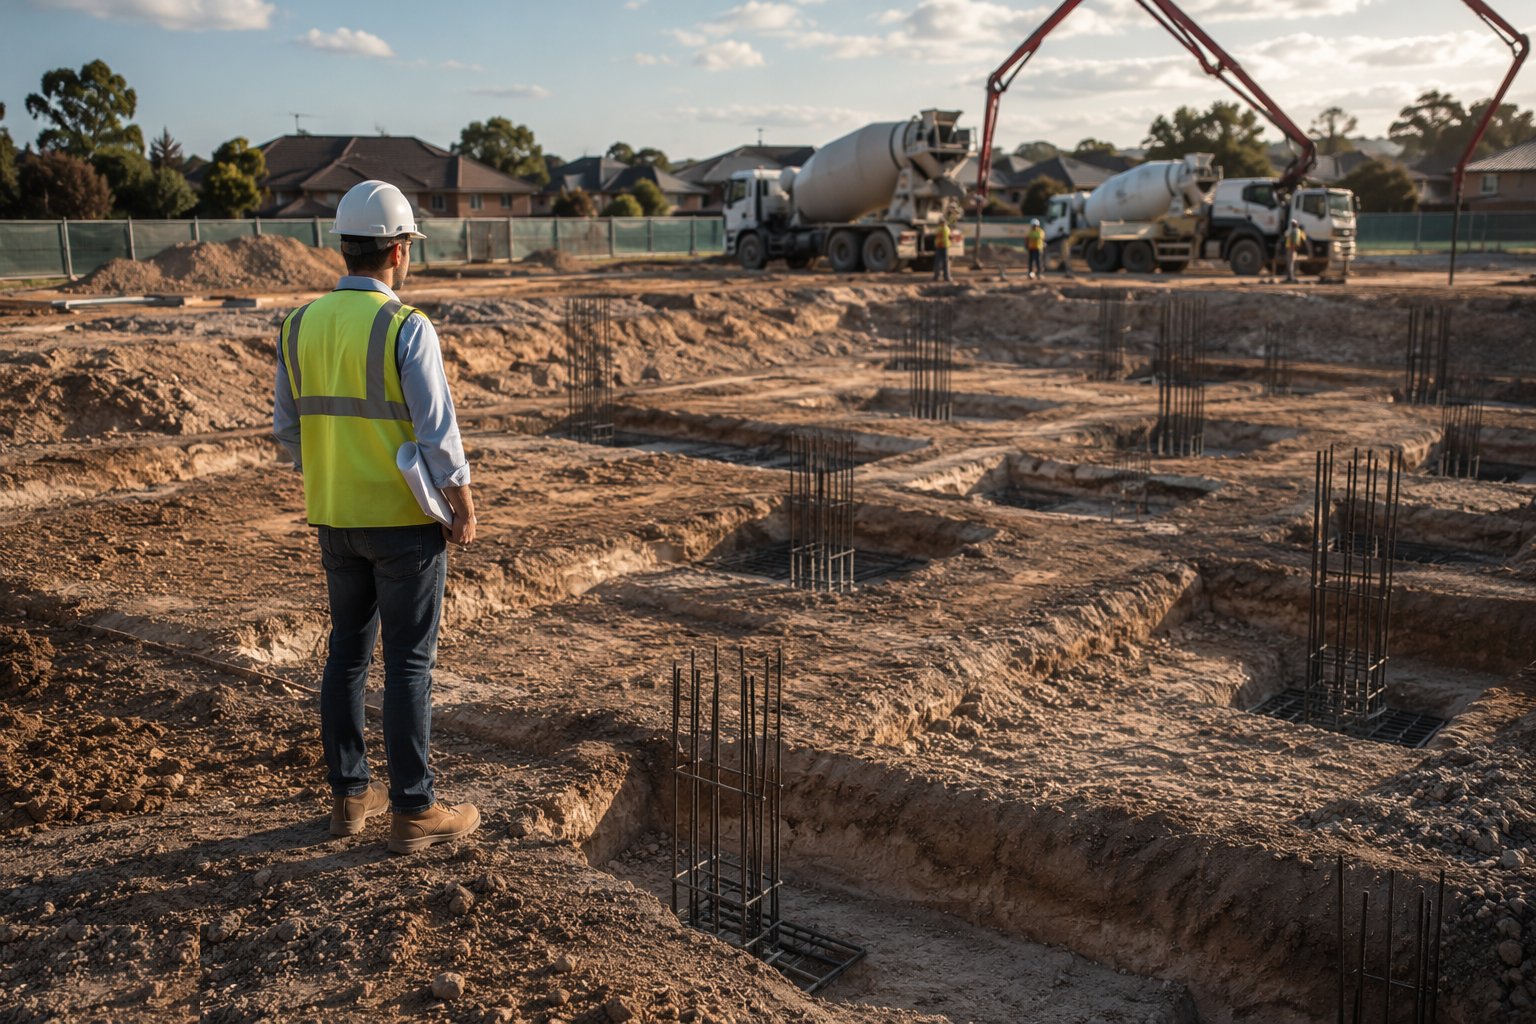
The hold point: the engineer or building control inspector examines the formation — correct stratum, no soft spots, roots, fill or water damage, and correct levels. Suspect material is dug out and replaced with mass concrete to a designed step-down. Approval is recorded on the inspection request before anything is poured.
Step 4: Pour blinding and fix reinforcement
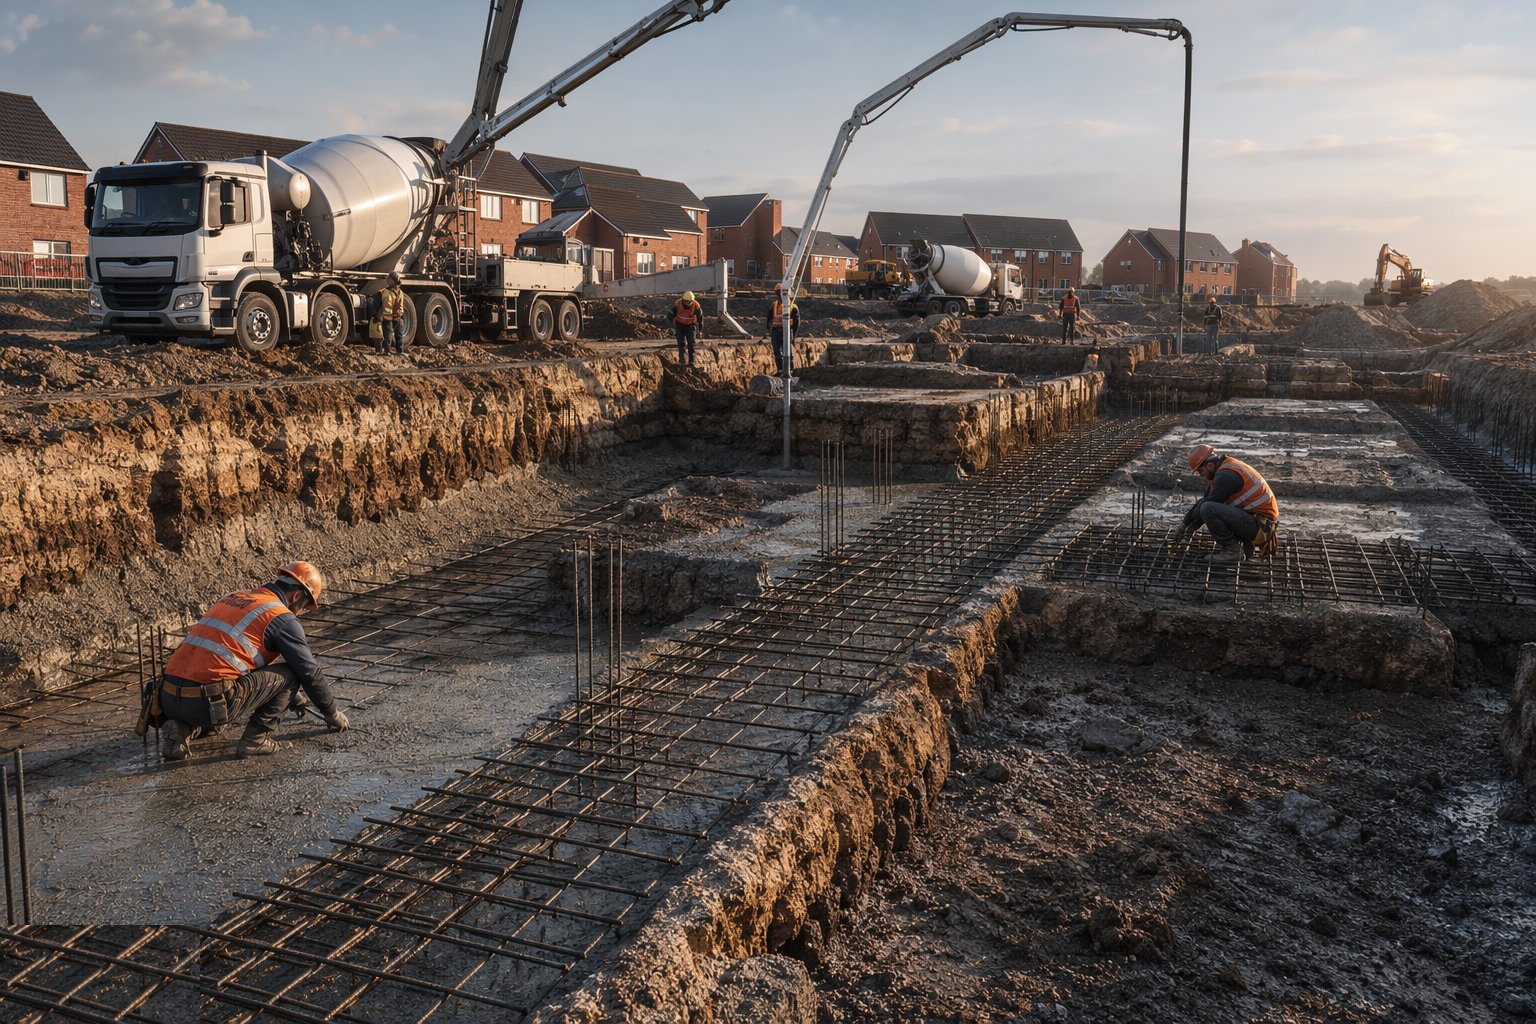
Where reinforcement is required, a 50–75 mm blinding layer gives a clean, level working surface. Mesh and bars are fixed to the bending schedule with the specified cover — typically 50–75 mm against ground — on chairs and spacers. Starter bars for walls or columns are templated so they land where the frame above needs them.
Step 5: Set out and check formwork or trench edges
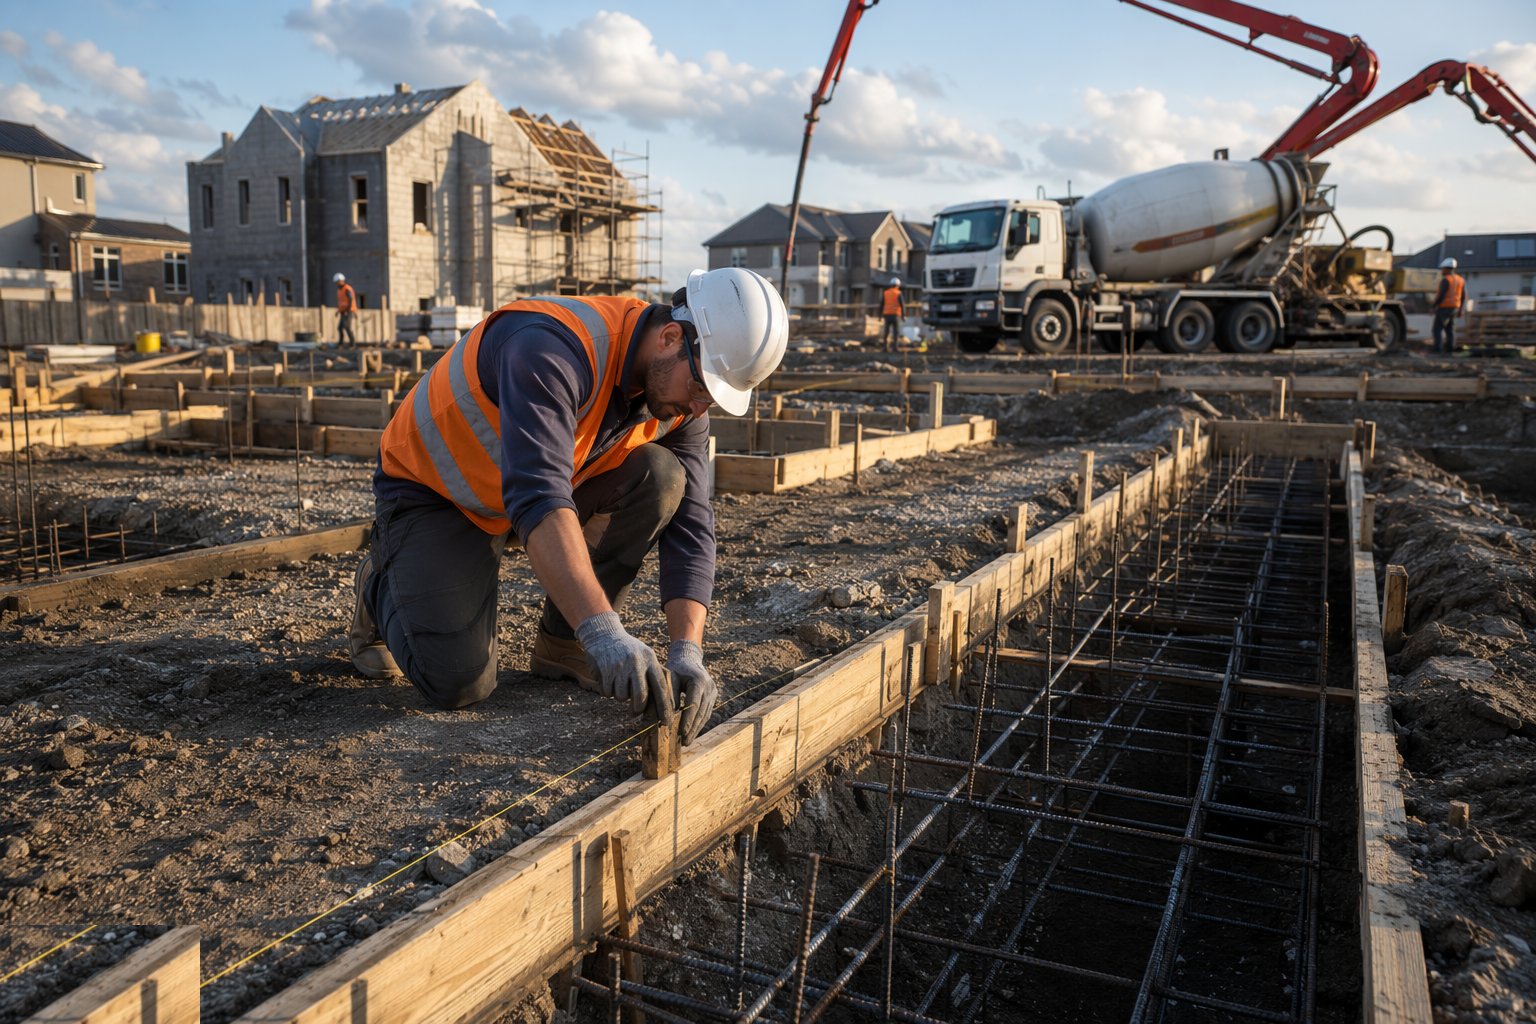
For pads and rafts, edge formwork is set to line and level from the control points; for trenchfill strips, the trench itself is the form. Check dimensions, diagonals and levels before the pour — concrete forgives nothing. Any ducts, sleeves or drainage crossing the foundation are positioned now or they become a breaker's job later.
Step 6: Place and compact the concrete
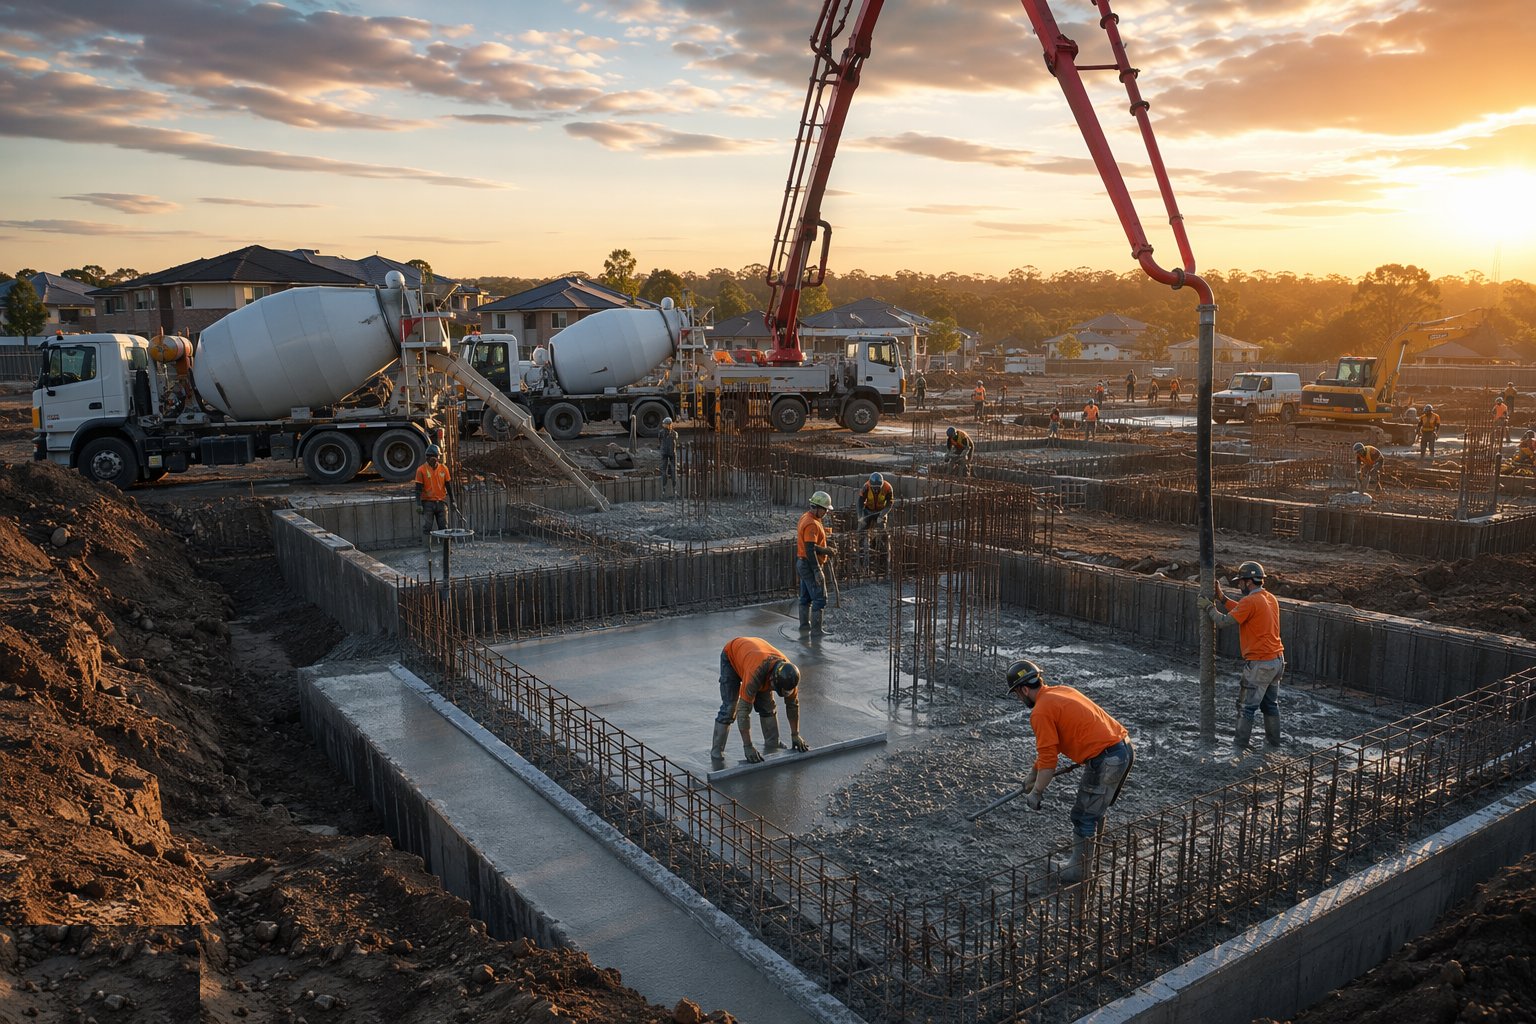
Concrete to the specified mix — commonly a GEN or RC mix to BS 8500, with the exposure class declared for ground contact — is placed by chute, pump or skip, and compacted with poker vibrators to expel air. Slump is checked on arrival for each load against the order; a wet load waved through today is a cracked, honeycombed foundation tomorrow. In the Gulf, chloride- and sulphate-bearing ground demands a sulphate-resisting or high-GGBS mix and increased cover, and hot-weather rules apply to every pour: chilled mix water or ice to keep delivered concrete near 25 °C, and no retempering with water on site. Finish the top to level for the masonry or the frame.
Step 7: Cure, protect and sample

Test cubes are taken from the pour, marked and cured for crushing at 7 and 28 days — the objective evidence of strength. Fresh concrete is protected from frost, drying wind and rain; curing compound or hessian goes on where the surface will take masonry later. No loading until the concrete has gained sufficient strength, typically a minimum of three days for masonry above strips.
Step 8: Backfill and prepare for the next trade
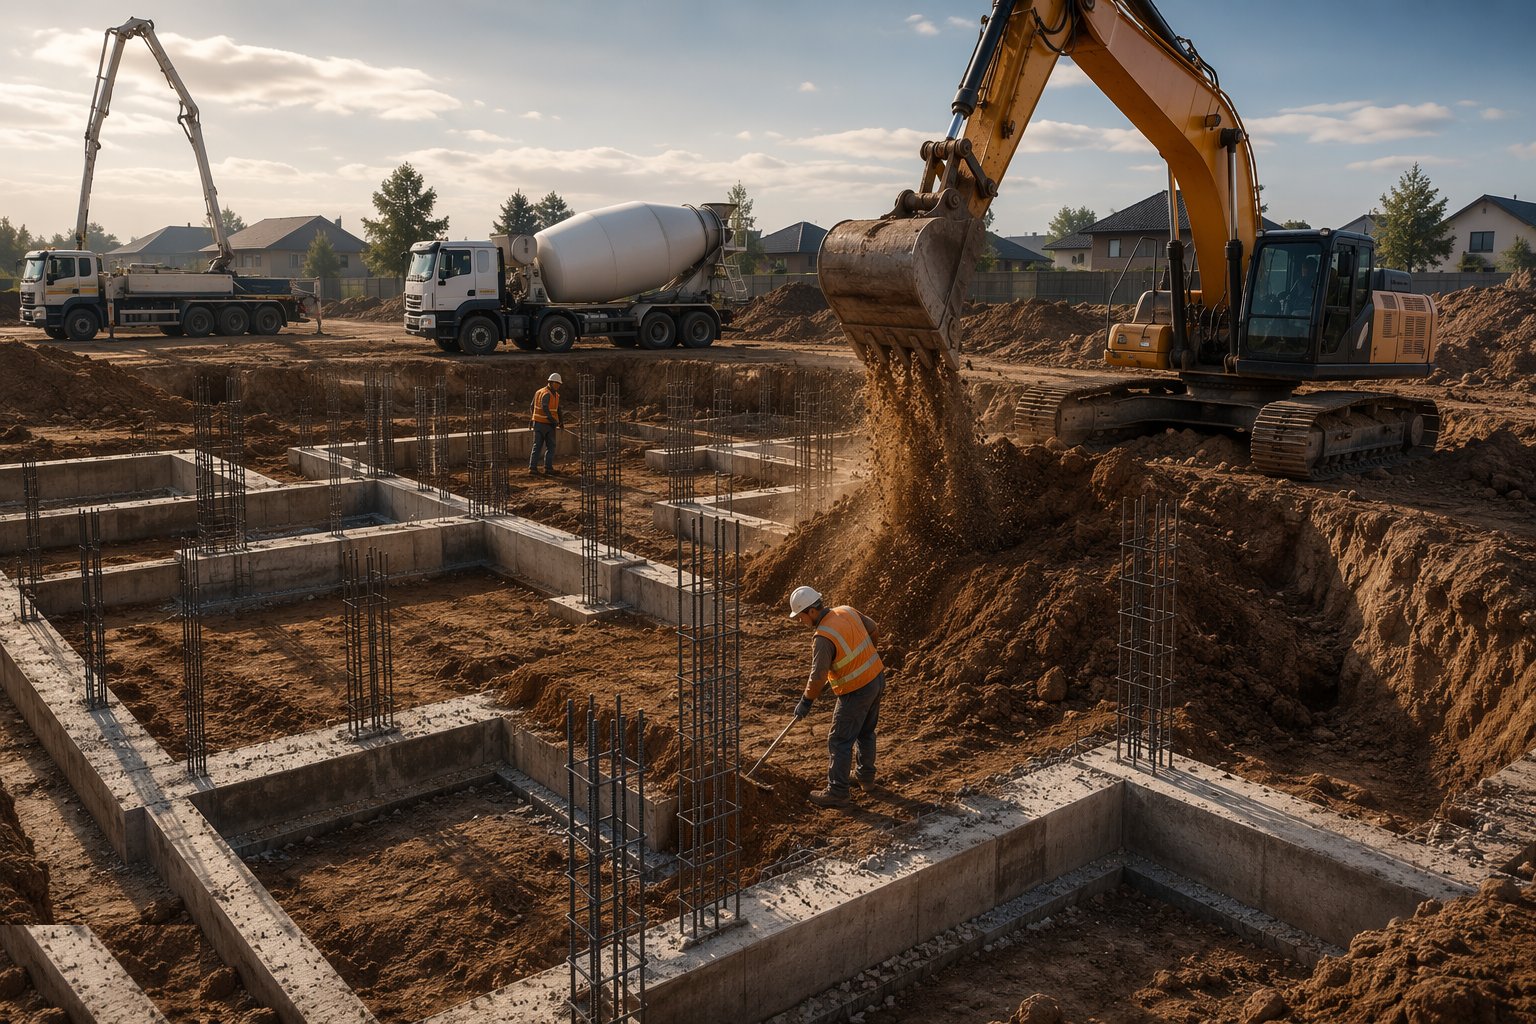
Once the concrete has hardened, trench sides are backfilled in compacted layers and the area is graded for the drainage and slab trades. Foundation positions and levels are as-built surveyed while everything is still visible. The QA file — inspection records, cube results, delivery tickets — is completed as the work proceeds, not reconstructed at handover.
Plant and equipment
- 360° excavator with trenching and grading buckets
- Concrete pump or truck mixers with chutes
- Poker vibrators and screeds
- Reinforcement cutters, benders and tying tools
- Laser level or dumpy level and staffs
- Formwork, spacers, chairs and curing materials
Quality control checks
- Formation inspection and sign-off before every pour
- Slump (or flow) test on each load against the ordered consistence
- Cube or cylinder samples crushed at 7 and 28 days
- Reinforcement checked against the bending schedule: size, spacing, cover, laps
- Mix specified to BS 8500 with declared exposure classes; sulphate-resisting binder where the ground demands it
- Foundation line, level and diagonals checked before and after pouring
- Delivery tickets filed with mix, volume and time of batching
Safety considerations
- Trench support or battering wherever people work below 1.2 m
- Safe access into trenches — secured ladders, edge protection
- Concrete burns: gloves, boots, eyewash at the pour
- Plant-pedestrian segregation around the readymix truck and pump
- Manual handling controls for mesh and bar
Common defects
- Foundation poured on soft or disturbed ground — settlement cracking
- Wrong founding depth in shrinkable clay near trees — heave damage
- Insufficient cover to reinforcement — corrosion and spalling
- Honeycombing from poor vibration or an over-wet mix
- Steps on sloping sites detailed wrong — cold joints and weak overlaps
- Sulphate or chloride attack where the mix ignored the ground investigation
- Starters misplaced — columns and walls land off their bars
Best suited for
- Houses and low-rise buildings on decent near-surface ground — the UK housing default
- UAE villas on dense sands where bearing is shallow and settlement uniform
- Extensions and garden rooms where a mini-digger and trench fill keep it simple
- Any plot where the ground investigation rules piling out rather than in
- Fast, low-technology programmes where local labour and ready-mix do the whole job
How long does Shallow Foundations take?
Typical duration: 2–5 days per typical house plot including excavation, inspection and pour; 1–3 weeks for a tower raft..
Related processes
- Site Clearance & Demolition
- Setting Out & Survey Control
- Earthworks & Excavation
- Dewatering & Groundwater Control
- Piling & Deep Foundations
- Basement & Substructure
- Waterproofing and Tanking
- Concrete Frame Construction
- Steel Frame Construction
- Masonry & Timber Frame
- Floor Slabs & Screeds
- Roofing
- Site Access & Enabling Works
- Façade & Cladding
- Insulation Systems
- Windows, Doors & Glazing
- MEP First Fix
- Internal Finishes
- MEP Second Fix & Commissioning
- External Works & Landscaping
- Testing, Handover & Snagging
- Shallow Foundations in Commercial & Workplace
- Strip foundations — method
- Pad foundations — method
- Raft foundations — method