Internal Finishes
Boarding, plaster, joinery, tiling and paint — turning a shell into rooms people want to live in.
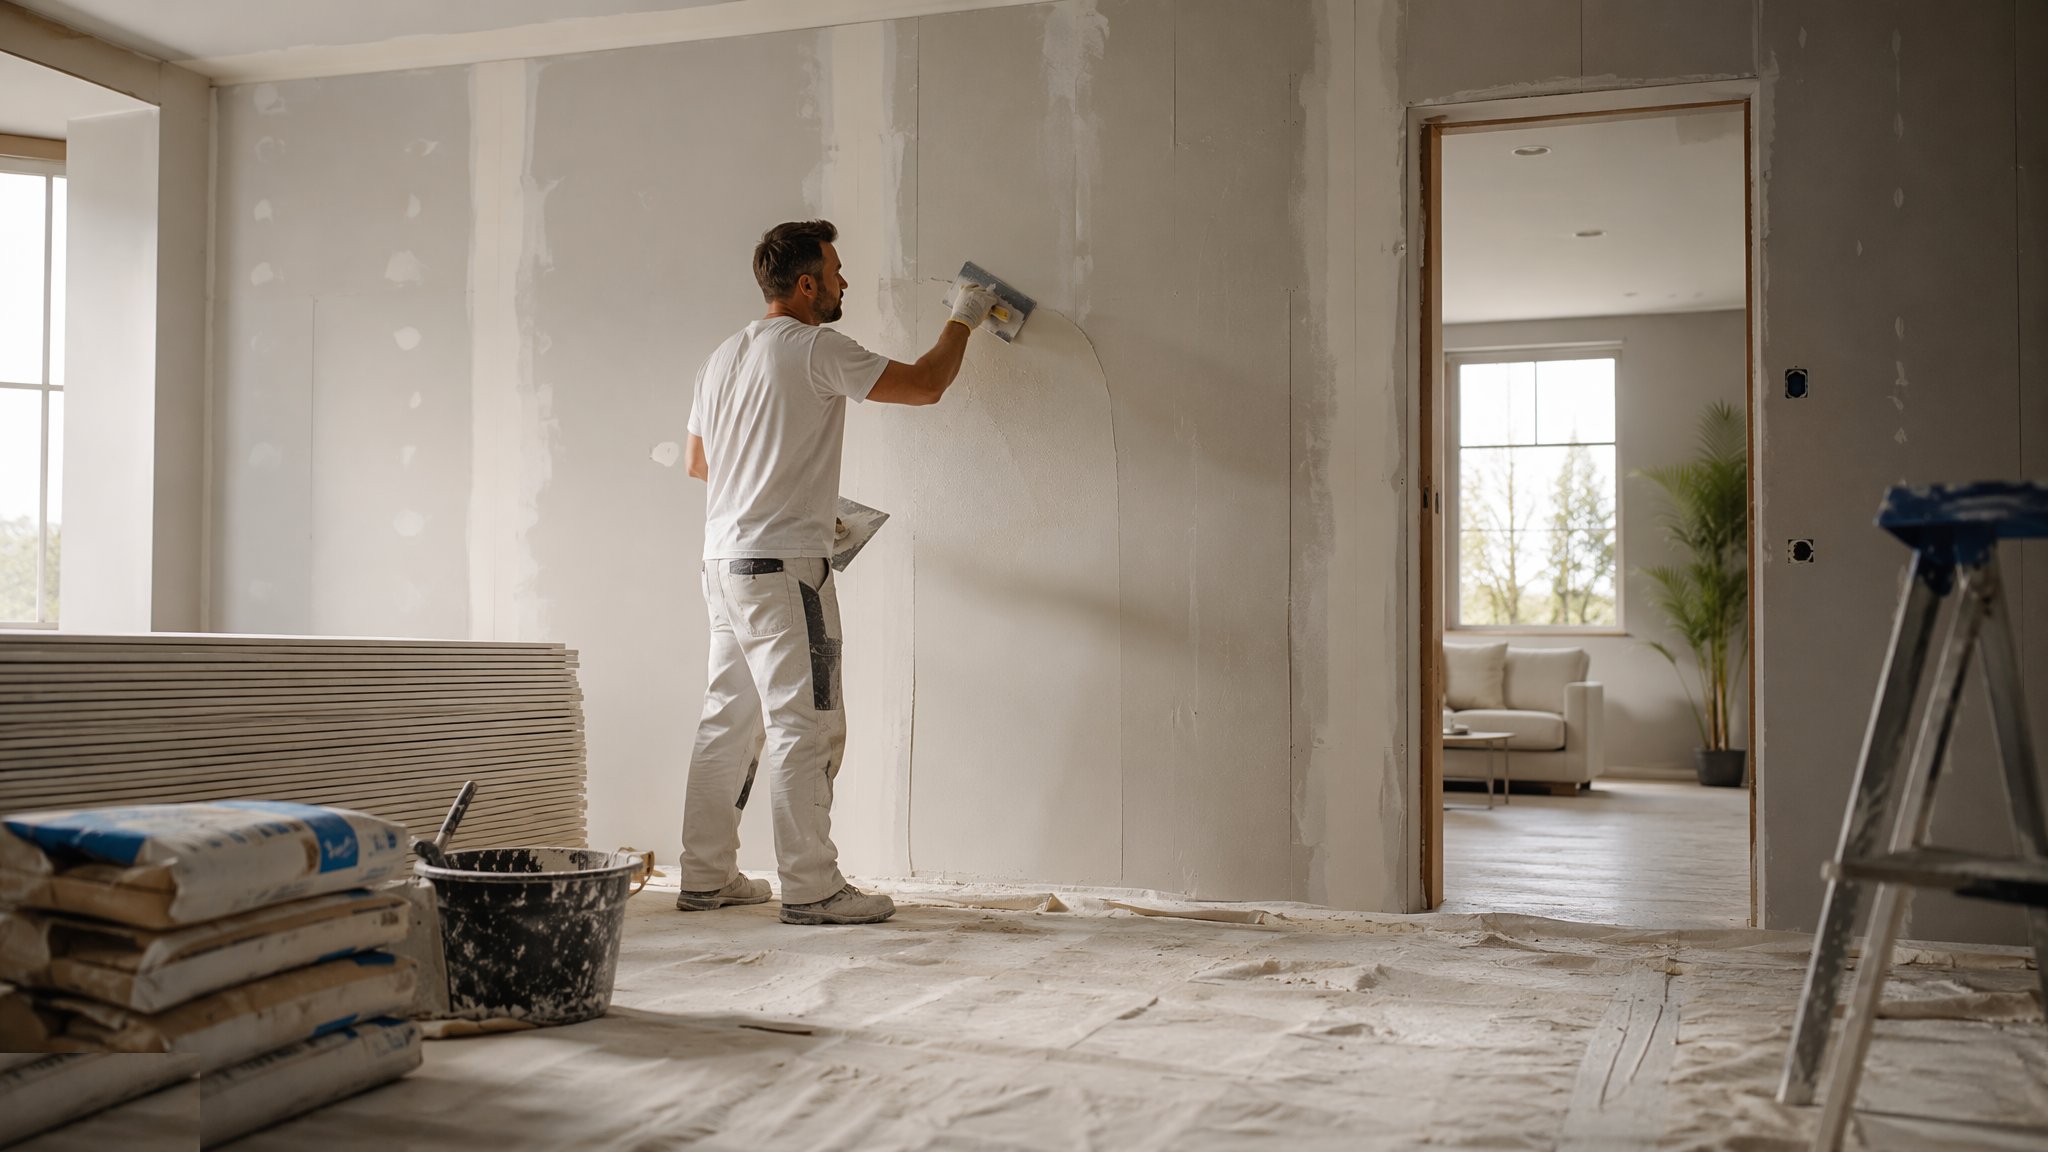
Last updated 2026-07-28 by the BuildPedia Editorial Team.
What is Internal Finishes?
Finishes are where the building becomes a home, and where the quality of everything hidden gets revealed. Flat frames, true walls and disciplined first fix produce crisp, quick finishes; a sloppy shell produces filling, packing and compromise that no painter can hide. Finishing is a sequence trade: dry lining before plastering, plastering before joinery, joinery before decoration — and every trade inherits the last one's accuracy. In the Gulf the background vernacular differs: blockwork with cement render and a gypsum skim rather than dot-and-dab dry lining, porcelain tiles rather than carpet, and air-conditioned interiors that drive vapour outward — impermeable wallcoverings over cold-bridged external walls invite mould.
The enemy at this stage is damage. A finished building is a hundred trades walking past each other's completed work, and protection — floors covered, corners guarded, kitchens sheeted — is what separates a handover from a remediation programme. The best finishing managers spend as much time on protection and sequencing as on the work itself.
When and why is Internal Finishes used?
Finishes follow weathertight first fix and tested services, and precede second fix and commissioning. The building must be dry — plaster into a damp shell fails, and timber joinery into a wet building moves. The process matters because finishes are the entire occupant experience: nobody sees your excellent pile logs, but everybody sees the paint lines, the tile joints and the door gaps.
Types of Internal Finishes
Dry lining and plastering
Plasterboard fixed to studs or dabbed to masonry, then skimmed with gypsum plaster for a paint-ready surface. Taping and jointing gives a faster, drier finish on board systems without the wet trade. Both demand flat backgrounds — plaster is a finish, not a structural remedy. Taped and jointed board finishes are graded Q1–Q4, and the level must be specified to suit the decoration and the lighting — a high-level jointed finish in raking light forgives nothing. Gypsum plaster and plasterboard must never go onto still-drying render or damp backgrounds: the gypsum fails and the finish follows.
Suspended and MF ceilings
Metal-framed ceilings boarded and skimmed, or grid-and-tile suspended ceilings in corridors and common areas. They hide the services while keeping them accessible, set the ceiling heights, and carry the lighting. Perimeter levels and bulkheads are set out before boarding, not negotiated with the ducts afterward.
Joinery: stairs, kitchens, doors
Stairs installed and protected, kitchens and wardrobes fitted to the surveyed rooms, internal doorsets hung with consistent gaps and working ironmongery. Joinery is the tactile quality of the building — the handrail, the door swing, the worktop joint are what occupants touch every day.
Tiling, flooring and decoration
Wall and floor tiling to wet rooms and kitchens over properly prepared backgrounds; timber, laminate, vinyl and carpet finishes over verified-dry screeds; painting and decorating from mist coat to final finish. Each finish has a moisture and flatness tolerance that the substrate must provably meet. Large-format and stone tiles demand solid-bed fixing on a flat substrate, and over anhydrite (calcium sulphate) screeds the laitance must be mechanically removed and the surface primed — cement-based adhesive on unprimed anhydrite fails chemically.
Internal Finishes: step by step
Step 1: Verify the substrate and the environment

Check walls and ceilings for plumb, line and level before boarding; verify screed moisture results before any floor finish. Confirm the building is weathertight and drying — temporary heating and dehumidification where needed, with ventilation. Record the conditions: finishes installed into a wet building become defects with dates attached.
Step 2: Board walls and ceilings
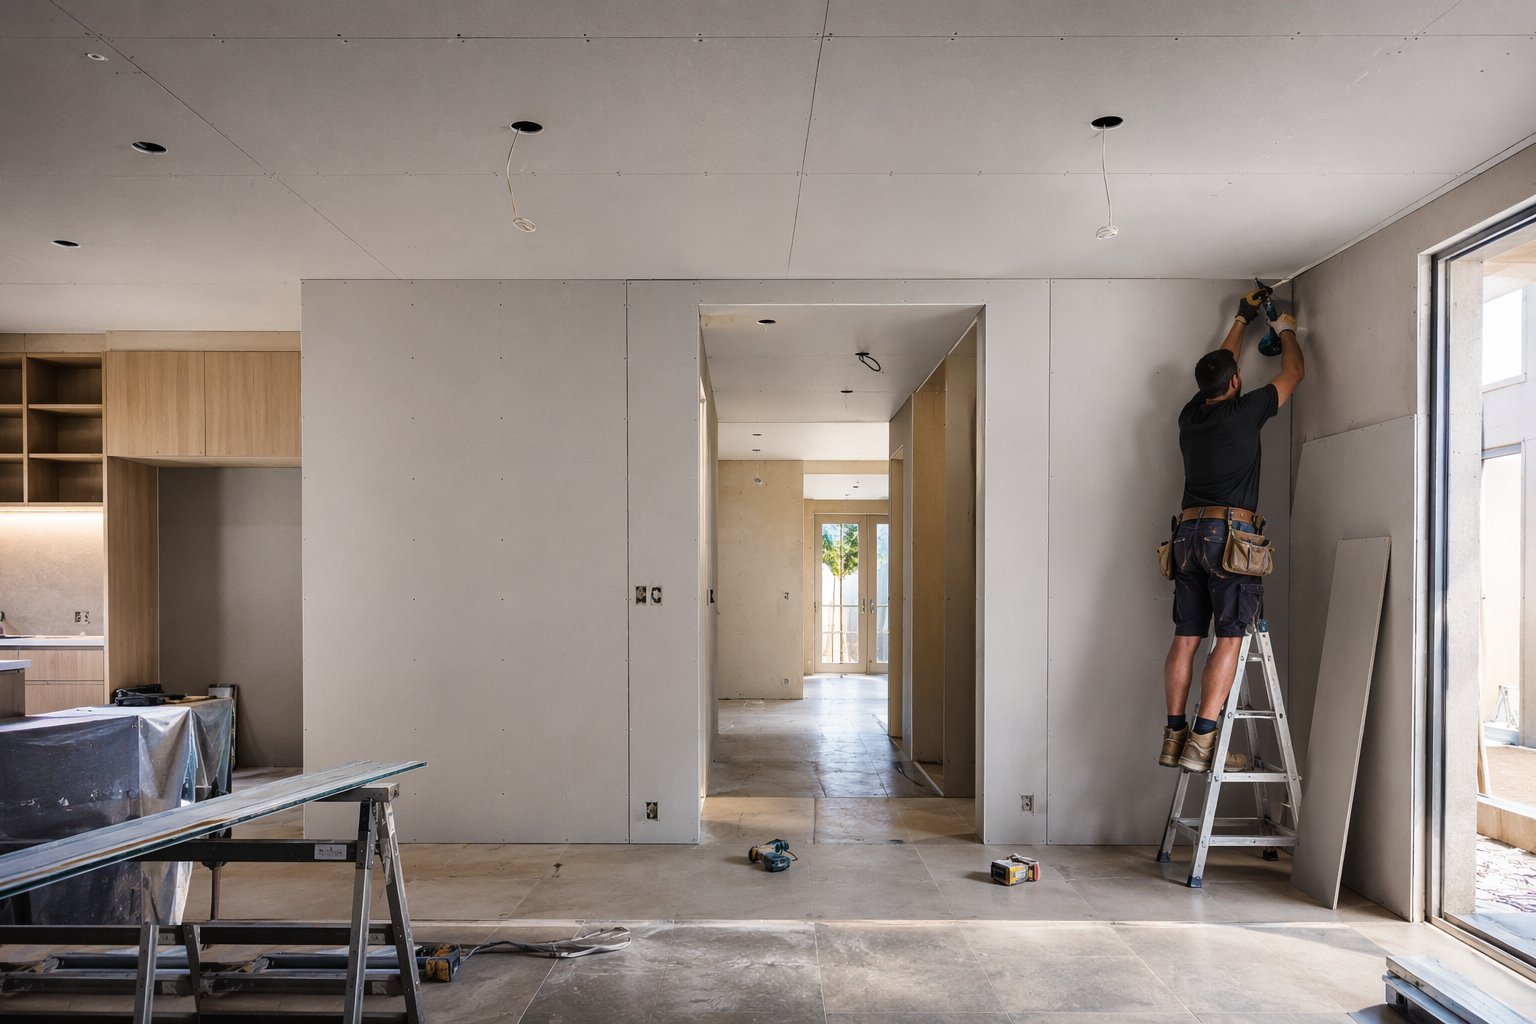
Fix plasterboard to studs and MF systems with joints staggered and screw centres per specification; dab-fix boards to plumb lines on masonry. Form the bulkheads, boxes and access panels from the coordinated drawings. Every boarded wall is checked against the first-fix photograph file before it closes — services buried wrongly are found now or never.
Step 3: Plaster or joint the boards
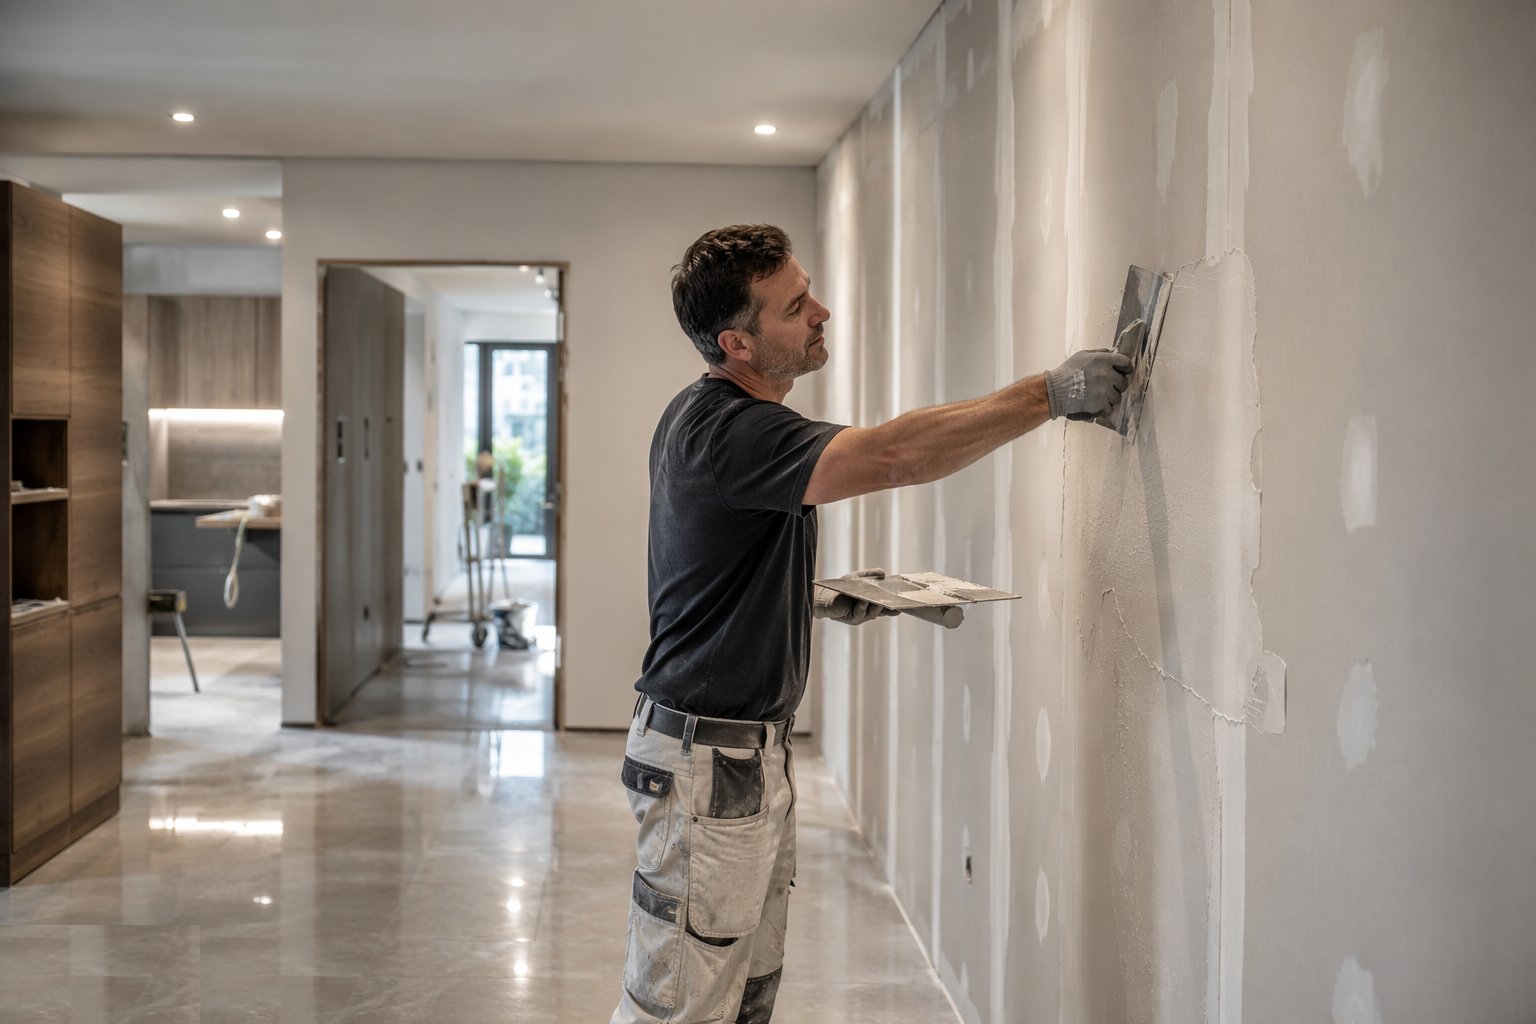
Beads go on corners and abutments plumb and true; skim coats are applied, trowelled and finished to a flat, closed surface. Drying is managed — force-drying cracks the skim. Jointed systems are taped, filled and sanded in grades. The standard is set on the first wall and inspected in critical light, because daylight through a window reveals everything.
Step 4: Install stairs, doors and second-fix joinery
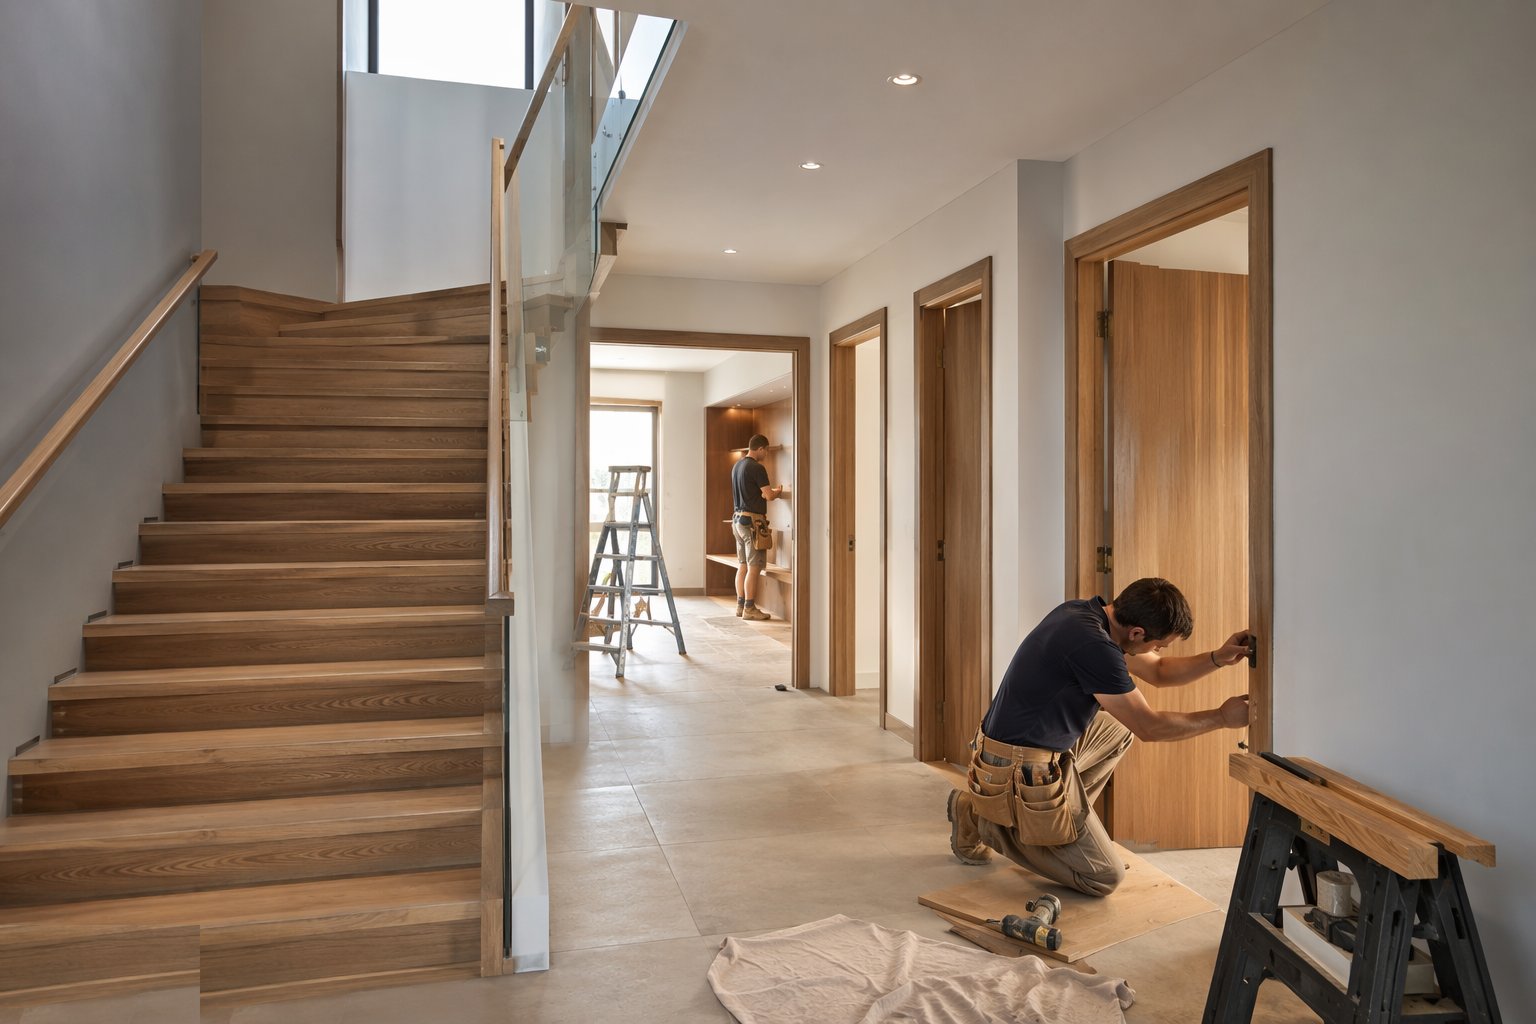
Stairs are fixed, wedged and glued, then immediately protected. Doorsets are hung with consistent 3 mm gaps, ironmongery fitted and latches aligned. Skirtings and architraves are fixed to the datum lines; kitchens are installed to the surveyed walls with services connected to the prepared points. Mitres, scribes and joints separate the craftsman from the coverage.
Step 5: Tile the wet areas
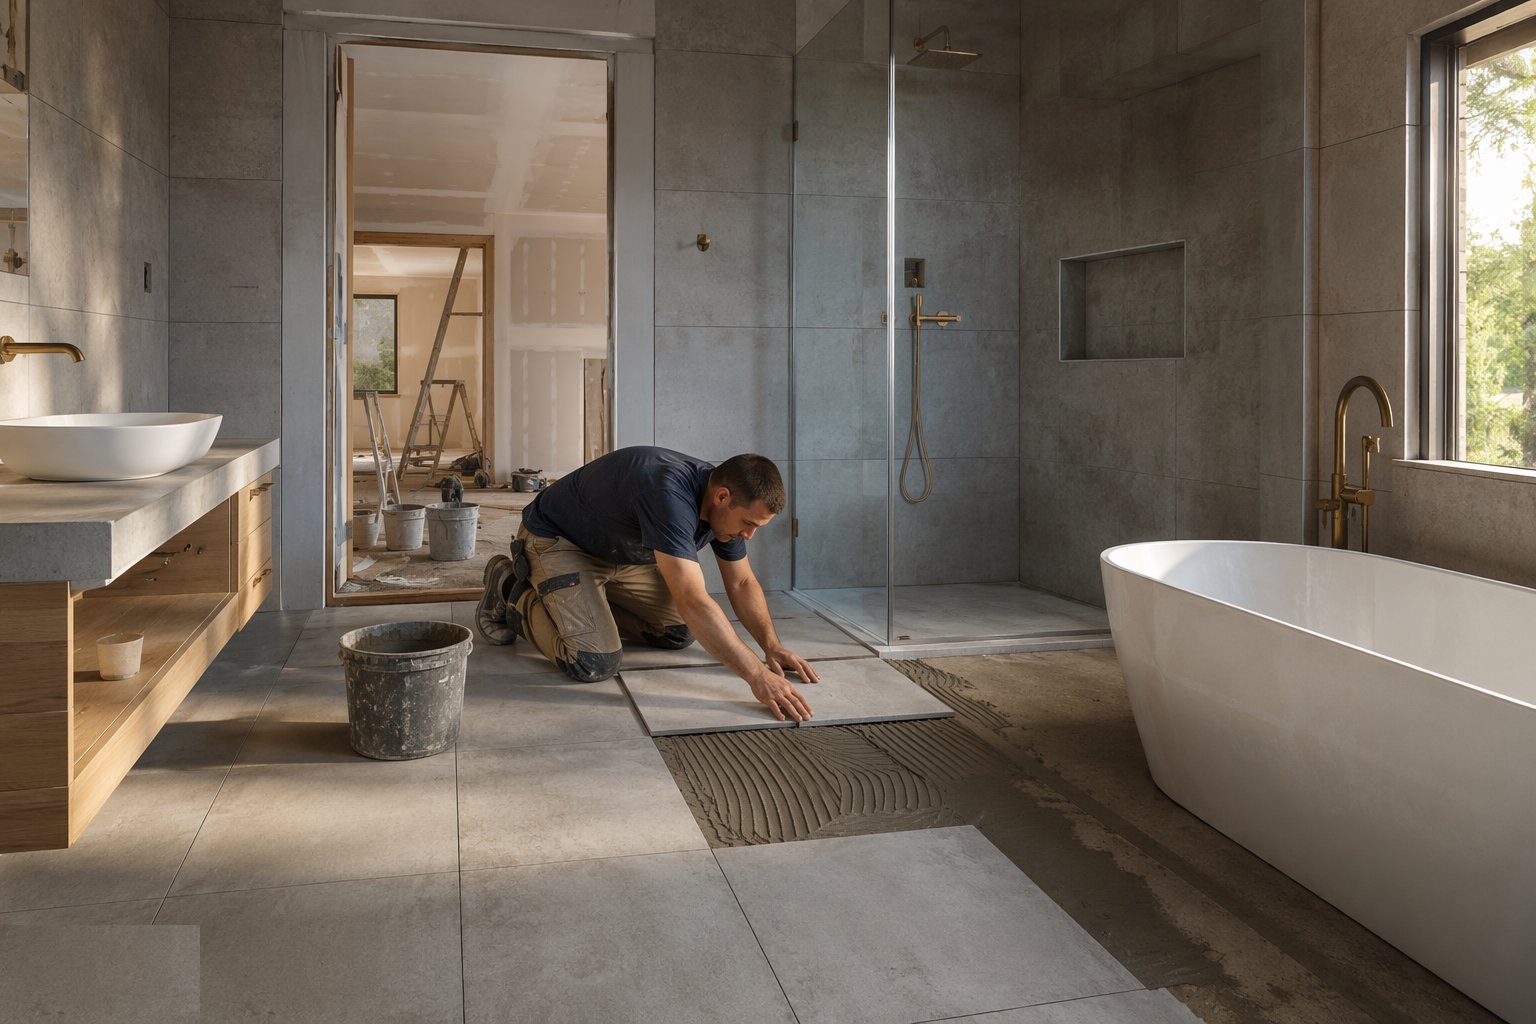
Backgrounds are prepared — moisture-resistant board, tanking systems in wet zones applied and cured per the manufacturer. Tiles are set out from a datum so cuts land symmetrically, fixed with the specified adhesive coverage, and grouted after curing. Falls to floor drains are verified with a level and a bucket of water before the silicone goes in.
Step 6: Lay floor finishes
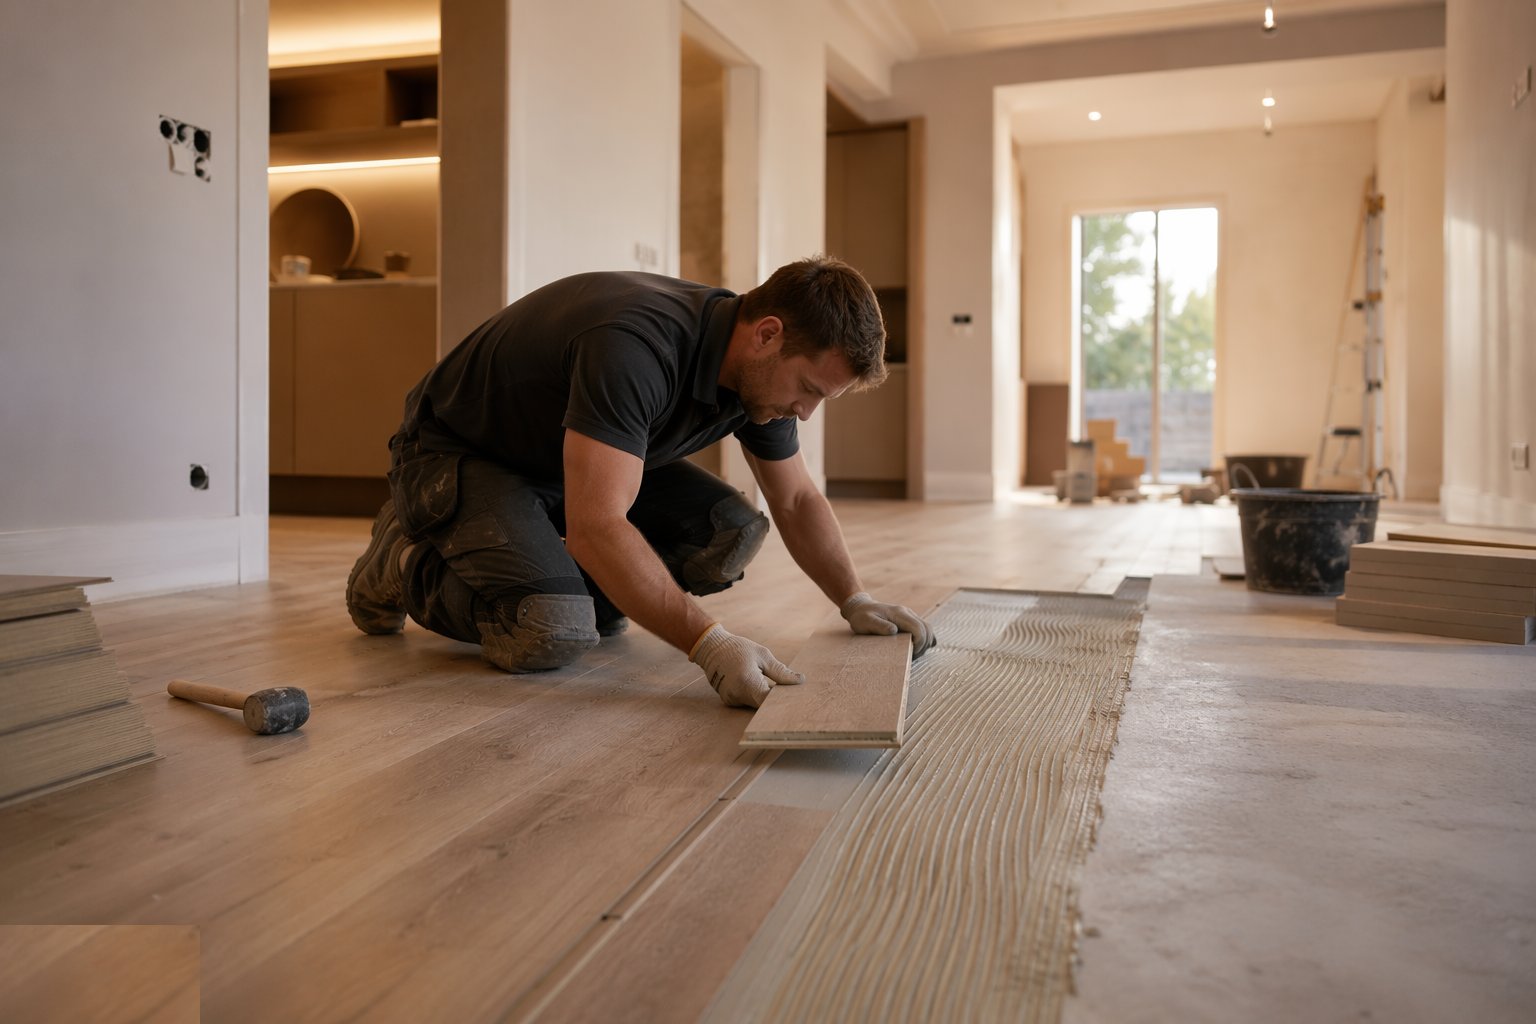
Subfloors are checked for moisture, flatness and soundness against the finish manufacturer's limits. Underlays, adhesives and finishes are installed to the specification with acclimatisation where timber demands it. Expansion gaps at perimeters are left and covered, not filled. Finished floors are protected immediately — hardboard or membrane, taped at the joints.
Step 7: Decorate: mist coat to finish
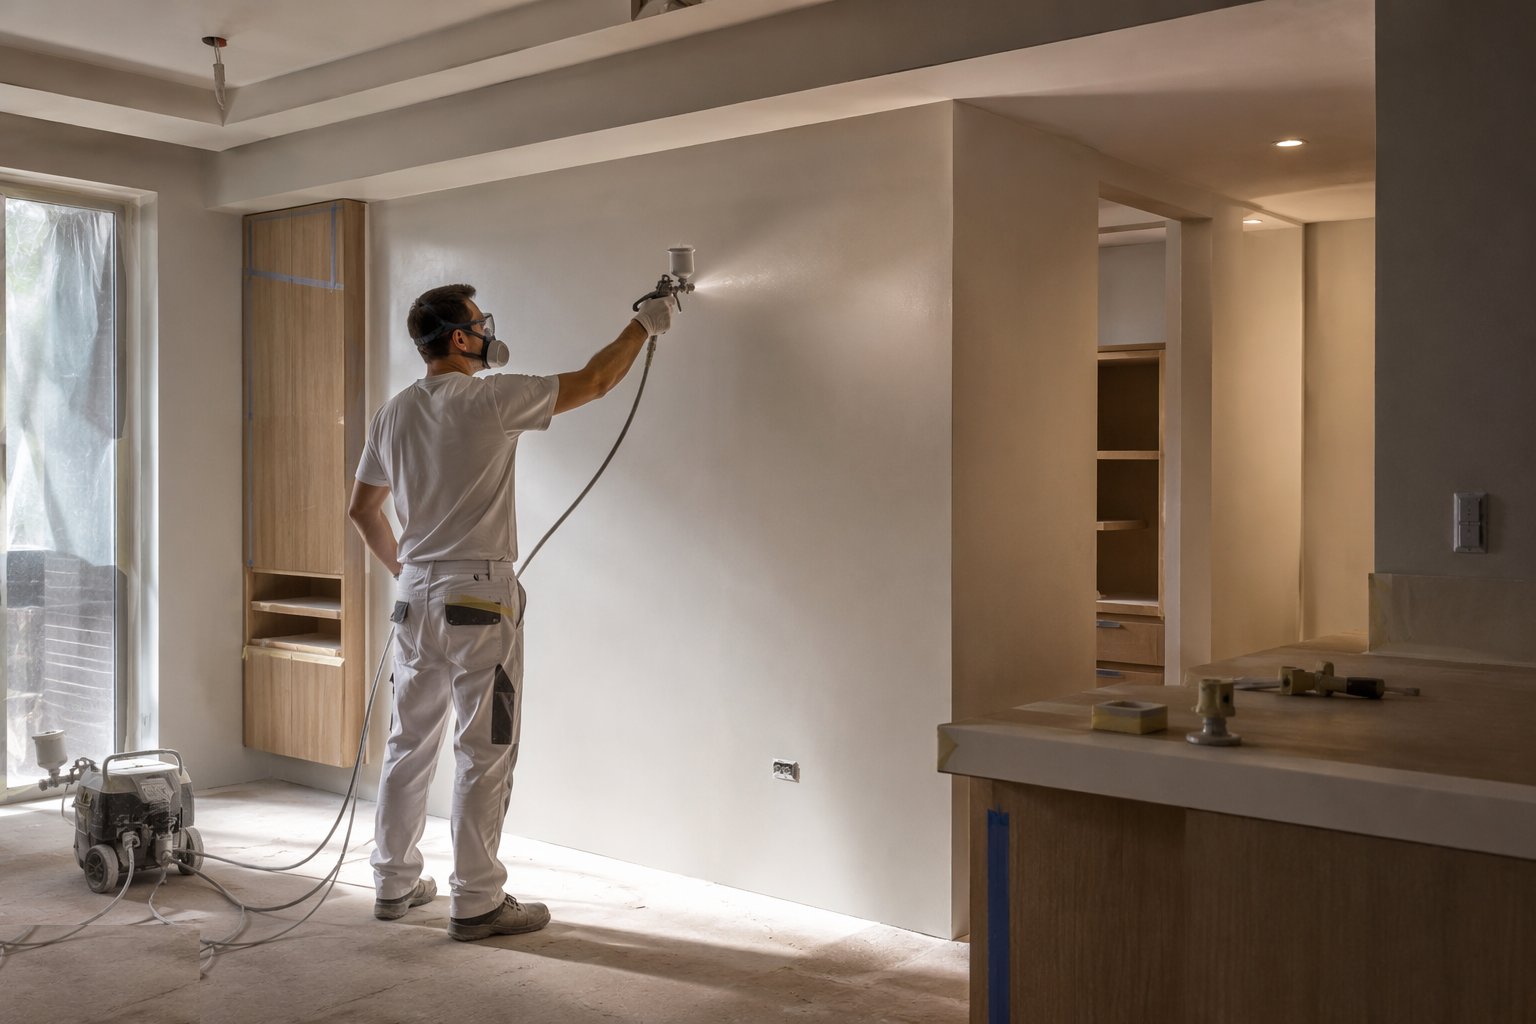
New plaster gets a thinned mist coat, then full coats with proper drying between. Surfaces are filled, sanded and inspected in raking light before the final coat. Cutting lines at ceilings and colour changes are what the eye catches. Snagging walks every room with light and a notebook before the trade leaves the floor.
Step 8: Protect, inspect and release
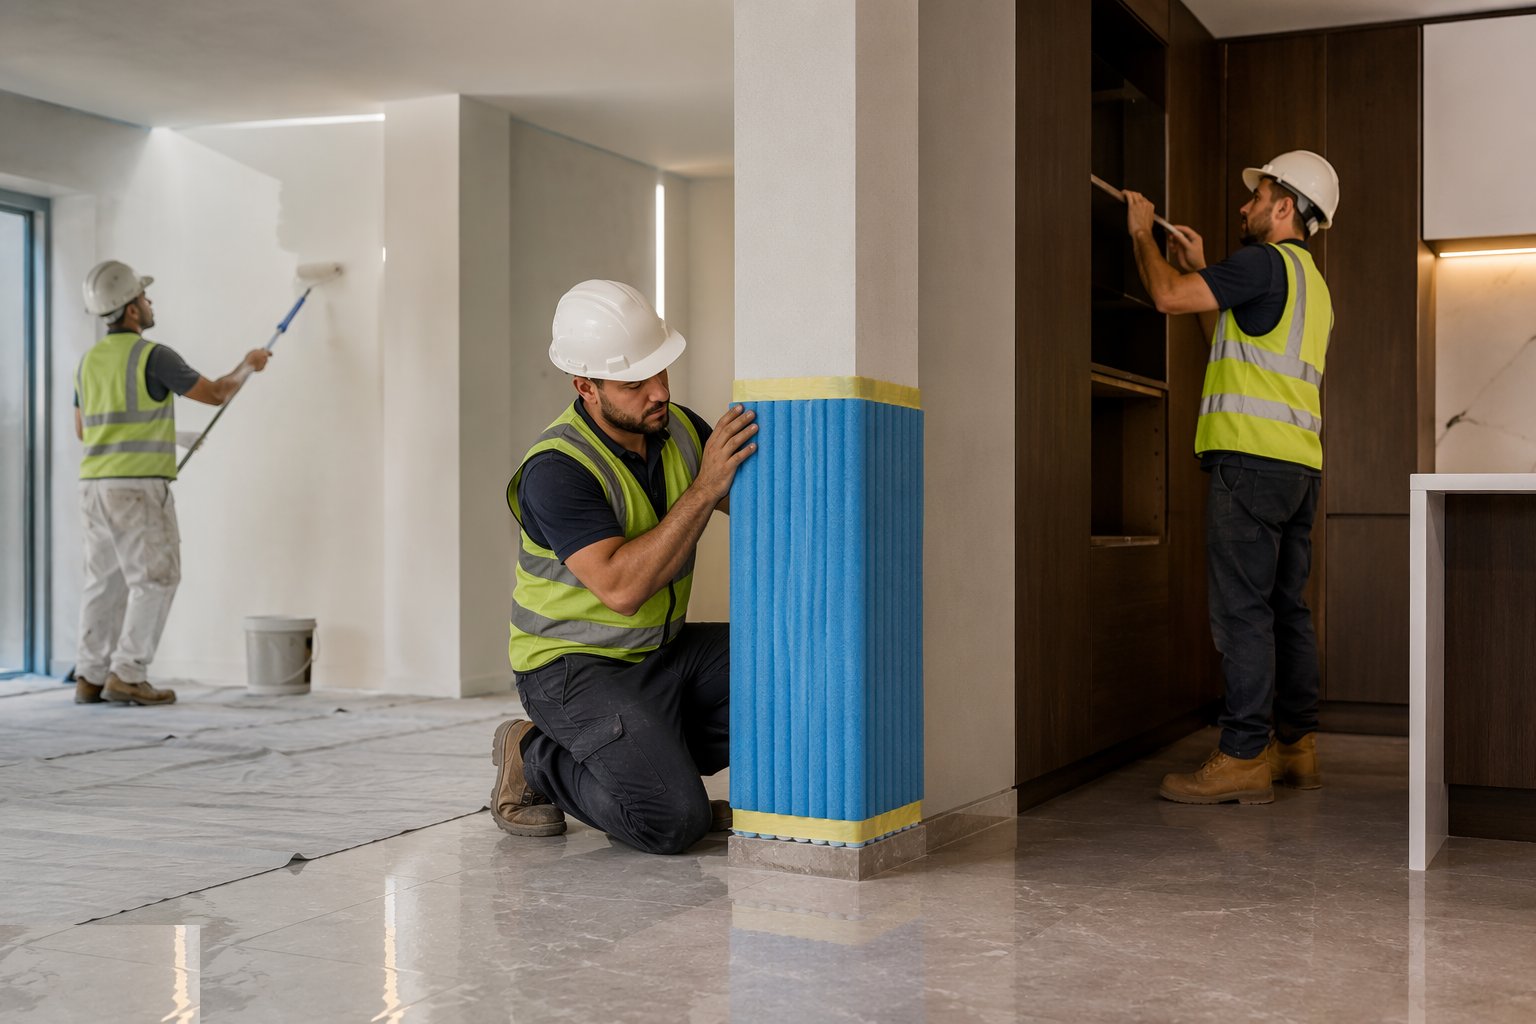
Protection is maintained and policed until practical completion approaches: floors covered, corners guarded, baths and worktops sheeted. Room-by-room inspections close out defects progressively so the final snagging is short. Each finished floor is locked, signed and released — a finished area nobody controls is a finished area nobody owns.
Plant and equipment
- Board lifters, screw guns and cutting tools
- Plastering tools: mixers, trowels, beams and darbies
- Podiums, towers and MEWPs for ceilings
- Tile cutters, mixers and wet saws
- Floor sanders and installation tools
- Sprayers and rollers for decoration; dehumidifiers and heaters
Quality control checks
- Background checks: plumb, line, level and moisture before each finish
- Adhesive coverage checks and tanking inspection before tiling
- Falls to drains verified with water before sealing
- Door gap and operation checks per room
- Raking-light inspection of plaster and paint before sign-off
- Plastering and rendering workmanship to BS EN 13914; tiling to BS 5385
- Room-by-room sign-off sheets with photographic records
Safety considerations
- Dust control for sanding and cutting — extraction and RPE
- COSHH controls for plasters, adhesives, solvents and paints
- Manual handling for boards, doors and kitchen units
- Work at height from podiums and towers, properly inspected
- Protection does not create trip hazards — taped, flat, maintained
Common defects
- Cracked skim over rushed drying or moving backgrounds
- Hollow tiles from spot-bedding or wrong adhesive
- Tanking failed in showers — leaks to the room below
- Doors binding on swollen frames in a still-drying building
- Floor finishes over wet screed — cupping, lifting, mould
- Finished surfaces damaged by following trades — protection removed too early
Best suited for
- Turning the weathertight shell into rooms people want to live and work in
- Housing and apartment schemes where repeatability sets the finish standard
- High-end residential and hotel work where joinery and tiling tolerances tighten
- UAE villas finished in porcelain, stone and render systems suited to the climate
- The stage where every earlier defect surfaces — and must be put right visibly
How long does Internal Finishes take?
Typical duration: 2–4 weeks per house; 2–4 months across a block, sequenced floor by floor behind first fix..
Related processes
- Façade & Cladding
- Insulation Systems
- Windows, Doors & Glazing
- MEP First Fix
- MEP Second Fix & Commissioning
- External Works & Landscaping
- Testing, Handover & Snagging
- Site Access & Enabling Works
- Site Clearance & Demolition
- Setting Out & Survey Control
- Earthworks & Excavation
- Dewatering & Groundwater Control
- Shallow Foundations
- Piling & Deep Foundations
- Basement & Substructure
- Waterproofing and Tanking
- Concrete Frame Construction
- Steel Frame Construction
- Masonry & Timber Frame
- Floor Slabs & Screeds
- Roofing
- Internal Finishes in Commercial & Workplace
- Dry lining and plastering — method
- Suspended and MF ceilings — method
- Joinery: stairs, kitchens, doors — method