Ground-Source Heat Pumps — Homes & Villas
The small end of the geothermal stream: a buried ground loop and a heat pump serving one house or villa — the trenching, drilling, pressure testing and commissioning that decide whether it heats efficiently for decades.
Last updated 2026-07-28 by the BuildPedia Editorial Team.
What is Ground-Source Heat Pumps — Homes & Villas?
A ground-source heat pump installation for a single house is the smallest job in this stream — one ground loop, one heat pump — but the same physics and the same disciplines run all the way up to the utility-scale plant at the end of it. The system comes in two halves. Below ground, a closed loop of polyethylene pipe circulates a water and antifreeze mixture through the soil, which in the UK sits at a roughly constant 8–12 °C once you are below the seasonal swing of the first few metres; above ground, an electrically driven heat pump lifts that low-grade heat to useful temperatures using the same refrigeration cycle as a fridge running backwards. Done well, the system typically delivers three or more units of heat for every unit of electricity it consumes — a seasonal performance air-source systems struggle to match in cold weather, because the ground does not freeze the way air does.
In the UK, domestic-scale work is framed by the Microgeneration Certification Scheme. The installation standard is MIS 3005 — now issued in separate design and installation parts — covering individual heat pumps up to 45 kWth and design heat loads up to 70 kWth, and the ground collector is sized using the MCS 022 ground heat exchanger look-up tables or an equivalent simulation. MCS certification is not decoration: it is the gateway to grant support under the Boiler Upgrade Scheme in England and Wales, and it imposes the documentation disciplines — a room-by-room heat loss calculation, collector sizing records, commissioning checklists and a written performance estimate — that separate a designed system from a guessed one. The Ground Source Heat Pump Association (GSHPA) publishes good-practice guidance alongside the scheme.
In the UAE the honest summary is that domestic ground-source systems are rare, and the reasons are physical rather than regulatory. Undisturbed ground temperature tracks the annual mean air temperature, which in the Gulf means the shallow ground typically sits in the high 20s to low 30s °C — a poor heat sink compared with UK ground, and of no use at all for a heating mode nobody needs. Buildings are cooling-dominated, so a ground loop would reject heat all year with no winter extraction to balance it, and the ground warms progressively unless the collector is oversized. The niches where the technology earns its keep are pool heating — pools genuinely need heat in the Gulf winter — and specialist projects with a balanced load; for general villa cooling, high-efficiency air-source and district cooling (Empower and Emicool in Dubai, Tabreed in Abu Dhabi) are the established answers. DEWA has no framework treating ground-source heat pumps as a distinct technology class: a villa system is simply another electrical load and another set of excavations.
When and why is Ground-Source Heat Pumps — Homes & Villas used?
The ground loop goes in with the external works — before the garden is finished and while a drilling rig can still reach the plot — and the heat pump lands with the MEP first fix, because the emitter design (underfloor heating or generously sized radiators) has to be built into the house, not retrofitted around the boiler it replaces. It matters because the loop is a fifty-year buried asset installed in a week: a kinked pipe, a badly grouted borehole or an undersized collector cannot be seen and cannot be cheaply fixed once the lawn is down, so the as-laid record and the pressure test certificate are the only evidence anyone will ever have of what is under the garden.
Types of Ground-Source Heat Pumps — Homes & Villas
Horizontal trench collectors
Straight pipe or coiled slinky collectors laid in trenches typically 1–2 m deep across the garden or plot. The cheapest collector to install where the land exists — commonly an area two to three times the floor area served is needed — but heavily dependent on ground moisture and soil type, and permanently at odds with anything else the garden later wants to be.
Vertical borehole collectors
A single borehole, or a small group, typically 60–200 m deep carrying one or more U-tube loops, grouted full depth to couple the pipe to the ground and seal the hole. The default where plot area is scarce — most villas and town gardens — trading a drilling rig and grout for the trench fleet's land appetite.
Open-loop groundwater systems
Abstraction and discharge boreholes pumping groundwater straight through a heat exchanger — no buried collector, but an aquifer doing the work. Efficient where the hydrogeology suits it, but in England it needs Environment Agency abstraction licensing and discharge consent, and it is rare at single-house scale because the testing, licensing and borehole costs outweigh a closed loop.
Ground-Source Heat Pumps — Homes & Villas: step by step
Step 1: Calculate the heat load and design the emitters
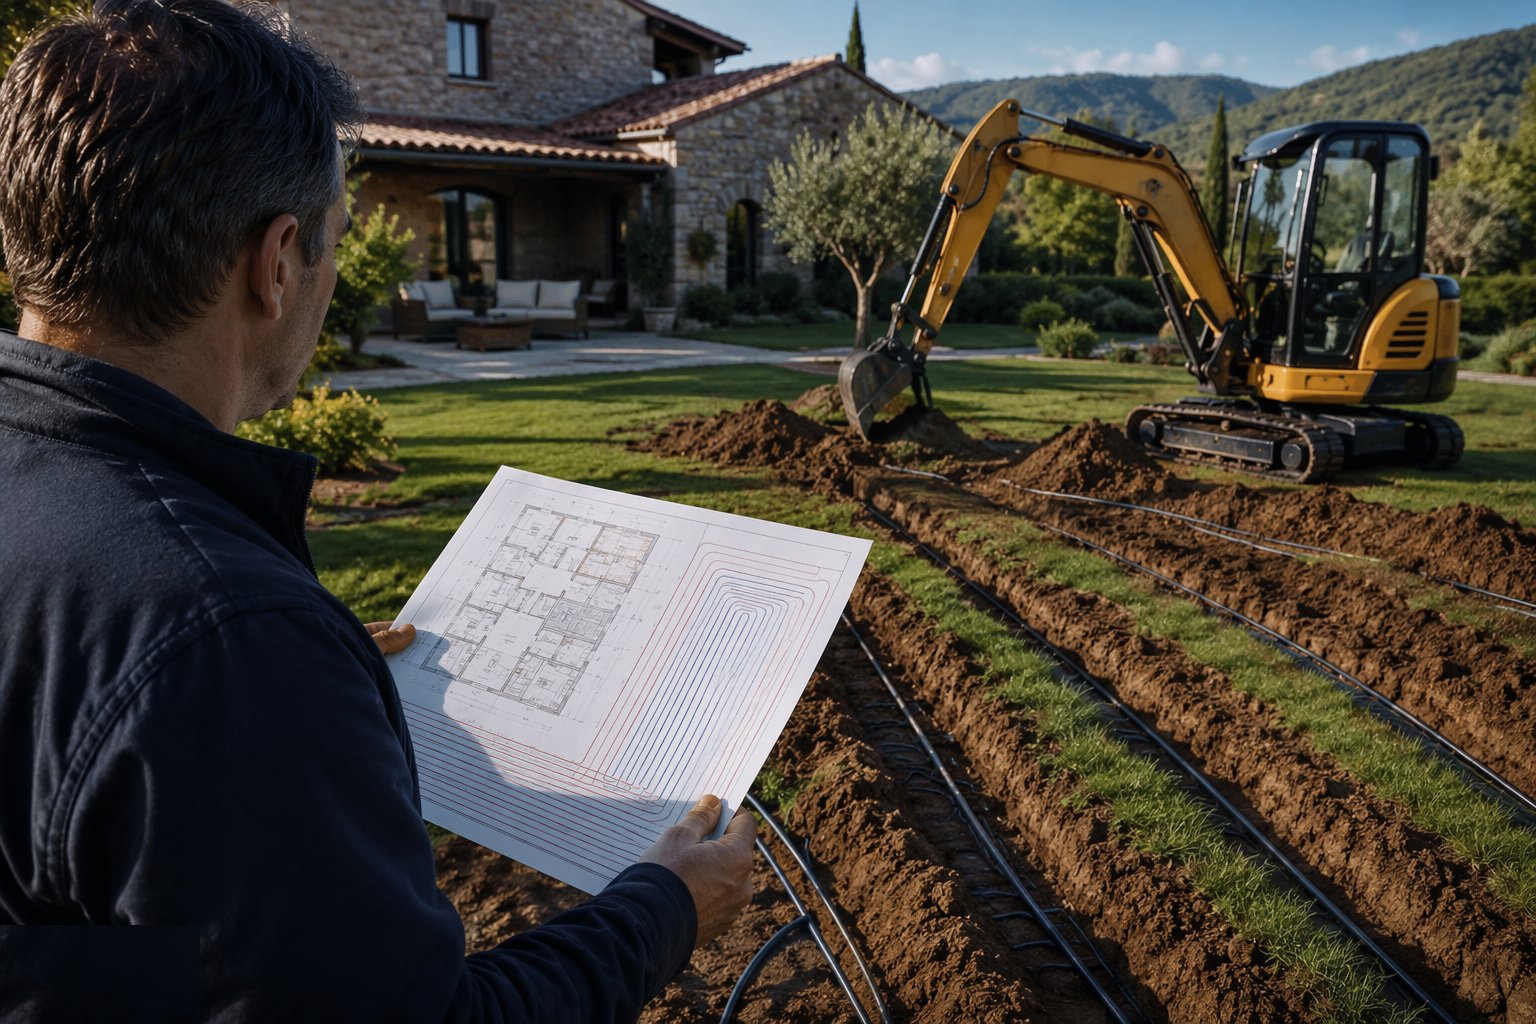
Start with a room-by-room heat loss calculation to BS EN 12831 — not a rule of thumb per square metre — and state what percentage of the design heat loss and hot water demand the heat pump is expected to cover. Design the distribution for low flow temperatures: underfloor heating or radiators sized generously, because every degree of flow temperature costs efficiency. This is where many domestic systems are won or lost: a heat pump forced to run at boiler temperatures will never deliver its promised performance.
Step 2: Size the ground collector
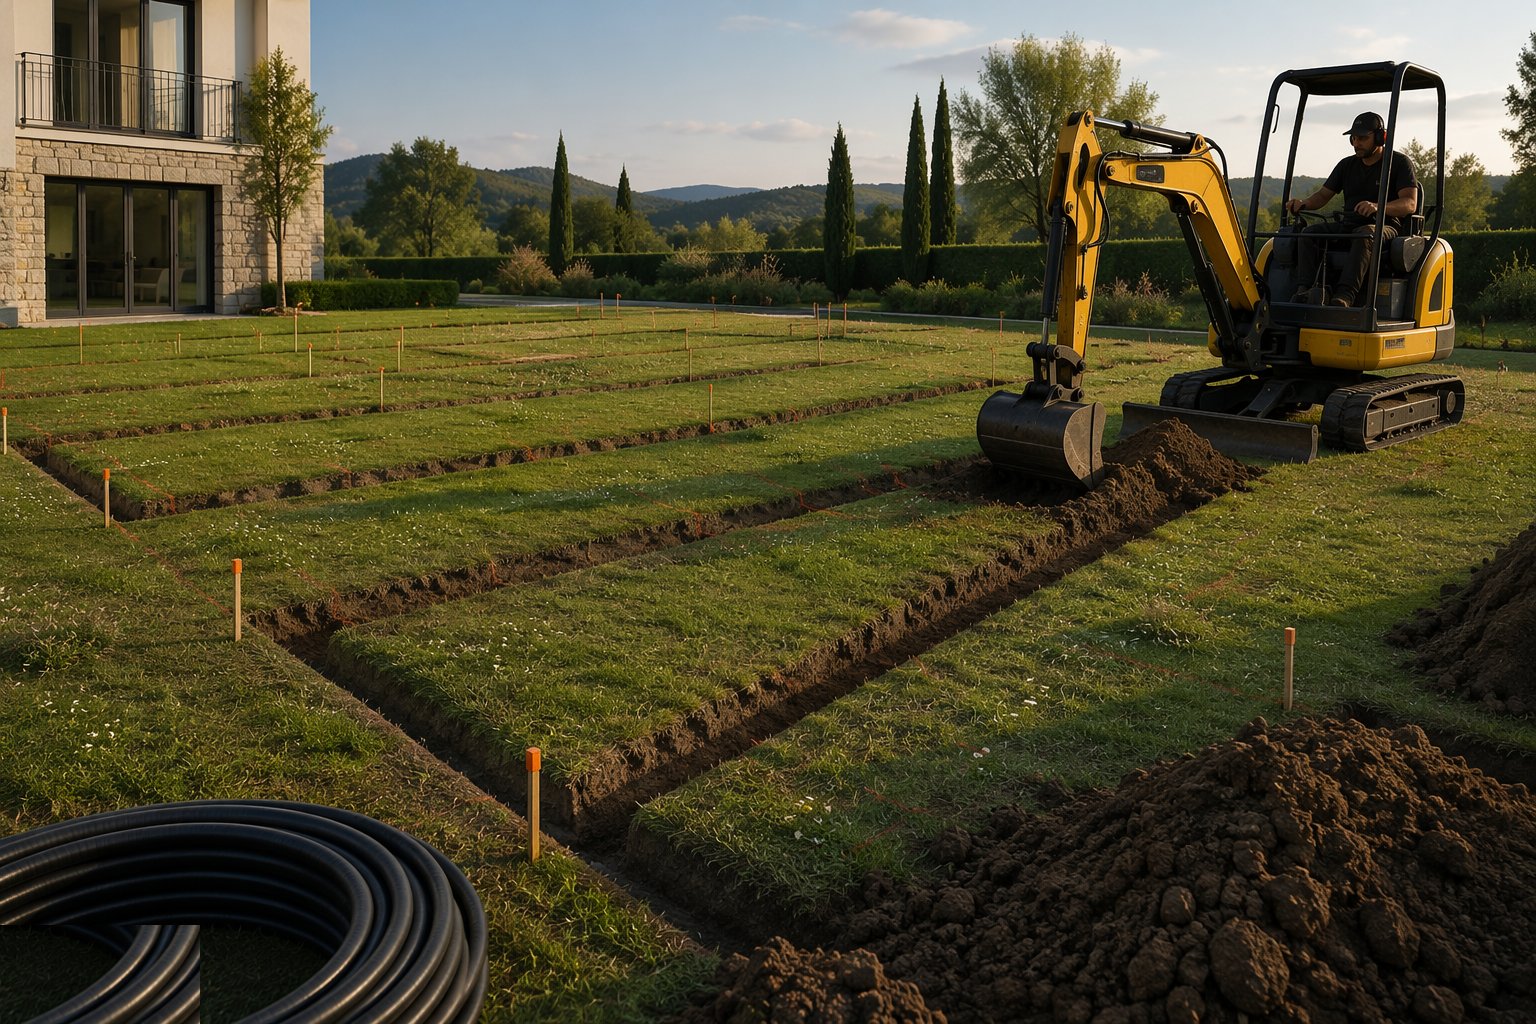
Size the trench lengths or borehole depth from the MCS 022 look-up tables or an equivalent ground-loop simulation, against the actual ground conditions — check the BGS geology mapping and any site ground investigation, because saturated sand and dry clay are different collectors at the same depth. The sizing must respect sustainable annual extraction: the ground has to recover between heating seasons, so peak load alone does not set the collector; annual energy does.
Step 3: Plan the ground works and clear the constraints
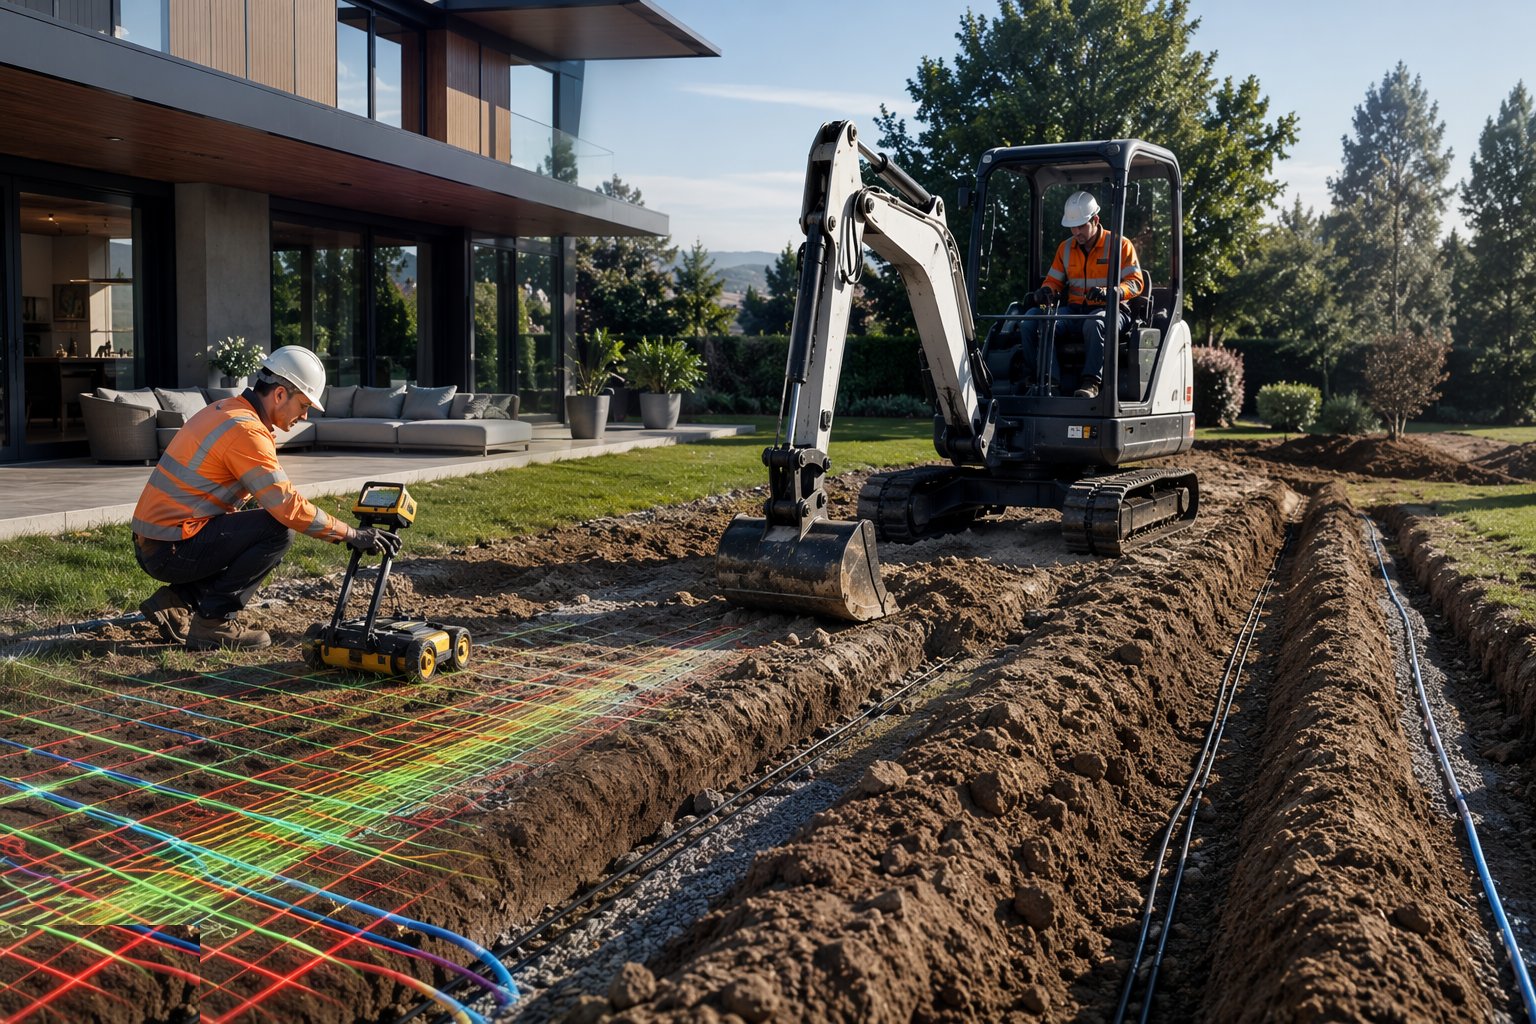
Trace every buried service with records and a cable avoidance tool before a trench line or borehole position is fixed. Confirm rig and excavator access, spoil storage and the route for the header pipes into the plantroom. Gardens in historic areas can carry planning conditions requiring an archaeological watching brief during the trenching — check before the digger arrives. Where any pipe or cable crosses a neighbour's land, secure the wayleave or easement in writing first; in the UAE, excavations beyond the plot boundary or affecting services need the relevant authority NOCs.
Step 4: Install the ground loop
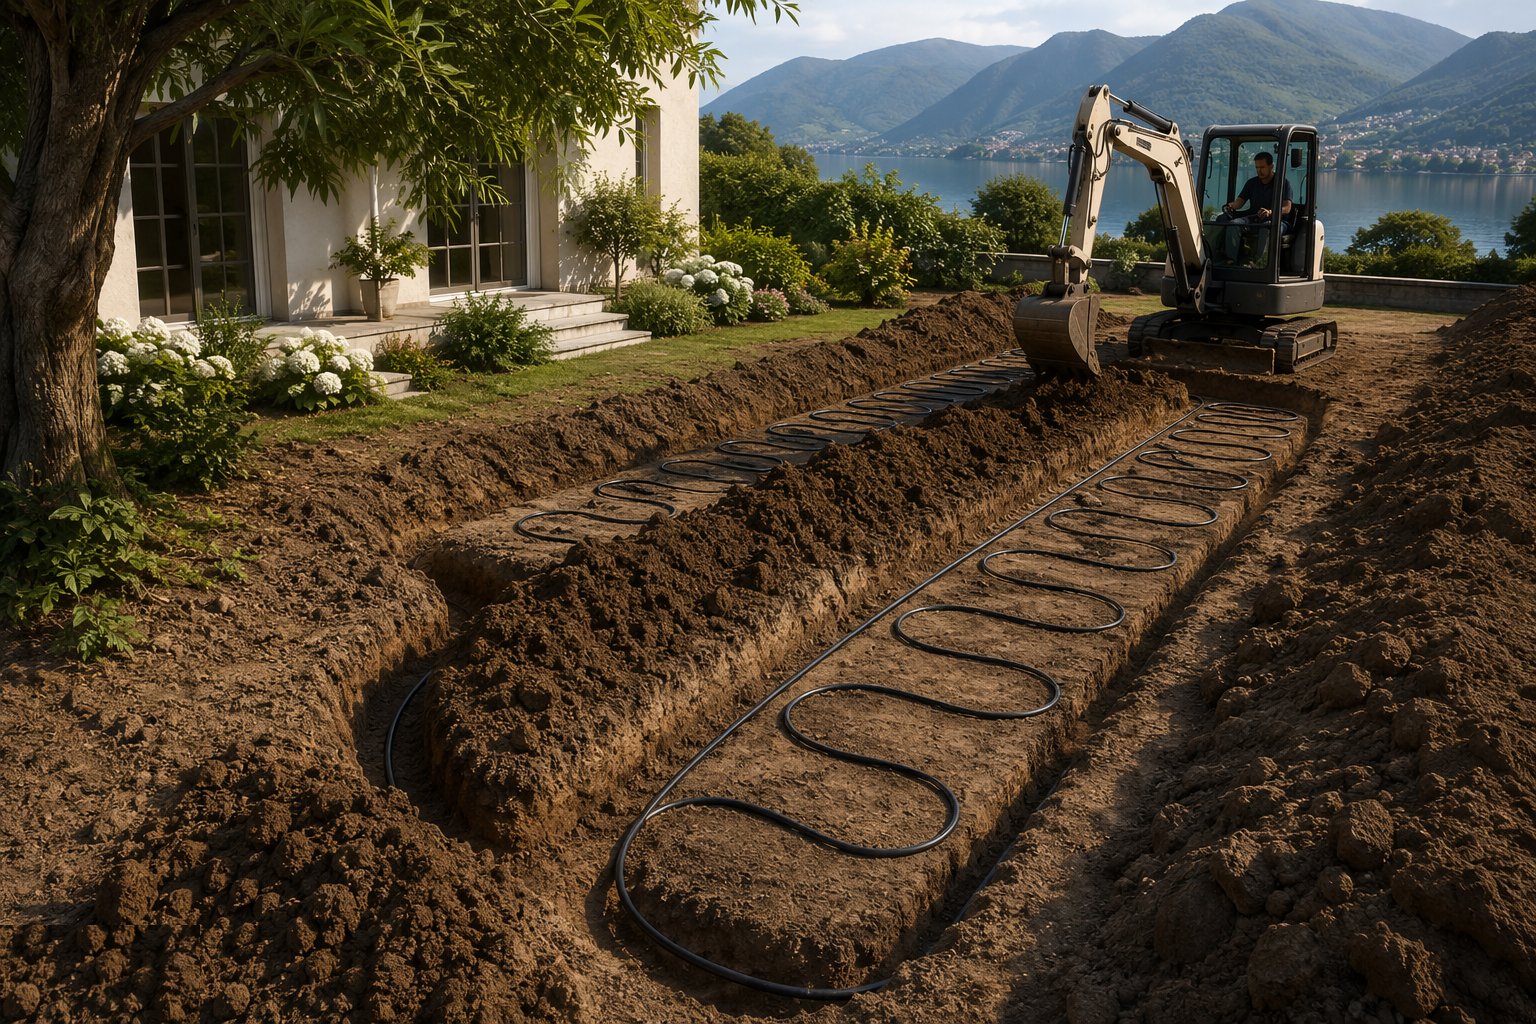
For trenches: excavate to the design depth, lay the pipe on a bed of soft material, and backfill in layers without rubble or sharp stone against the pipe — slinkies overlapped and spaced exactly as designed, because the coil geometry is the heat exchange area. For a borehole: drill to depth, insert the U-tube loop with its tremie grout pipe, and grout from the bottom up with thermally enhanced grout until returns appear at surface — partial grouting leaves an air gap that kills heat transfer and an open annulus that breaches groundwater rules. Run the header pipes to the manifold position or plantroom, cap them, mark them and survey the as-laid positions.
Step 5: Pressure test, flush and fill the loop
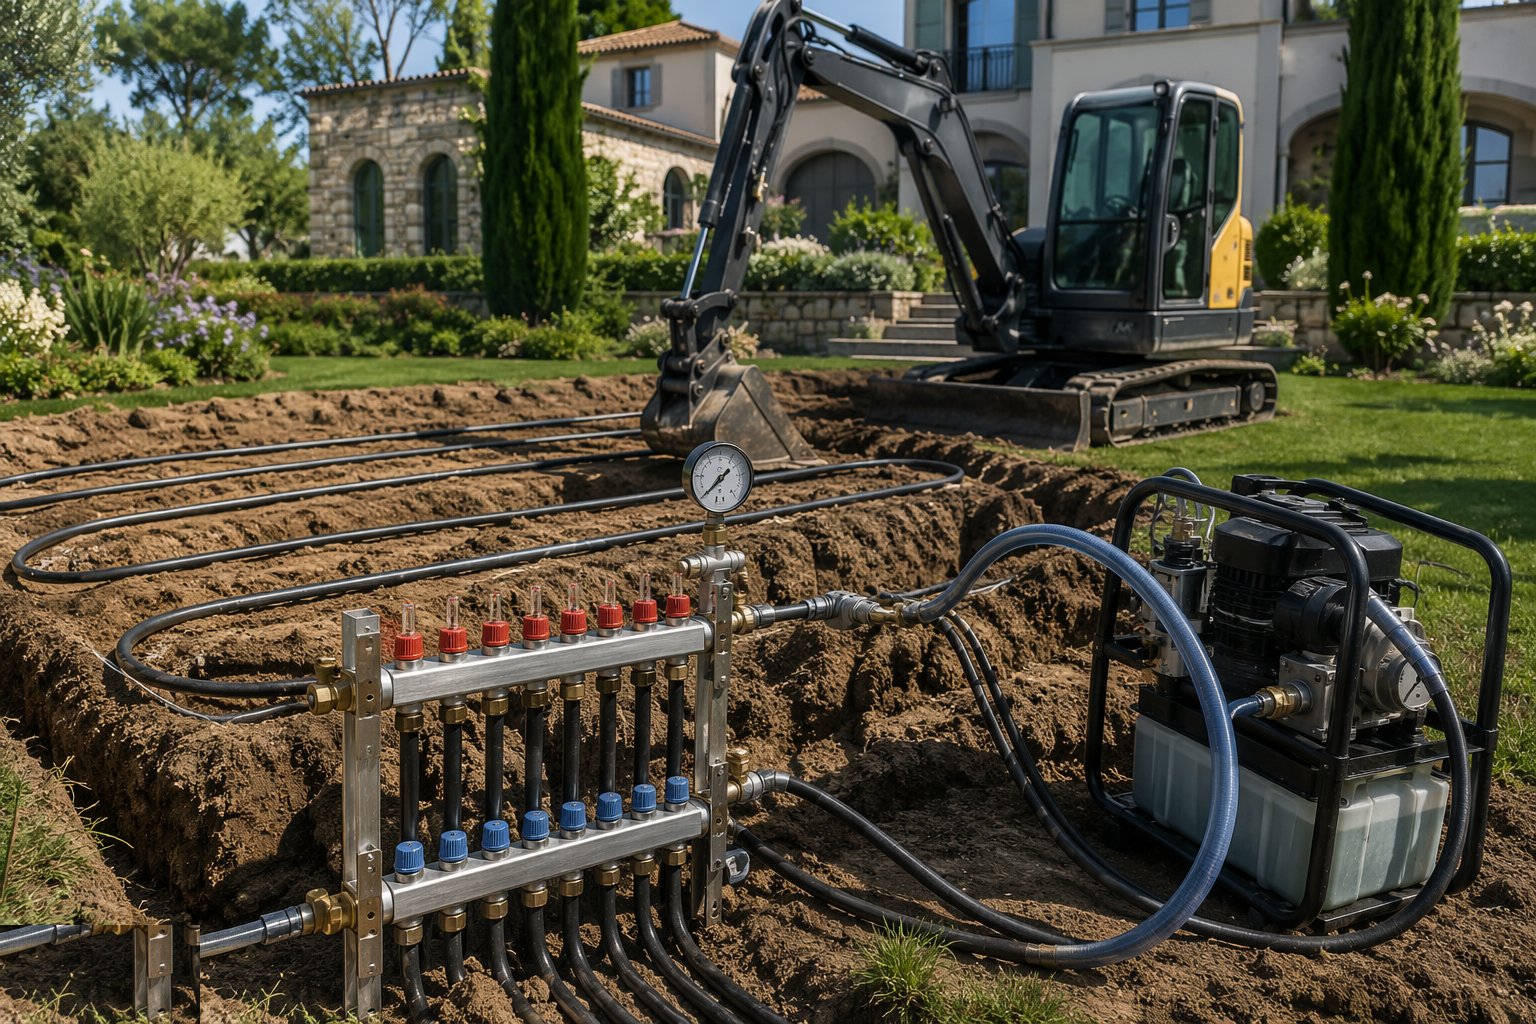
Pressure test every circuit to the pipe manufacturer's procedure before anything is buried beyond recovery, and record the result on a certificate. Then flush at high velocity through a filtration rig until the water runs clear and air stops coming out — air left in a ground loop causes circulation faults for the life of the system. Fill with the water and antifreeze mixture at the design concentration — typically a glycol mix, with inhibitor or biocide as specified — and verify the freeze-protection point with a refractometer, recording the measured concentration.
Step 6: Install the heat pump and hydraulics
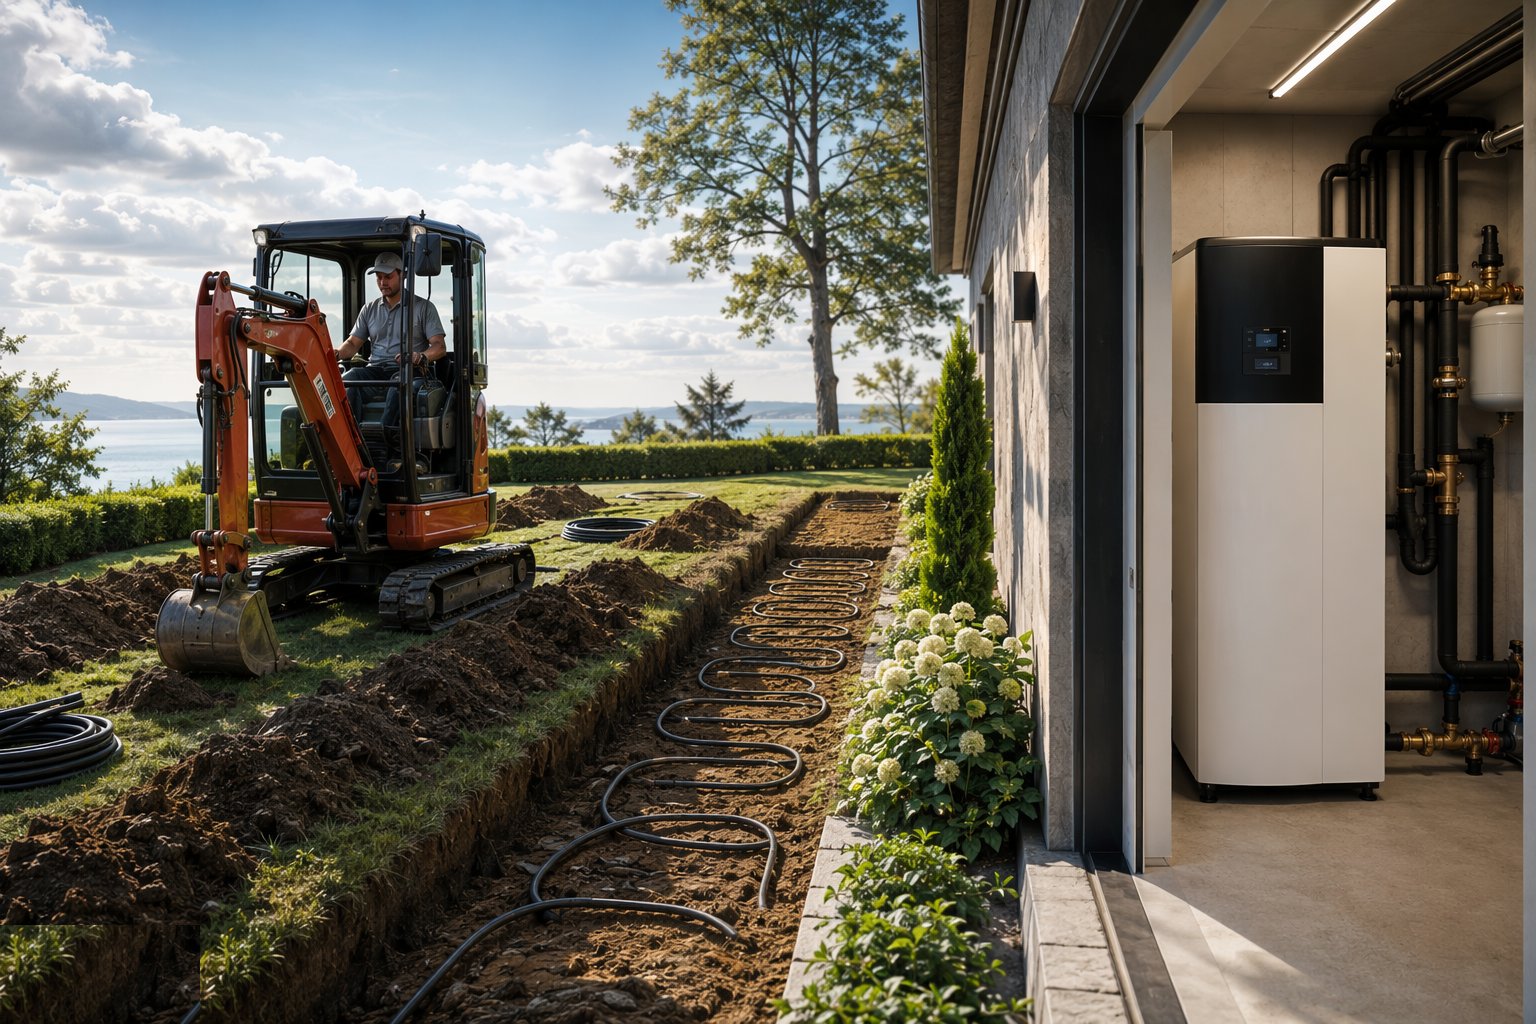
Position the heat pump in the plantroom, garage or utility space on a solid base with service access all round. Connect the ground loop and the heating circuits — cylinder, buffer vessel where the design calls for one, controls and any supplementary immersion — and provide the electrical supply and metering. Refrigerant circuits are F-Gas territory: manufacturer-installed sealed circuits are the norm at this scale, but any site work on them is for certified personnel. In the UAE the utility interface is simply an electrical load on the DEWA connection — no separate energy approval applies.
Step 7: Commission and hand over
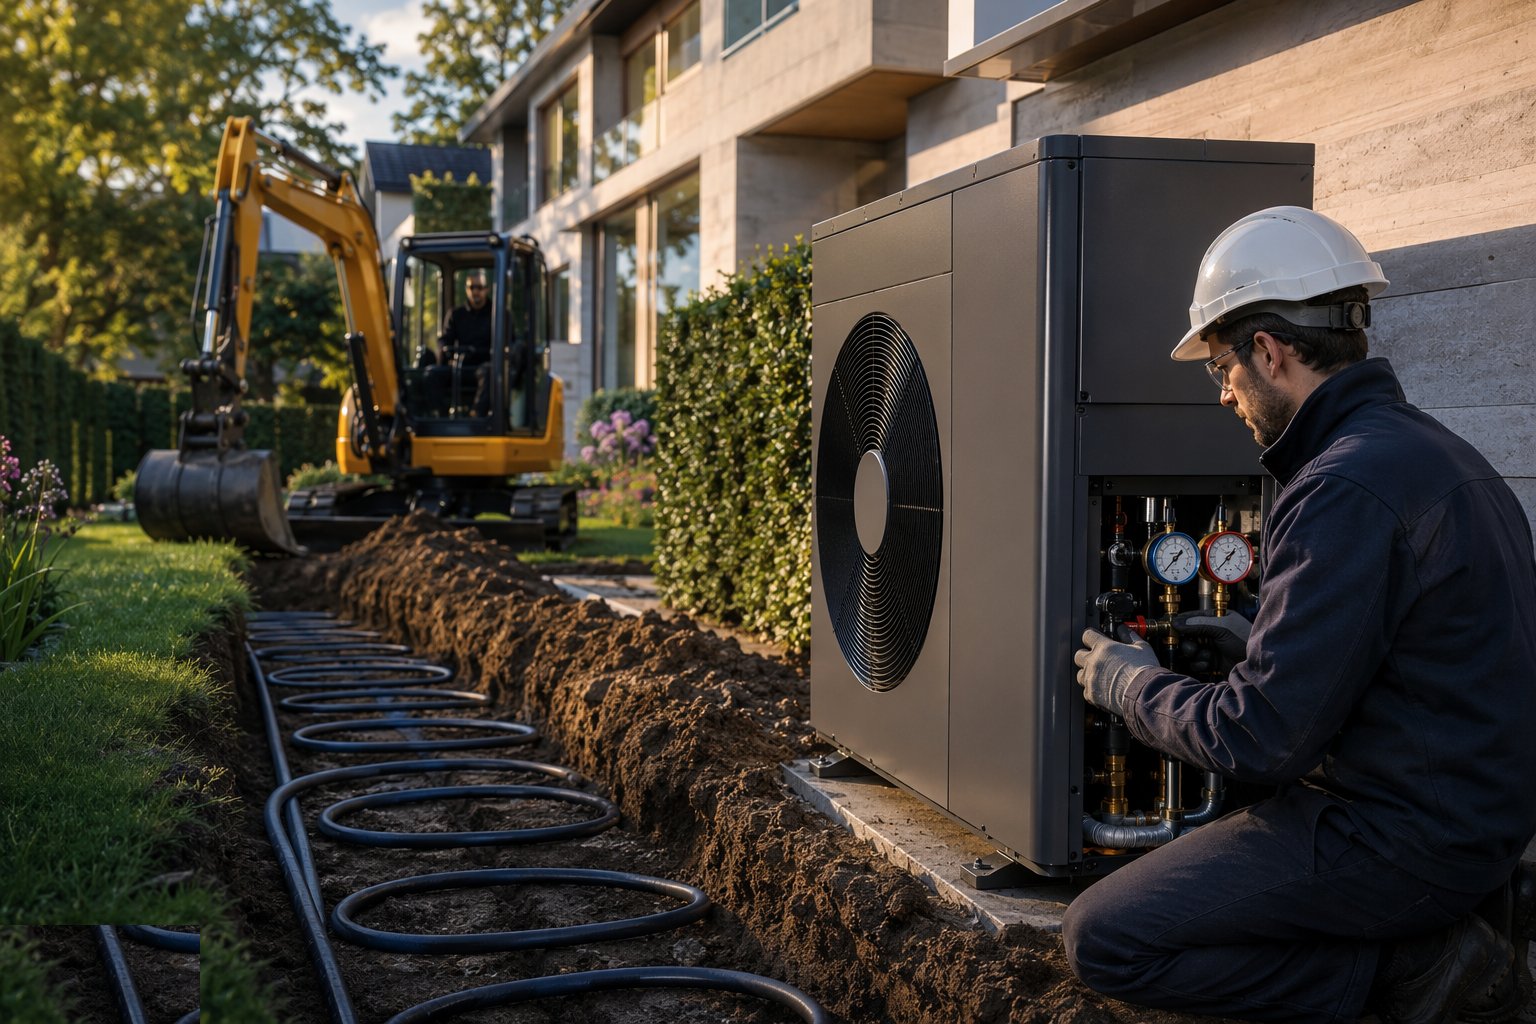
Commission to the manufacturer's procedure and the MIS 3005 checklists: verify loop and heating-side flow rates, temperature differentials, antifreeze concentration, control settings and the heat meter where fitted. Register the installation on the MCS Installation Database and issue the MCS certificate — grant funding depends on it. Hand over the documentation pack, including the written estimate of annual energy performance, and spend the time explaining the system: heat pumps reward steady, weather-compensated running, and a homeowner who treats one like an on-off boiler will be cold and disappointed.
Plant and equipment
- Compact geothermal drilling rig with mud management for borehole collectors
- Trenching machine or mini-excavator for horizontal collectors
- MDPE ground-loop pipe, U-tube probes and electrofusion jointing equipment
- Thermally enhanced grout and grouting pump with tremie line
- Flushing and purging rig with filtration
- Pressure test pump and calibrated gauges
- Glycol dosing equipment and refractometer
- Heat pump unit, hot-water cylinder, buffer vessel and controls
Quality control checks
- Room-by-room heat loss calculation to BS EN 12831 filed with the emitter design
- Collector sizing record retained — MCS 022 table reference or simulation output
- Borehole grouted bottom-up, with grout returns witnessed at surface
- Pressure test certificate completed before the loop is buried beyond recovery
- Antifreeze concentration verified by refractometer and recorded
- Commissioning checklists completed and MCS certificate issued and registered
- As-laid loop plan marked up and handed over — the only map of what is under the garden
Safety considerations
- Service clearance and permit-to-dig discipline before any trench or borehole
- Drilling rig stability — a checked working platform even for a compact rig
- Trench support or battering wherever personnel enter an excavation
- Glycol handling — COSHH assessment, bunded storage and a spill kit
- Open excavations in occupied gardens fenced and lit until backfilled
- Electrical installation by qualified persons; refrigerant circuits per F-Gas rules
Common defects
- Collector undersized from a rule-of-thumb guess — the loop runs colder each winter and efficiency decays
- Borehole loop incompletely grouted — poor thermal contact and an open pathway between aquifers
- Slinky trenches backfilled with rubble — pipe damaged and thermal contact lost
- Air left in the ground loop — circulation faults and noisy, inefficient running
- Antifreeze concentration wrong — freeze protection lost or the circulator overloaded
- Boiler-temperature radiators paired with the heat pump — high flow temperatures destroy the COP
- No as-laid record — the loop is severed years later by a fence post or pond excavation
Best suited for
- Ground loops and a heat pump serving one house or villa
- Trenching or drilling on garden-scale plots
- Pressure-tested loops buried and forgotten for decades
- Efficient heating and cooling with almost no visible plant
How long does Ground-Source Heat Pumps — Homes & Villas take?
Typical duration: Ground works typically take one to three weeks for a borehole system or phased trenching; the heat pump installation and commissioning sit inside the normal MEP programme, with the whole package commonly complete in two to six weeks on site..
Related processes
- River Diversion & Cofferdams
- Dam & Powerhouse Civils
- Electromechanical Installation
- Impoundment, Commissioning & Handover
- Shallow Geothermal — Commercial & District Schemes
- Deep Geothermal Drilling & Wells
- Geothermal Plant, Connection & Commissioning
- Site Access & Enabling Works
- Survey, Ground Investigation & Resource Studies
- Piling & Mounting Structures
- PV Module Installation
- Electrical Balance of System
- Grid Connection & Energisation
- Wind Turbine Foundations
- Craneage & Tower Erection
- Wind Farm Electrical Infrastructure
- Commissioning & Energisation
- Power Generation sector guide
- Utilities & Energy group