Sheet piling
A driven steel wall that holds back the ground — fast in, and often straight back out again.
Last updated 2026-07-28 by the BuildPedia Editorial Team.
What is Sheet piling?
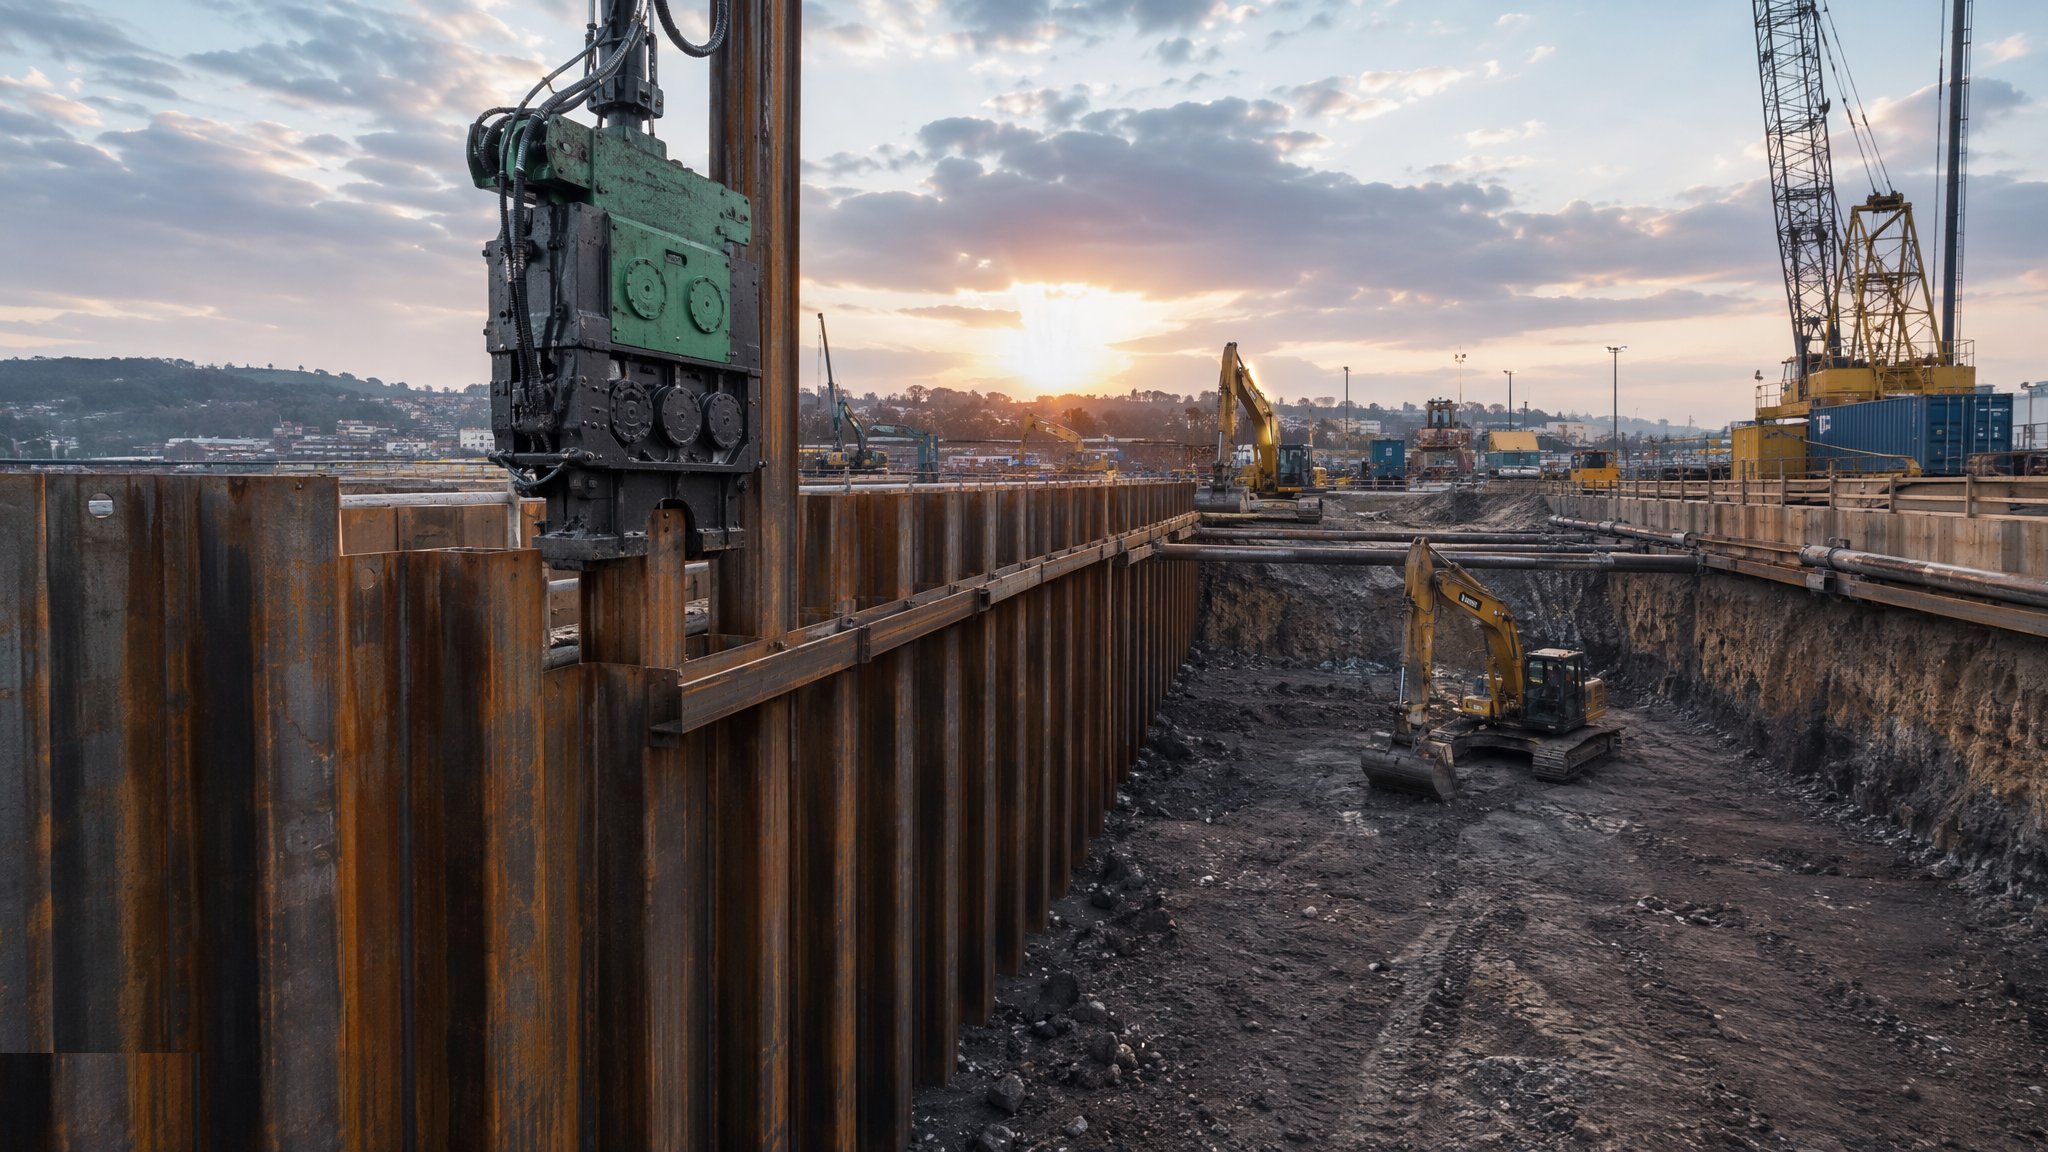
Sheet piling builds a retaining wall, not a foundation: interlocking steel sections — U and Z profiles with Larssen-type clutches — are vibrated or pressed into the ground in sequence so each new sheet clutches onto the last, forming a continuous wall that retains soil and resists water. The wall works as a vertical cantilever, or is propped and anchored as the excavation in front of it descends. It is the standard answer for basement edges, cofferdams, service trenches beside boundaries, and any dig where the ground must be held without battering back into the neighbour's land.
Speed and reuse are the economics. A vibratory hammer installs sheets fast — a cofferdam can be walled in days — and on temporary works the sheets are extracted at the end, hired again, and used on the next job, which makes sheet piling frequently the cheapest retaining wall that exists. Pressed systems — the silent piler — eliminate vibration almost entirely for sensitive sites, at slower rates and higher cost. Permanent walls get clutch sealants, coatings or corrosion allowance and can serve as the basement's permanent retaining face.
The practical battles are clutches, obstructions and water. Sheets driven out of plumb compound their lean down the run until the clutches jam or split; obstructions split clutches or refuse sheets outright, leaving gaps that leak soil and water; and in permeable ground the wall slows water rather than stopping it, so seepage through clutches and toes is managed with pumping or sealants, not wished away. The driving sequence — panel driving with leads, pitching ahead in frames, constant plumb checks — is craft knowledge, and a gang that does it well is worth its day rate.
How does Sheet piling work, step by step?
Step 1: Set the guide frame and pitch the first sheets
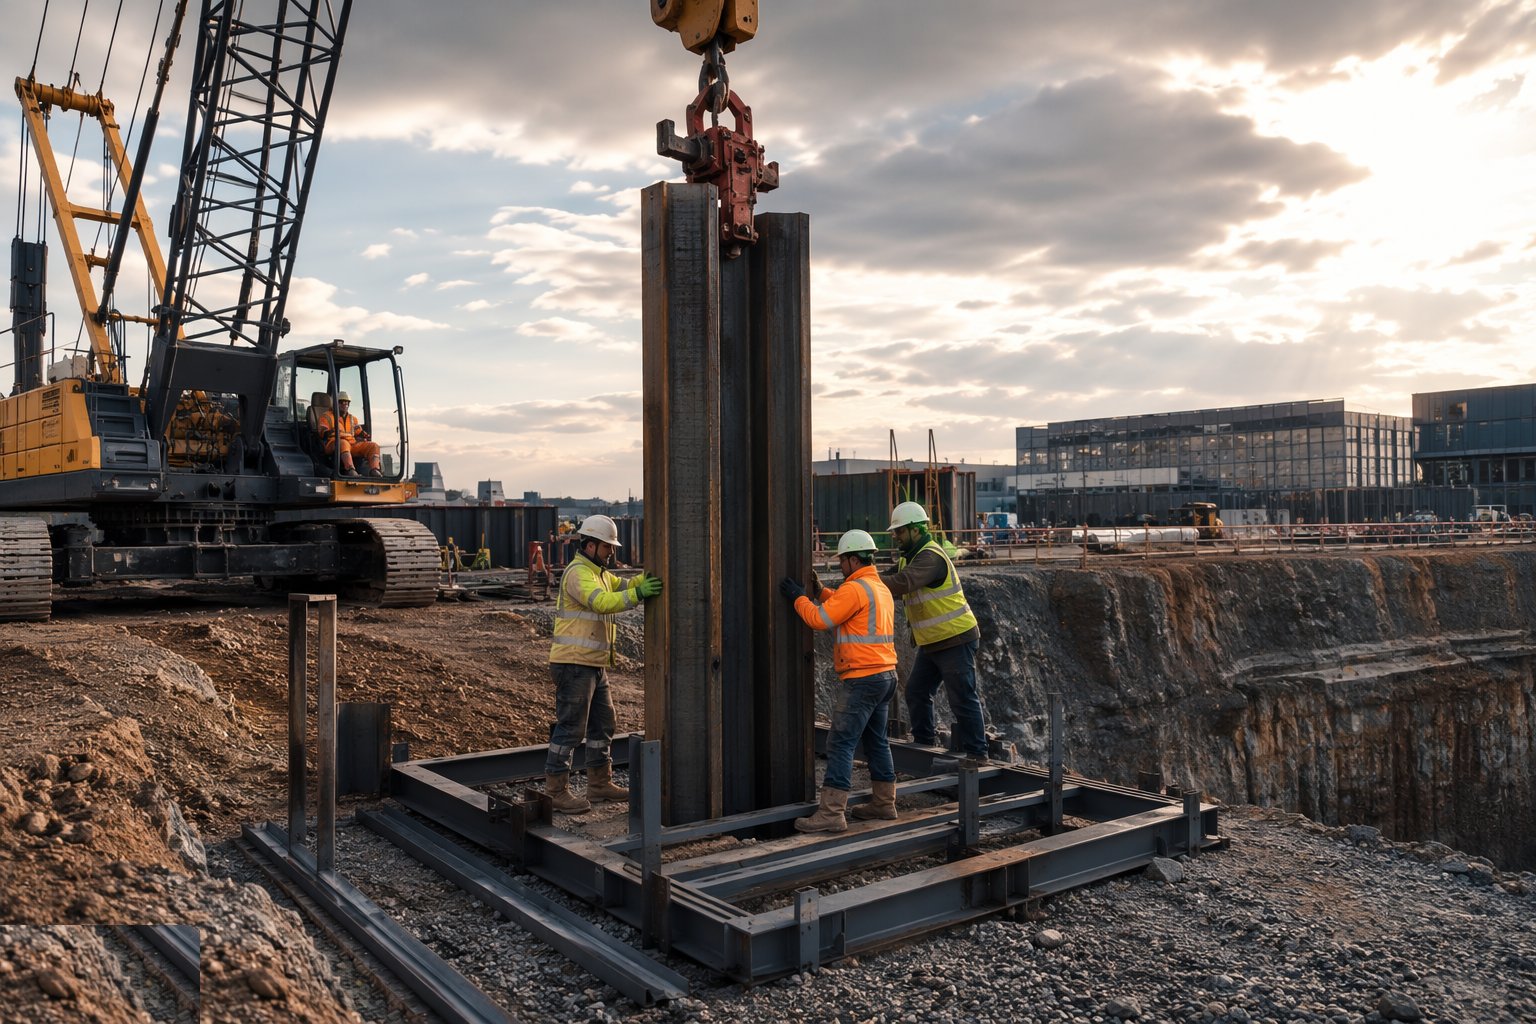
A guide walings frame or leads are set to the wall line and level. The first sheets are pitched with obsessive care — plumb in both planes — because every following sheet inherits their error. Sheet condition is checked on receipt: damaged clutches and bent sections are rejected before they jam the run.
Step 2: Drive the panel in sequence
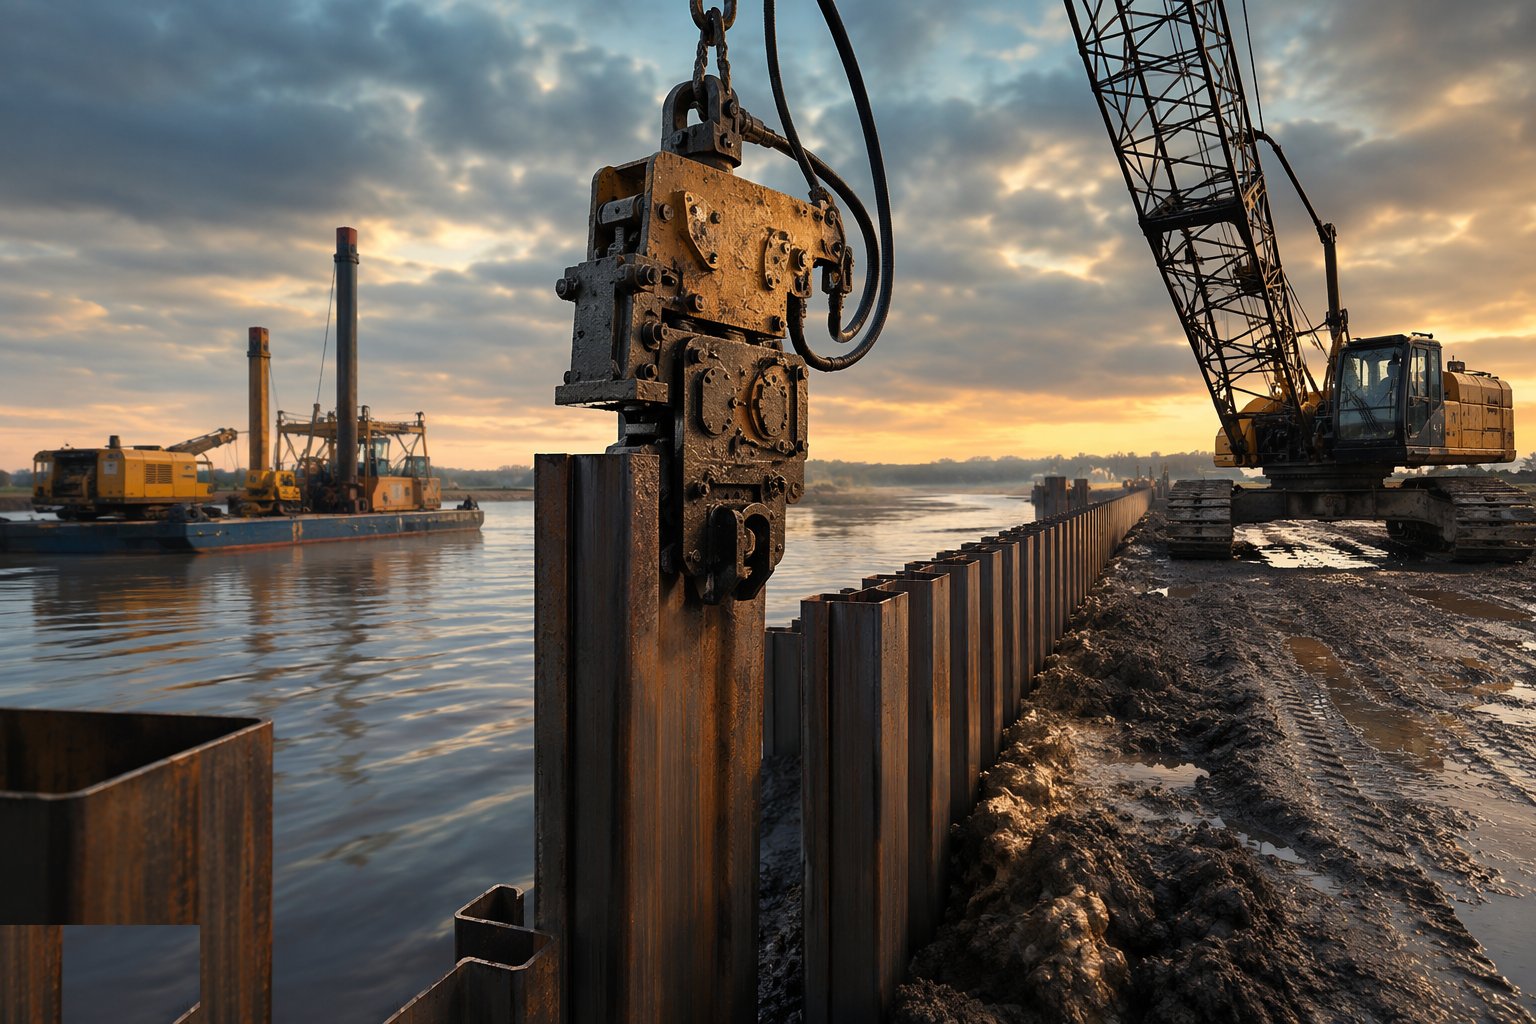
Sheets are driven in panels, a few metres ahead of each other, so no single sheet runs away out of plumb or drags its neighbour. Vibratory hammers are the default; impact hammers for hard driving; pressing where vibration is banned. Plumb is checked continuously and corrections are made early — a sheet corrected at the third metre is a non-event, at the tenth it is an extraction.
Step 3: Deal with refusals and obstructions
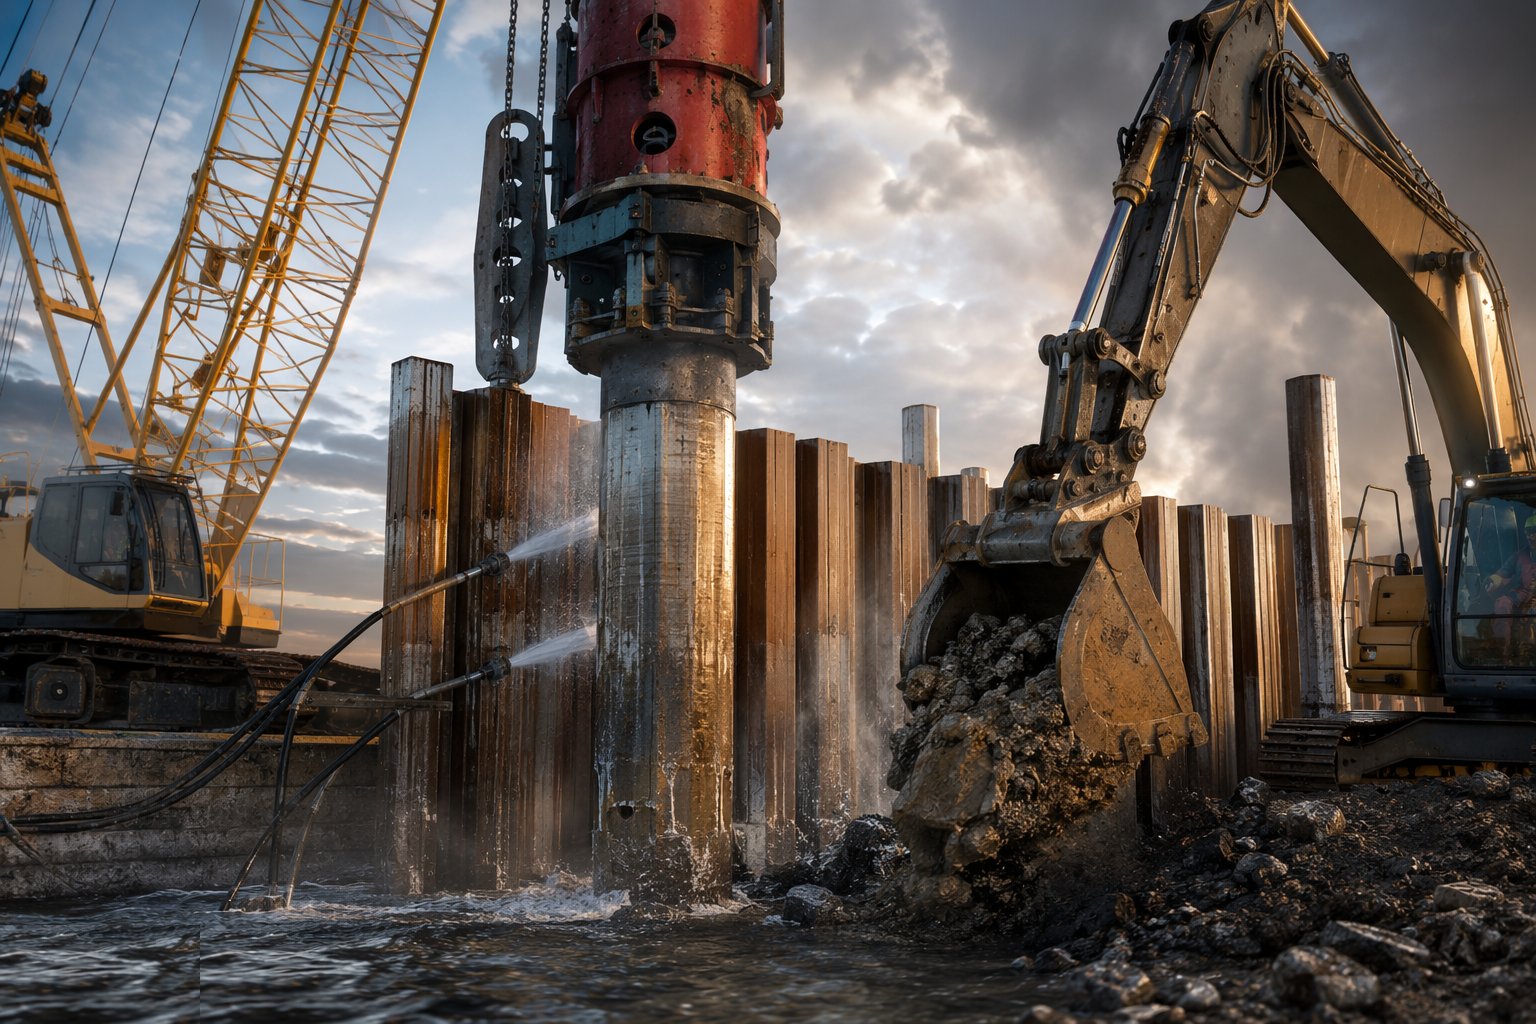
Where driving stops, the cause is established before brute force: probing, pre-augering or water jetting past obstructions, or a heavier hammer within the sheet's driveability. A split clutch or a deflected sheet is extracted and redriven — driving on past a split clutch writes a soil-and-water leak into the wall.
Step 4: Install walings, props and anchors as the dig descends
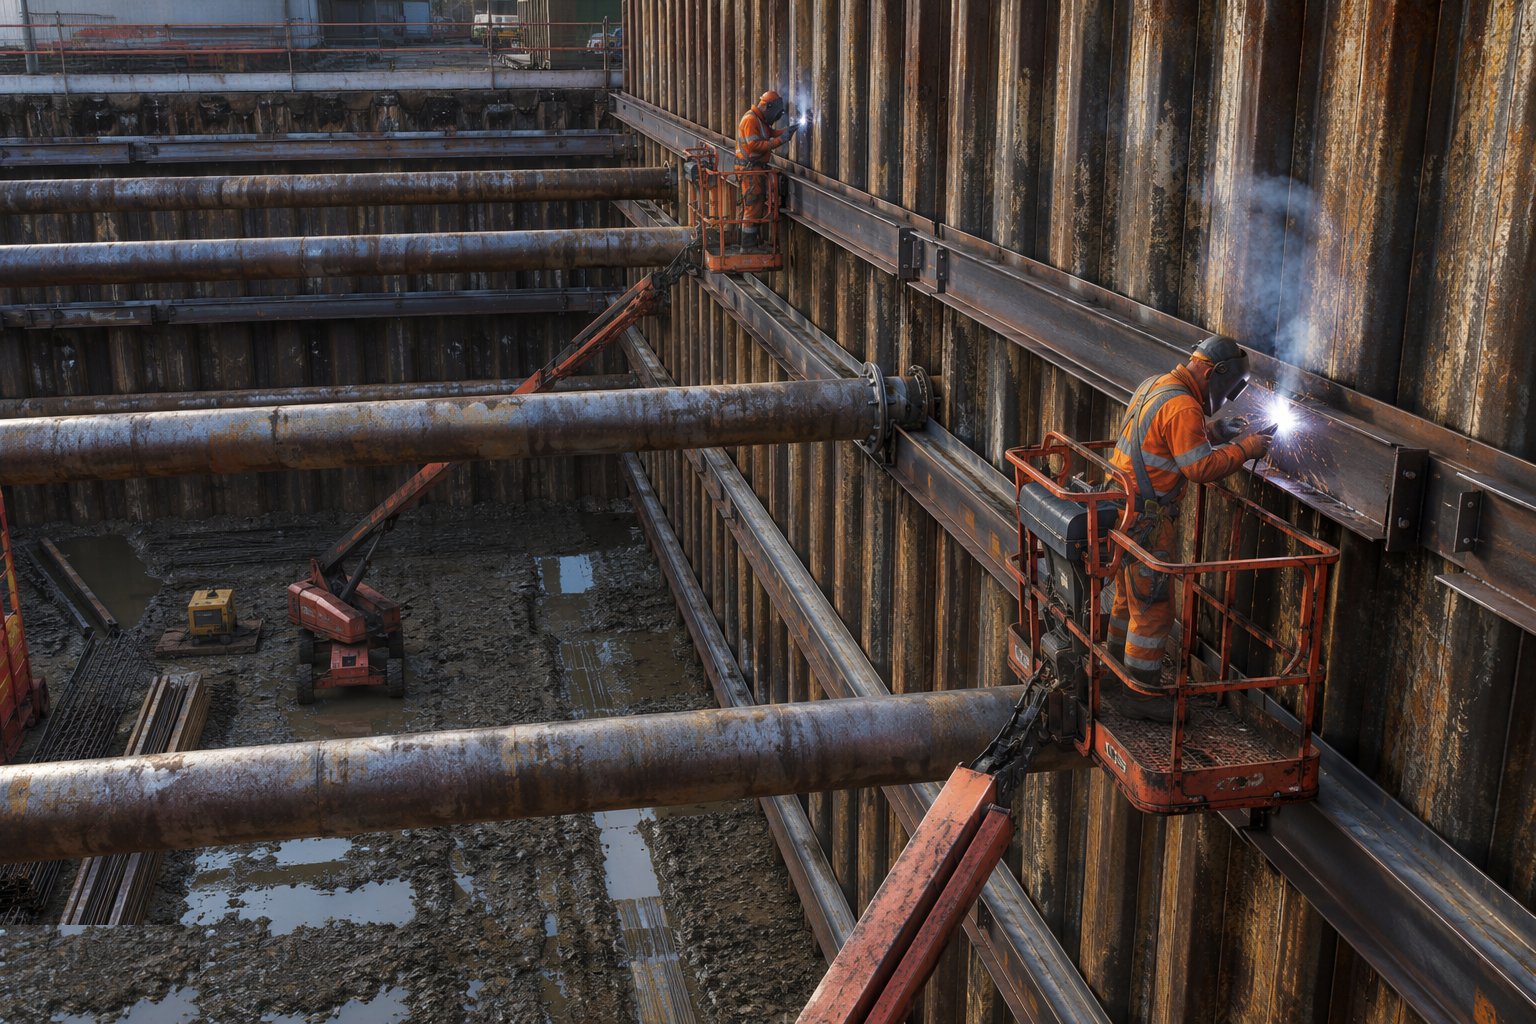
The wall is never asked to cantilever beyond its design: walings, struts, raking props or ground anchors go in at each excavation stage as the temporary works design demands. Excavation in front of the wall keeps pace with propping, never ahead of it, and movement monitoring runs from day one.
Step 5: Manage the water and seal the clutches
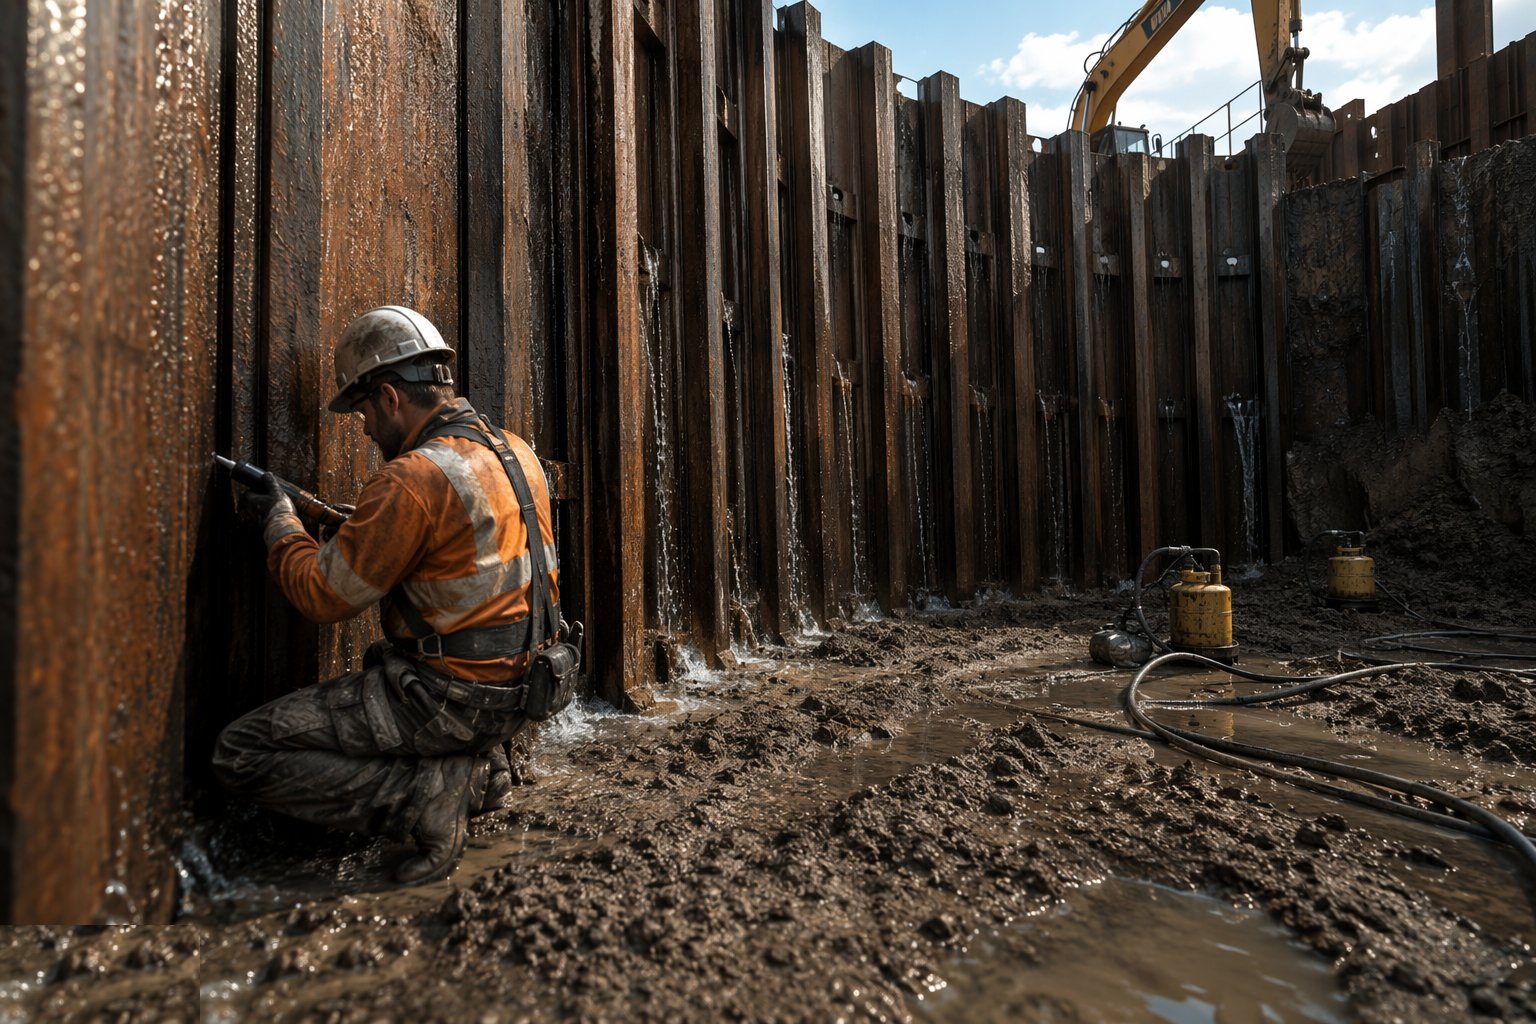
Seepage paths — clutches, toes, corners — are monitored as the excavation dries out. Clutch sealants applied before driving, grout socks, or well-managed pumping keep the dig workable. Corners and junctions use fabricated junction piles set and checked individually.
Step 6: Extract for reuse or make permanent
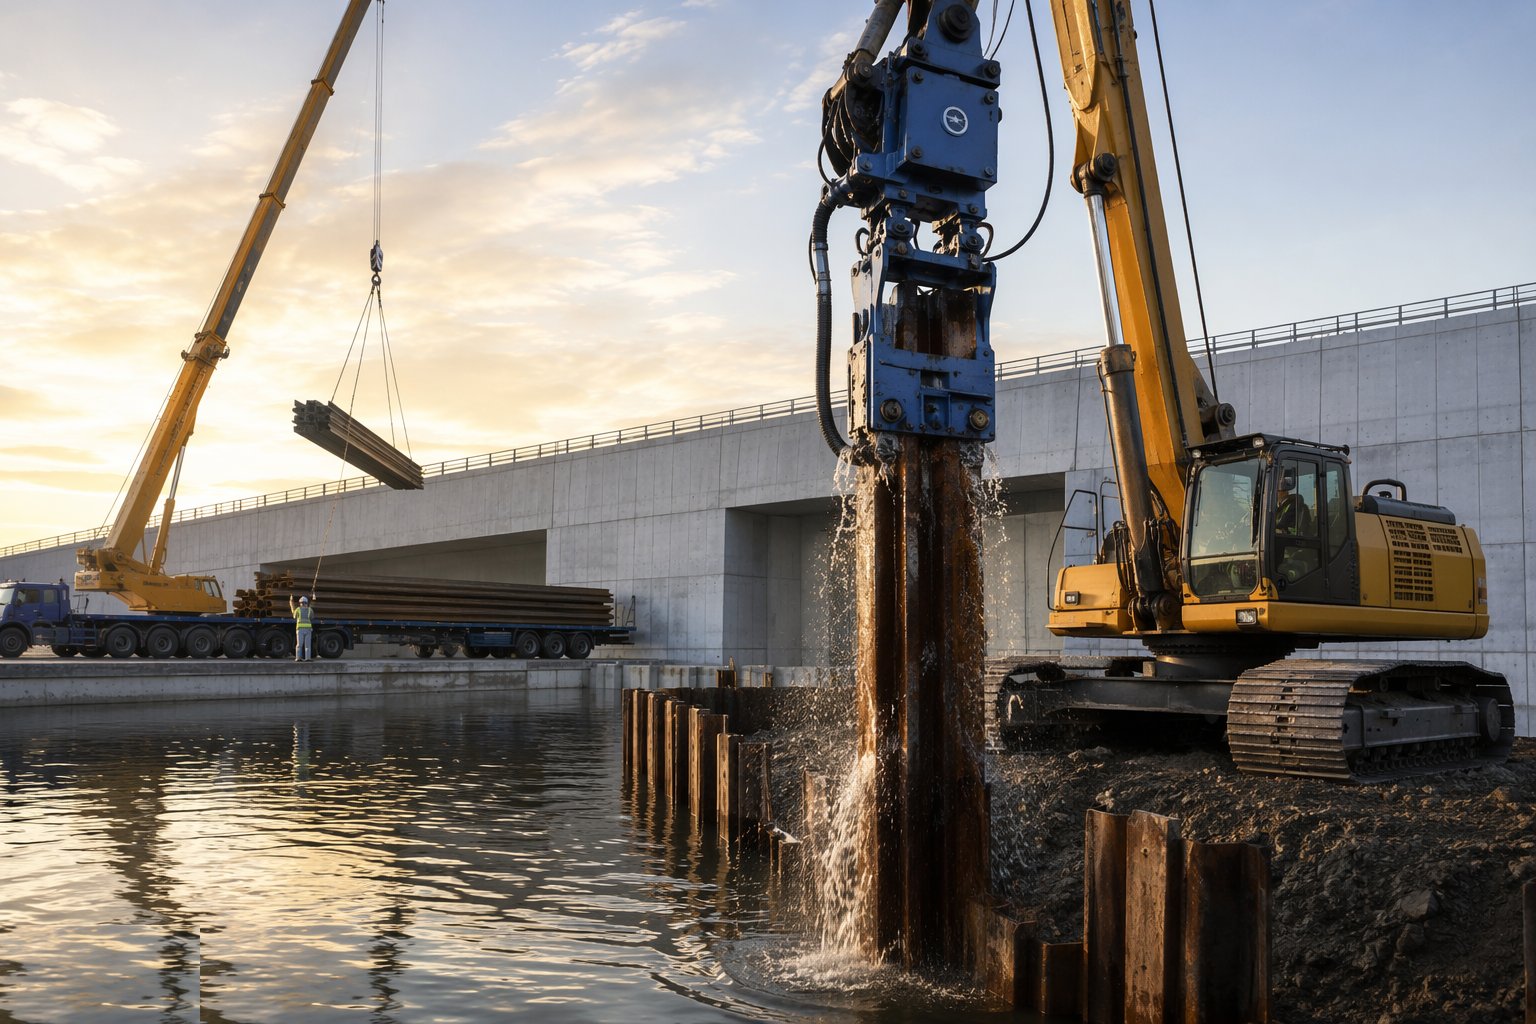
On temporary works the sheets are vibrated out once the permanent works and backfill allow, with the voids grouted to prevent settlement beside the wall — extraction settlement is the sleeper defect. Permanent walls are cut off to level, capped with a concrete capping beam, and the corrosion design and sealant records go into the handover file.
What are the benefits of Sheet piling?
- Fastest retaining wall to install — days for a cofferdam, not weeks
- Reusable on temporary works — the hire-and-extract model is hard to beat on cost
- Immediate retention — no curing; the dig can start behind the wall at once
- Reduces water ingress — sealed clutches make a serviceable barrier
- Suits soft ground and tight boundaries where battering is impossible
- Permanent option doubles as the basement retaining face
What are the limitations of Sheet piling?
- Noise and vibration on driven installation — pressing kit needed near sensitive receptors
- Obstructions split clutches and refuse sheets — made ground is hostile territory
- Not watertight by itself — seepage through clutches and toes must be managed
- Limited stiffness — cantilever heights are modest and deep digs need heavy propping
- Extraction can drag down adjacent ground — void grouting is mandatory
- Corrosion allowance needed for permanent walls, especially in the splash zone
What is Sheet piling best suited for?
- Temporary cofferdams, tanking excavations and service trenches
- Basement edges and retaining walls on soft-ground sites
- Digs tight against boundaries where open cut is impossible
- Marine walls, quays and river works
- Emergency retention and temporary works with short design lives
What plant does Sheet piling need?
- Vibratory hammer with piling rig or crane; impact hammer for hard driving
- Hydraulic pressing system (silent piler) for vibration-sensitive sites
- Guide frames and leads for the wall line
- Extractors and void-grouting equipment for temporary works
- Pre-auger or water-jetting equipment for obstructions and dense layers
- Props, walings, anchors and the plant to install them
How is Sheet piling quality-checked?
- Sheet inspection on receipt: clutch condition, straightness, section properties
- Plumb and line survey continuously during driving; as-built survey of the finished wall
- Driving records per sheet: depth, resistance, refusals and remedial actions
- Clutch sealant records and seepage monitoring during excavation
- Prop and anchor installation records against the temporary works design
- Extraction log and void-grouting records on temporary works
Related processes
- Piling & Deep Foundations — full process guide
- CFA — Continuous Flight Auger Piles — method
- Driven precast concrete piles — method
- Driven steel tube and H piles — method
- Rotary bored cast-in-situ piles — method
- Mini and micro piling — method
- Site Access & Enabling Works
- Site Clearance & Demolition
- Setting Out & Survey Control
- Earthworks & Excavation
- Dewatering & Groundwater Control
- Shallow Foundations
- Basement & Substructure
- Waterproofing and Tanking
- Concrete Frame Construction
- Steel Frame Construction
- Masonry & Timber Frame
- Floor Slabs & Screeds
- Roofing
- Façade & Cladding
- Insulation Systems
- Windows, Doors & Glazing
- MEP First Fix
- Internal Finishes
- MEP Second Fix & Commissioning