Draught proofing
Sealing the gaps that insulation cannot fix - because air moving through a building takes the heat with it.
Last updated 2026-09-05
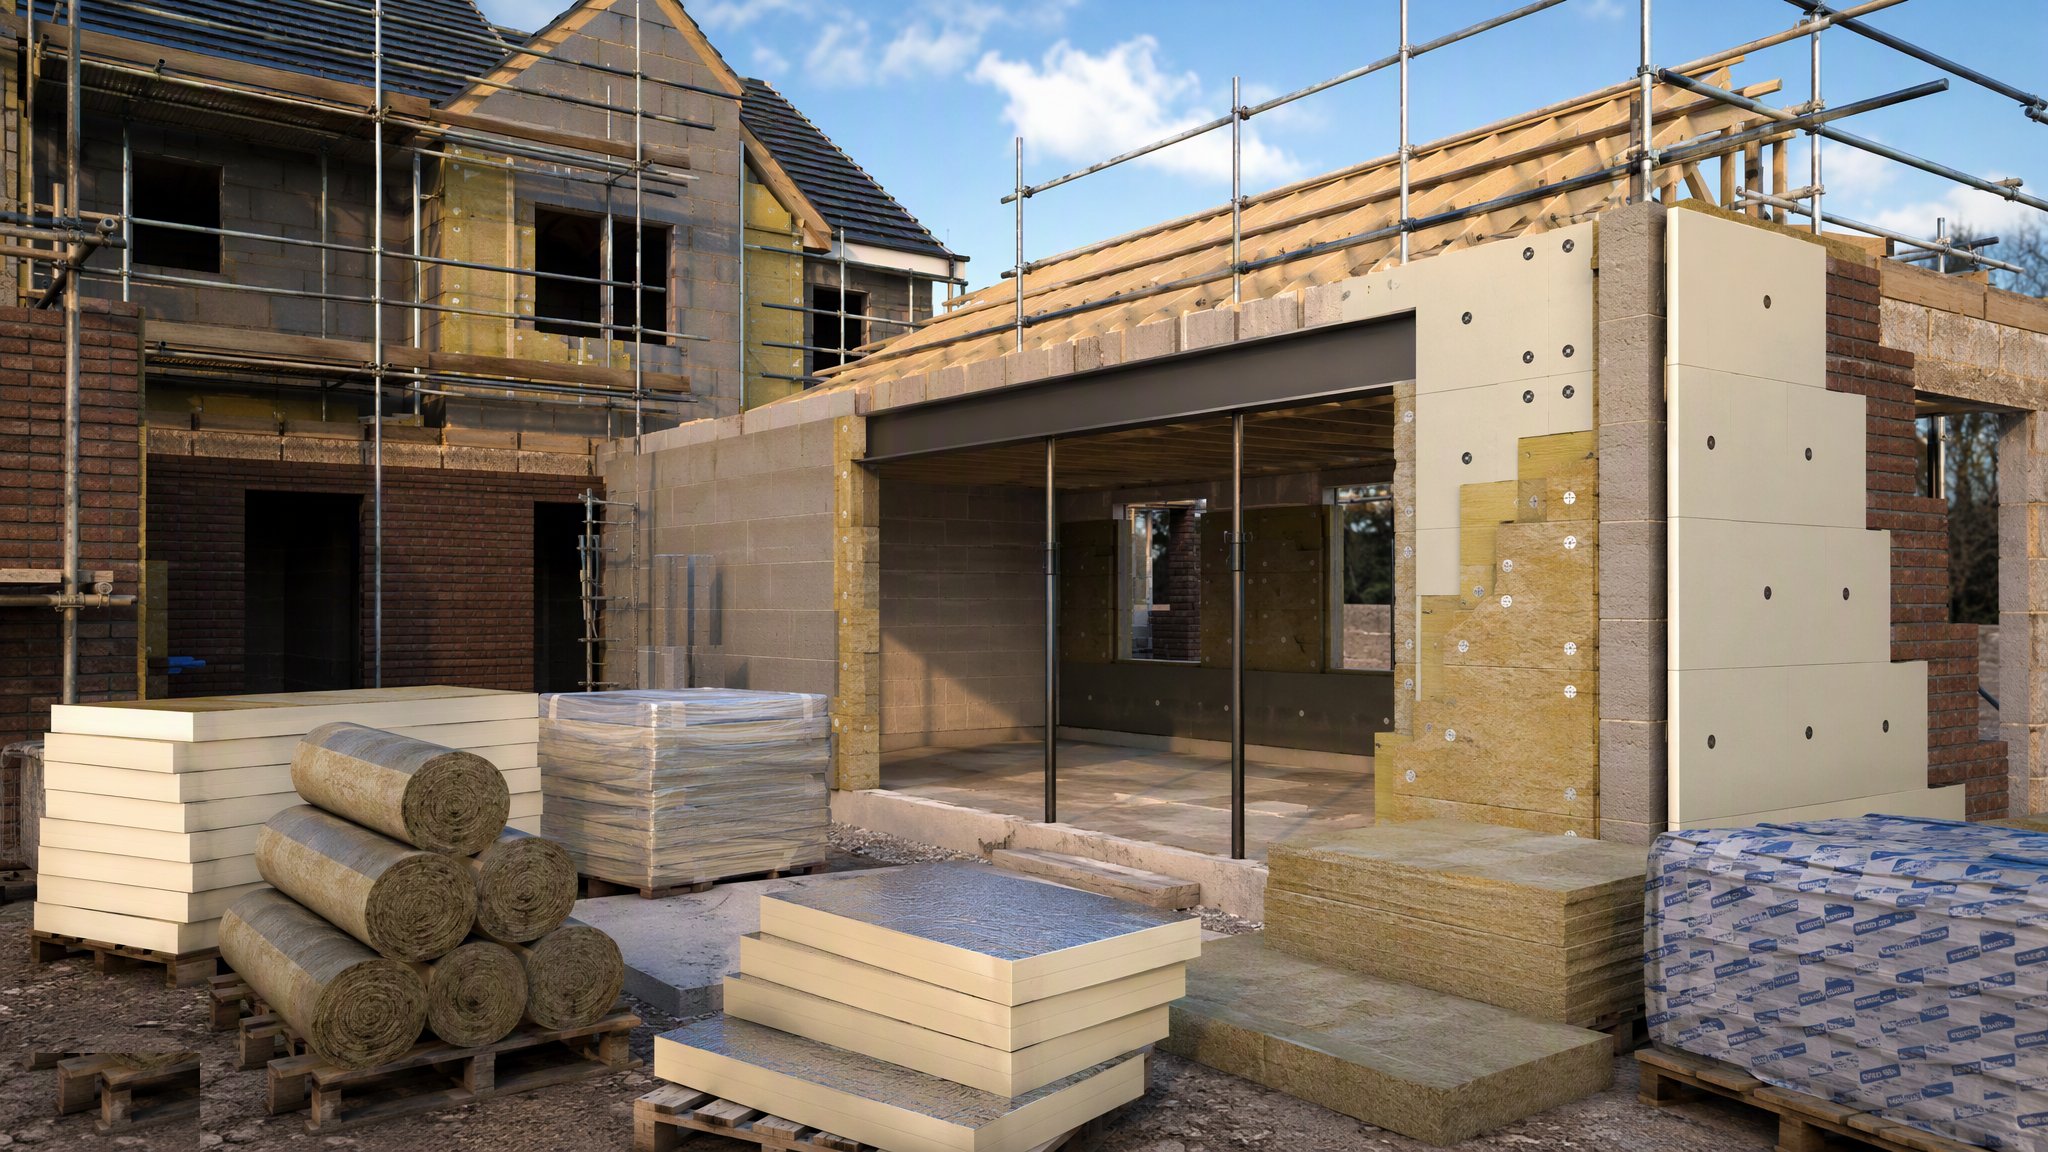
What is Draught proofing?
Draught proofing is the work of closing the unintended gaps through which air leaks into and out of a building. It sits alongside insulation rather than inside it, and the two solve different problems. Insulation slows heat conducted through the fabric. Draught proofing stops heat being carried out bodily by air moving through gaps in that fabric. Uncontrolled air leakage is a significant part of the heat loss from most existing buildings, and on a poorly sealed property it can rival the losses through the walls and roof. It is also the cheapest measure per unit of benefit on almost any retrofit, which is why it is usually the first thing done and the thing most often done badly.
The gaps are predictable and always in the same places. Around windows and doors, at the frame-to-structure junction as well as at the opening light. At loft hatches, service risers and the penetrations where pipes, cables, ducts and flues pass through the fabric. At the junction between the floor and the wall and between the wall and the ceiling, particularly where a suspended timber floor or an intermediate floor structure runs into the external wall. Around recessed light fittings, extract terminals, meter boxes and the backs of sockets on external walls. Behind dry lining, where an unsealed cavity behind the board turns the whole wall into a plenum. Chimneys and unused flues. In practice the leakage is almost never where the occupant thinks it is - it is at the junctions, and junctions are what get missed.
The idea that makes the work coherent is the air barrier: a single continuous line, drawn on a section through the building, that separates inside from outside and can be traced without lifting the pen. If the line cannot be drawn on the drawing it will not exist on site, because whoever is sealing a junction has to know which element on each side is doing the job and who is responsible for the joint between them. That continuity is the whole discipline. The other half of the discipline is ventilation. A building that is sealed and not ventilated becomes a building with condensation, mould and poor indoor air quality, and the correct outcome is a building that is airtight in the places it should be and ventilated deliberately through the routes the designer chose. Build tight, ventilate right is the phrase, and it means the ventilation strategy is a design decision taken alongside the sealing rather than a remedy applied afterwards. The result is proven by air pressure testing, which puts a number on the leakage rather than leaving it to a hand held up to a window frame.
How does Draught proofing work, step by step?
- 1
Step 1: Draw the air barrier before anything is sealed
The designer establishes where the airtightness line runs and marks it on sections and details through the whole building, checking that it is continuous and that every change of element has a detail showing how the joint is made. On a new build this is done before construction begins. On a retrofit it is done from a survey of what is actually there, which usually means opening up at the junctions to find out. The line then has to be given to somebody: continuity fails at the boundaries between trades far more often than in the middle of anybody's work, so the drawing has to say who seals the joint as well as how.
- 2
Step 2: Find the leakage rather than guessing at it
On existing buildings the survey identifies where air is actually moving. Smoke pencils, thermal imaging under a pressure difference, and a depressurisation test with the fan running all reveal paths that no visual inspection would find - behind skirtings, up service voids, through the ceiling into the loft, around a dry-lined reveal. Testing before the work as well as after gives a baseline to measure the improvement against, and it stops money being spent sealing the visible gaps while the real leakage runs on unseen through a floor void.
- 3
Step 3: Decide the ventilation strategy at the same time
Sealing a building changes how it breathes, so the ventilation strategy is settled alongside the sealing rather than after it. That means confirming what provides fresh air to each space and what extracts moisture from kitchens and bathrooms, checking that any combustion appliance still has the air supply it needs, and making sure that background ventilators and extract terminals are provided and are not the things being sealed up. Where a building is taken to a high standard of airtightness the design will normally move to a mechanical ventilation system, because the leakage that previously ventilated the building by accident is exactly what has been removed.
- 4
Step 4: Seal the openings and the moving joints
Windows and doors are addressed in two separate places. The perimeter joint between the frame and the structure is a fixed joint, sealed with an appropriate sealant, tape or expanding sealing strip and protected from weather and ultraviolet on the outside. The joint between the opening light and the frame is a moving joint and takes a compression or brush seal that has to keep working after thousands of cycles, which is a matter of choosing the right profile and depth for the gap rather than pushing foam into it. Letterplates, keyholes and cat flaps get purpose-made covers. Loft hatches get a seal and a catch that compresses it, because a seal without a catch is decoration.
- 5
Step 5: Seal the penetrations and the junctions
This is where the work is won or lost. Every pipe, cable, duct and flue that crosses the air barrier is sealed at the point of crossing, with grommets, collars, tapes or sealant appropriate to the service and its movement and temperature. Floor-to-wall and wall-to-ceiling junctions are sealed behind the finishes, which on a retrofit usually means lifting a skirting or a floorboard rather than running a bead along a visible edge. Service voids and dry-lining cavities are closed at their perimeters so they cannot connect one part of the building to another. Sockets and switches on external walls are sealed at the back box. Unused flues are capped at both ends with provision for the flue to stay dry, and chimneys in use are given a purpose-made closure that can be removed.
- 6
Step 6: Prove it with an air pressure test
The result is measured, not assumed. A fan mounted in a doorway pressurises or depressurises the building and the airflow needed to hold a set pressure difference gives a leakage figure that can be compared against the target in the specification. The value of the test is as much diagnostic as it is a compliance number: with the fan running, the remaining leakage paths can be walked and found, and sealed while the access is still open. That is why a test carried out before the finishes are closed up is worth far more than one carried out at handover, when everything that would have to be opened up has already been decorated.
What are the benefits of Draught proofing?
- The cheapest measure per unit of heat saved on most existing buildings
- Improves comfort immediately by removing the cold draughts that make a warm room feel cold
- Reduces heating demand, which in turn allows smaller heating plant on a full retrofit
- Cuts the movement of moisture-laden air into the fabric, reducing interstitial condensation risk
- Improves acoustic performance and keeps out dust, pollen and smells along with the air
- Much of the work is low-disruption and can be done without vacating the building
What are the limitations of Draught proofing?
- Must be designed with the ventilation strategy, or it creates condensation, mould and poor air quality
- Combustion appliances and open flues need their air supply checked before anything is sealed
- The leakage that matters is at hidden junctions, so sealing only what is visible achieves little
- Retrofit sealing at floor and ceiling junctions usually means lifting finishes, which raises the cost and disruption
- Seals on moving joints wear and need periodic replacement, so it is not a one-off measure
- Historic and traditionally built fabric needs care, because it may rely on moisture movement through the structure
What is Draught proofing best suited for?
What plant does Draught proofing need?
- Airtightness tapes, membranes, grommets, collars and flexible sealants suited to each junction
- Compression and brush seal profiles for opening lights, doors and hatches
- Blower door fan and pressure gauge equipment for testing and diagnosis
- Thermal imaging camera and smoke pencils for locating leakage paths
- Hand tools for lifting skirtings, boards and finishes to reach concealed junctions
- Flue and chimney closures, and purpose-made covers for letterplates and keyholes
How is Draught proofing quality-checked?
- A continuous air barrier line drawn on sections through the building, with a responsible trade named for each junction
- Ventilation strategy confirmed alongside the sealing works, including combustion air supply
- Junctions and penetrations inspected and photographed before finishes cover them
- Materials checked for compatibility with the substrates and for the movement and temperature they will see
- An interim air pressure test while the fabric is still open, with leakage paths walked and sealed on the spot
- Final air pressure test result recorded against the specified target, with any shortfall investigated and re-tested
Back to process
Insulation Systems