Earthworks & Excavation
Cut and fill, trenching and compaction - reshaping the ground to take the building.
Last updated 2026-08-22
Typical duration
1–3 weeks for a housing-site regrade and trenches; 6–16 weeks for bulk earthworks or a deep basement dig.
What is Earthworks & Excavation?
Earthworks turn the cleared site into the platform the building sits on. The aim is a cut-and-fill balance - moving as little material as possible, as few times as possible - because every cubic metre handled twice is money burnt. On a housing site this might be a few thousand cubic metres of regrading plus foundation trenches; on a tower podium it is a bulk dig with articulated dumpers and GPS-guided dozers. In the UK the whole operation is governed by BS 6031, the code of practice for earthworks. The same sequence runs at garden scale: regrading a plot or terracing a sloping garden with a mini digger is strip, cut, fill, compact and prove - the layers thin down and the roller becomes a plate compactor, but the order never changes.
The ground always has the final say. Ground investigation boreholes tell you what to expect, but every excavation is verified as it opens: does the formation match the design assumption, is it at the right level, and can it carry the load? An engineer's inspection at formation is a hold point, not a courtesy - concrete goes on approved ground or it does not go at all. In coastal UAE the GI usually reads as dune sand or sabkha with a water table anywhere from near the surface to about 3 m down: the sands compact readily but are uniform and collapsible, so compaction is specified and verified by plate-load or CBR testing rather than assumed.
Compare the methods at a glance
When and why is Earthworks & Excavation used?
Earthworks follow clearance and setting out, and precede every foundation and drainage run, because structures must bear on verified, undisturbed or properly compacted ground at designed levels. Getting levels right here decides drainage falls, slab thicknesses and even floor-to-ceiling heights - errors ripple through the whole building and are brutally expensive to correct later.
Walkthrough storyboard
The process in pictures, step by step - Step 1 of 8 - slide through the snapshots.
STEP 1
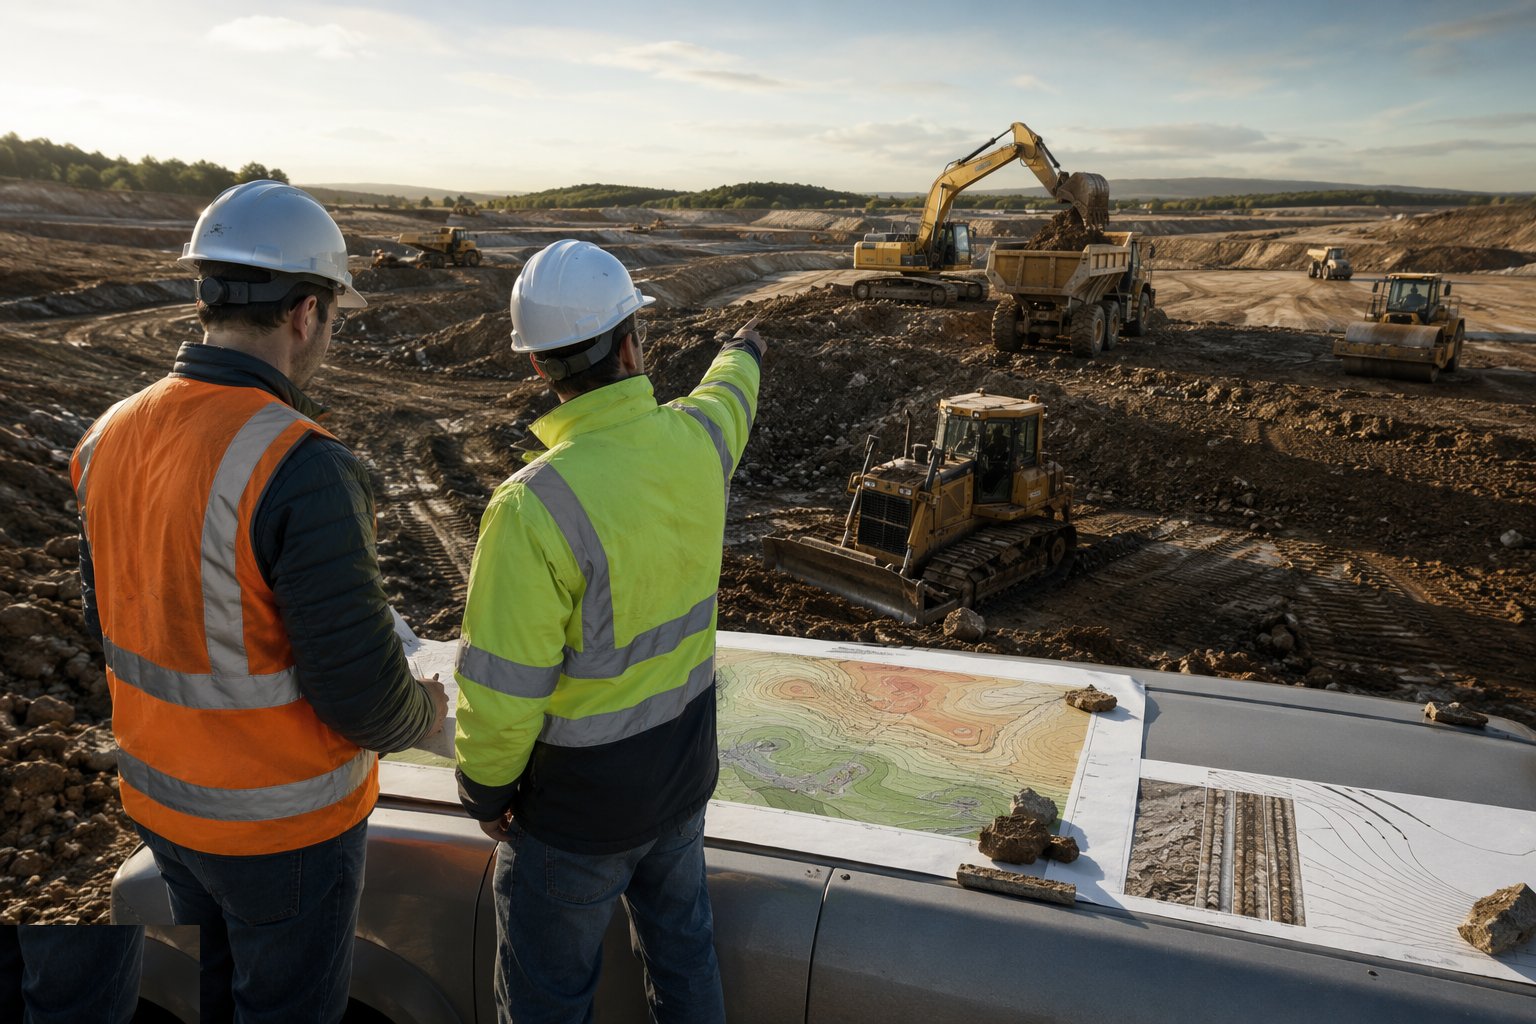
Review the ground investigation and set the dig strategy
Study the GI report: soil types, groundwater, contamination and the design bearing pressures.
Types of Earthworks & Excavation
Explore each method in depth - benefits, limitations, plant and quality control on its own page.
Bulk cut and fill
Large-scale regrading to form the development platform, balancing cut volumes against fill to minimise import and export. Fill is placed in controlled layers of 150–250 mm, compacted to a specified density, and tested - engineered fill supporting homes has its own dedicated chapter (4.6) in the NHBC Standards. Where settlement matters, a surcharge or a settlement period is programmed before building on fill.
Explore this methodTrench excavation
Narrow digs for strip foundations and drainage, cut by excavator with a grading bucket to lines on profile boards. Trench sides are either self-supporting for shallow depths or battered, benched or supported with trench boxes and sheets where workers enter.
Explore this methodBasement / deep excavation
Box digs below the water table or between retained faces, requiring temporary works - battered slopes, sheet piles or piled walls - and usually dewatering. Stability, heave of the formation and movement of adjacent structures are all checked by the temporary works designer.
Explore this methodTopsoil strip and landscape profiling
Topsoil (typically the top 150–300 mm) is stripped first and stockpiled separately for reuse - it is a resource, not waste. Subsoil is then cut or filled to formation, and topsoil is respread at the end for gardens and landscaping, never compacted hard.
Explore this methodBest suited for
- Levelling sloping sites into building platforms, roads and drainage falls
- Cut-and-fill balancing to minimise muckaway and imported fill
- Trenching for drainage, services and foundations in all ground conditions
- UAE villa plots on sand - fast bulk excavation with dust and compaction control
- Remediation digs removing made ground and hotspots to licensed facilities
Earthworks & Excavation: step by step
- 1
Step 1: Review the ground investigation and set the dig strategy
Study the GI report: soil types, groundwater, contamination and the design bearing pressures. Decide cut-and-fill haul routes, stockpile locations and which plant suits the ground. Mark protected zones, service corridors and any contamination hot-spots on the dig plan before a machine starts.
- 2
Step 2: Strip topsoil and stockpile
Strip topsoil in dry conditions where possible, into windrows or bunded stockpiles no more than about 2 m high to preserve its structure. Keep it separate from subsoil and arisings. Ruts from stripping wet topsoil compact the ground below and have to be ripped out later.
- 3
Step 3: Bulk excavation to formation
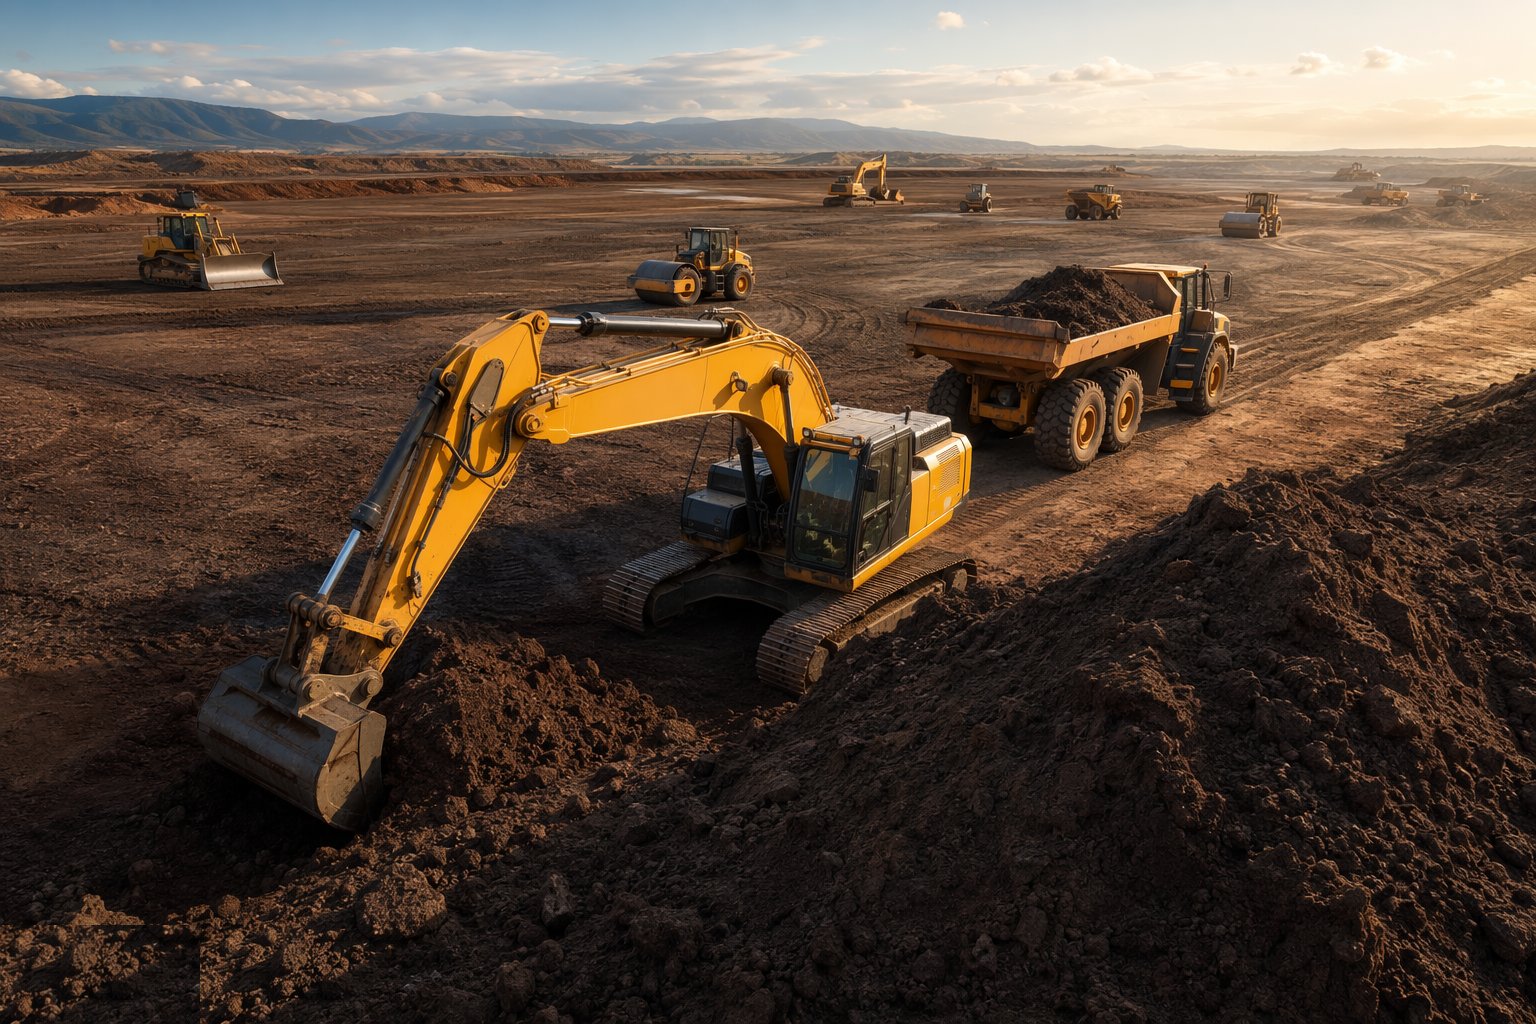
Excavate cut areas to formation level using GPS-guided dozers and excavators, working from the top down in planned benches. Leave the last 150–300 mm for a final trim just before construction to protect the formation from weather. Haul in dumpers on designated routes - never across finished formation.
- 4
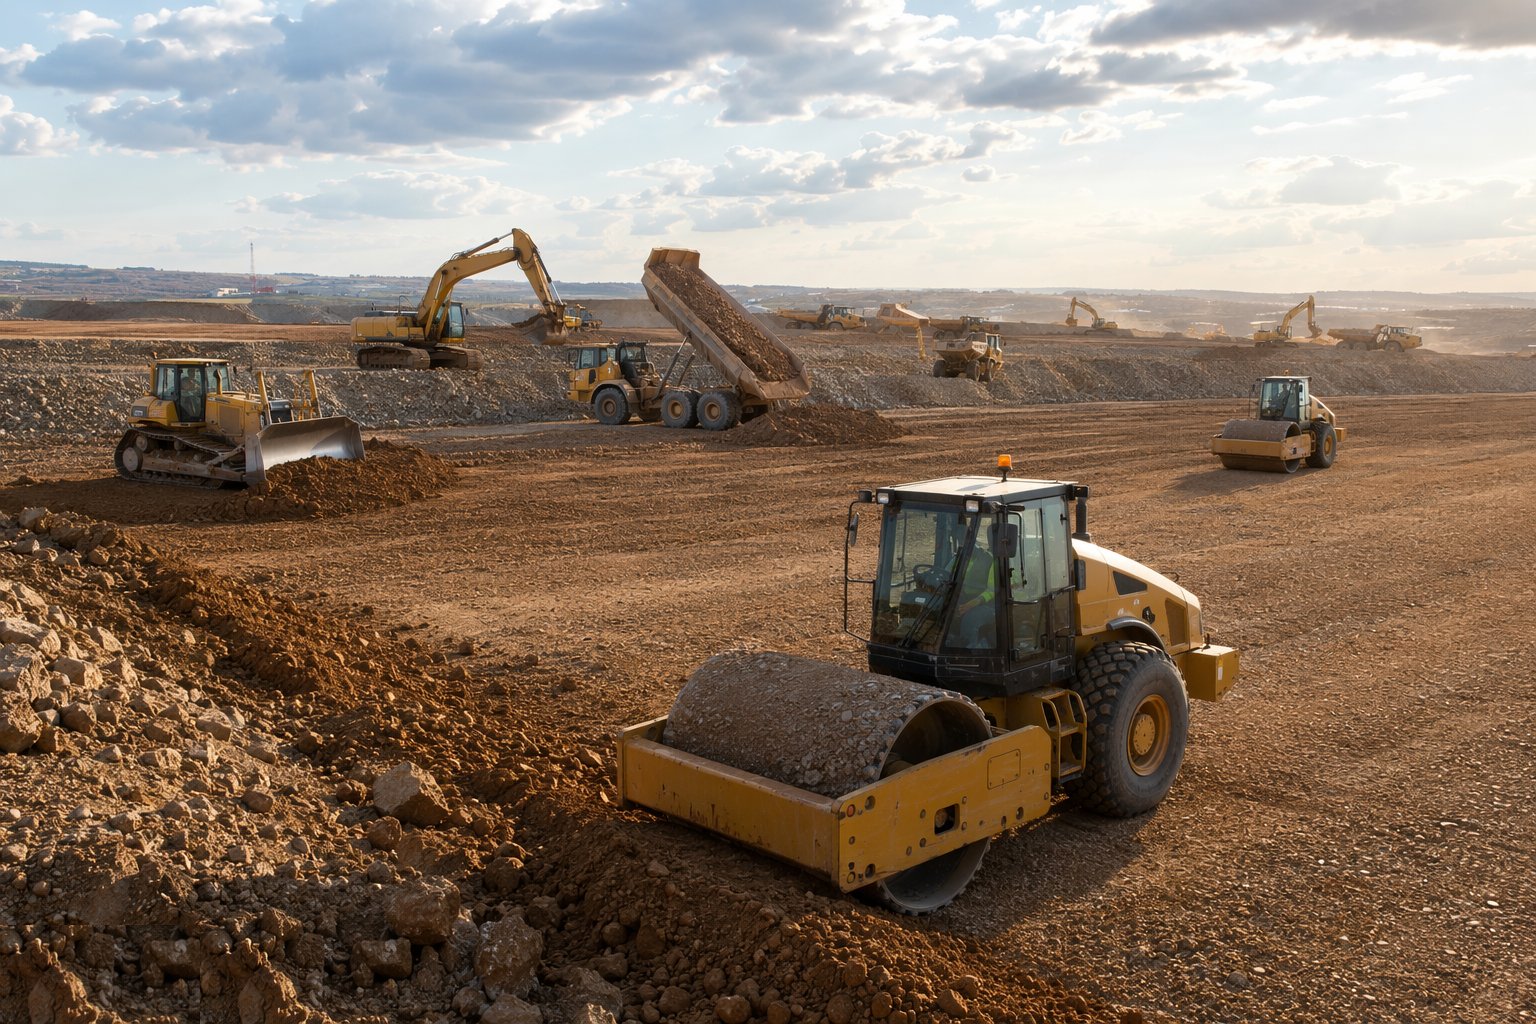
Step 4: Place and compact structural fill
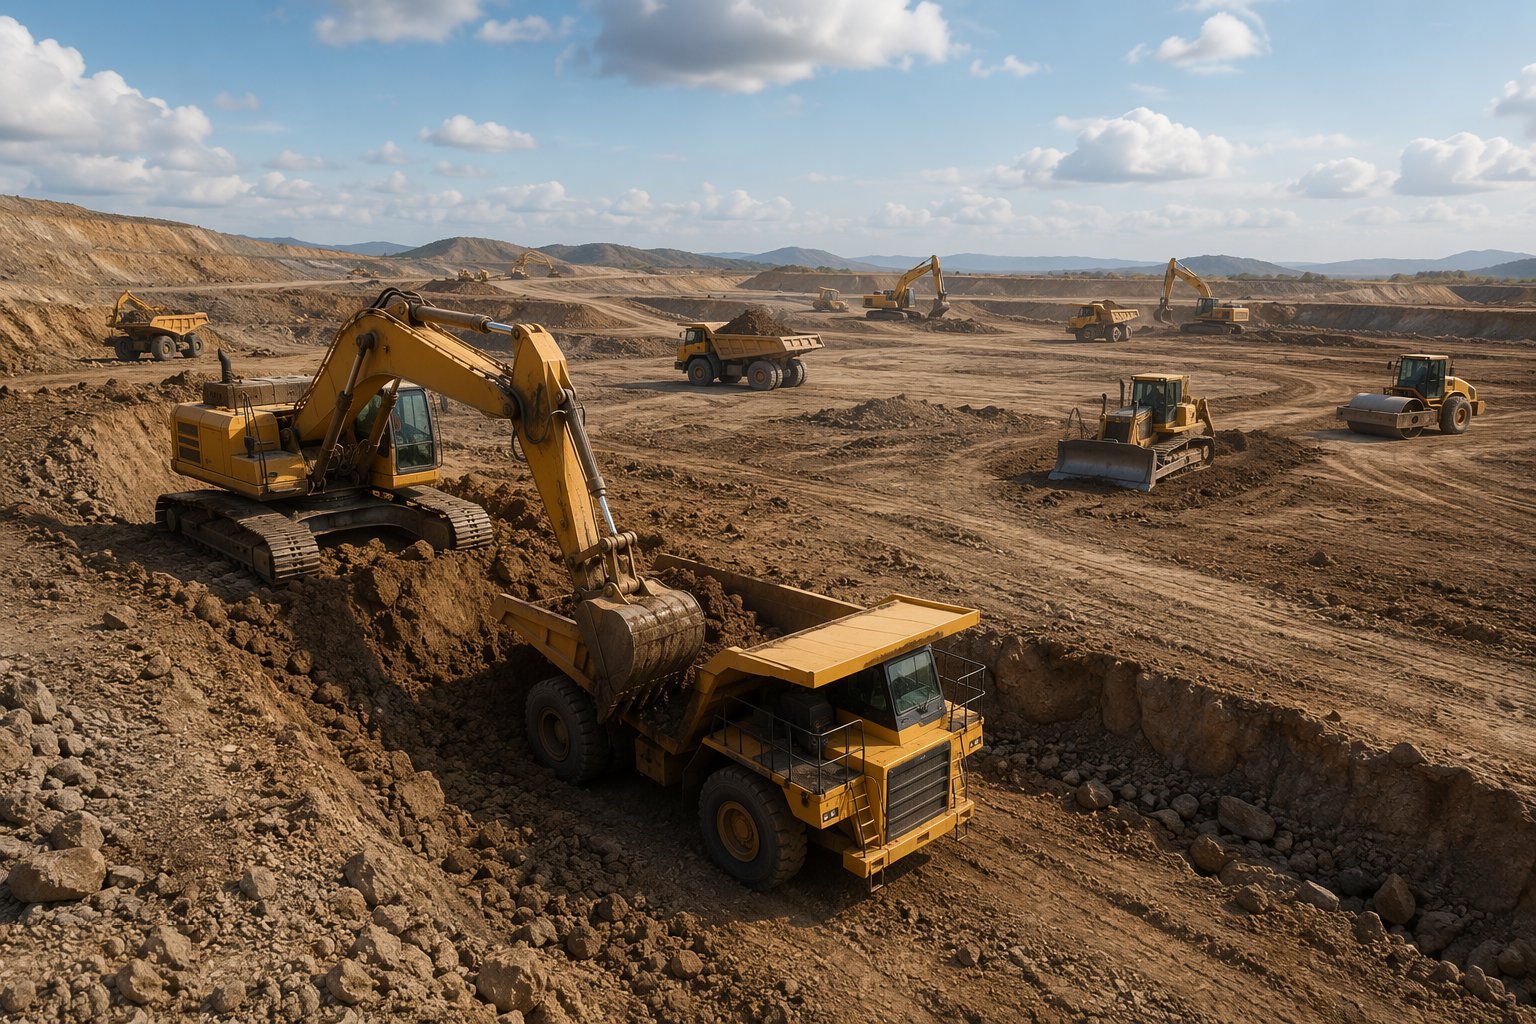
Place approved fill in layers of 150–250 mm depending on the compactor, at moisture content near optimum - the Specification for Highway Works Series 600 is the de facto fill specification even on building sites. Compact each layer with rollers - smooth drum for granular, sheepsfoot or padfoot for cohesive soils - and test density on a grid. A fill area is only as good as its worst-compacted corner.
- 5
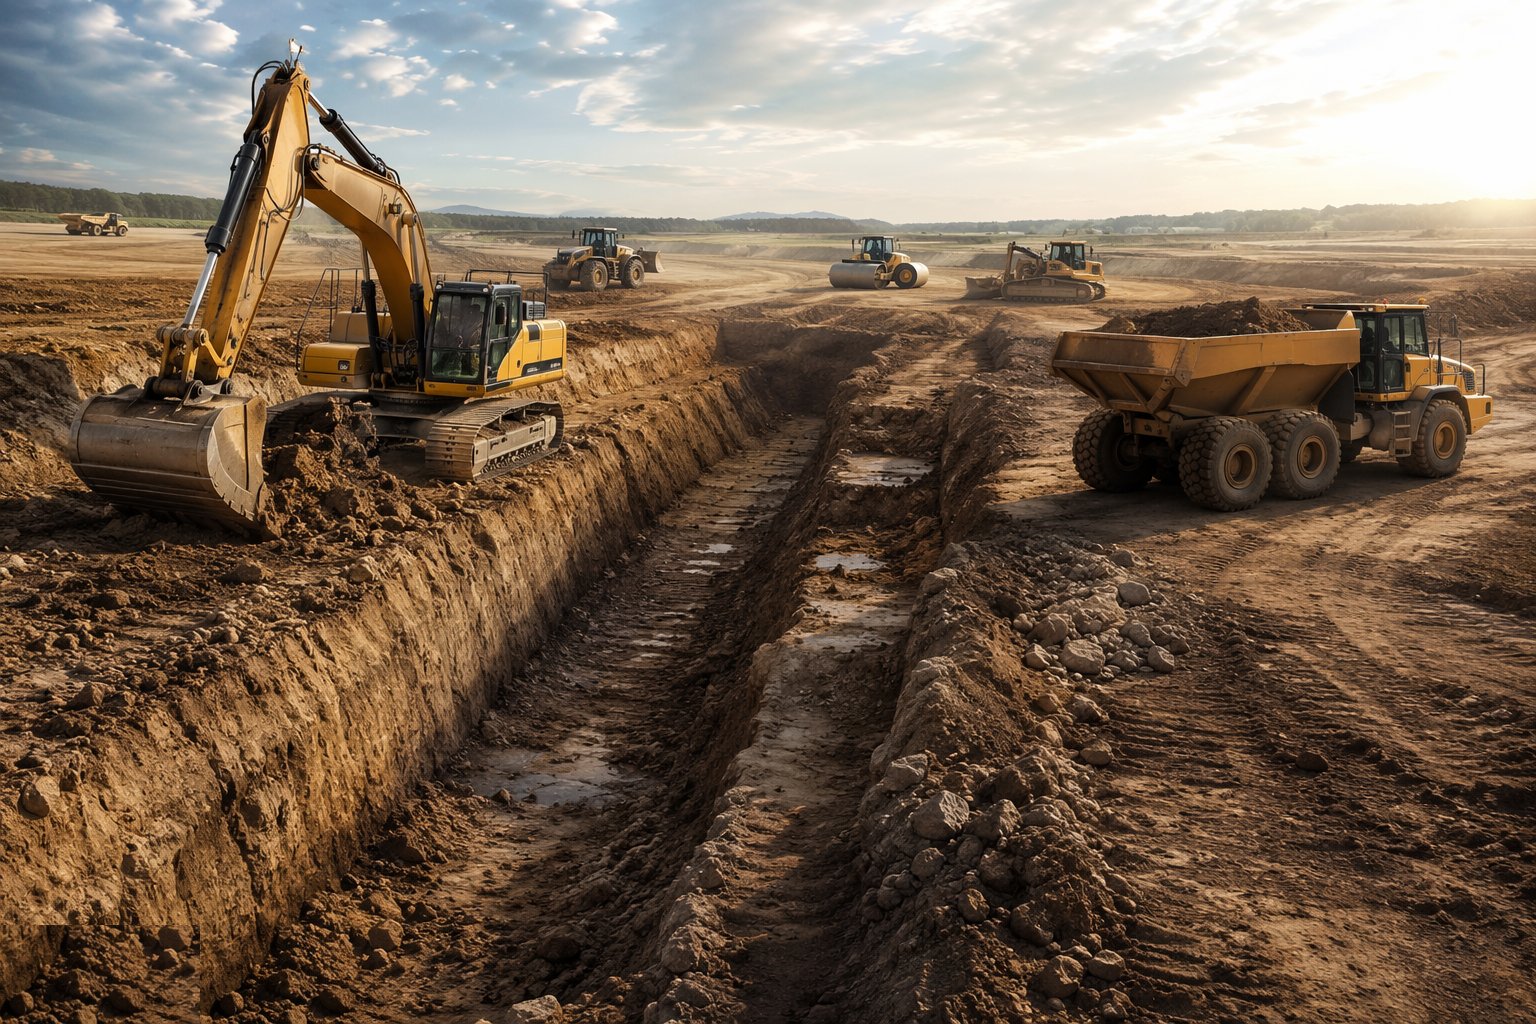
Step 5: Trench excavation for foundations and drainage
Cut trenches to line and level from profile boards, keeping the sides clean and the base undisturbed - the last pass should shave, not dig deep and backfill loosely. Over-excavation is made good with blinding concrete, not with loose soil. Check trench width and depth against the foundation drawing as you go.
- 6
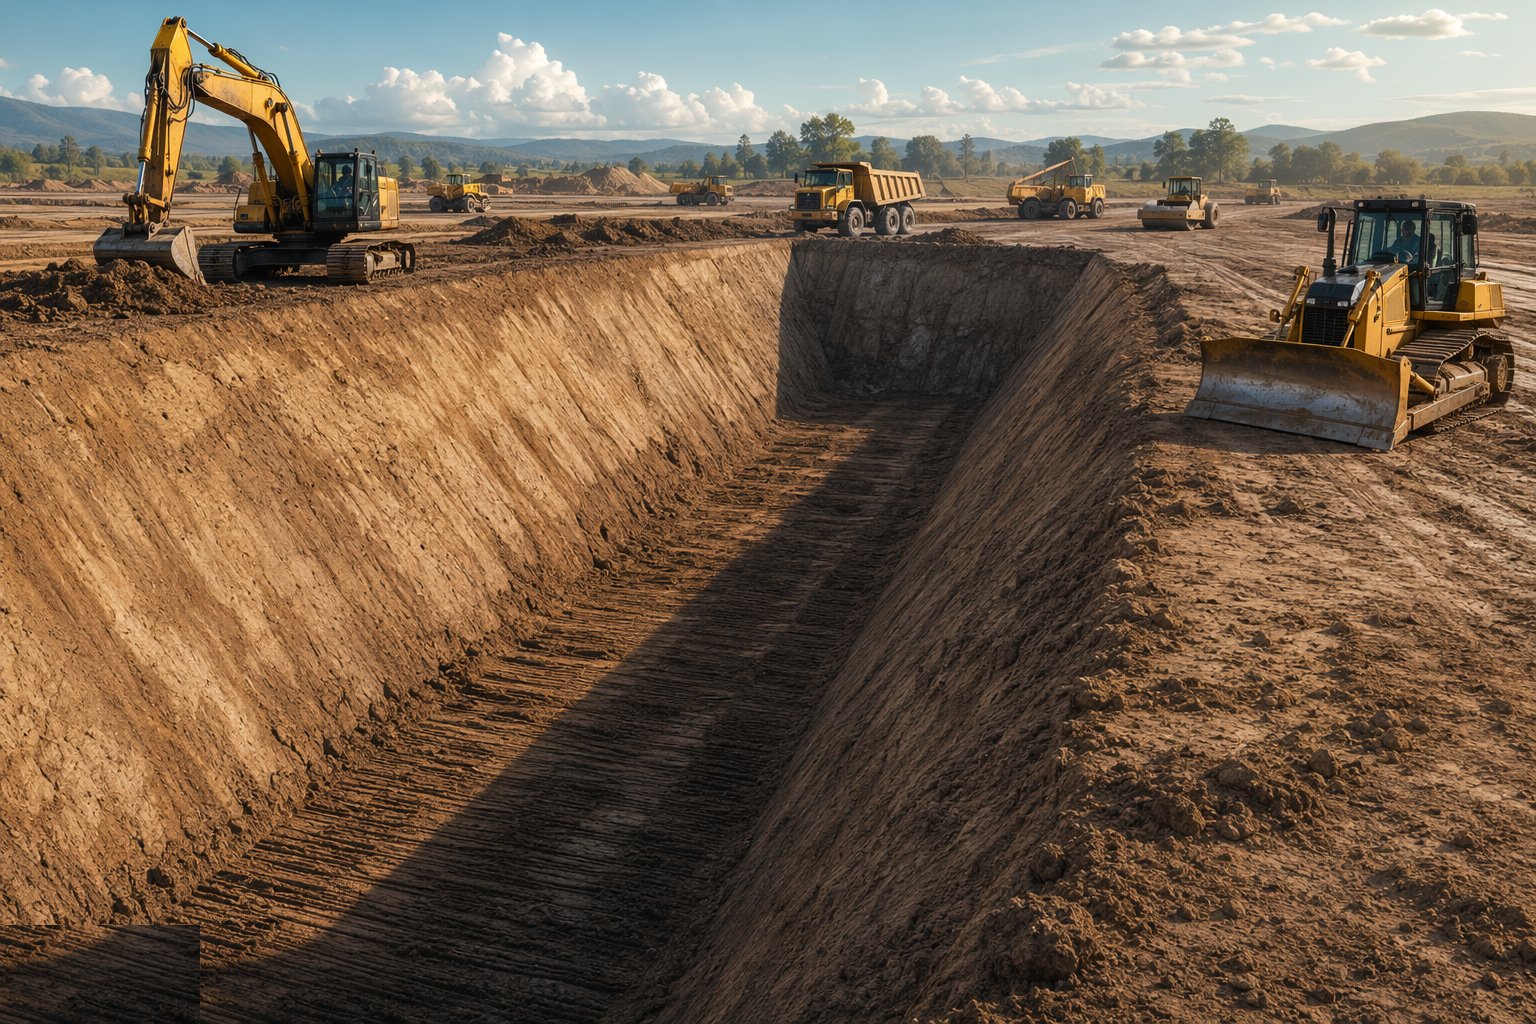
Step 6: Support or batter excavation sides
Where people enter excavations deeper than about 1.2 m, the sides must be battered back to a safe angle, benched, or supported with trench sheets, boxes or hydraulic frames - decided by the temporary works design for the actual ground. Edge protection and ladders go in before anyone descends. Spoil is kept at least a metre back from the lip. In the UAE, deep excavations next to roads or existing buildings need shoring design approval from the permitting authority - DM, DDA or Trakhees - typically delivered as sheet piles or contiguous/secant pile walls.
- 7
Step 7: Formation inspection and approval
The engineer inspects the exposed formation against the GI and the design: correct material, correct level, no soft spots, no water damage. Soft or suspect patches are dug out and replaced with compacted granular material or lean-mix concrete. Approval is recorded - this is the hold point that releases the blinding or the reinforcement.

- 8
Step 8: Spoil management and haul-off
Surplus material is classified - reusable fill, topsoil, inert, contaminated - and either stockpiled for later use or carted off as muck away in tipper lorries to licensed tips under duty-of-care notes. Clean arisings are crushed for reuse where the volumes justify a crusher. Every load leaving site is recorded; mud on the road is managed at the gate as always.

Plant & equipment
- 360° excavators (13–30 t) with digging and grading buckets
- GPS machine control on dozers and excavators
- Articulated dump trucks (20–30 t) and site dumpers
- Tipper lorries for muck away
- Dozers for spreading and bulk grading
- Rollers: smooth drum, padfoot, and trench compactors
- Trench boxes, sheets and hydraulic frames for support
- Laser levels and grade checkers
Quality control & testing
- Formation level checked on a grid against design levels
- Density testing of compacted fill (nuclear gauge, sand replacement) per layer
- Engineer's formation inspection recorded before blinding or concrete
- Moisture content of fill within the specified range
- Trench dimensions checked against foundation drawings
- Spoil classification records and waste transfer notes audited
Safety watchpoints
- No entry to unsupported excavations over 1.2 m - batter, bench or box
- Edge protection and secured ladders at every access point
- Spoil and plant kept back from excavation edges
- Permit to dig near services, with a banksman for blind lifts
- Daily inspection of excavation faces, and after rain
- Segregation of dumpers and pedestrians on haul routes
Common defects to hunt
- Over-excavation backfilled loosely - settlement under foundations
- Fill compacted too wet or in thick layers - long-term settlement
- Formation left open and softened by rain before concrete
- Trench sides collapsing because support was "only for an hour"
- Soft spots missed at inspection - differential settlement later
- Contaminated material accidentally reused as fill
How long does Earthworks & Excavation take?
Typical duration: 1–3 weeks for a housing-site regrade and trenches; 6–16 weeks for bulk earthworks or a deep basement dig..
Related processes
- Site Access & Enabling Works
- Site Clearance & Demolition
- Setting Out & Survey Control
- Dewatering & Groundwater Control
- Shallow Foundations
- Piling & Deep Foundations
- Basement & Substructure
- Waterproofing and Tanking
- Concrete Frame Construction
- Steel Frame Construction
- Masonry & Timber Frame
- Floor Slabs & Screeds
- Roofing
- Façade & Cladding
- Insulation Systems
- Windows, Doors & Glazing
- MEP First Fix
- Internal Finishes
- MEP Second Fix & Commissioning
- External Works & Landscaping
- Testing, Handover & Snagging
- Earthworks & Excavation in Roads & Highways
- Earthworks & Excavation in Land Development & Earthworks
- Bulk cut and fill - method
- Trench excavation - method