Floor Slabs & Screeds
Hardcore to power float - building the flat, dry, warm surface every finish depends on.
Last updated 2026-08-22
Typical duration
2–4 days per house slab; screeds 1–2 days to lay plus 3–8 weeks of programme-relevant drying.
What is Floor Slabs & Screeds?
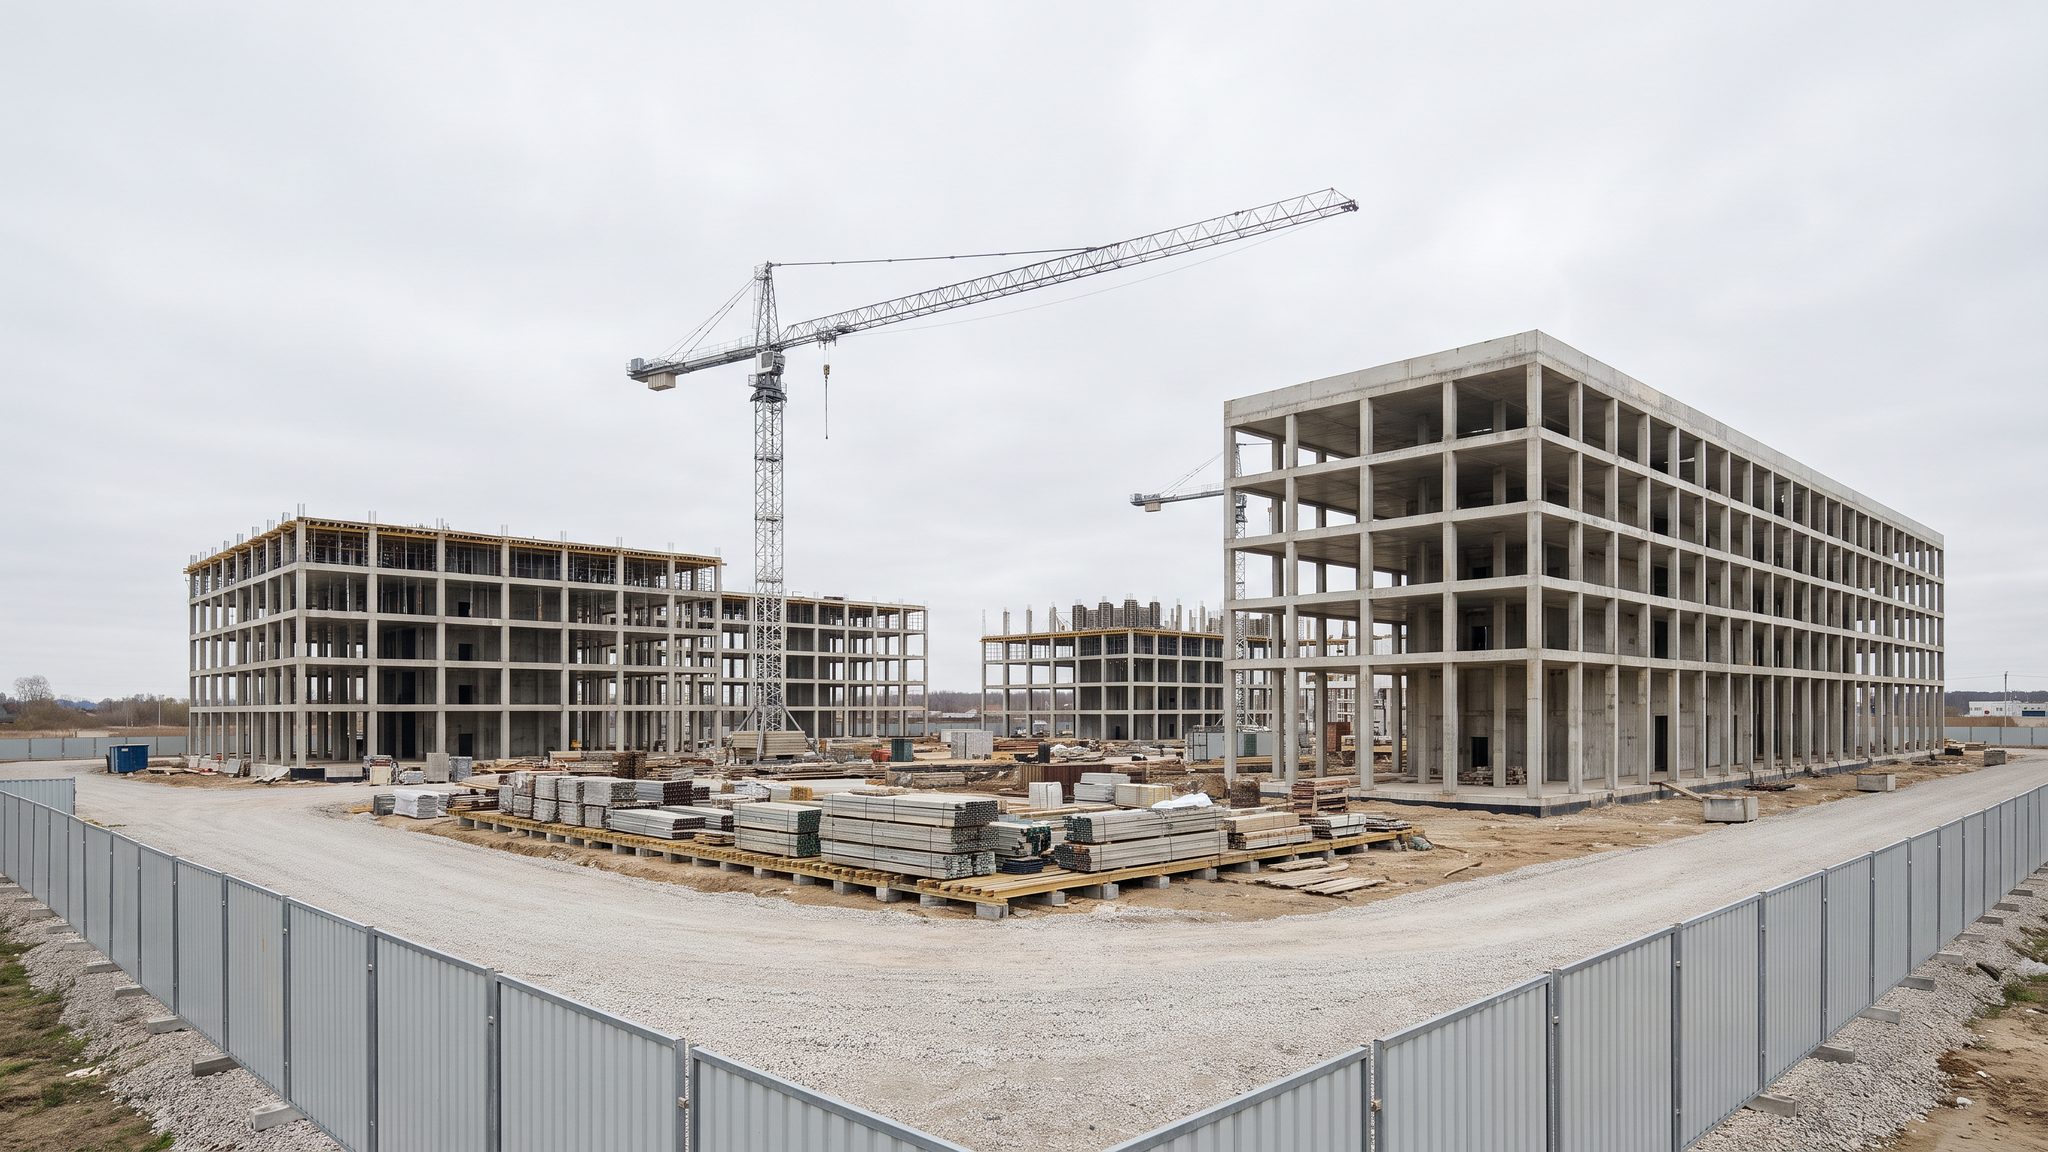
The floor build-up is a layer cake where every layer has one job and fails the whole cake if it is skimped: compacted hardcore for support, a damp-proof membrane against ground moisture, insulation for thermal performance, the concrete slab for structure, and the screed for flatness. Get the sequence or the laps wrong and the symptoms arrive as damp patches, cold floors and cracking tiles.
Screeds deserve their own respect. Screed is not structural - it is the levelling layer over the structural slab, and BS 8204 governs screeds, bases and in-situ floorings while BS EN 13813 covers the materials. A traditional sand-cement screed laid at 65–75 mm dries at roughly a millimetre per day up to about 50 mm of thickness, and slower thereafter - do the arithmetic on the programme. Flowing anhydrite (calcium sulphate) screeds self-level beautifully and carry underfloor heating superbly, but demand laitance sanding, moisture testing and patience before floor finishes. Rushing floor coverings onto a wet screed is one of the most reliable ways to generate a defects claim.
Compare the methods at a glance
When and why is Floor Slabs & Screeds used?
Ground-bearing slabs follow foundations and drainage, and precede the walls above; screeds follow the weathertight shell and first-fix services buried in the floor. The process matters because floors are the datum for everything interior - doors, kitchens, stairs and finishes all assume a level, dry, correctly cured surface, and floor failures are disruptive to fix because everything sits on top of them. In the UAE, ground-bearing slabs on compacted fill with a DPM are the villa standard, screeds are less common - many finishes bed directly on the slab - and the hot, dry air accelerates early-age cracking, so curing compound and early saw-cutting of joints are essential rather than optional.
Walkthrough storyboard
The process in pictures, step by step - Step 1 of 7 - slide through the snapshots.
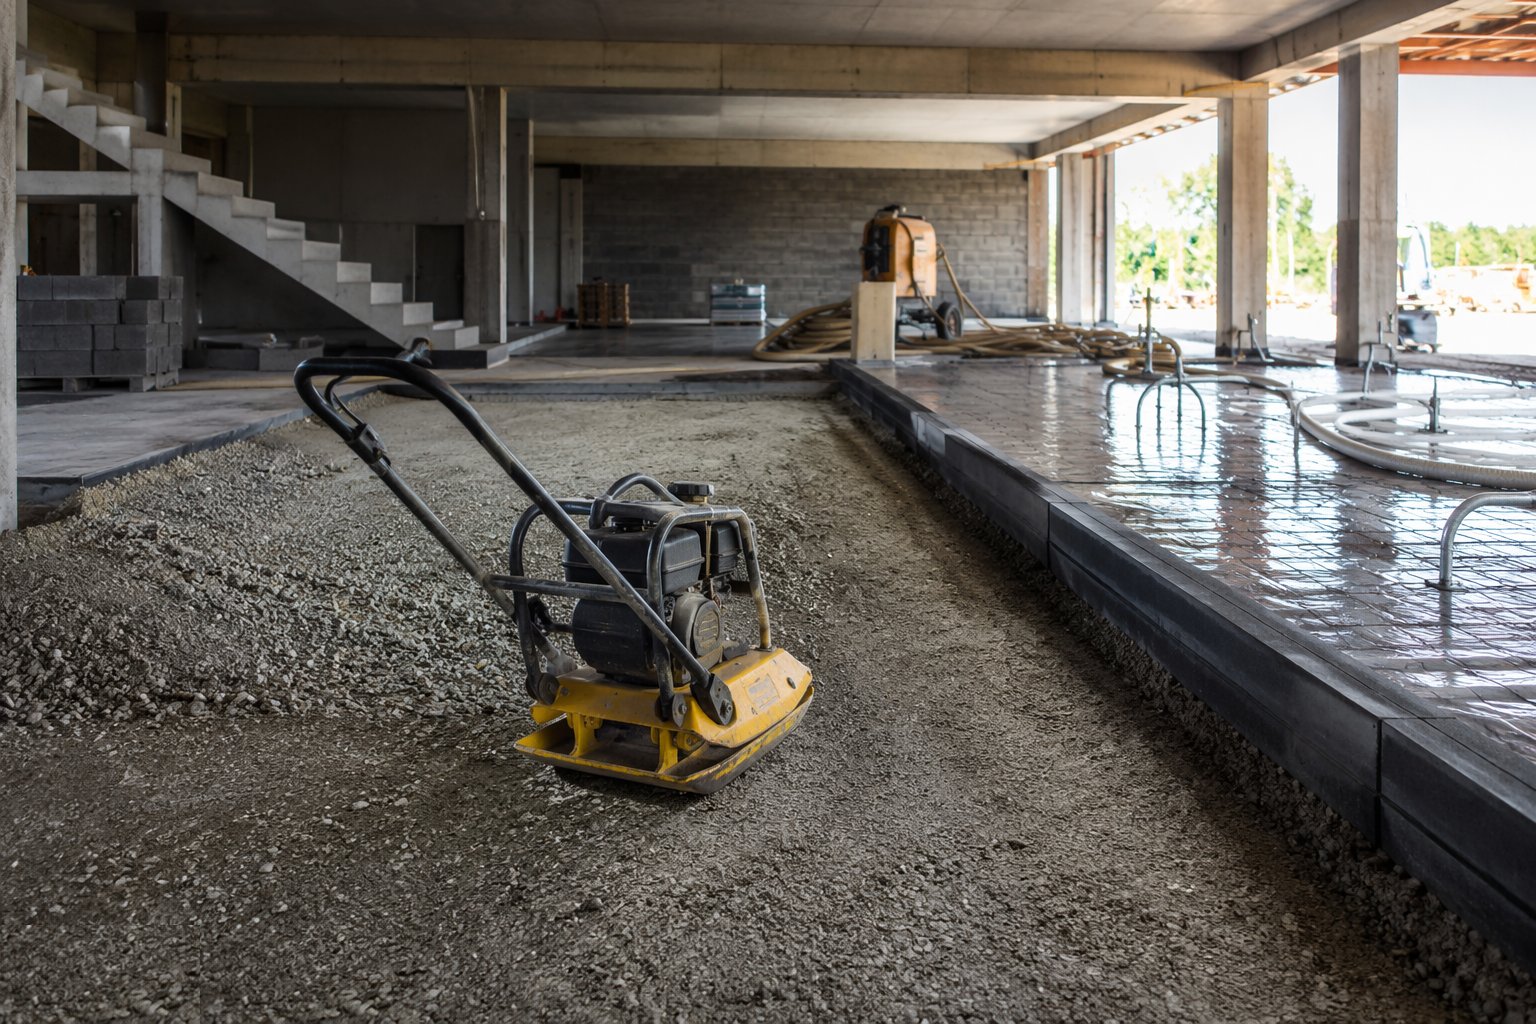
STEP 1
Prepare and compact the sub-base
Grade the formation, remove soft spots, and lay the hardcore sub-base - typically 150–225 mm of well-graded granular material - compacted in layers with a…
Types of Floor Slabs & Screeds
Explore each method in depth - benefits, limitations, plant and quality control on its own page.
Ground-bearing slabs
Concrete cast on the prepared ground: compacted sub-base, sand blinding, DPM, insulation and a mesh-reinforced slab, typically 100–150 mm in housing. Simple and economical, but wholly dependent on the quality of the fill beneath - settlement in the sub-base becomes a cracked slab.
Explore this methodSuspended slabs
Beam-and-block or precast plank floors spanning between supports, used over voids, poor ground, or where services run beneath. The beams and blocks are craned in and grouted early to lock the floor together - and block bearings must be full and adequate, a detail NHBC inspectors check. A structural topping or screed completes the floor. No reliance on fill compaction - the answer where made ground is deep.
Explore this methodSand-cement screed
The traditional 1:3–1:4 screed laid bonded, unbonded or floating over insulation, compacted and ruled to level. Robust and familiar, tolerant of site conditions, but slow-drying and labour-intensive. Thickness and drying time drive the programme.
Explore this methodFlowing (anhydrite/cement) screed
Pump-applied self-levelling screeds laid thin over insulation - fast to lay, very flat, and ideal around underfloor heating pipes. Anhydrite types need the surface laitance sanded off and strict moisture testing before finishes; they cannot tolerate wetting once laid, and cement-based adhesives fail on unprimed anhydrite - prime or use a compatible adhesive system every time.
Explore this methodBest suited for
- Ground-bearing slabs for houses and villas on prepared formation
- Suspended slabs - beam and block or cast in situ - over voids, basements and made ground
- Screeds carrying underfloor heating and level-sensitive finishes
- Power-floated slabs for garages and warehouses left as the final surface
- Any build where the flatness of the slab becomes the quality of every finish above it
Floor Slabs & Screeds: step by step
- 1
Step 1: Prepare and compact the sub-base
Grade the formation, remove soft spots, and lay the hardcore sub-base - typically 150–225 mm of well-graded granular material - compacted in layers with a roller or plate. Every drainage run and service duct under the slab is in, tested and backfilled in compacted layers before the sub-base closes over it. The slab will faithfully copy whatever lies beneath.
- 2
Step 2: Lay blinding and the damp-proof membrane
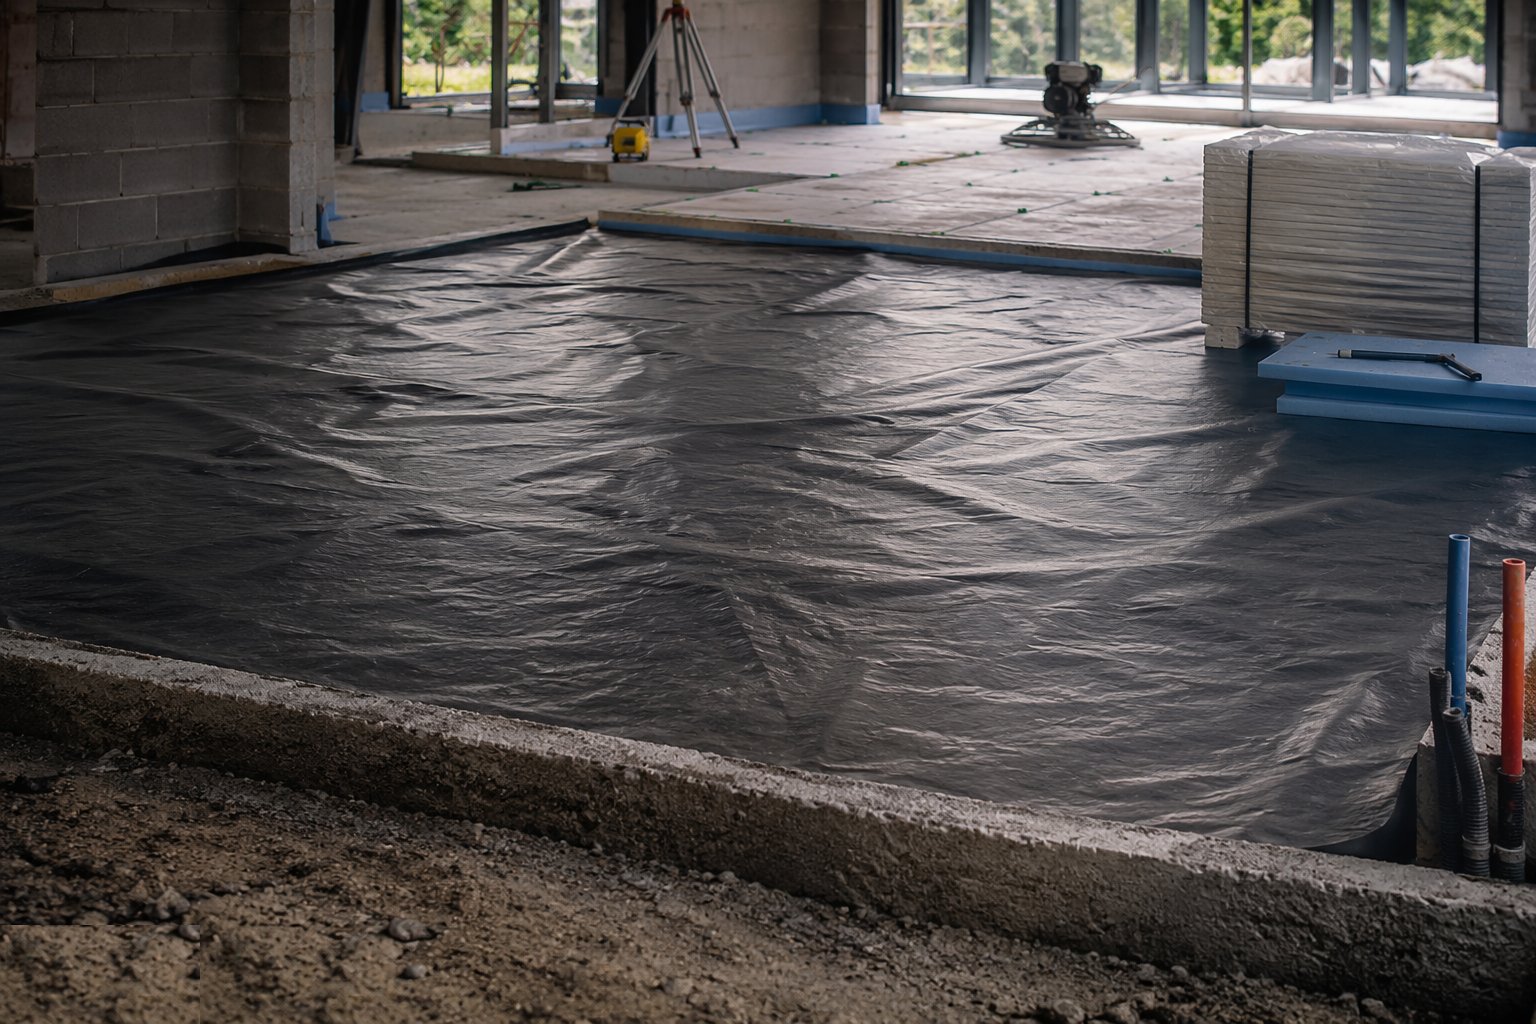
A sand blinding protects the DPM from puncture on the stone. The DPM - typically 1200-gauge polythene - is laid with generous laps, taped at joints and sealed to the DPC in the walls around the whole perimeter. Penetrations get proprietary seals or taped collars. This membrane is the building's ground-moisture defence: treat every hole in it as a defect.
- 3
Step 3: Install insulation and edge strips
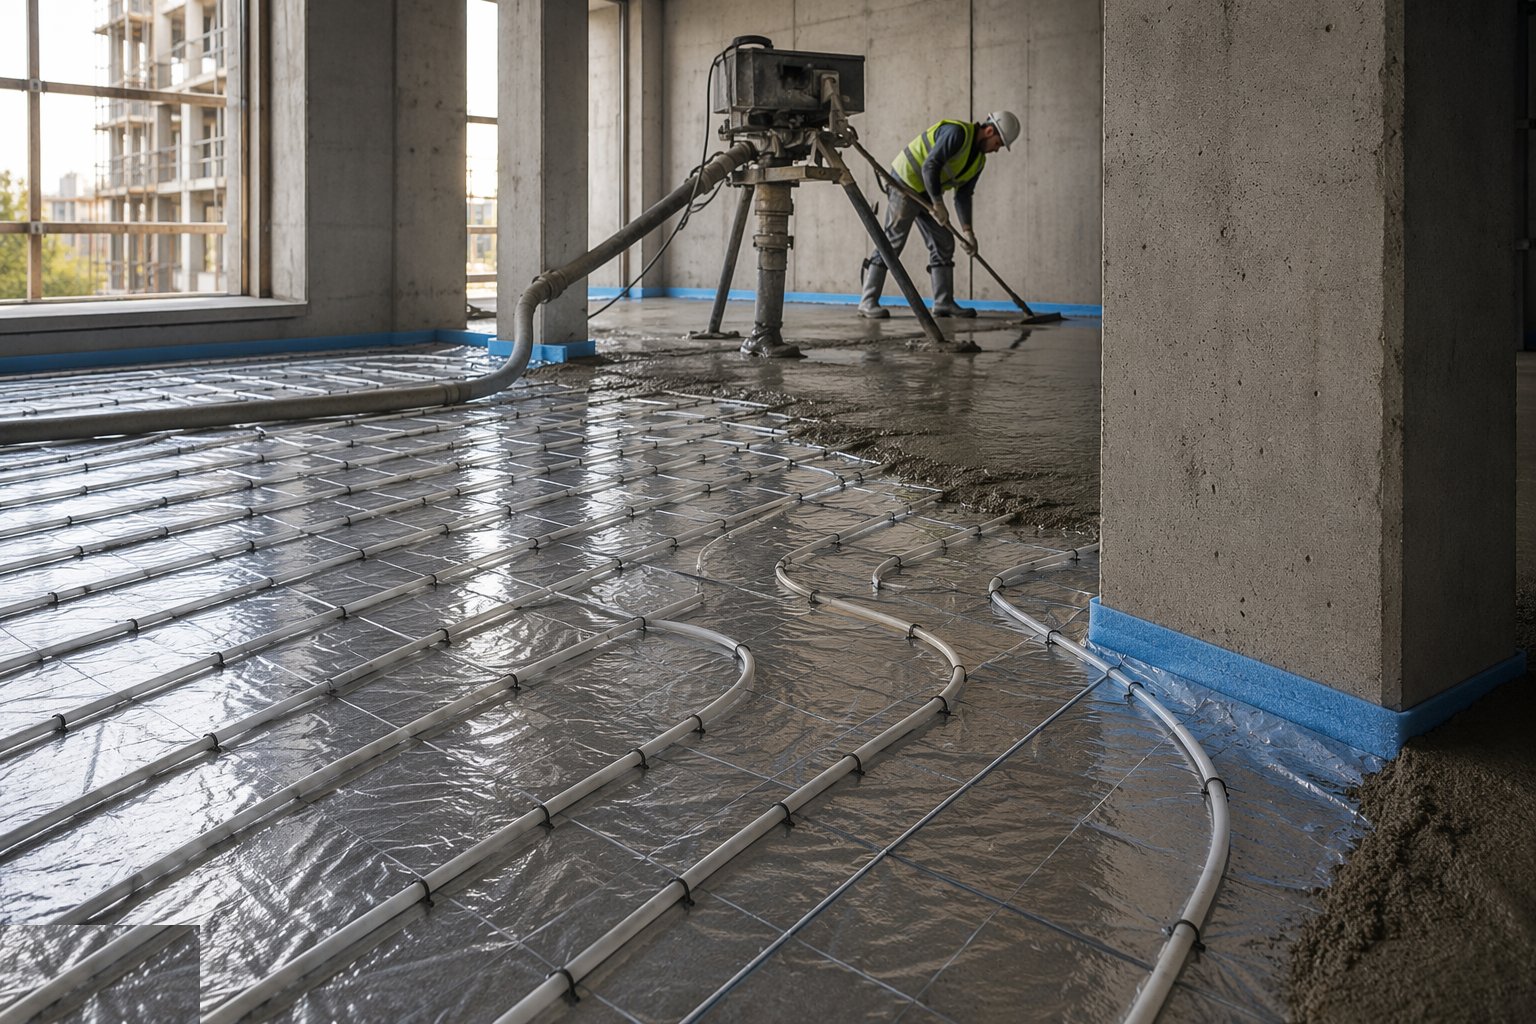
Rigid insulation boards are laid tight-butted over the DPM, with perimeter edge insulation isolating the slab from the walls to cut thermal bridging and allow movement. Underfloor heating pipes are clipped to the insulation or fixing mesh at the designed spacing and pressure-tested before the slab or screed covers them - a leak found now costs nothing; found later it costs a floor.
- 4
Step 4: Place mesh and cast the slab
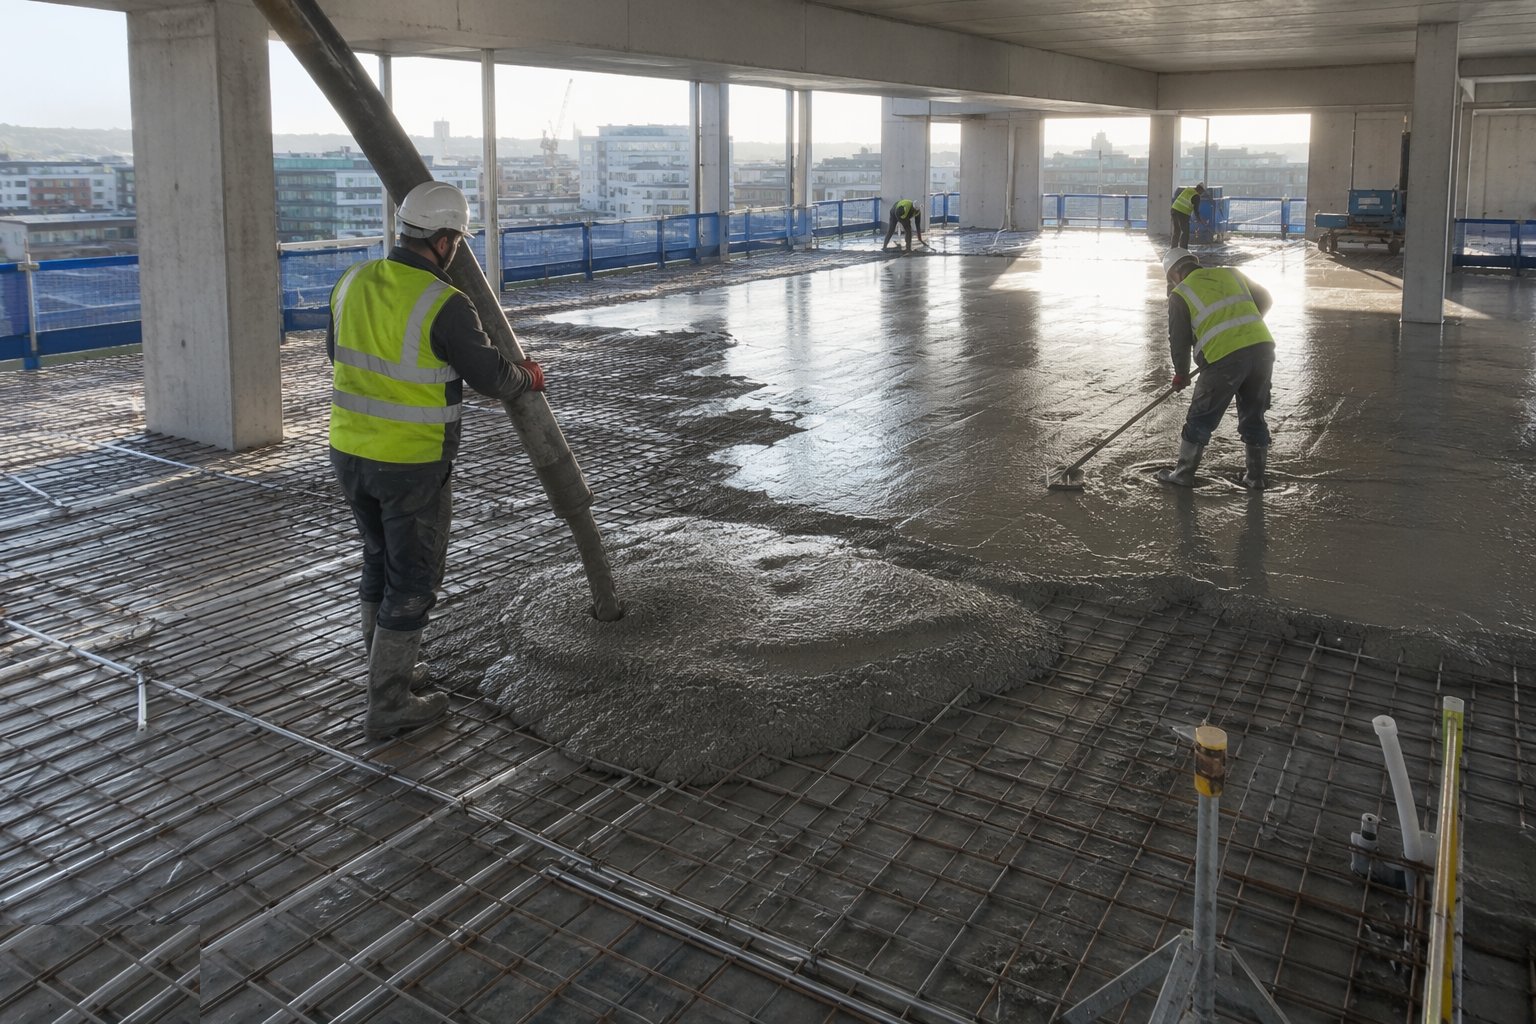
Reinforcement mesh is chaired to its design position - mesh lying on the DPM reinforces nothing. Concrete is poured, compacted and screeded to level from datum pins or rails. Power floating follows at the right window: too early and the surface tears, too late and the float just polishes lumps. The target is a closed, level, burnished surface.
- 5
Step 5: Cure the slab
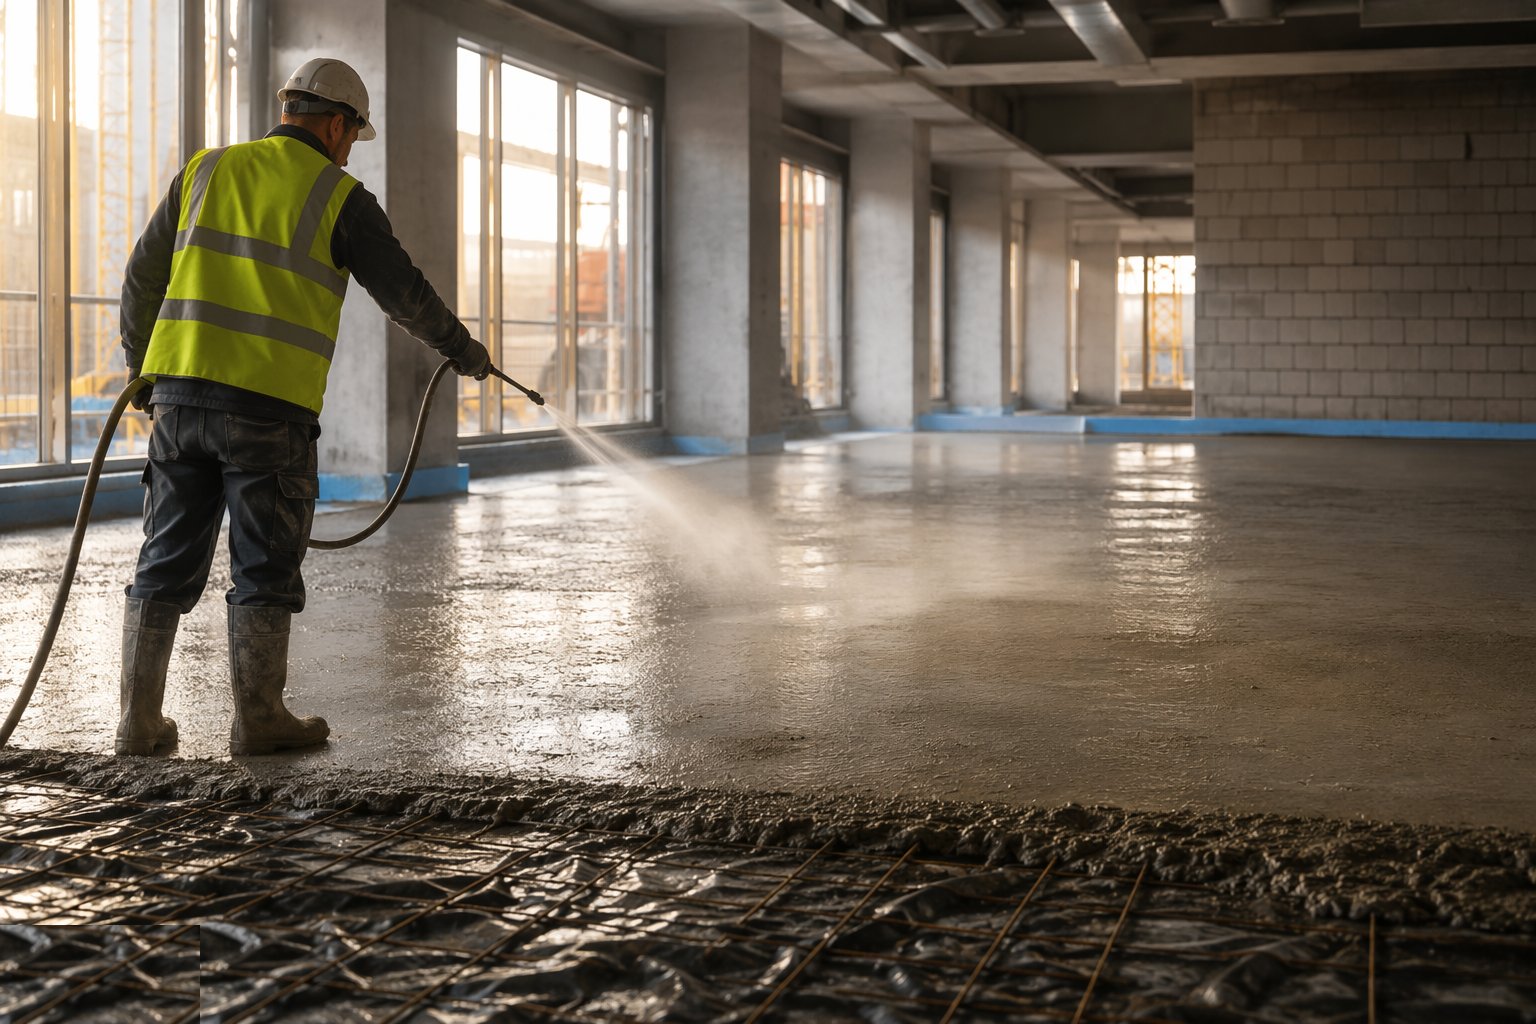
Curing compound or polythene goes on immediately after finishing - a slab allowed to dry out in the first days loses surface strength and cracks. Construction joints are formed where designed, with the arris protected. Traffic is controlled until the slab gains strength: light foot traffic after a day or two, construction loads per the engineer's timescale.
- 6
Step 6: Lay the screed
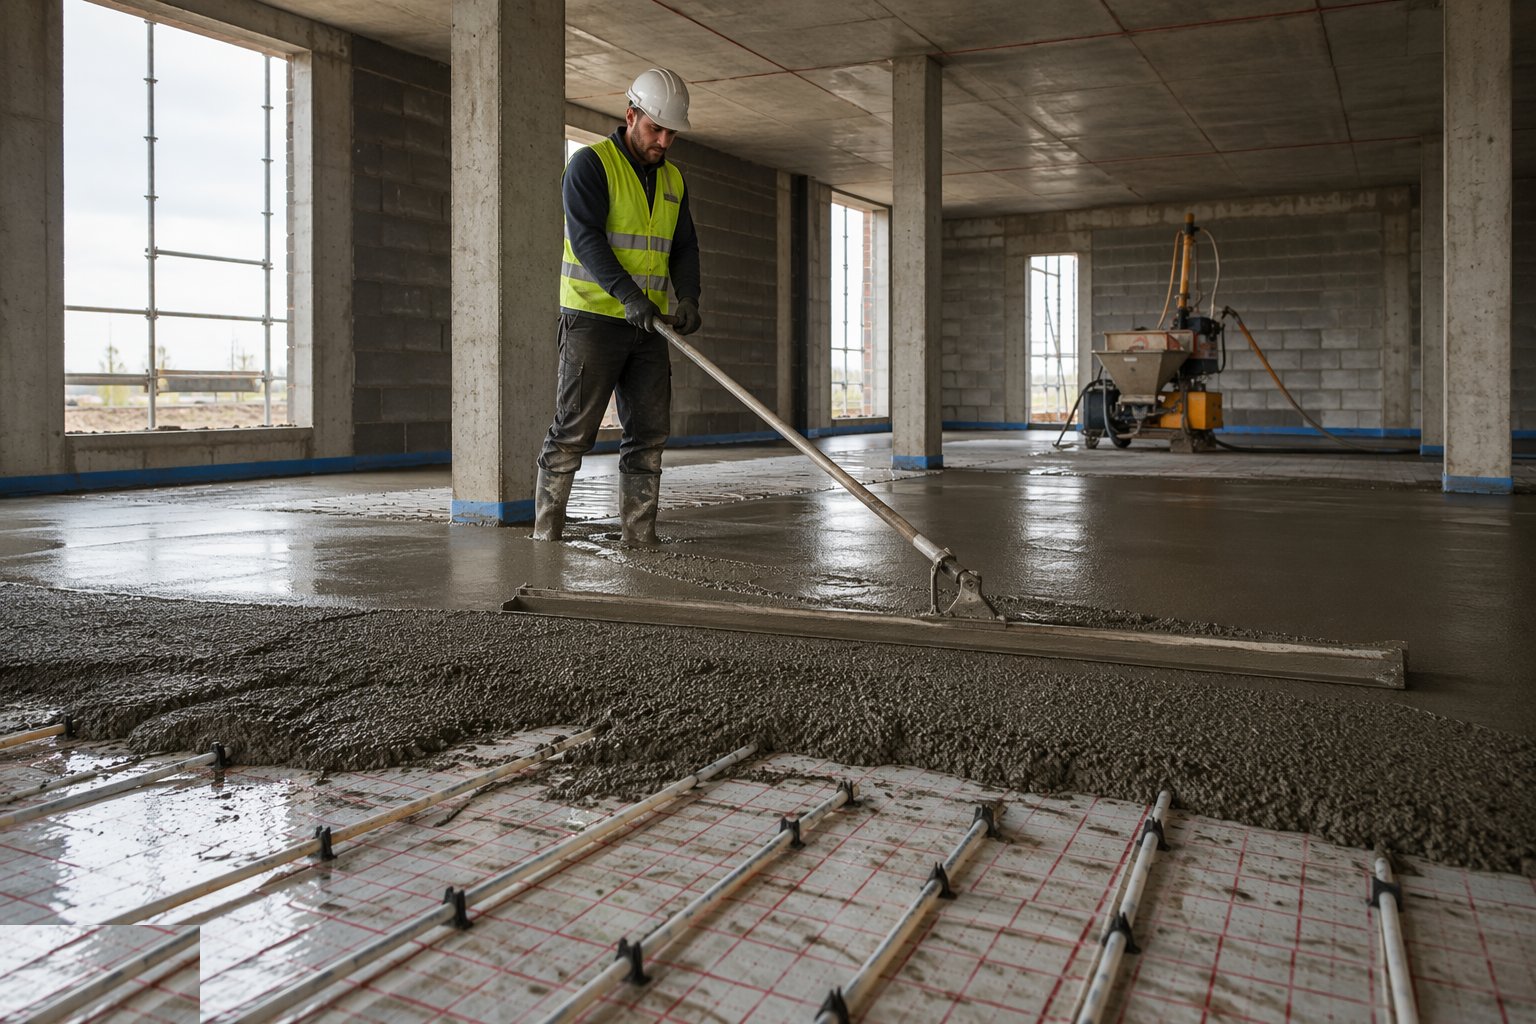
Sand-cement screed is batched to the specified mix, compacted in bays, ruled to level off datum dots and finished closed - hollow-sounding areas when tapped later mean debonding and come up now, not after tiling. Flowing screed is pumped to laser-set levels and dappled to release air. Either way, the first 48–72 hours of protection from rapid drying decide the surface quality.
- 7
Step 7: Dry, test and release for finishes
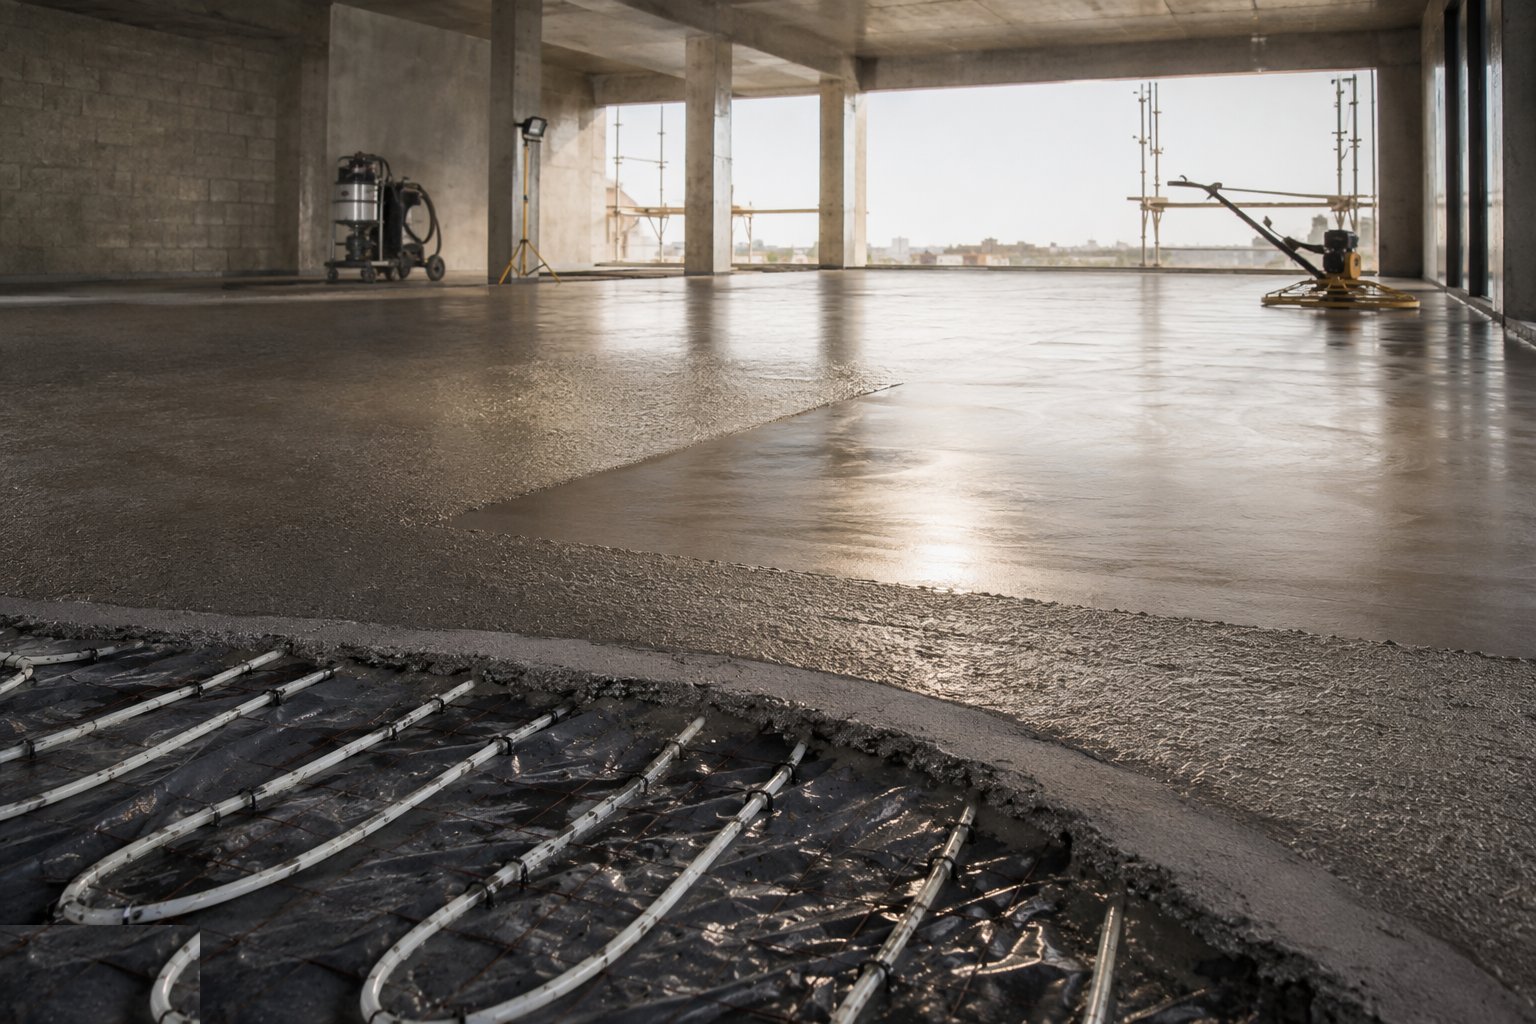
Drying is verified, not assumed: a hygrometer hood test or carbide bomb gives actual moisture - typically 75% RH or below before resilient finishes and timber. Anhydrite screeds get their laitance sanded and are tested per the manufacturer. Only a recorded pass releases the floor finishes. UFH commissioning ramps temperature gradually per the protocol.
Plant & equipment
- Excavator and compaction plates / roller for sub-base
- Concrete supply, pump and poker vibrators
- Power floats and laser screeds
- Screed pumps and mixers; dappling bars for flowing screed
- UFH manifold and pressure test kit
- Moisture testing: hygrometer hoods, carbide meter
Quality control & testing
- Sub-base compaction and formation level checks
- DPM laps, seals and perimeter junction inspected before covering
- UFH pressure test witnessed before slab/screed covers the pipes
- Slab level and flatness survey; power-float window recorded
- Screed soundness (tap test) and surface regularity against the specified SR class (SR1–SR3, 2 m straightedge)
- Moisture test results recorded before every floor finish
Safety watchpoints
- Concrete and screed burns - gloves, barrier cream, eyewash
- Manual handling for mesh, boards and screed materials
- Power float guarding and control - they pull and they spin
- Ventilation when laying screeds and using adhesives indoors
- Trip hazards around edge strips, rails and pipes
Common defects to hunt
- Slab cracking from poorly compacted fill or missing joints
- DPM punctured or not sealed to the DPC - damp at the perimeter
- Mesh cast at the bottom of the slab - no crack control where needed
- Screed debonded and hollow - inadequate preparation or compaction
- Floor finishes laid on wet screed - blistering, mould and lifting
- UFH pipes punctured after testing - pressure test not maintained
How long does Floor Slabs & Screeds take?
Typical duration: 2–4 days per house slab; screeds 1–2 days to lay plus 3–8 weeks of programme-relevant drying..
Related processes
- Waterproofing and Tanking
- Concrete Frame Construction
- Steel Frame Construction
- Masonry & Timber Frame
- Roofing
- Façade & Cladding
- Insulation Systems
- Windows, Doors & Glazing
- MEP First Fix
- Internal Finishes
- MEP Second Fix & Commissioning
- External Works & Landscaping
- Site Access & Enabling Works
- Site Clearance & Demolition
- Setting Out & Survey Control
- Earthworks & Excavation
- Dewatering & Groundwater Control
- Shallow Foundations
- Piling & Deep Foundations
- Basement & Substructure
- Testing, Handover & Snagging
- Floor Slabs & Screeds in Commercial & Workplace
- Ground-bearing slabs - method
- Suspended slabs - method
- Sand-cement screed - method