Sand-cement screed
One part cement, three parts sand, and a drying clock nobody can cheat.
Last updated 2026-08-22
What is Sand-cement screed?
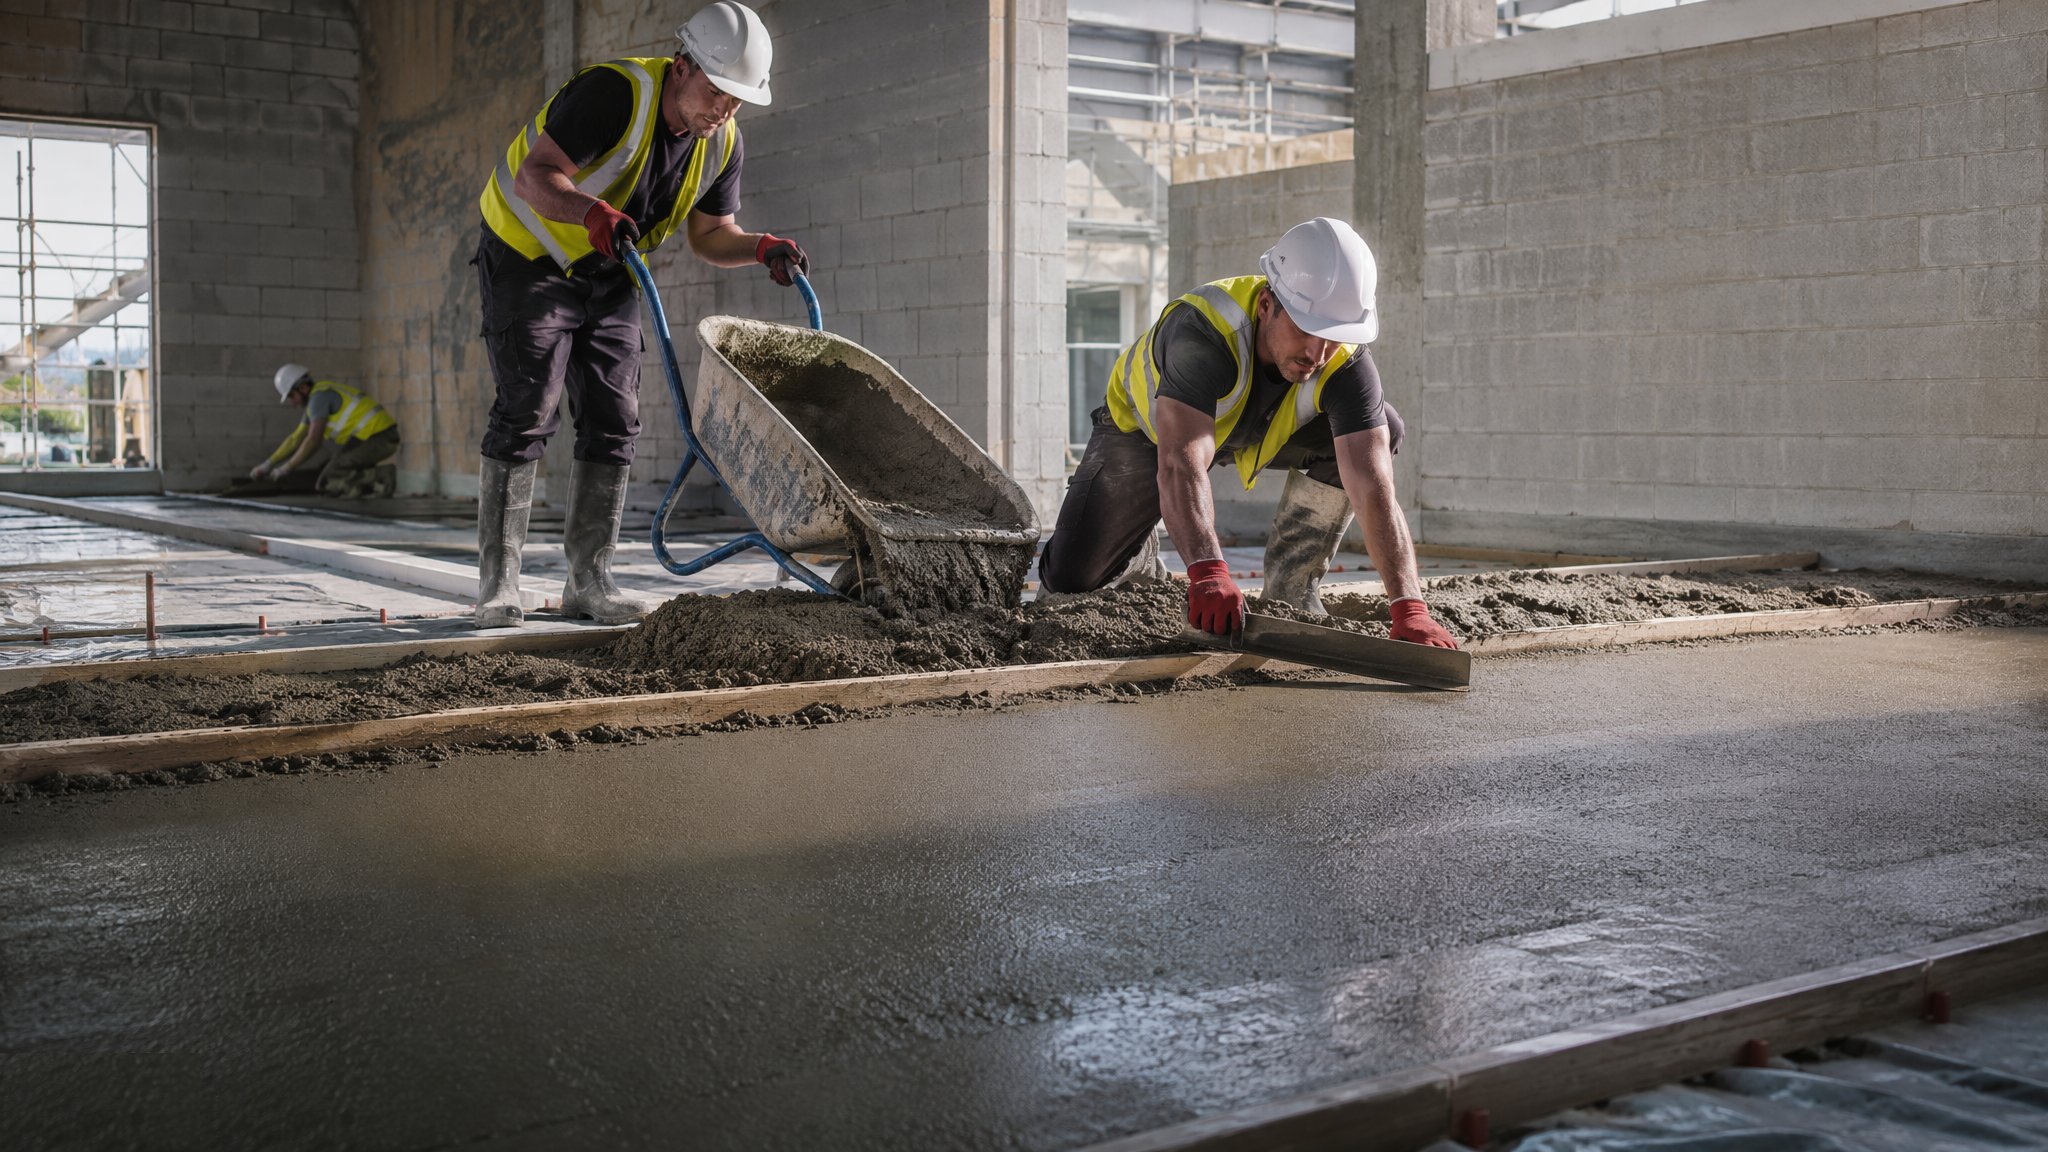
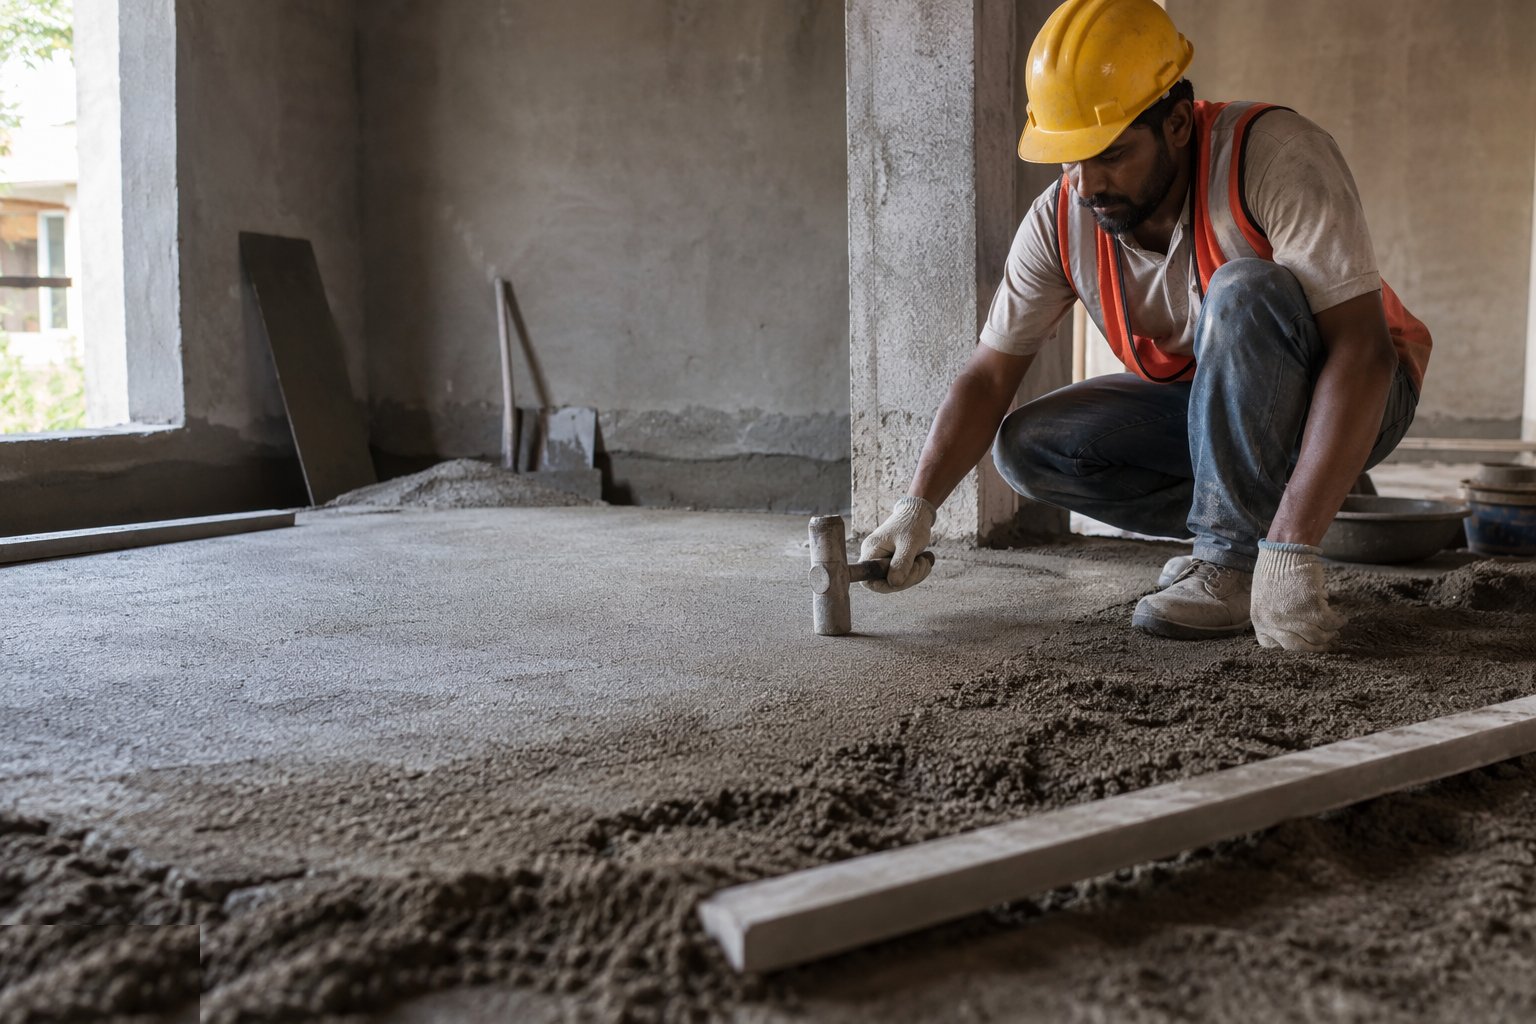
The traditional sand-cement screed is the oldest way to turn a structural slab into a floor, and still the most common: a 1:3 to 1:4 cement-sand mix with just enough water to compact, laid at 65–75 mm, ruled to level off datum dots and trowelled closed. It can be laid bonded to the slab with a slurry or bonding agent, unbonded on a membrane, or floating over insulation and underfloor heating - and in each case its job is the same: provide the flat, level, correctly-cured surface that tiles, timber, vinyl and carpet silently assume they are standing on.
The screed's virtues are robustness and tolerance; its vice is time. A traditional screed dries at roughly a millimetre per day under good conditions - a 75 mm floating screed is a ten-week wait to safe moisture levels for resilient finishes, and no programme pressure changes the physics. Rushing floor coverings onto a wet screed is among the most reliable generators of defects claims in the industry: blistered vinyl, cupped timber, debonded tiles and mould. The moisture test - a hygrometer hood giving a real RH reading, typically 75% or below for sensitive finishes - is the only voice that gets a vote on readiness, and it is recorded, not assumed.
Workmanship decides everything else. The mix must be consistent - gauged by volume or weight, mixed to a workable earth-moist consistency, used within its working life. It must be genuinely compacted: screed laid loose or just ruled off sounds hollow when tapped, debonds, and eventually cracks and curls at the edges. Day joints are formed vertically and compacted against a stop end, not feathered into nothing. And the first 48–72 hours decide the surface: a screed allowed to dry too fast in sun or draught loses strength and dusts. None of this is sophisticated; all of it is routinely got wrong by people in a hurry.
Process storyboard
Step 1 of 6 - slide through the snapshots.

STEP 1
Prepare the base and set the level datum
The slab is cleaned and prepared for the screed type - slurry or bonding agent for bonded, membrane for unbonded, insulation with perimeter edge strip for…
How does Sand-cement screed work, step by step?
- 1
Step 1: Prepare the base and set the level datum
The slab is cleaned and prepared for the screed type - slurry or bonding agent for bonded, membrane for unbonded, insulation with perimeter edge strip for floating. UFH pipes are pressure-tested and held under test. Datum levels are taken from the site benchmark and transferred as screed dots or rails across the area, because the screed's flatness is set here, not at the trowel.
- 2
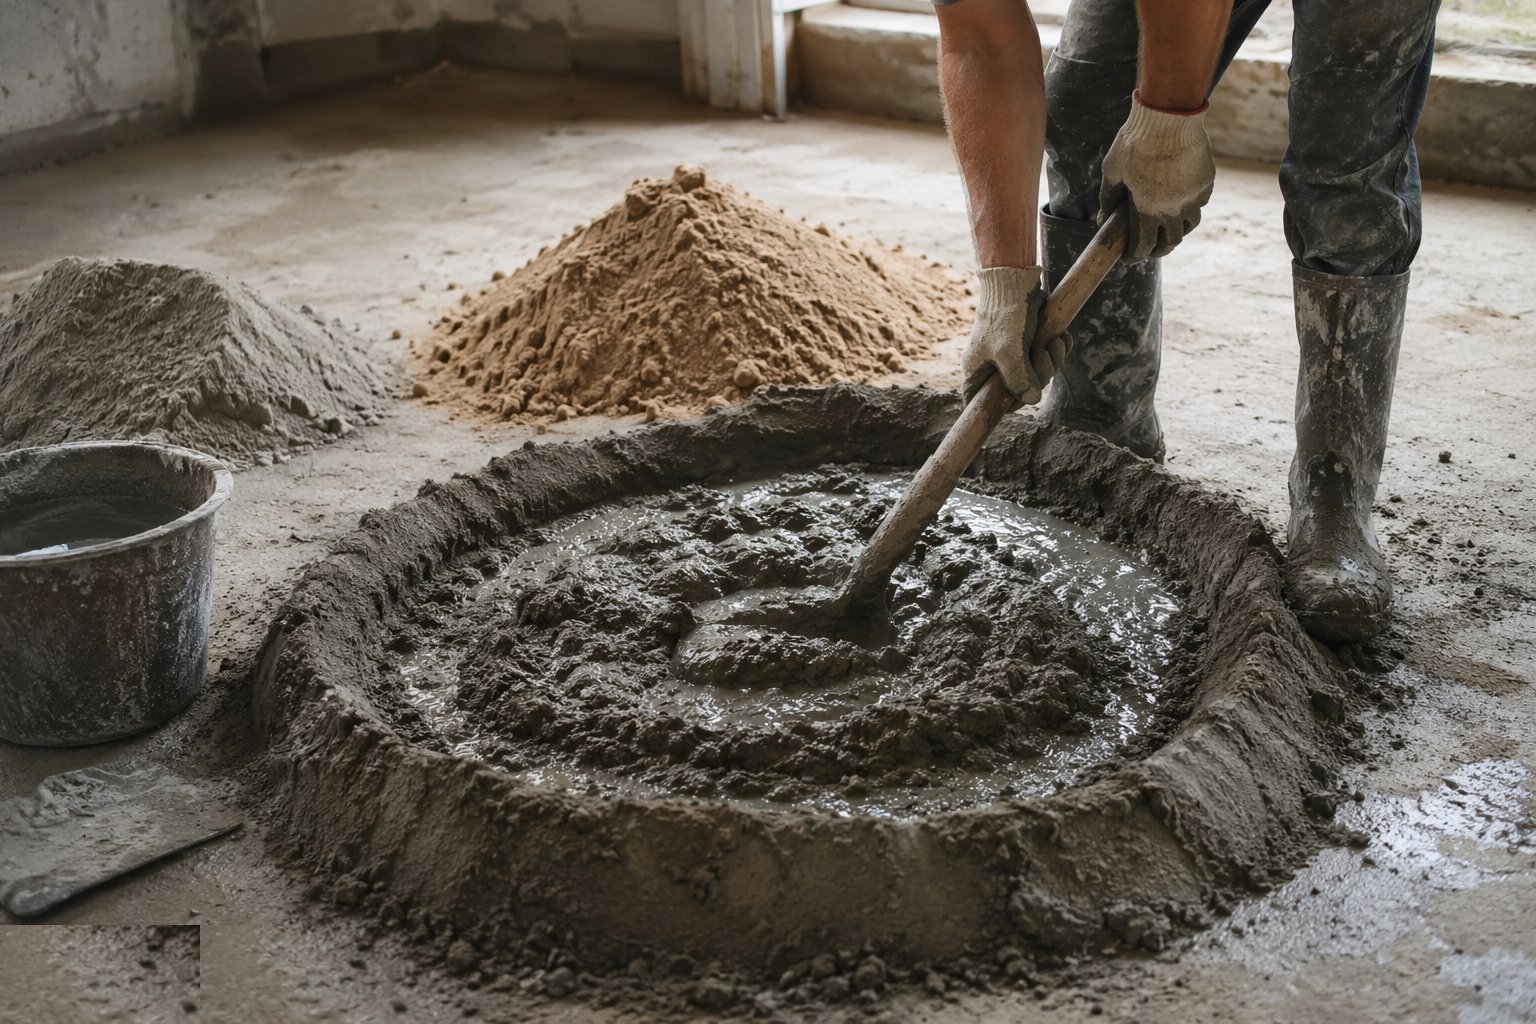
Step 2: Batch and mix to the specified proportions
The mix is gauged - 1:3 to 1:4 cement to sharp sand, with admixture where specified - and mixed to an earth-moist consistency that holds together in a squeezed ball without bleeding water. Retempering dead mix is banned: a batch past its working life goes in the skip, not in the floor. Consistency between batches is what stops colour, strength and curling variations across one floor.
- 3
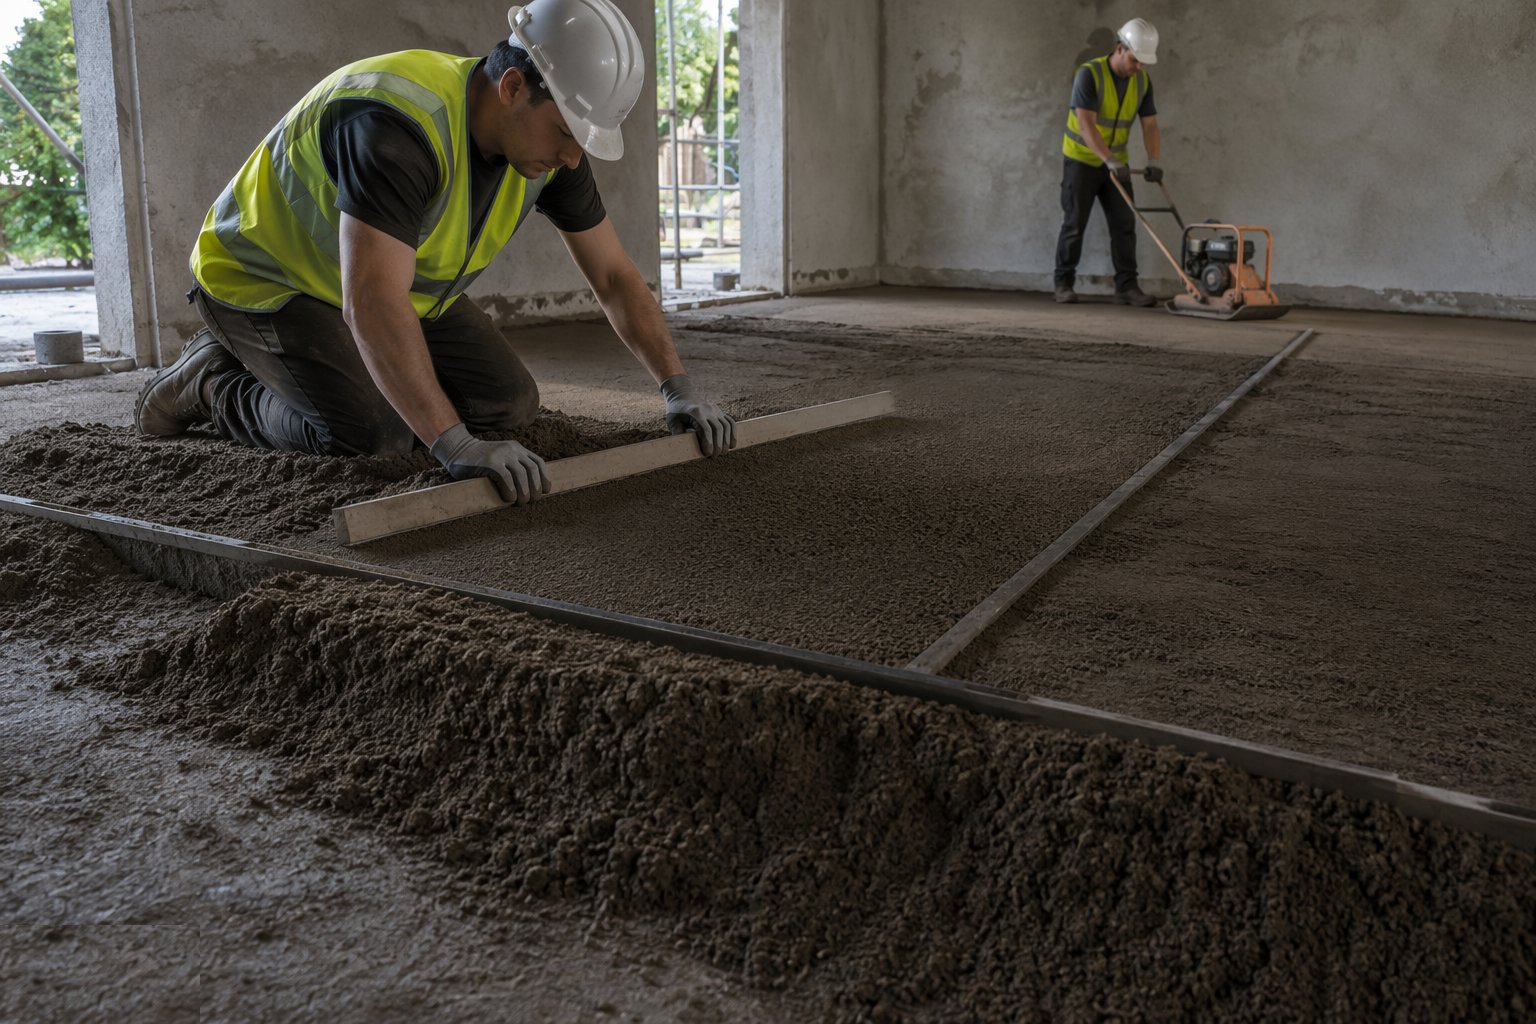
Step 3: Lay, compact and rule to level
Screed is placed in workable bays, spread proud of the dots, and genuinely compacted - tamped or beaten - before being ruled off to level with a straightedge working between the datums. Compaction is the difference between a floor and a hollow-sounding future defect. Bay sizes are kept to what the gang can compact and rule while the mix is alive.
- 4
Step 4: Trowel closed and form the day joints
The surface is wood-floated then steel-trowelled to a closed, dense finish - closed enough to resist dusting, not burned to a polish that rejects adhesives. Day joints are formed vertically against a stop end with the edge compacted, so the next day's bay butts to a solid face. Coverings and ducts are protected, and edges and columns get their perimeter isolation strip continuous and uncut.

- 5
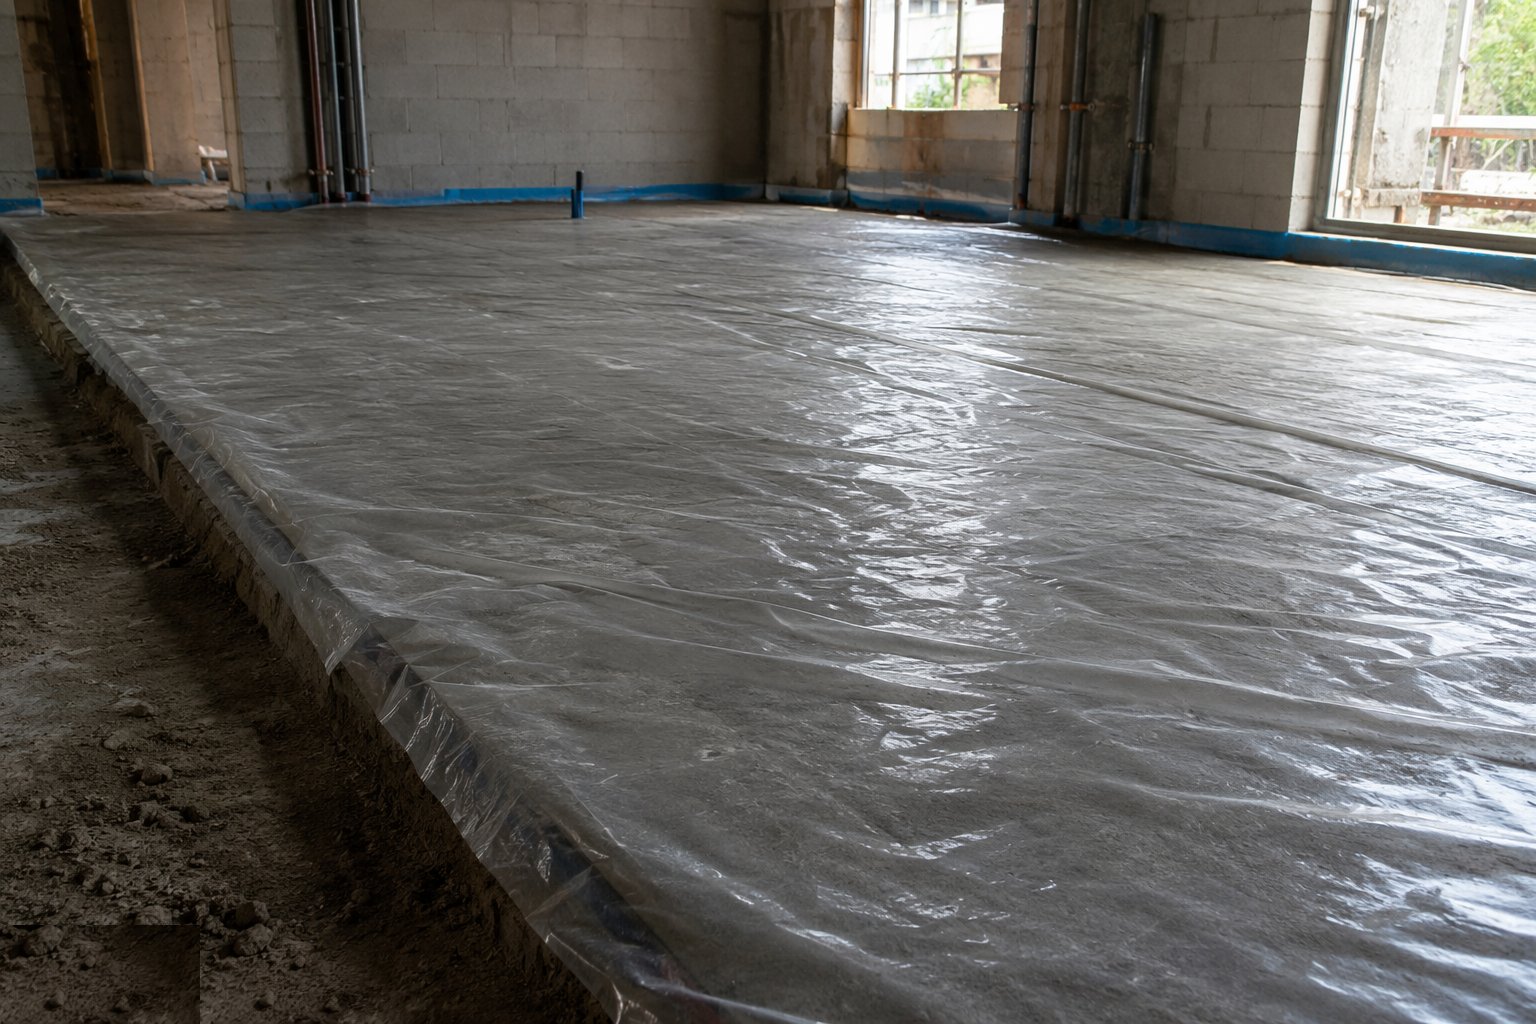
Step 5: Cure and protect the first week
The screed is protected from rapid drying - polythene or curing membrane for the first days, draughts and direct sun excluded. Foot traffic is kept off for 48 hours minimum and heavy loads for a week or more. UFH stays off: commissioning with heat comes later, gradually, to a protocol, and never as a way to force drying.
- 6
Step 6: Test soundness and moisture before finishes
Before any finish, the screed is tapped or chained for hollow areas - debonded zones come up now, while the repair is local and cheap. Moisture is measured with a hygrometer hood or carbide meter at representative points, recorded against the finish manufacturer's limits, and only a recorded pass releases the floor. The drying arithmetic - roughly a day per millimetre - tells you when to test, not whether to.
What are the benefits of Sand-cement screed?
- Robust and proven - a century of track record and every finisher knows it
- Tolerant of site conditions - no pumps, no specialist plant, works in cold shells
- Can be laid bonded, unbonded or floating to suit the build-up
- Cheap materials, locally sourced, with simple gauged batching
- Easily repaired locally - hollow or damaged bays cut out and relaid
- Compatible with every floor finish once genuinely dry
What are the limitations of Sand-cement screed?
- Slow drying - roughly a day per millimetre; a 75 mm screed is a ten-week programme fact
- Labour-intensive and workmanship-critical - compaction and curing decide quality
- Limited flatness compared with pumped screeds - SR classifications are achievable but cost skill
- Minimum practical thickness is high - 65 mm floating, more with UFH cover
- Shrinkage and curling need joints and edge isolation, and still surprise the careless
- Cold-weather laying is restricted - frost kills a young screed outright
What is Sand-cement screed best suited for?
What plant does Sand-cement screed need?
- Forced-action mixer and gauged batching boxes - no shovelful estimates
- Straightedges, screed rails and datum pins or laser level
- Tampers, beaters and floats - wood and steel trowels
- Polythene or curing membrane for protection
- Hygrometer hoods or carbide meter for moisture verification
- Screed dolly or barrows for transport without segregation
How is Sand-cement screed quality-checked?
- Mix proportions gauged and recorded per batch; working life enforced
- Base preparation inspected - bonding agent, membrane or insulation and edge strip
- Level datum dots verified against the benchmark before laying
- Compaction witnessed; soundness tap-test over the whole area after curing
- UFH pressure held and recorded during laying
- Moisture readings recorded against finish limits before any covering