Flowing (anhydrite/cement) screed
Pump it, dapple it, walk away - then respect the laitance and the moisture meter.
Last updated 2026-08-22
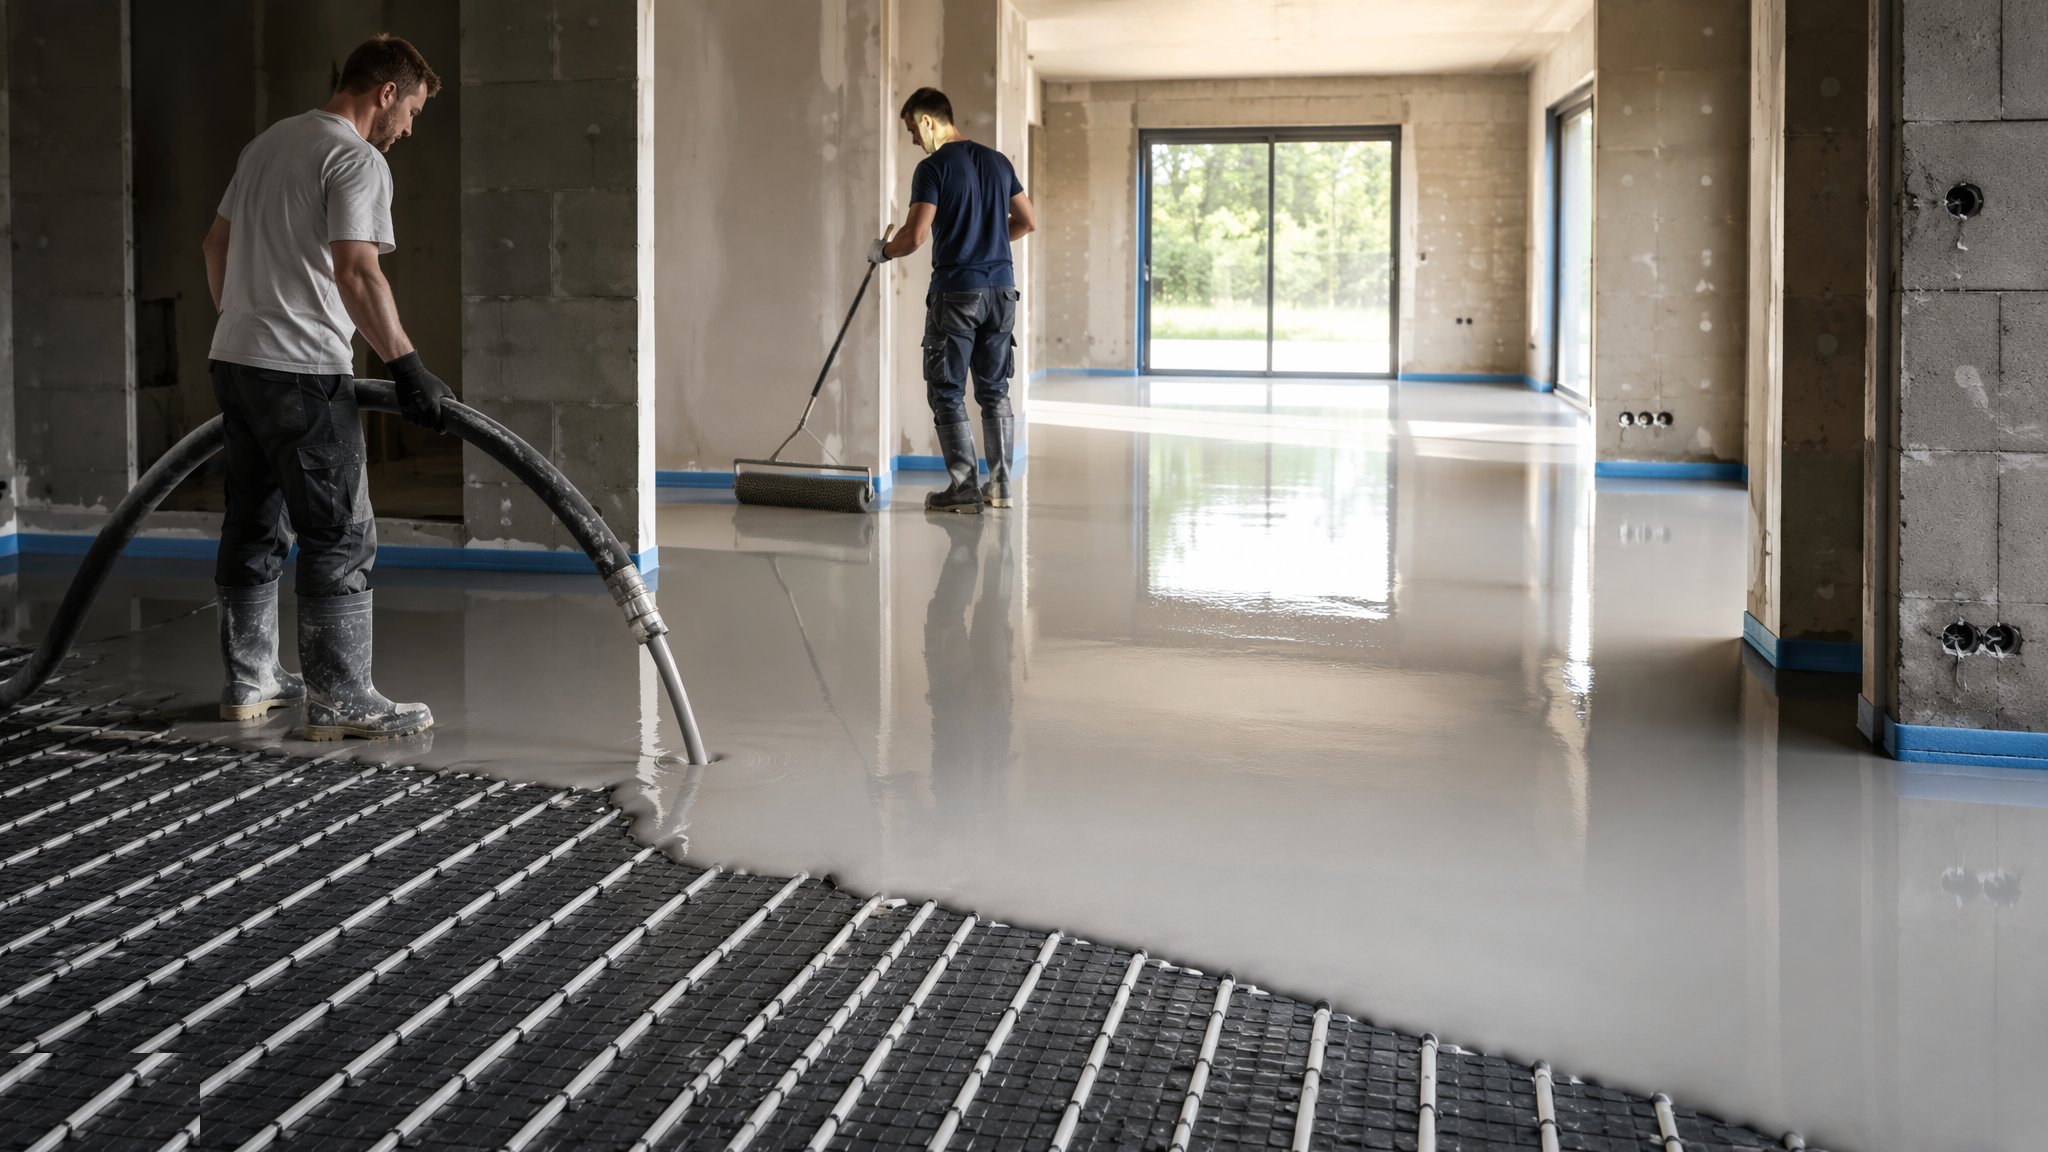
What is Flowing (anhydrite/cement) screed?
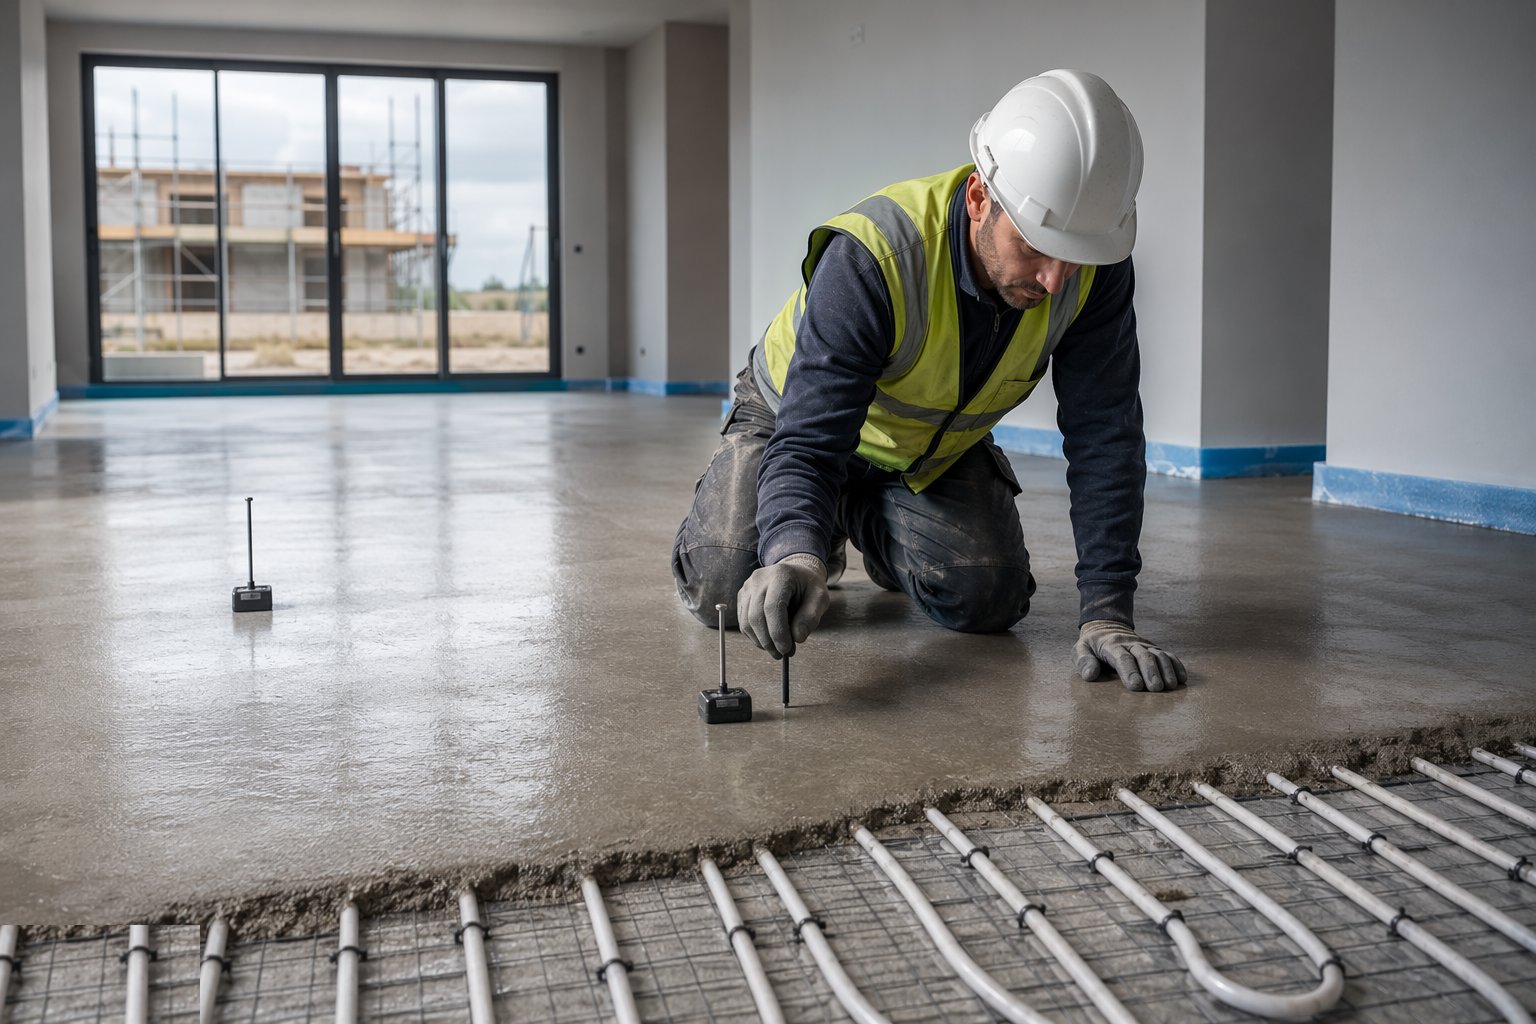
Flowing screeds replaced the trowel with the pump. Delivered as a self-smoothing liquid - either anhydrite (calcium sulphate) binder or a cement-based flowing formulation - the screed is pumped onto the floor, spreads to laser-set levels, and is dappled to release entrained air. A gang lays hundreds of square metres in a day at thicknesses of 30–50 mm, achieving flatness figures that hand-laid screed reaches only with great skill. Around underfloor heating pipes it flows into a void-free embrace that conducts heat beautifully, which is why flowing screed and UFH have become near-synonymous on new housing.
The two chemistries carry different disciplines. Anhydrite screeds are not cement: they cannot tolerate wetting once laid, they demand a dry shell, and within days of laying they grow a surface skin of laitance - a weak, friable layer that must be sanded off, typically within a week or so per the manufacturer, or nothing will ever bond to the floor. Cement-based flowing screeds behave more like conventional concrete on moisture tolerance and bonding, at a higher price. Both share the cardinal rule: moisture is measured before finishes, not assumed - fast-drying formulations or not, the hygrometer hood or carbide test with a recorded pass is the only release document that counts.
The speed is real and so are the failure modes. The liquid finds every hole: an unsealed penetration, a gap at a threshold or a taped joint that lifts becomes a screed escape, a blocked pipe or a floor below wearing a calcium-sulphate hat. The pour must be continuous within a bay - a pump stoppage leaves a cold joint ridge. And anhydrite laid over a bituminous or contaminated substrate, or too thin over insulation without the manufacturer's build-up, debonds and cracks. Managed with respect - sealed base, laser-set tripods, continuous supply, sanding and testing on schedule - flowing screed is the flat floor's best friend. Managed casually, it is a very flat, very expensive failure.
Process storyboard
Step 1 of 6 - slide through the snapshots.
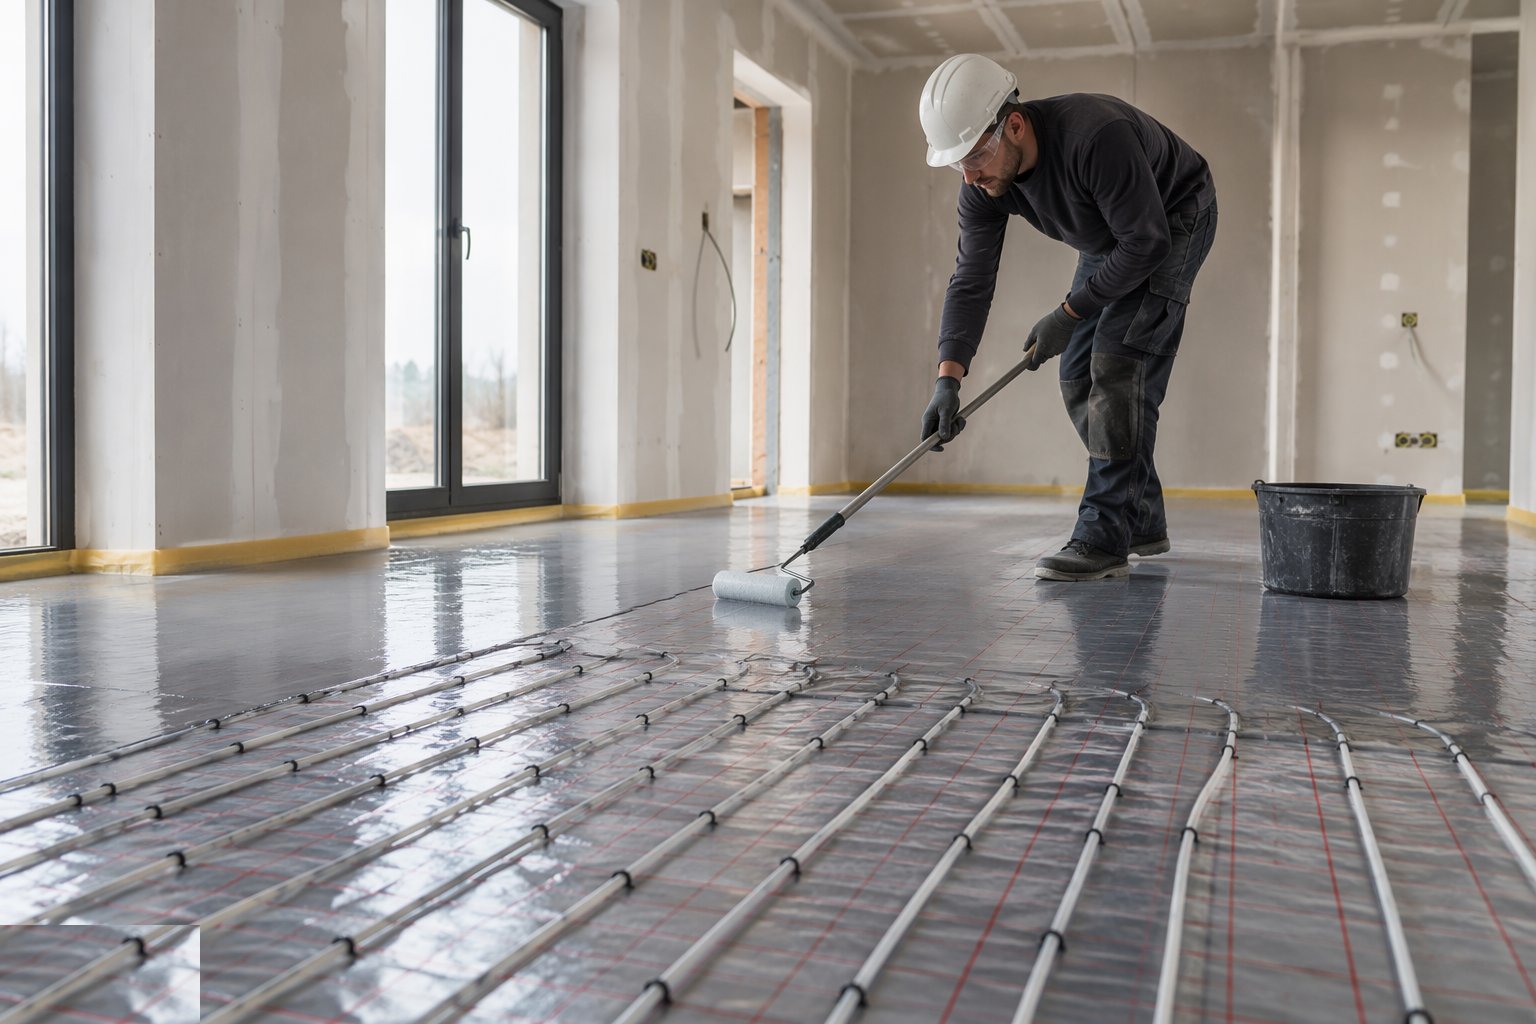
STEP 1
Seal and prepare the substrate
The base - insulation, membrane or slab - is made tank-tight: every penetration, perimeter gap, threshold and service entry sealed, because liquid screed finds…
How does Flowing (anhydrite/cement) screed work, step by step?
- 1
Step 1: Seal and prepare the substrate
The base - insulation, membrane or slab - is made tank-tight: every penetration, perimeter gap, threshold and service entry sealed, because liquid screed finds and exploits every hole. Insulation boards are taped at joints and the edge strip runs continuous around the perimeter. UFH pipes are clipped, pressure-tested and held under test, with the manifold protected.
- 2
Step 2: Set the level tripods or rails
Finished floor levels are transferred from the datum to adjustable screed tripods or rails set out across the area on a grid, checked with a laser. The screed's flatness is inherited entirely from these references - set them to SR-class precision and the floor follows. Minimum and maximum thicknesses are verified against the manufacturer's limits, especially cover over UFH pipes.

- 3
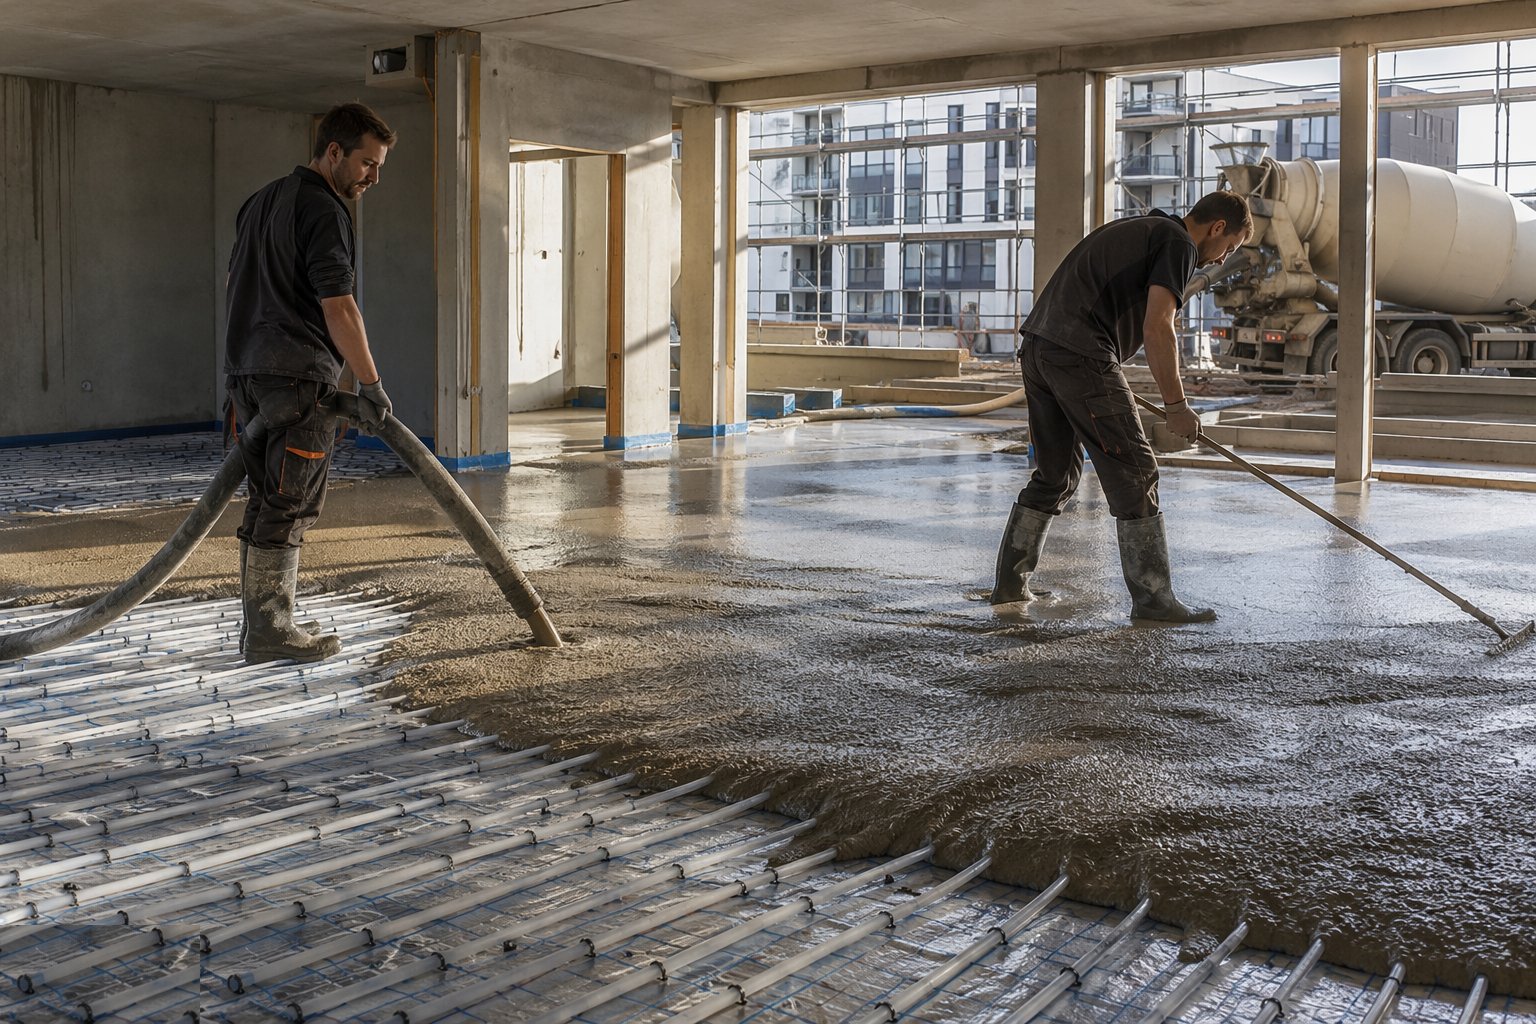
Step 3: Pump continuously and dapple the surface
The screed arrives by truck mixer and is pumped to the far end of the bay, worked back toward the door in a continuous operation - stoppages leave cold joints. As each section is placed it is dappled with a dappling bar to release air and close the surface. Bay sizes are matched to supply rate and gang size so no edge ever goes stale against fresh material.
- 4
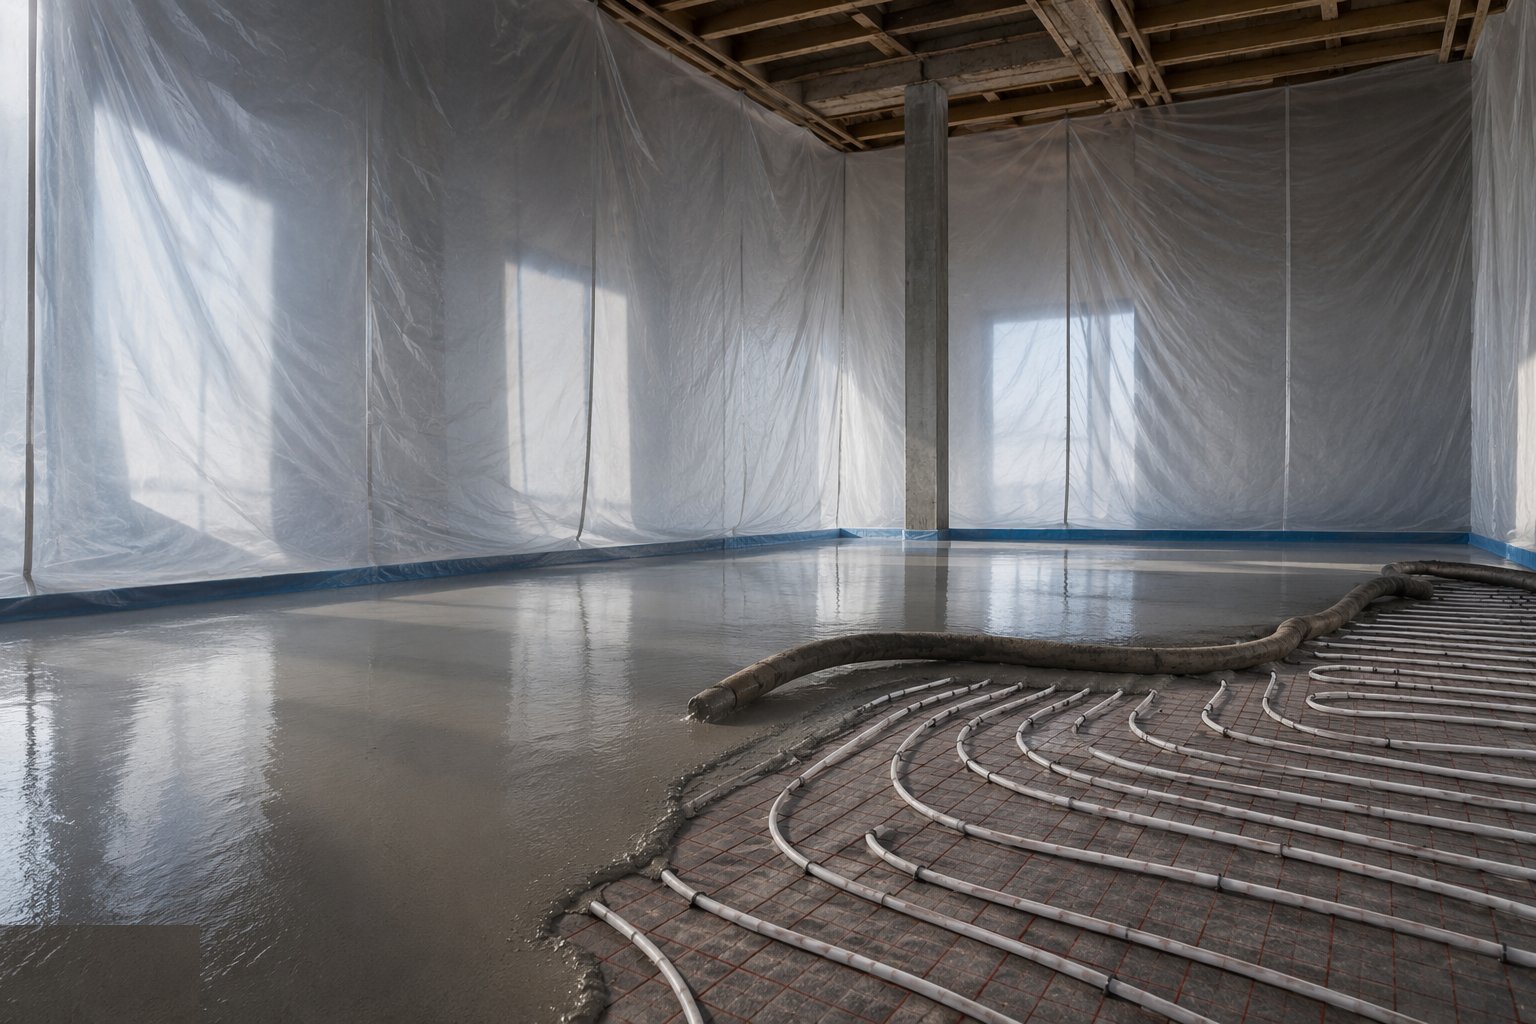
Step 4: Protect the cure - no draughts, no sun, no water
The fresh floor is protected from draughts and direct sun for the first days - rapid skin drying causes crazing and curling - and anhydrite floors are protected from any wetting, period: no wet trades overhead, no open windows in rain. Light foot traffic follows the manufacturer's timescale, typically after a day or two. UFH stays cold until commissioning to protocol.
- 5
Step 5: Sand the laitance on anhydrite
Within the manufacturer's window - commonly four to seven days after laying - the laitance skin is mechanically sanded off and vacuumed, exposing the sound aggregate face. Adhesives and primers bond to sanded anhydrite; to unsanded laitance they bond to dust and fail. The sanding is scheduled, recorded and verified, not left to be discovered by the tiler.

- 6
Step 6: Test moisture and release the finishes
Moisture is measured at representative points - hygrometer hood or carbide method per the system - and recorded against the floor finish manufacturer's limits. Anhydrite under impermeable finishes typically needs to be at or below about 0.5% by carbide method or the equivalent RH; fast-drying systems shorten the wait but never remove the test. Only a recorded pass releases tiling, vinyl or timber.
What are the benefits of Flowing (anhydrite/cement) screed?
- Ten times the laying speed of hand screed - hundreds of square metres per day
- Exceptional flatness - laser-set levels routinely meet tight SR classifications
- Thin sections - 30–50 mm - saving height, weight and drying time
- Superb UFH performance - flows void-free around pipes with excellent heat transfer
- Self-smoothing finish needs minimal trowelling and no power floating
- Large joint-free bays - fewer day joints, cleaner continuous floors
What are the limitations of Flowing (anhydrite/cement) screed?
- Anhydrite cannot tolerate wetting once laid - the shell must be dry and stay dry
- Laitance sanding on anhydrite is mandatory - skipped, it guarantees bond failure
- Liquid finds every hole - substrate sealing failures are dramatic and expensive
- Sensitive to continuous supply - a pump stoppage leaves a permanent cold-joint ridge
- Specialist supply chain and higher material cost than sand-cement
- Moisture testing discipline is absolute - fast-dry claims do not replace the meter
What is Flowing (anhydrite/cement) screed best suited for?
What plant does Flowing (anhydrite/cement) screed need?
- Screed pump and mixer or truck-mounted supply with hoses to level
- Laser level and adjustable screed tripods or rails
- Dappling bars and spiked rollers for air release
- Floor sander with vacuum for anhydrite laitance removal
- Sealing tapes, collars and edge strip for the substrate
- Hygrometer hoods or carbide meter for moisture verification
How is Flowing (anhydrite/cement) screed quality-checked?
- Substrate sealing inspected hole by hole - penetrations, thresholds, taped joints
- Level tripods verified against the datum; thickness limits checked over UFH
- UFH pressure held and recorded throughout the pour
- Continuous pour witnessed - no cold joints, bay edges worked while live
- Anhydrite laitance sanding scheduled, executed and verified in the window
- Moisture readings recorded against finish limits before any covering is released