Site Access & Enabling Works
Turning a piece of land into a controlled, serviced, legal construction site.
Last updated 2026-08-22
Typical duration
1–3 weeks on a housing site; 4–12 weeks on a constrained urban tower site.
What is Site Access & Enabling Works?
Site access and enabling works are the first operations on any project - making the site safe, secure and workable before a single bucket goes in the ground. They are everything that lets the real work happen: the hoarding that keeps the public out, the gates that keep plant moving, the cabins that house the team, and the temporary power and water that keep the whole show running. On a housing development this might take two weeks; on a tight city-centre tower it can be a project in its own right. In the UAE, no physical work may start before the building permit is issued, and the permit must come from the right authority - Dubai Municipality for mainland plots, the Dubai Development Authority in its communities, or Trakhees in the PCFC free zones - with RTA approval for any new access onto the road network. Submitting to the wrong authority is a classic, costly false start, so jurisdiction is confirmed by plot before anything is lodged.
This stage is also where the site's reputation with its neighbours is won or lost. Mud on the road, dust over the fence and a gate left open at night will generate complaints before the first foundation is poured. A well-set-up site - clean access, clear signage, working wheel wash, tidy welfare - is the first quality benchmark, and inspectors notice it the moment they arrive. In the UK, registering with the Considerate Constructors Scheme turns that first impression into a scored, monitored commitment, with the registration displayed on the hoarding.
Compare the methods at a glance
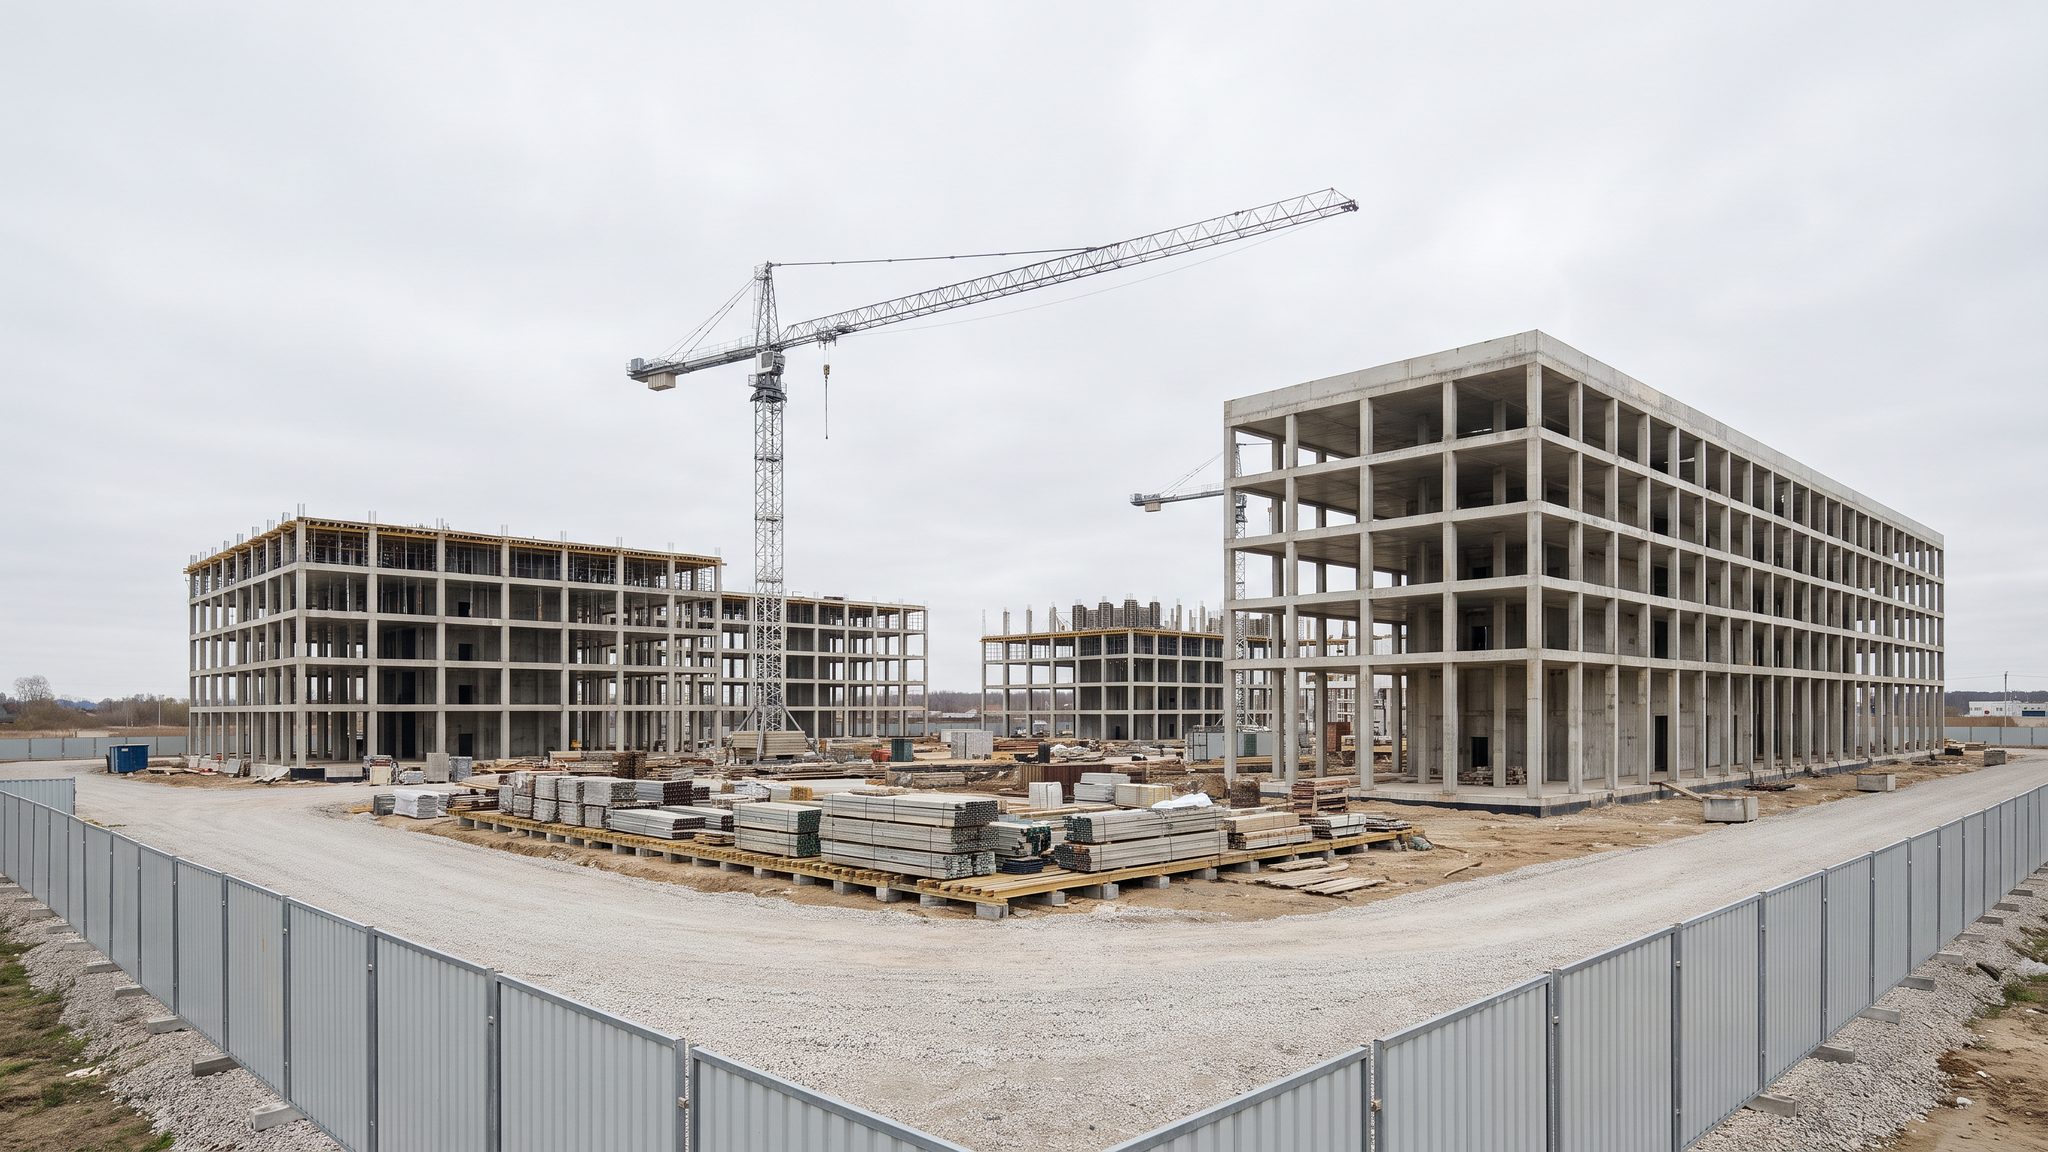
When and why is Site Access & Enabling Works used?
Enabling works happen immediately after possession of the site, and before any intrusive work, because the law and the CDM regulations require welfare from day one, the public must be separated from the works, and plant cannot function without access, power and water. Skipping or skimping this stage costs far more later in delays, enforcement notices and neighbour disputes than it saves. In the Emirates the same logic applies, but the gatekeepers are the approvals: building permit, RTA access permit and the utility NOCs (DEWA, telecoms) all run in parallel rather than in sequence, and nothing intrusive starts until they are in hand. The same duties hold at the scale of a single house or an extension: welfare from day one, the public kept out and the access kept clean - the cabins and the hoarding get smaller, the obligations do not.
Walkthrough storyboard
The process in pictures, step by step - Step 1 of 8 - slide through the snapshots.
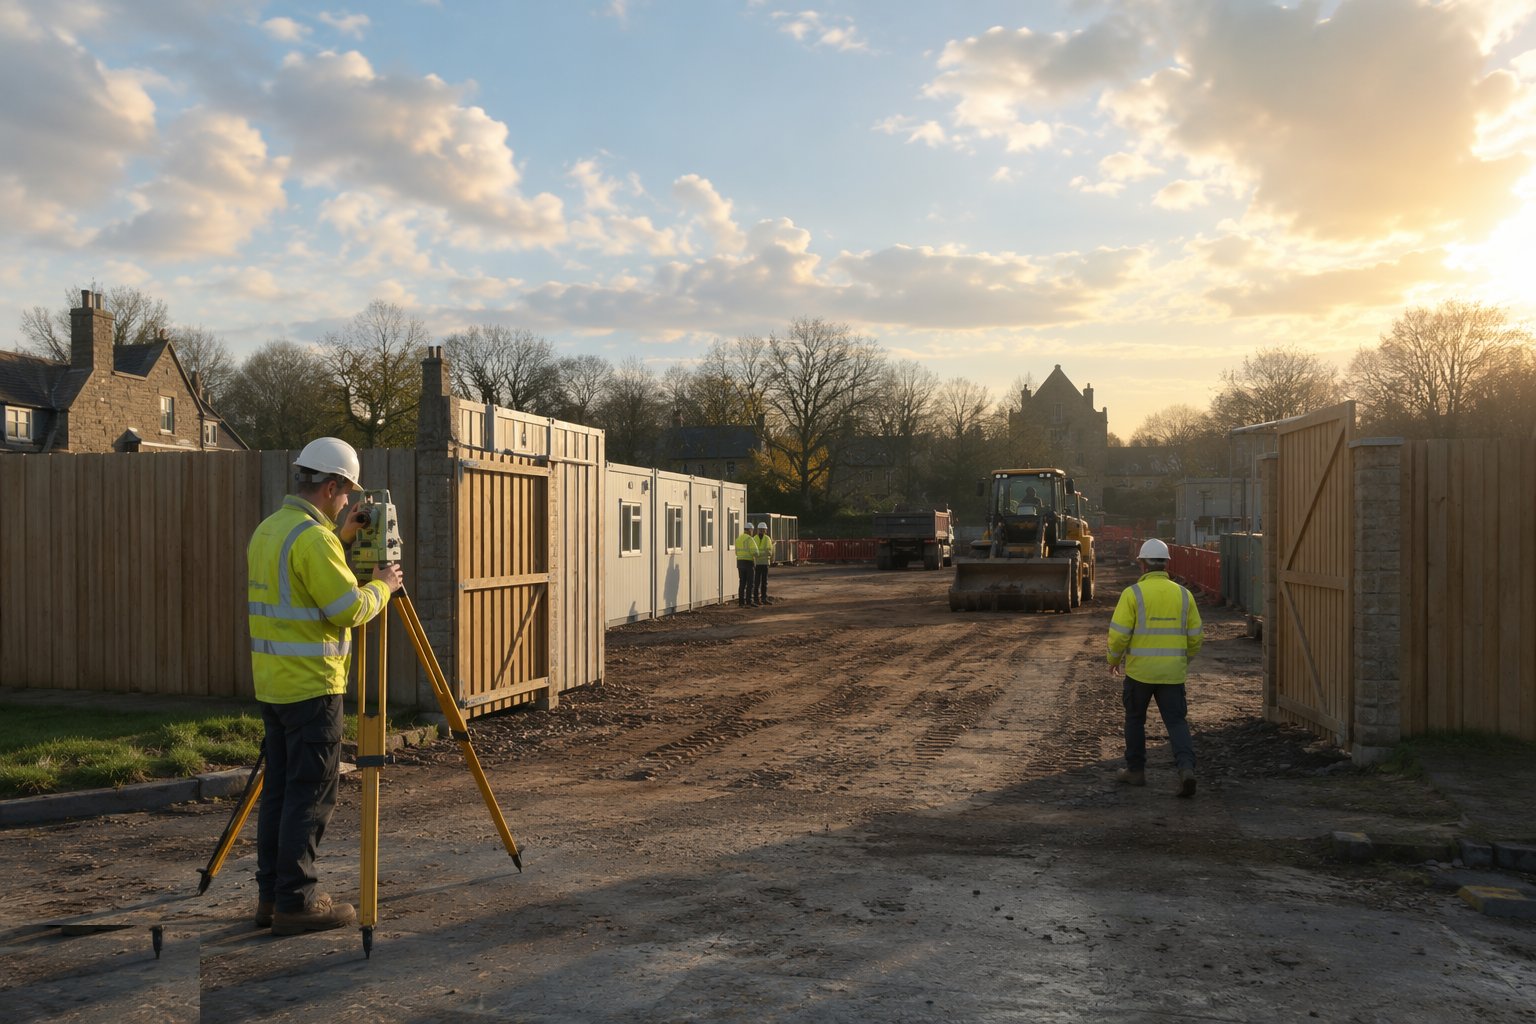
STEP 1
Topographical survey and site walkover
Before any set-up, confirm what you actually have: a topographical survey fixes existing levels, boundaries, trees and features, while a walkover with the…
Types of Site Access & Enabling Works
Explore each method in depth - benefits, limitations, plant and quality control on its own page.
Greenfield set-up
Open land with no existing constraints. Haul roads are formed from compacted stone over geotextile, services are brought in from the nearest mains, and the compound is positioned for the whole build duration. The main challenges are ground bearing, drainage and getting utility connections energised early.
Explore this methodBrownfield / urban set-up
Existing surfaces, live services, party walls and neighbours on all sides. Access is often shared with the public highway, so gates, banksmen and delivery scheduling matter more than haul roads. Expect surveys for buried services and asbestos before any ground is broken.
Explore this methodPhased occupation
On larger developments the site is handed over in parcels, so the enabling works themselves are phased - temporary hoarding lines move, the compound shrinks and relocates, and completed plots must be fenced off from live works. The logistics plan becomes a living document.
Explore this methodBest suited for
- Every project from a single house to a tower - the first process on any site
- Constrained urban plots where hoarding, gates and neighbour protection define the boundary
- Live environments - schools, hospitals, occupied estates - where access must be shared safely
- Remote or unserviced land needing welfare, power, water and haul routes built from scratch
- UAE plots where authority permits, site registration and boundary walls gate the start
Site Access & Enabling Works: step by step
- 1
Step 1: Topographical survey and site walkover
Before any set-up, confirm what you actually have: a topographical survey fixes existing levels, boundaries, trees and features, while a walkover with the utility drawings flags buried and overhead services. Mark out no-dig zones and overhead cable goalposts. This survey becomes the base drawing every later stage references. Trees to be retained are plotted and given root protection to BS 5837, and a photographic condition survey of neighbouring properties and the highway frontage gives a baseline against later damage claims.
- 2
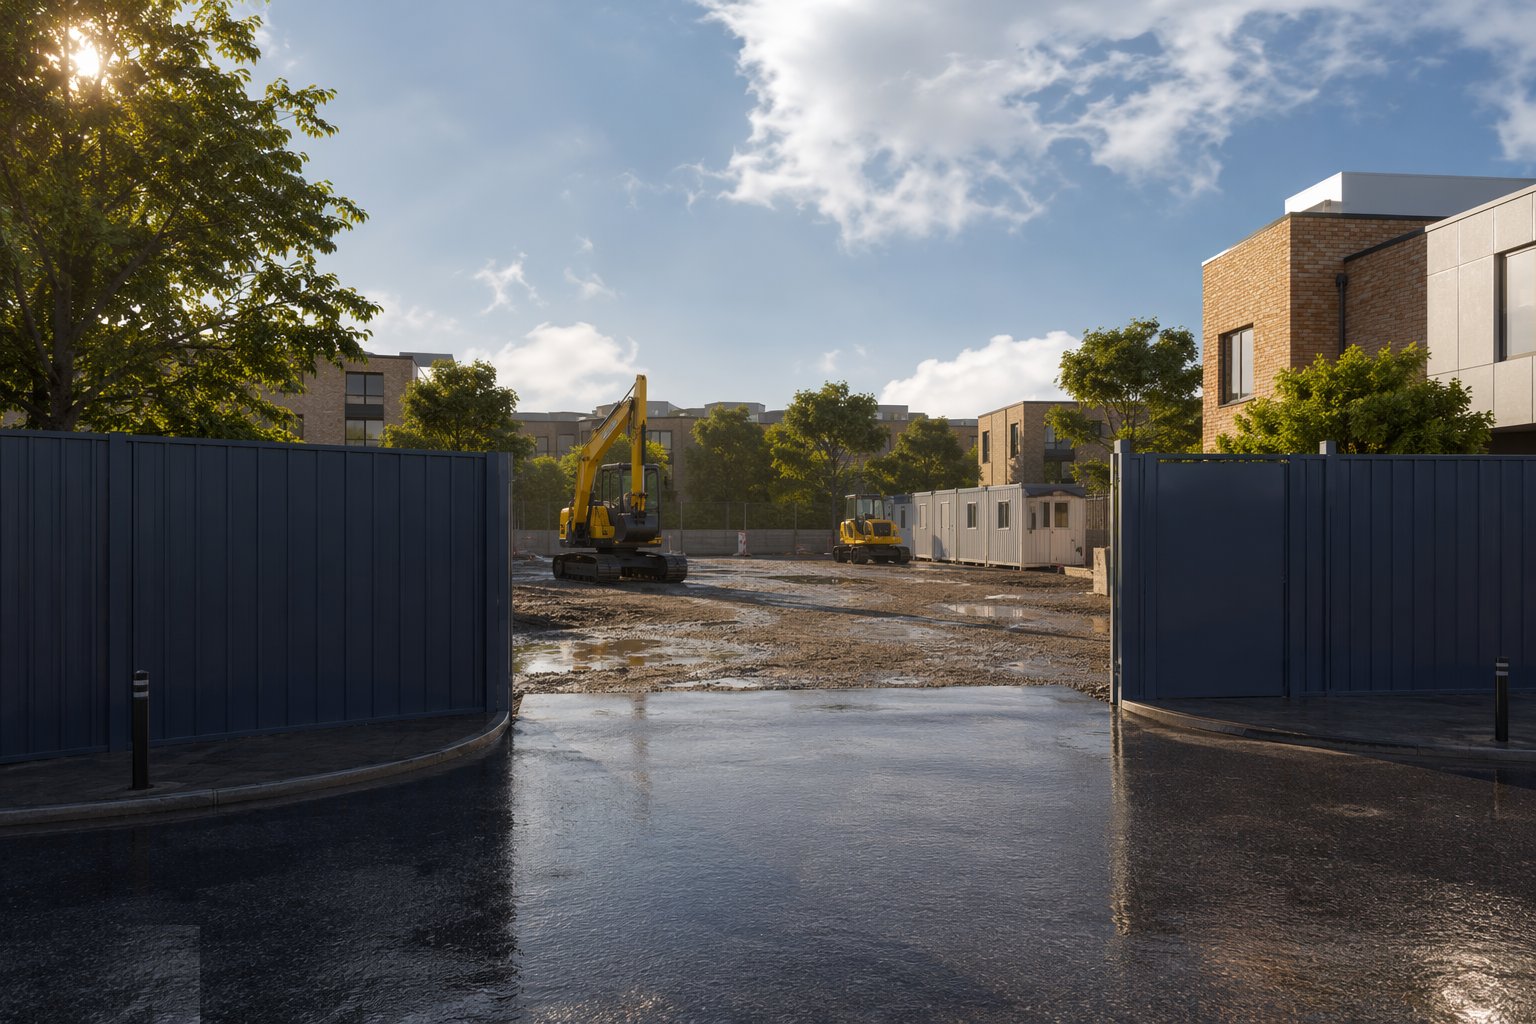
Step 2: Erect hoarding, fencing and gates
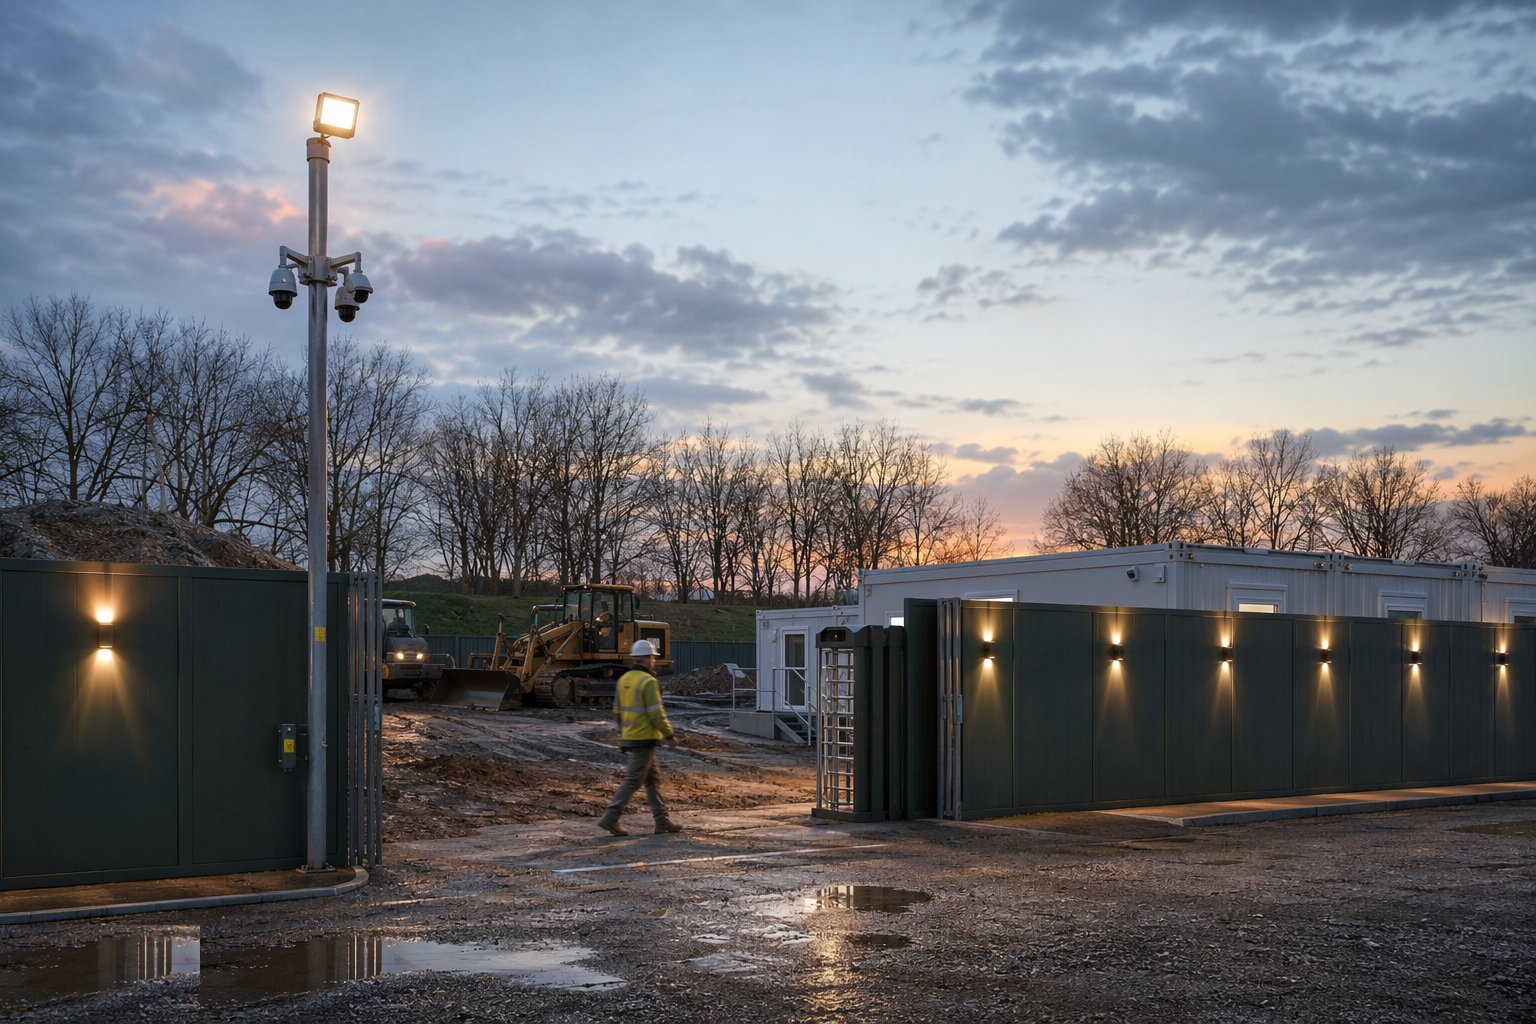
Solid timber hoarding (typically 2.4 m) goes up around public frontages; Heras-type mesh panels are acceptable away from the public. Gates are positioned so vehicles enter and leave in forward gear wherever possible, with vision splays kept clear. Hoarding lines are checked against the boundary survey - an encroachment discovered at month six is an expensive problem.
- 3
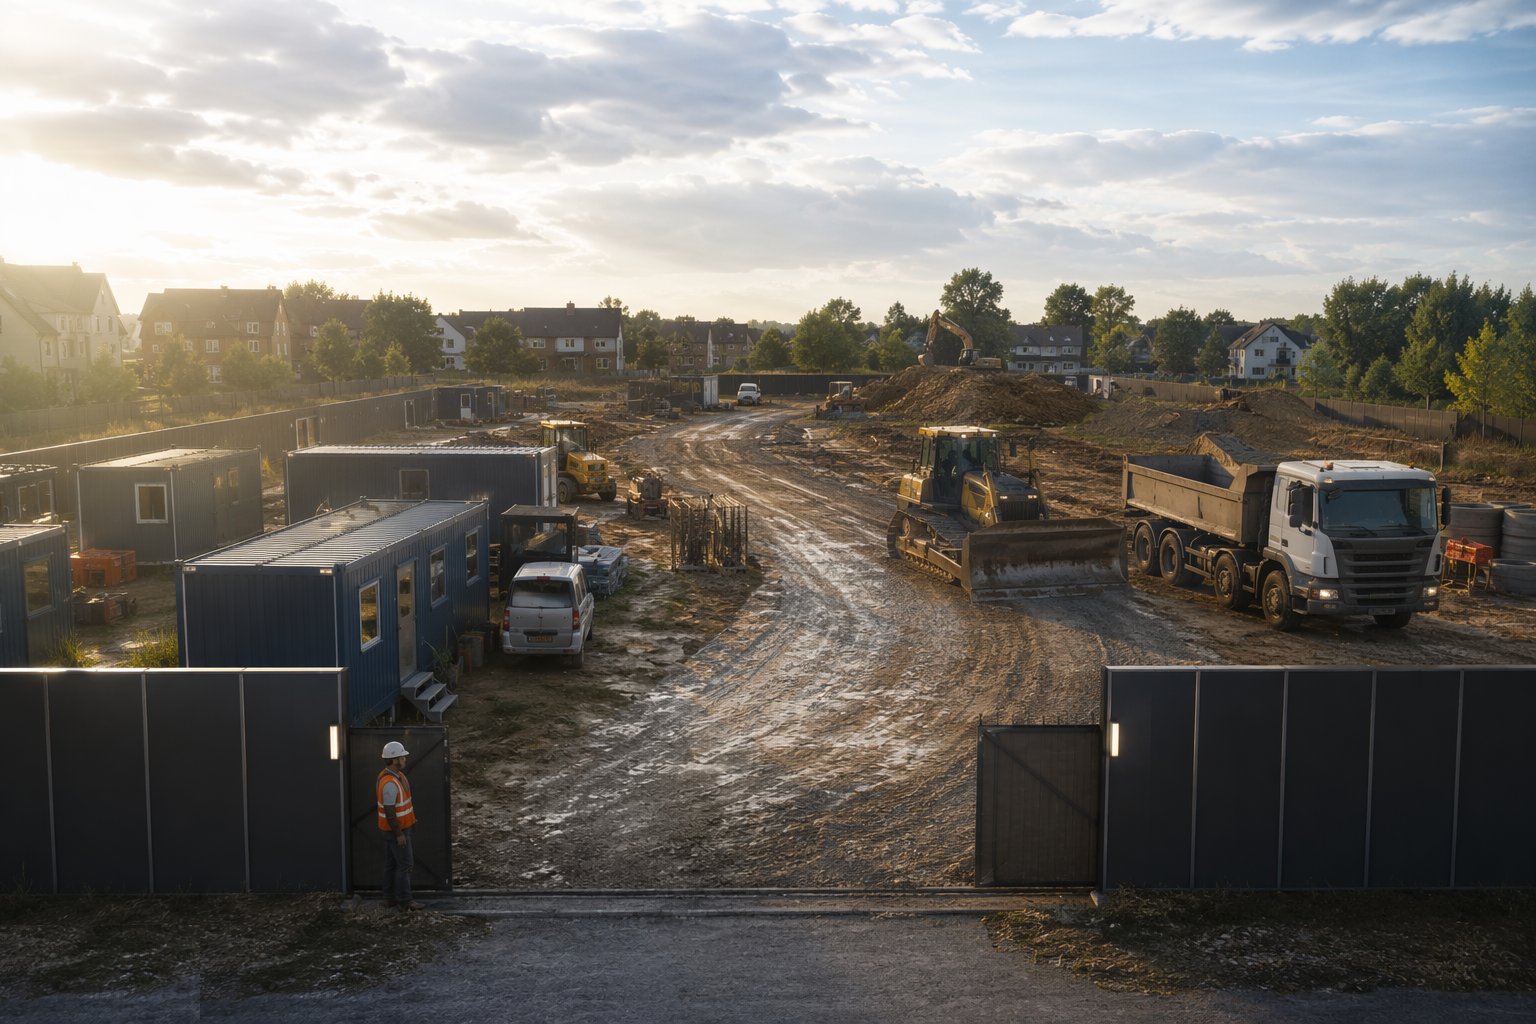
Step 3: Form the access and haul road
Strip topsoil on the access line, lay geotextile, and build up compacted Type 1 or crushed concrete to suit the heaviest expected axle load. A typical housing-site haul road is 300–450 mm of stone. Install the construction entrance with a clean-stone rumble strip or wheel wash at the gate to stop mud migrating onto the public highway.
- 4
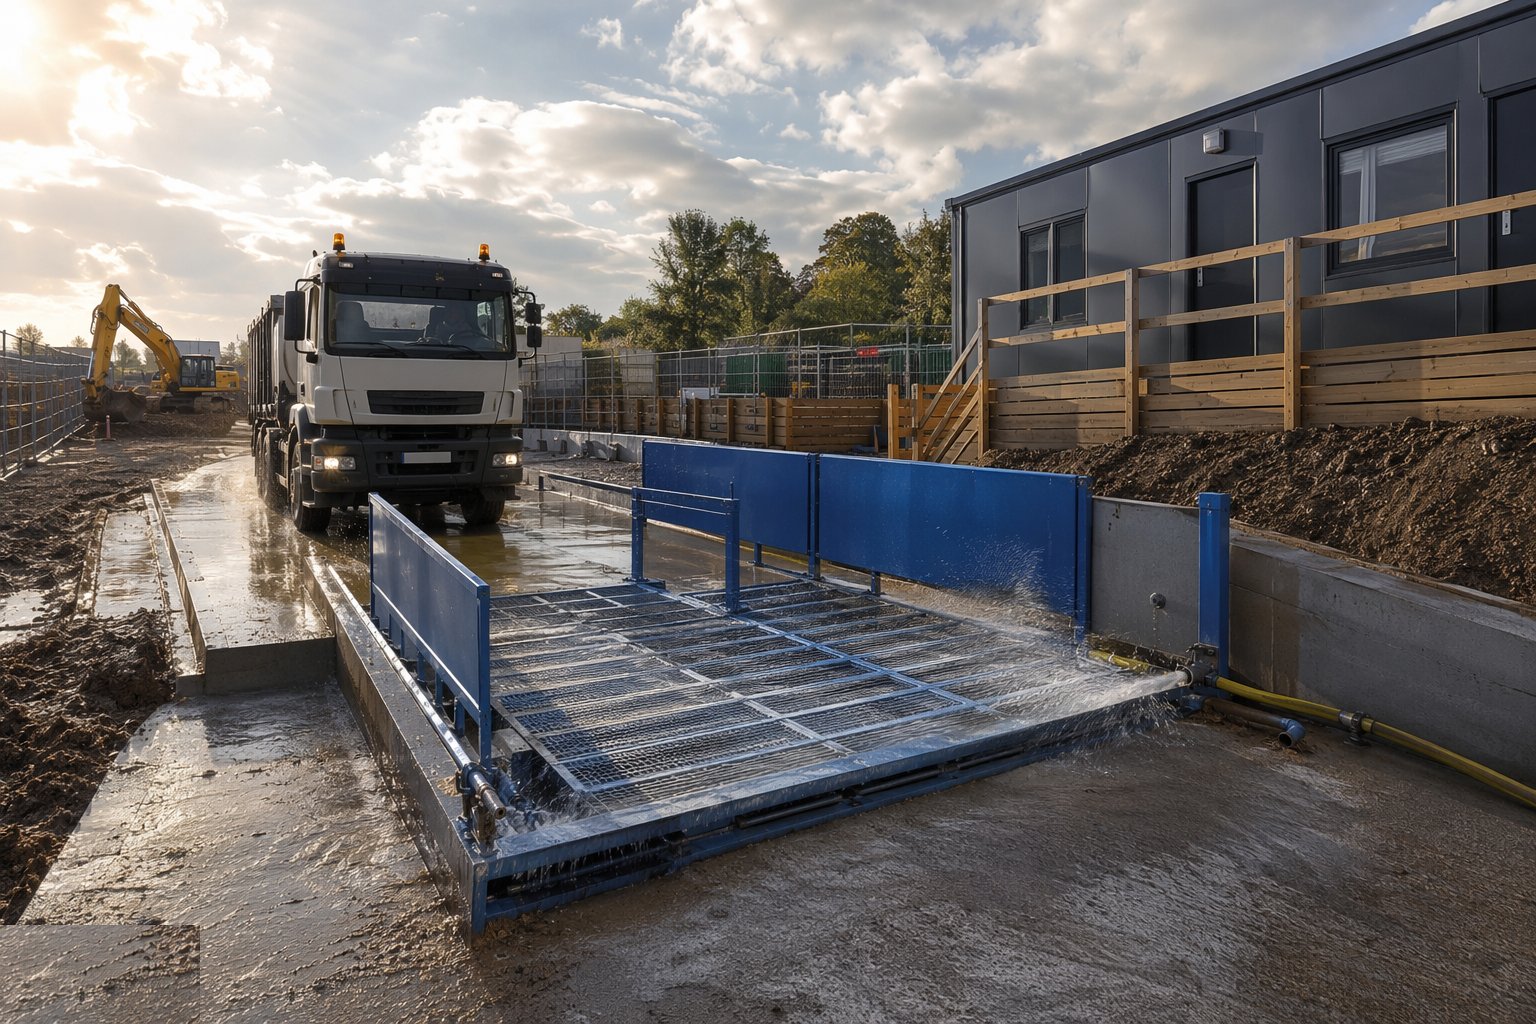
Step 4: Install wheel wash and wheel-cleaning facilities
Position the wheel wash or rumble grid so every vehicle passes over it before the public road. Recirculating wheel-wash units need power, water and somewhere for the silt to settle. Keep a road sweeper on call-out for the first wet week - that is when the complaints arrive.
- 5
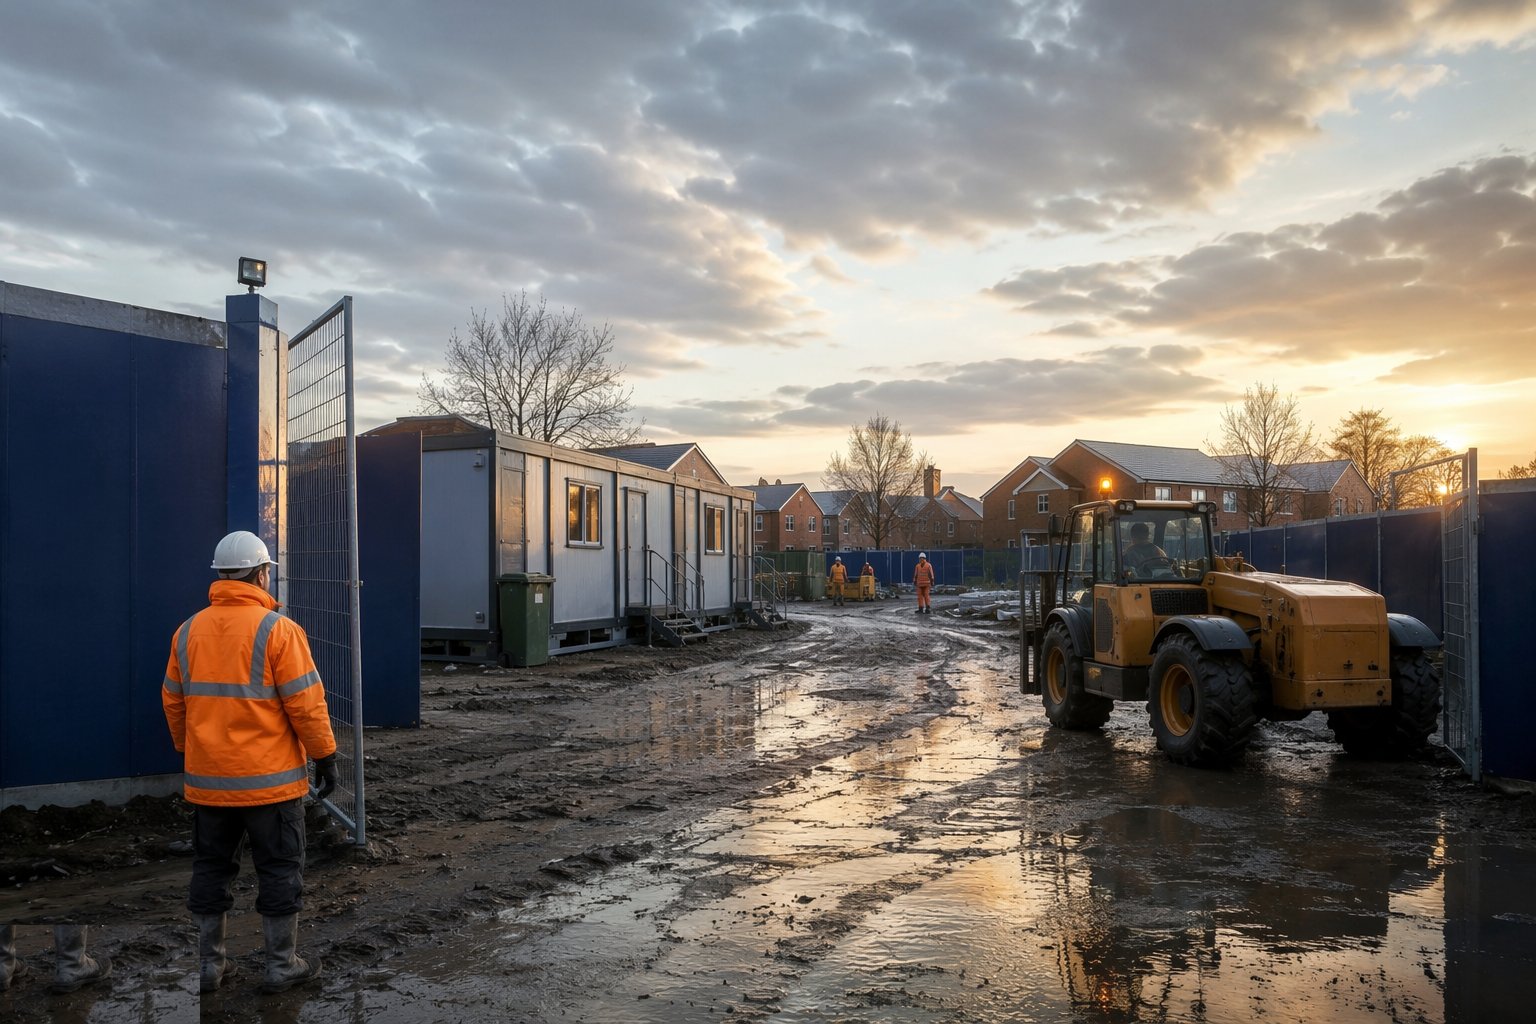
Step 5: Set up welfare facilities
CDM requires welfare from day one: toilets, washing facilities with hot water, drinking water, a rest area and somewhere to dry clothes. Cabins are positioned on firm level ground outside crane radii and future excavation lines, with fire points and first-aid provision. Stack them if the footprint is tight.
- 6
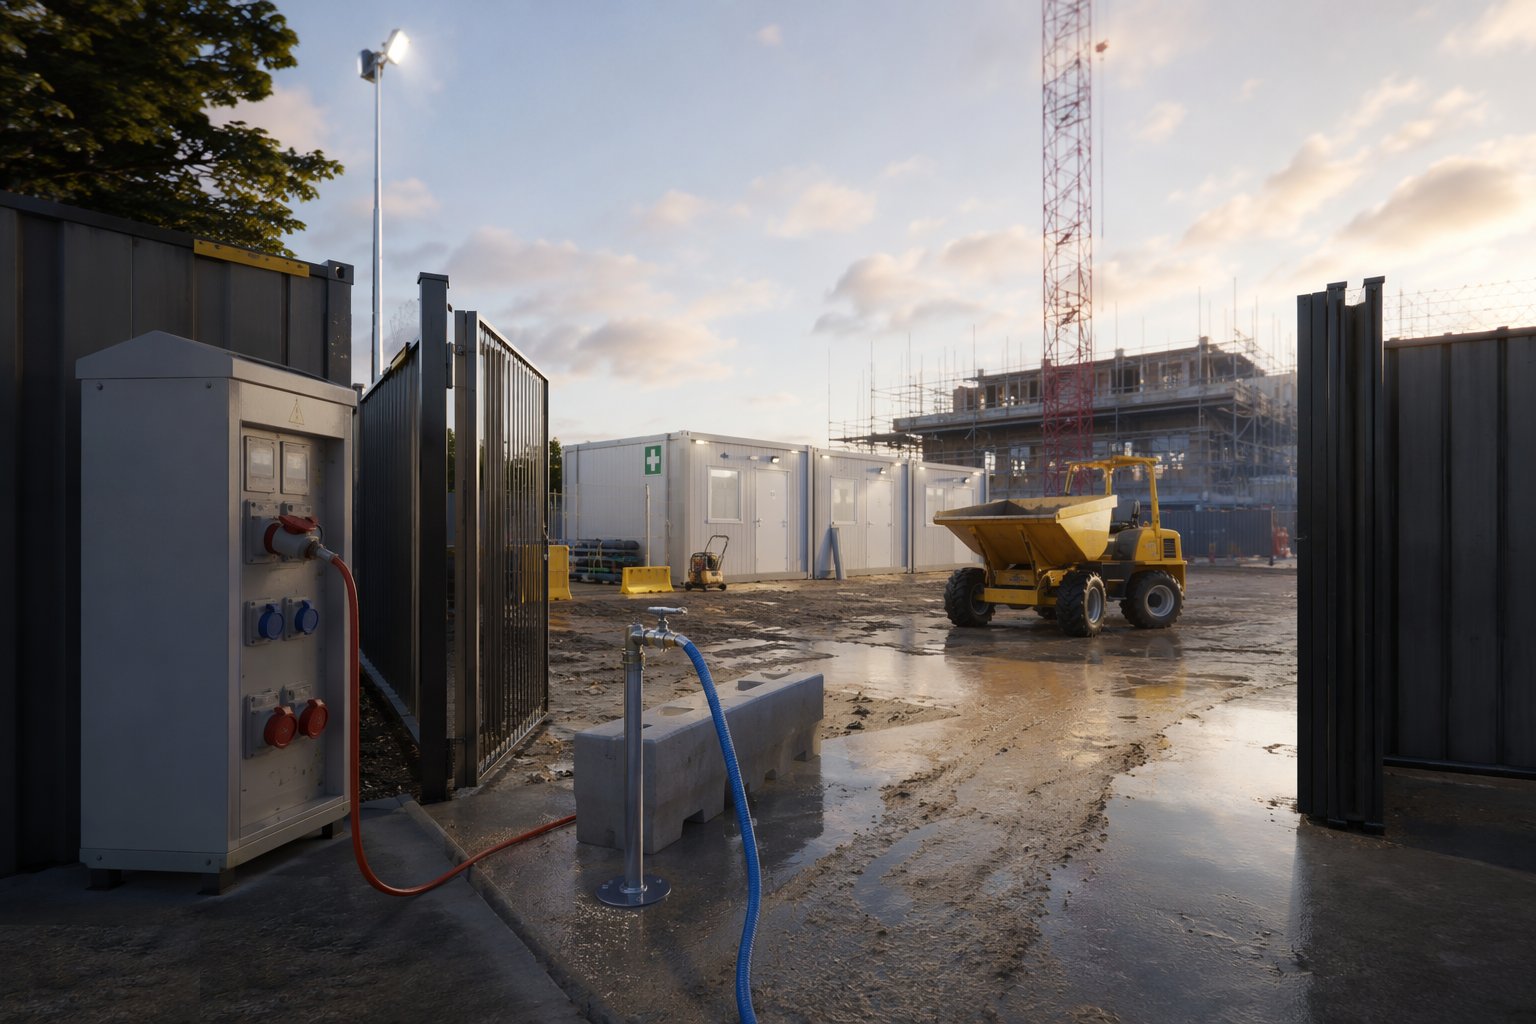
Step 6: Bring in temporary power and water
Apply for the temporary builder's supply early - utility lead times are measured in weeks, not days. A site distribution board feeds cabins, tower crane supplies and charging points through protected cables, either overhead on poles or buried in marked routes. Standby generators bridge the gap if the mains connection is late.
- 7
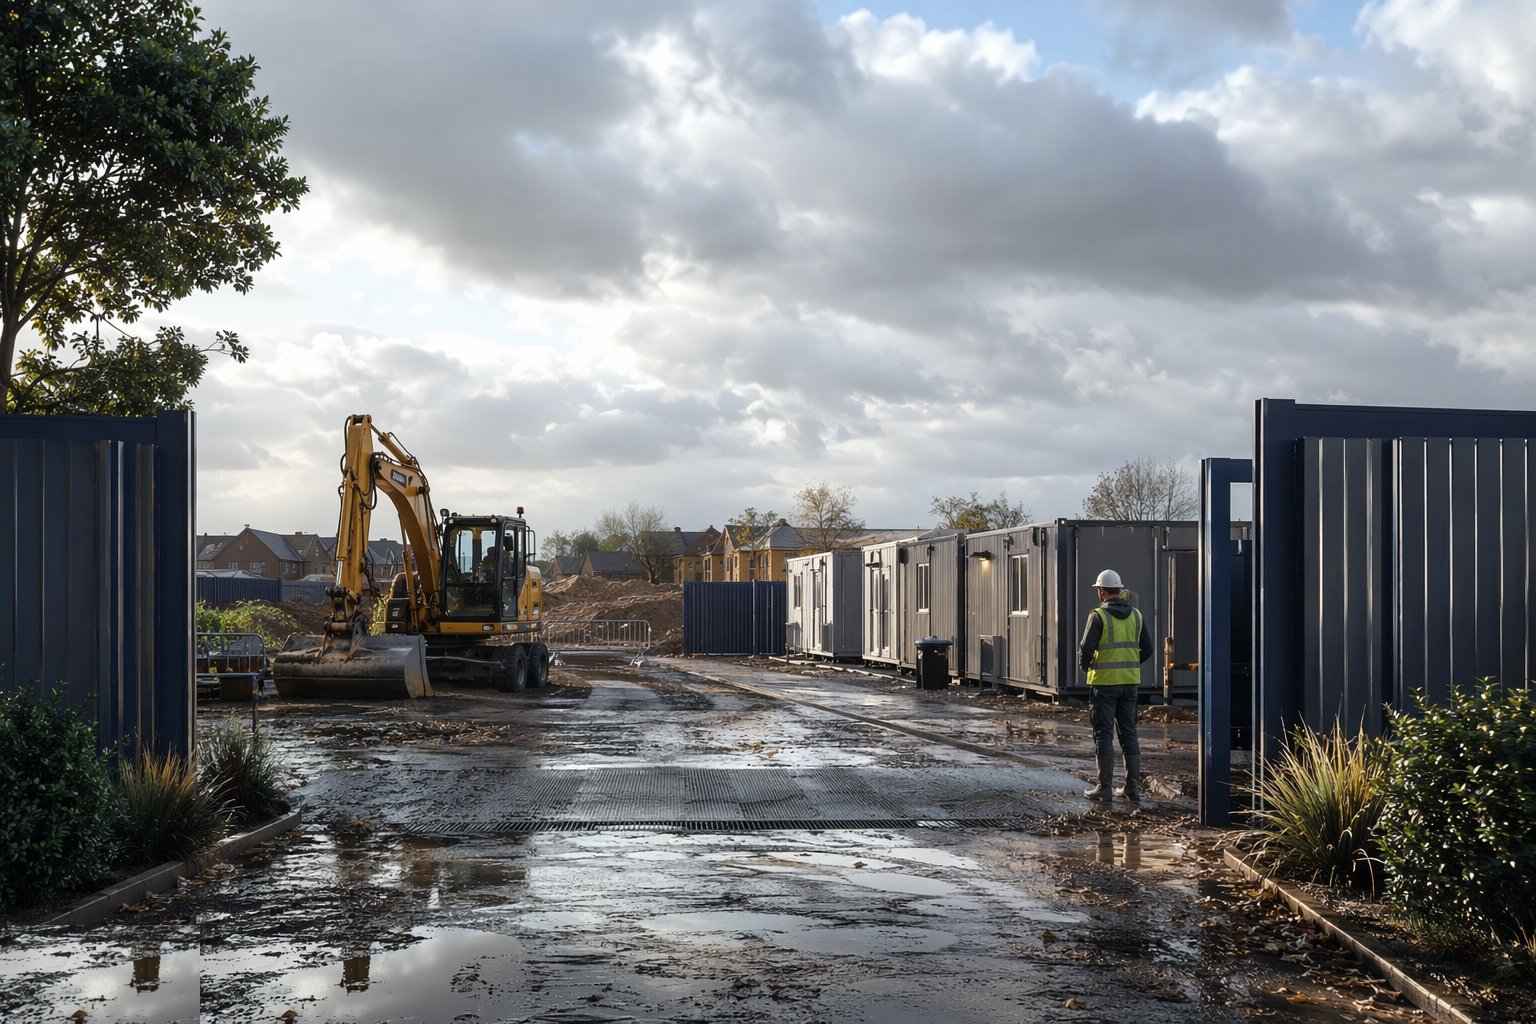
Step 7: Drainage, water management and environmental controls
Cut-off ditches and silt traps stop dirty water leaving the site; discharge to a watercourse or sewer needs consent. Fuel storage is bunded, spill kits are stationed at the gate, and dust and noise monitoring points are agreed with the environmental health officer where required.
- 8
Step 8: Signage, lighting and security
Statutory signage, the project board, pedestrian routes and delivery instructions go up before trades arrive. CCTV, lighting and either guards or remote monitoring protect the site out of hours. The emergency plan, assembly point and fire plan are briefed at every induction from this point forward.
Plant & equipment
- Hoarding panels, Heras fencing and gate sets
- Site cabins / welfare units and toilet blocks
- Wheel wash or rumble grid, road sweeper
- Generator and temporary distribution boards
- Water bowser and standpipes
- 360° excavator and dumper for haul road formation
- Telehandler for offloading cabins and materials
- CCTV, lighting towers and alarm systems
Quality control & testing
- Boundary line verified against title plan before hoarding is fixed
- Photographic condition survey of adjacent properties and highway filed
- Haul road compaction and CBR checked if heavy plant is expected
- Utility connection certificates and temporary supply test certificates
- Welfare facilities checklist against CDM requirements
- Discharge consents in place before any dewatering or washout
- Weekly site security and fencing inspection recorded
Safety watchpoints
- Public protection: intact hoarding, self-closing gates, pedestrian segregation
- Traffic management plan with one-way routes and 5 mph limit
- Banksmen for reversing vehicles and deliveries
- Overhead cable goalposts and buried-service permits before digging
- Bunded fuel storage and spill response
- Out-of-hours lighting and emergency contact board
Common defects to hunt
- Mud tracked onto the highway - fines and a summons for the sweeper
- Hoarding panels down in high wind where ballast was skimped
- Haul road rutting and pumping because the geotextile was omitted
- Cabins positioned where the crane or the plot line later needs to be
- Temporary power overloaded once the tower crane and cabins run together
- Silt-laden water discharged without consent
How long does Site Access & Enabling Works take?
Typical duration: 1–3 weeks on a housing site; 4–12 weeks on a constrained urban tower site..
Related processes
- Site Clearance & Demolition
- Setting Out & Survey Control
- Earthworks & Excavation
- Dewatering & Groundwater Control
- Shallow Foundations
- Piling & Deep Foundations
- Basement & Substructure
- Waterproofing and Tanking
- Concrete Frame Construction
- Steel Frame Construction
- Masonry & Timber Frame
- Floor Slabs & Screeds
- Roofing
- Façade & Cladding
- Insulation Systems
- Windows, Doors & Glazing
- MEP First Fix
- Internal Finishes
- MEP Second Fix & Commissioning
- External Works & Landscaping
- Testing, Handover & Snagging
- Site Access & Enabling Works in Commercial & Workplace
- Greenfield set-up - method
- Brownfield / urban set-up - method
- Phased occupation - method
Next in build sequence
02 - Site Clearance & Demolition