Greenfield set-up
Open land, no excuses - build the haul road, energise the supply, and the site runs itself.
Last updated 2026-08-22
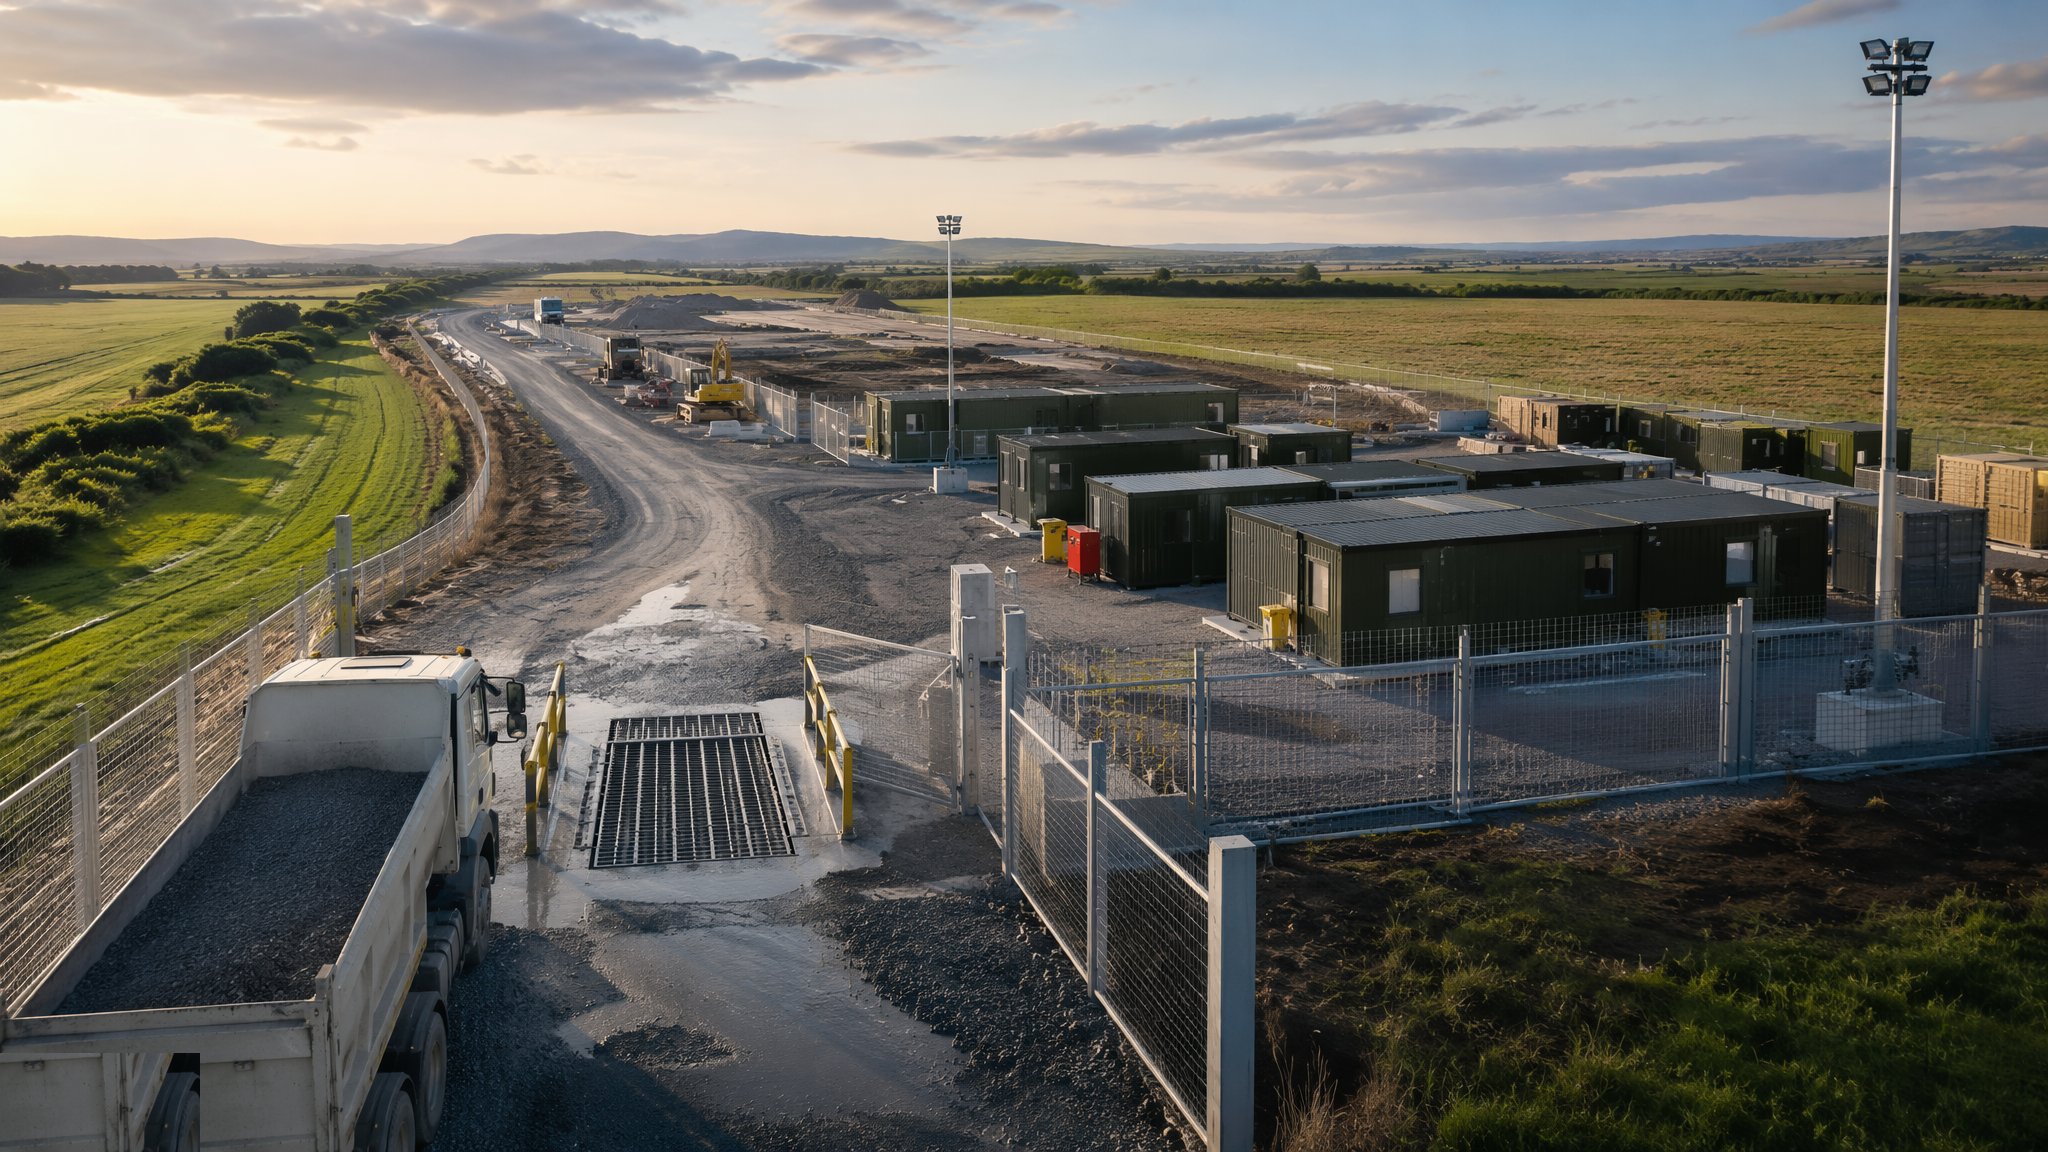
What is Greenfield set-up?
A greenfield set-up is enabling works with room to breathe: no neighbours through the fence, no live services underfoot that anyone admits to, and the whole site to lay out once, properly, for the full duration of the build. The three battles are ground bearing, drainage and utility lead times. The haul road has to carry forty-tonne artic loads of blocks in February without turning to porridge; the compound has to drain or it becomes a lake; and the temporary builder's supply has to be applied for the week you get possession, because the DNO's twelve-week lead time does not care about your programme.
The luxury of a greenfield site is that you get to choose where everything goes - so choose for the whole job, not the first month. Cabins parked where plot 14 later needs to be, a haul road on the line of the adoptable road's drainage, or a compound inside the tower-crane radius all cost a relocation at the worst possible time. Walk the layout against the masterplan, the crane plan and the phasing drawing before a single cabin is craned in.
Do not mistake open land for easy land. A greenfield site in a wet winter is a traffic-management and mud-control exercise from day one, and the nearest public highway - often a narrow lane never meant for construction traffic - becomes your most sensitive neighbour. The wheel wash, the sweeper and the condition survey of that lane are not optional extras; they are the licence to operate.
Process storyboard
Step 1 of 7 - slide through the snapshots.
STEP 1
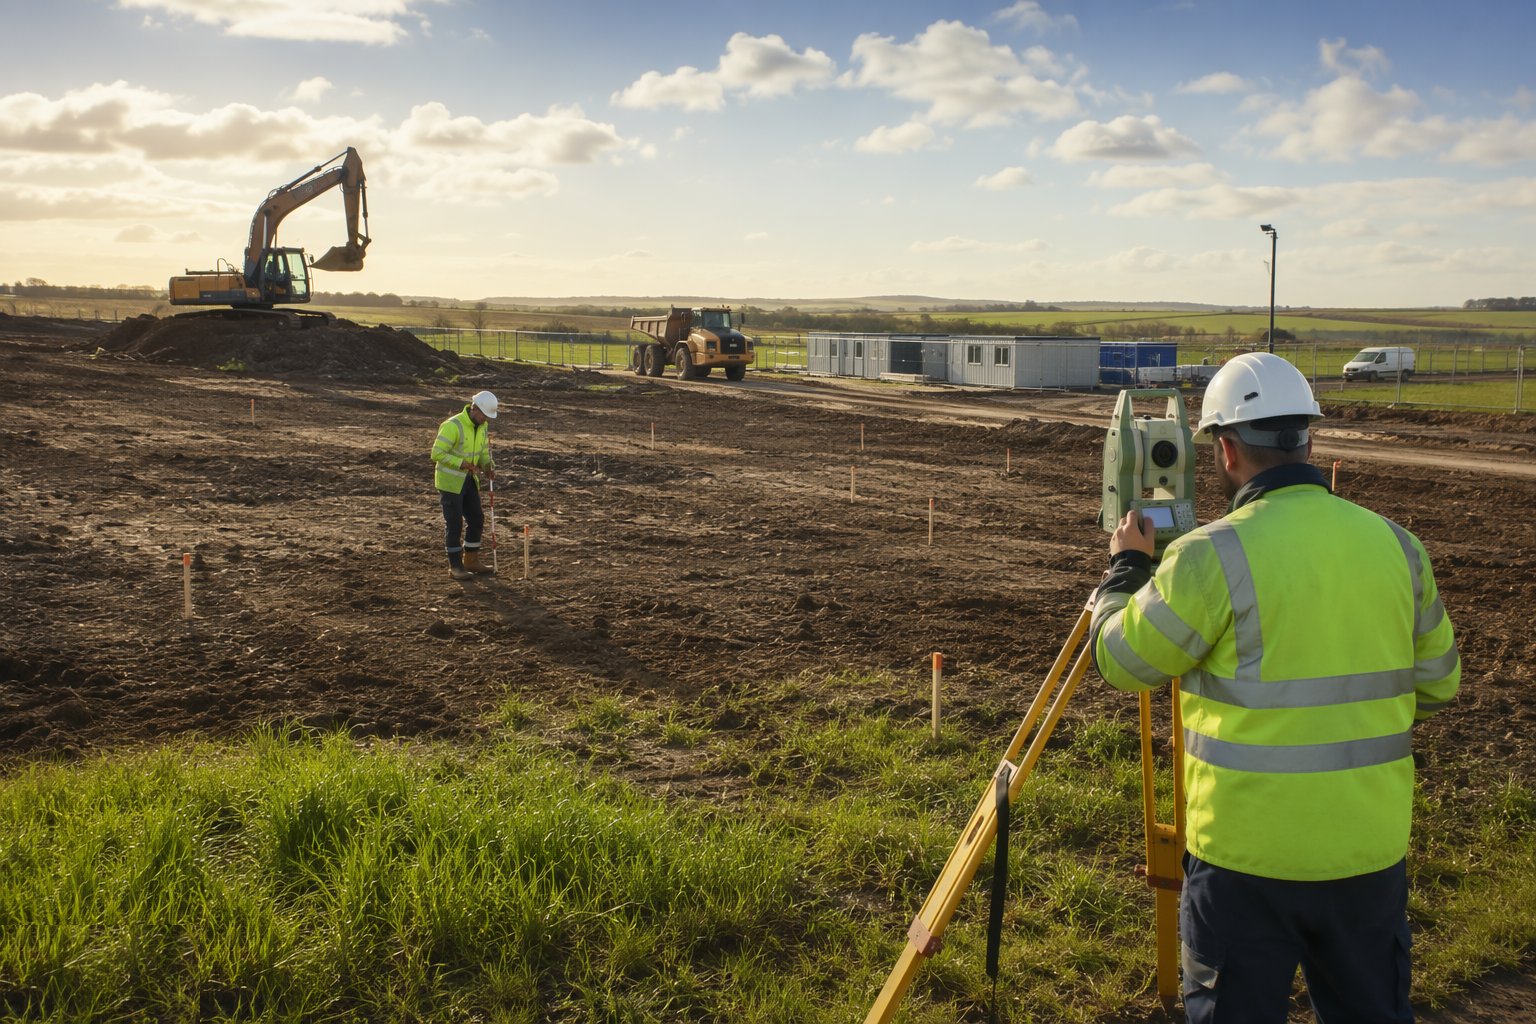
Survey, walk over and peg the layout
Confirm the topographical survey and walk the boundary with the title plan - fences are not legal boundaries, and a hoarding line 300 mm the wrong side of a…
How does Greenfield set-up work, step by step?
- 1
Step 1: Survey, walk over and peg the layout
Confirm the topographical survey and walk the boundary with the title plan - fences are not legal boundaries, and a hoarding line 300 mm the wrong side of a ditch is a dispute at month six. Mark no-dig zones, overhead lines with goalposts, and any services shown on the utility searches. Then set out the haul road line, compound, gate position and cabin footprint against the masterplan so nothing has to move later.
- 2
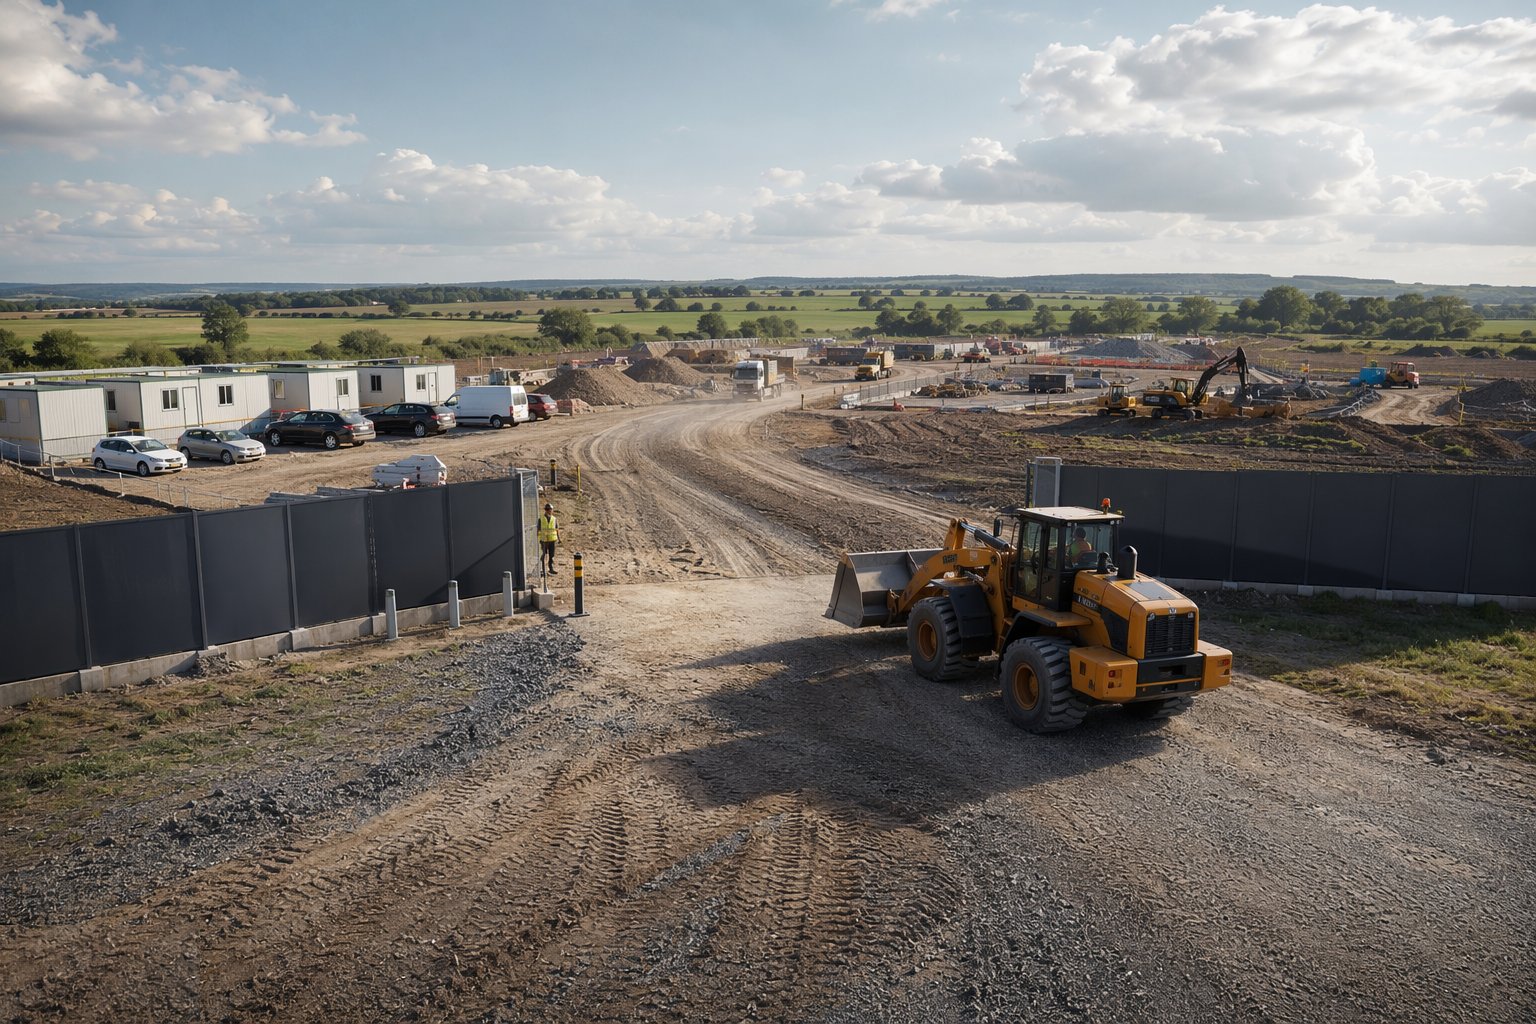
Step 2: Form the construction entrance first
The gate and the first thirty metres of access go in before anything else, because every delivery after this point crosses it. Strip the topsoil, lay geotextile, and build up 300–450 mm of Type 1 or crushed concrete in compacted layers. Fit a rumble strip of clean 50–75 mm stone or a wheel wash right at the gate, with somewhere for the dirty water to settle - not a soakaway that silts up in a week.
- 3
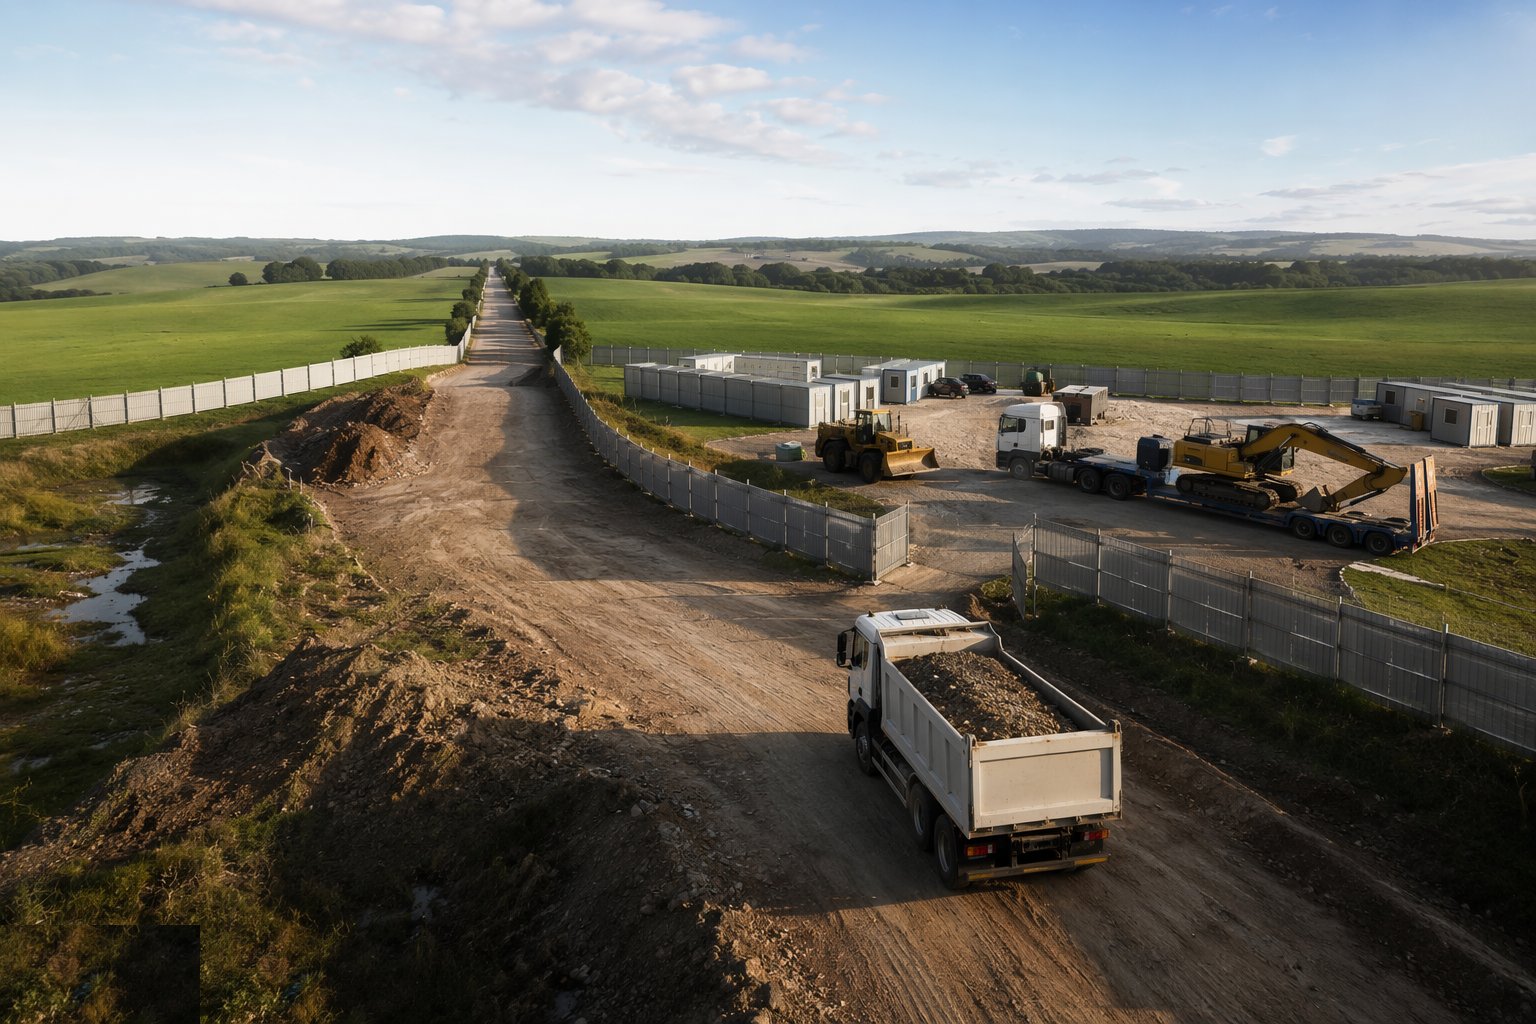
Step 3: Build the haul road to the compound
Extend the road on the heaviest-axle-load design, geotextile separating stone from subgrade so the stone is not punched into the mud. On a wet site, proof-roll the formation with a loaded dumper and dig out any pumping areas before stoning up - stone over a soft spot is money buried. Keep the running surface crowned or cross-fallen so it sheds water, with a ditch or swale alongside.
- 4
Step 4: Apply for and energise the temporary supplies
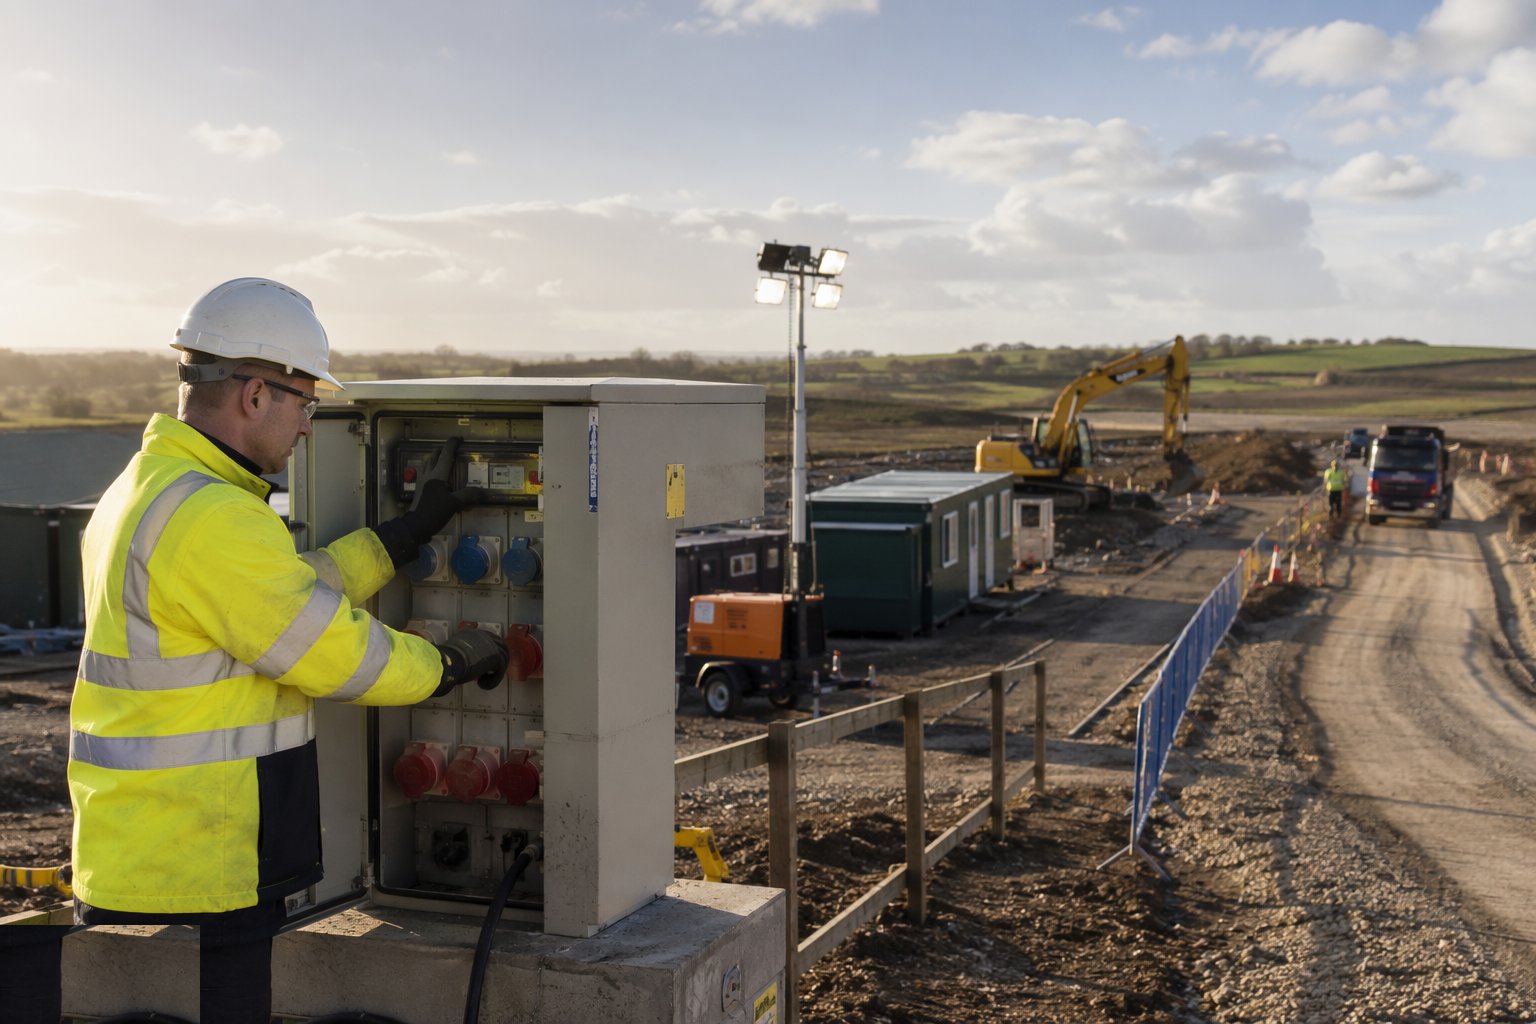
Submit the temporary builder's supply application immediately on possession - meter cabinets, DNO connection and energisation all sit on the critical path even though nothing is being built. Position the distribution board centrally so cable runs stay short and protected, overhead on poles or buried in marked, taped routes. A standby generator bridges the gap, sized for cabins plus the first crane, not just the kettles.
- 5
Step 5: Set out welfare, compound and storage
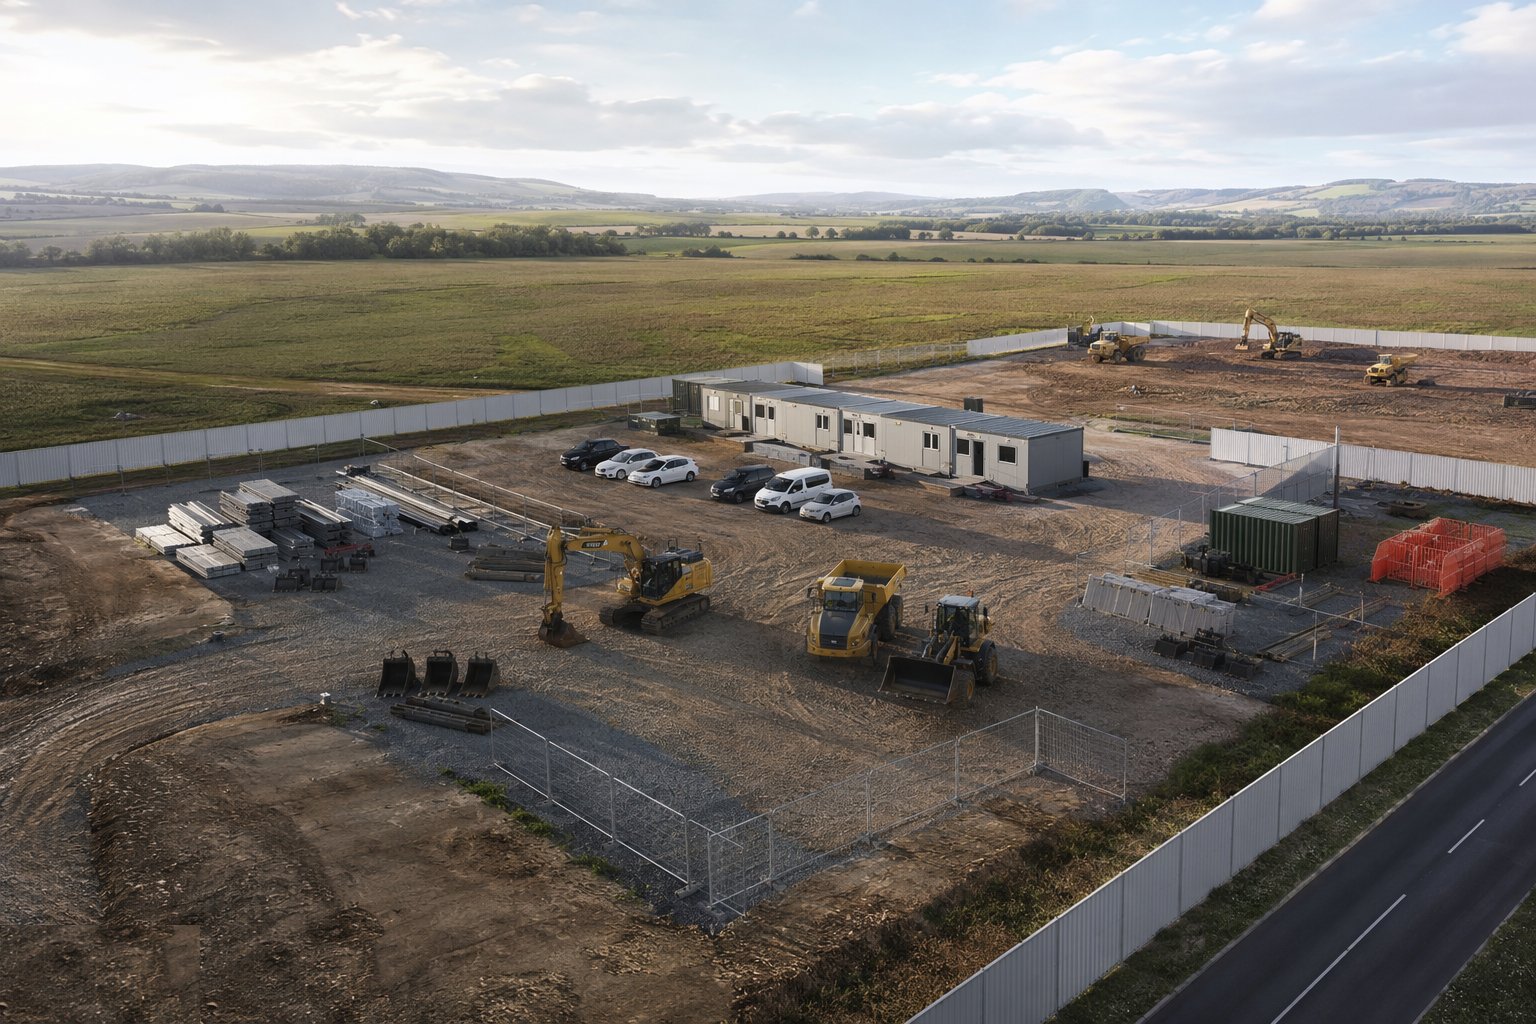
CDM welfare - toilets, hot water, drying room, rest area, drinking water - must be live before the first trade starts, not when it suits. Cabins sit on level, compacted pads outside crane radii, future dig lines and flood hollows, stacked if footprint is tight, with fire points and first aid between them. Laydown areas are stoned and drained so pallets of blocks are not standing in water by December.
- 6
Step 6: Secure, sign and light the site
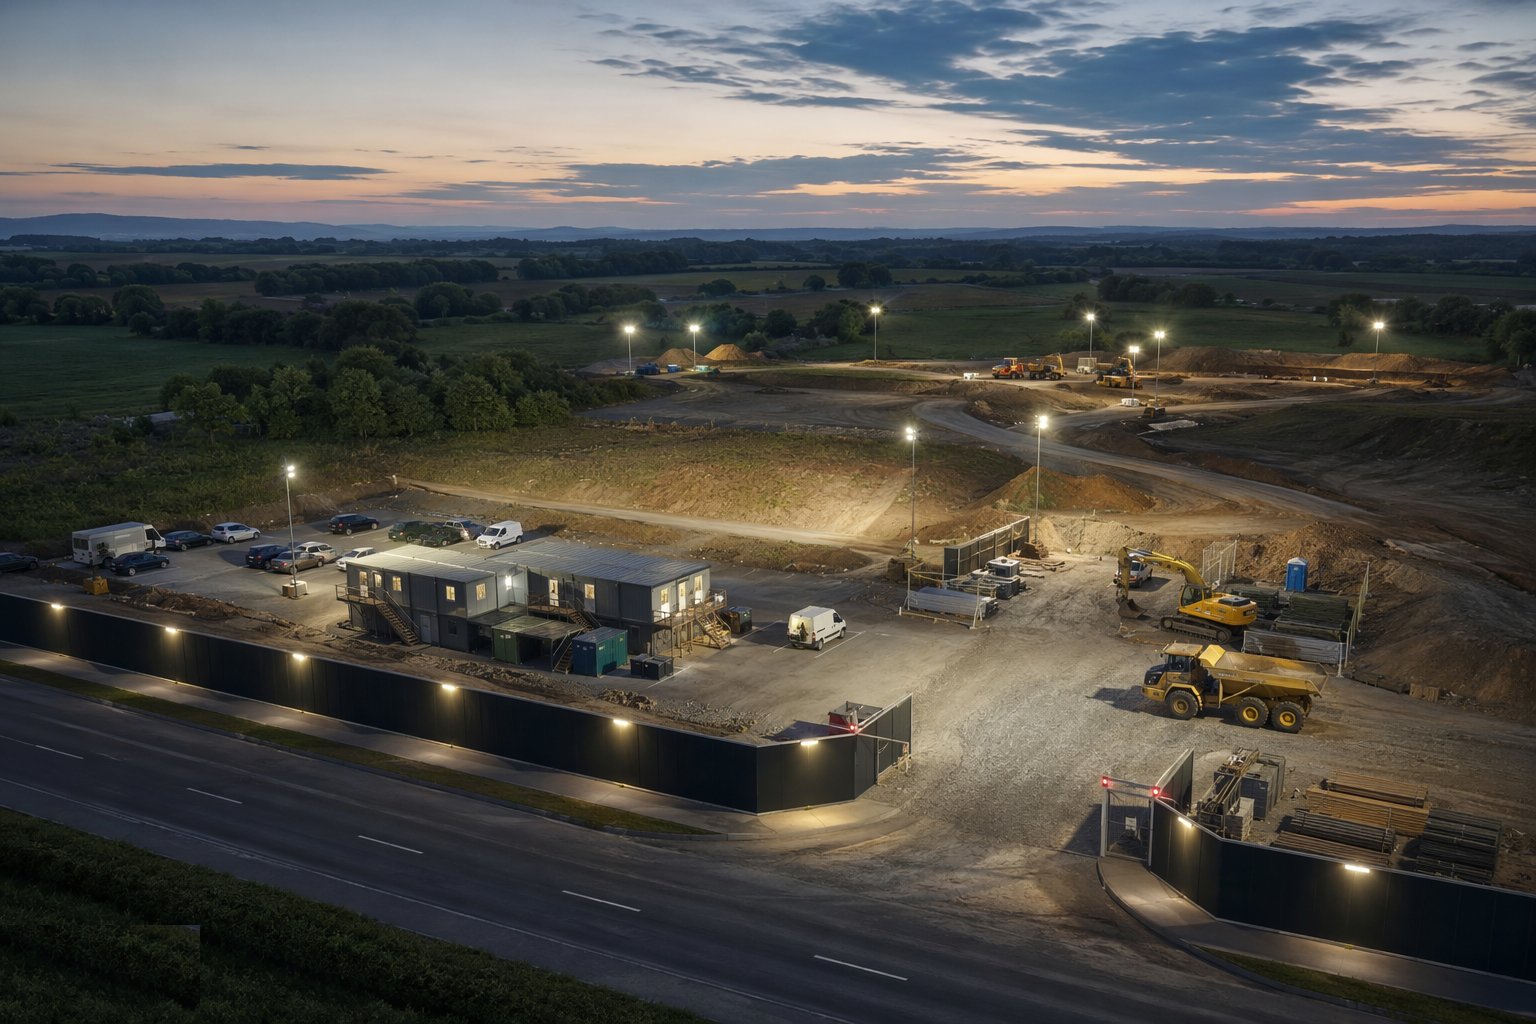
Heras panels are fine away from the public; solid hoarding faces the road. Gates swing so vehicles leave in forward gear, with vision splays kept clear of stacked materials. Statutory signage, the project board, delivery rules and the emergency plan go up before inductions start, and lighting towers plus CCTV or remote monitoring protect the fuel bowser and the copper out of hours.
- 7
Step 7: Commission water management and hand over to production
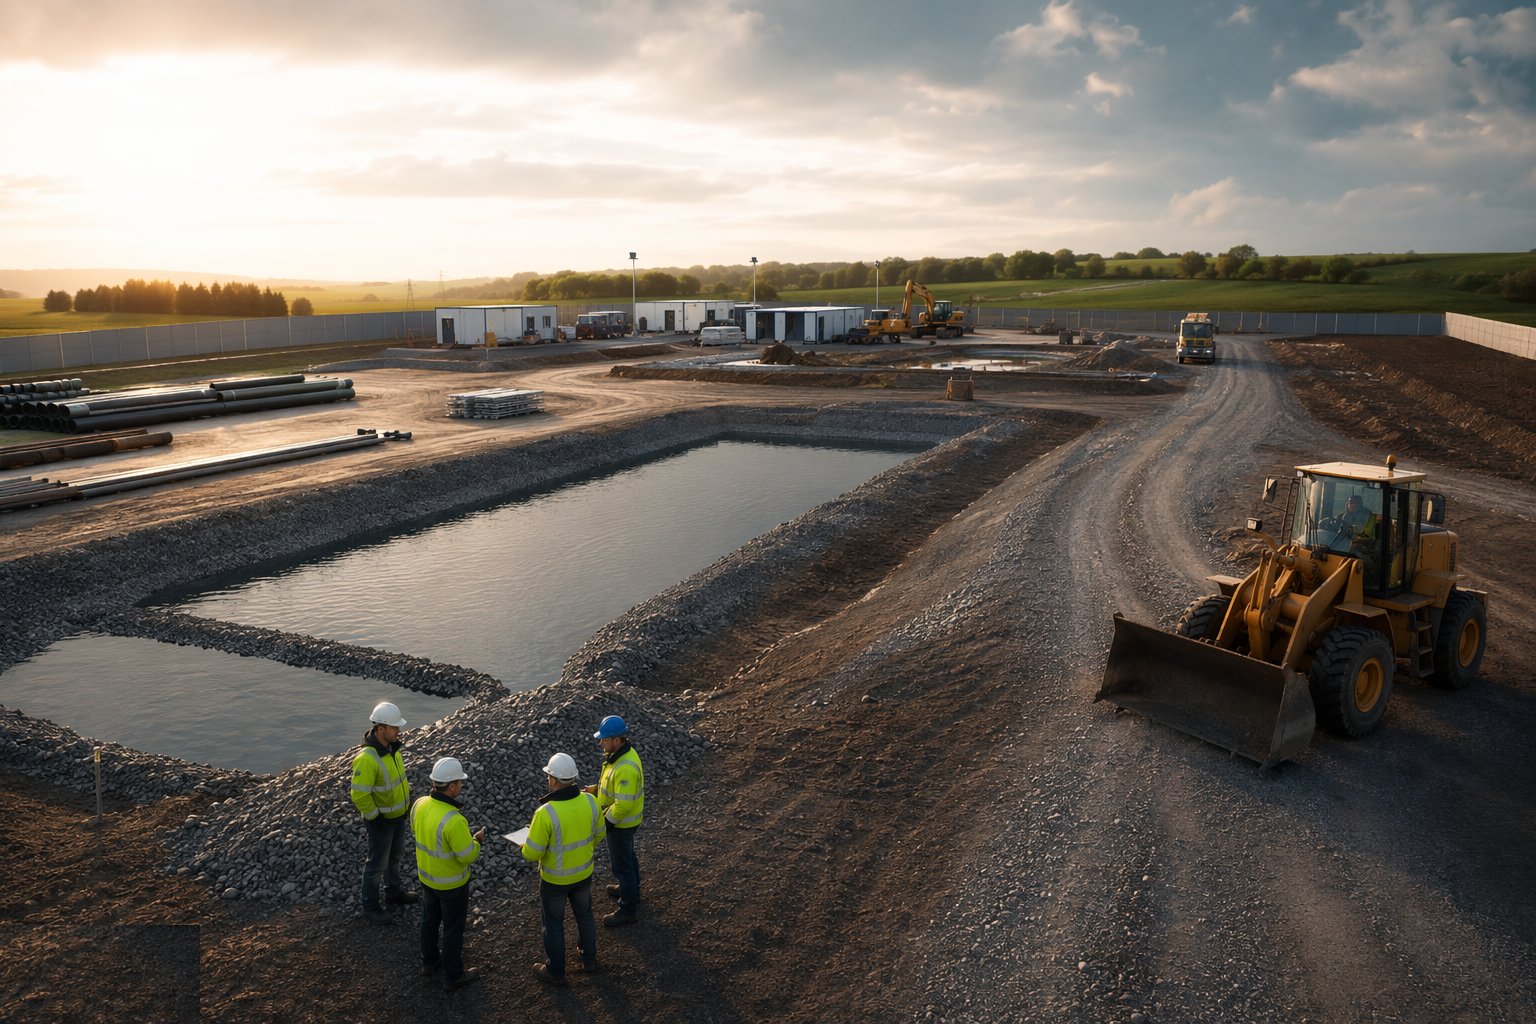
Cut-off ditches uphill of the works, silt traps on the discharge, bunded fuel storage and spill kits at the gate - all live before bulk earthworks open the ground up. Walk the whole set-up with the traffic management plan in hand: one-way routes, pedestrian segregation, 5 mph limit, banksman positions. Then record the set-up inspection and open the gates.
What are the benefits of Greenfield set-up?
- Layout can be planned once for the whole build - compound, roads and storage in their final positions
- Room for proper haul roads, turning circles and forward-gear access, cutting reversing incidents
- No party walls, shared access or neighbour façades to protect
- Bulk materials can be stocked ahead, smoothing supply-chain gaps
- Simpler traffic management with segregated pedestrian routes from day one
- Easier environmental control - space for silt traps, cut-off ditches and dust stand-off distances
What are the limitations of Greenfield set-up?
- Utility connections are pure lead time - twelve weeks to energise a supply is common and nothing accelerates it
- Wet ground can defeat a skimped haul road within days of the first artic delivery
- Often remote from mains drainage, so discharge consents and silt control sit wholly on the site
- Perimeter is long and unobserved - fuel and metal theft is a real risk without lighting and monitoring
- Existing rural lanes may need a condition survey and widening contributions before the council accepts construction traffic
- Everything has to be created from nothing - no existing hardstanding, power or shelter to borrow
What is Greenfield set-up best suited for?
What plant does Greenfield set-up need?
- 360° excavator and dozer or grader for haul-road formation
- Vibrating roller for compacting Type 1 in layers
- Articulated or site dumpers for stone haulage
- Telehandler for offloading cabins, fencing and materials
- Generator, distribution boards and protected cable runs
- Wheel wash or rumble grid, plus a road sweeper on call-out
How is Greenfield set-up quality-checked?
- Boundary line verified against the title plan before fencing is fixed
- Haul-road formation proof-rolled; soft spots dug out before stoning
- Geotextile confirmed laid before stone - its omission is the classic failed road
- Temporary supply test certificates and DNO energisation records on file
- CDM welfare checklist completed before first trade induction
- Weekly perimeter, gate and wheel-wash inspection recorded
More site access & enabling works methods
Next method
Brownfield / urban set-up