Setting Out & Survey Control
Benchmarks, grids and datums - the invisible framework every trade builds to.
Last updated 2026-08-25
Typical duration
Primary control takes 2–5 days; setting out then continues as an ongoing service through every stage of the build.
What is Setting Out & Survey Control?
Setting out is the translation of drawings into physical points on the ground, and it underpins literally everything that follows. Get the control wrong and every trade downstream builds faithfully to the wrong position - I have seen a house built 300 mm off its footprint because a single reference peg was knocked and re-driven by guesswork.
Good survey control is hierarchical: primary control stations fixed and protected off the working areas, secondary stations and benchmarks distributed around the site, then the working grid lines, offsets and level datums the trades actually use. Every point is established from at least two independent observations, checked by a second person, and recorded so it can be re-established when - not if - a peg gets run over.
Compare the methods at a glance
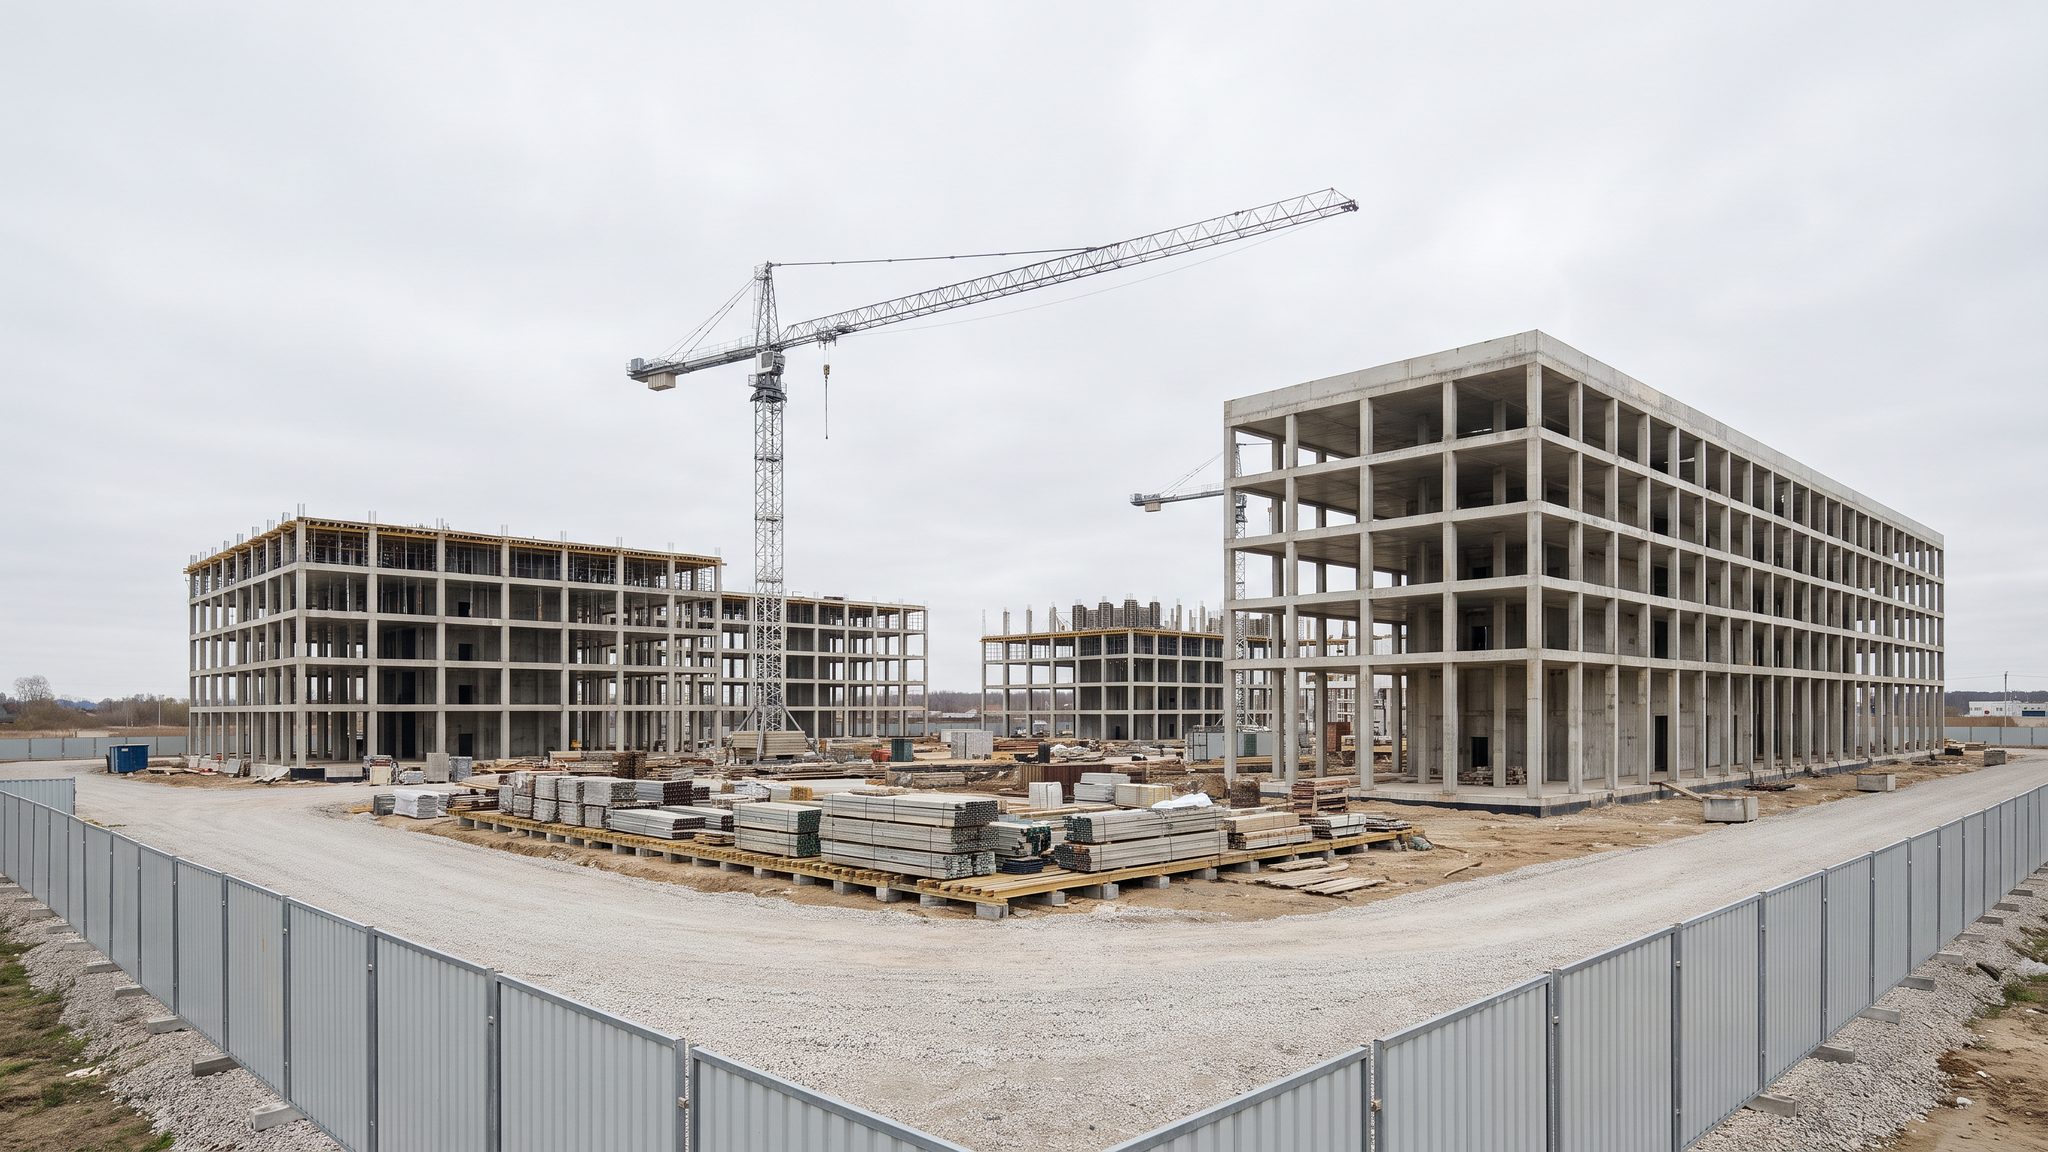
When and why is Setting Out & Survey Control used?
Primary control goes in immediately after site clearance and before earthworks, because excavation destroys the very ground the design was drawn against. It is then re-verified at every stage: before blinding, before reinforcement, before frame erection, and finally as an as-built record at handover. It matters because position and level errors found late are among the most expensive defects in construction - foundations cannot simply be moved. On a single house the hierarchy shrinks to a benchmark, two profile boards and a dumpy level - but the rule that every point is checked by a second person before concrete is exactly the one that protects the domestic job, because there is no survey department to catch the mistake.
Walkthrough storyboard
The process in pictures, step by step - Step 1 of 8 - slide through the snapshots.
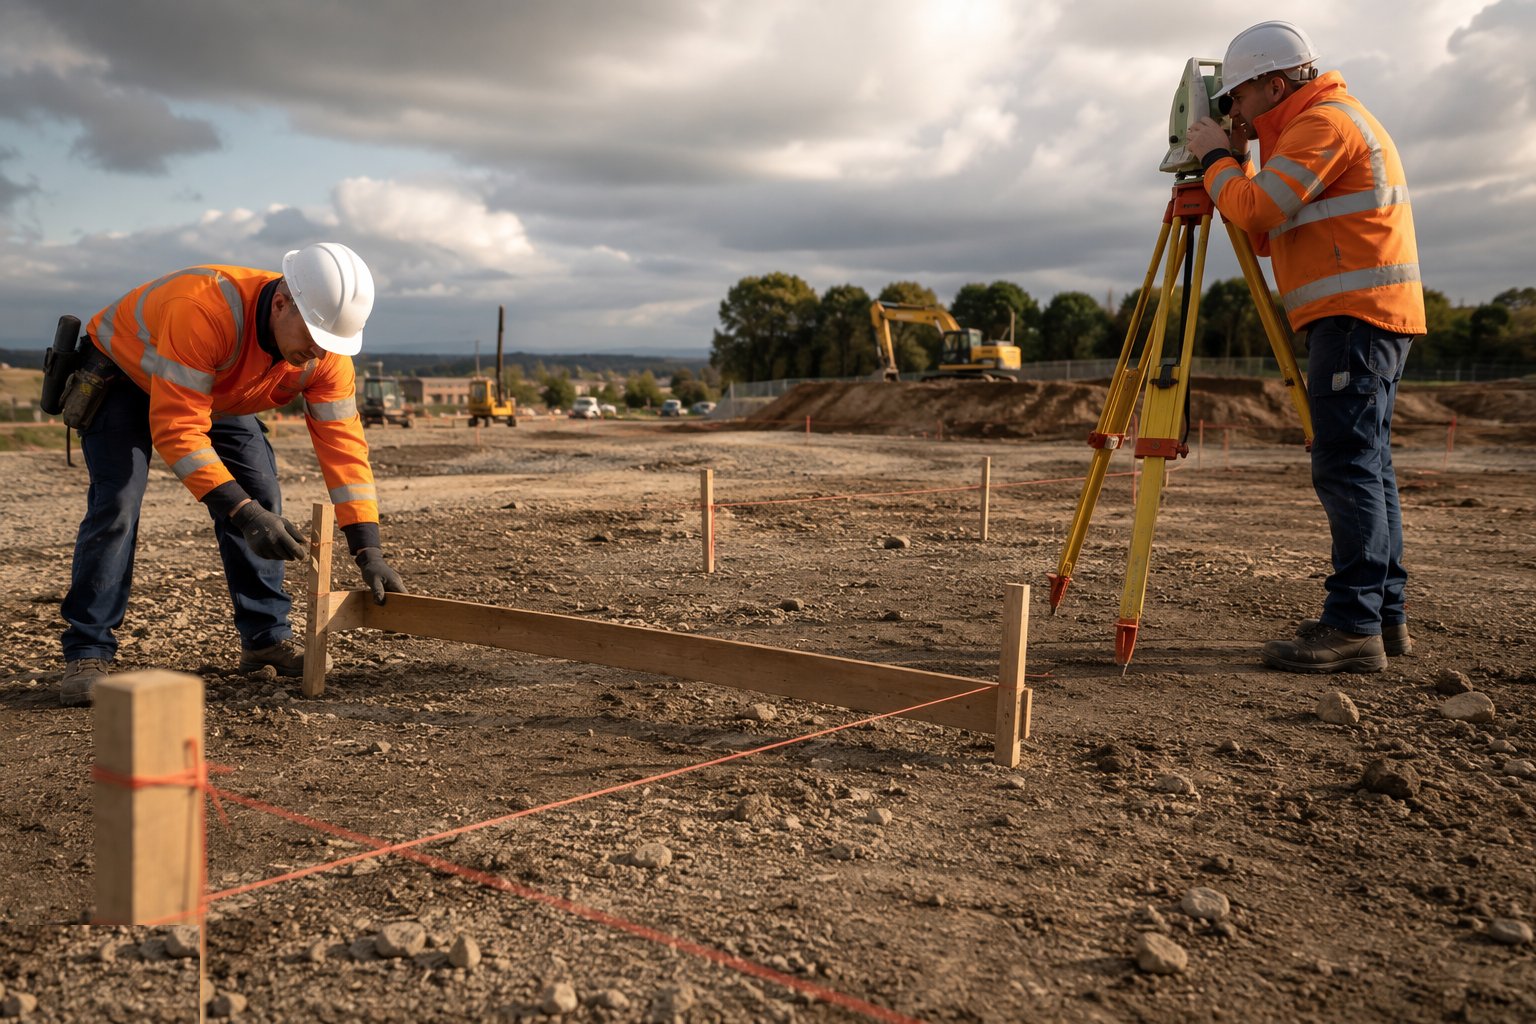
STEP 1
Establish primary control stations
Fix three or more primary stations in stable ground outside all working areas - typically steel pins in concrete or survey nails in existing hard surfaces.
Types of Setting Out & Survey Control
Explore each method in depth - benefits, limitations, plant and quality control on its own page.
Total station (traverse) control
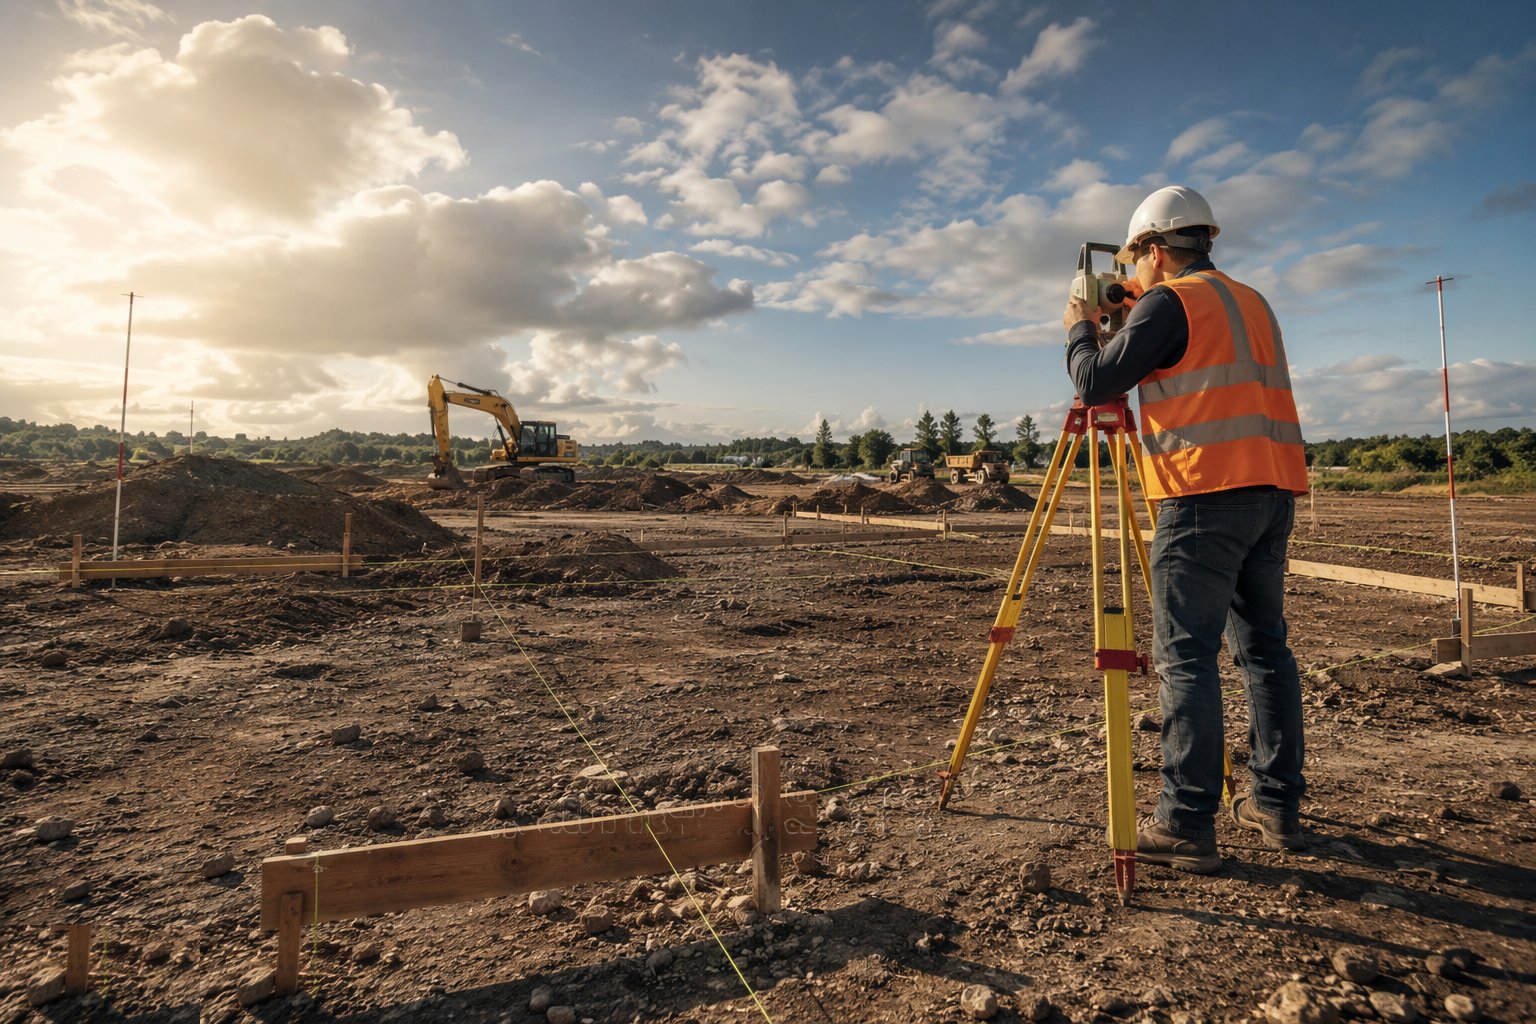
A total station measures angles and distances between intervisible control stations to millimetre precision. It is the workhorse for building sites: accurate, independent of satellite coverage, and equally good for setting out and for as-built checks.
Explore this methodGNSS (RTK) control
Real-time kinematic GPS gives centimetre-level positions anywhere with sky view, using a base station or network corrections. Ideal for large open sites and earthworks, less reliable between tall structures or under tree canopy where signals drop.
Explore this methodTraditional optical methods
Dumpy and laser levels for level transfer, theodolites and tapes for lines, 3-4-5 triangles for right angles. Still the everyday tools for transferring levels to pegs and checking short dimensions - and the essential fallback when batteries die.
Explore this method3D laser scanning and scan-to-BIM
Millions of measured points captured in minutes, registered into a model of what is actually there rather than what was drawn.
Explore this methodDrone survey and aerial photogrammetry
Photographs flown in a grid and processed into a surveyed surface - the fastest way to measure open ground and stockpiles.
Explore this methodRobotic total station setting out
One engineer, one instrument that tracks the prism and walks the point in - the everyday tool of modern setting out.
Explore this methodNon-destructive testing and cover surveys
Finding out what is inside finished concrete - reinforcement position, cover and defects - without breaking it open.
Explore this methodBest suited for
- Every project above garden-wall scale - the framework all tolerances hang from
- Tight urban sites where datums must survive months of heavy plant and scaffolding
- Transferring control up multi-storey frames and down into basements
- As-built verification for QA records, payment and dispute defence
- Machine-controlled earthworks and piling where coordinates drive the plant
Setting Out & Survey Control: step by step
- 1
Step 1: Establish primary control stations
Fix three or more primary stations in stable ground outside all working areas - typically steel pins in concrete or survey nails in existing hard surfaces. Observe them by total station traverse or GNSS and adjust the network by least squares. These stations outlive the project, so protect them with fencing and paint, and record them on the control drawing.
- 2
Step 2: Establish the site datum and benchmarks
Tie the site datum to Ordnance Datum Newlyn - UK levels quoted in metres above Ordnance Datum (mAOD) - or to the project datum stated on the drawings, by levelling from a known benchmark. In the UAE, levels tie to the Dubai Municipality datum; whichever datum is used it is stated on every drawing, and datums are never mixed. Install at least two site benchmarks, independent of each other, and level between them to close the loop. Every level on site - dig depths, slab levels, drainage inverts - traces back to these points.
- 3
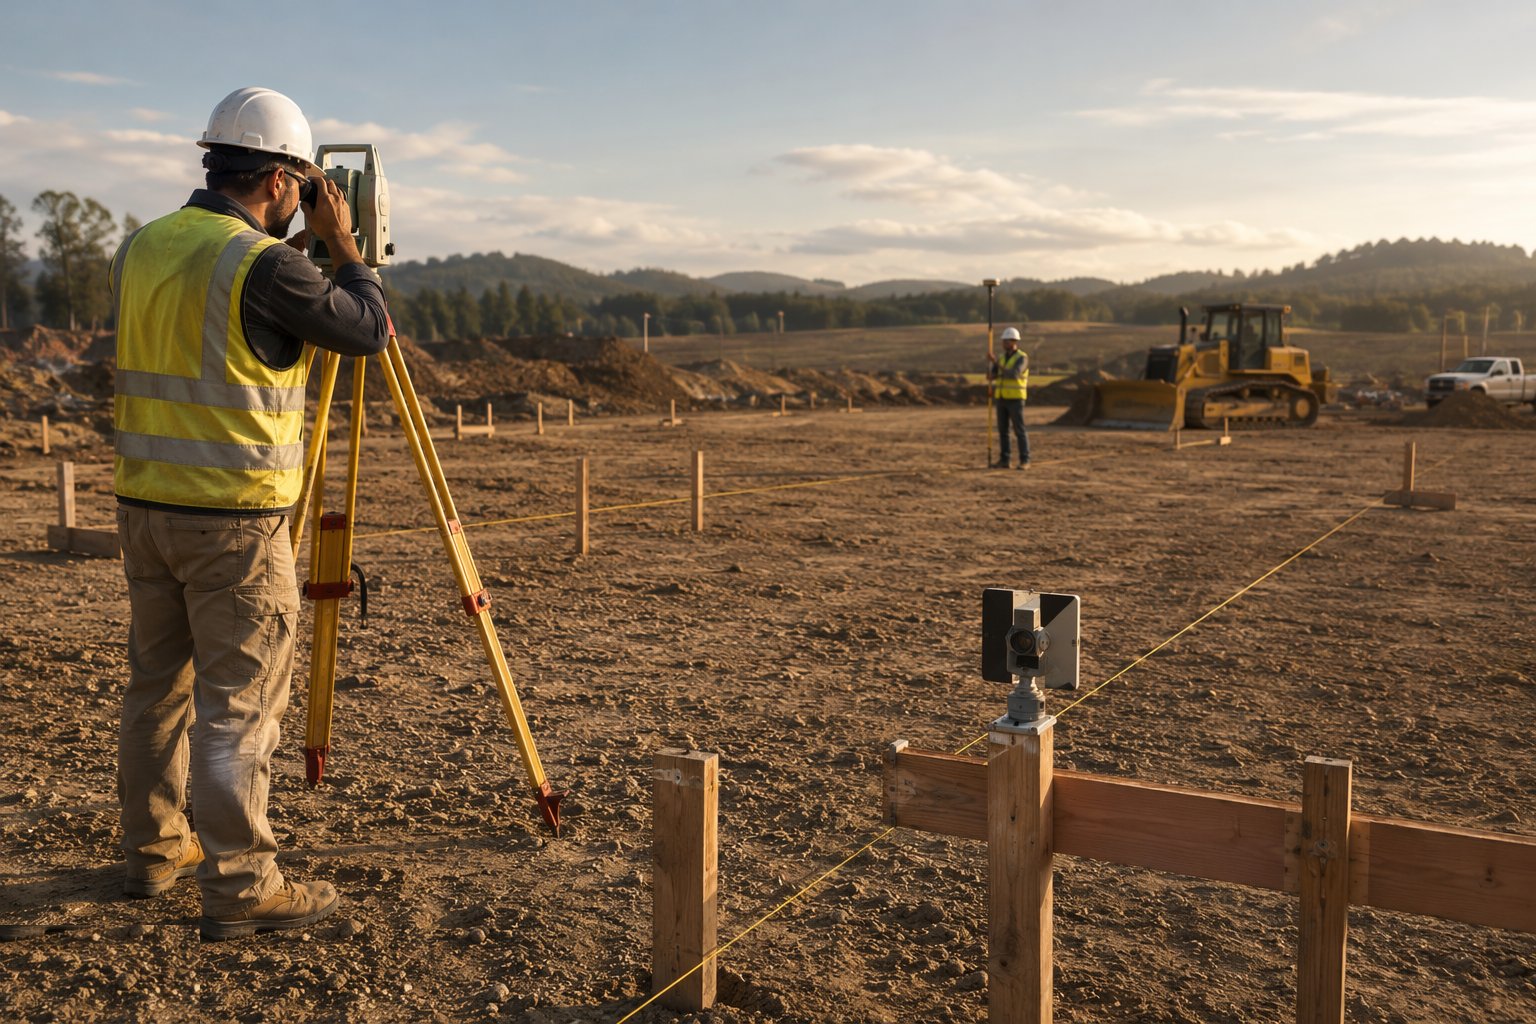
Step 3: Compute and check setting-out data
Extract coordinates for grid intersections, foundation corners and centre lines from the design model or drawings. Independently check the coordinate schedule against the drawings - a transposed digit in a spreadsheet is a classic origin of setting-out errors. Upload checked data to the instrument, never hand-key it at the peg.
- 4
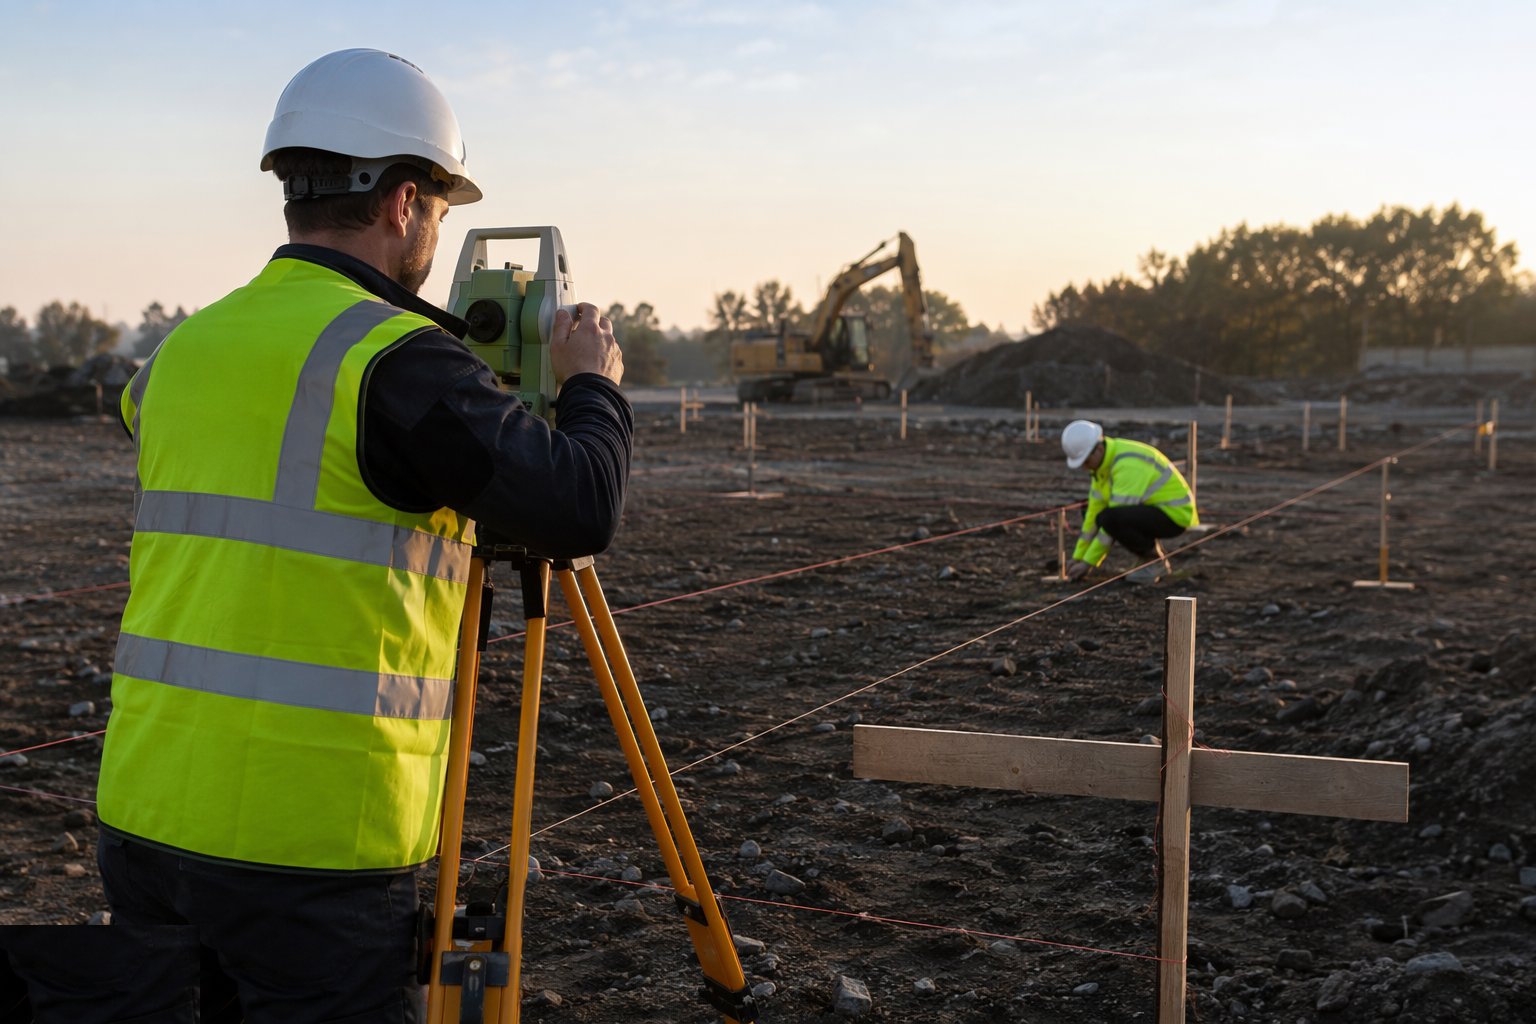
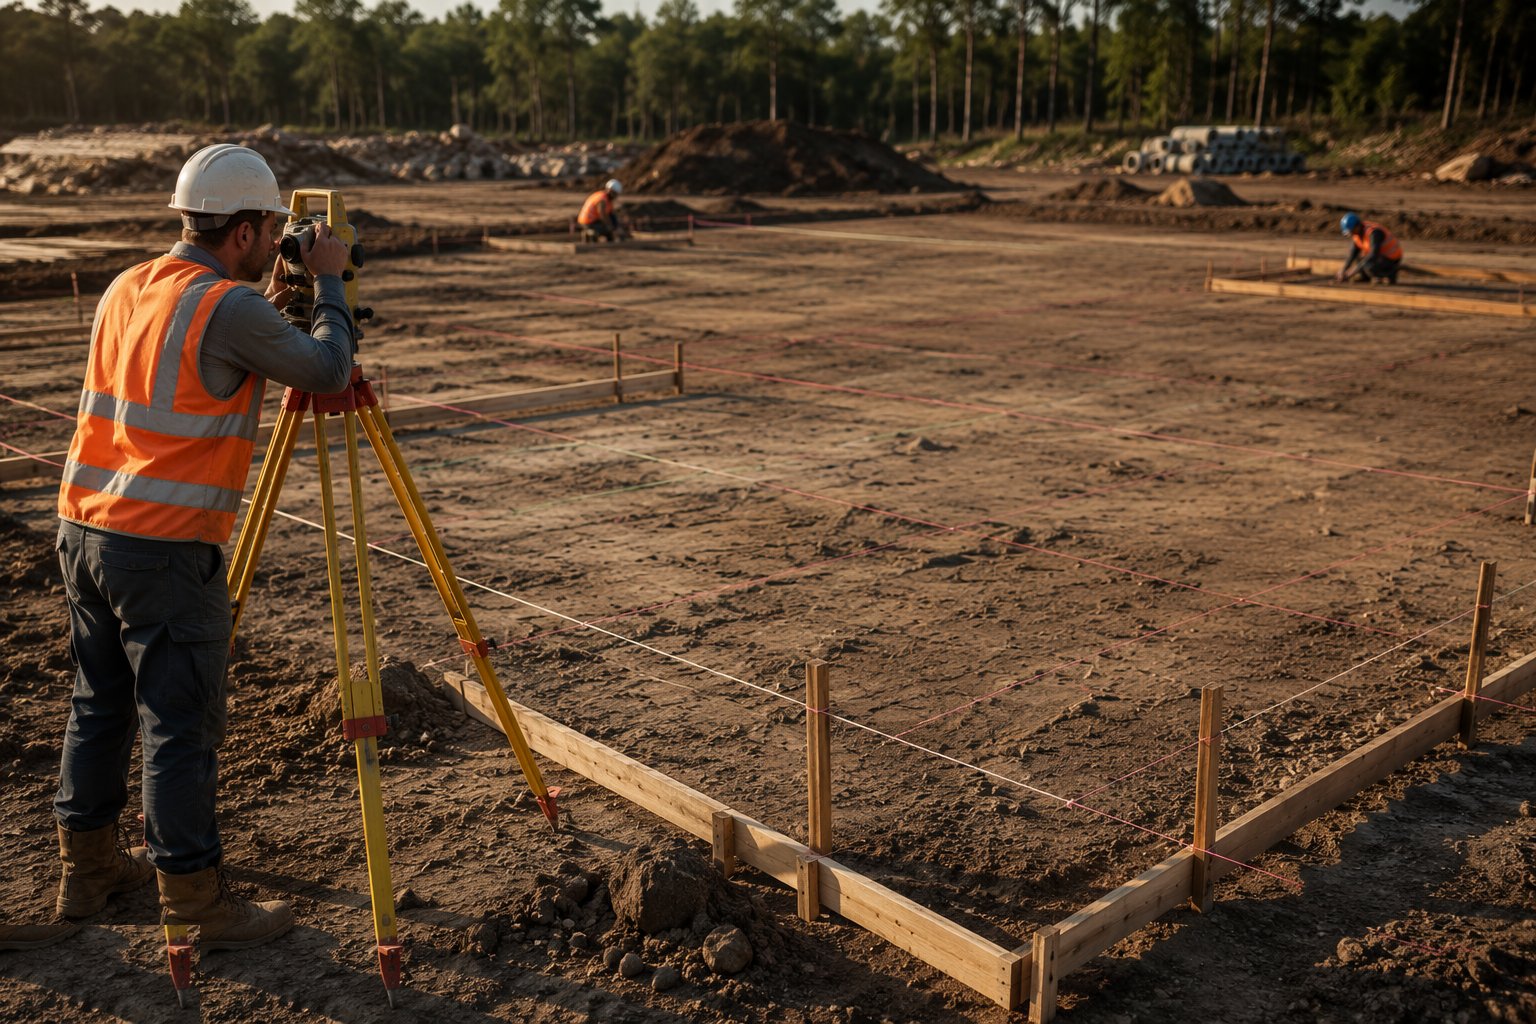
Step 4: Set out grid lines and building corners
Set out the primary grid intersections and building corners with the total station, then mark them on profile boards (sight rails) set clear of the excavation lines. Strings stretched between profiles give the trades their working lines without anything standing inside the dig. Pegs inside the excavation area are temporary by definition.
- 5
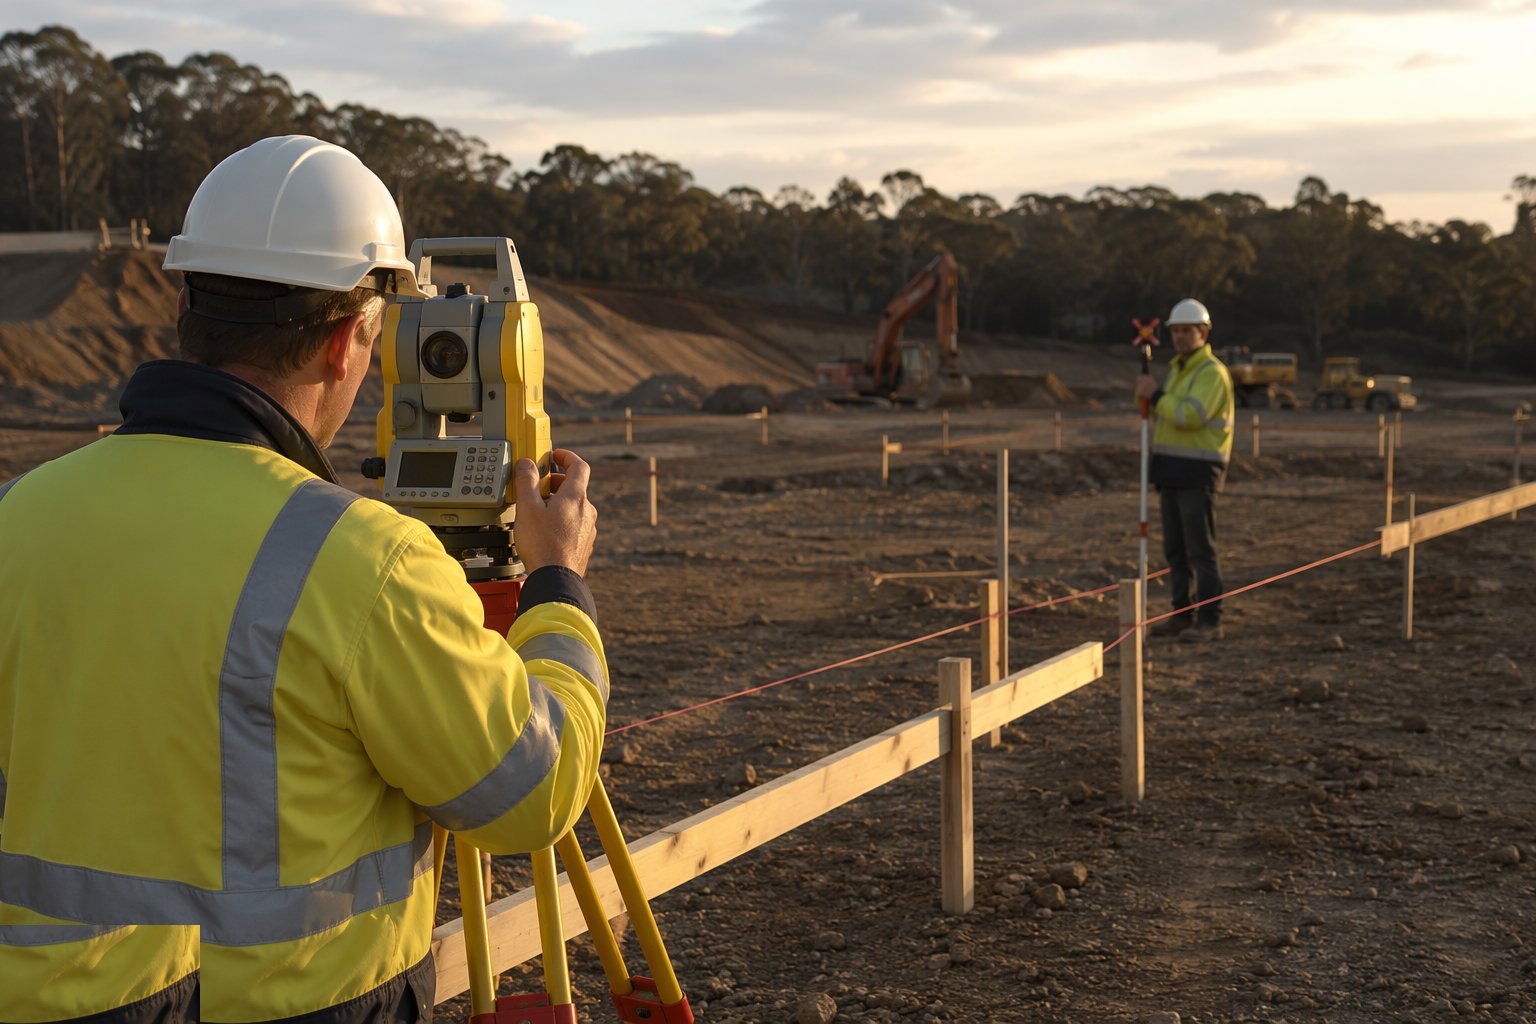
Step 5: Independent check survey
A second engineer - or the same engineer from different control - re-measures the critical points. Compare against the design coordinates within the agreed tolerance, typically ±10 mm for foundations and ±5 mm for steel. Nothing is handed to the groundworkers until the check survey passes.
- 6
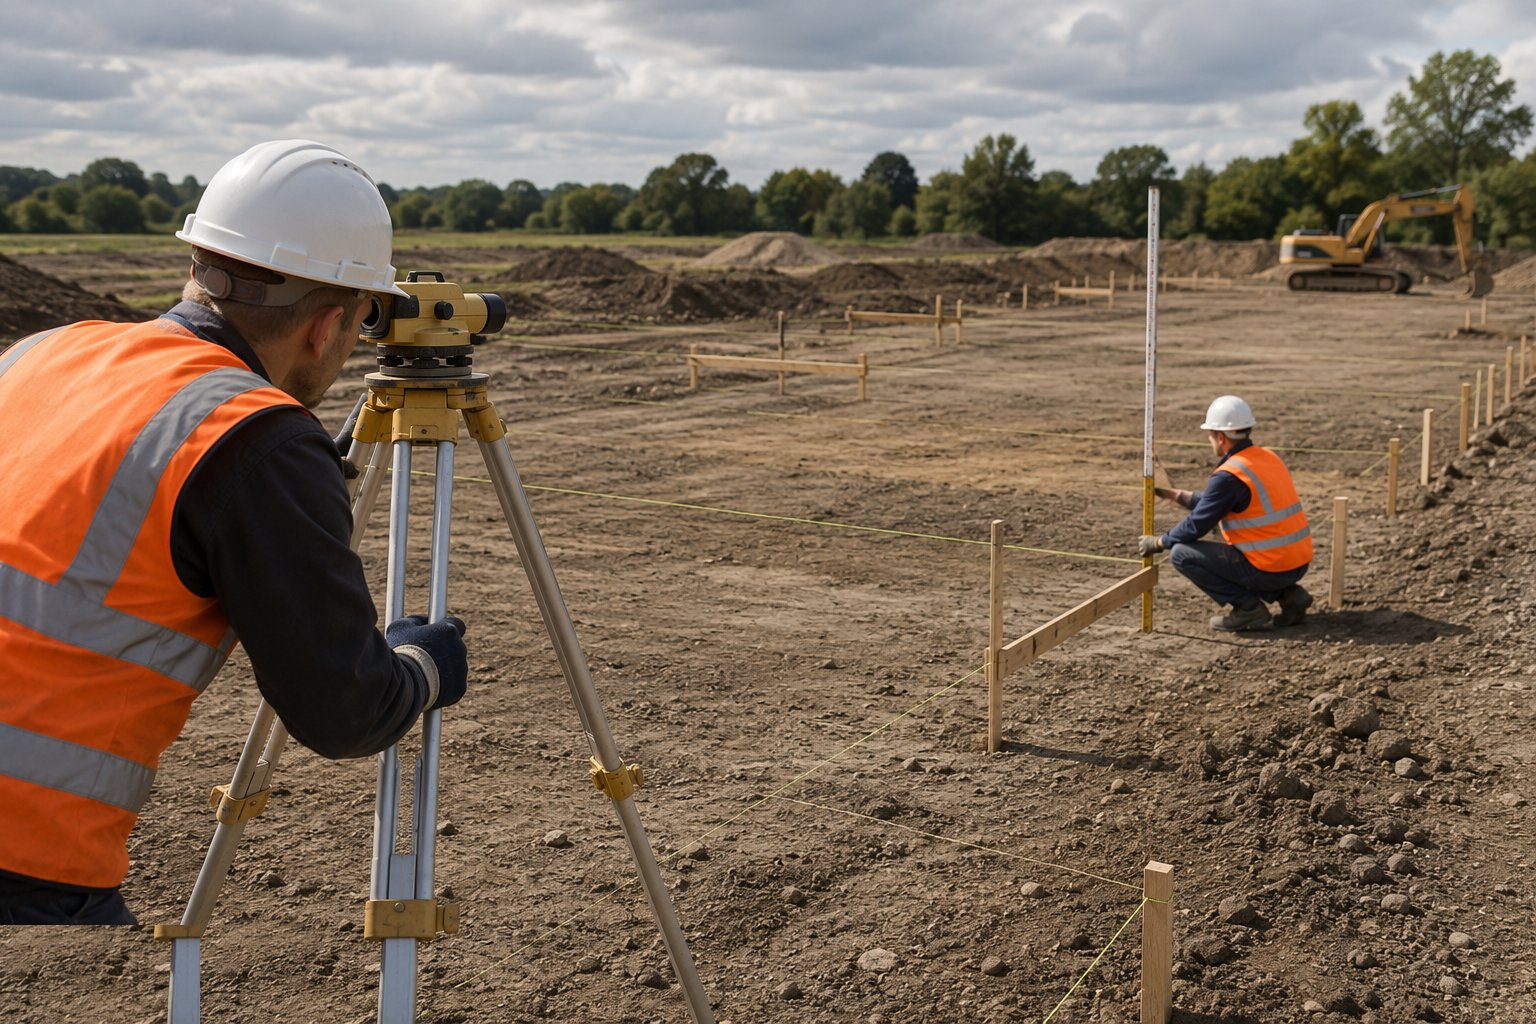
Step 6: Transfer levels to the works
Levels are transferred to pegs, rails and the dig itself by level or total station. For deep excavations, level is carried down by tape or EDM to a temporary benchmark at formation. Travellers - staff-like gauges used between the sight rails - give the machine driver a continuous depth check as the dig proceeds. The excavator works to grade indicators or machine control, with the engineer checking formation at a grid of points.
- 7
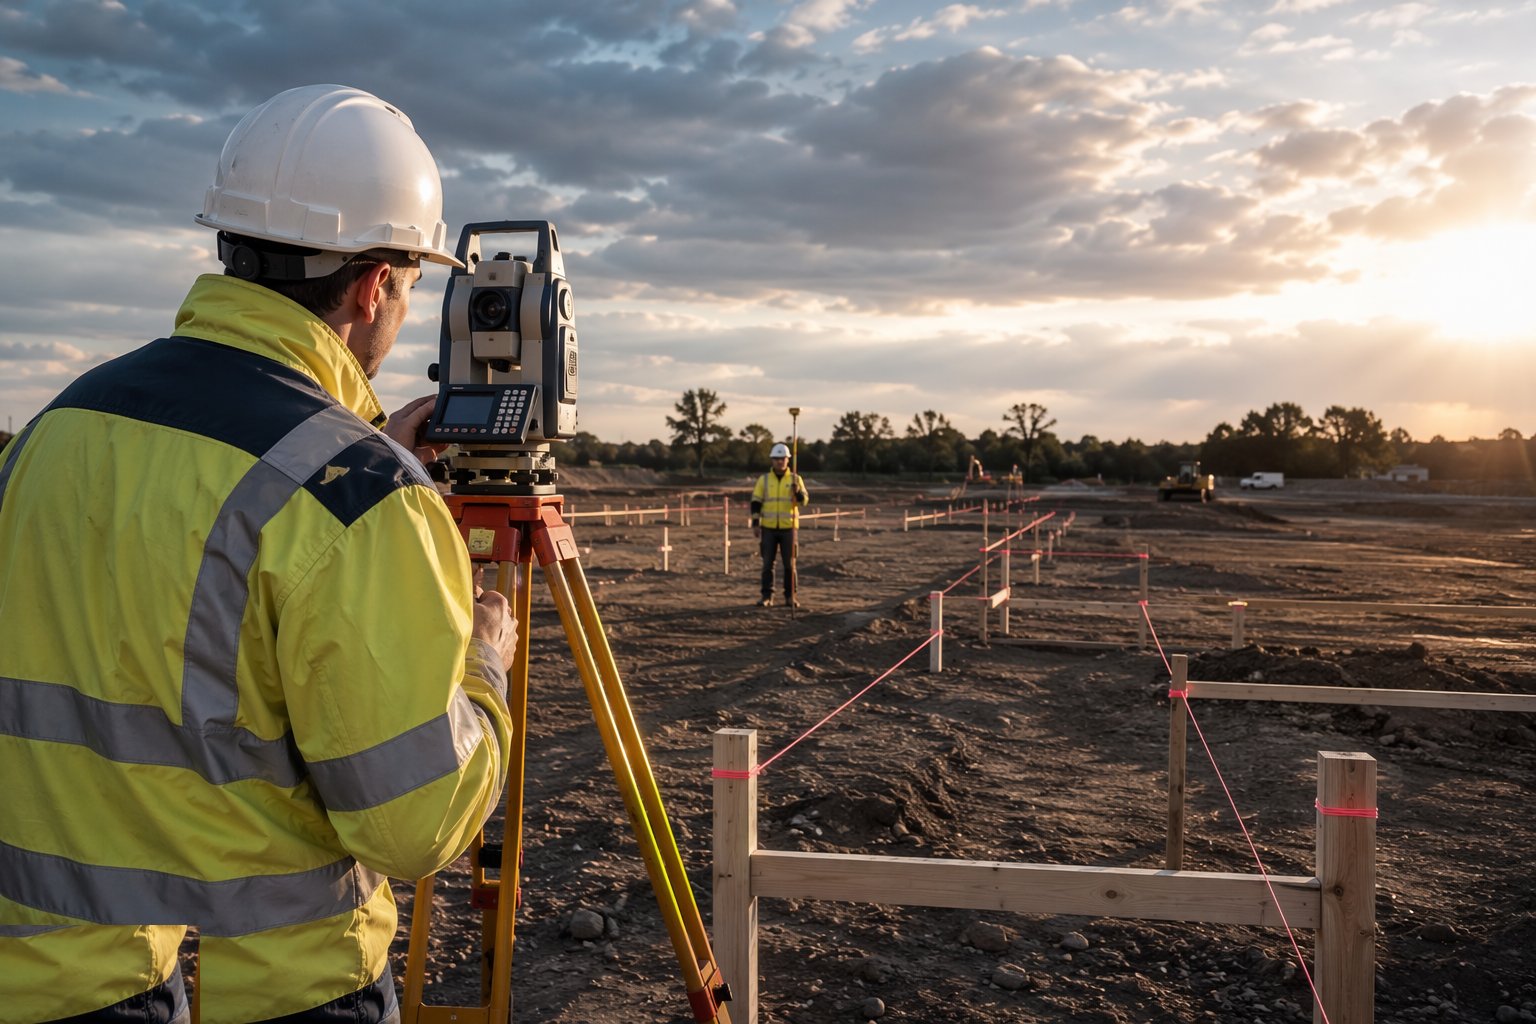
Step 7: Maintain and re-verify control
Re-check primary control monthly and after any event that could disturb it - heavy vibration, frost, a machine strike. Replace disturbed secondary points from primary control immediately, and record every revision. The setting-out drawing is a live document, reissued whenever anything changes.
- 8
Step 8: As-built surveys
Survey what was actually built: foundation positions and levels, frame geometry, drainage inverts, and final site levels. The as-built records feed the H&S file, the O&M manuals and any future works on the site. On adoption schemes - roads and sewers - the as-builts are a contractual handover requirement.
Plant & equipment
- Total station with prisms and tripods
- GNSS RTK rover and base station or network subscription
- Automatic / laser levels and staffs
- Profile boards (sight rails), pegs, nails and spray paint
- Machine-control systems on excavators and dozers
- Survey software for coordinate geometry and network adjustment
Quality control & testing
- Closed traverse or loop levelling with misclosure within tolerance
- Every set-out point checked from independent control
- Check survey by a second person before concrete or steel proceeds
- Instrument calibration certificates in date
- Control station schedule and protection register maintained
- As-built surveys at each hold point, filed with the QA records
Safety watchpoints
- Tripods and staffs clear of machine slew paths and haul routes
- Hi-vis and exclusion awareness when working in live excavation areas
- Care near excavation edges - pegs are set back, not on the lip
- Laser safety for rotating and line lasers
Common defects to hunt
- Building set out from a single unchecked point - and wrong
- Disturbed pegs reinstated by eye instead of from control
- Wrong datum: site datum confused with Ordnance Datum, everything 100 mm out
- Transposed coordinates from a hand-edited spreadsheet
- Grid lines lost at excavation and re-established approximately
- As-builts left to the end and nobody remembers what was buried
How long does Setting Out & Survey Control take?
Typical duration: Primary control takes 2–5 days; setting out then continues as an ongoing service through every stage of the build..
Related processes
- Site Access & Enabling Works
- Site Clearance & Demolition
- Earthworks & Excavation
- Dewatering & Groundwater Control
- Shallow Foundations
- Piling & Deep Foundations
- Basement & Substructure
- Waterproofing and Tanking
- Concrete Frame Construction
- Steel Frame Construction
- Masonry & Timber Frame
- Floor Slabs & Screeds
- Roofing
- Façade & Cladding
- Insulation Systems
- Windows, Doors & Glazing
- MEP First Fix
- Internal Finishes
- MEP Second Fix & Commissioning
- External Works & Landscaping
- Testing, Handover & Snagging
- Setting Out & Survey Control in Commercial & Workplace
- Total station (traverse) control - method
- GNSS (RTK) control - method
- Traditional optical methods - method