Traditional optical methods
A level, a staff, a tape and a 3-4-5 triangle - the skills that survive a flat battery.
Last updated 2026-08-25
What is Traditional optical methods?
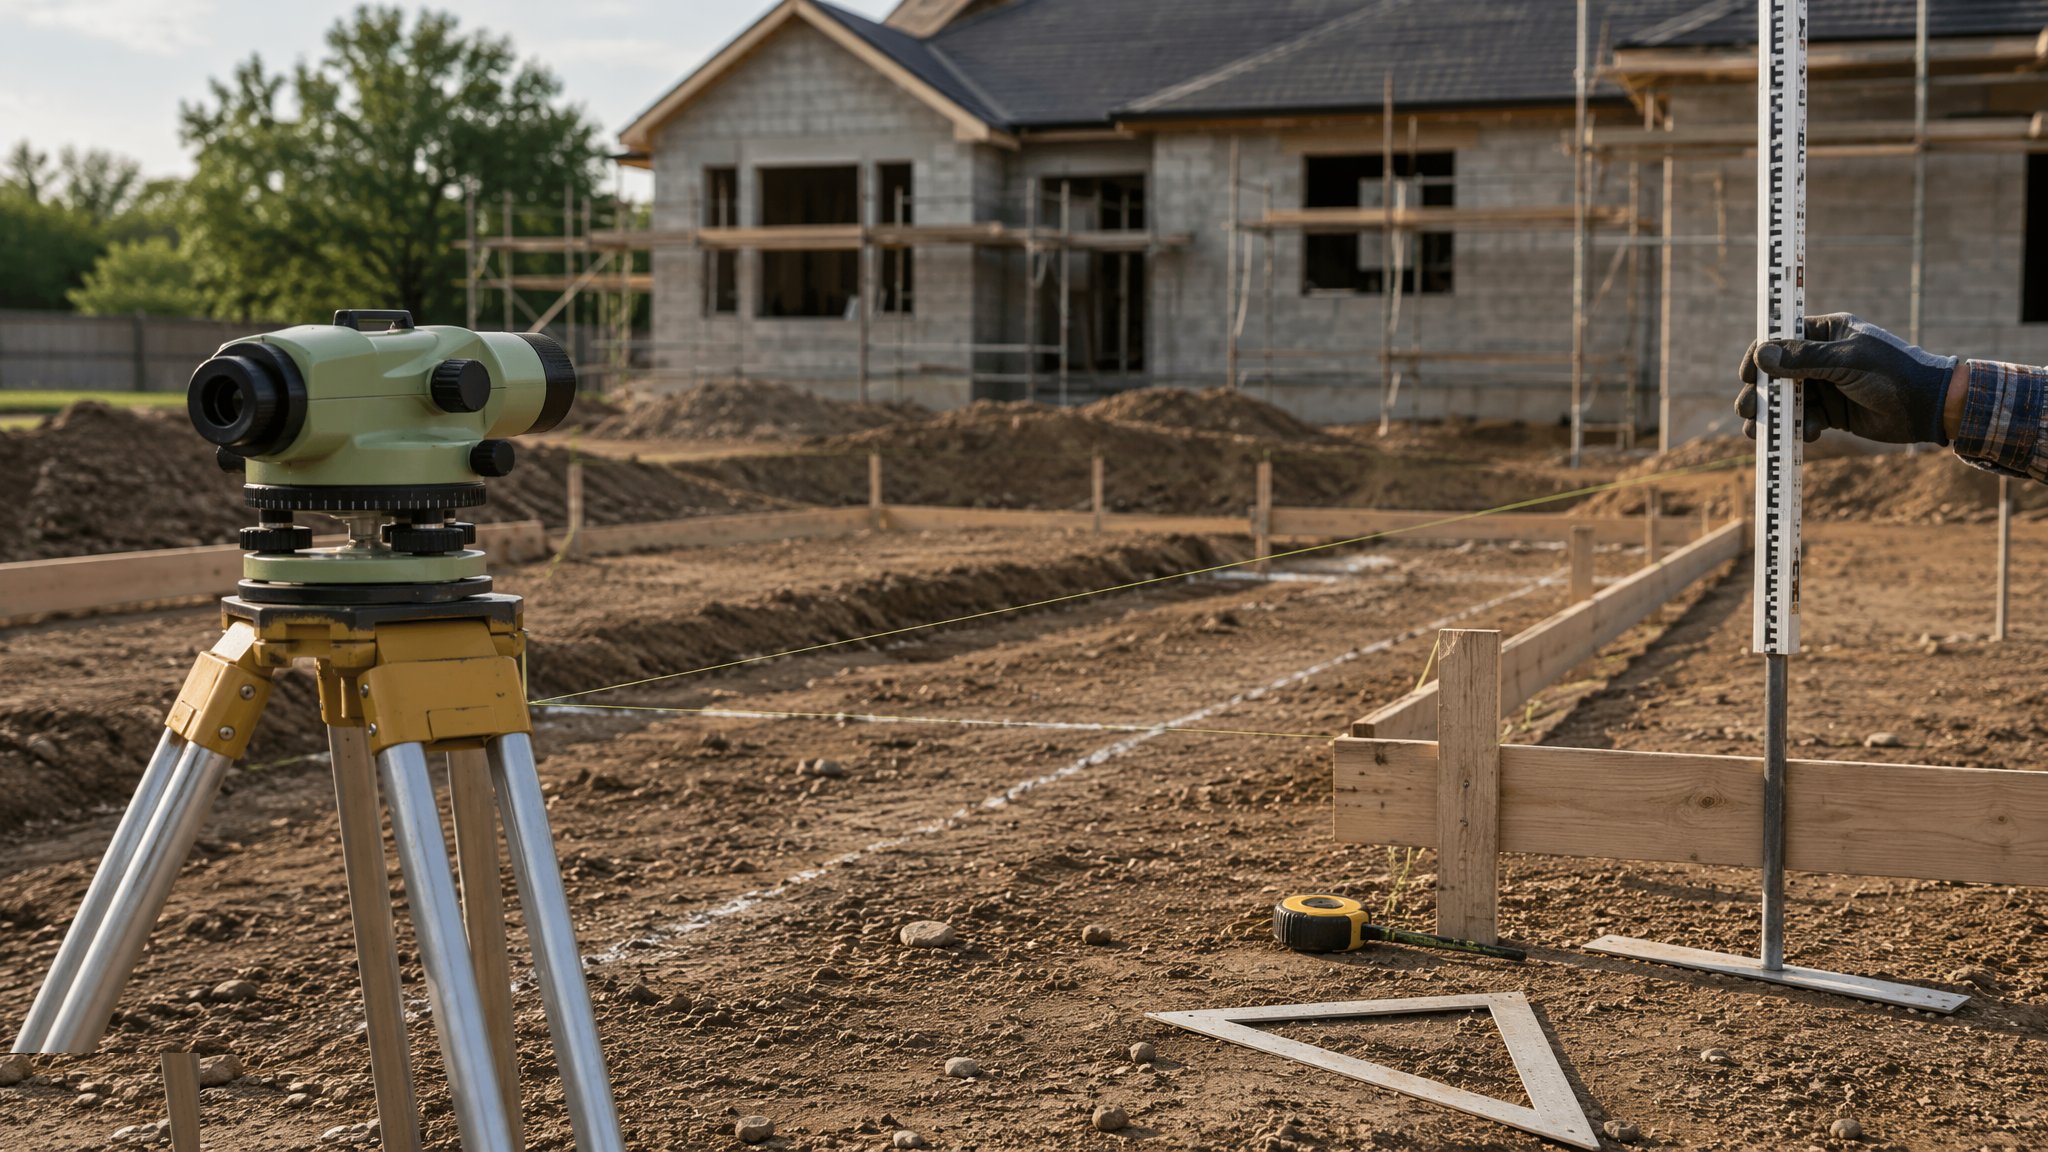
Traditional optical methods are the everyday arithmetic of the site: the automatic or laser level transferring levels to pegs and profiles, the theodolite and tape turning lines, the 3-4-5 triangle checking a right angle, the spirit level and straightedge doing the honest small work. They are not a historical footnote - on any given day, more levels are transferred on a housing site by a £300 dumpy level than by any total station, because the tool is instant, robust, and accurate to a millimetre or two over normal working distances.
Their accuracy comes from technique, not electronics. A level run must balance backsights and foresights or collimation error creeps in; a two-peg test verifies the instrument before it is trusted; a tape measurement on slope needs a correction or it lies by centimetres over thirty metres. The 3-4-5 triangle - or its 6-8-10 scaled-up brother - sets a right angle to a couple of millimetres per metre, provided the tape is taut, straight and on the line. These are craft skills, and they reward the same discipline as any instrument work: close the loop, check by a second route, record the reading.
Above all, the optical methods are the resilience layer. Batteries die, controllers fail, firmware updates at the worst moment - and the level in the van still works. Every site engineer should be able to re-establish a datum, transfer a level down a dig, and check a foundation square with nothing but optical kit. The day that skill is needed, it is needed immediately, and there is no download for it.
Process storyboard
Step 1 of 6 - slide through the snapshots.
STEP 1
Verify the instrument before trusting it
Run the two-peg test on the level: set up midway between two staffs for the true difference, then close to one end - any discrepancy is the collimation error,…
How does Traditional optical methods work, step by step?
- 1
Step 1: Verify the instrument before trusting it
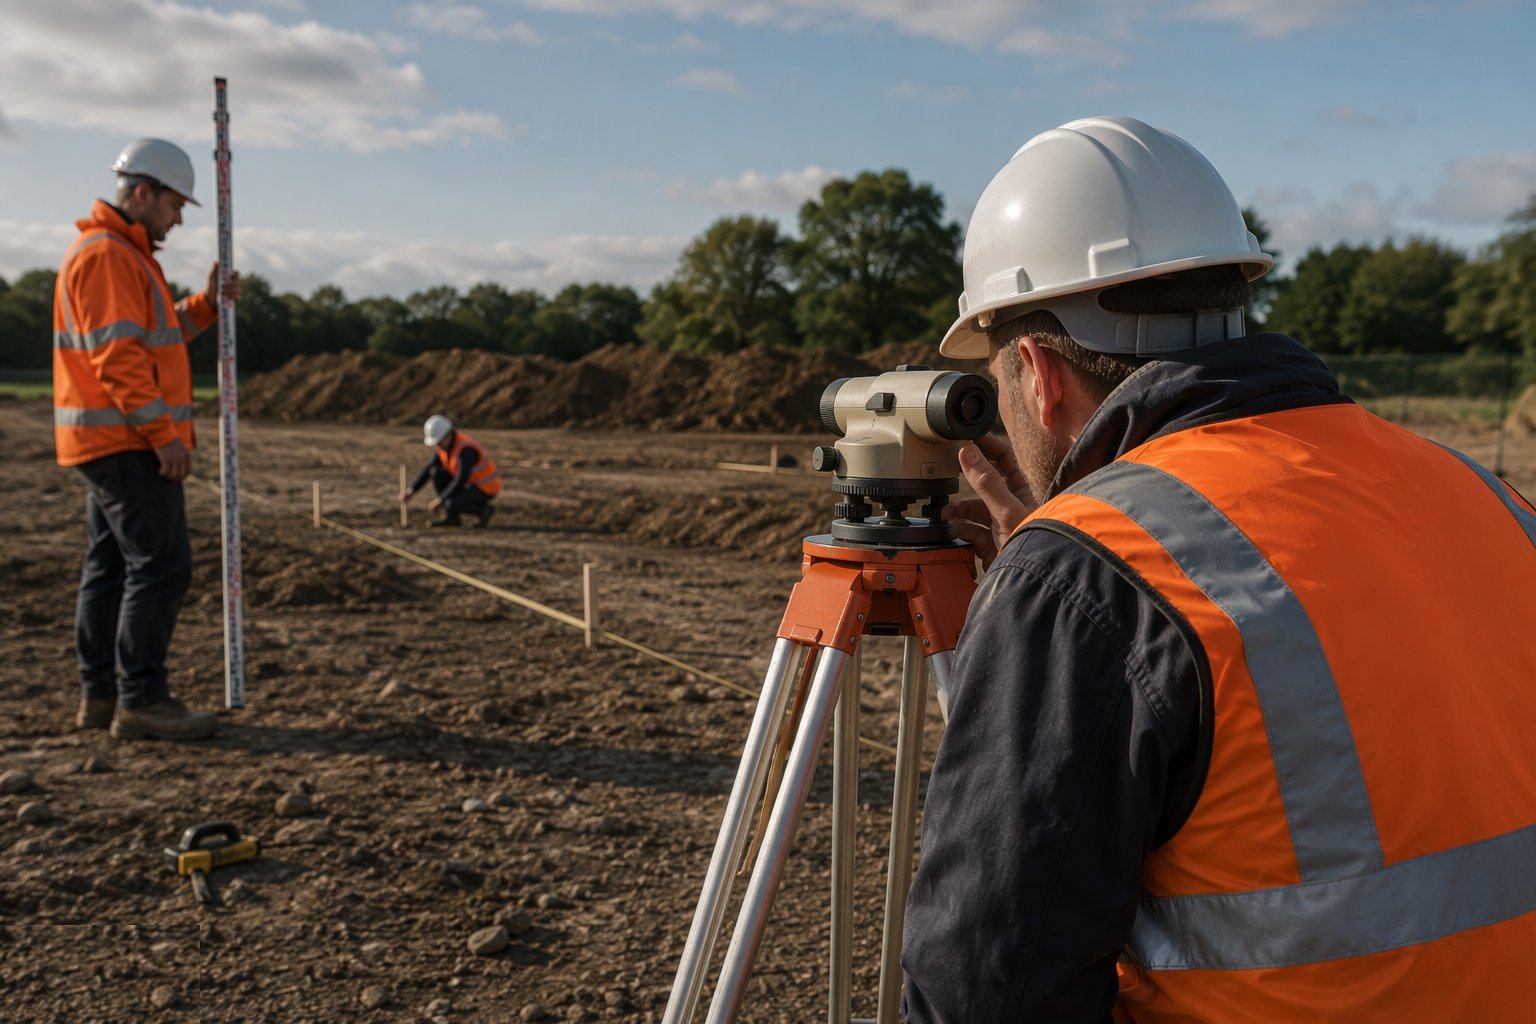
Run the two-peg test on the level: set up midway between two staffs for the true difference, then close to one end - any discrepancy is the collimation error, and if it exceeds tolerance the instrument goes for adjustment, not into service. Tapes are checked against a known baseline; staff bubble and joints are inspected. A bent staff reads beautifully and wrongly all day.
- 2
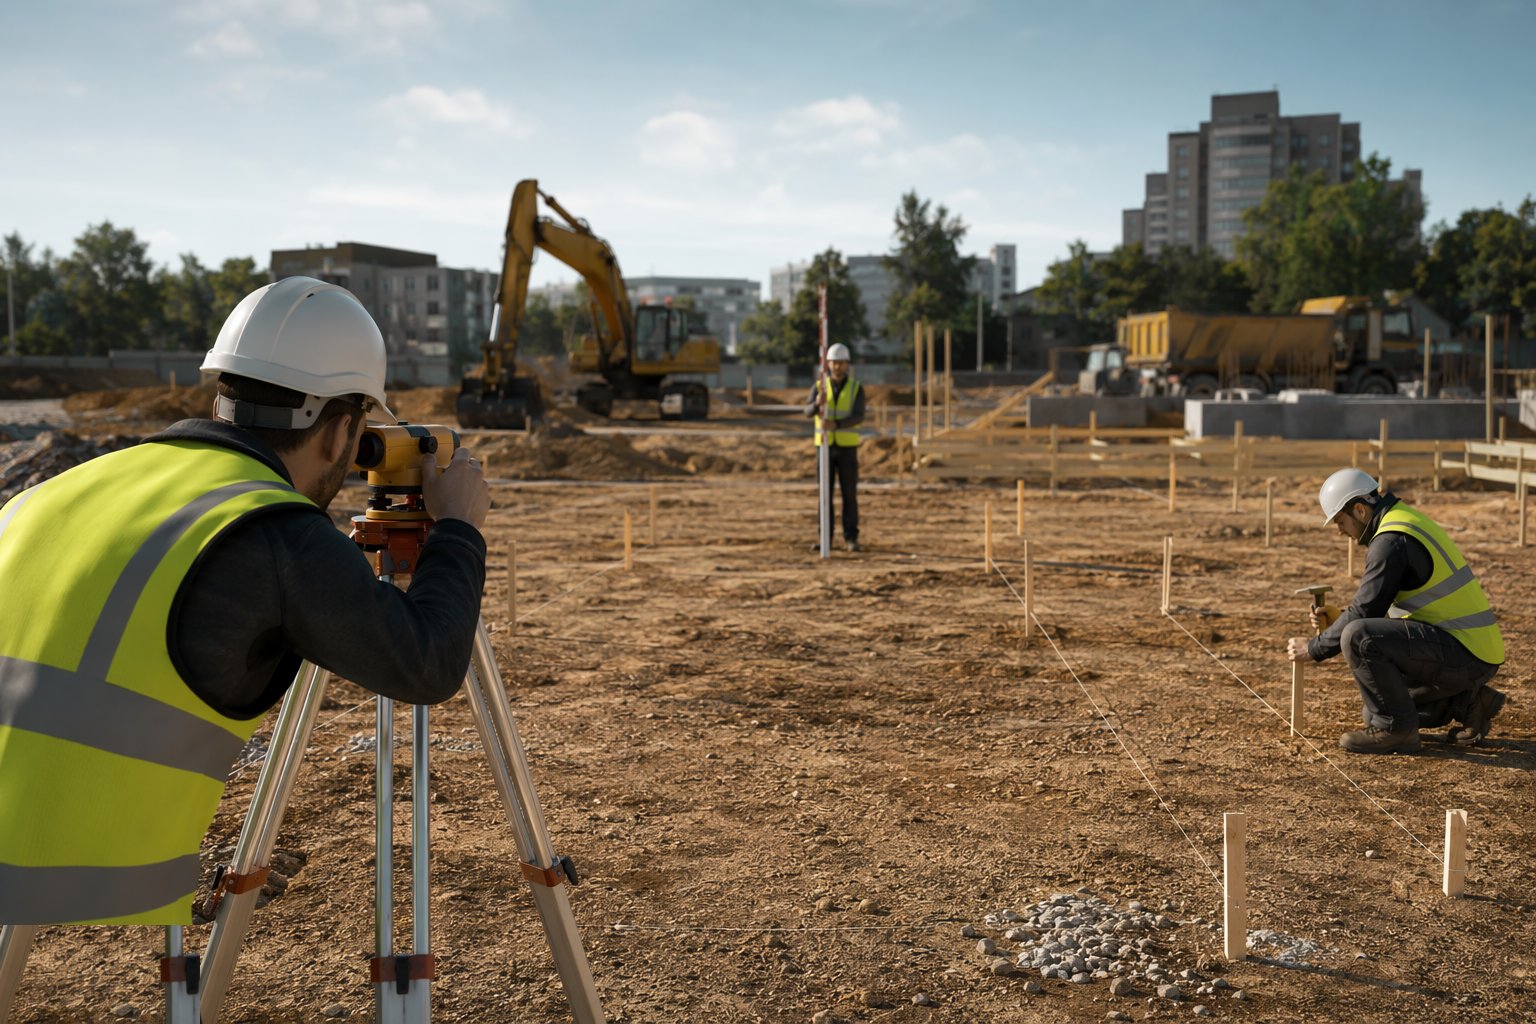
Step 2: Transfer levels by balanced sights
Set the level where backsight and foresight distances are roughly equal - collimation error then cancels - and work from the benchmark to the target through as few setups as possible. Close the run back to the benchmark or onto a second one: the misclosure must sit within tolerance, typically a few millimetres per setup. Booking is done in the field book, reduced on the spot, never reconstructed in the cab.

- 3
Step 3: Set out lines and right angles with tape and triangle
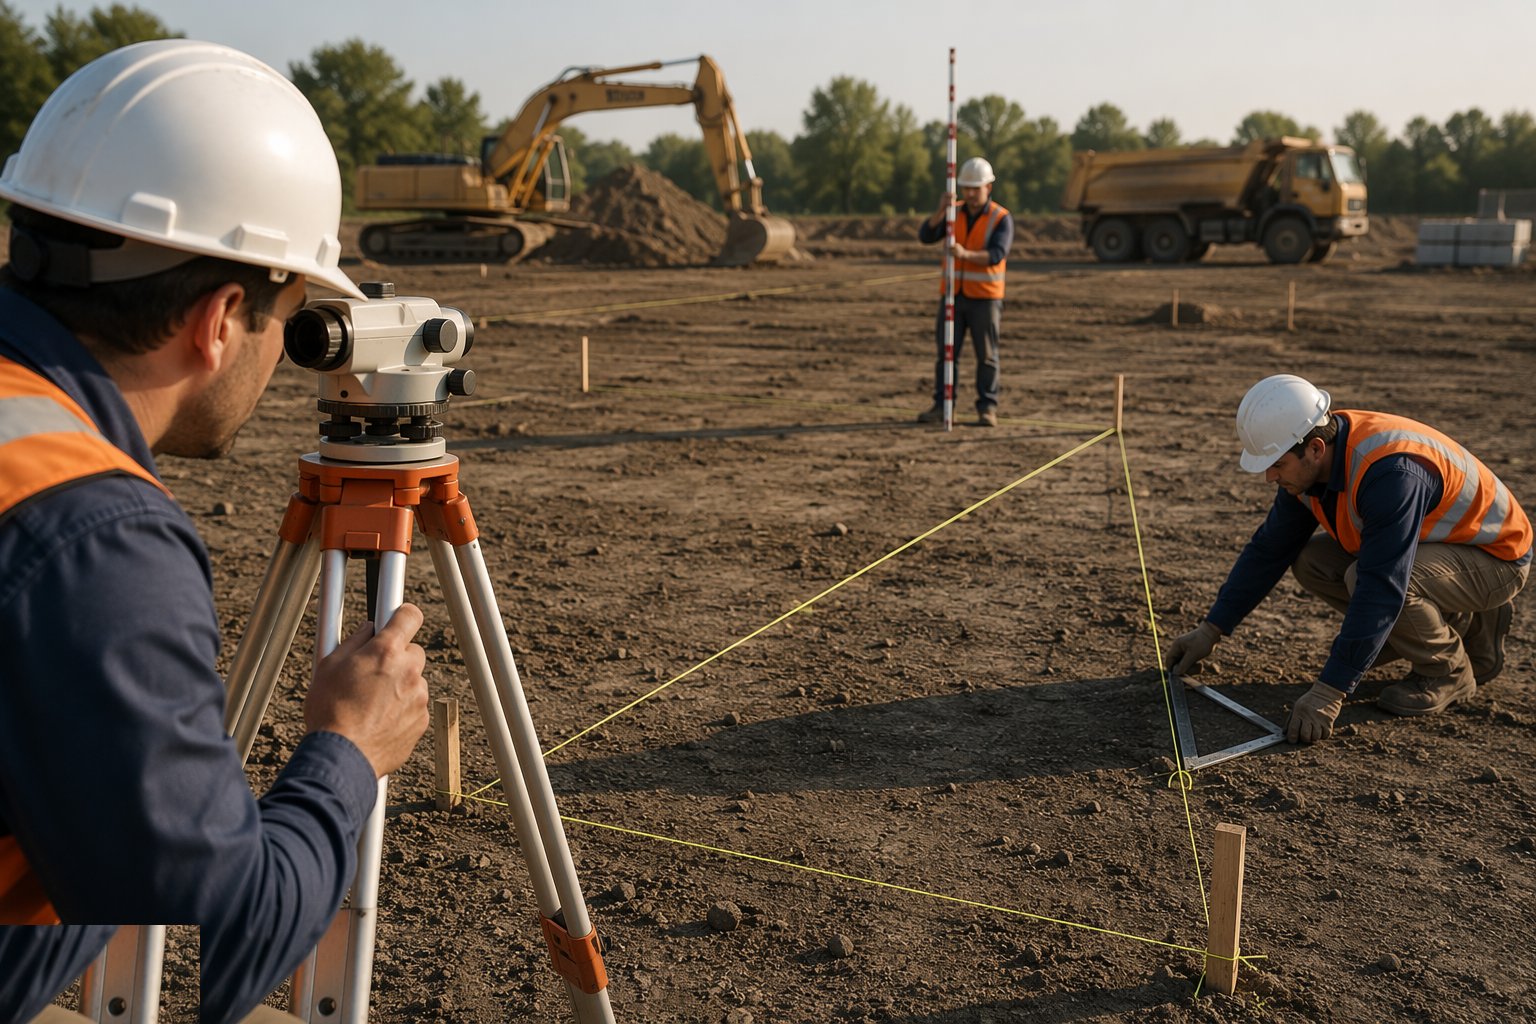
For offsets and short setting-out, the tape runs taut, level and on line - sag and slope both add length that is not there. Right angles are established by 3-4-5: pin the corner, measure 3 and 4 along the two lines, and swing the diagonal to exactly 5. For building corners, scale up - 6-8-10 or 9-12-15 - because the error divides by the size of the triangle.
- 4
Step 4: Check square by the diagonals
A rectangle is proven by its diagonals: equal diagonals mean square corners, whatever the sides read. Foundation profiles are checked this way before concrete - both diagonals measured, compared, adjusted and re-measured until they agree within tolerance. This five-minute check has prevented more re-poured foundations than any instrument ever made.
- 5
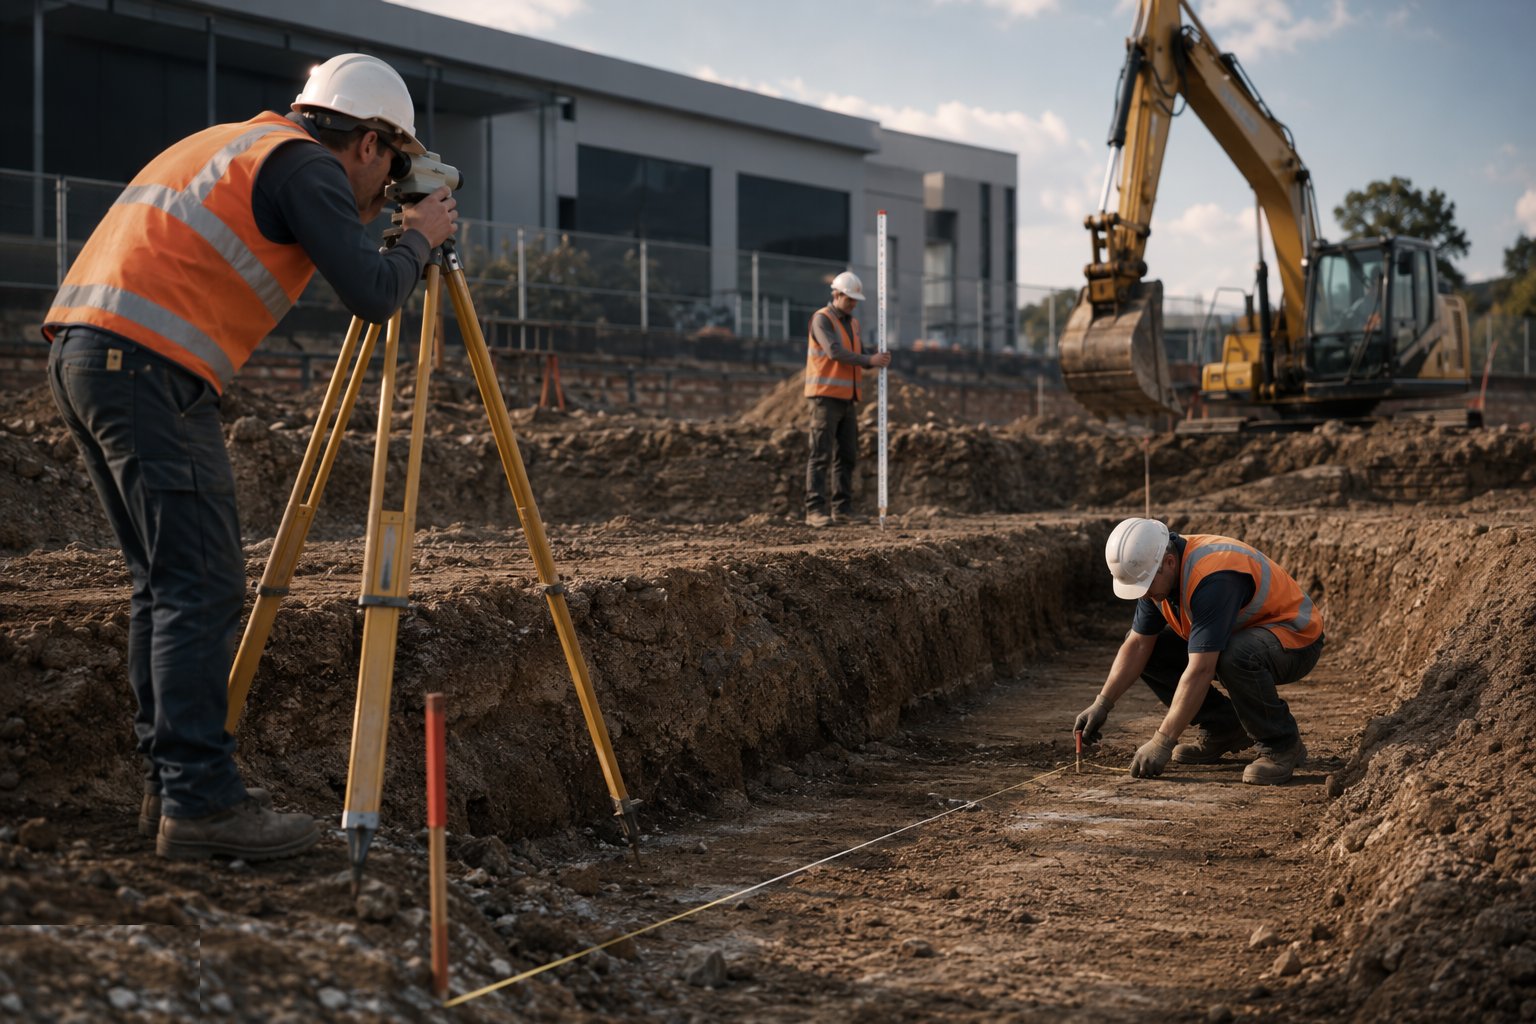
Step 5: Transfer level into the dig
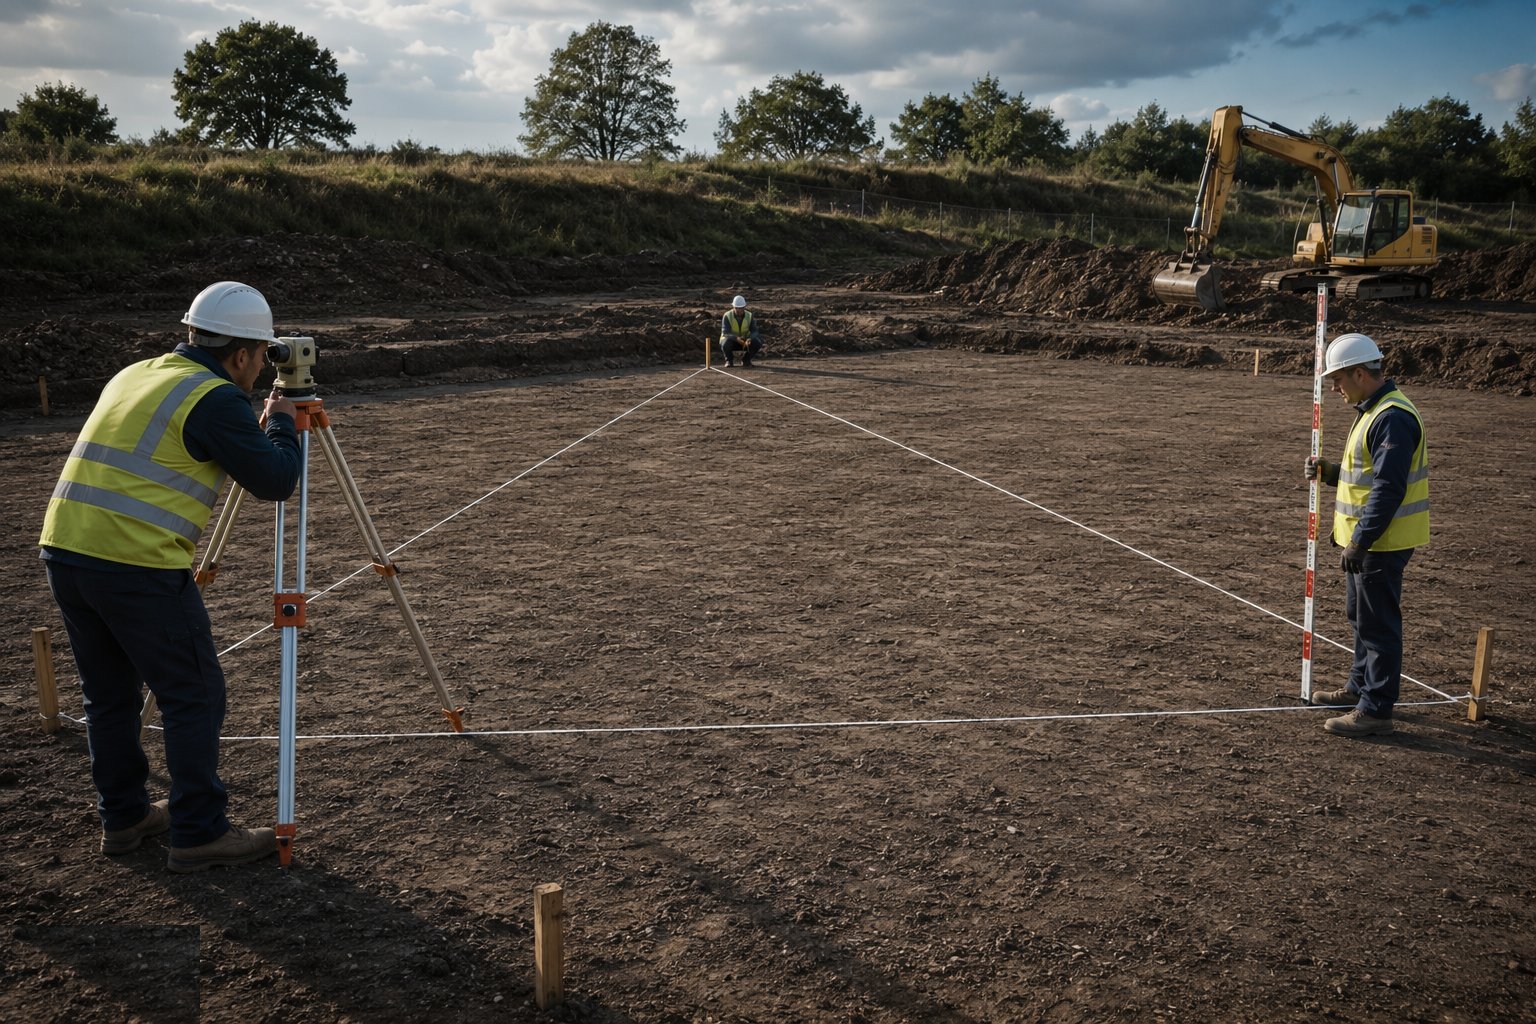
Levels go down to formation by level-and-staff where sight distance allows, or by tape down a fixed rail for deeper excavations, checked against a second route. Travellers and grade rails between profile boards give the digger driver a visible line to trim to. The last 75–100 mm is trimmed to a checked level, not to the bucket driver's eye.
- 6
Step 6: Book, reduce and file everything
Every reading is booked at the time, reduced immediately - rise and fall or height-of-collimation, both checked by their arithmetic - and the completed level runs and setting-out notes are filed with the QA records. The field book is a quality document: it is what proves, eighteen months later, that the slab was set to the benchmark and not to somebody's memory.
What are the benefits of Traditional optical methods?
- Cheap, robust and instant - no batteries, firmware or satellite coverage required
- Millimetre-level accuracy over normal working distances with correct technique
- The everyday tool for level transfer to pegs, profiles and digs
- Independent verification method for GNSS and total-station work
- Skills and kit that work the day the electronics fail
- Simple enough to brief to any competent groundworker for routine checks
What are the limitations of Traditional optical methods?
- Short range - every transfer adds a setup and its error
- Accuracy depends entirely on technique: balanced sights, taut tapes, closed loops
- Slow for large-area setting-out compared with GNSS or robotic instruments
- Line of sight still required, and staff reading in poor light invites booking errors
- No automatic record - the field book is only as honest and careful as its keeper
- Tape work over long distances needs sag, slope and temperature corrections
What is Traditional optical methods best suited for?
What plant does Traditional optical methods need?
- Automatic (dumpy) level or rotating laser level
- Levelling staffs - aluminium or fibreglass, with checked bubbles
- 30 m and 50 m tapes, plus pocket tapes for offset work
- Profile boards, sight rails, travellers and pegs
- Field books, pencils and a calculator - the paper quality system
- Plumb bob and line for vertical transfer
How is Traditional optical methods quality-checked?
- Two-peg collimation test on the level, recorded before first use and weekly
- All level runs closed on a benchmark within tolerance
- Foundation diagonals checked equal before any concrete
- Tapes verified against a known baseline; damaged staffs withdrawn
- Field books reduced on site and filed with the QA records
- Independent second check on any level transferred into a dig