Robotic total station setting out
One engineer, one pole, and an instrument that follows you round the deck - the same setting out with half the crew and three times the points.
Last updated 2026-08-25
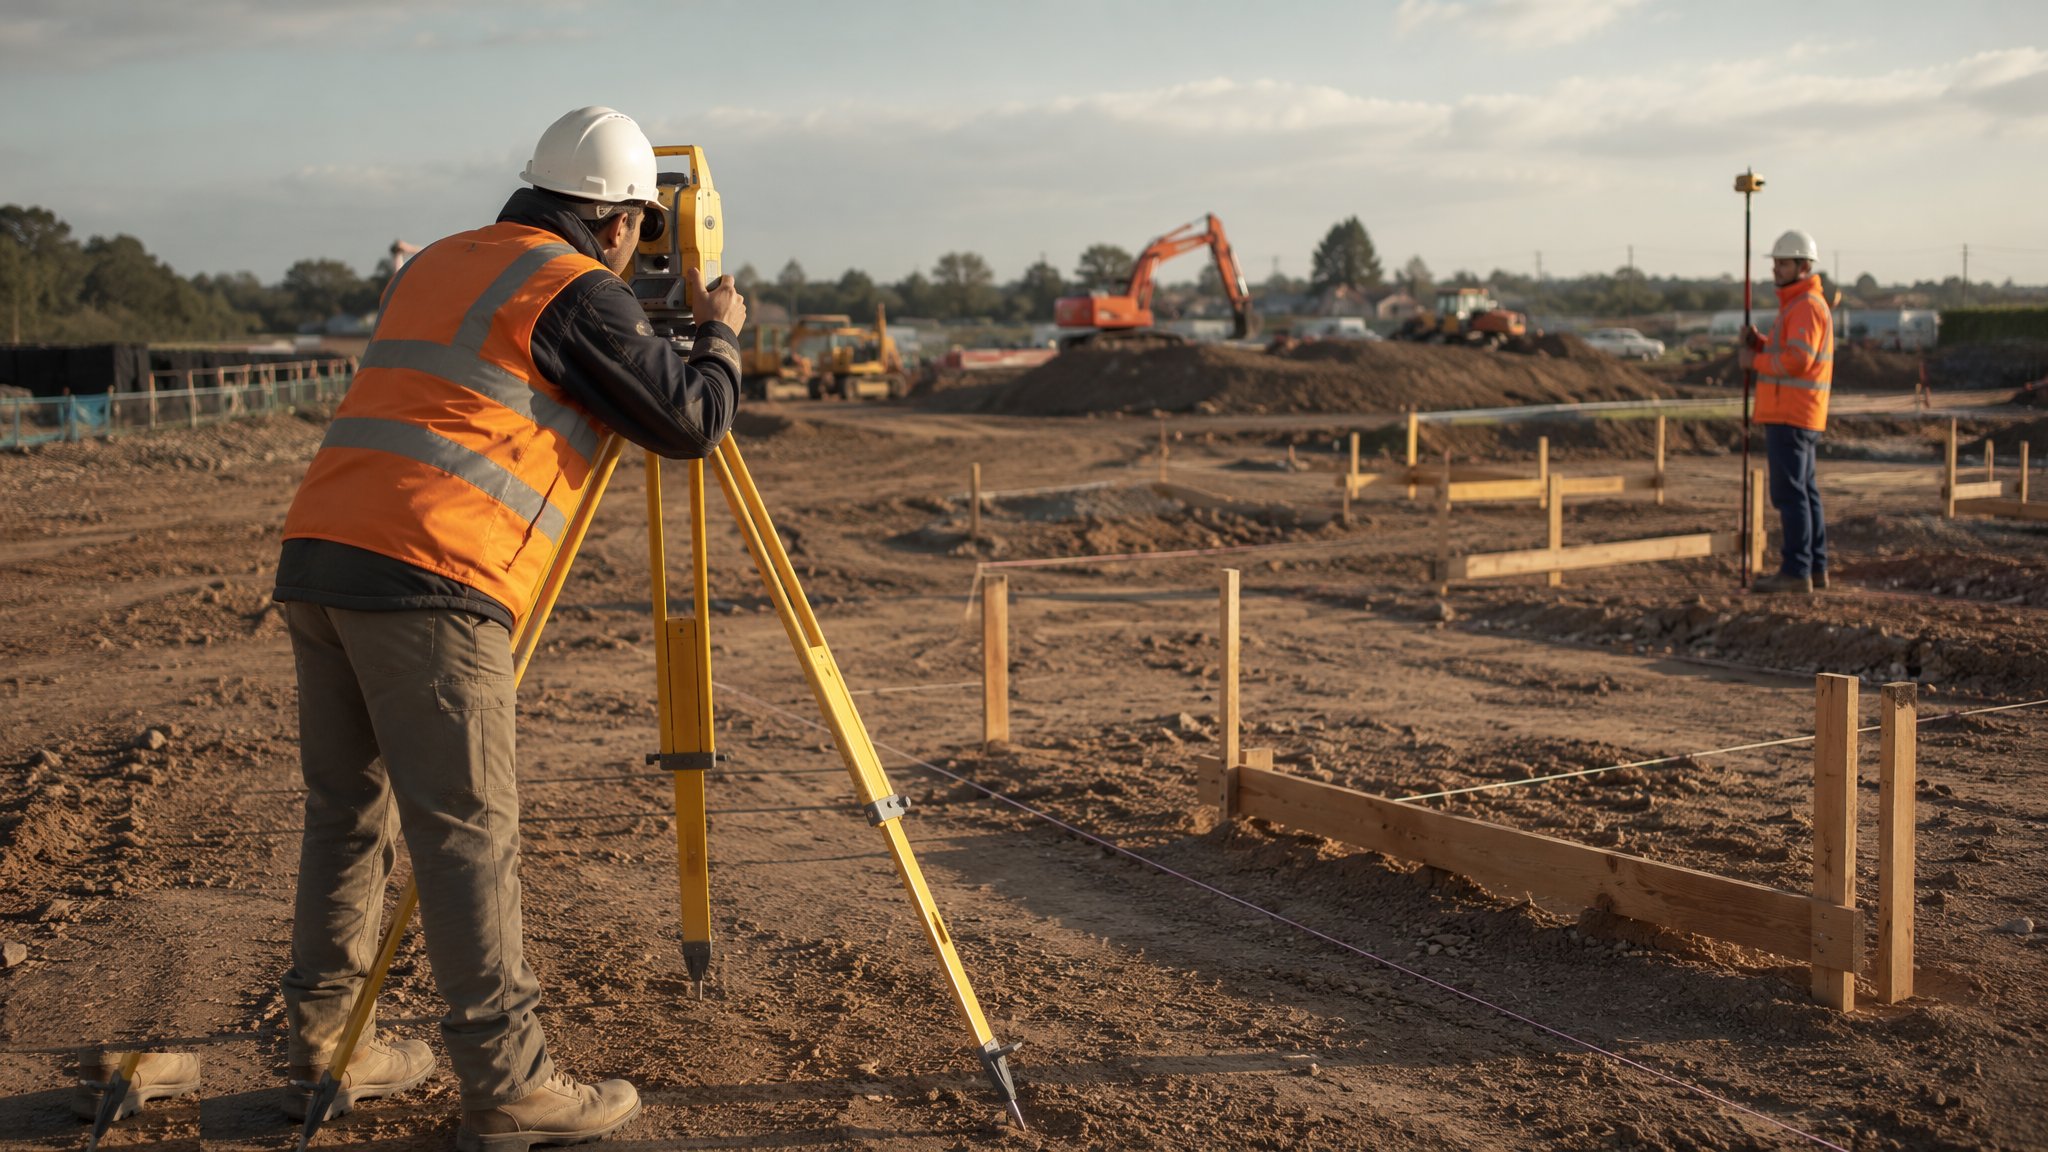
What is Robotic total station setting out?
A robotic total station is a motorised instrument that locks onto a tracking prism and follows it, driven by the engineer standing at the pole rather than by a second person at the tripod. The controller displays how far and in which direction to move; you walk in, mark the point, and the instrument measures the mark you actually made. Angular accuracy on site instruments commonly sits in the region of one to three seconds of arc, distance to a prism to a few millimetres plus a small proportion of the range, and tracking works out to several hundred metres in normal site conditions and further in clear air. The productivity difference is the reason it took over: a two-person crew might set out somewhere around a hundred to a hundred and fifty points in a day, where one engineer with a robot commonly does two or three times that.
What has not changed is orientation and control. The instrument has no idea where it is until it is told. Either it goes over a known station with a measured height and a backsight to another known point, or it free-stations - resecting its own position by observing three or more known points - and the residuals it reports on that resection are the first thing to look at, not the first thing to dismiss. Geometry matters: reference points all clustered in one narrow band, or all on one side, will produce a resection that looks tight and sits wrong. So the routine is fixed. Orient, then check onto an independent known point that was not used in the orientation. If it does not reproduce, nothing gets set out until you know why.
And the automation does nothing at all for the data. The instrument will set out a transposed coordinate as faithfully and as quickly as a correct one, so the second-person check on the coordinate file, the version control on which drawing revision it came from, and the independent check survey before concrete or steel are all exactly as necessary as they were with a tape and a theodolite. Line of sight is still mandatory - the robot loses lock behind a stack of boards, a passing telehandler or a cloud of dust - and auto-lock will happily jump onto the wrong prism, or a strip of reflective tape on a vest, and report a confident position from it. Add lone working on a live deck and there is a set of risks that comes with the productivity, not instead of it.
How does Robotic total station setting out work, step by step?
- 1
Step 1: Prepare and check the coordinate file
Extract the setting-out coordinates from the design model rather than retyping them, and have a second person check them against the current drawing revision - digit by digit on the critical points. Name and layer the file so any point on the controller can be traced back to the drawing and revision it came from, and version it so superseded data cannot be picked up by mistake. This step catches more errors than every instrument check combined, because the instrument cannot tell a wrong number from a right one.
- 2
Step 2: Set up and orient the instrument
Set over a known station on a stable tripod with the instrument height measured and recorded, and orient to a backsight; or free-station on three or more control points spread properly around the setup, not bunched. Inspect the residuals and reject a solution that does not meet the accuracy the engineer has defined for the works. Enter the temperature and pressure so the distance correction is real, confirm the prism constant matches the prism actually in use, and set the target height. Wrong prism constant and wrong target height are the two most common silent errors on a setting-out job.
- 3
Step 3: Check onto independent control before anything is marked
Measure a known point that was not used in the orientation and compare it against its published coordinates and level. This is thirty seconds of work and it is the gate for the whole session. If it reproduces, work proceeds; if it does not, the fault is in the setup, the control, or the control has been disturbed, and every one of those is worth finding now rather than after the reinforcement is fixed. Log the check with the time - it is the evidence that everything set out afterwards was set out from verified control.
- 4
Step 4: Set out, mark, then re-measure the mark
Walk in on the controller's guidance, mark the point, and then measure the mark as made. Record the residual between the design position and the marked position, so the record is a measurement rather than a statement of intent - a point that was set to within a couple of millimetres and a point somebody walked to look right are indistinguishable in a peg schedule but not in a record. Marks go on something that will survive: a nail and washer, a punched line in steel, paint on a slab that is not about to be poured over.
- 5
Step 5: Manage loss of lock and instrument moves
Lock is lost constantly on a busy deck - people cross the line, a load swings through, dust rises off a cut. Use the search function rather than guessing, and be disciplined about prisms: two crews with identical prisms on the same floor is a recipe for the instrument tracking the wrong one. When the working area outgrows the setup, move the instrument and orient it again fully from control. Never nudge a tripod and carry on. Every move costs a fresh orientation and a fresh check onto independent control, and that time belongs in the plan.
- 6
Step 6: Check out, then as-built the work
Re-measure the known control point at the end of the session and log it. A setup that has settled, been knocked or drifted through the day is caught here, and everything set out since the last good check is then in question - which is exactly why the check is at both ends. At each hold point the same instrument surveys what was actually built and the comparison against design goes into the check survey that releases the trade. One instrument, one coordinate system, one calibrated chain from control to as-built.
What are the benefits of Robotic total station setting out?
- One engineer does the work of a two-person crew, and sets out far more points in the same shift
- Every point is re-measured as marked, so the record is a measurement rather than a claim
- The same instrument sets out, checks and as-builts - a single calibrated chain in a single coordinate system
- Works indoors, at night and between structures, where satellite positioning cannot fix at all
- Data comes straight from the model, so a design change means a new file rather than a redrawn peg schedule
- Suits high-volume repetitive layout - penetrations, holding-down bolts, hangers, brackets and track lines
What are the limitations of Robotic total station setting out?
- Line of sight is mandatory, and on a congested deck the operator can spend much of the day re-establishing lock
- Auto-lock can latch onto a second crew's prism or a reflective surface and report a confident, wrong position
- Every instrument move needs a full re-orientation from control, which costs more time than most programmes allow for
- Lone working on a live site needs its own controls, and a one-person instrument quietly encourages it
- Control stations must be protected for the duration - a struck or settled station corrupts everything set out from it
- It sets out bad data perfectly, so none of the checking discipline is removed by the automation
What is Robotic total station setting out best suited for?
What plant does Robotic total station setting out need?
- Robotic total station with controller, on a stable tripod and tribrach
- Tracking prism on a pole, with a bipod for hands-free marking
- Protected primary control stations, benchmarks and a current control drawing
- Coordinate-geometry and setting-out software with direct model import
- Precise level and staff for independent level checks
- Spare batteries, chargers, and calibration certificates in date for instrument and prisms
How is Robotic total station setting out quality-checked?
- Coordinate file checked by a second person against the current drawing revision before upload
- Free-station or resection residuals recorded, and within the accuracy the engineer defines for the works
- Check onto independent control logged at the start and again at the end of every session
- Every point re-measured as marked, with its residual recorded alongside the design coordinate
- Critical points independently re-checked from different control before concrete or steel proceeds
- Prism constant, target height and atmospheric settings confirmed at each setup, and calibration certificates in date