Masonry & Timber Frame
Cavity walls and factory-made timber panels - how homes and villas actually get built.
Last updated 2026-09-05
Typical duration
1–3 weeks per house for timber frame shell; 3–8 weeks per house for full masonry, weather permitting.
What is Masonry & Timber Frame?
Low-rise residential construction comes down to two great traditions: masonry cavity walls built brick by brick on site, and timber frames manufactured in a factory and erected in days. Both produce warm, durable homes when detailed properly, and both fail in predictable ways when the details - wall ties, DPCs, lintels, membranes - are treated as trivia.
Masonry is tolerant and traditional: an inner structural leaf of blockwork, a cavity with insulation, and an outer leaf of brick or block and render. Timber frame moves the structure indoors - panels arrive with sheathing and often insulation and windows pre-fitted, and the outer leaf becomes pure weather protection. SIPs (structural insulated panels) take the factory logic a step further, combining structure and insulation in one panel. The UAE vernacular is different and should not be confused with either: villas and towers are reinforced concrete frames infilled with concrete blockwork - typically aircrete (AAC) or hollow concrete blocks - with cement render and paint inside and out. There is no cavity-wall tradition, and timber frame is rare.
Compare the methods at a glance
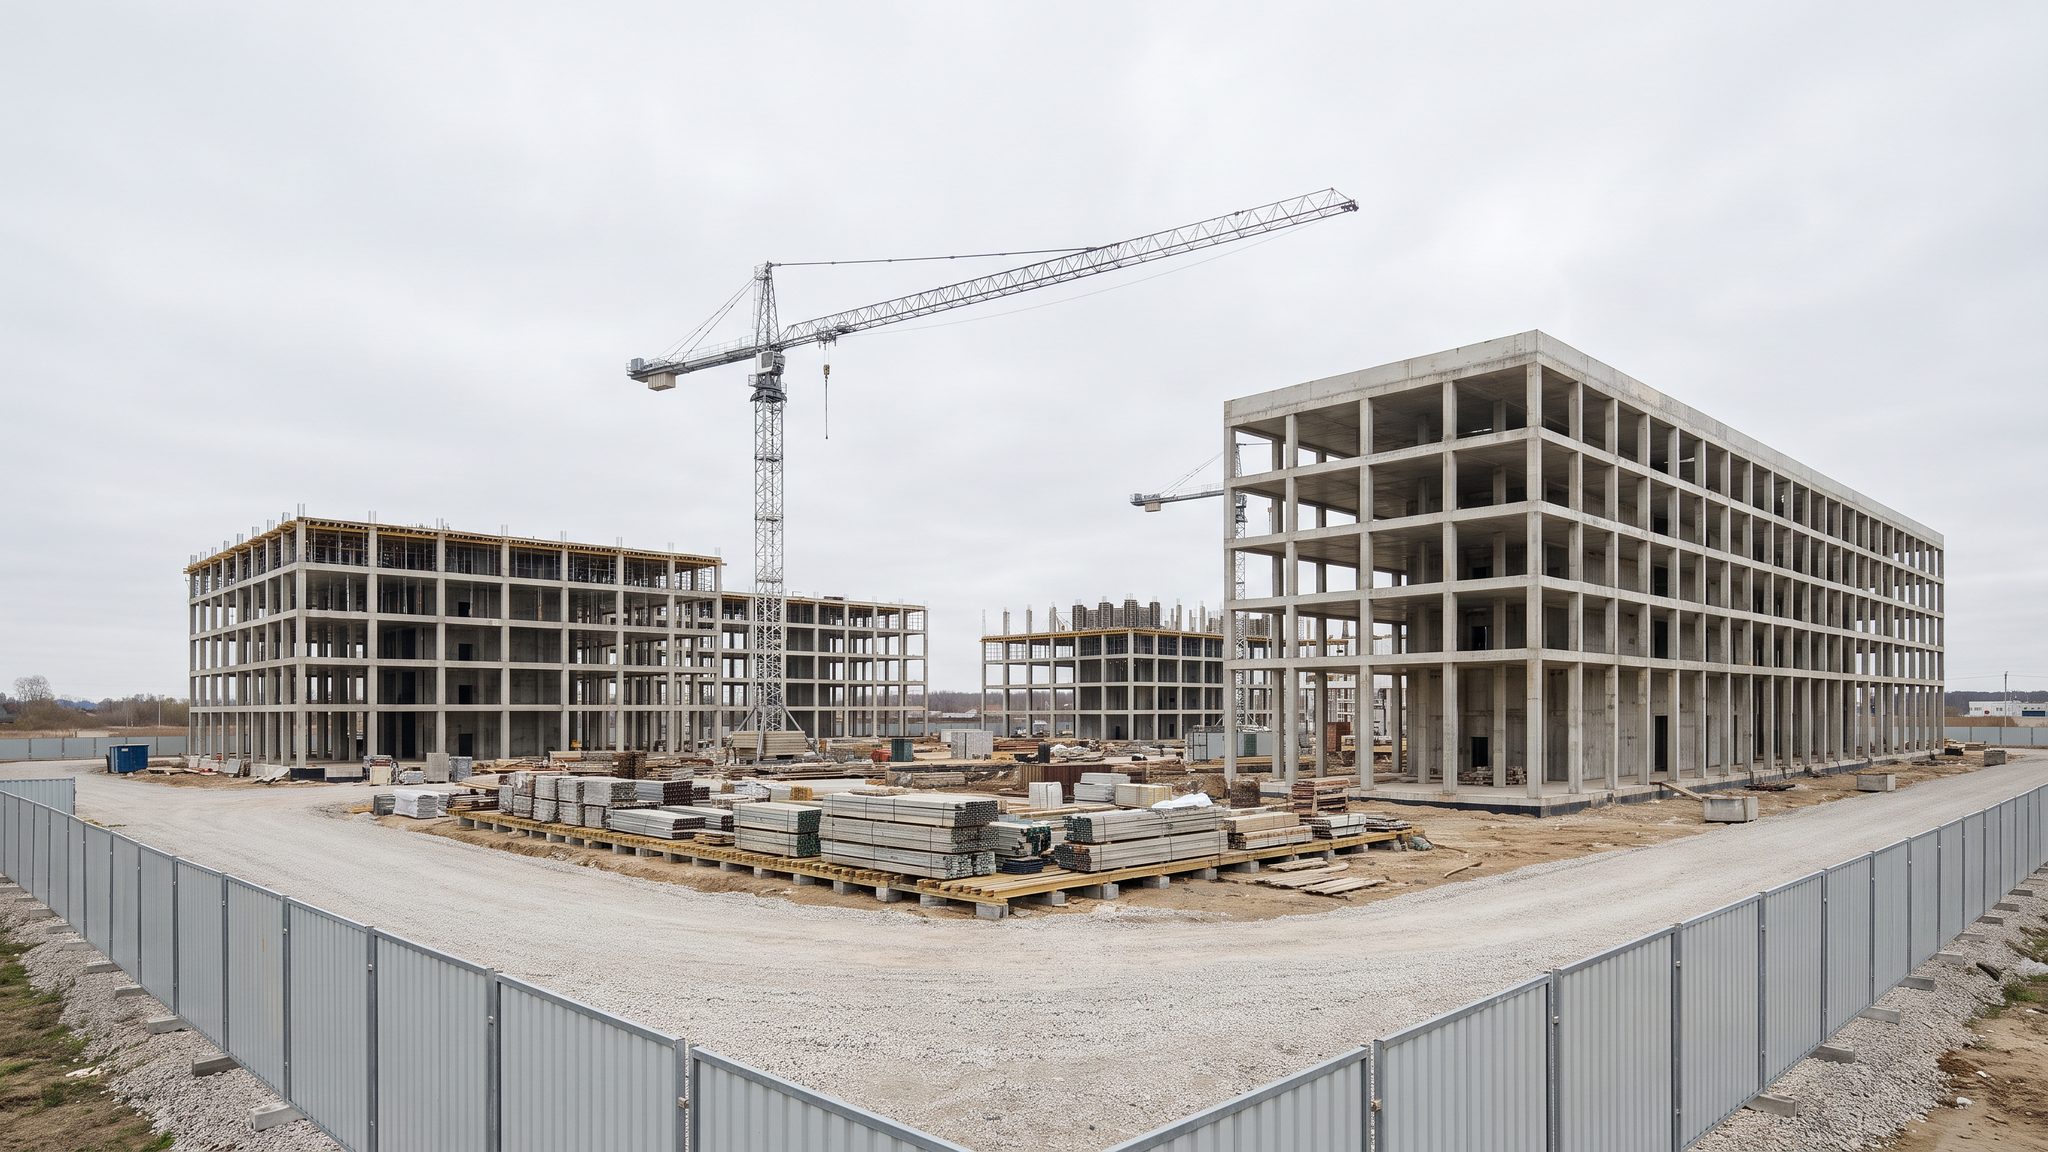
When and why is Masonry & Timber Frame used?
This stage follows the foundations and ground floor slab, and runs to wall-plate level where the roof structure takes over. Masonry suits traditional supply chains, sloping sites and self-build pace; timber frame suits volume housing where speed, thermal performance and factory quality win. The process matters because the wall is structure, thermal envelope and moisture management in one - defects here appear as cracking, cold bridging and interstitial condensation years later. In the UK, Approved Document A and NHBC Standards chapter 6 set the deemed-to-satisfy masonry details, while timber frame design follows BS EN 1995 with TRADA and Structural Timber Association guidance.
Walkthrough storyboard
The process in pictures, step by step - Step 1 of 7 - slide through the snapshots.
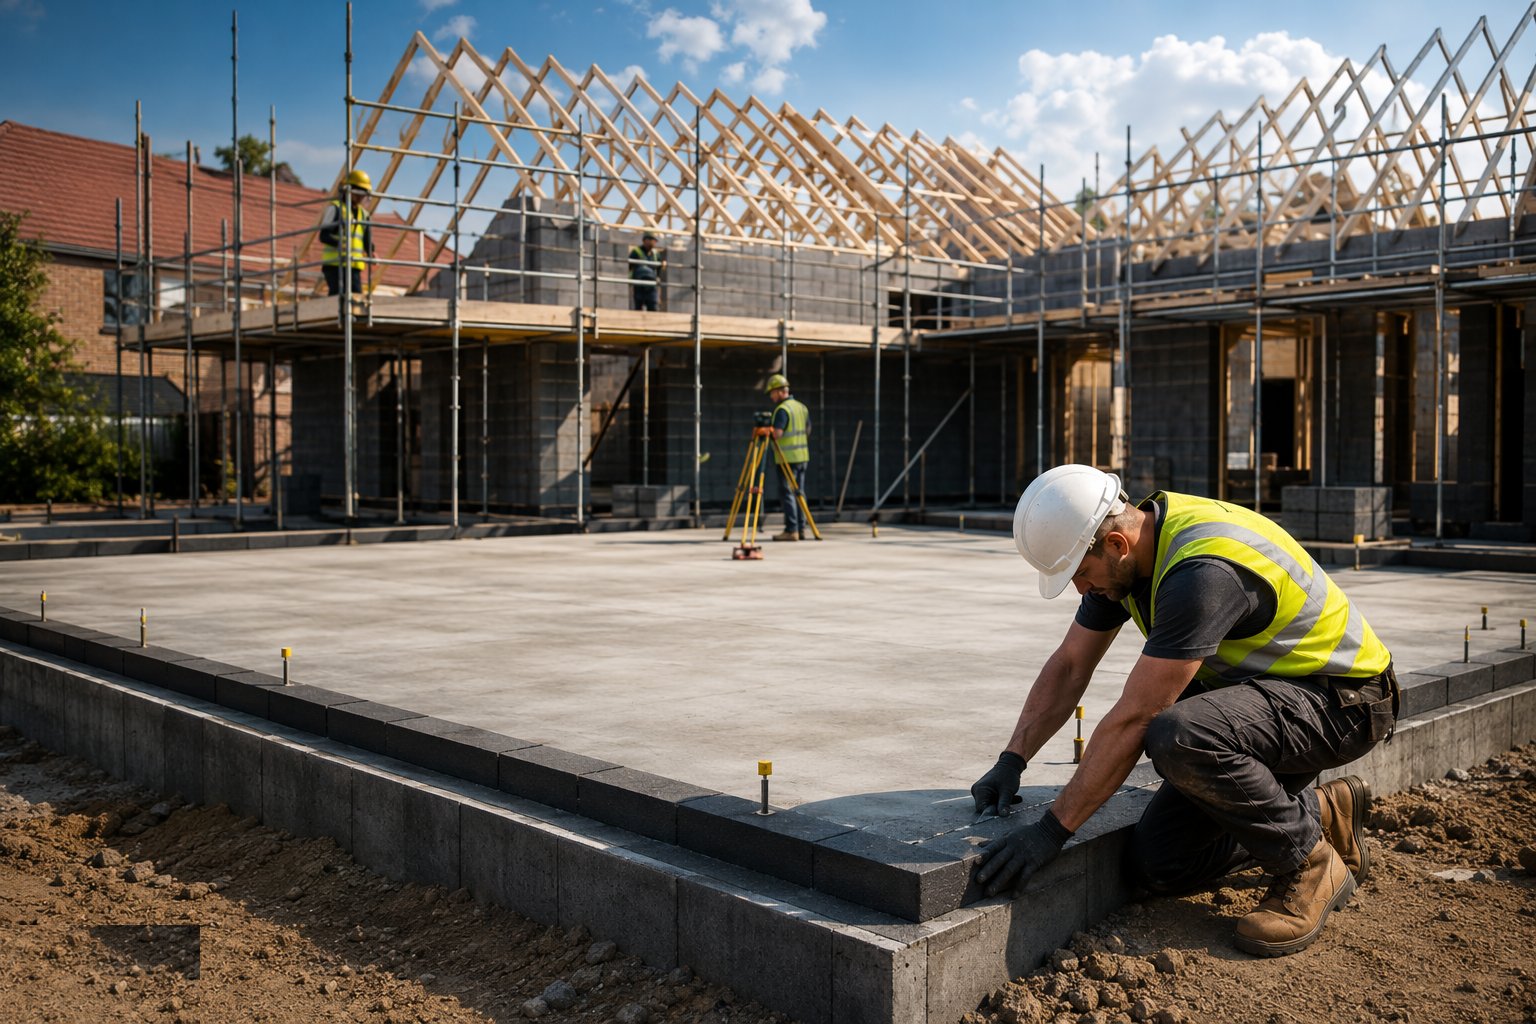
STEP 1
Verify the base: slab level, DPC and setting out
Check the ground floor slab or oversite for level and square - timber panels need the base within millimetres; masonry will tolerate more but repays accuracy.
Types of Masonry & Timber Frame
Explore each method in depth - benefits, limitations, plant and quality control on its own page.
Stonemasonry
Cutting stone in the shop and setting it on the building - the oldest trade on site and still one of the most exacting.
Explore this methodCob and rammed earth
Walls built from the subsoil under the site - monolithic, massive, and utterly dependent on a good hat and good boots.
Explore this methodStraw bale and hempcrete
Two bio-based wall systems that insulate, breathe and lock away carbon - one stacked, one cast around a frame.
Explore this methodMasonry cavity walls
Inner blockwork leaf carries the load; a 50–150 mm cavity holds insulation (full or partial fill); the outer brick or rendered block leaf sheds weather. Stainless steel wall ties stitch the leaves together at prescribed centres, DPCs and cavity trays stop moisture crossing, and lintels carry openings. Mortar is specified by designation and strength rather than mixed by habit, and aircrete blocks demand a compatible, more workable mix. The national default for houses - forgiving, repairable, and slow.
Explore this methodOpen-panel timber frame
Factory-made stud panels with sheathing board on one face, erected and fixed on site, with insulation, membranes and services added afterward. Fast weathertight shell, excellent thermal performance, and a site programme measured in days per house. Accuracy of the slab and the setting out is critical - panels do not stretch.
Explore this methodClosed-panel timber frame
Panels arrive with insulation, vapour control layers, windows and sometimes external cladding already fitted. The fastest weathertight route and the least site labour, at the cost of transport constraints, heavier craneage and less flexibility for late design changes.
Explore this methodSIPs - structural insulated panels
OSB-faced foam panels that are simultaneously structure and insulation, cut in the factory and jointed on site with splines. Very airtight and very fast. Detailing at joints, penetrations and sole plates decides the moisture performance for the life of the building.
Explore this methodCross-laminated timber (CLT) erection
Engineered timber panels erected like flat-pack - light, fast and unforgiving about design changes and water.
Explore this methodBest suited for
- UK volume housing - cavity wall construction every buyer, valuer and lender understands
- Factory-made timber frame where speed and thermal performance lead
- Gulf villas in rendered blockwork - the regional default
- Low-rise builds where small gangs and simple plant keep costs honest
- Sites without craneage - materials moved by hand and telehandler
Masonry & Timber Frame: step by step
- 1
Step 1: Verify the base: slab level, DPC and setting out
Check the ground floor slab or oversite for level and square - timber panels need the base within millimetres; masonry will tolerate more but repays accuracy. Lay or verify the DPC at the base of the wall, bedded on mortar with laps sealed. Mark out wall lines, openings and panel joints before any material is stood up.
- 2
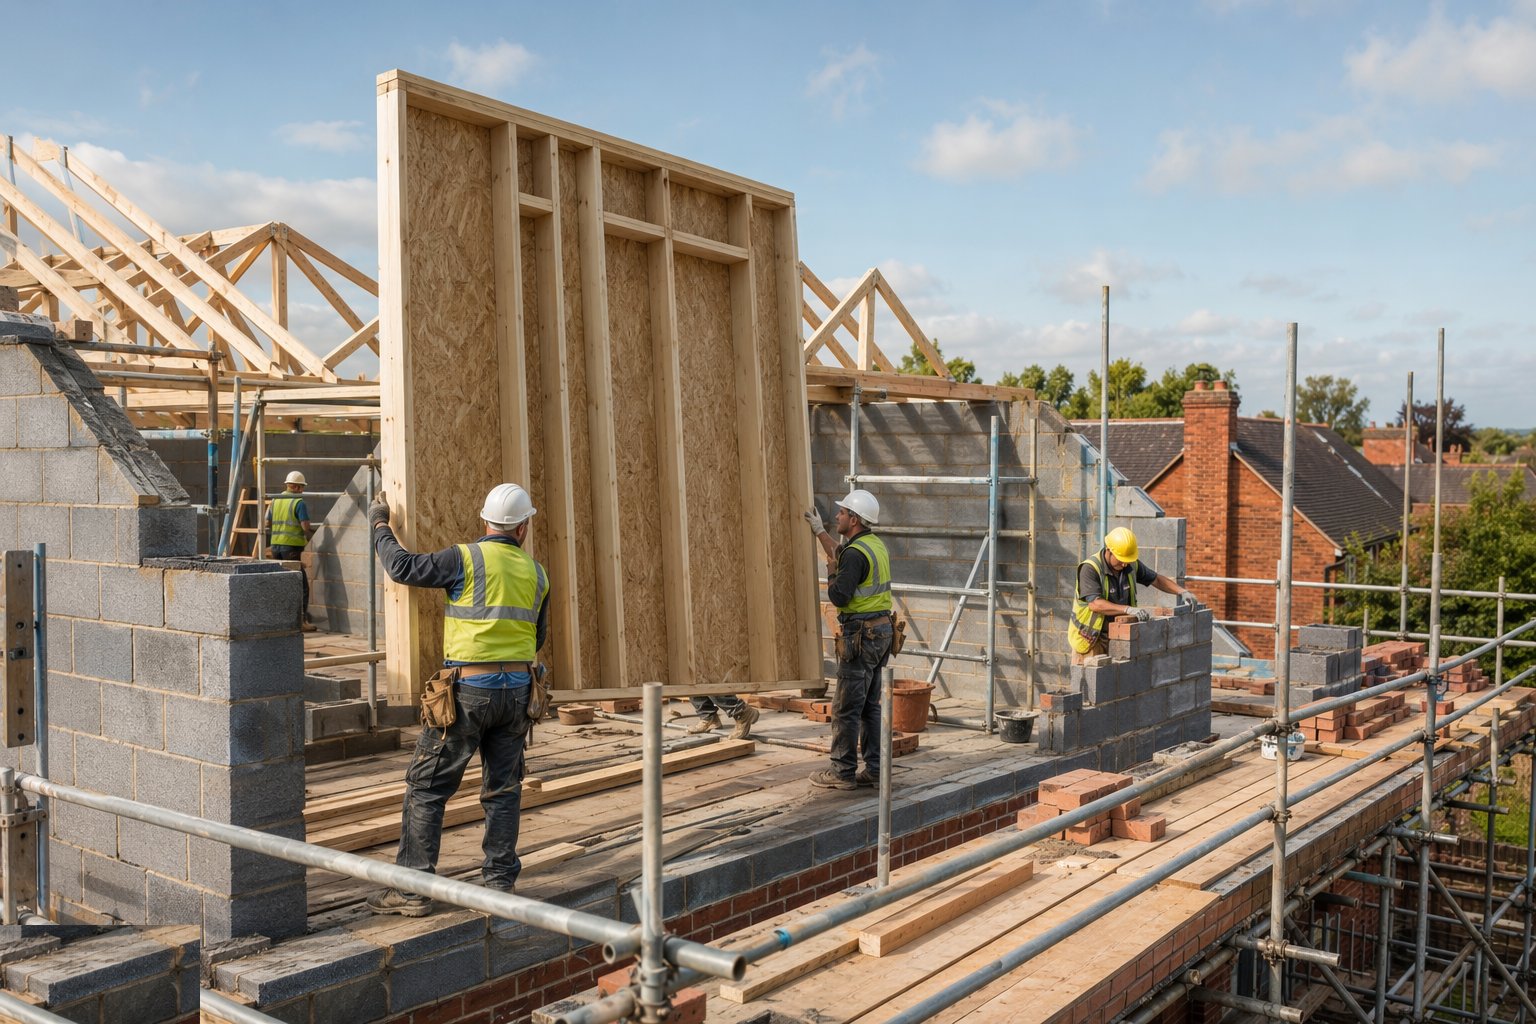
Step 2: Erect timber panels or start the inner leaf
Timber frame: panels are craned or manhandled into position, braced temporarily, plumbed and fixed to the sole plate and to each other in the designed sequence. Masonry: the inner blockwork leaf rises in lifts with the cavity held clean, wall ties at the specified density, and insulation boards clipped in as the wall climbs. Both routes end the day braced and stable.
- 3
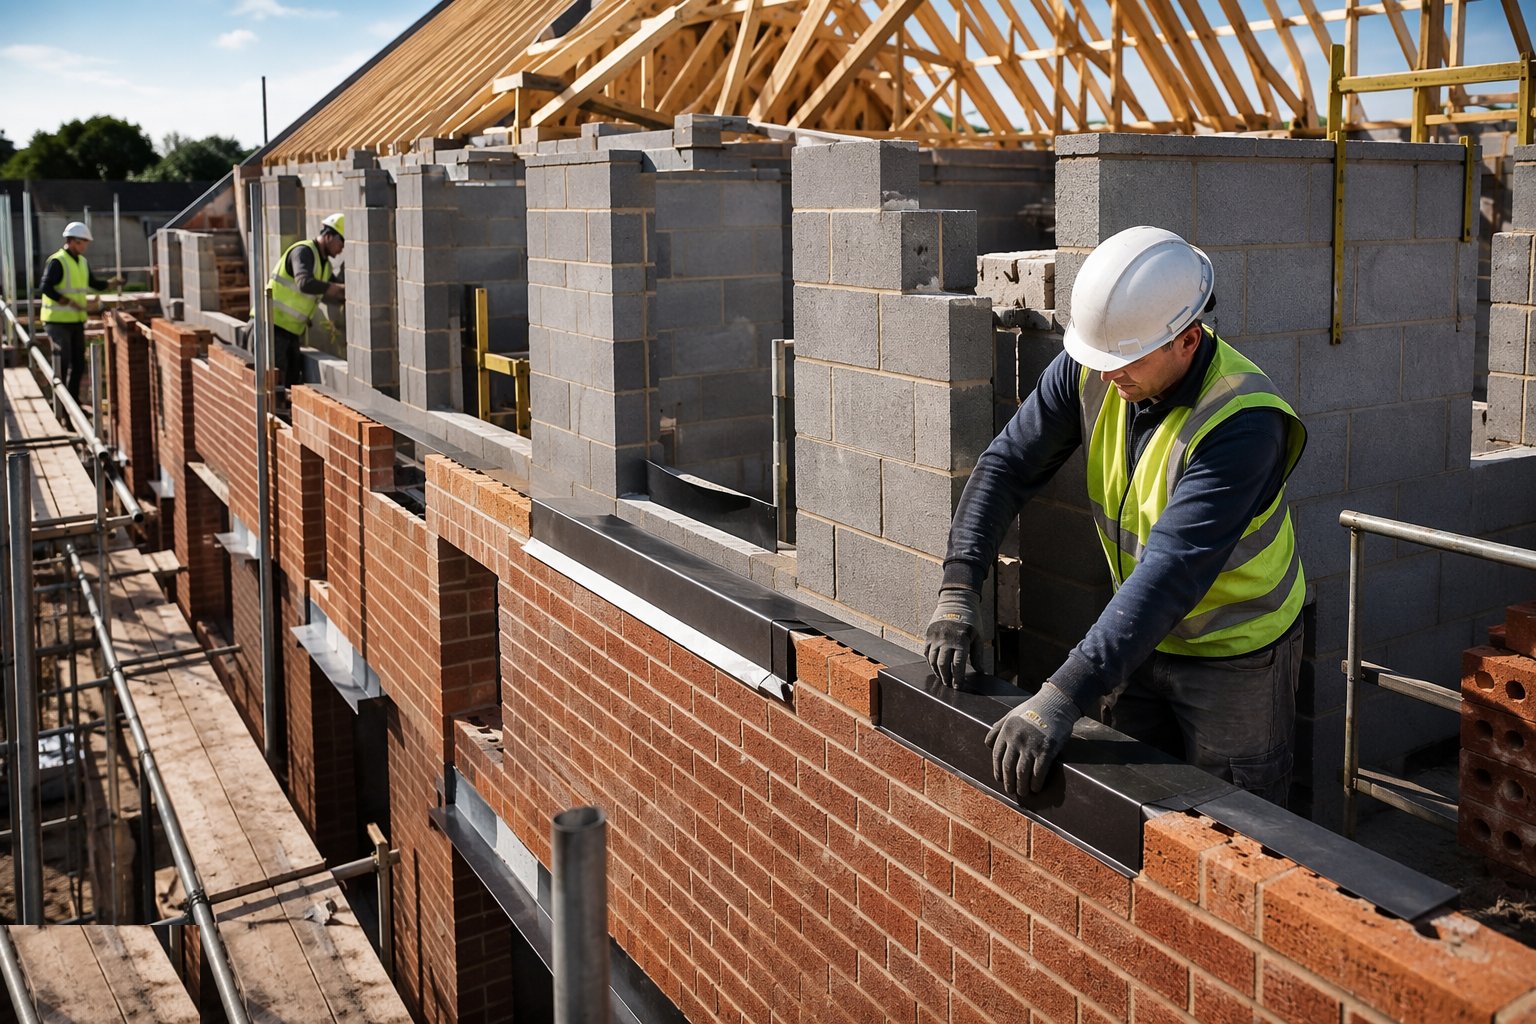
Step 3: Install lintels, DPCs and cavity trays
Every opening gets a lintel bearing the specified length each side, with a DPC or cavity tray above shedding water back to the outer face. Trays at abutments, meter boxes and cavity closures are the fiddly details that decide whether the wall leaks in year five. Weep holes are formed at tray and lintel level - and actually left open.
- 4
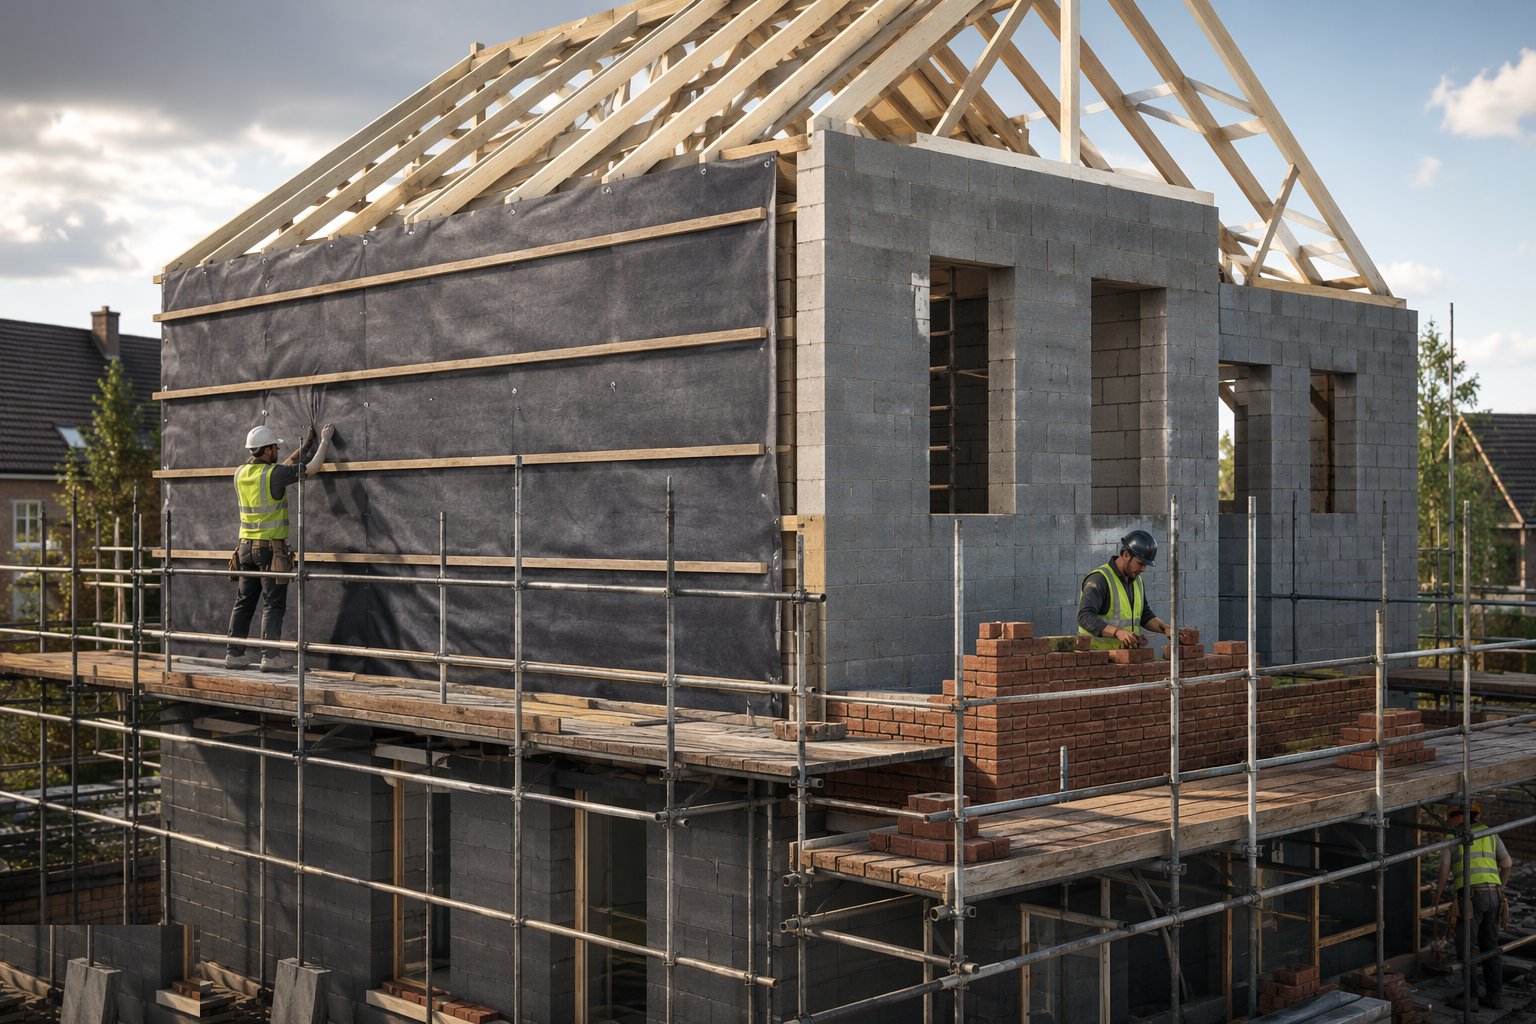
Step 4: Build the outer leaf or fit the breather membrane
Masonry: the outer brick leaf rises with ties tying back to the inner leaf, joints filled and struck, and cavity insulation maintained clean and continuous. Timber frame: the breather membrane is lapped and taped over the sheathing, battens form the drained cavity, and the outer leaf - brick, render board or cladding - follows. Either way, the cavity is the moisture safety valve and stays clear of mortar snots and debris.
- 5
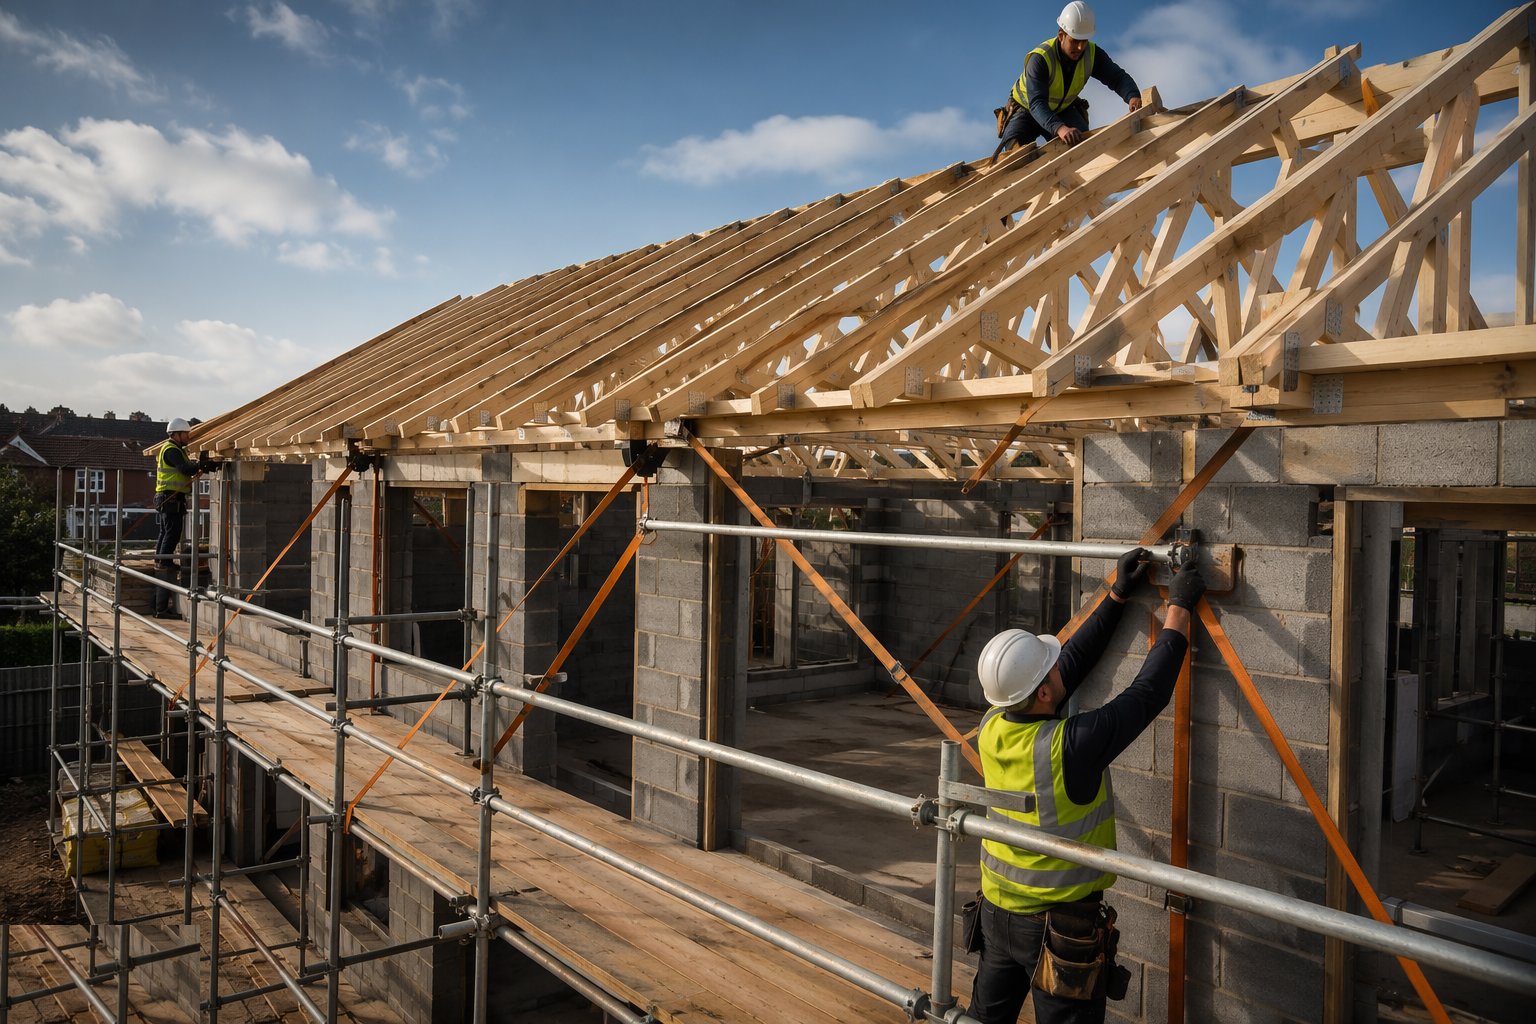
Step 5: Fix bracing, straps and structural connections
Timber frames get their designed racking resistance from the sheathing and bracing, fixed exactly to the nailing schedule - missed nails are missed racking strength. Both systems get holding-down straps at wall plates and floors tying the roof and floors back to the structure. Movement joints in long masonry runs are formed where designed, not where convenient.
- 6
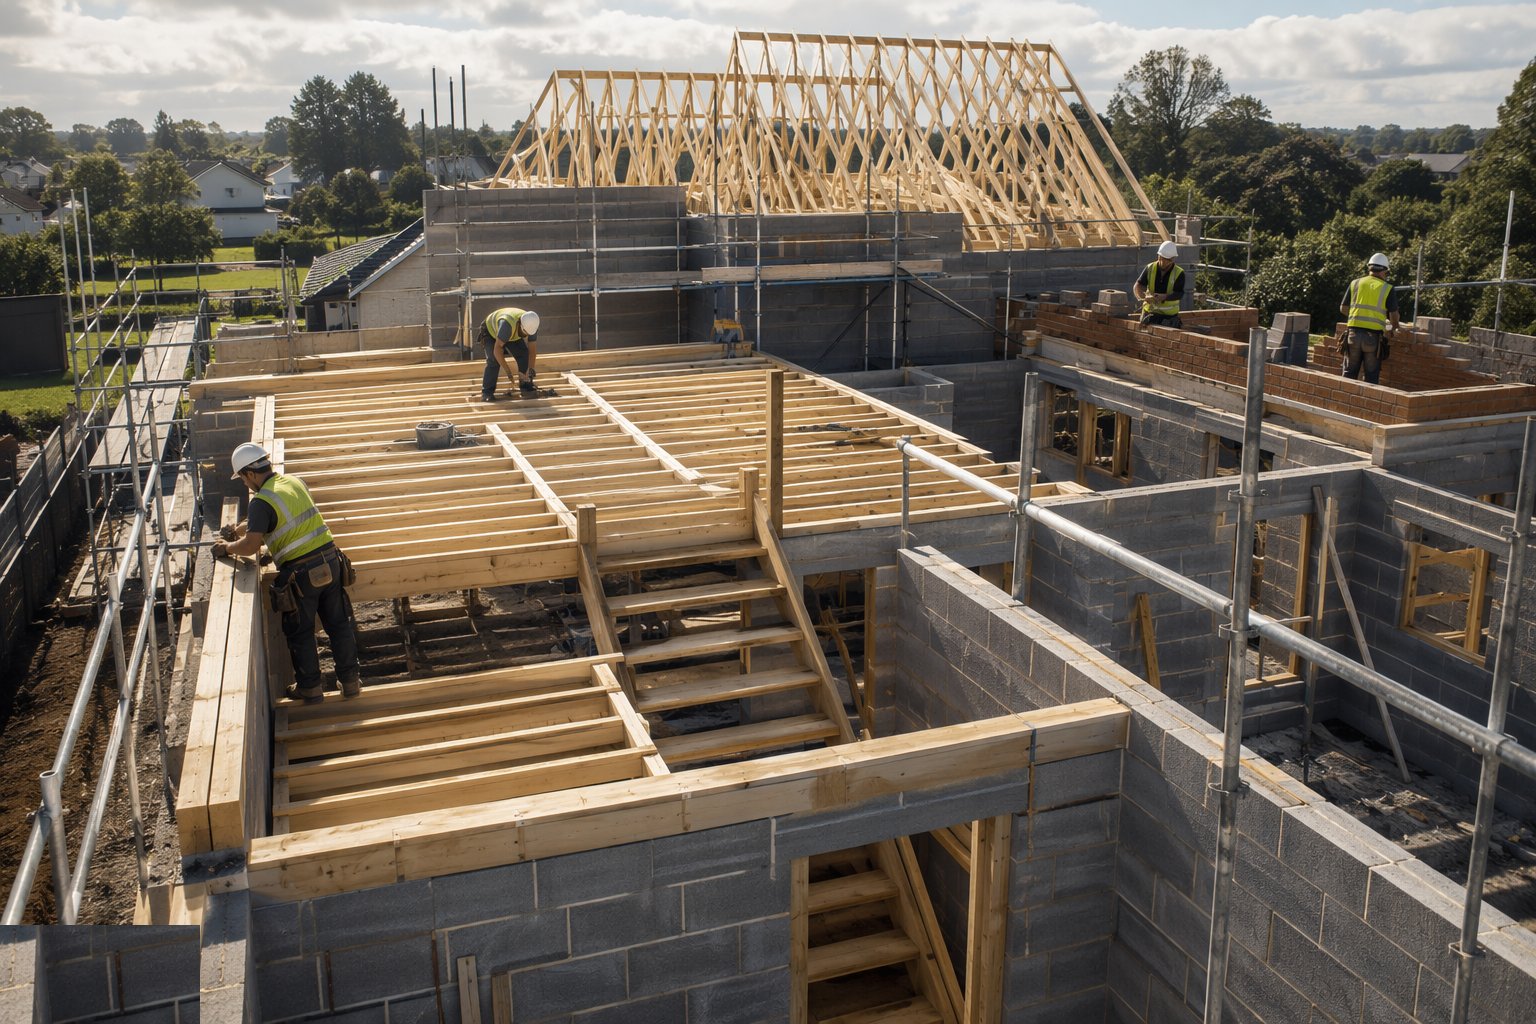
Step 6: First-fix carpentry: floors, stairs and wall plates
Intermediate floors go in - joists or metal-web joists on hangers and wall plates, decked and glued - with the stairwell formed. Wall plates are bedded level, strapped down and aligned for the roof. The shell is now a structure: braced, decked and ready for the roof carpentry.
- 7
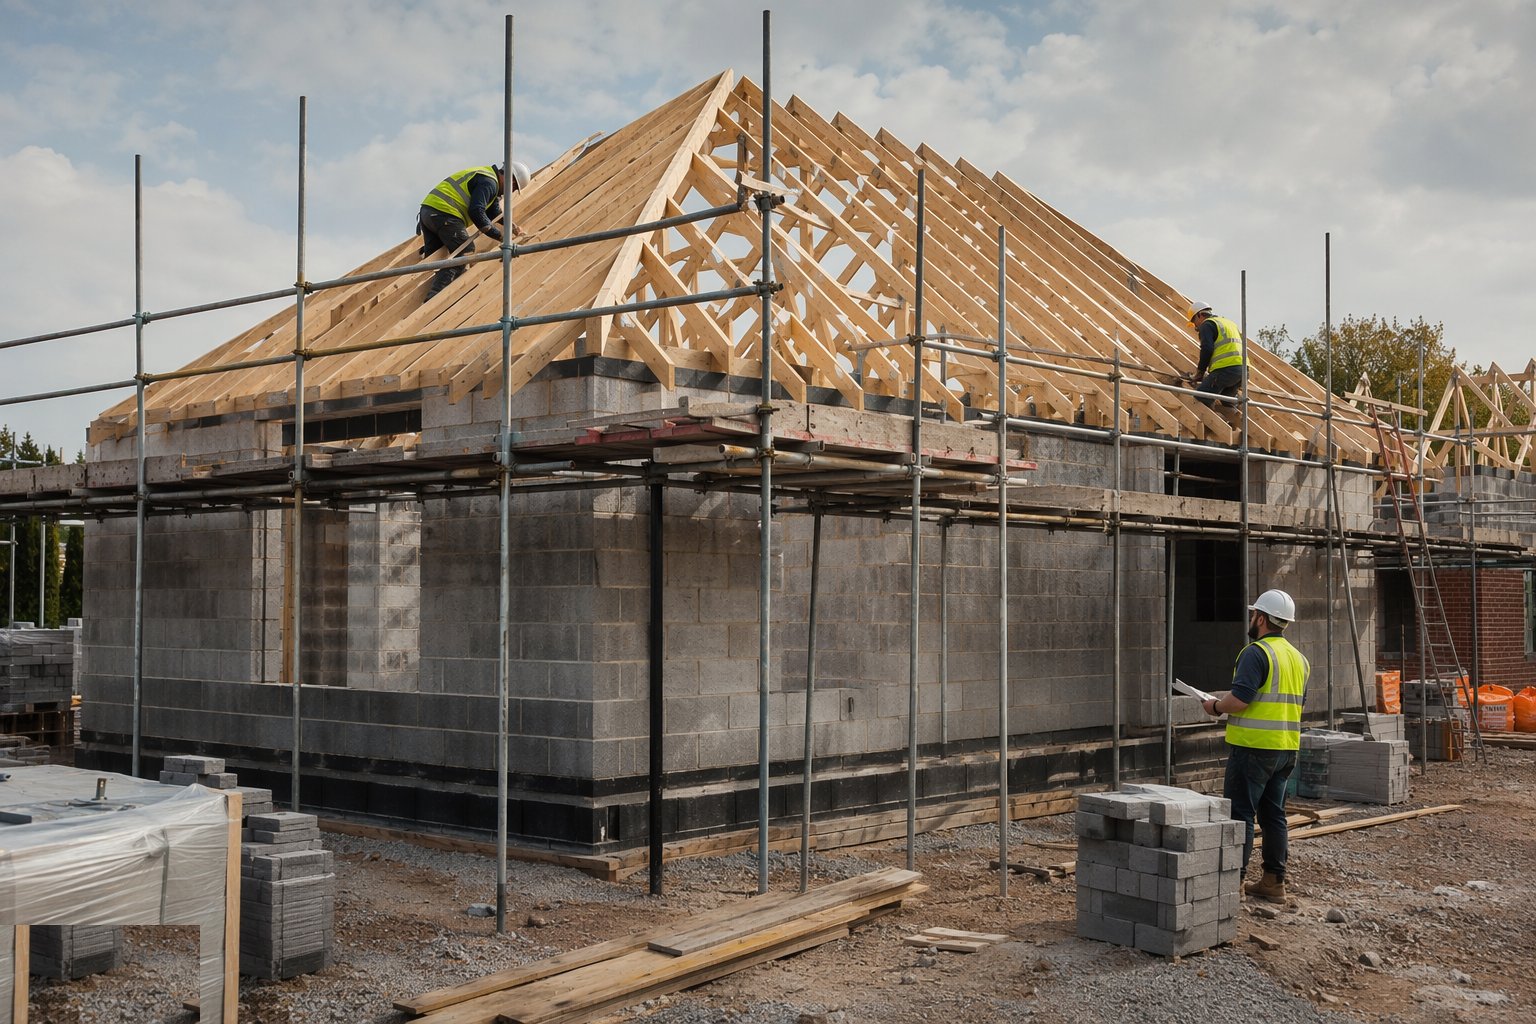
Step 7: Weathertight checks before follow-on trades
Walk the envelope: membranes lapped and taped, cavity clear (a mirror or camera down the cavity tells the truth), weep holes open, DPCs continuous, openings closed or protected. Any remedials happen now while the scaffold is up and the access is easy. Sign-off releases roofing and first fix to proceed inside a drying shell.
Plant & equipment
- Telehandler or crane for panels, lintels and brick packs
- Scaffolding - independent or loading bays
- Mortar silos or mixers, spot boards
- Masonry saws, block splitters and joinery tools
- Nail guns and fixing tools for panels and sheathing
- Lasers and levels for plates and panel alignment
Quality control & testing
- Mortar designation to specification - silo records or batch checks
- Wall tie type, spacing and embedment inspected per lift
- Cavity cleanliness checked per lift - no mortar build-up on ties
- Panel plumb, line and fixing schedule verified per house
- DPC, tray and weep-hole inspection at every opening and abutment
- Strap and bracing checks against the structural drawings
Safety watchpoints
- Scaffold inspected weekly and after alteration - scafftags current
- Panels braced until permanently stable - wind is the killer
- Manual handling: blocks and lintels within weight limits, team lifts
- Loading bays used properly - no overloading of scaffold platforms
- Dust control for masonry cutting - water suppression, RPE
Common defects to hunt
- Missing, wrong or corroding wall ties - leaf separation and bulging
- Mortar snots bridging the cavity - damp patches inside
- DPCs bridged by render or paths - rising damp at the base
- Panels racked out of square - doors and windows that never fit
- Missing nailing on sheathing - racking strength quietly absent
- Breather membrane and vapour control layer reversed - interstitial condensation inside the frame
- Blocked weep holes and missing cavity trays - water tracking inward
How long does Masonry & Timber Frame take?
Typical duration: 1–3 weeks per house for timber frame shell; 3–8 weeks per house for full masonry, weather permitting..
Related processes
- Basement & Substructure
- Waterproofing and Tanking
- Concrete Frame Construction
- Steel Frame Construction
- Floor Slabs & Screeds
- Roofing
- Façade & Cladding
- Insulation Systems
- Windows, Doors & Glazing
- MEP First Fix
- Internal Finishes
- MEP Second Fix & Commissioning
- Site Access & Enabling Works
- Site Clearance & Demolition
- Setting Out & Survey Control
- Earthworks & Excavation
- Dewatering & Groundwater Control
- Shallow Foundations
- Piling & Deep Foundations
- External Works & Landscaping
- Testing, Handover & Snagging
- Masonry & Timber Frame in Off-Site & Modern Methods
- Masonry cavity walls - method
- Open-panel timber frame - method
- Closed-panel timber frame - method