SIPs - structural insulated panels
Structure and insulation in one sandwich - engineered in the factory, judged at the joints.
Last updated 2026-09-05
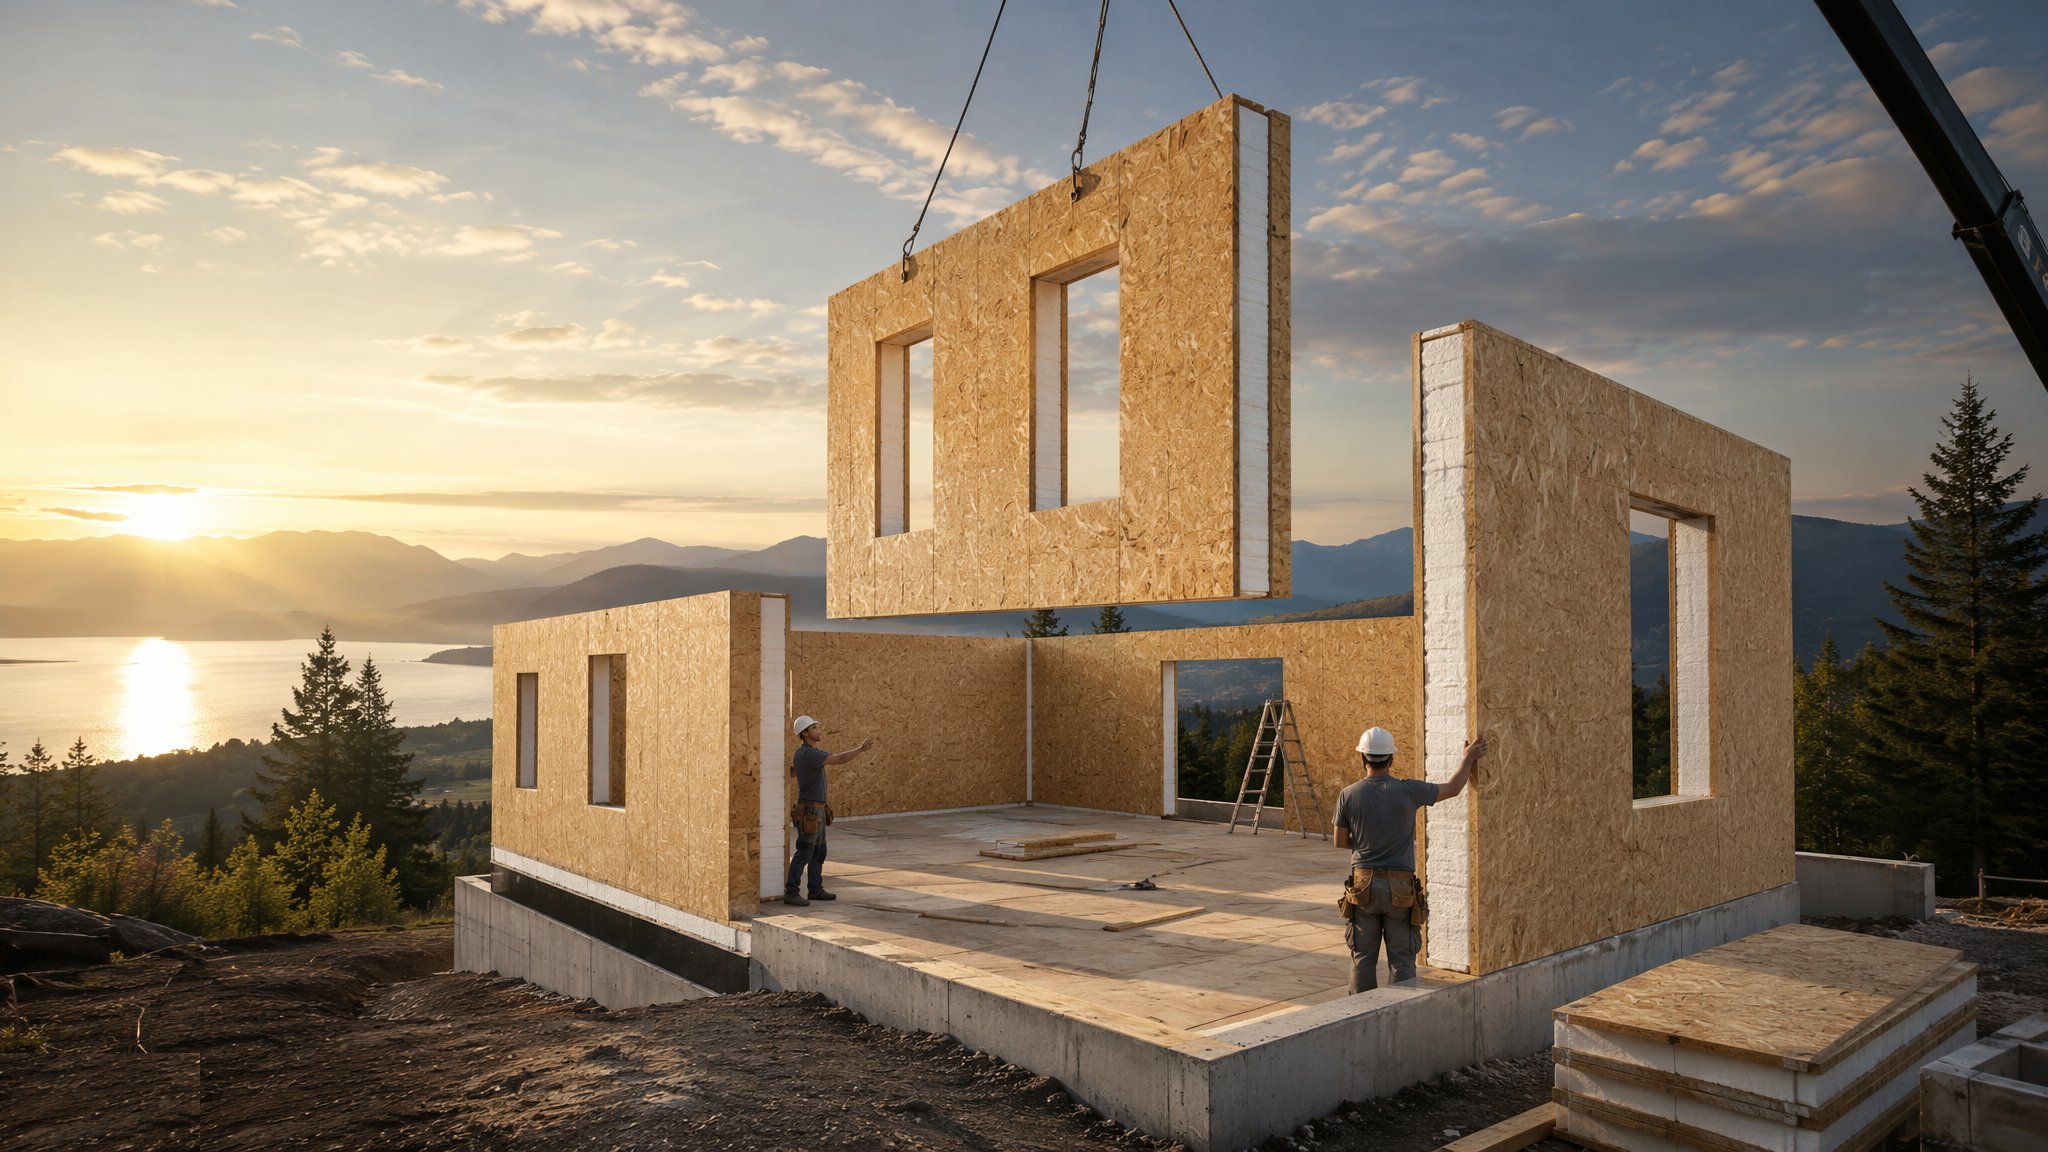
What is SIPs - structural insulated panels?
Structural insulated panels are the most industrialised wall system in common use: two faces of oriented strand board factory-bonded to a core of rigid foam - typically polyurethane or EPS - forming a panel that is simultaneously the structure, the insulation and most of the air barrier. Panels are cut to the millimetre off the production drawings, delivered as a numbered kit, and jointed on site with splines, sealant and screws into a shell that goes up at remarkable speed. There is no stud zone to fill and no membrane to tape across a field of timber: the panel is the wall.
What SIPs give in performance they take in tolerance for sloppy detailing. The panels themselves are excellent - straight, strong, thermally continuous, with foam cores delivering wall U-values around 0.15–0.18 W/m²K in residential thicknesses and airtightness figures that passivhaus builders covet. But the system's whole moisture and air performance lives at the joints, the sole plates and the penetrations. Every joint needs its designed sealant and tape; every penetration needs a sealed collar; the sole-plate detail must keep the panel base dry and drained. A SIP building that is sealed as drawn is superb for fifty years; one assembled with gaps and hope develops interstitial condensation inside a sandwich nobody can open.
The structural behaviour is also genuinely different from stud frame. SIPs act as stressed-skin panels - the two OSB faces work with the core like the flanges and web of a beam - which gives high racking and load-bearing capacity from a thin wall, but it means holes, chases and notches are engineering events, not carpentry afterthoughts. Service runs are planned into designed voids and battens before manufacture. The electrician who starts chasing a SIP wall for a socket has just cut the structure, and the drawings already told him where not to.
Process storyboard
Step 1 of 6 - slide through the snapshots.
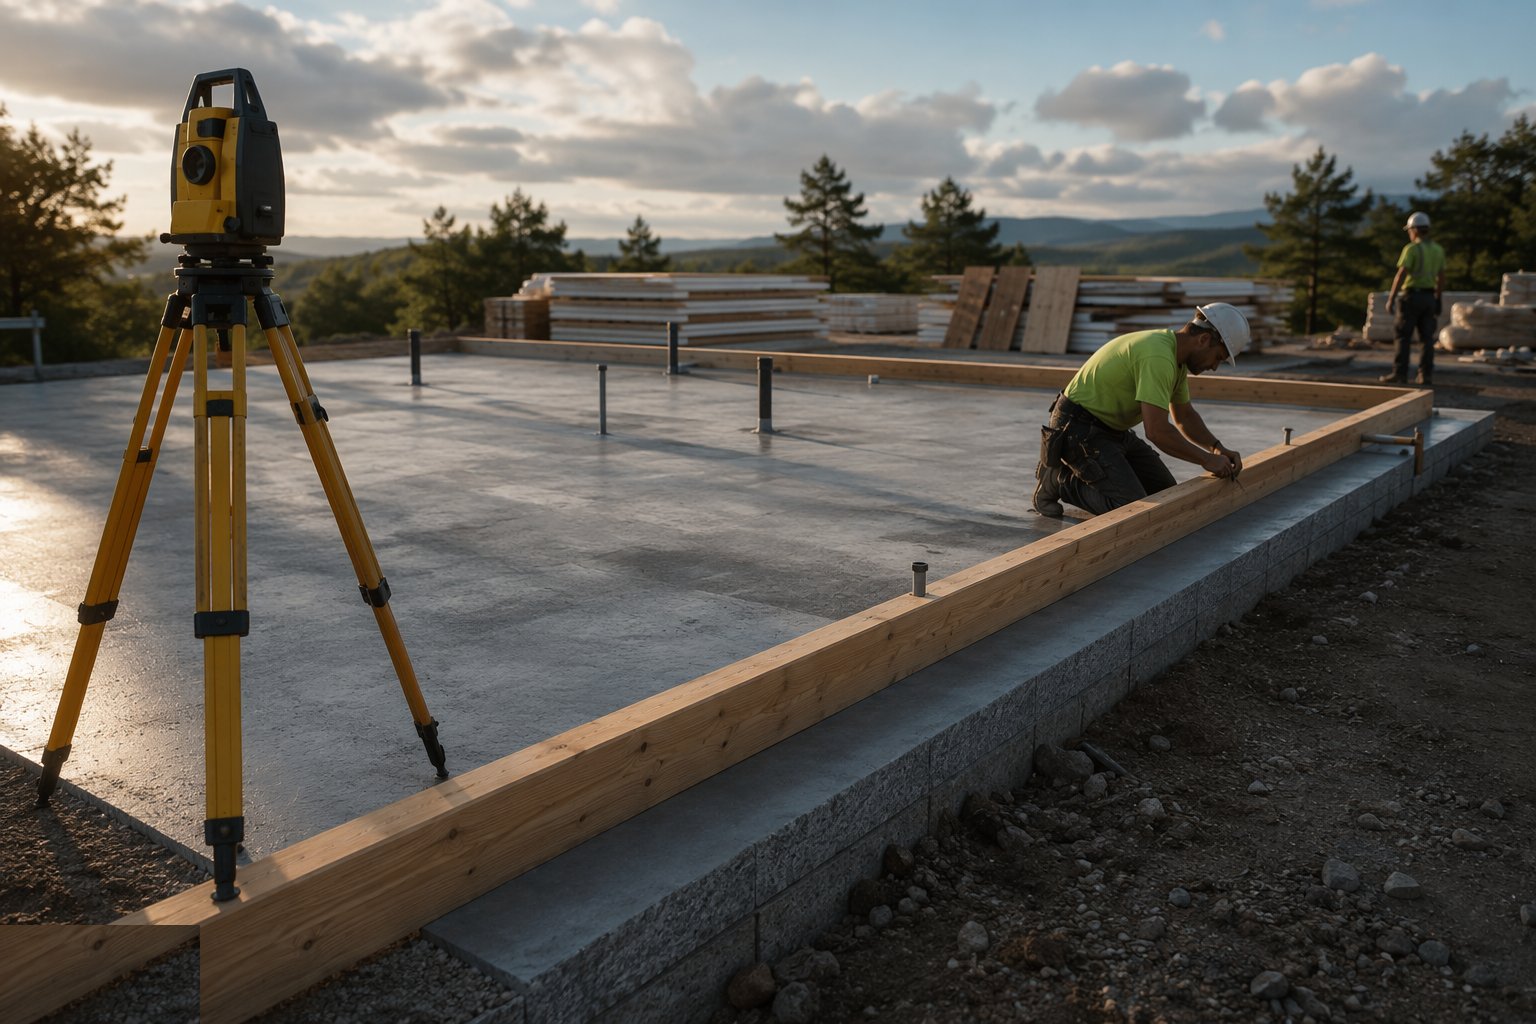
STEP 1
Survey the base and set the sole plates
The slab or sub-structure is surveyed to the system's tolerance - panels are unforgiving of level error - and treated sole plates or base details are set out…
How does SIPs - structural insulated panels work, step by step?
- 1
Step 1: Survey the base and set the sole plates
The slab or sub-structure is surveyed to the system's tolerance - panels are unforgiving of level error - and treated sole plates or base details are set out and fixed to the panel layout. DPCs, seals and drainage details at the base go in exactly per the system manual, because the bottom of the panel is where moisture management begins. Panel reference marks are transferred to the plates so the numbered kit lands in order.
- 2
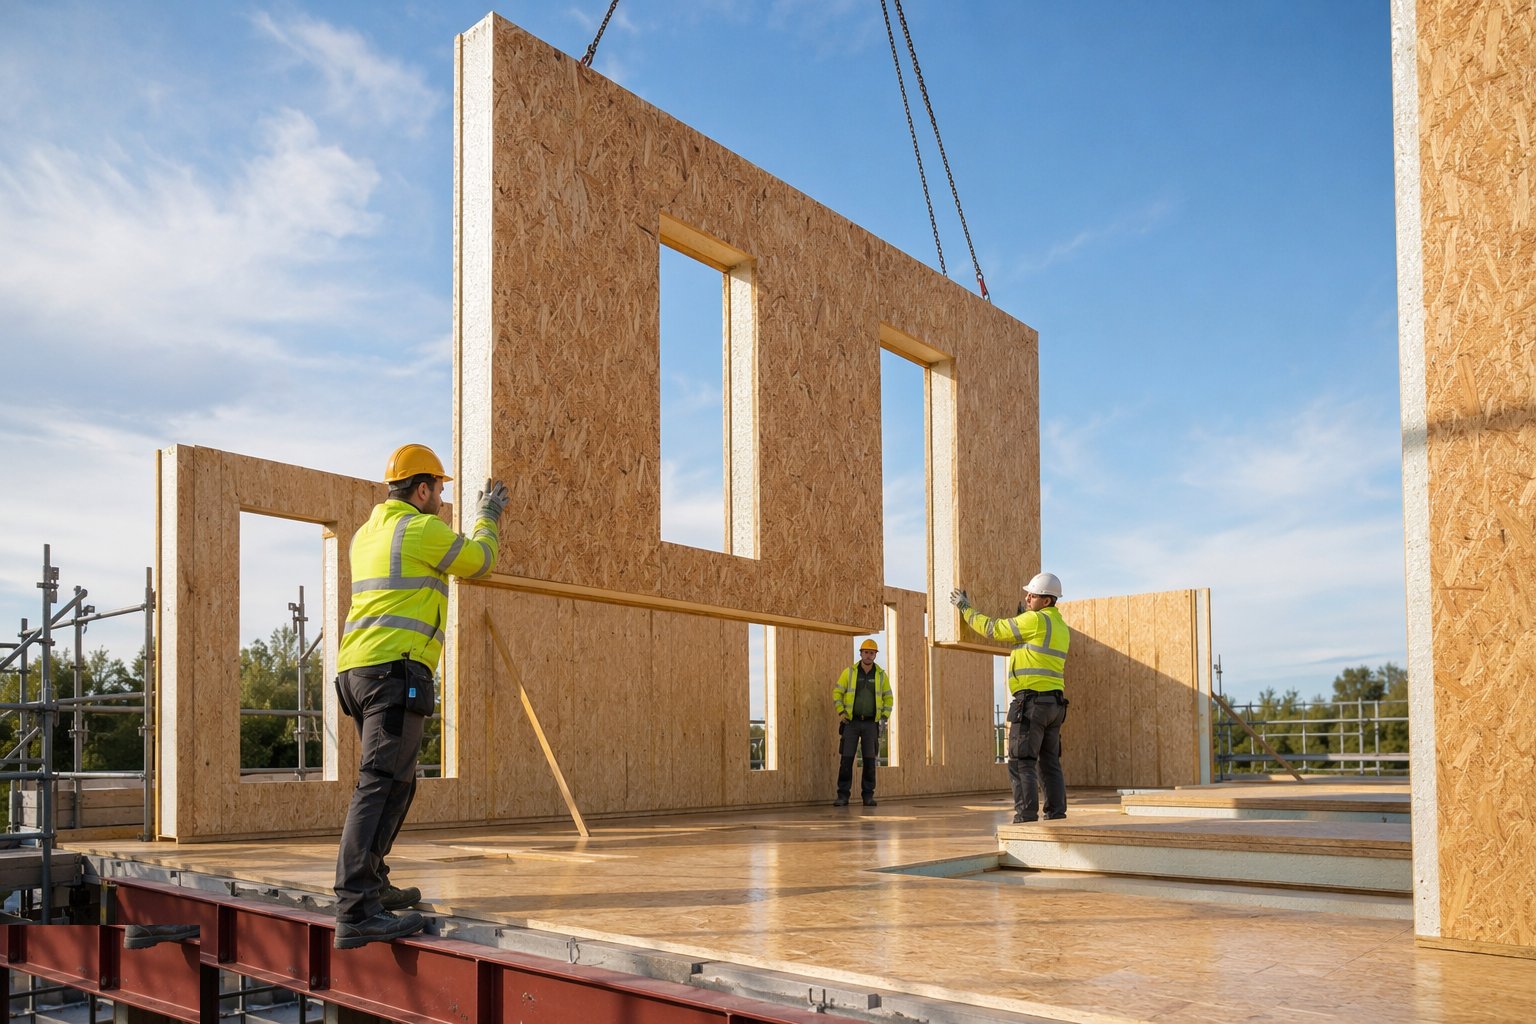
Step 2: Stand and joint the wall panels
Panels are lifted into position - small enough to manhandle on housing, craned on larger spans - and seated onto beads of the specified sealant at the sole plate. Joints are made with the designed splines or mini-splines, foamed or glued and screwed at the specified centres, pulling faces flush. Each panel is plumbed and aligned as it lands; the kit's erection sequence is followed because later panels key off earlier ones.
- 3
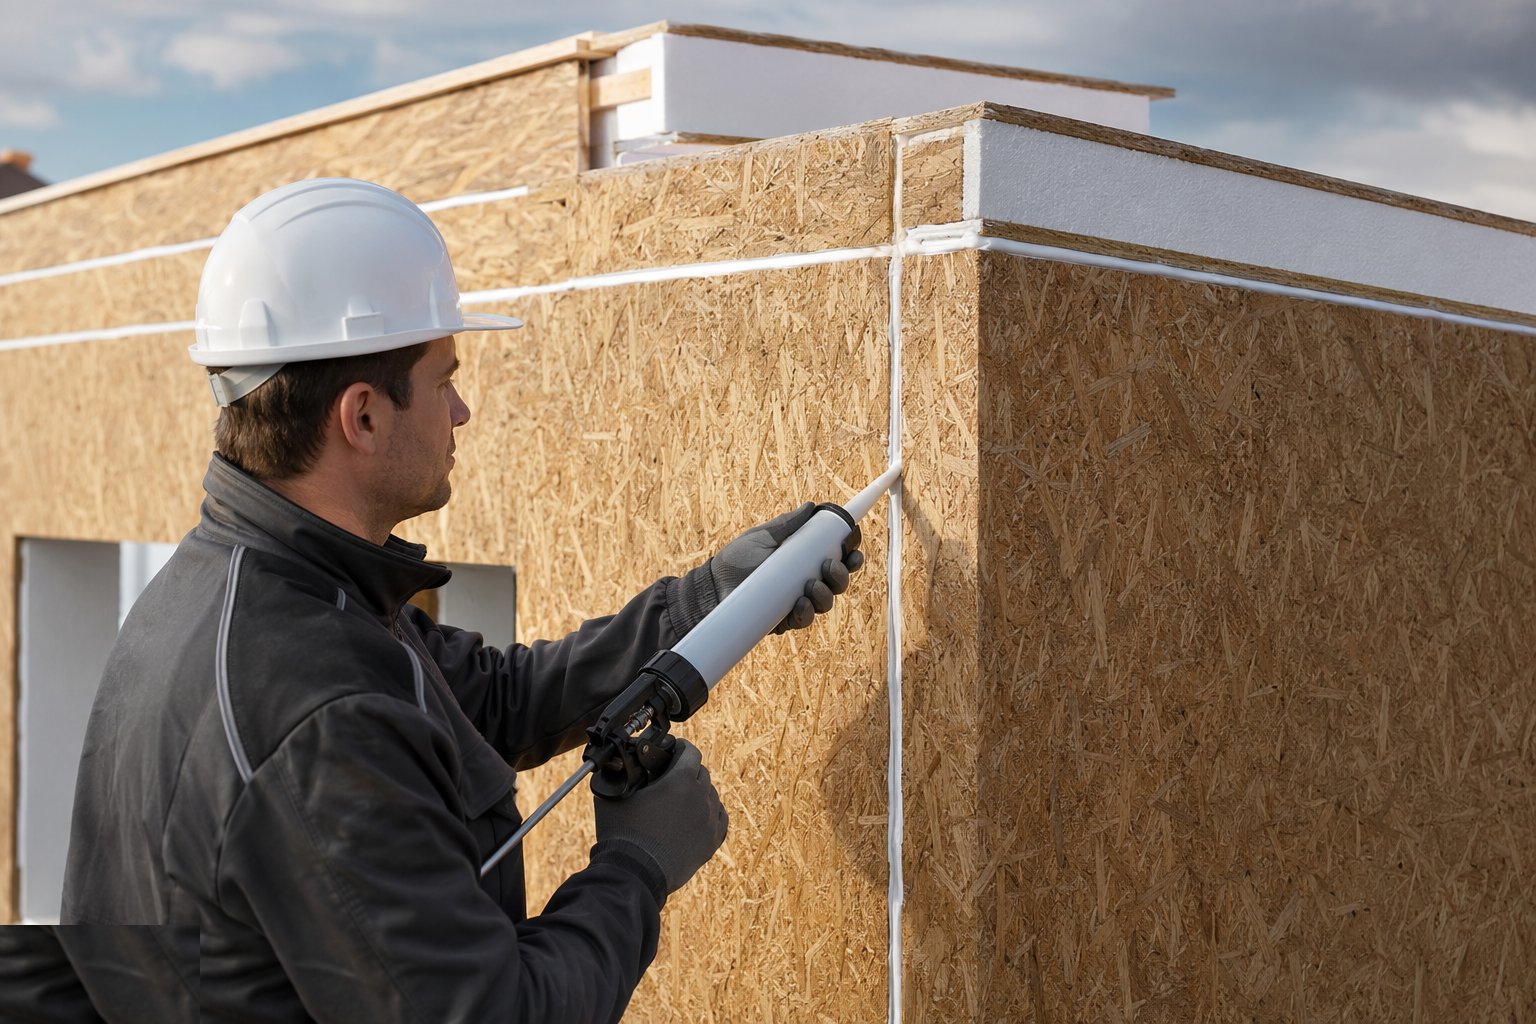
Step 3: Seal every joint for air and vapour
Once the structure is fixed, the joints are sealed as the system demands - tapes and sealants to internal and external faces, special attention at corners, T-junctions and panel-to-roof connections. This is the airtightness layer, and on SIPs it is also the interstitial-condensation defence: warm moist air must never reach the cold face of a joint. Sealing runs are continuous, inspected and photographed before linings or claddings close them.
- 4
Step 4: Erect floors and the roof structure
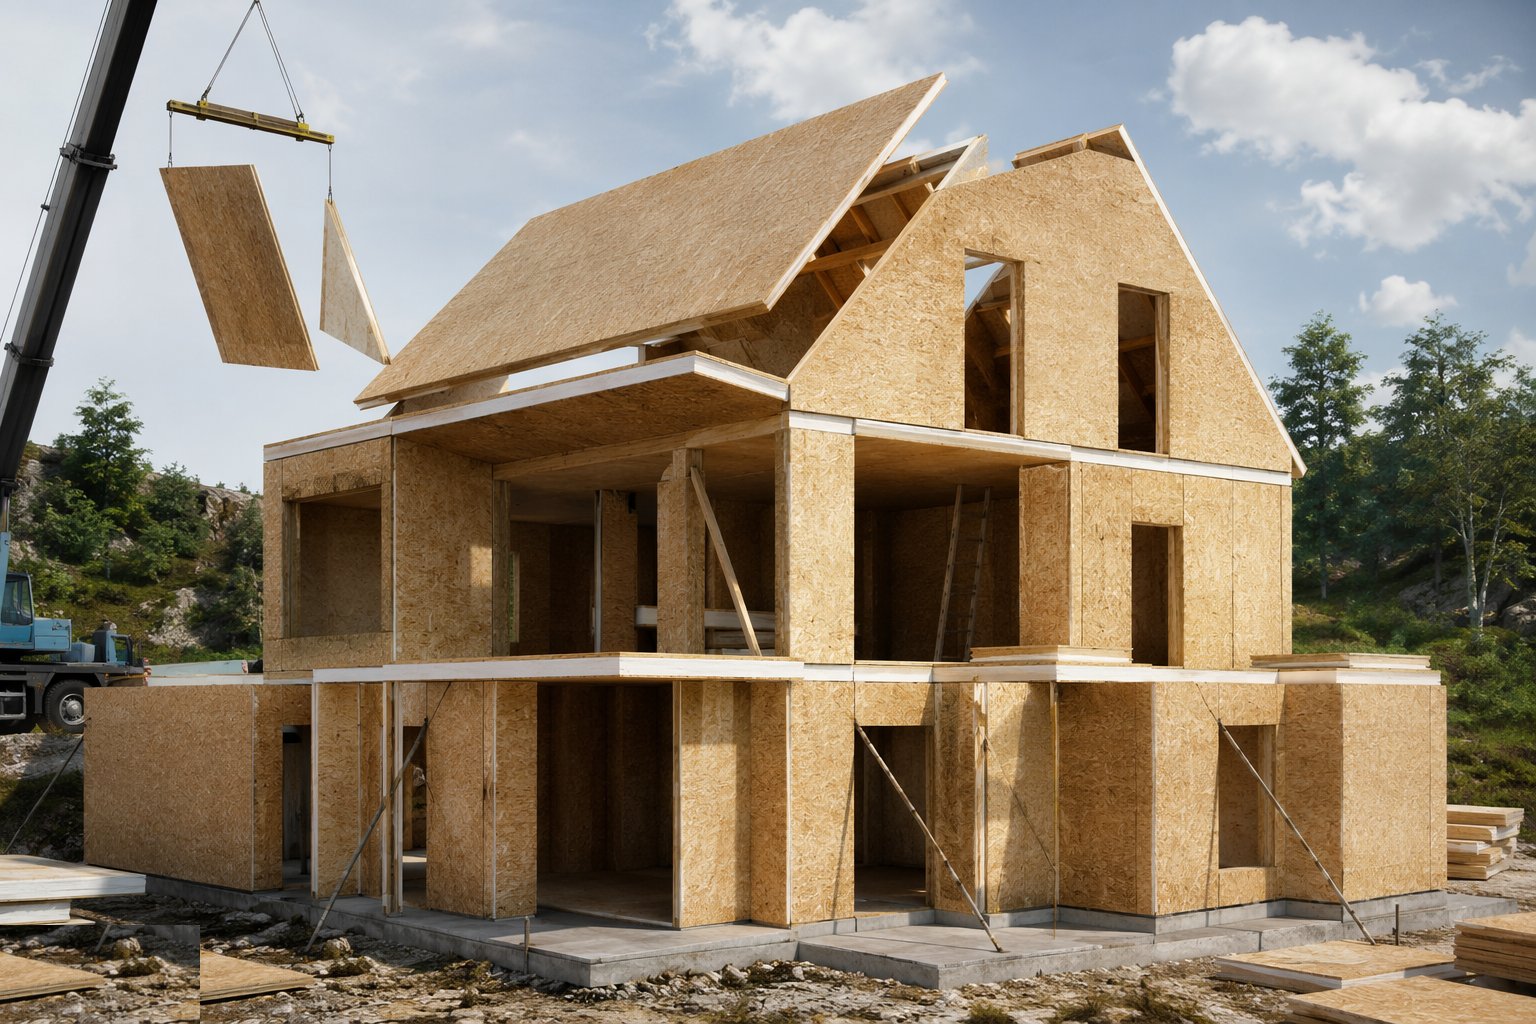
Intermediate floors bear on the panels per the design - joist hangers, ledgers or panel-faced floor cassettes - and roof panels or a trussed structure complete the shell, jointed and sealed with the same discipline. Holding-down and uplift connections are fixed to the engineer's schedule. The shell is now weathertight-ready: roof covering and outer cladding follow on their own trades.
- 5
Step 5: Form openings and penetrations to the design
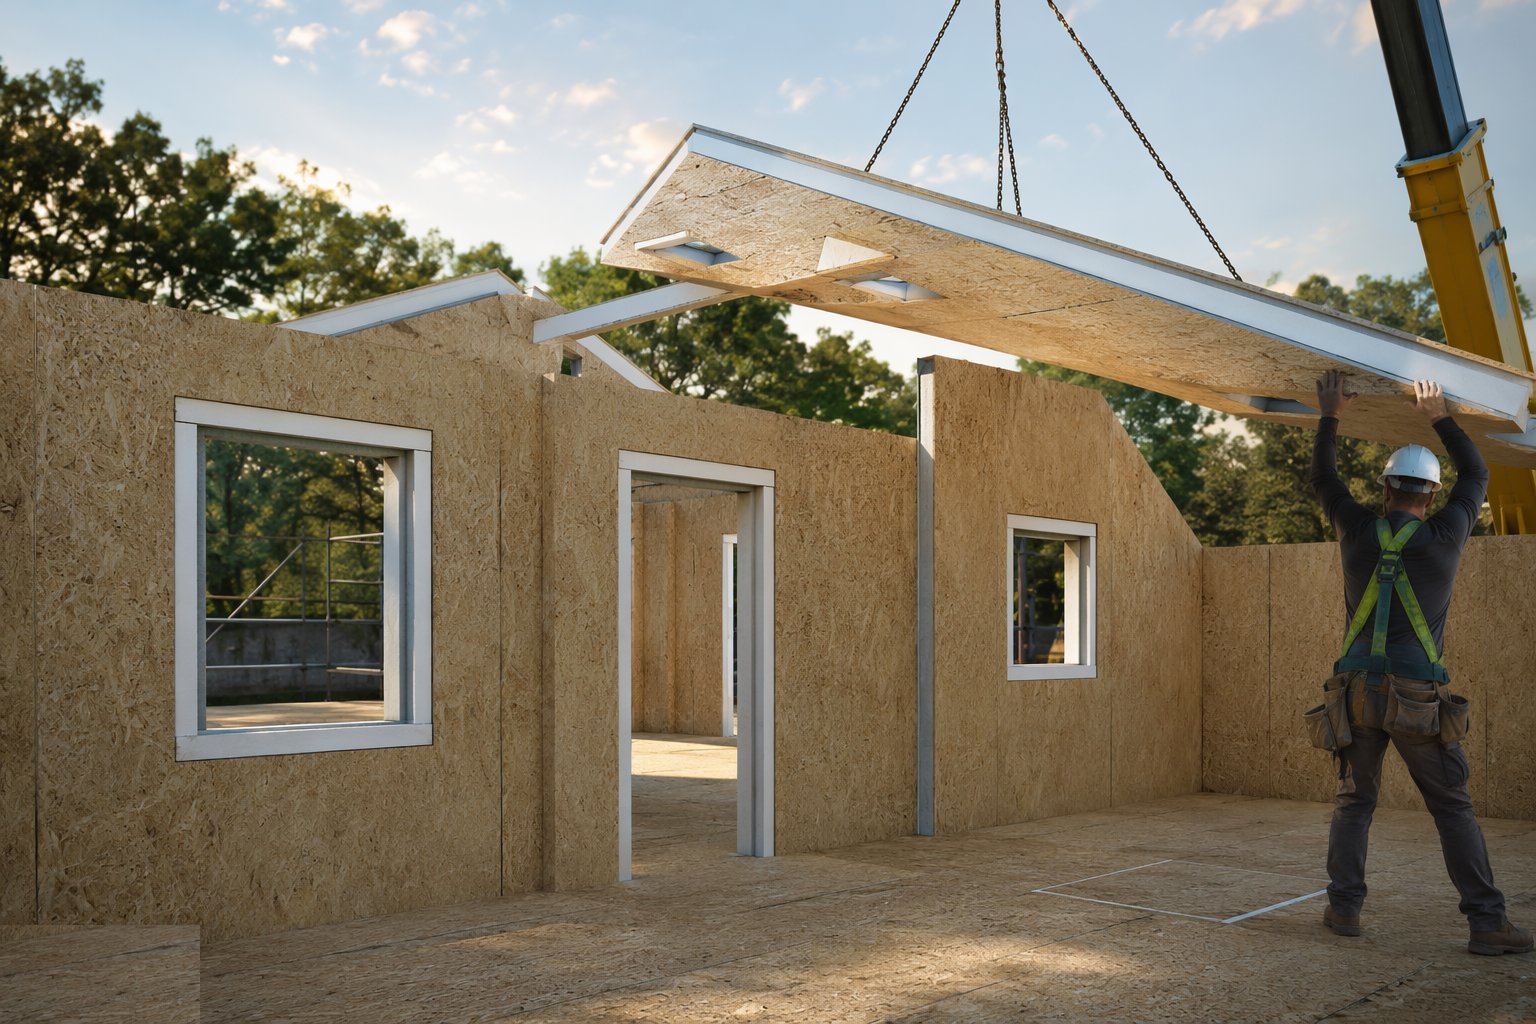
Windows and doors land in their factory-formed or designed openings, fixed and sealed to the air line. Every service penetration uses a pre-planned route with a sealed collar or sleeve - nothing is improvised through the core. Where the design routes services in battened voids, the battens and boarding go on the internal face so cables and pipes never touch the panel.
- 6
Step 6: Verify the envelope and close up
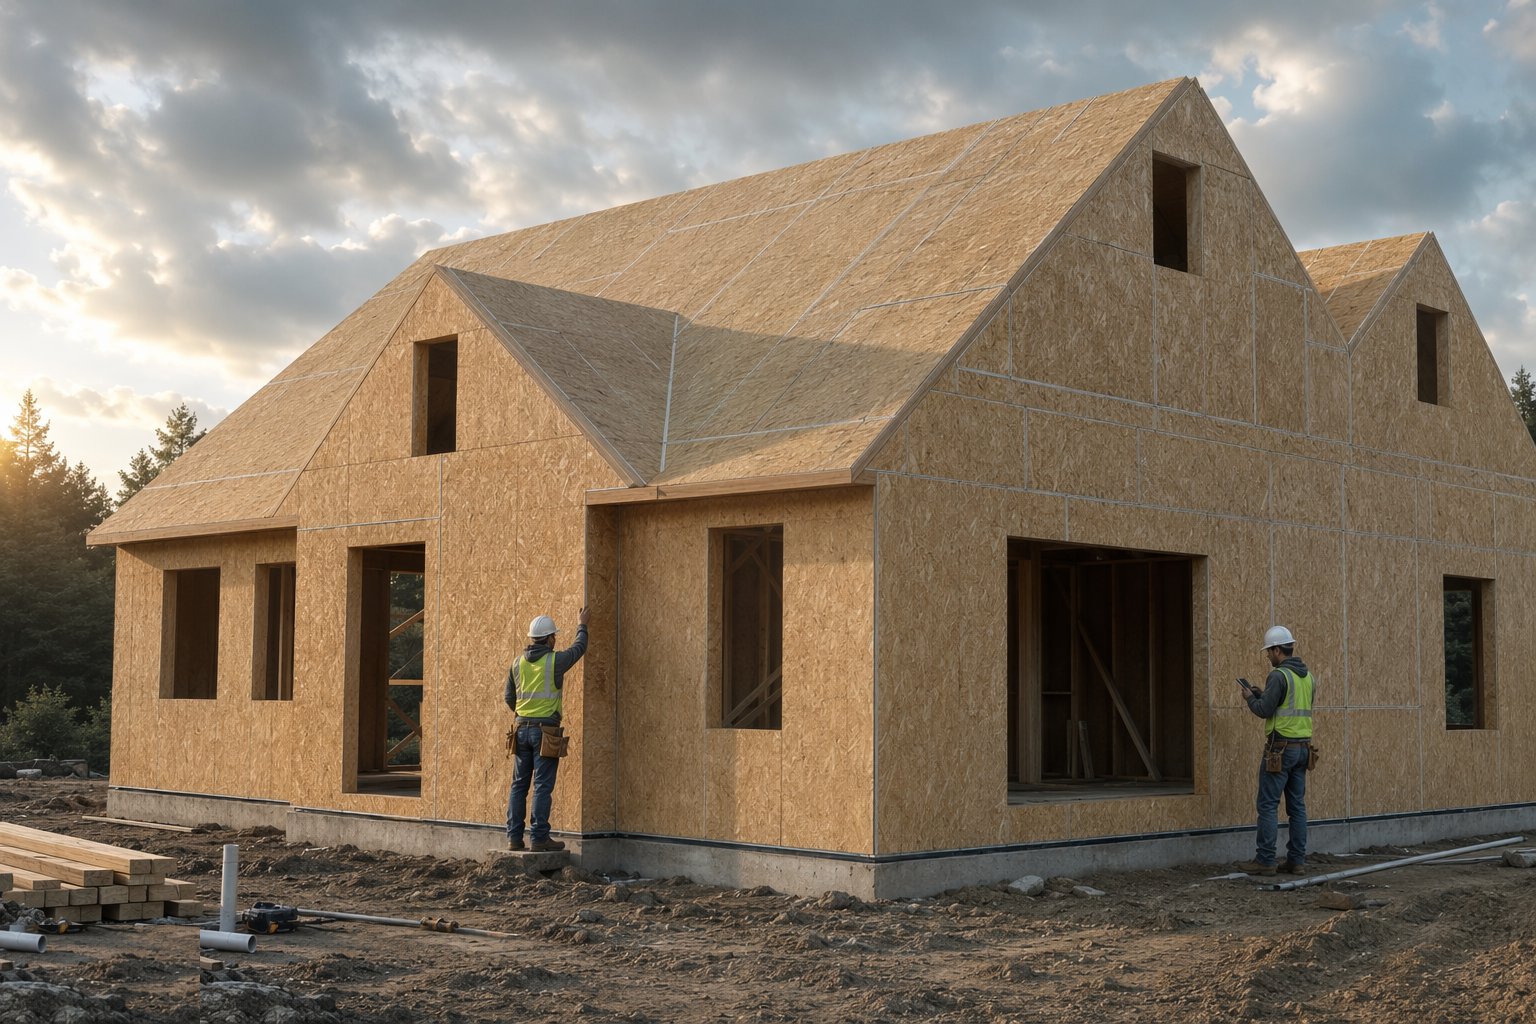
The completed shell is checked joint by joint for sealing continuity, then airtightness-tested against the design target - SIP shells routinely achieve very low permeability, so a failure means a missed joint and it is found with a smoke pencil. External cladding or brickwork proceeds on its drained cavity, internal linings follow, and the photographs of the sealed joints go into the QA file as the permanent record of the layer nobody will see again.
What are the benefits of SIPs - structural insulated panels?
- Structure and insulation in one component - no stud zone, no insulation trade, no gaps
- Excellent thermal performance - U-values around 0.15–0.18 W/m²K with minimal cold bridging
- Outstanding airtightness from large factory-bonded faces and few, inspectable joints
- Very fast shell erection with a small, trained crew
- Thin walls for the performance - more internal floor area on the same footprint
- High strength-to-weight - good spans and racking resistance from a light kit
What are the limitations of SIPs - structural insulated panels?
- Joint and penetration detailing decides the building's whole moisture future - no second chances inside the sandwich
- Holes and chases are structural events - services must be planned before manufacture
- Foam cores demand rigorous fire-stopping and lining details, especially at junctions and cavities
- Design freeze is absolute - panel cutting starts from settled drawings weeks ahead
- Panels damaged or soaked on site cannot be casually repaired - replacement is often the only answer
- Specialist supply chain - fewer manufacturers, longer lead times, less price competition
What is SIPs - structural insulated panels best suited for?
What plant does SIPs - structural insulated panels need?
- Crane or telehandler with panel lifters for roof and large wall panels
- Screw guns and drivers for the specified joint fixings
- Expanding foam guns, sealant applicators and tape tools to the system spec
- Panel saws and hot-wire cutters for designed site adjustments only
- Bracing and props for panels during erection
- Smoke pencil and airtightness test kit for envelope verification
How is SIPs - structural insulated panels quality-checked?
- Panel identity, dimensions and condition checked against the cutting schedule at delivery
- Sole-plate level, line and seal verified before the first panel lands
- Joint fixings, splines and sealant inspected panel by panel during erection
- Air and vapour seals photographed at every joint before covering
- Penetrations checked for sealed collars - nothing improvised through the core
- Airtightness test result recorded against the design target before linings close