Ground-bearing slabs
A hundred millimetres of concrete, wholly dependent on the two hundred millimetres beneath it.
Last updated 2026-08-22
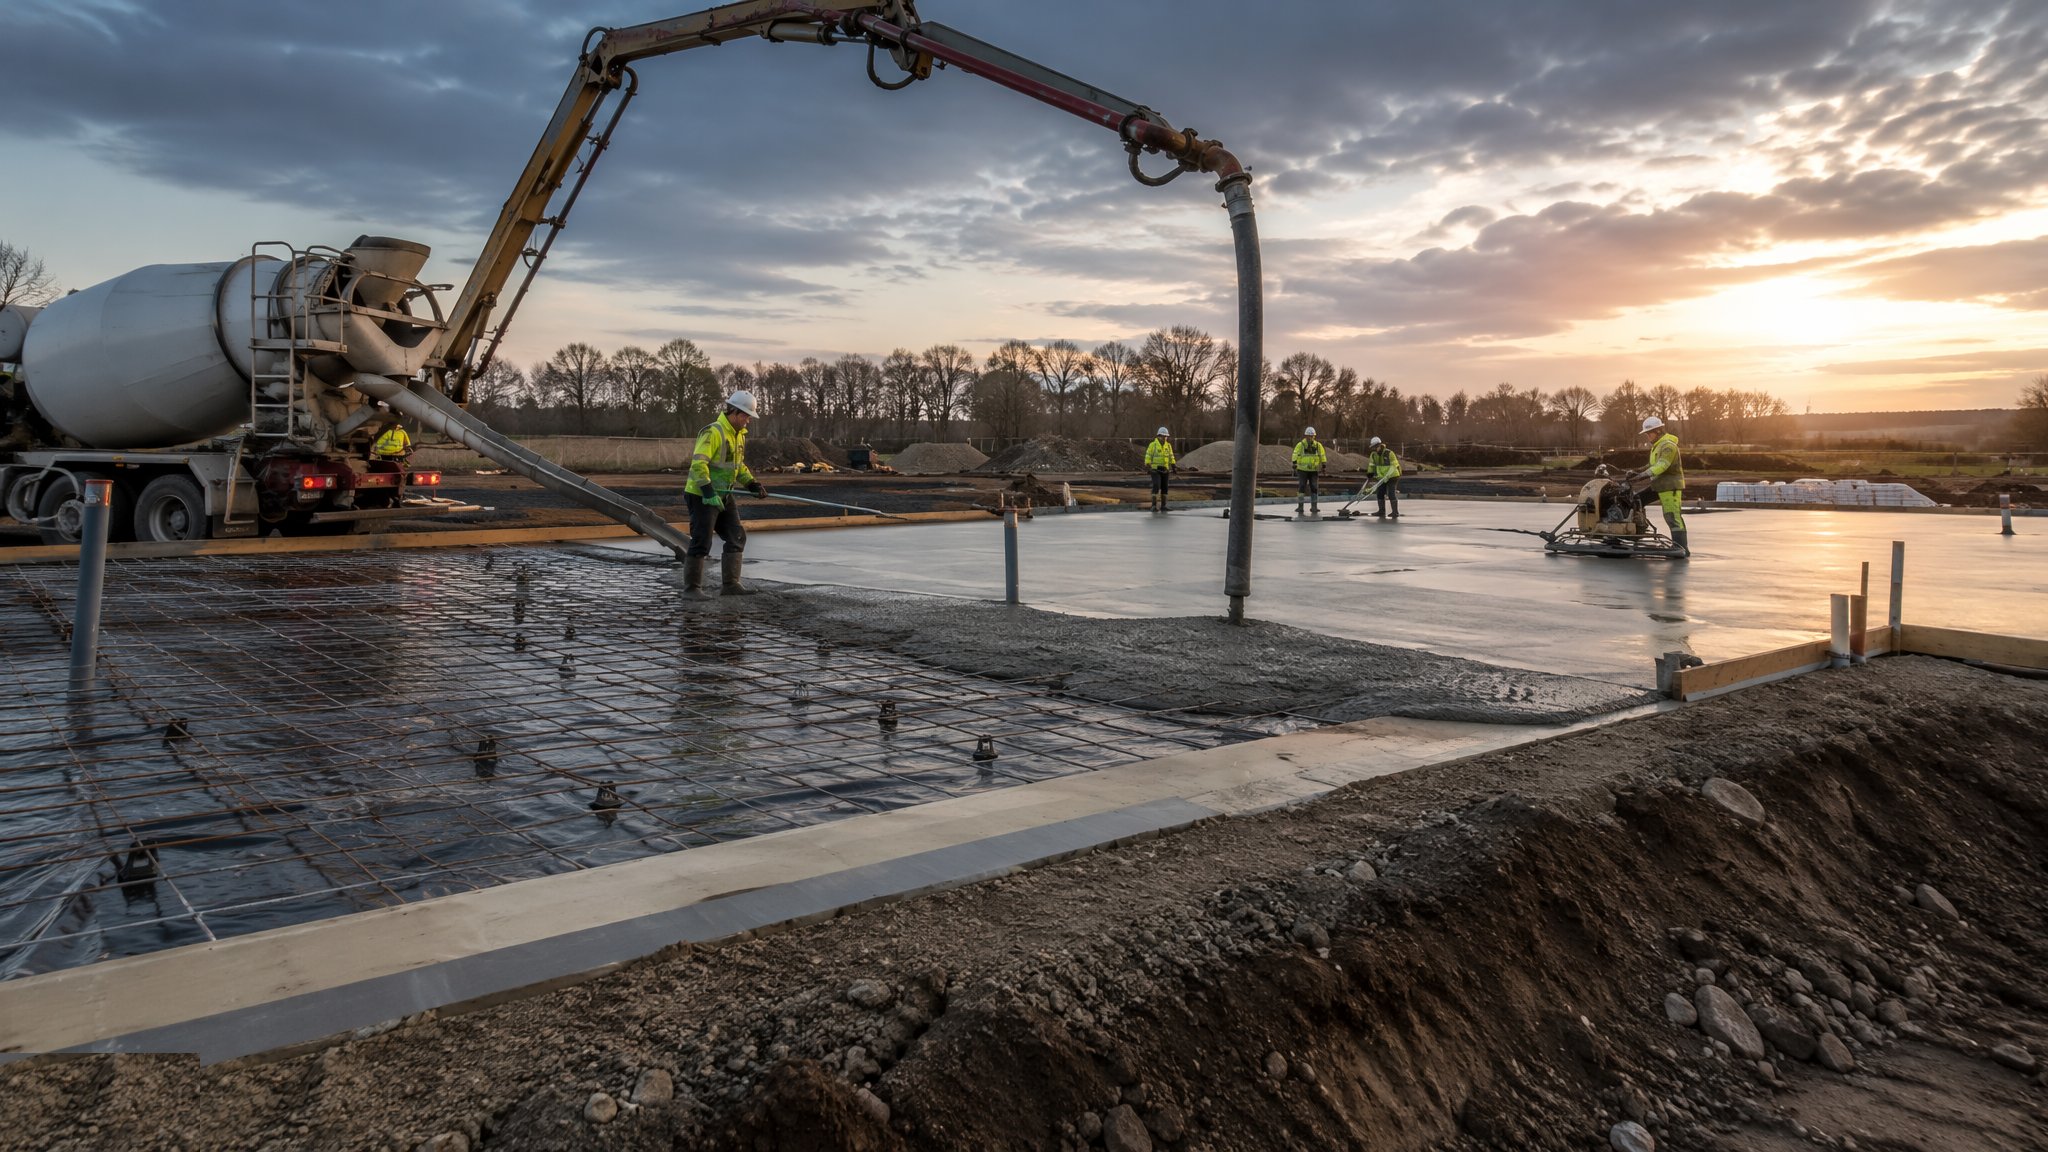
What is Ground-bearing slabs?
The ground-bearing slab is the simplest floor in construction and the one most often let down by what nobody sees. The build-up is a layer cake with a strict order of operations: stripped and compacted formation, a sub-base of well-graded granular material compacted in layers, sand blinding, a damp-proof membrane, rigid insulation, and finally the concrete slab itself - typically 100–150 mm thick in housing, reinforced with a single layer of mesh and power-floated to a closed, level surface. There is no spanning, no void, no structure beyond the ground itself doing the supporting.
Which is exactly the point of failure. The slab faithfully copies whatever lies beneath it, and it does so months after the earthworks gang has left. Fill that was tipped thick and compacted once instead of in thin layers consolidates under load, and the slab settles and cracks along the lines of least resistance - doorways, bay windows, service trenches. Every drainage run and duct beneath the slab is a potential soft trench if it was not backfilled in compacted layers. The engineer's rule is blunt: the money is spent below the DPM, on compaction you cannot inspect afterward, and the only honest verification is testing the layers as they go down.
Thermal and moisture performance sit in the same build-up. Current energy standards push ground-floor U-values toward 0.13–0.18 W/m²K, which means 100 mm or more of rigid insulation with the perimeter edge detail cutting the cold bridge to the external wall. The DPM - sealed at laps, taped to the wall DPC around the whole perimeter - is the building's ground-moisture and radon defence, and it is treated as a membrane that must be perfect, because the slab will bury every puncture under four inches of concrete. A ground-bearing slab done with discipline is cheap, fast and durable; done carelessly it is a floor that cracks, sweats and telegraphs failure through every finish laid on it.
Process storyboard
Step 1 of 6 - slide through the snapshots.
STEP 1
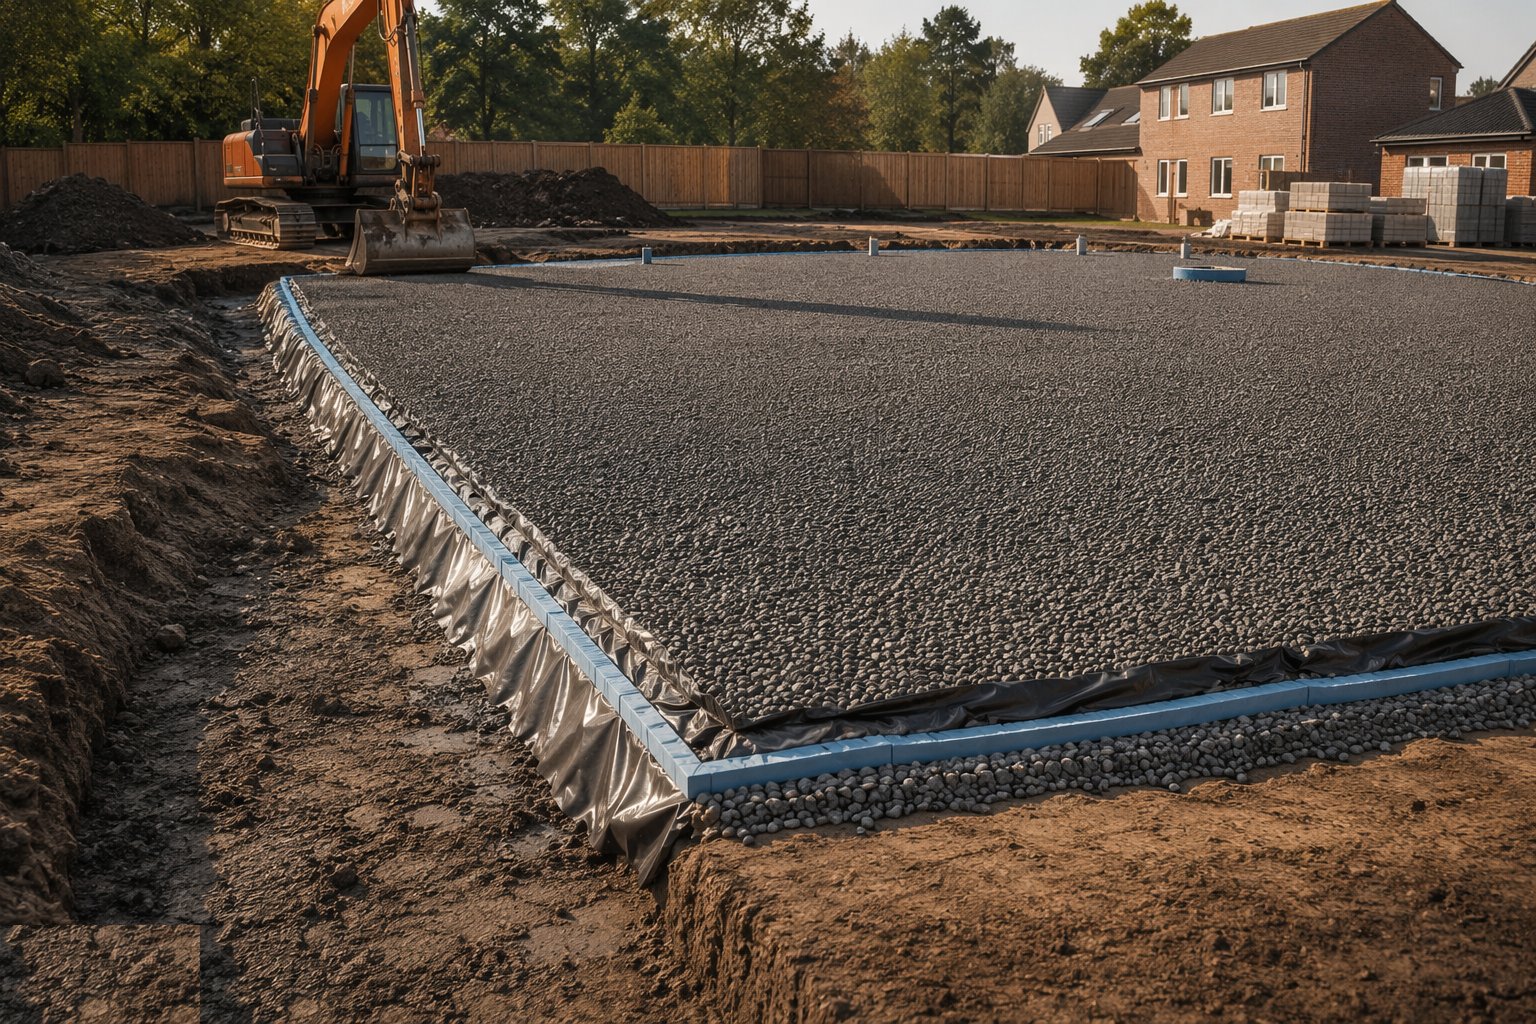
Prepare and proof the formation
Topsoil and soft spots are stripped to a firm formation, which is proof-rolled and inspected - any pumping or soft area is dug out and replaced, not buried.
How does Ground-bearing slabs work, step by step?
- 1
Step 1: Prepare and proof the formation
Topsoil and soft spots are stripped to a firm formation, which is proof-rolled and inspected - any pumping or soft area is dug out and replaced, not buried. The formation level is set from the site datum, and the engineer walks it before anything covers it: this surface carries the floor for the life of the building and it gets one chance to be right.
- 2
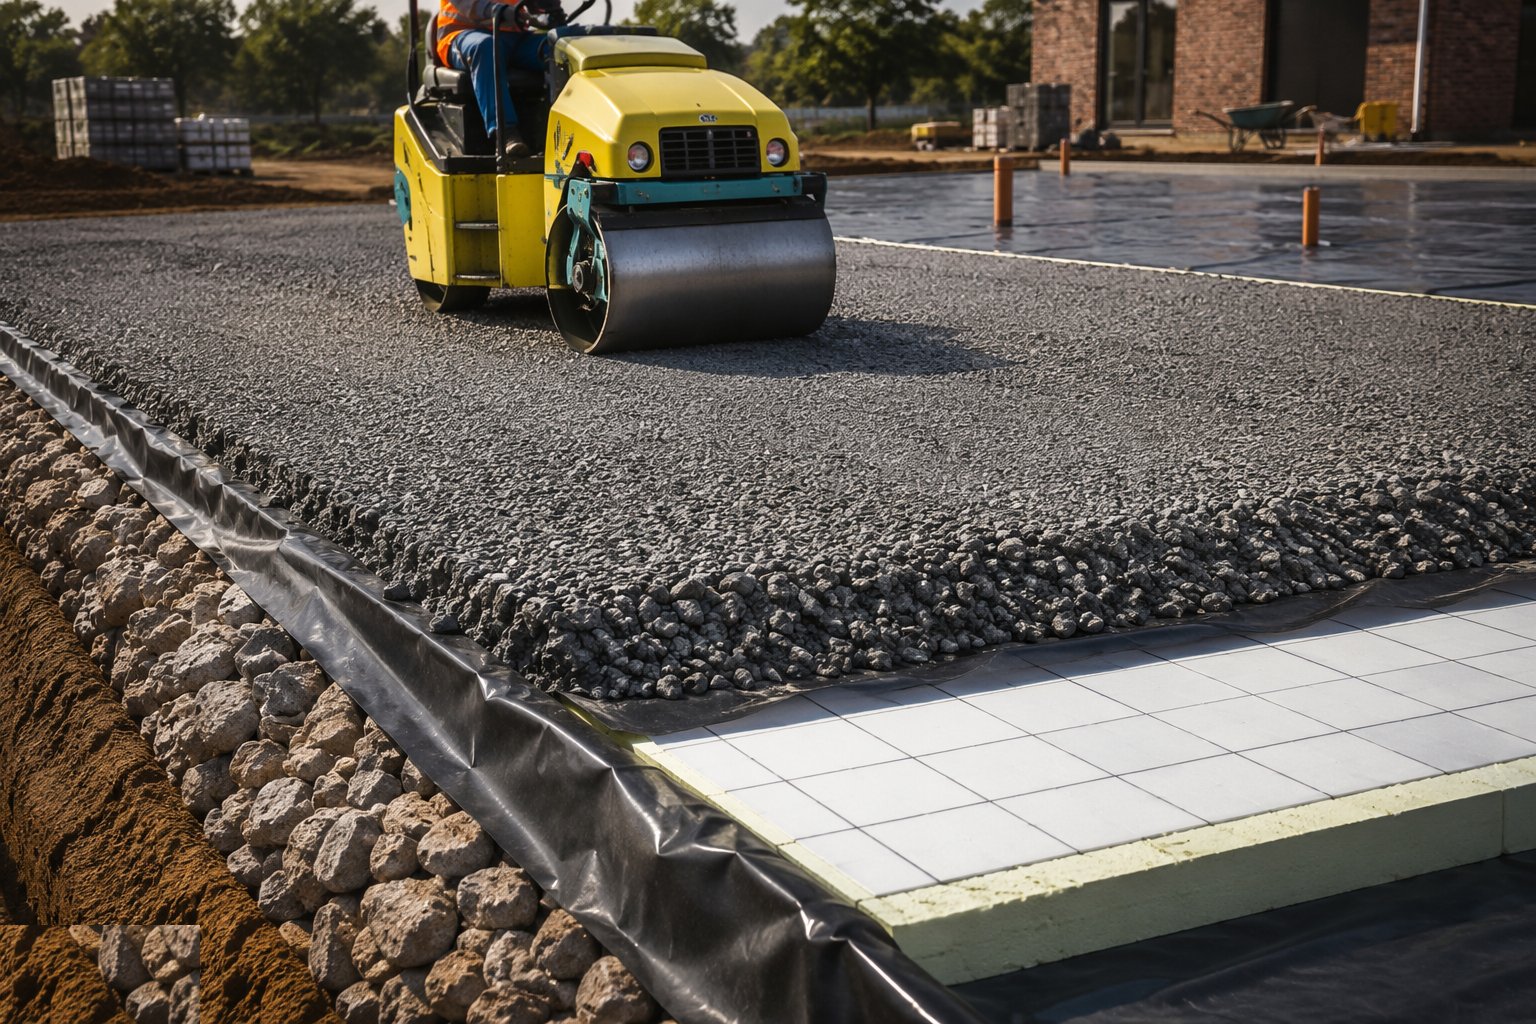
Step 2: Lay and compact the sub-base in layers
Well-graded granular sub-base - typically 150–225 mm total - goes down in layers of no more than 150 mm, each compacted with a roller or plate to refusal before the next. Services and drainage beneath the slab are in, tested, and their trenches backfilled in compacted thin layers with the same discipline. Compaction and levels are checked as the layers rise, because this is the last time anyone will ever see them.
- 3
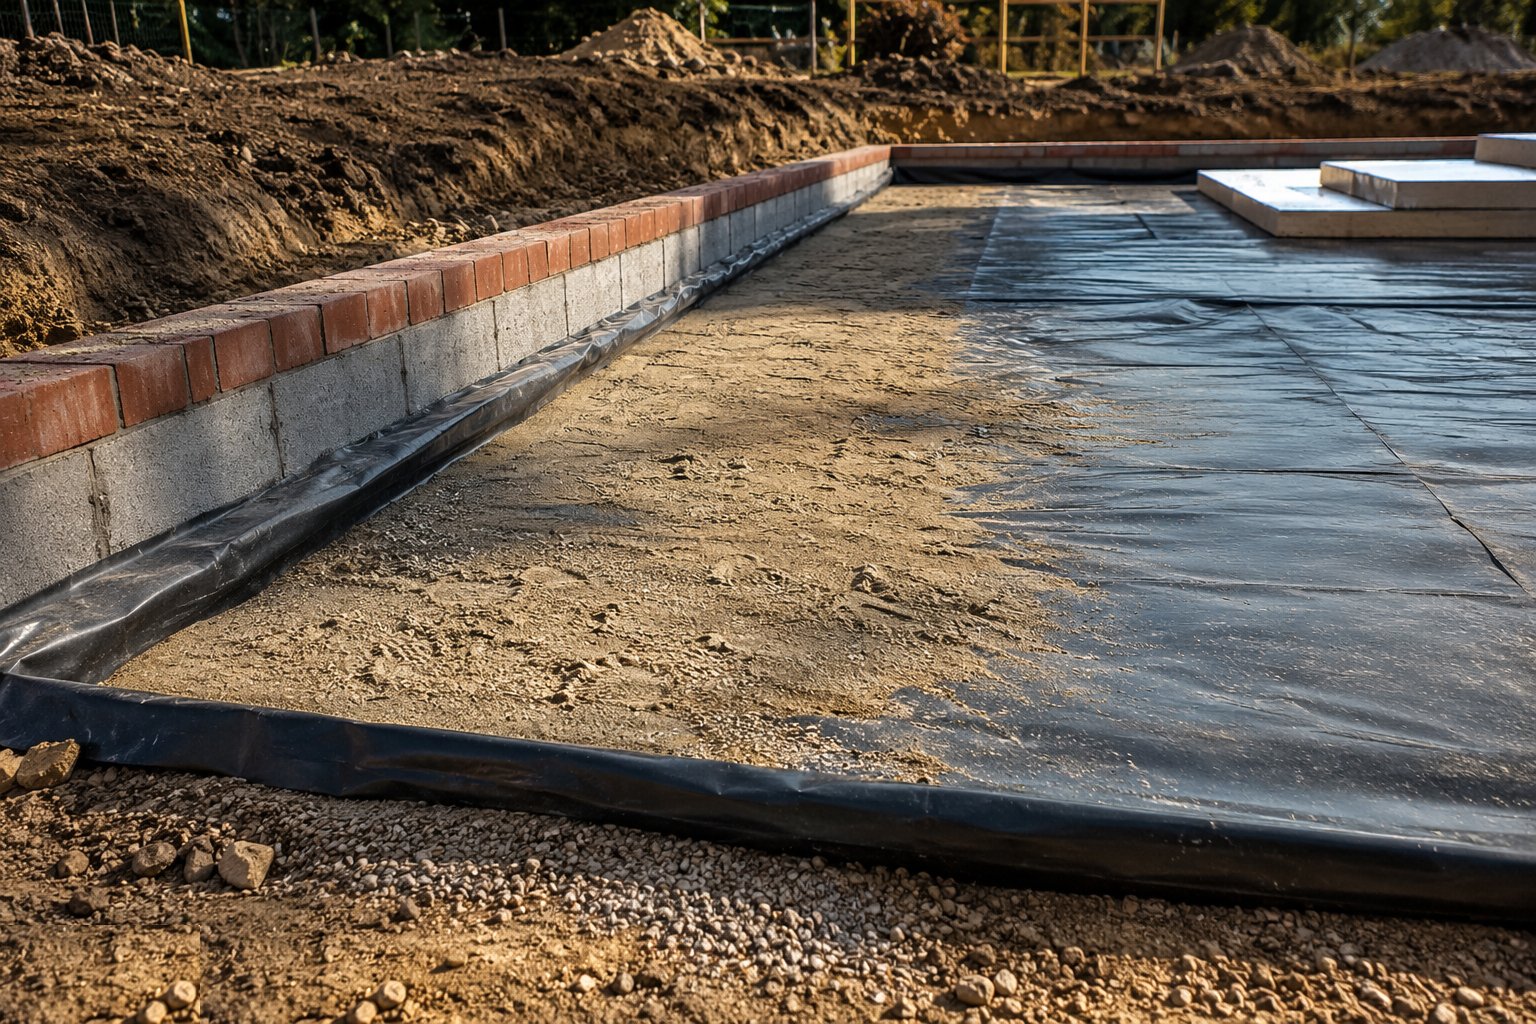
Step 3: Blind, membrane and seal the perimeter
A sand blinding protects the membrane from the stone. The DPM - 1200-gauge polythene or better - is laid with laps of at least 300 mm, every lap taped, every penetration sealed with a collar, and the whole perimeter sealed to the wall DPC. It is inspected metre by metre before covering, because the slab will hide every defect in it permanently.
- 4
Step 4: Lay insulation and edge isolation
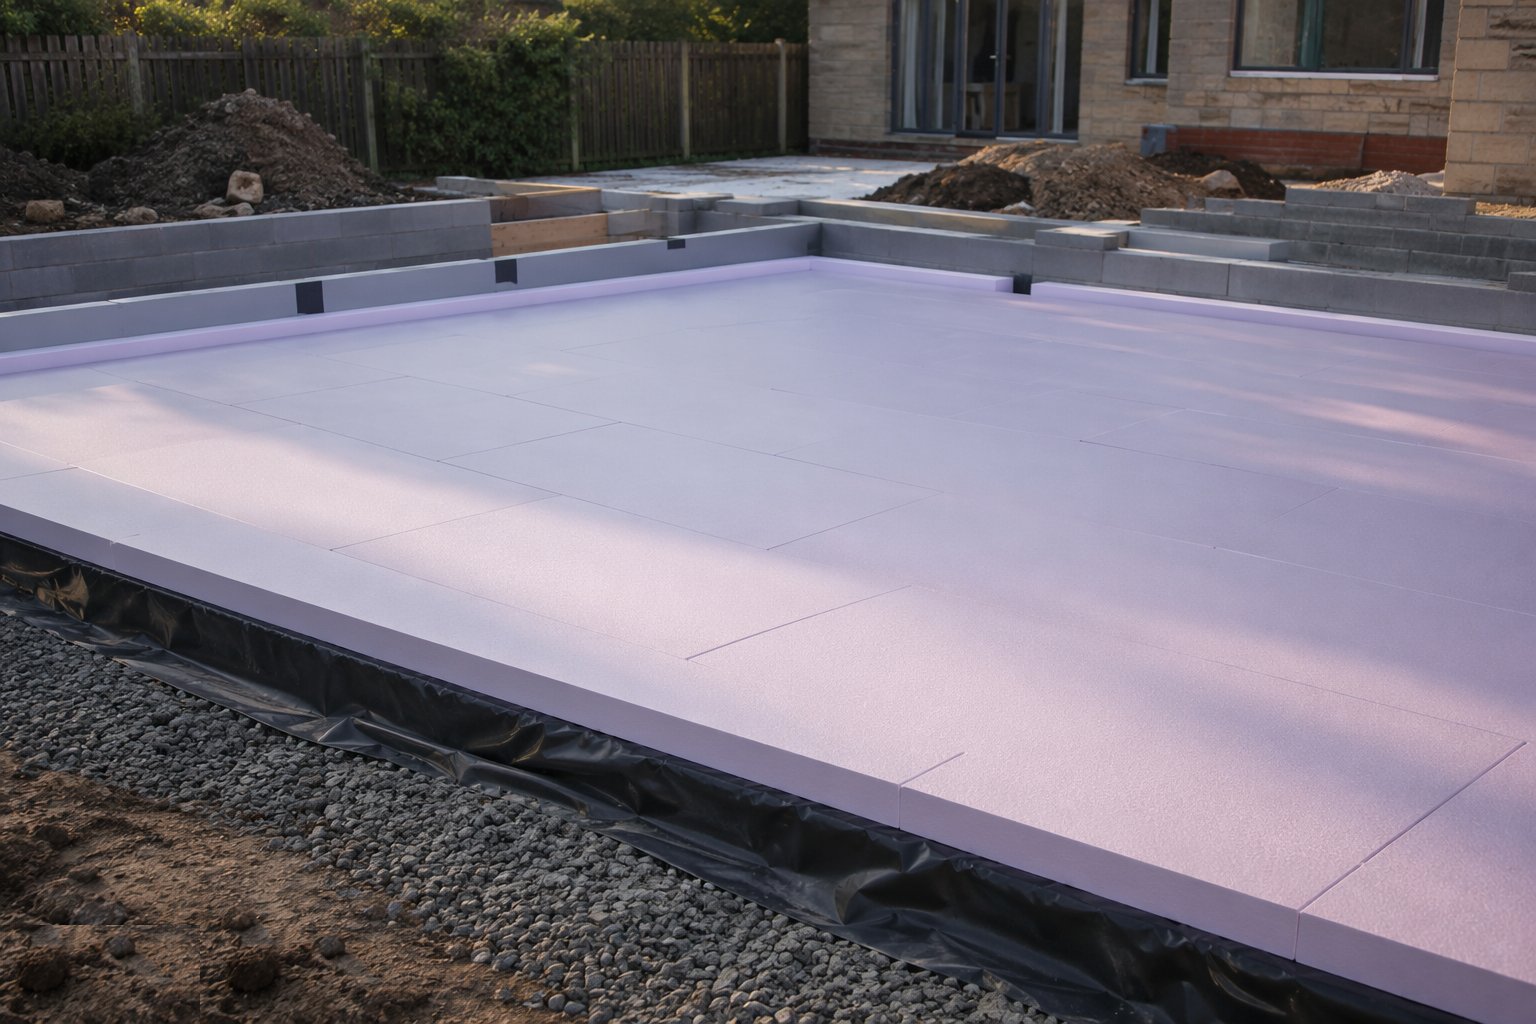
Rigid insulation boards are laid tight-butted in a staggered pattern, with perimeter edge insulation isolating the slab from the walls - cutting the cold bridge and giving the slab somewhere to move. Underfloor heating pipes are clipped at the designed spacing and pressure-tested, with the test witnessed and held while the concrete goes down.
- 5
Step 5: Place mesh and pour the slab
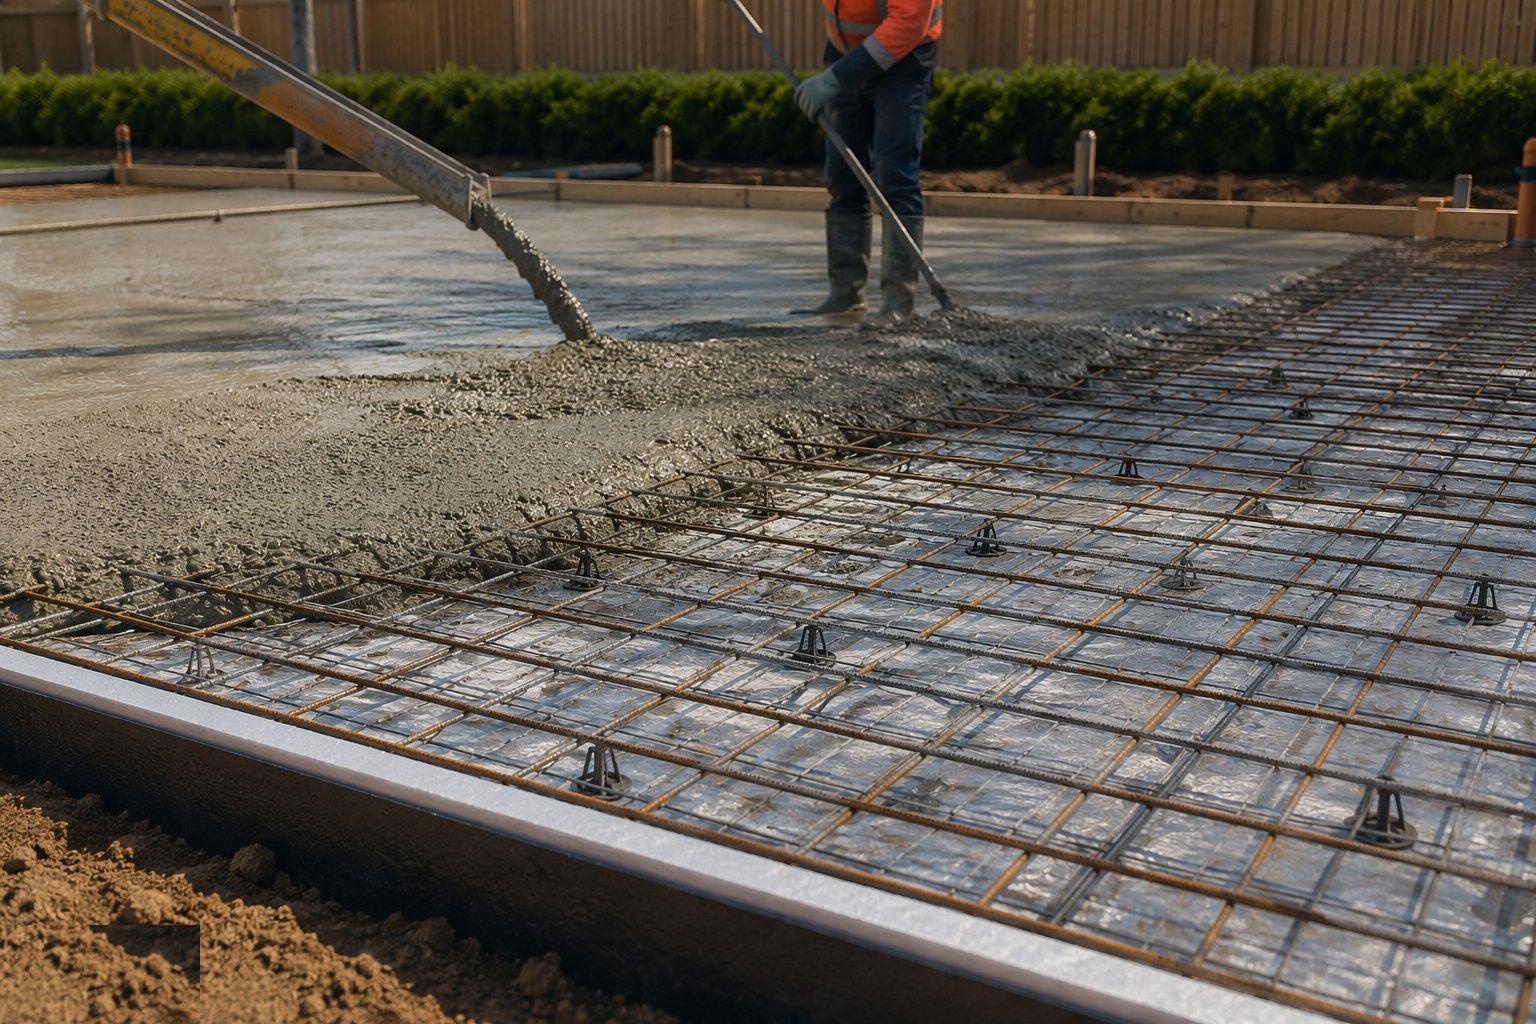
The reinforcement mesh is chaired to its design position - upper third for crack control, never lying on the insulation - with laps per the specification. Concrete is placed, pokered and screeded off datum pins or a laser screed to level, and construction joints are formed where designed, with day joints dowelled or meshed through as detailed.
- 6
Step 6: Power float, cure and protect
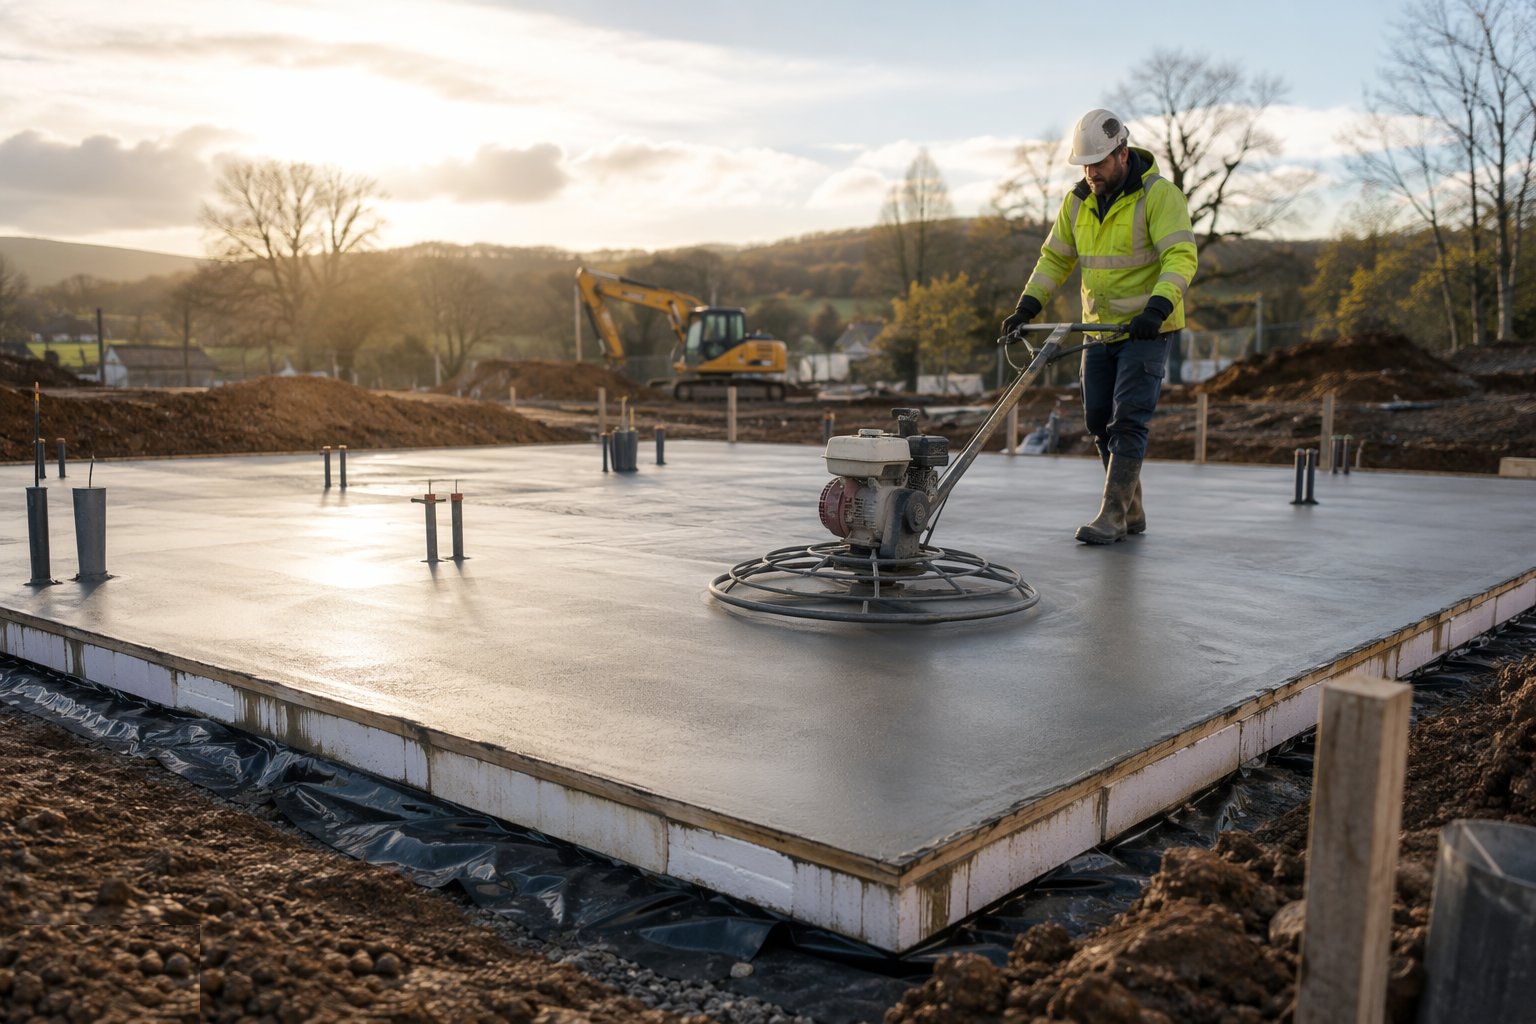
Power floating starts in the correct window - the slab firm enough to carry the machine, plastic enough to close - and continues to a level, burnished finish, typically two or three passes. Curing compound or polythene goes on immediately: a slab that dries out in its first days loses surface strength and dusts forever. Traffic is controlled until strength is proven, and the surface is protected until the screed or finishes take over.
What are the benefits of Ground-bearing slabs?
- The cheapest structural floor per square metre - minimal material, one pour, fast output
- No span to engineer - the ground does the supporting and the slab just distributes
- Power-floated finish can serve as the final surface in garages and utility spaces
- Excellent thermal mass and a solid substrate for any floor finish
- Works with underfloor heating as a simple clipped-pipe installation
- Rapid programme - a house slab from formation to float in two to four days
What are the limitations of Ground-bearing slabs?
- Wholly dependent on concealed fill quality - settlement appears months later as cracking
- No void for services - every pipe and cable must be planned and placed before the pour
- Cannot accommodate ground movement, made ground depth or shrinkable soils without redesign
- Cracking is managed, not eliminated - joints, mesh and curing discipline all matter
- Difficult and disruptive to alter later - cutting a finished slab is noisy, dusty work
- Pour is weather- and supply-sensitive - a failed load or a rainstorm mid-float leaves scars
What is Ground-bearing slabs best suited for?
What plant does Ground-bearing slabs need?
- Excavator and compaction plates or roller for formation and sub-base
- Concrete supply with pump or direct discharge, and poker vibrators
- Laser screed or datum pins and straightedges for level control
- Power floats with float pans and finishing blades
- Curing compound sprayer or polythene sheeting
- Pressure test kit for UFH before and during the pour
How is Ground-bearing slabs quality-checked?
- Formation inspected and proof-rolled; soft spots recorded and replaced
- Sub-base layer thickness and compaction verified - plate passes counted, levels checked
- DPM laps, seals and perimeter junction inspected and photographed before covering
- Mesh position chaired and verified - upper third, correct laps
- Slab level and flatness survey after floating; power-float window recorded
- Cube tests from the supply and curing regime recorded against the pour
More floor slabs & screeds methods
Next method
Suspended slabs