Suspended slabs
When the ground cannot be trusted, span over it - beams, blocks and a topping.
Last updated 2026-08-22
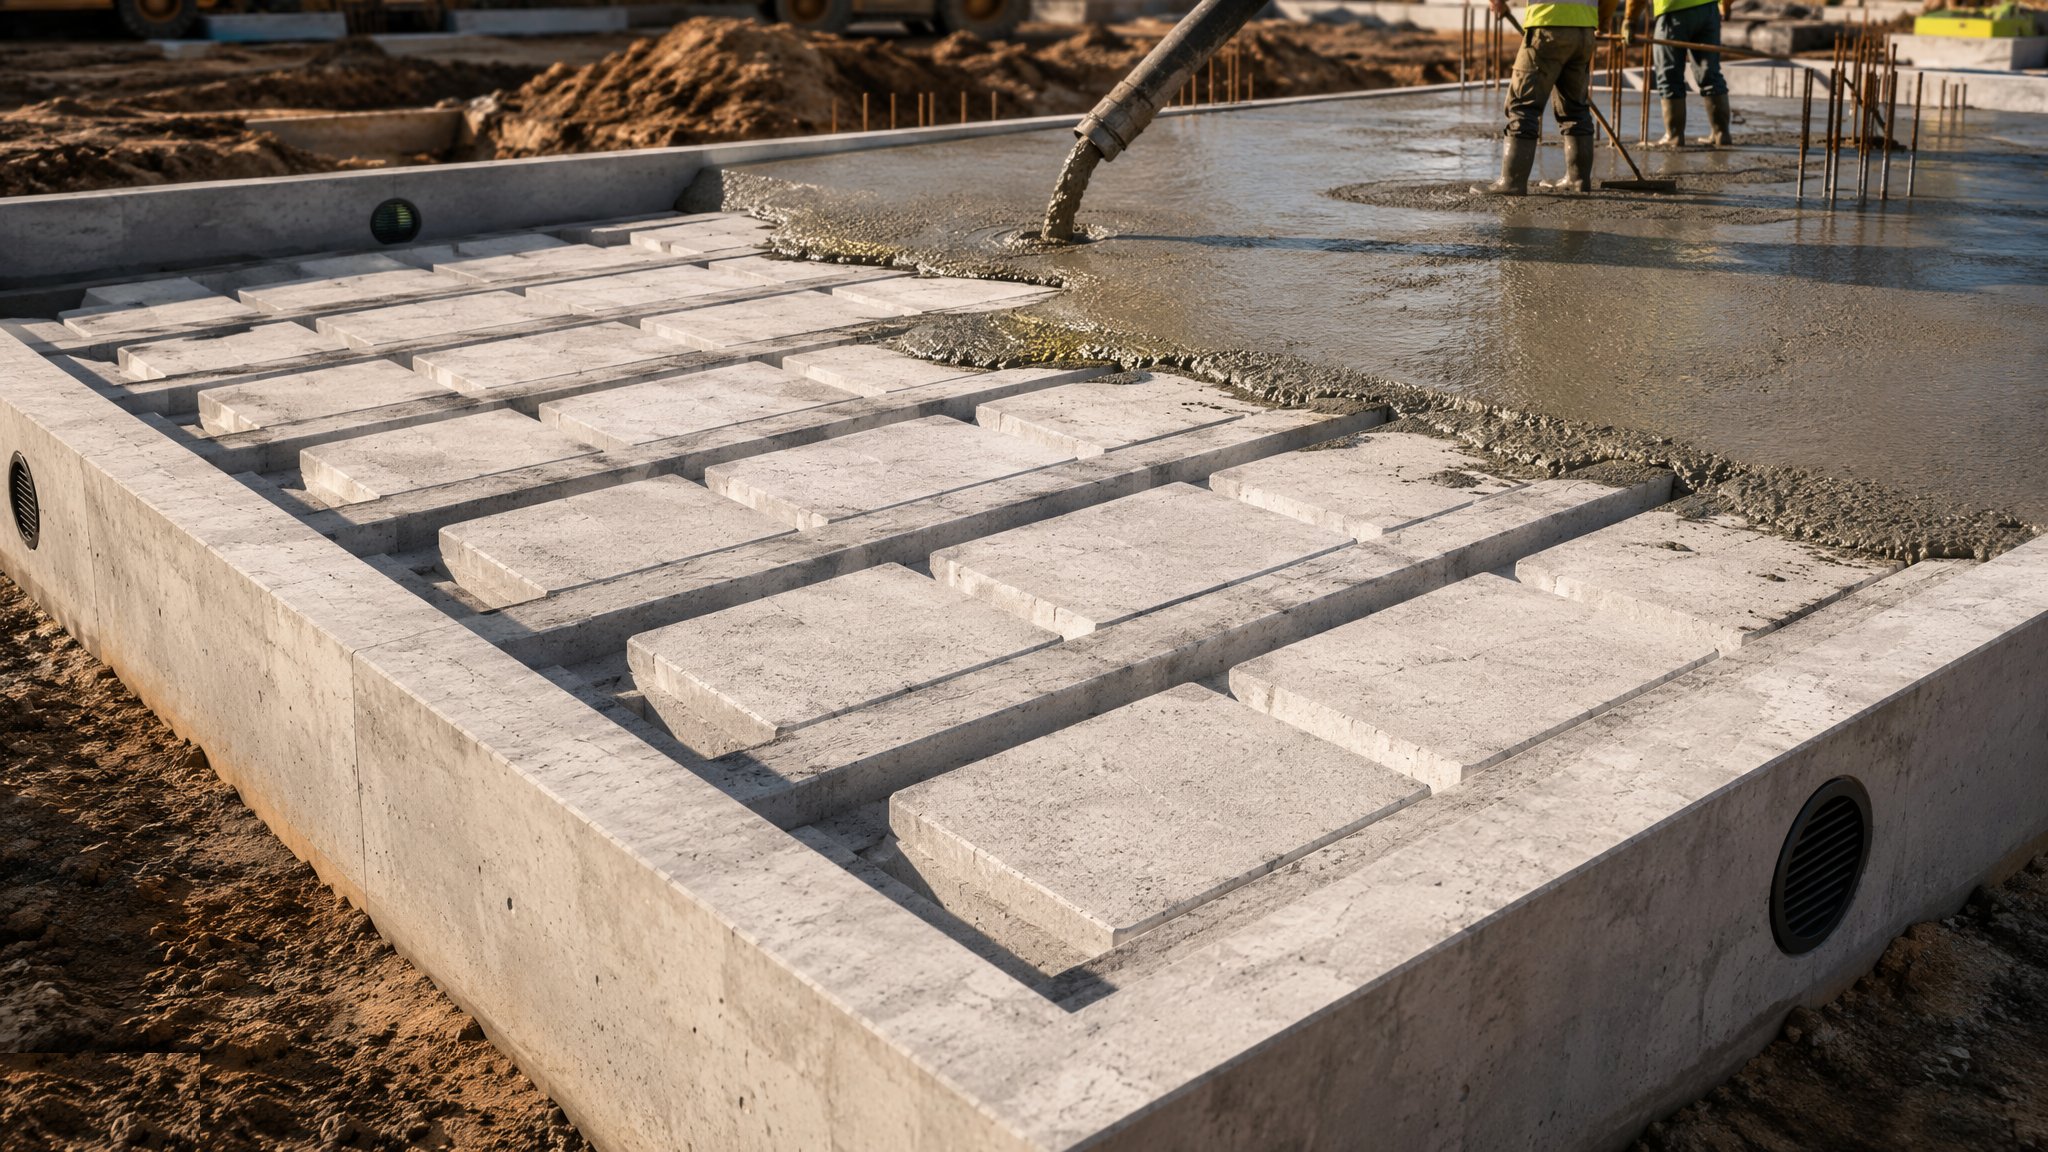
What is Suspended slabs?
The suspended ground floor answers the question the ground-bearing slab cannot: what do you do when the ground is deep made ground, shrinkable clay near trees, contaminated land, or simply a void you want for services and ventilation? The answer is to stop asking the ground to carry anything. Precast concrete beams - inverted-T sections, typically at 600 mm centres or per the load table - span between the supporting walls or sleeper walls, and lightweight concrete blocks infill between them to form a working deck. A structural topping or a screed completes the floor. The ground beneath is merely a ventilated void.
The system is fast, dry and utterly dependent on the bearing details. Beams are craned in and a house floor decks out in a day - no compaction risk, no weather-critical sub-base, no waiting. But every beam must bear its specified length on a level, mortared bed; the layout must match the design so no beam lands short or carries a point load it was not chosen for; and the void beneath needs its designed ventilation and clearance from the ground, because timber floors died of unventilated voids for a century and concrete ones still suffer moisture rising into cold floor zones. Camber in the beams is normal and is taken out in the topping thickness.
Above the deck, the floor performs like any other. A structural topping - typically 65–75 mm of concrete with mesh, sometimes laid as the finished power-floated surface - locks the beams and blocks into a composite plate, spreads point loads and carries the UFH pipes. Insulation goes over the deck or within the topping build-up to hit floor U-values around 0.13–0.18 W/m²K, and the perimeter edge insulation detail cuts the cold bridge exactly as on a ground slab. The result is a floor indifferent to what the ground does beneath it - which, on difficult sites, is the entire point.
Process storyboard
Step 1 of 6 - slide through the snapshots.
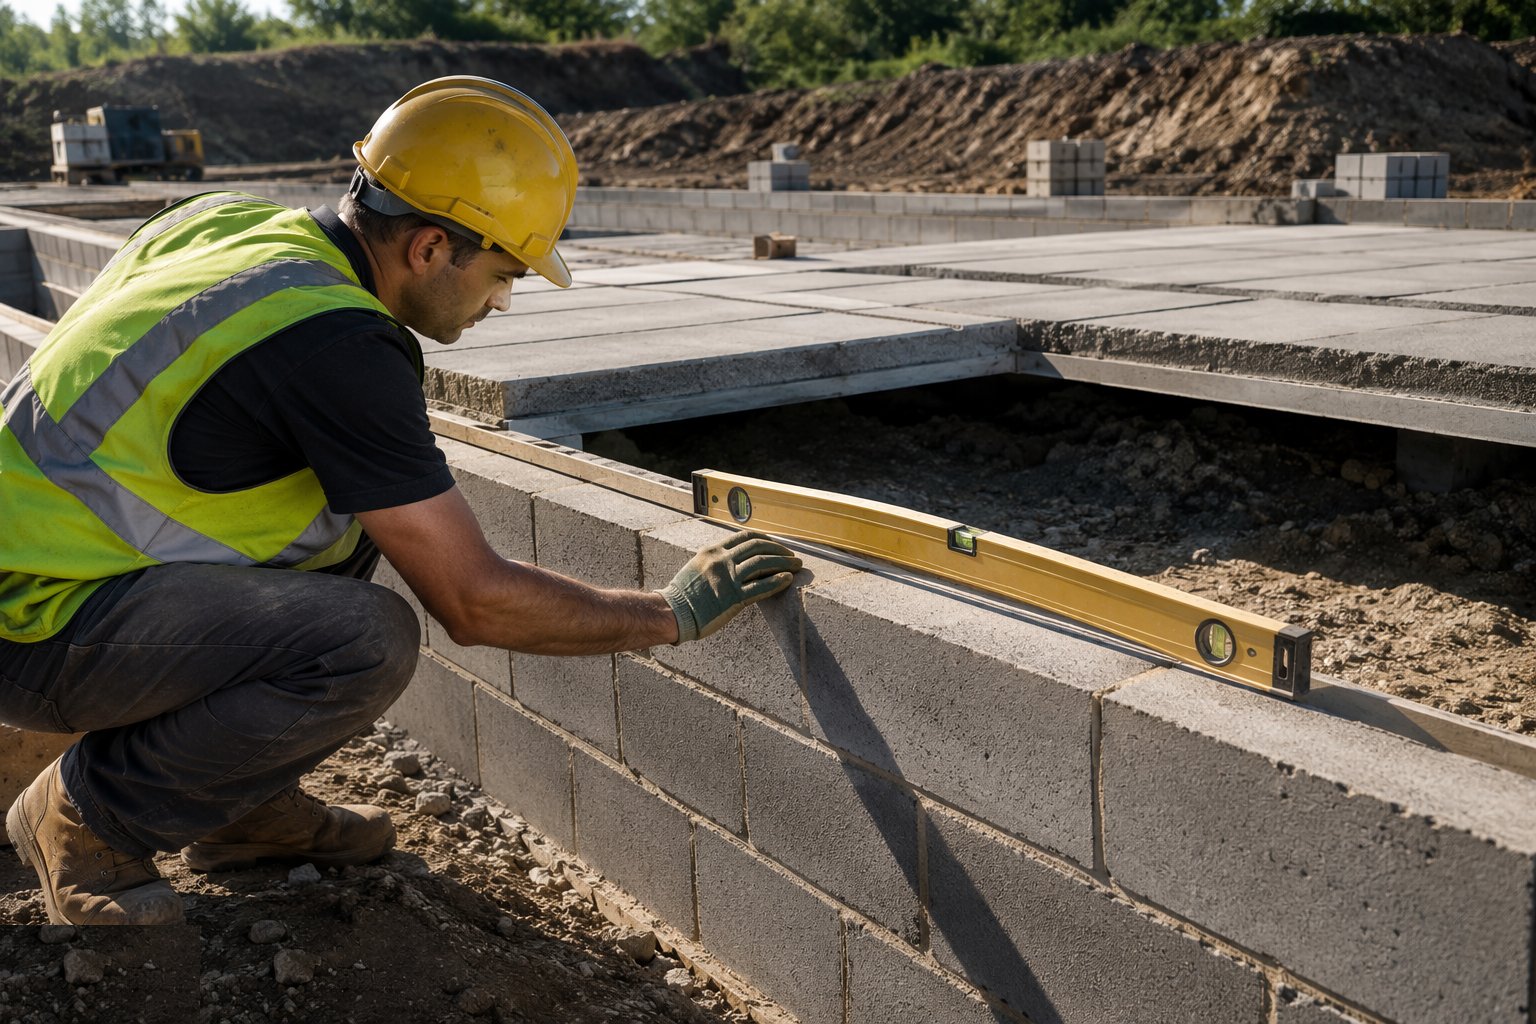
STEP 1
Verify the supports and set the bearing levels
The supporting walls, sleeper walls or plinths are checked for level and position against the floor layout - beam bearings must be level within a few…
How does Suspended slabs work, step by step?
- 1
Step 1: Verify the supports and set the bearing levels
The supporting walls, sleeper walls or plinths are checked for level and position against the floor layout - beam bearings must be level within a few millimetres across the span, or blocks will not sit and the topping thickness balloons. DPCs go down, and the void is checked: cleared of debris, at the designed clearance below the beams, and with ventilation openings formed through the external walls.
- 2
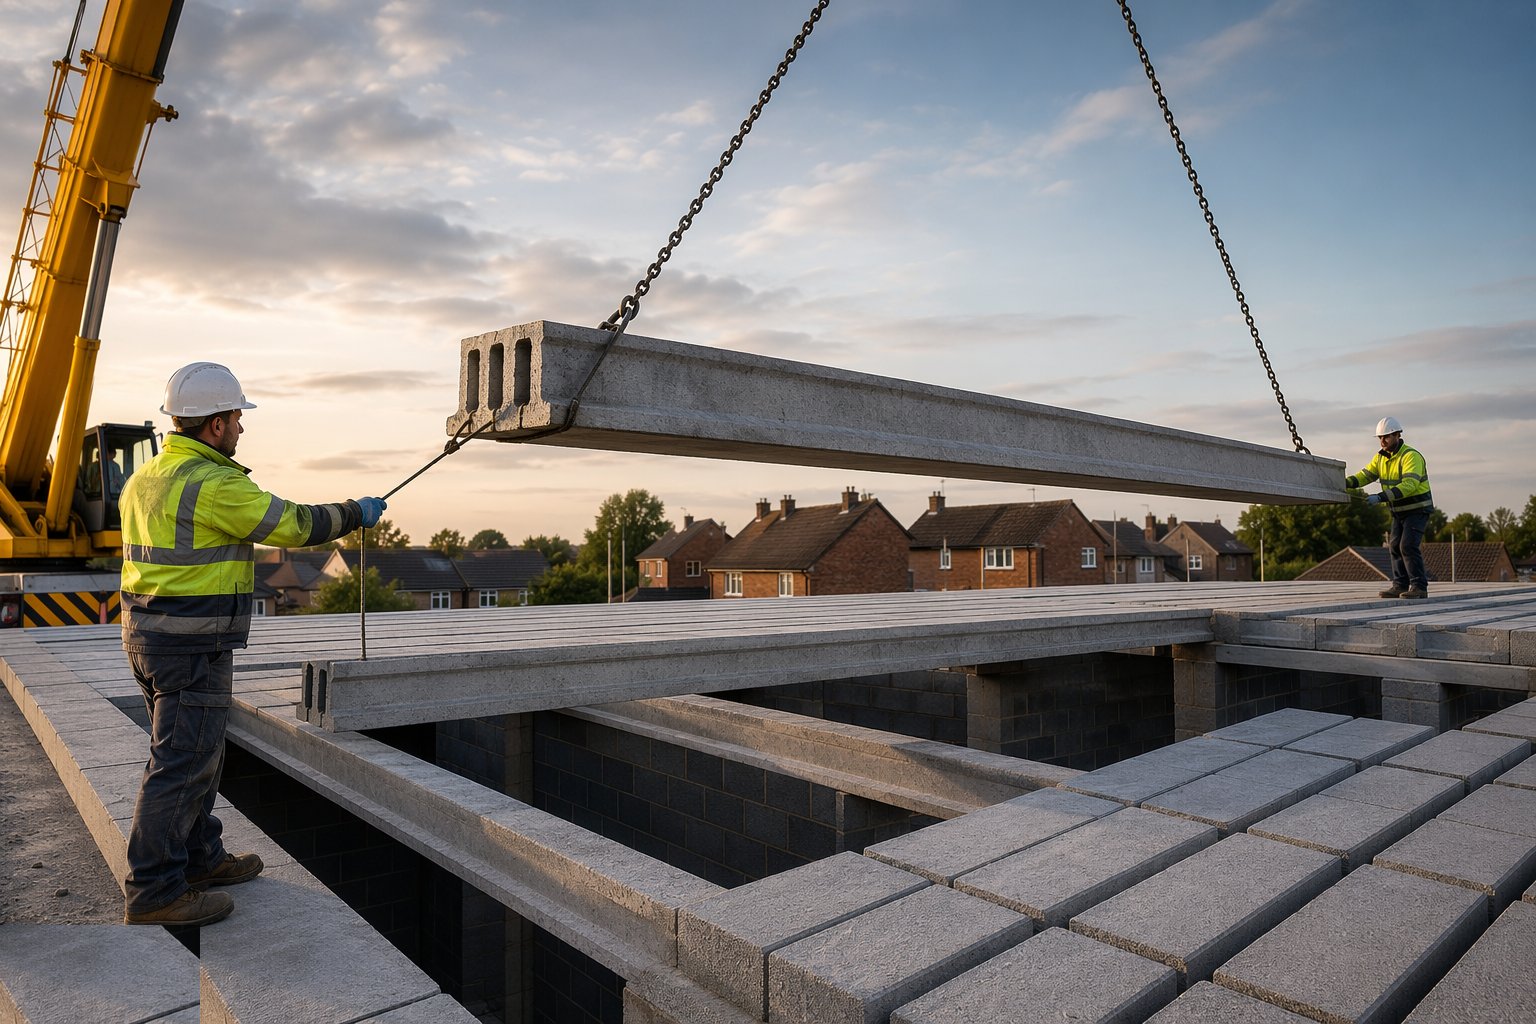
Step 2: Crane in and lay the beams
Beams are lifted in the layout sequence and landed on a mortar bed at each bearing with the specified bearing length - typically 90 mm minimum on masonry. Spacing follows the design exactly, with double beams under load-bearing walls and point loads, and trimmers formed around openings and stairs. Each beam's reference and position is checked against the layout drawing before the blocks follow.
- 3
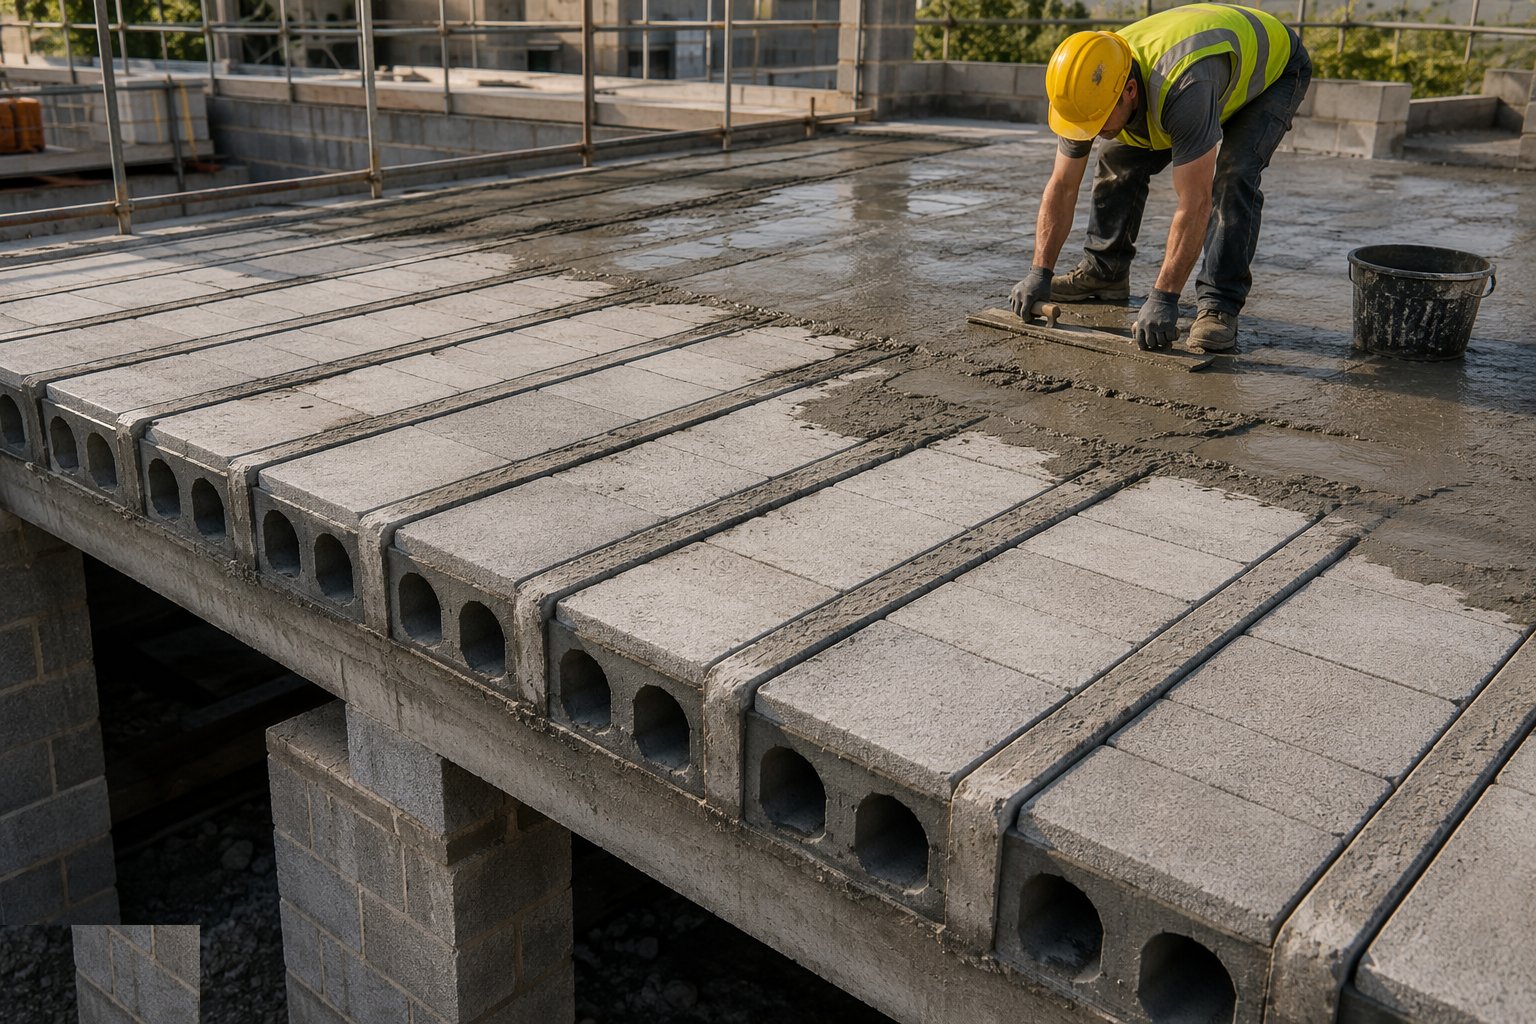
Step 3: Infill with blocks and grout the deck
Infill blocks are laid tight between the beam flanges, cut at edges and around openings, and the whole deck is brushed clean and grouted or slurried to lock the blocks and seal the joints per the system requirements. The deck is now a working platform - but not yet a structural floor - and loading is controlled until the topping is down and cured.
- 4
Step 4: Insulate and lay the UFH
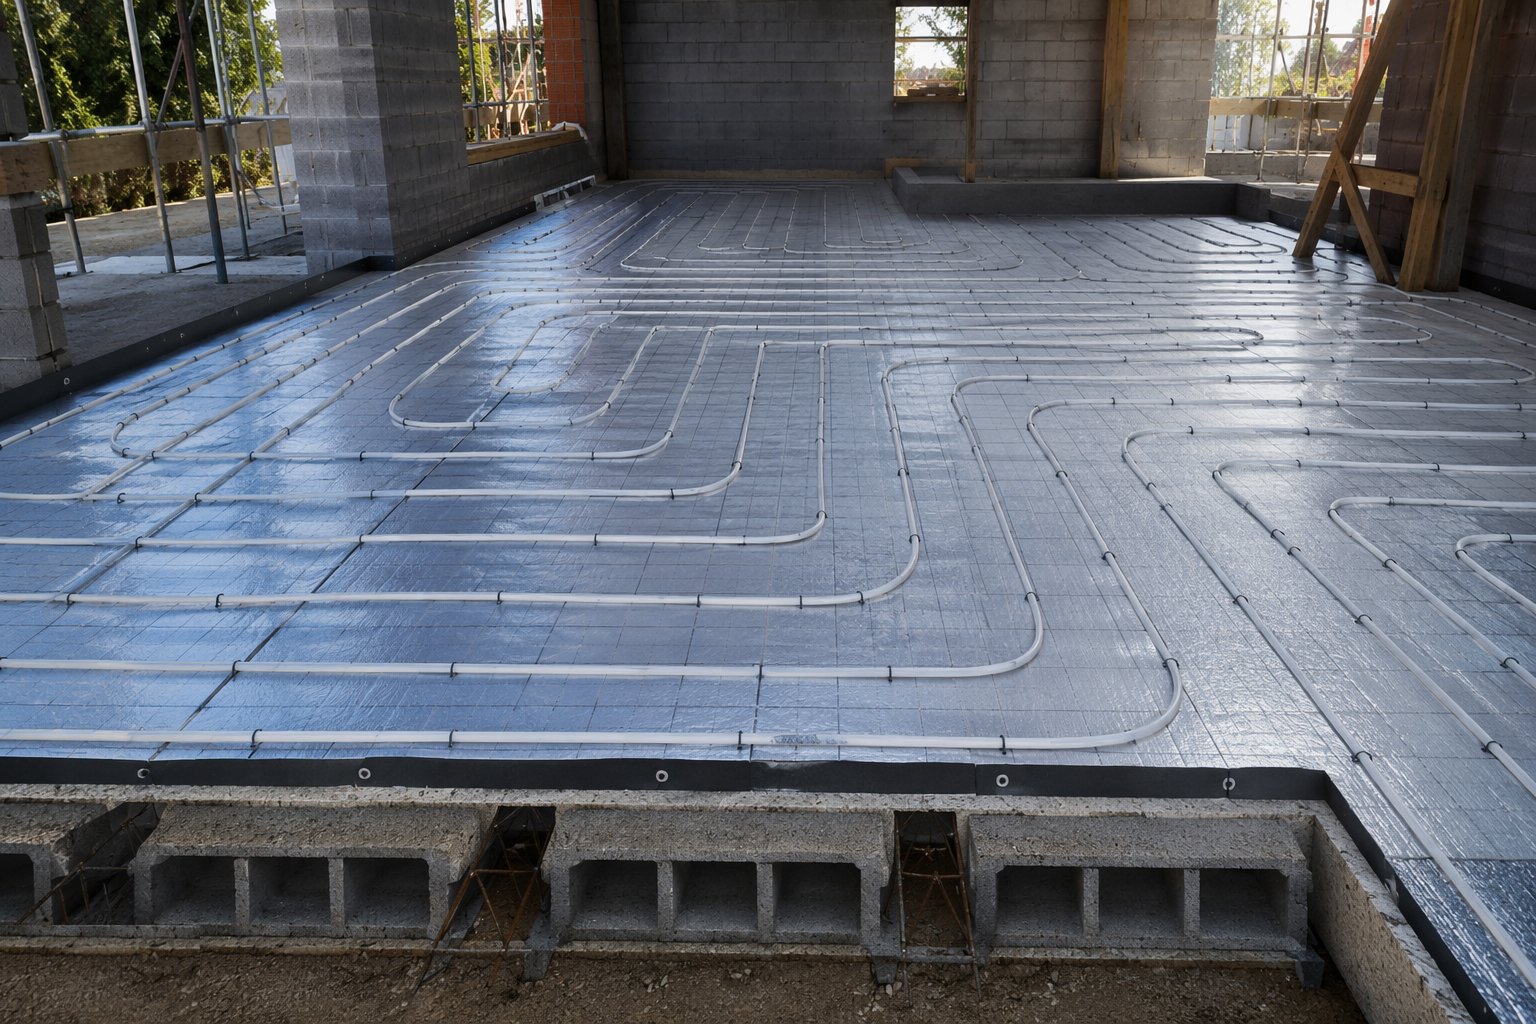
Insulation is laid over the deck per the thermal design - boards tight-butted, edge insulation isolating the floor from the walls - and underfloor heating pipes are clipped at the designed spacing and pressure-tested. Services crossing the floor are in and protected, because after the topping there is no access without a saw.
- 5
Step 5: Place the structural topping
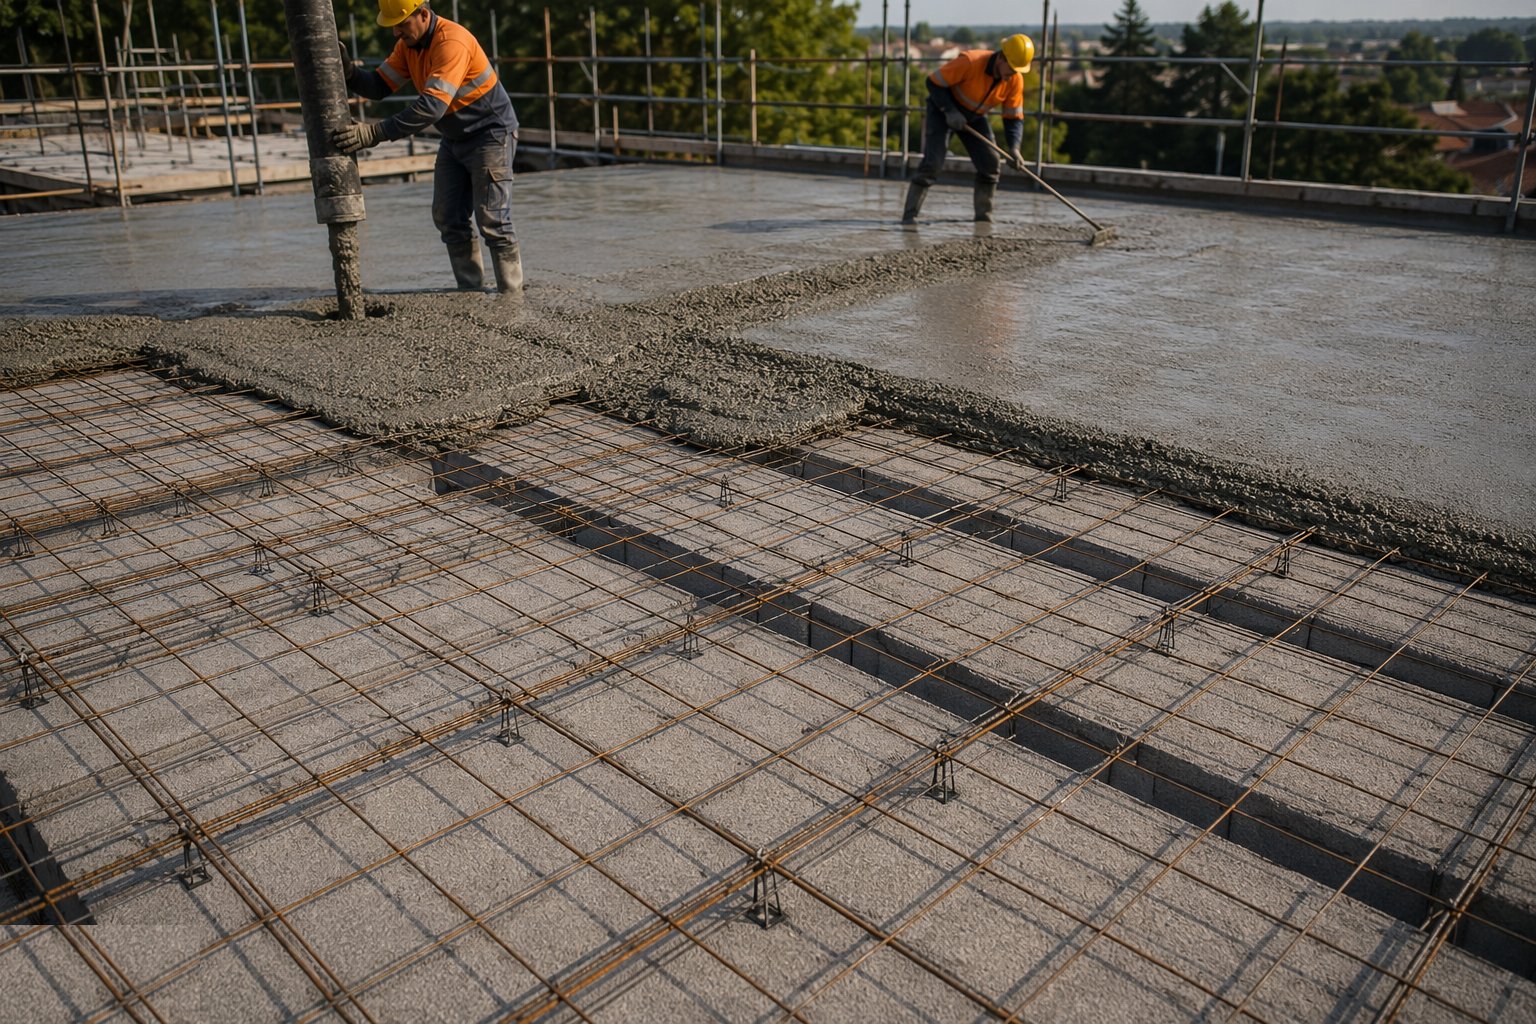
Mesh is chaired to position and the topping - 65–75 mm of structural concrete - is placed, compacted and screeded to level, taking out the beam camber so the finished surface is flat, not following the beams' smile. Construction joints follow the design, and the surface is finished to receive screed or power-floated as the final finish where specified.
- 6
Step 6: Cure, verify and protect the void
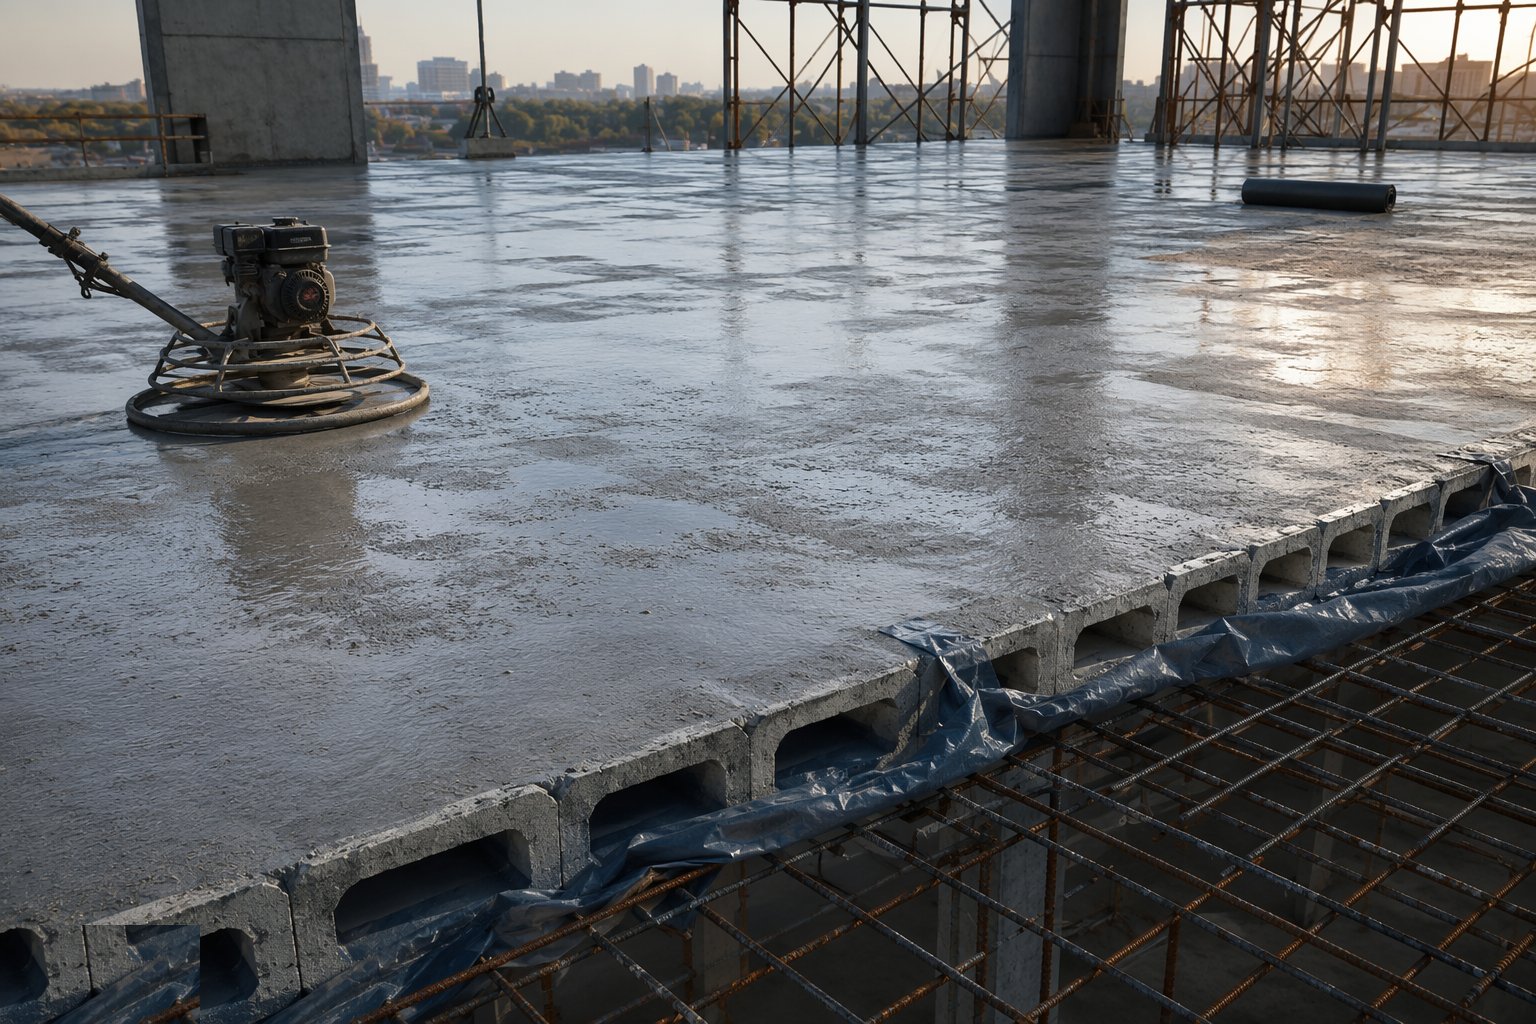
The topping is cured like any slab - compound or polythene immediately, traffic controlled. Before handover the void is verified: clear of debris and formwork, ground clearance maintained, and every air brick and ventilator open and unblocked, because a suspended floor with a sealed void is a moisture trap wearing a concrete hat. Levels and flatness are surveyed against the datum before finishes are released.
What are the benefits of Suspended slabs?
- Independent of ground quality - deep fill, shrinkable clays and contamination stop mattering
- Fast, dry installation - a house floor decks in a day, largely weather-proof
- Provides a ventilated void for services, drainage crossings and moisture separation
- No compaction risk and no settlement cracking from fill consolidation
- Factory-made components with certified load tables and consistent quality
- Handles step changes, undercrofts and sloping sites that ground slabs cannot
What are the limitations of Suspended slabs?
- Costs more per square metre than a ground-bearing slab on good ground
- Needs craneage and a planned lifting sequence - logistics on tight sites suffer
- Void ventilation and clearance must be maintained forever - blocked air bricks undo the design
- Beam camber must be taken out in the topping - flatness depends on topping discipline
- Alterations and penetrations after the topping are disruptive and structural
- Sound insulation between the void and rooms needs attention at the perimeter and penetrations
What is Suspended slabs best suited for?
What plant does Suspended slabs need?
- Crane or telehandler with beam grabs and sequenced beam delivery
- Block carts and telehandler forks for infill distribution
- Grout mixers or slurry barrows for deck grouting
- Concrete supply, pump and pokers for the structural topping
- Laser levels for bearing levels and topping thickness control
- UFH manifold and pressure test kit
How is Suspended slabs quality-checked?
- Bearing levels and positions surveyed before beams land - mortar beds verified
- Beam references, spacing and bearing lengths checked against the layout drawing
- Deck grouting and block seating inspected before topping
- Void clearance, cleanliness and ventilator positions verified before covering
- Mesh position, topping thickness and finished levels surveyed
- UFH pressure test witnessed before the topping covers the pipes