Topsoil strip and landscape profiling
Strip it dry, heap it low, spread it loose - soil is a living material, not muck.
Last updated 2026-08-22
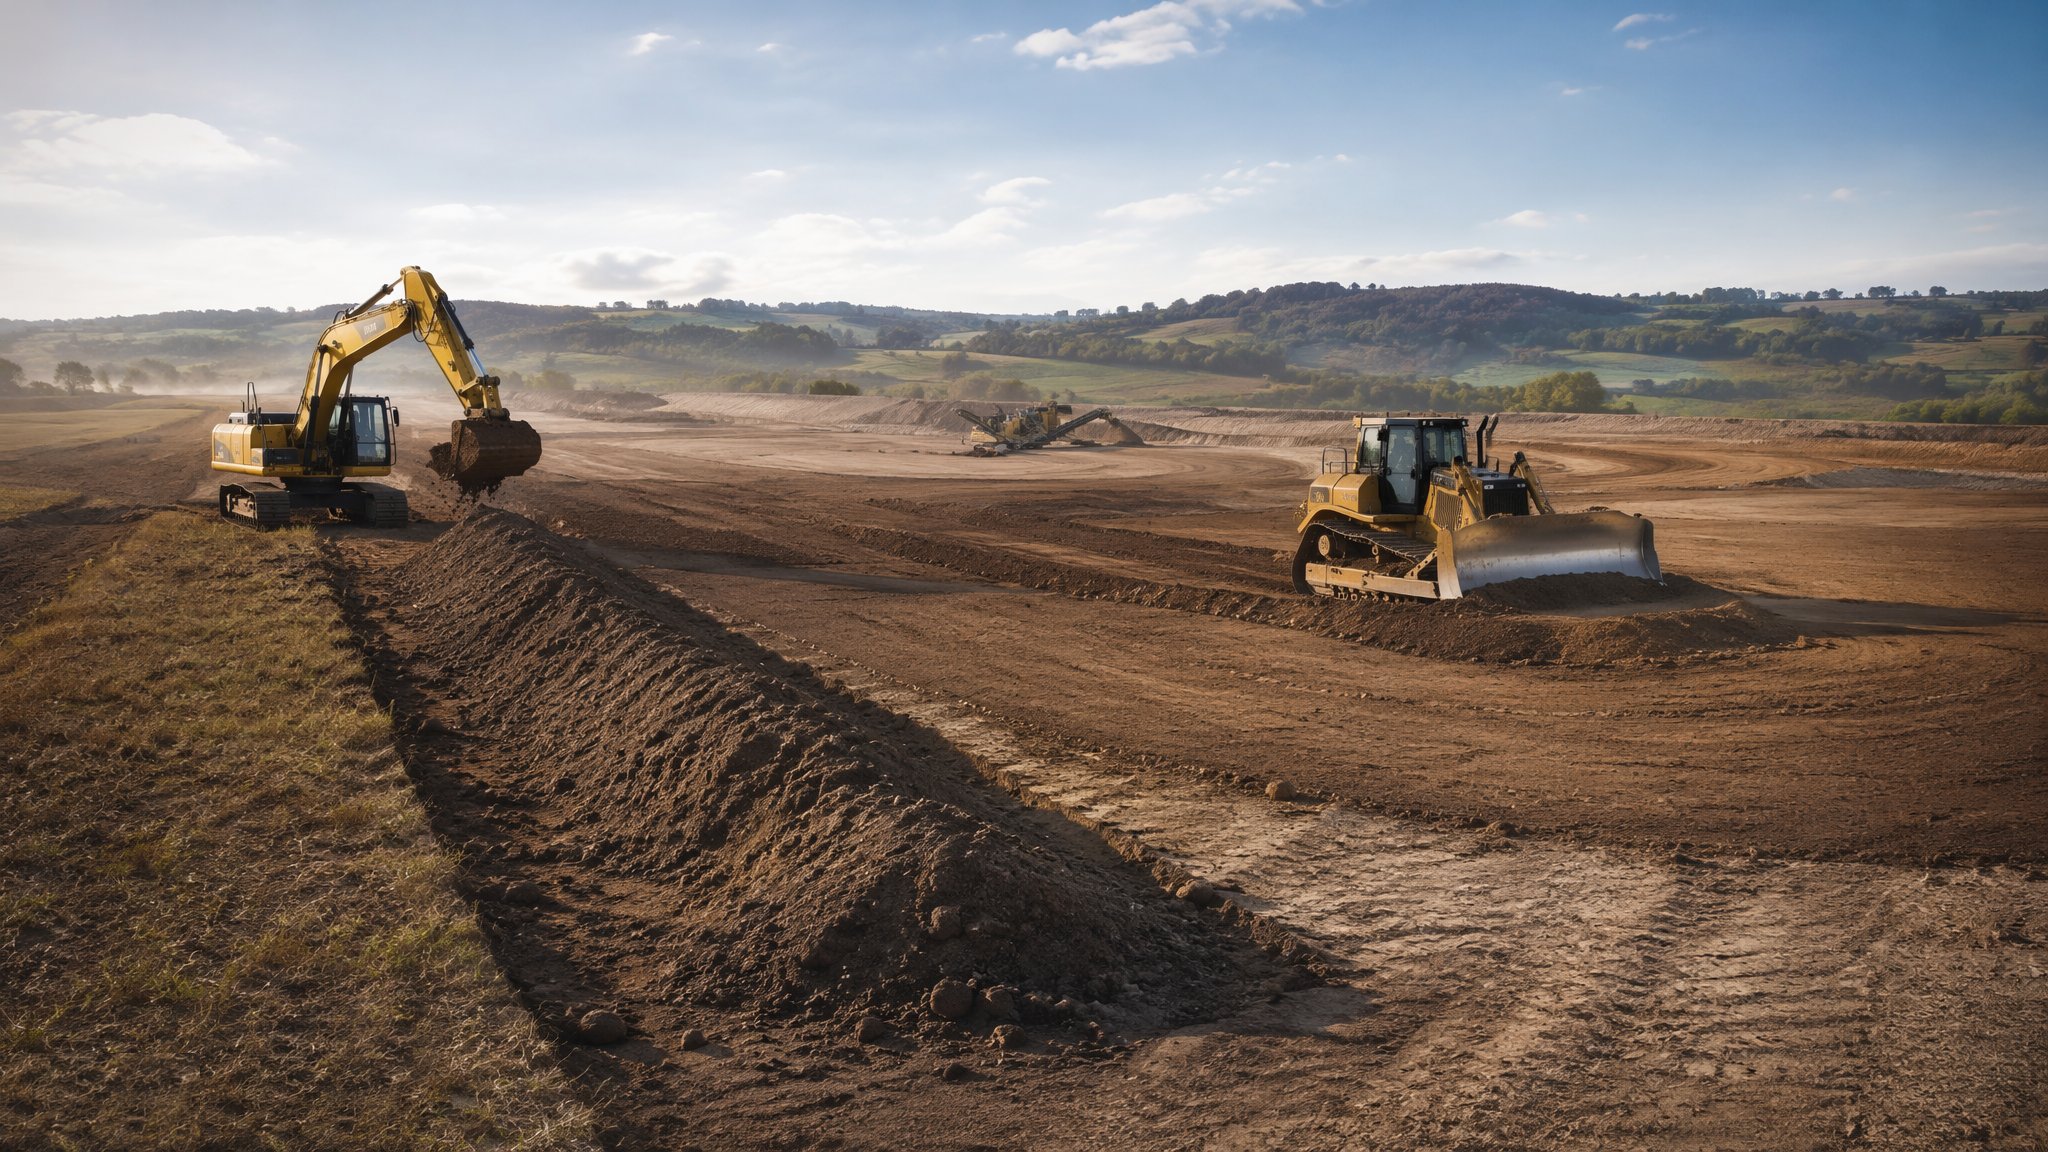
What is Topsoil strip and landscape profiling?
Topsoil is the most valuable hundred millimetres on the site and the most casually destroyed. Stripped at the right time, stored properly and respread with care, it grows the gardens, verges and landscaping that finish a development - at no import cost. Stripped wet, heaped to the sky or compacted by plant running over it, it becomes a dead, structureless medium that will not drain and will not grow, and the project pays twice: once to dispose of it, again to import replacement.
The rules are biological, not mechanical. Strip in dry conditions because wet soil smears, losing the crumb structure that holds air and water. Stockpile no higher than about two metres because deeper heaps go anaerobic and kill the biology that makes topsoil topsoil. Keep it separate from subsoil, arisings and anything contaminated. And when it goes back down, spread it to the specified depth on a loosened subsoil, track it lightly at most, and never compact it - a landscaped area rolled flat and hard is a pond waiting for its first winter.
Landscape profiling is the shaping that comes between: the subsoil cut and fill that forms gardens, swales, mounds and verges to the design levels, with the topsoil then placed over it. Falls must drain away from buildings, levels must meet thresholds and paving without steps nobody designed, and the whole surface must be left loose, stone-picked to the specification, and protected until seeding or planting. It is the last earthworks operation and the first thing the residents will ever judge.
Process storyboard
Step 1 of 6 - slide through the snapshots.

STEP 1
Survey the resource before stripping
Confirm topsoil depth across the site - it varies, and 150 mm assumed everywhere reconciles badly against a landscape spec that needs 300 mm in the gardens.
How does Topsoil strip and landscape profiling work, step by step?
- 1
Step 1: Survey the resource before stripping
Confirm topsoil depth across the site - it varies, and 150 mm assumed everywhere reconciles badly against a landscape spec that needs 300 mm in the gardens. Soil surveys or trial pits classify what is worth keeping. Volumes are computed against the reuse requirement so any shortfall is an import order placed early, not a panic in planting season.
- 2
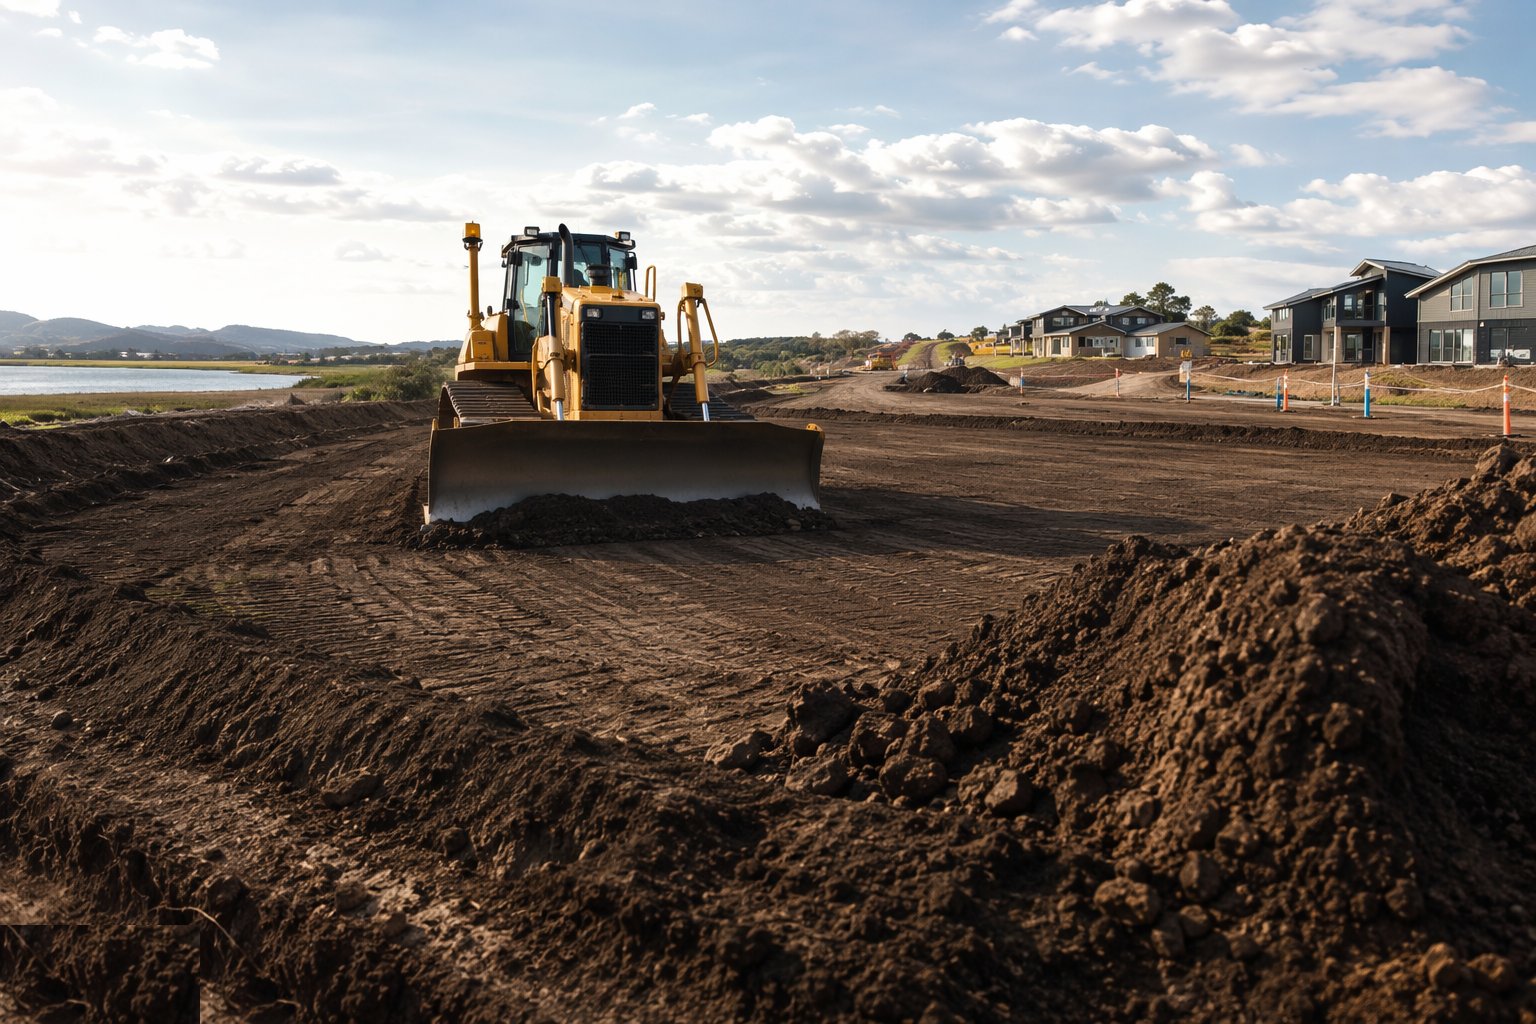
Step 2: Strip dry, to a set depth
Strip with a grading bucket or dozer to the surveyed depth, in dry conditions or as dry as the programme allows - if the bucket is smearing rather than cutting, stop. Work away from the stockpile so plant never runs over stripped ground or the soil itself. Contaminated or invasive-species areas are excluded and handled under their own plans.
- 3
Step 3: Stockpile low, separate and drained
Windrows or heaps go no higher than about 2 m, on a drained, traffic-free area, shaped to shed water and sheeted if they sit through winter. Topsoil, subsoil and other streams never mix. Stockpiles are weed-managed over long storage - a heap that sits for a year grows a seed bank that plants the landscaping with weeds.

- 4
Step 4: Profile the subsoil to design levels
With topsoil off, the subsoil is cut and filled to the landscape formation - design levels minus the topsoil depth - with falls draining away from buildings and into the designed swales and drainage. Formation is left rough and loosened, not rolled smooth: compacted subsoil under topsoil is an interface that water cannot cross, and gardens drown from below.

- 5
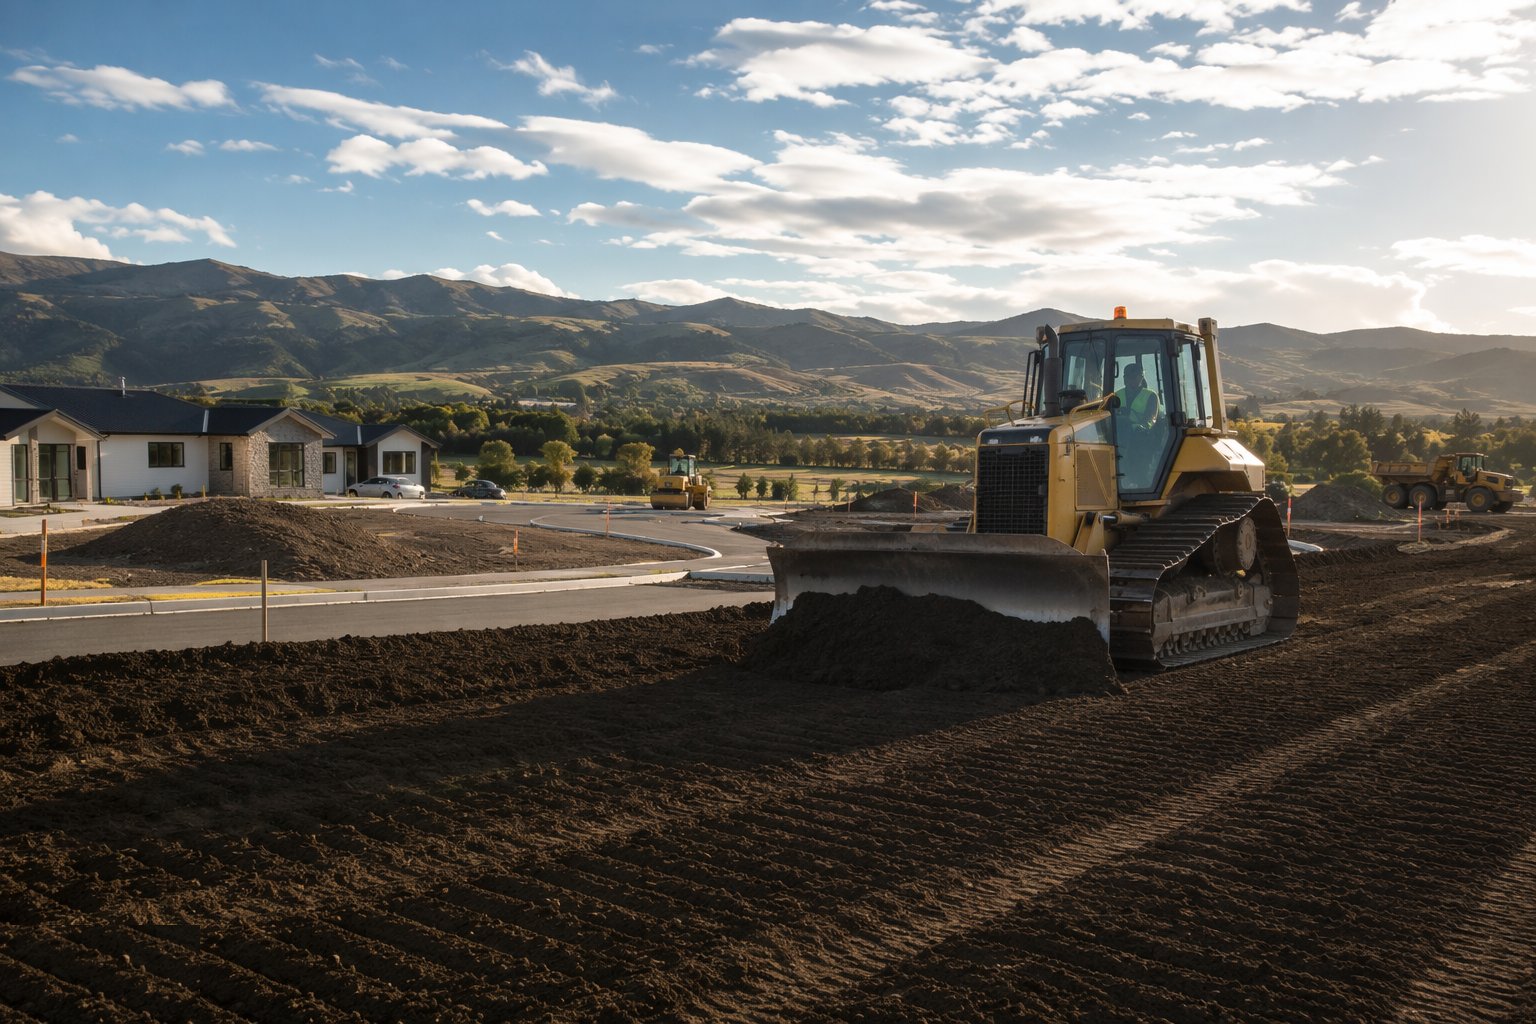
Step 5: Respread topsoil loose and true
Topsoil is placed to the specified depth - commonly 100–150 mm on verges, 300 mm or more in gardens and planting areas - spread with a grading bucket or dozer working backwards off the placed soil, never trafficking it. Stones and debris are picked to the specification. Levels are checked to meet thresholds, kerbs and paving cleanly.
- 6
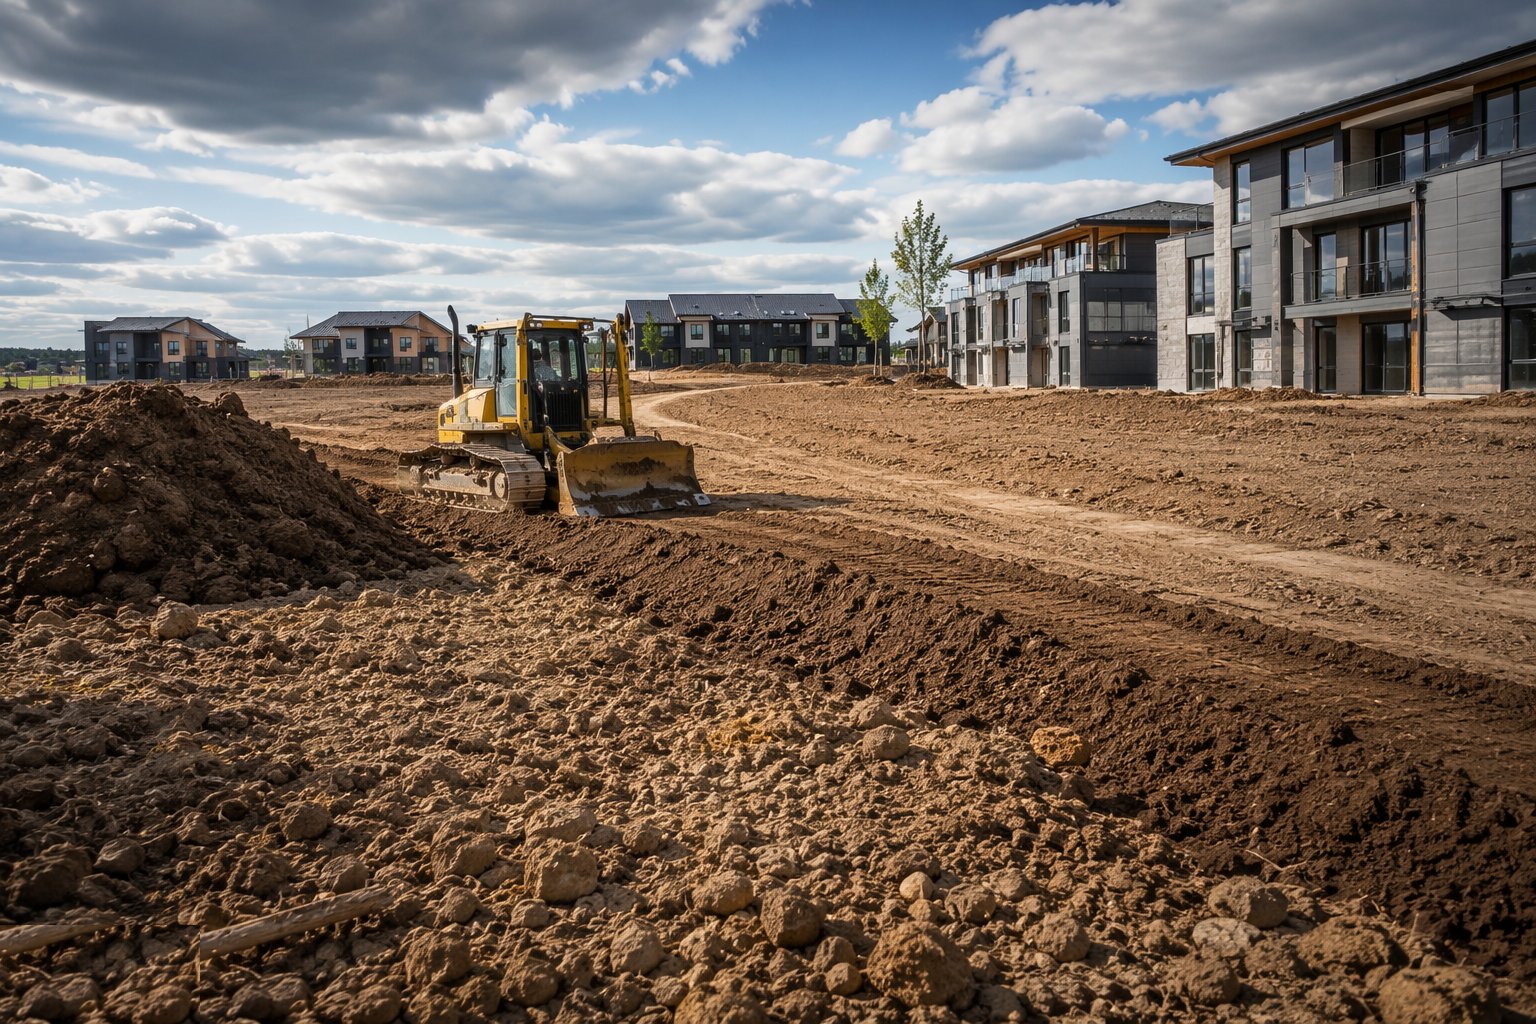
Step 6: Protect until the landscape takes over
Finished areas are fenced or signed against trafficking - one dumper shortcut across a spread garden undoes the day. Cultivation, seeding or planting follows on programme; soil left exposed through winter is re-cultivated before use. The handover includes depth verification and the soil-management records that prove what went where.
What are the benefits of Topsoil strip and landscape profiling?
- Site-won topsoil avoids import and disposal costs - often thousands of pounds per garden plot
- Properly stored soil keeps its structure and biology - landscaping establishes faster
- Profiling shapes drainage into the landscape design, reducing formal drainage
- Recovered soil satisfies sustainability and planning reuse targets
- Early strip clears the way for earthworks while preserving the resource
What are the limitations of Topsoil strip and landscape profiling?
- Weather-dependent - wet stripping destroys the very structure being preserved
- Stockpiles consume footprint for months or years
- Long-stored heaps go anaerobic and grow weed seed banks if unmanaged
- Volumes rarely balance perfectly - import or export is usually needed somewhere
- Respread soil is defenceless against site traffic until landscaping establishes
- Invasive species or contamination can reclassify whole stockpiles as waste
What is Topsoil strip and landscape profiling best suited for?
What plant does Topsoil strip and landscape profiling need?
- 360° excavator with grading bucket for stripping and spreading
- Dozer for bulk strip and windrow formation
- Dumpers or tractor-trailers for soil haulage
- Power harrow or stone burier for final cultivation
- Sheeting and fencing for stockpile and finished-area protection
- Trial-pit kit or auger for pre-strip soil survey
How is Topsoil strip and landscape profiling quality-checked?
- Topsoil depth surveyed and volumes reconciled against the landscape requirement
- Strip depth checked on a grid against the survey
- Stockpile heights, separation and drainage audited on inspection rounds
- Subsoil formation levels verified before respreading - falls draining away from buildings
- Respread depths verified on a grid; stone and debris content against the specification
- Finished areas protected and signed until landscape establishment