Bulk cut and fill
Move every cubic metre once, compact every layer, and never build on fill you have not tested.
Last updated 2026-08-22
What is Bulk cut and fill?
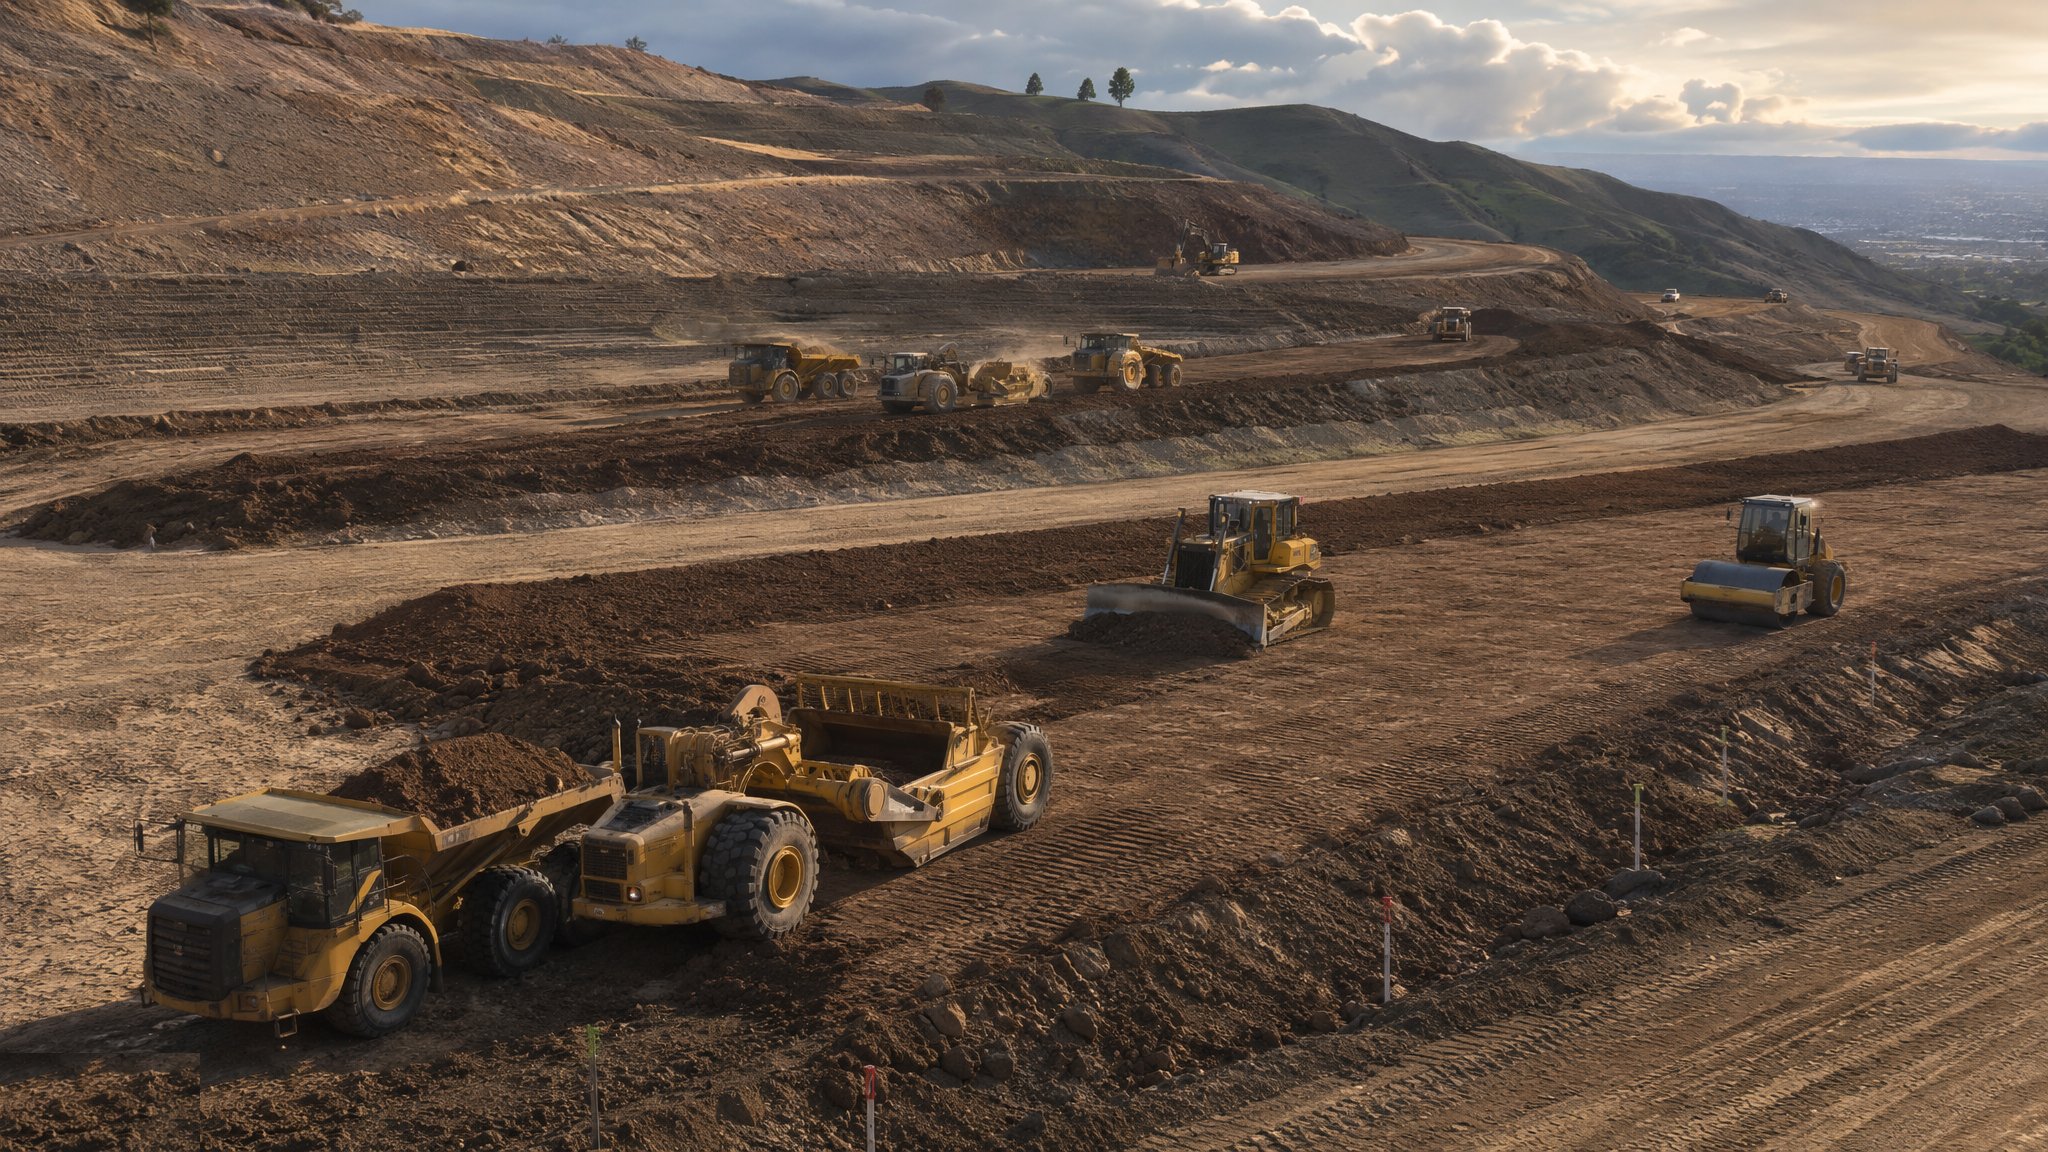
Bulk cut and fill is large-scale regrading: cutting the high ground, filling the low, and forming the development platform at design levels. The economics are ruled by one principle - move material once. Every cubic metre dug, hauled, tipped and rehandled is paid for each time it moves, so the cut-and-fill balance, the haul routes and the stockpile strategy are designed before the first bucket, usually off a mass-haul calculation that matches cut volumes against fill areas along sensible haul distances.
Fill is a manufactured product, not a dumping ground. Material is approved against the specification - right grading, right moisture, no contamination - placed in layers of 150–300 mm matched to the compactor, and rolled at a moisture content near optimum, because soil compacted too wet or too dry will never reach density no matter how many passes it gets. Each layer is density-tested on a grid: nuclear density gauge for the fast answer, sand replacement for the referee. A fill platform is exactly as good as its worst-tested corner, and the settlement that matters shows up in year two under somebody's floor slab.
Where buildings or roads will sit on fill, time becomes part of the specification. Cohesive fills settle under their own weight and the structure's; the design may call for a settlement period, a surcharge load to accelerate consolidation, or monitoring until movement falls below the trigger. Cutting corners here is invisible at handover and expensive forever after - the classic defects of differential settlement, cracked slabs and ponding roads all trace back to fill placed fast, wet, thick or untested.
Process storyboard
Step 1 of 6 - slide through the snapshots.
STEP 1
Design the movement before moving
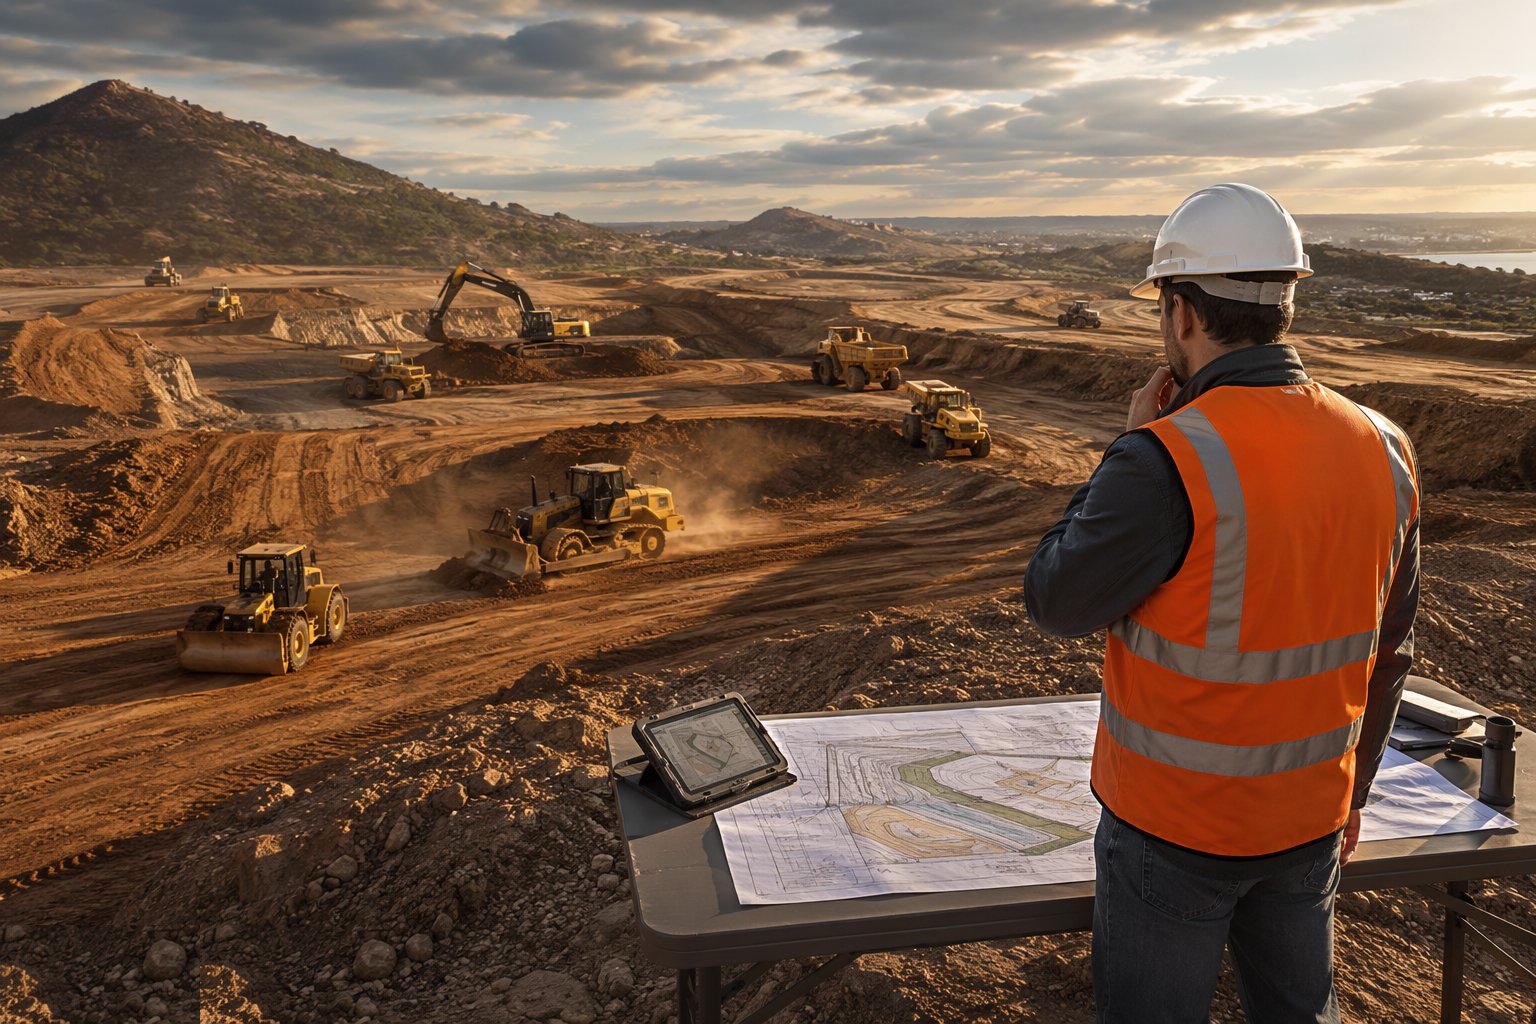
From the ground model and the design levels, compute the cut and fill volumes and the mass-haul balance: where cut material goes, in what order, along which…
How does Bulk cut and fill work, step by step?
- 1
Step 1: Design the movement before moving
From the ground model and the design levels, compute the cut and fill volumes and the mass-haul balance: where cut material goes, in what order, along which haul routes. Identify unsuitable material - wet cohesive, contaminated, organic - and decide its fate now: conditioning, stockpile or export. Haul routes are fixed, stoned and one-way where possible; dumpers never cross finished formation.
- 2
Step 2: Strip, prepare and prove the ground
Topsoil comes off both cut and fill areas first. The fill footprint is then prepared: soft spots dug out, the surface proof-rolled with a loaded dumper or roller, and any pumping or rutting areas replaced with granular material. Fill placed on a soft, unsealed footprint settles from the bottom up, and no amount of surface compaction fixes it.
- 3
Step 3: Cut to formation with a protected final trim
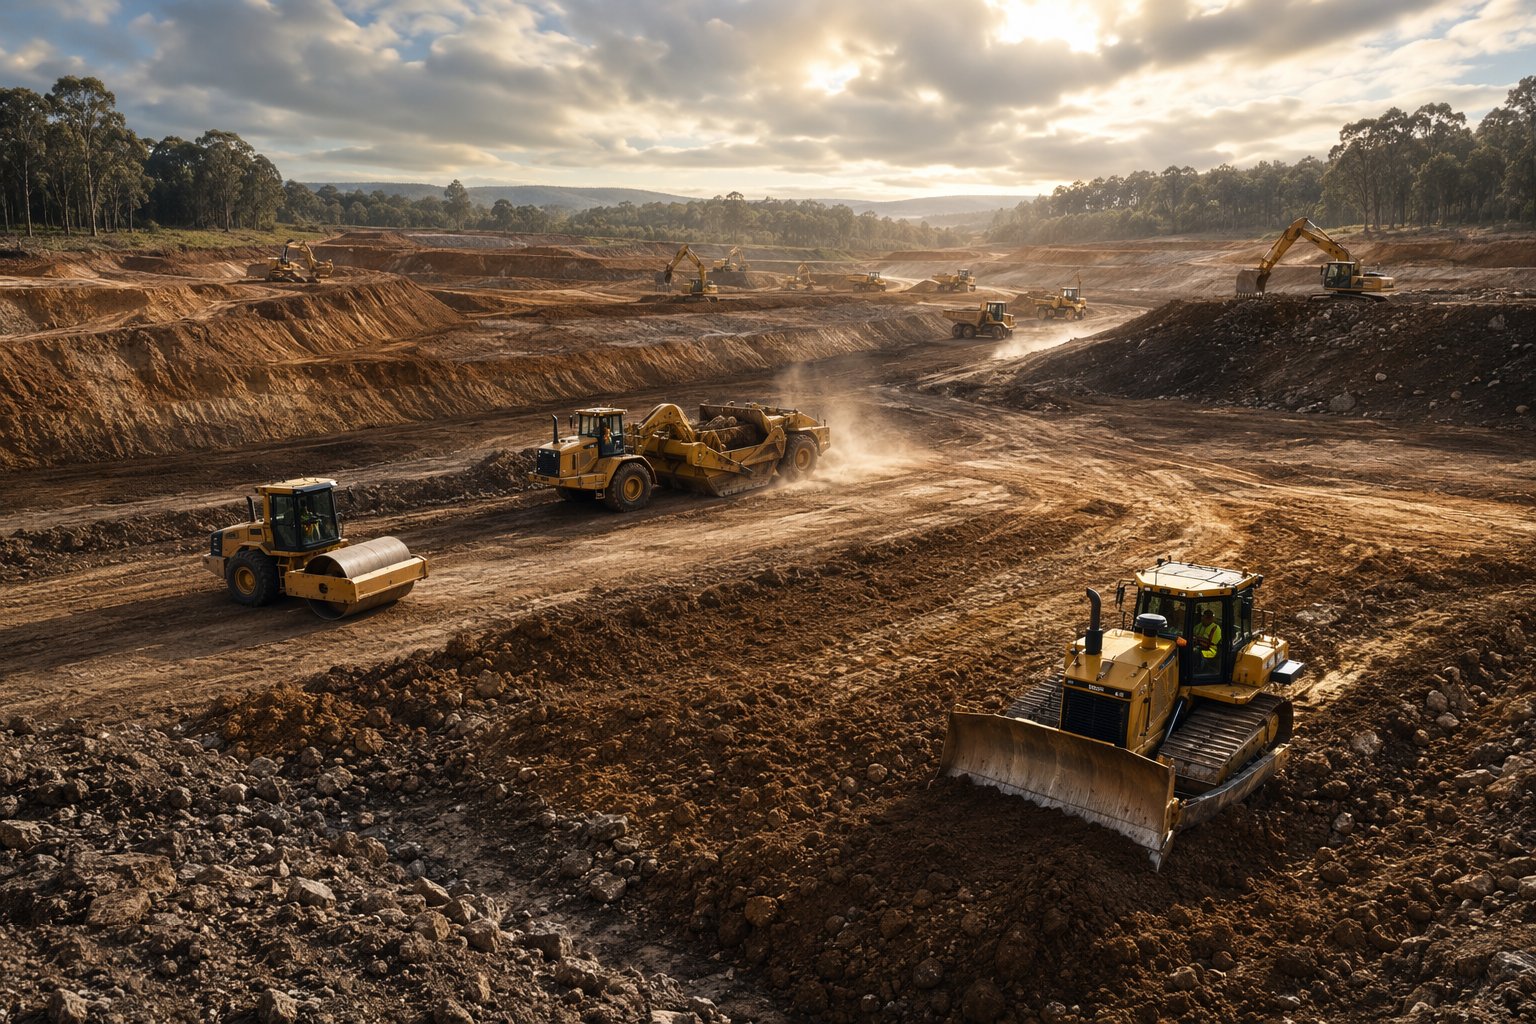
Cut areas are excavated with GPS-guided dozers and excavators, working top-down in benches, leaving the last 150–300 mm as a protective blanket until just before construction. Formation is checked on a grid against design levels. In cut, the engineer inspects the exposed material against the GI - a soft band at formation is found now, by inspection, not later by settlement.
- 4
Step 4: Place fill in tested layers
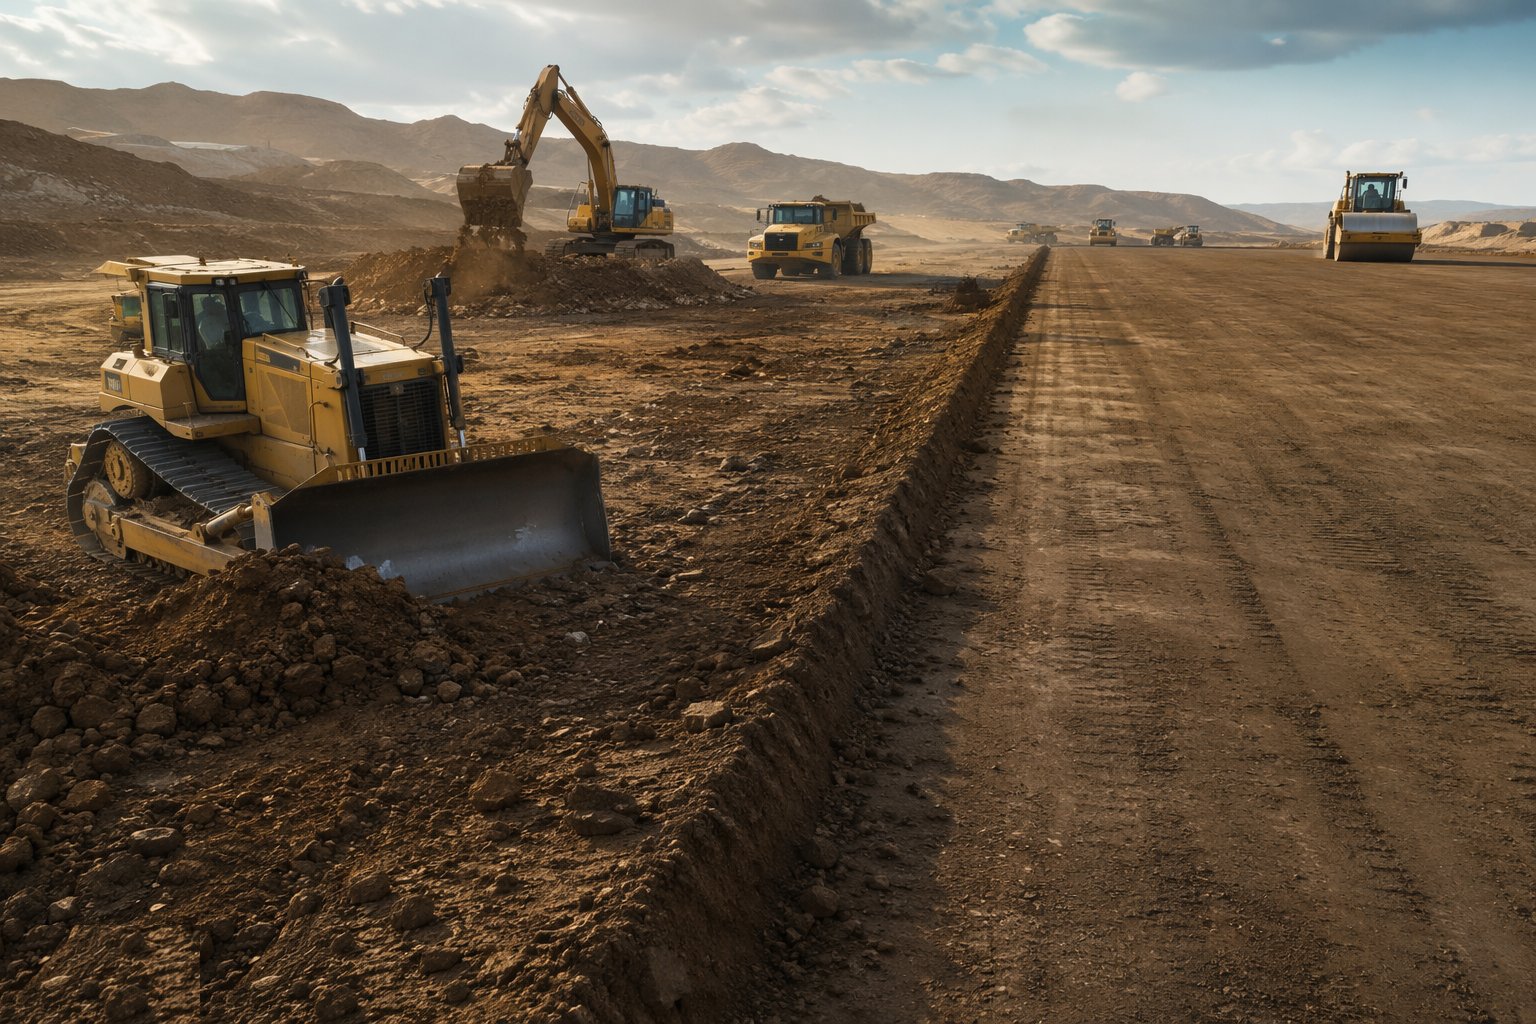
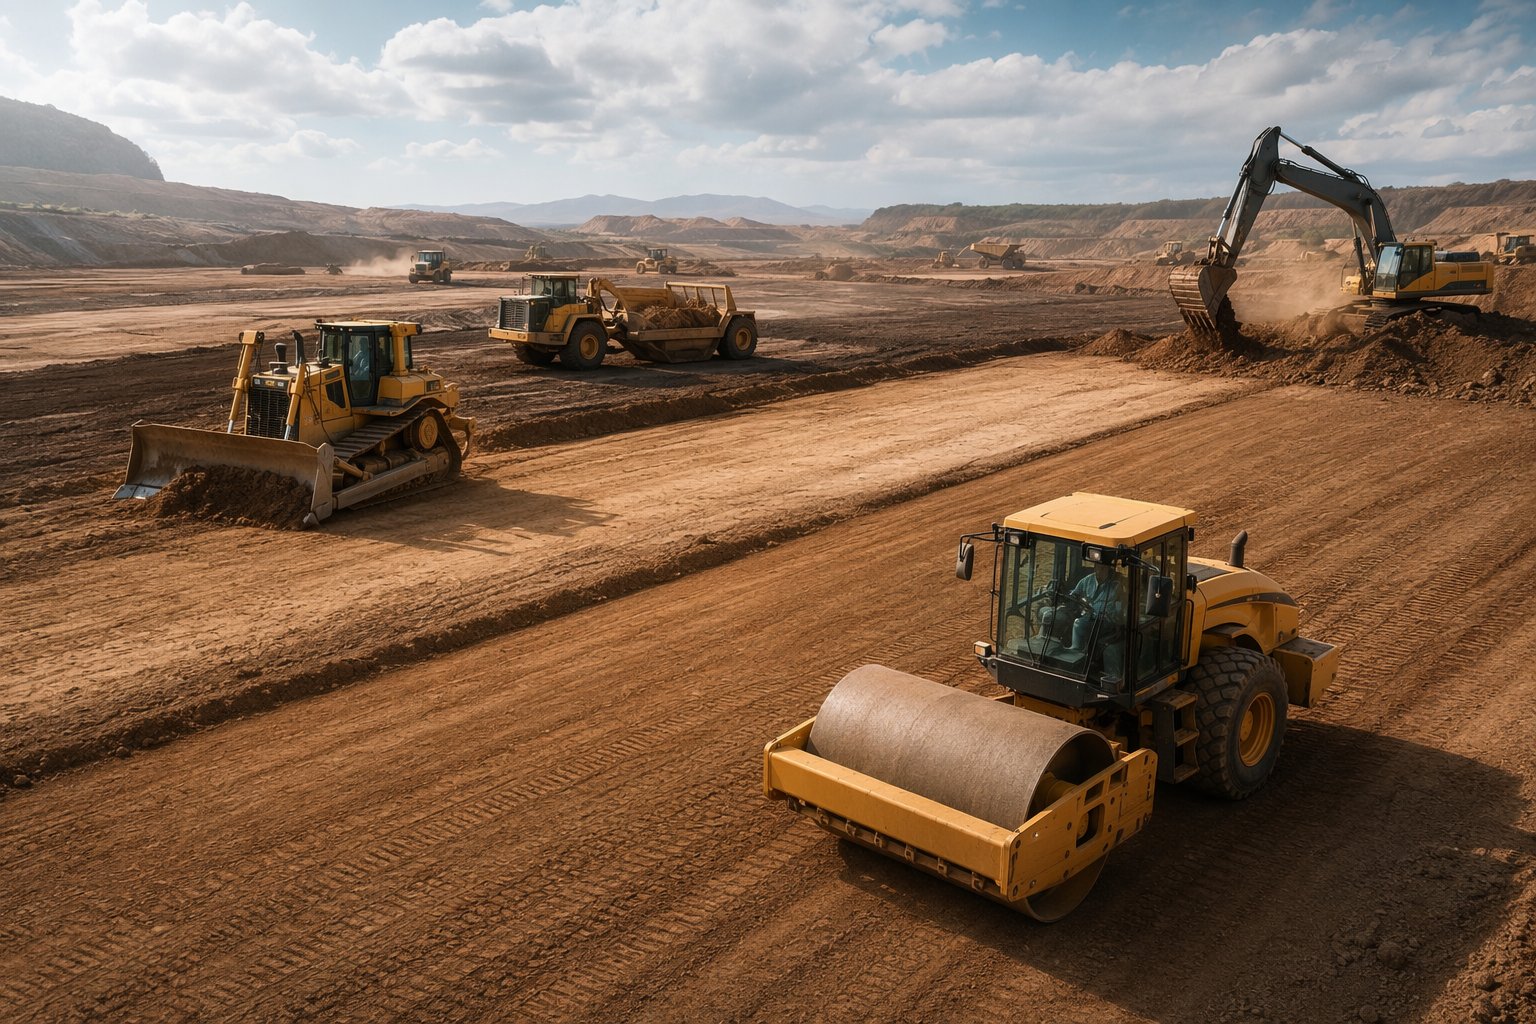
Approved fill is tipped, spread by dozer and compacted in 150–300 mm layers - the layer thickness matched to the roller, not the dumper driver's patience. Moisture is managed: water bowser on dry granular fill, or a drying/conditioning pass on wet cohesive. Each layer is density-tested on a grid at the specified frequency - typically one test per few hundred square metres per layer - and failed areas are re-rolled or dug out and replaced before the next layer covers the evidence.
- 5
Step 5: Verify formation and manage settlement
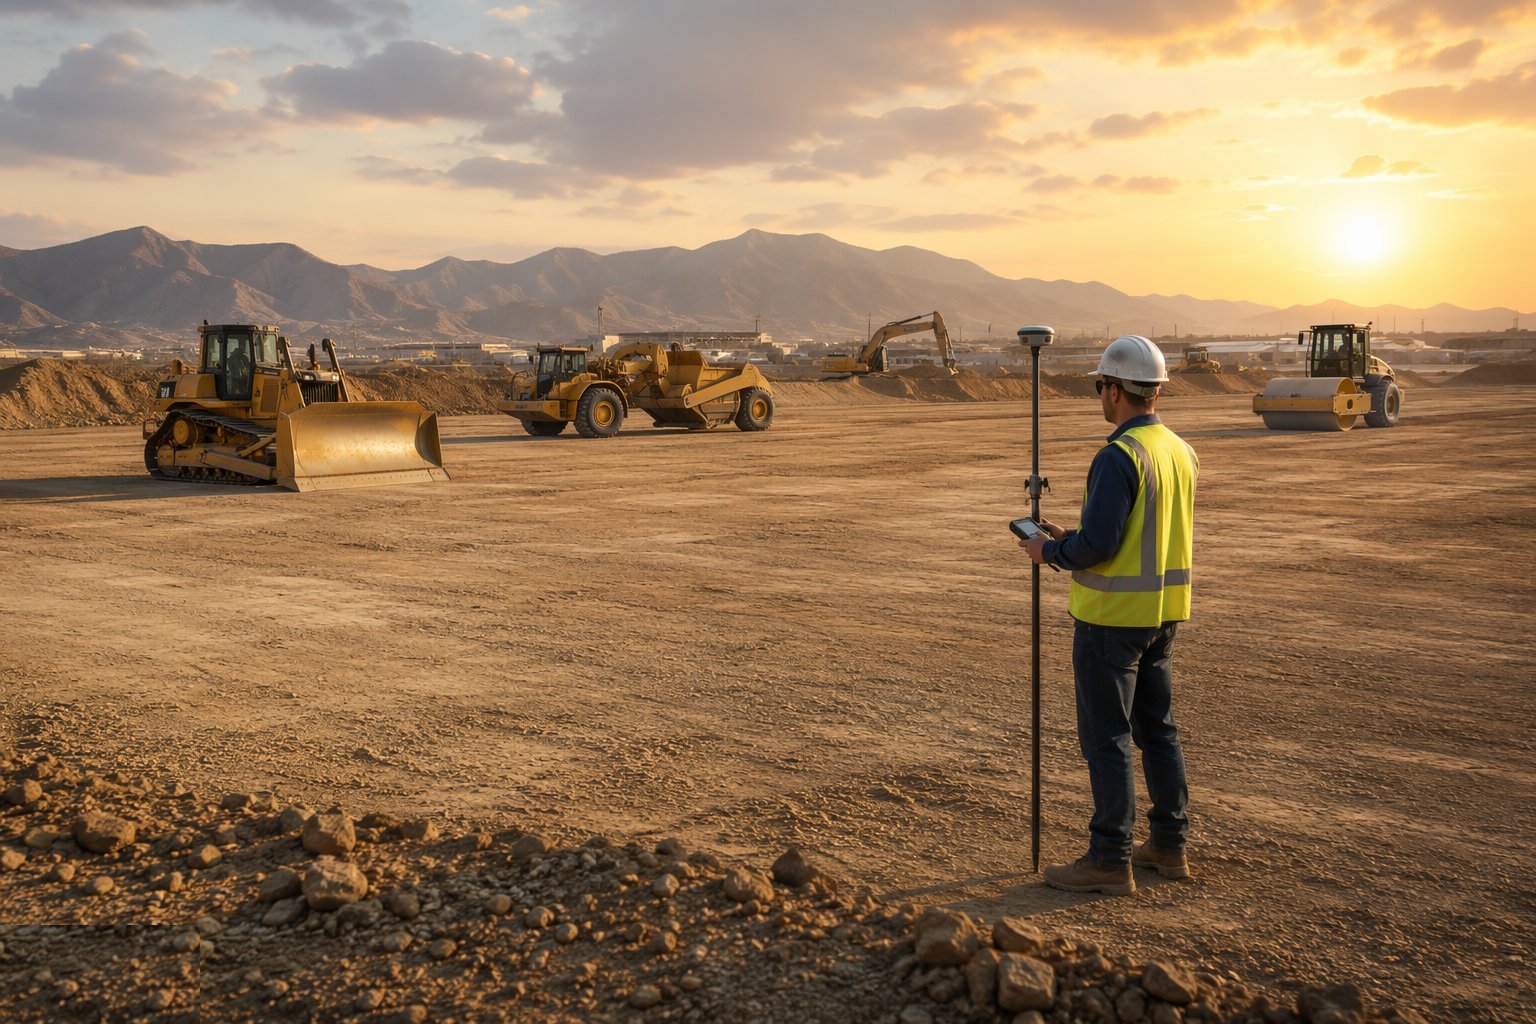
At final level, the whole platform is levelled on a grid and density-verified; in spec terms, the formation CBR or plate-bearing value is confirmed where pavements or slabs bear directly. Where the design requires it, settlement plates or monitoring points are installed and read on programme until movement is within the trigger. Only then is the platform released for construction.
- 6
Step 6: Close out the records
The earthworks file is assembled: layer-by-layer density results, moisture records, level grids, material approvals and the engineer's formation inspections. As-built levels are surveyed and compared to design within tolerance. This file is the evidence, at every future dispute about cracked slabs or ponding yards, that the platform was built and tested as specified.

What are the benefits of Bulk cut and fill?
- Balanced cut and fill minimises costly import and export
- A tested fill platform is engineered ground - buildable and insurable
- Machine control gives level accuracy across the whole site
- Site-won material replaces imported fill where the specification allows
- Early settlement management de-risks the structures that follow
What are the limitations of Bulk cut and fill?
- Weather rules cohesive fill - wet seasons can stop placement outright
- Density testing takes time; layers cannot be buried untested without risk
- Deep or cohesive fills may need settlement periods measured in months
- Haul routes and stockpiles consume working space and need constant maintenance
- Contamination discoveries mid-earthworks can reclassify whole stockpiles
- The balance is fragile - design changes upstream can turn surplus into deficit
What is Bulk cut and fill best suited for?
What plant does Bulk cut and fill need?
- GPS-guided dozers and 360° excavators for cut and spread
- Articulated dump trucks (20–30 t) for haul
- Rollers: smooth drum for granular, padfoot/sheepsfoot for cohesive
- Water bowser for moisture conditioning
- Motor grader for final trimming on large platforms
- Nuclear density gauge and sand-replacement kit for testing
How is Bulk cut and fill quality-checked?
- Fill material approved against specification before placement - grading and contamination
- Proof-rolling of the fill footprint recorded; soft spots replaced
- Density testing on a grid per layer, results filed before the next layer
- Moisture content within the specified range at compaction
- Formation levels verified on a grid; CBR or plate tests where specified
- Settlement monitoring read on programme and within trigger levels
More earthworks & excavation methods
Next method
Trench excavation