Mini and micro piling
Piles that fit through a doorway - deep foundations for the sites nothing else can reach.
Last updated 2026-08-25
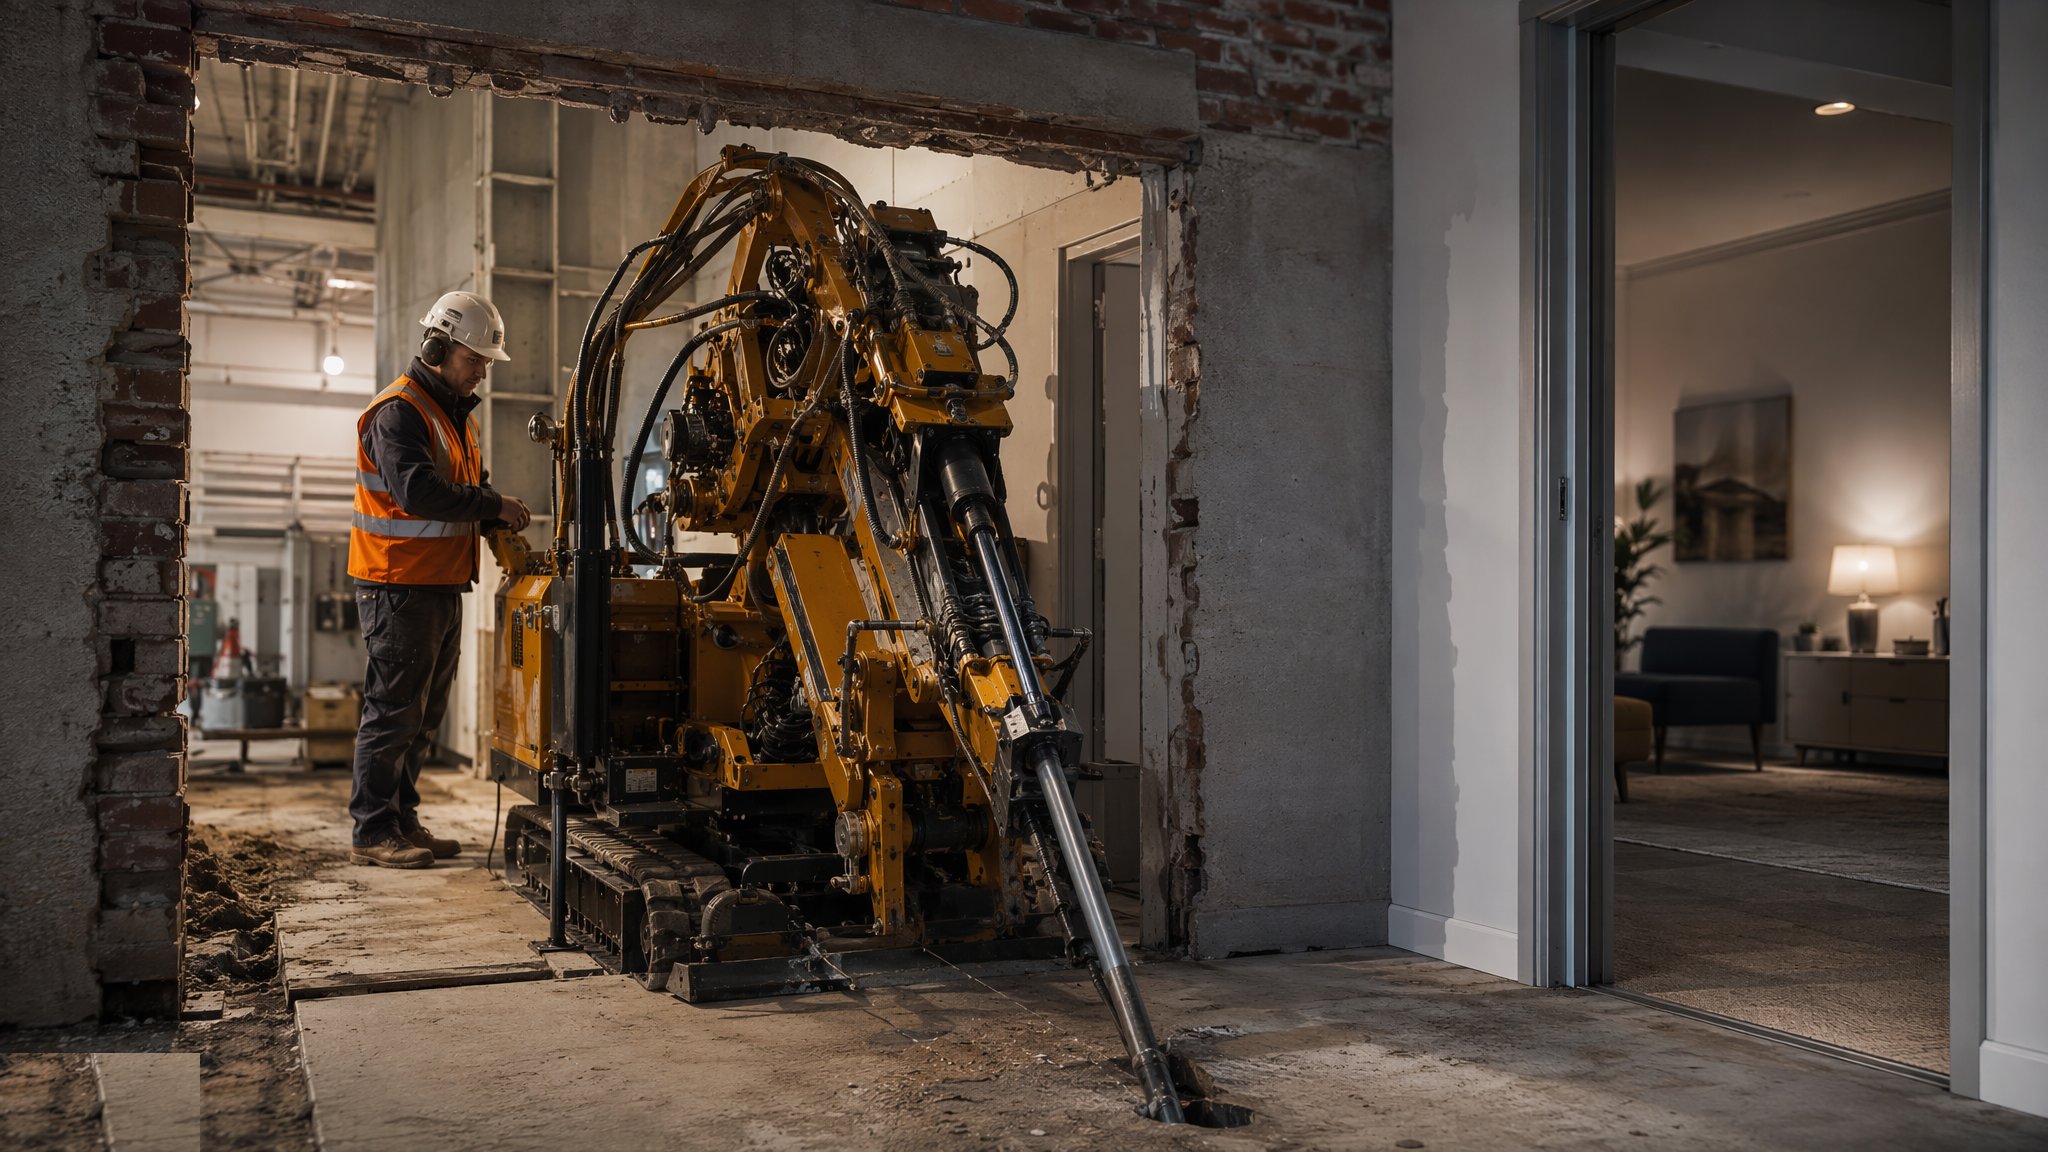
What is Mini and micro piling?
Mini and micro piling exists for the problems the big rigs cannot reach: restricted access, low headroom, occupied buildings, underpinning and extensions hard against existing structures. Rigs that track through a doorway and work under a 2.5 m ceiling install small-diameter piles - typically 150–300 mm - by rotary or rotary-percussive drilling, then grout them up around a central bar or small steel tube that carries the load. Working loads are modest - 100–600 kN is the usual band - but the piles can found in rock or dense strata at depths well beyond what the rig's size suggests.
The technique is really grouted-anchor technology applied vertically. A sacrificial drill bit or down-hole hammer advances the bore, often with simultaneous casing through made ground and fill; the steel element is placed; and grout is pumped from the bottom up under pressure, bonding the element to the ground over the design bond length. In rock or dense gravel, end-bearing plus bond gives reliable capacity; in soft clays the achievable bond stress is low and pile lengths grow quickly.
Quality assurance is proportionally harder than on big piles because everything is small and fast. There is no room for instrumentation worth the name, so the record is the drilling log, the grout take versus theoretical volume, grout cube tests and - critically - load tests on sacrificial preliminary piles, because a 200 mm grouted column in variable made ground is the least predictable pile on the market. On underpinning work the pile is only half the job: the connection into the existing foundation, the load transfer sequence and the monitoring of the building during the works decide success.
Process storyboard
Step 1 of 6 - slide through the snapshots.
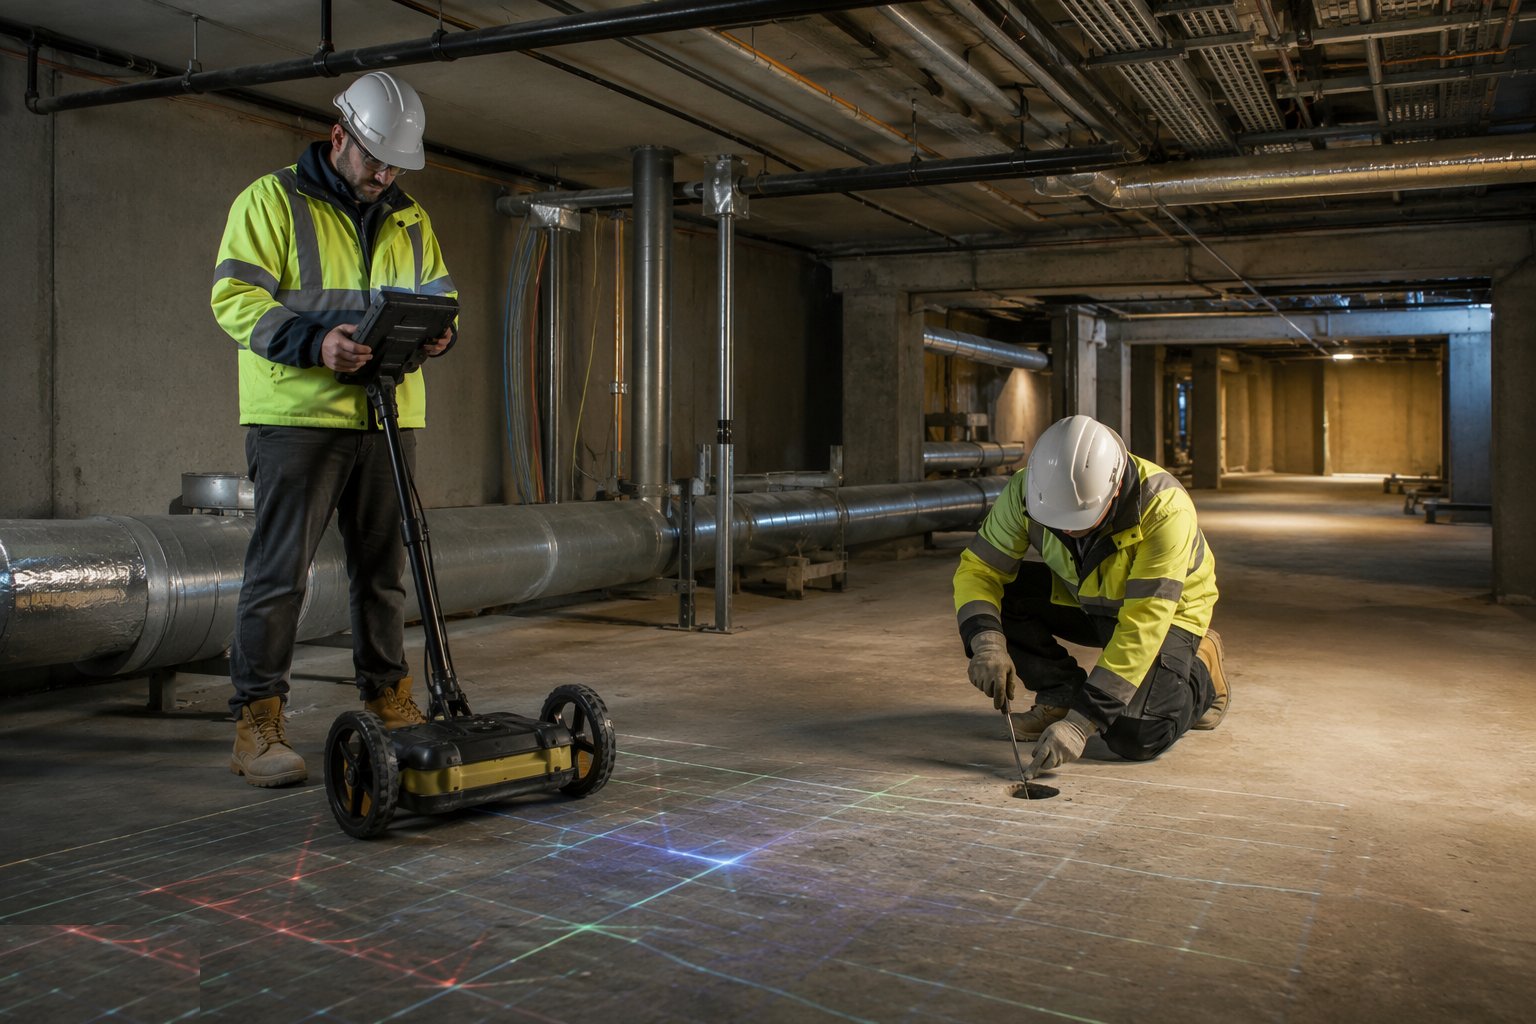
STEP 1
Survey, probe and plan for the obstructions nobody recorded
Access routes, headroom and services are surveyed, and the drilling positions probed - the typical mini-piling site is full of unrecorded services, old…
How does Mini and micro piling work, step by step?
- 1
Step 1: Survey, probe and plan for the obstructions nobody recorded
Access routes, headroom and services are surveyed, and the drilling positions probed - the typical mini-piling site is full of unrecorded services, old footings and rubble. Pile positions are adjusted to what physically exists, and the drilling method is chosen for the ground: open-hole rotary in firm strata, simultaneous casing through fill and water-bearing ground, down-hole hammer in rock.
- 2
Step 2: Track the rig in and set up
The compact rig tracks through the access route - sometimes through the building itself - and sets on the pile position. Rake and position are set from the rig gauges; on underpinning work the needle beam or bracket that will connect pile to structure is checked first - a pile drilled in the wrong place under an existing wall is worse than no pile.
- 3
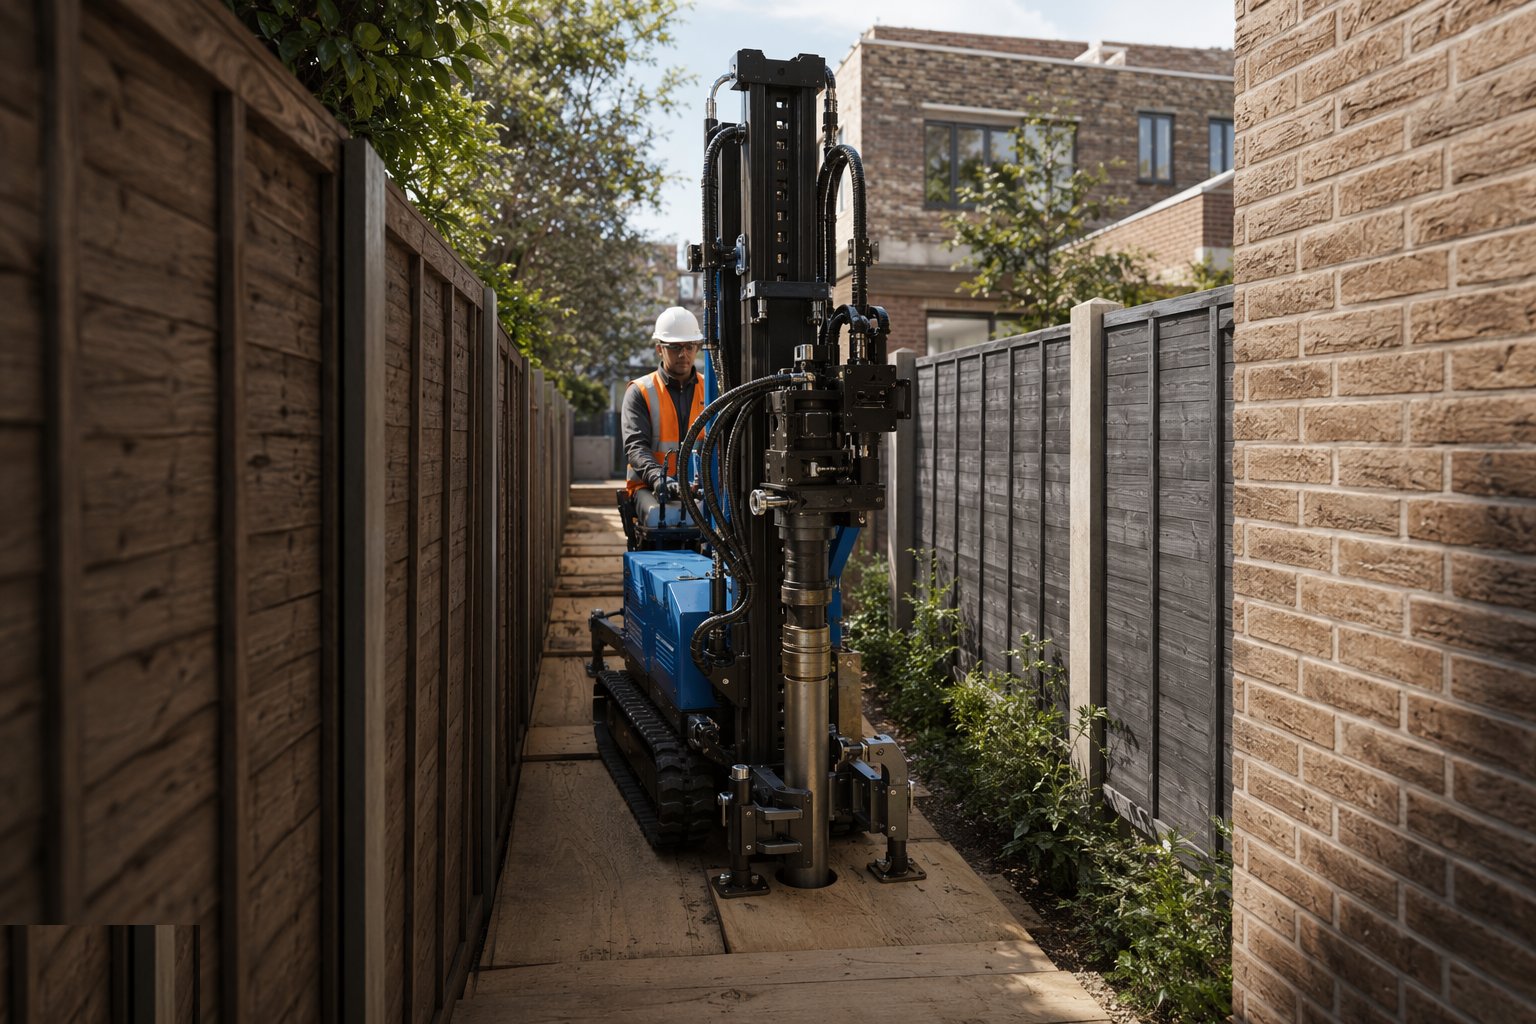
Step 3: Drill to the design stratum
The bore advances in short sections, with the drilling log recording strata, flush returns and penetration rates against the GI. Through made ground, casing advances with the drill so loose material cannot collapse onto the element. In rock, the hammer's penetration rate confirms the socket. Depths are verified pile by pile - neighbouring piles tell you the trend, not the answer.
- 4
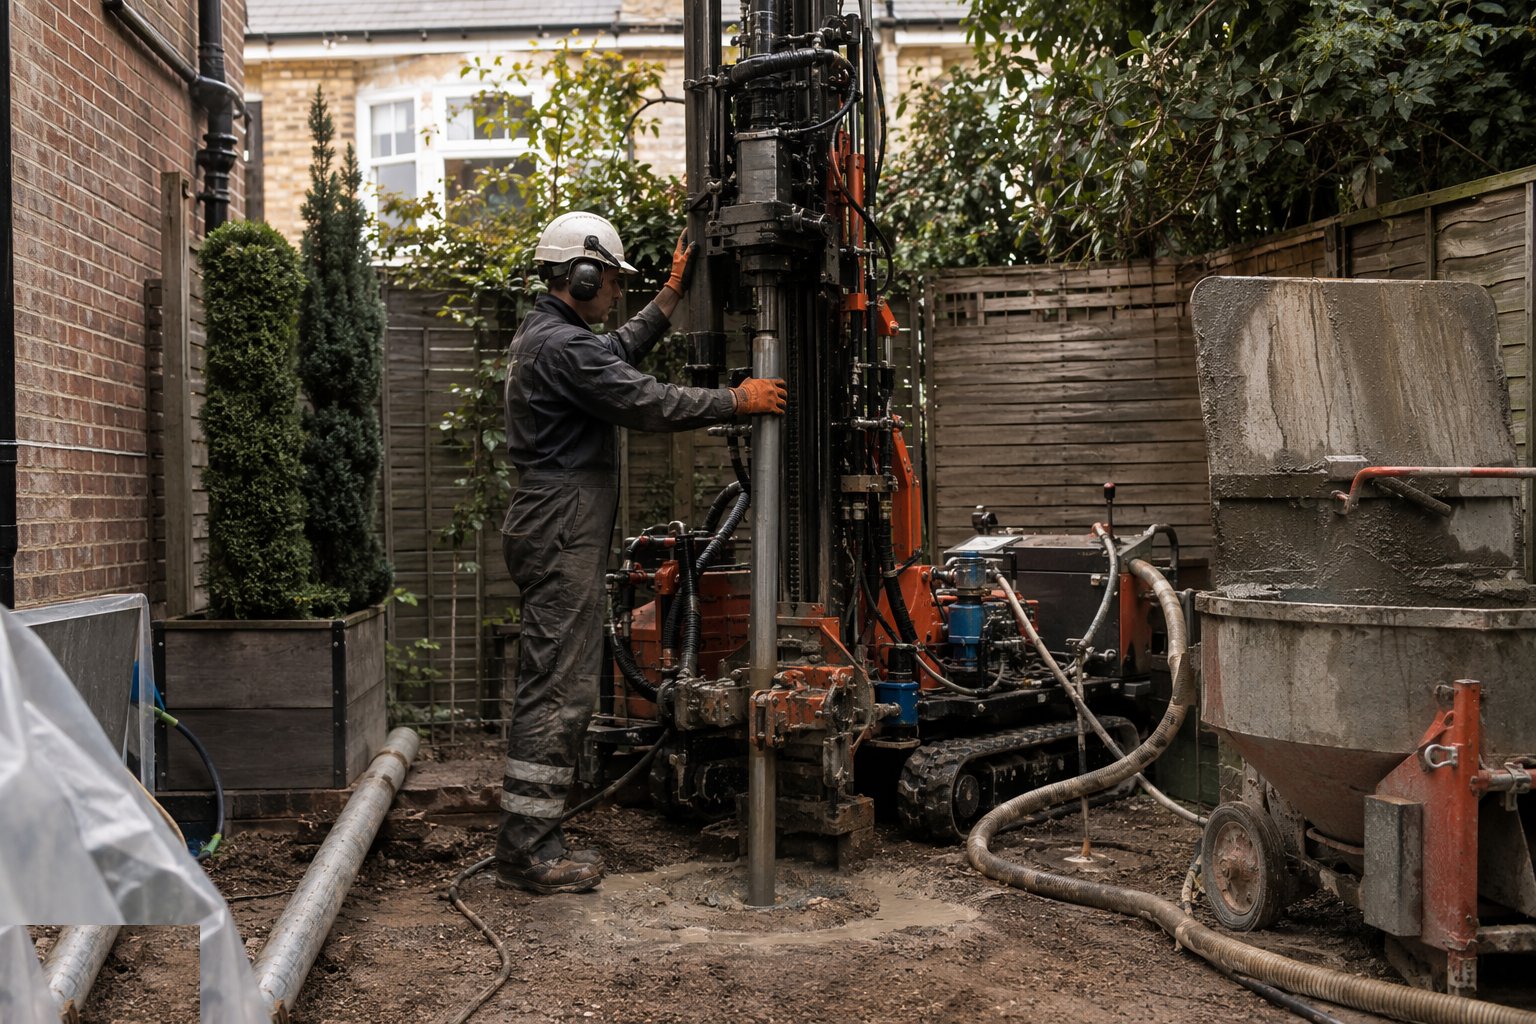
Step 4: Place the steel element
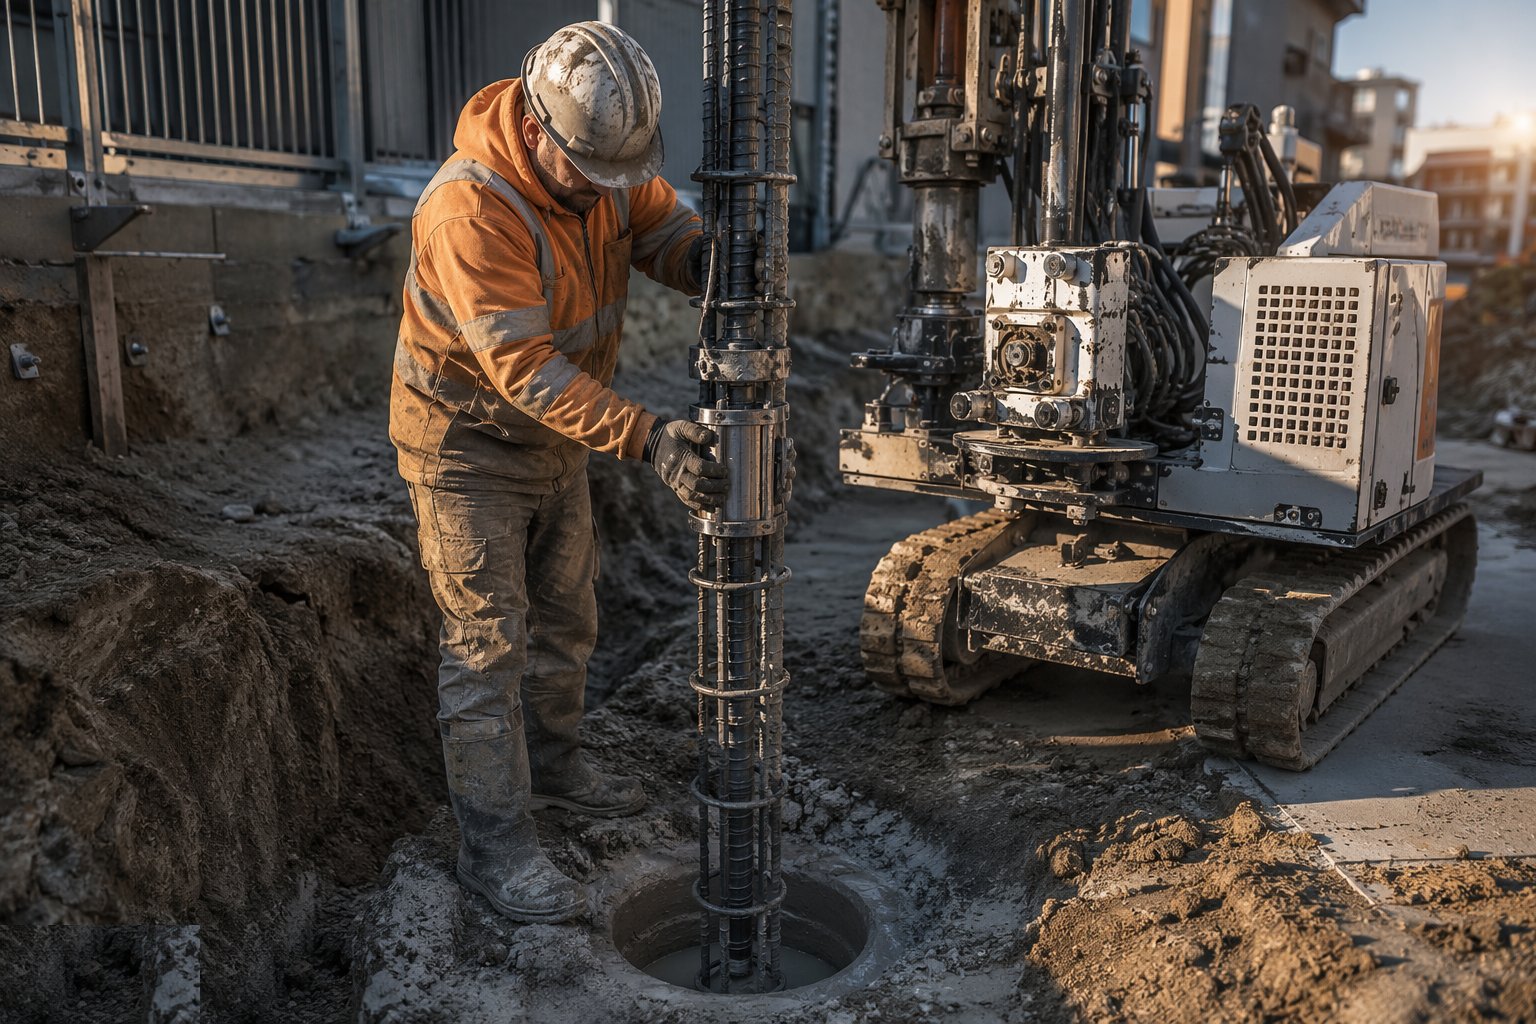
The central bar or tube - high-yield threaded bar in couplers, or small steel tube - is lowered and centralised. Element joints are made to the manufacturer's spec; corrosion protection follows the design, with grout as the primary barrier. Element and bore depths are reconciled before grouting starts.
- 5
Step 5: Pressure-grout from the bottom up
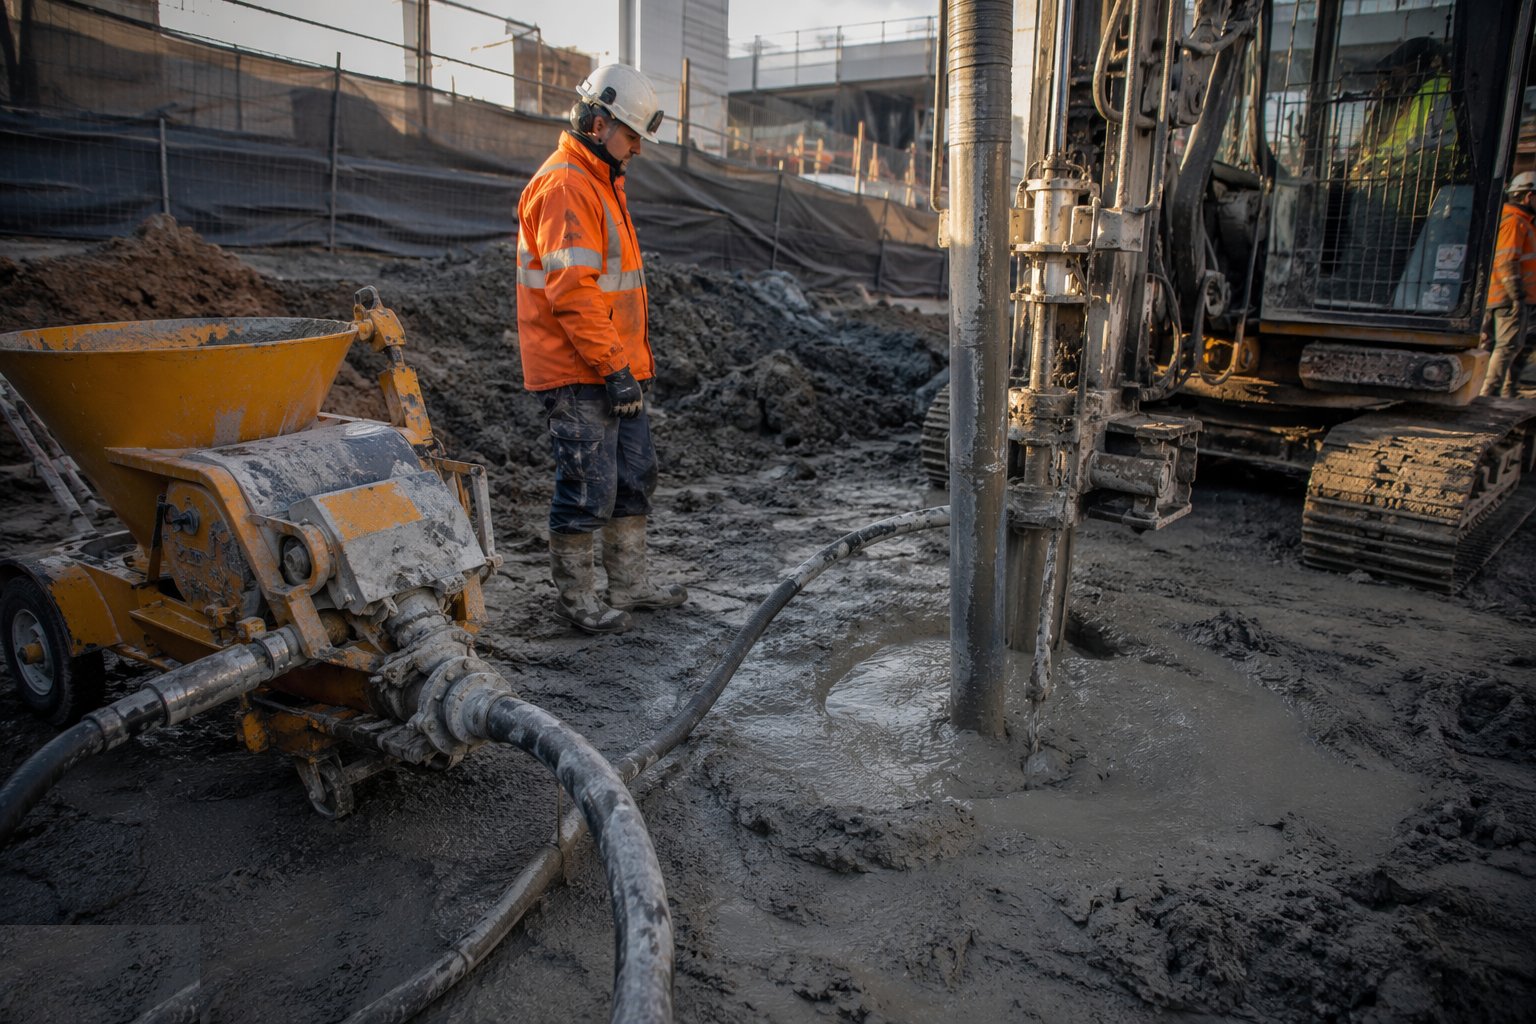
Grout is mixed to the designed water/cement ratio, tested with flow and cube samples, and pumped through a tremie line from the base so it displaces flush water upward. Pressure and take are recorded: a take well over theoretical means voids or lost ground; under-take means blockage. The bore is grouted full and topped up as the grout settles.
- 6
Step 6: Load-test and connect
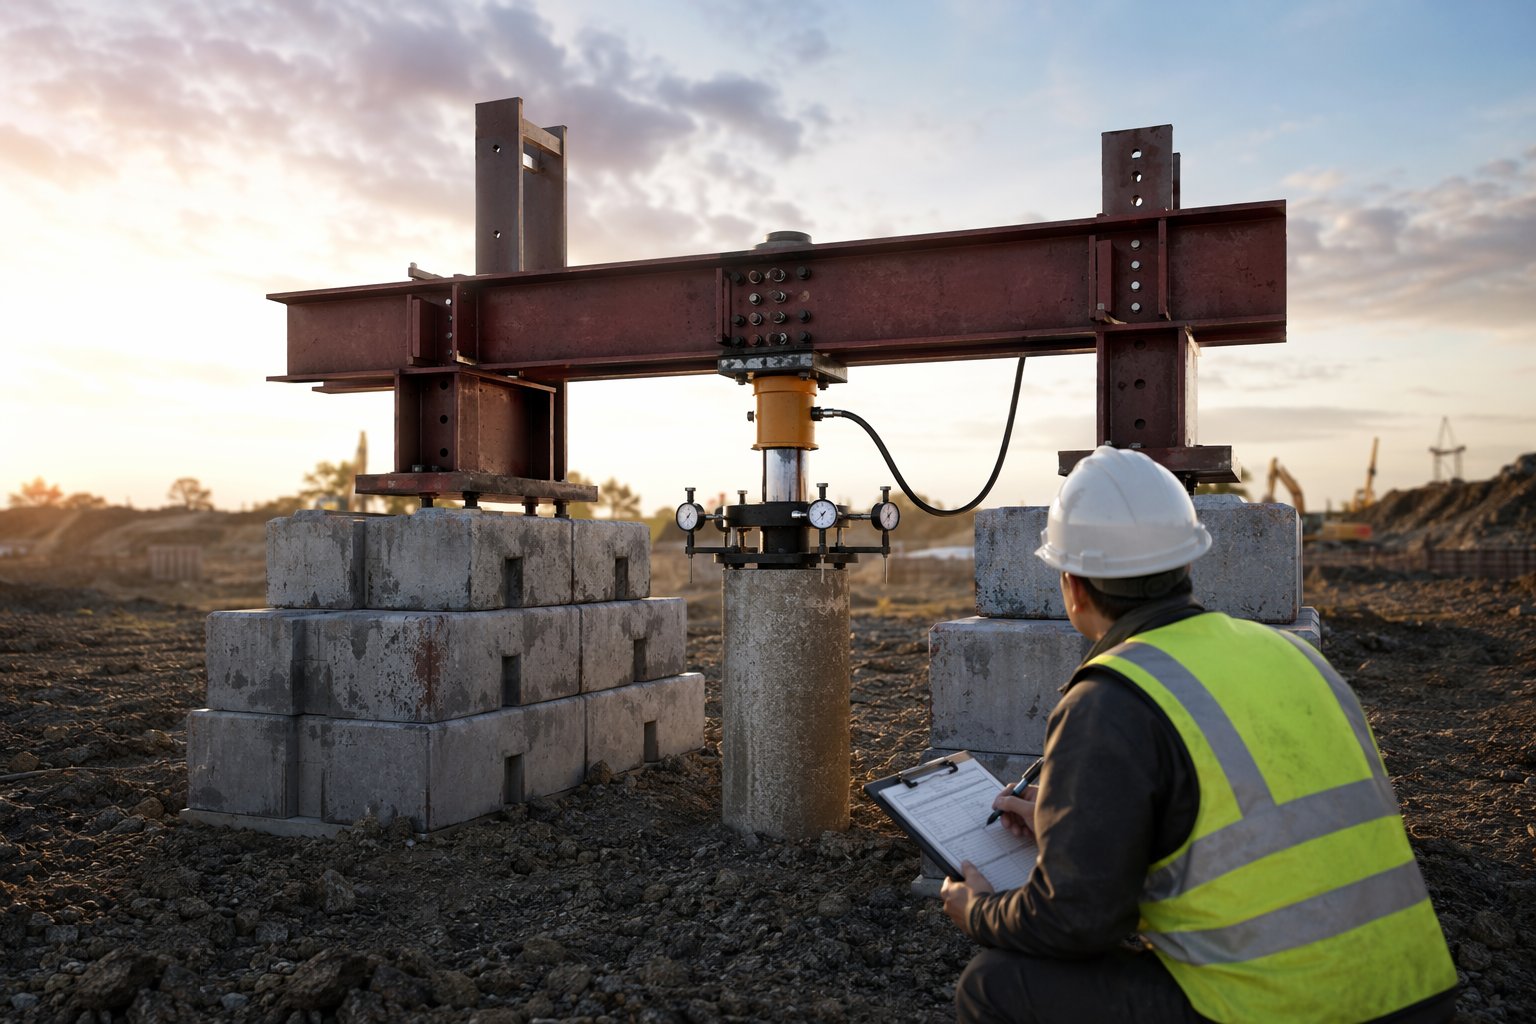
Preliminary sacrificial piles are load-tested to prove the bond design before production; working piles get proof tests on a sample. On underpinning, load transfer follows the engineered sequence - jacking or grouted connection - with the building monitored for movement throughout. Logs, grout records and test results complete the file.
What are the benefits of Mini and micro piling?
- Goes anywhere - rigs work inside occupied buildings, basements and gardens
- Low headroom and restricted access are the home turf, not a constraint
- Minimal noise and vibration - safe next to fragile and occupied structures
- Sockets into rock through made ground and fill that rule out shallow solutions
- Fast mobilisation and small working platform demands
What are the limitations of Mini and micro piling?
- Modest capacity - heavy loads need many piles or a different method entirely
- Quality assurance is hard - little instrumentation, heavy reliance on grout records and load tests
- Slow per unit of capacity - many piles for the load one big bored pile carries
- Unrecorded obstructions are the daily enemy on refurbishment and underpinning sites
- Unit rates are high - the premium is for access, not capacity
What is Mini and micro piling best suited for?
What plant does Mini and micro piling need?
- Compact mini-piling rig - tracked, doorway-width, low-headroom variants
- Down-hole hammers, rotary heads, drill rods and simultaneous casing systems
- Grout mixer, agitator and pressure pump with flow meters
- Grout testing kit: flow cone, balance, cube moulds
- Load test rig scaled to mini piles: reaction beams, jacks, dial gauges
- Movement monitoring equipment for underpinning works
How is Mini and micro piling quality-checked?
- Drilling log per pile: strata, flush returns, penetration rates, depths
- Grout water/cement ratio, flow test and cube samples per batch; pressure and take recorded per pile
- Grout volume reconciliation against theoretical - over- and under-take investigated
- Static load tests on preliminary sacrificial piles; proof tests on working piles
- Element joint and centralisation checks; corrosion protection verified
- Movement monitoring records during underpinning load transfer