Cut-and-cover tunnelling
Dig it from the top, build it in the open, then put the lid on and give the surface back.
Last updated 2026-09-05
What is Cut-and-cover tunnelling?
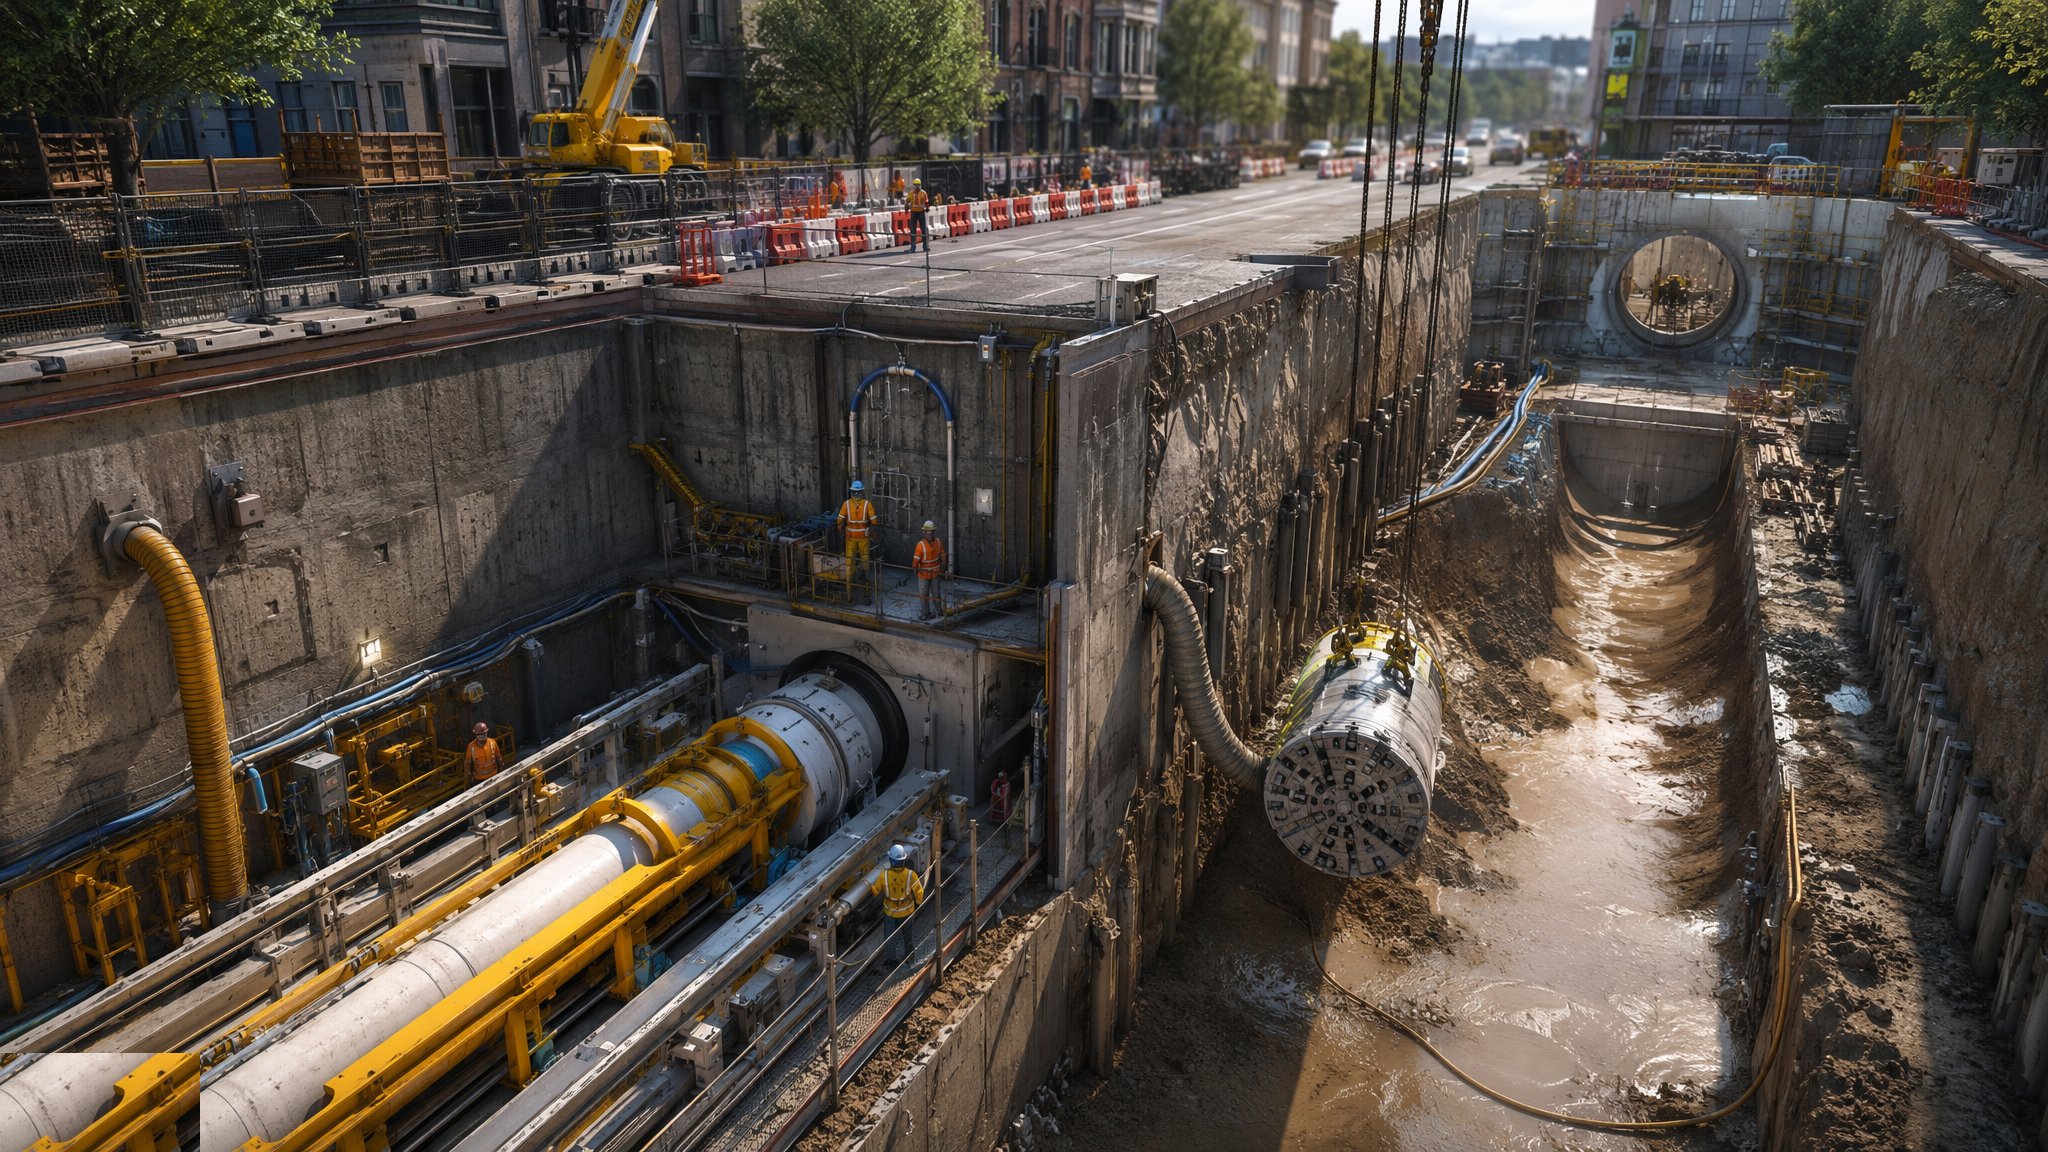
Cut-and-cover is the oldest way of building a tunnel and still the most common at shallow depth. Rather than driving a bore through the ground from a shaft, the ground is excavated from the surface down to the tunnel level, the structure is built in the open, and the excavation is roofed over and backfilled so that the surface can be reinstated. The finished asset is a tunnel; the construction operation is a deep excavation. That distinction runs through every decision on the project, because the risks, the plant and the temporary works belong to excavation and retaining structures rather than to tunnelling.
There are two families. Bottom-up is the traditional sequence: excavate to formation, build the base slab, then the walls and finally the roof, waterproof it, and backfill over the top. Top-down reverses the middle of that sequence: the permanent retaining walls are installed first from the surface, the roof slab is cast at or near ground level spanning between them, and the excavation is then carried out underneath the completed roof, working downwards to the base slab. Bottom-up is simpler, cheaper and easier to build. Top-down gives the surface back early, because the road or the public realm can be reinstated over the roof slab while the excavation continues below, and it uses the permanent structure to prop the walls as the dig goes down. The choice between them is usually made on how long the surface can be occupied rather than on structural preference.
The sides of the excavation are formed by retaining walls that may be temporary or permanent. Sheet piles, king post walls and similar systems are usually temporary and come out or stay as sacrificial support. Secant walls, contiguous walls and diaphragm walls are commonly designed as part of the finished structure, which is what makes top-down construction possible in the first place. Groundwater is a principle running through the whole job: an excavation below the water table has to be kept dry enough to work in and stable enough not to fail from below, and the strategy for that - cutting the water off with the walls, lowering it, or a combination - is set by the designer with the temporary works designer, along with the consents that any abstraction requires. Cut-and-cover competes with bored tunnelling, and it wins on short, shallow runs and wherever the tunnel has to change section, open out into a station box or connect to the surface. It loses as soon as the alignment gets deep, or the surface above is too valuable, too busy or too built-up to occupy - which is precisely why bored tunnelling exists.
How does Cut-and-cover tunnelling work, step by step?
- 1
Step 1: Settle the alignment, the depth and the surface impact
The decision to use cut-and-cover is taken on surface impact as much as on engineering. The designer weighs the depth of the alignment, the ground and groundwater conditions, the buildings and services along the route, the traffic and pedestrian movements that have to be maintained, and the land that would have to be taken and occupied for the duration. A shallow tunnel under an open corridor is an obvious candidate. The same tunnel under a busy high street may be cheaper to bore, even though the bore is technically harder, because the surface disruption is what actually costs the money. Ground investigation along the route informs the retaining wall selection and the groundwater strategy from the outset rather than after the alignment is fixed.
- 2
Step 2: Clear the corridor and deal with the services
A cut-and-cover corridor almost always has utilities running along or across it, and they have to be located, proven and then diverted, supported or protected before the dig begins. Diversions are frequently the longest lead item on the whole project because they depend on other asset owners' programmes. Traffic management, pedestrian routes, access to properties and site hoardings are set out at the same time, and the corridor is fenced and secured for what may be a very long occupation.
- 3
Step 3: Install the retaining walls from the surface
The walls that will form the sides of the excavation are installed before any significant digging. Depending on the design these may be sheet piles, king post walls, contiguous or secant bored pile walls, or diaphragm walls, and whether they are temporary support or part of the permanent structure is a design decision taken early because it governs everything that follows. Wall installation is itself a specialist operation with its own working platform, verticality tolerances and records. Where the design requires the walls to cut off groundwater, the continuity of the wall matters as much as its strength, and the installation records are the evidence for both.
- 4
Step 4: Excavate in stages under the temporary works design
The dig proceeds in stages, and every stage is defined by the temporary works designer, not by the excavator driver or the programme. Support is installed as the excavation goes down - propping, waling beams, anchors, or in top-down construction the permanent slabs themselves - and each level of support is signed off before the next stage of dig begins. Deep excavation collapse is one of the small number of events in construction that kills whole gangs at once, so the sequence, the support and the permit to proceed to the next level are formal, written and enforced. Excavated material is removed through defined haul routes, and the edge protection, access and stability of the plant working at the top of the excavation are managed as carefully as the excavation itself.
- 5
Step 5: Build the structure and waterproof it
In bottom-up construction the base slab is cast on a blinded formation, the walls follow, and the roof slab spans between them. In top-down the roof is already there and the base slab is the last element. Either way the structure is a buried box that will spend its life below ground and often below the water table, so waterproofing is designed as a system - membranes, integral watertight concrete, joint details, waterstops and drainage - and not assembled on site from whatever is to hand. Construction joints, penetrations and the junction between the retaining wall and the slabs are where buried structures leak, so those details are the ones worth arguing about before they are built.
- 6
Step 6: Backfill, reinstate and hand the surface back
Backfill over the roof is placed and compacted in controlled layers to a specified standard, because everything above it - the road, the footway, the reinstated services - is going to settle exactly as much as the backfill lets it. Services are reinstated in their permanent positions, the surface is rebuilt, and the temporary works are removed or left in place as the design directs. The finished tunnel is then commissioned as an asset, with its drainage, ventilation and access provisions proved, and the record drawings issued to whoever will have to maintain it.
What are the benefits of Cut-and-cover tunnelling?
- The most economical way of building a shallow tunnel over a short length
- The whole structure is built in the open, so quality can be seen, inspected and corrected
- Handles changes in section, junctions, ramps and surface connections that a bored tunnel cannot
- Uses conventional excavation, piling and concrete plant rather than a bespoke tunnelling machine
- Top-down construction gives the surface back early while the dig continues underneath
- No launch shaft, no machine procurement and no long mobilisation before work starts
What are the limitations of Cut-and-cover tunnelling?
- Occupies the surface along the whole route, with the disruption and land-take that implies
- Deep excavation carries a severe collapse risk that demands a full temporary works regime
- Utility diversions along the corridor are often the longest and least controllable part of the programme
- Cost and risk climb steeply with depth, so deep alignments favour bored tunnelling
- Groundwater below the excavation level complicates support, dewatering and consents
- Noise, dust, vibration and traffic impact fall directly on the properties either side for the duration
What is Cut-and-cover tunnelling best suited for?
What plant does Cut-and-cover tunnelling need?
- Piling or diaphragm walling rigs for the retaining walls, with their working platforms
- Long-reach and standard tracked excavators, with muck-away haulage and defined haul routes
- Cranes for propping, waling beams, reinforcement cages and precast units
- Dewatering plant, settlement tanks and discharge arrangements where the design calls for them
- Concrete supply, placing booms or pumps, and formwork or falsework systems for slabs and walls
- Compaction plant for the controlled backfill over the completed roof
How is Cut-and-cover tunnelling quality-checked?
- Existing services proven on the ground and diverted, supported or protected before excavation begins
- Retaining wall installation records - position, verticality and continuity - checked against the design
- Excavation and support sequence issued by the temporary works designer, with each stage signed off before the next begins
- Monitoring of wall movement, ground movement and adjacent structures, with agreed trigger levels and a named recipient for alerts
- Groundwater levels and any discharge monitored, with abstraction consents in place
- Waterproofing system inspected and recorded before it is covered, and backfill compaction tested layer by layer
Back to process
Utility Tunnels & Pipe Jacking