Homes & villas
Containment and cable while the walls are open, accessories when the paint is dry - and a certificate that says all of it works.
Last updated 2026-09-05
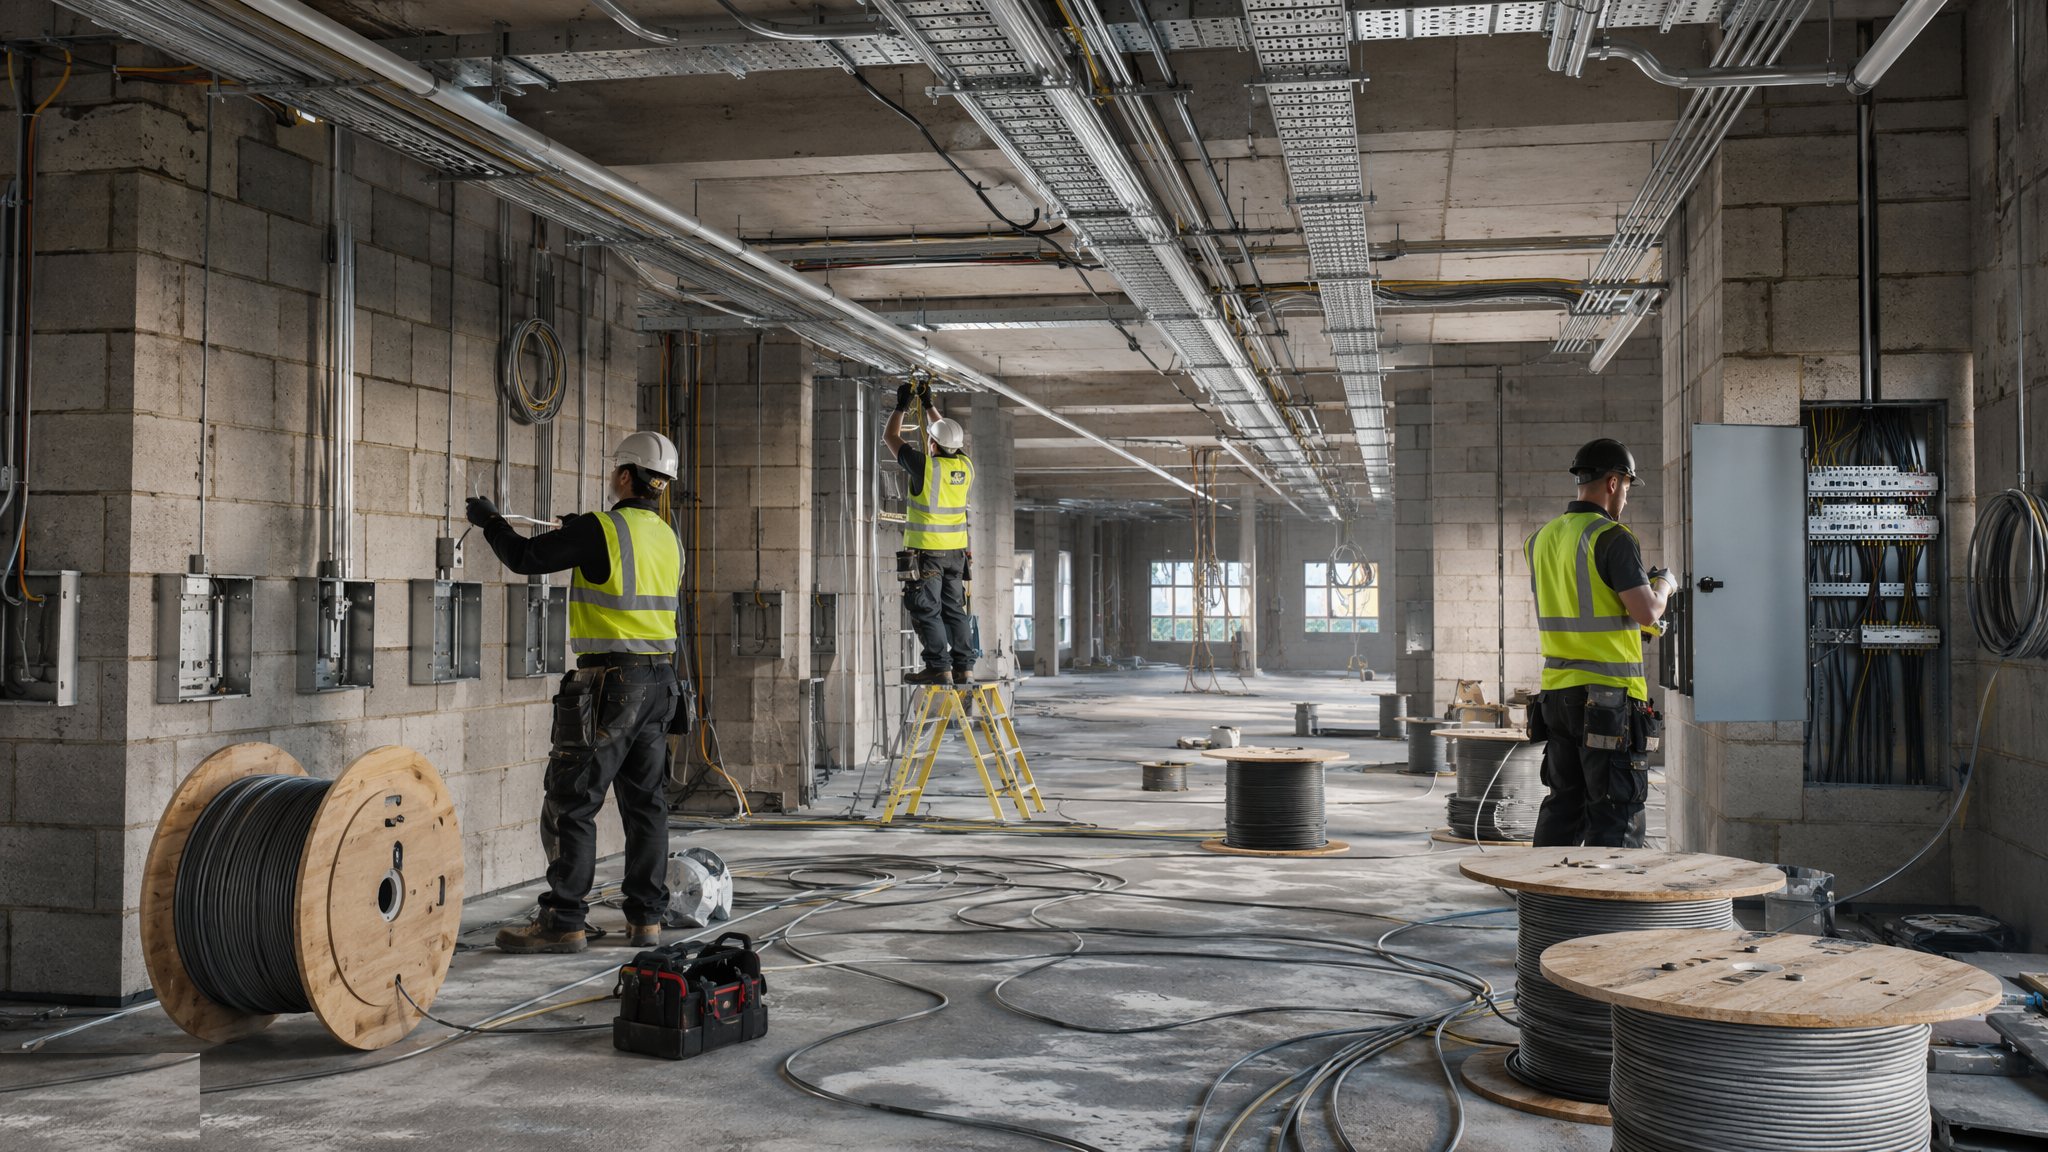
What is Homes & villas?
A house electrical installation is a metered supply into a consumer unit, and from there a set of final circuits - lighting, socket outlets, cooker, shower, immersion - plus the list that keeps growing: an electric vehicle charger, a solar inverter, a battery, a heat pump, garden and outbuilding supplies, and enough data and extra-low-voltage cabling to justify its own drawing. Most of the cable is flat twin-and-earth pulled through floor voids and chases. Back boxes come in the common shallow and deeper patterns, and the accessory decides which one you need - a thick smart switch in a shallow box is a second fix you will do twice.
The sequence is rigid and it is rigid for a reason. First fix follows the structure and the chases and finishes before plaster and ceilings: containment in, back boxes fixed to the finished-wall line, every cable pulled from the board position to its final circuit, slack left at both ends, and both ends labelled. Second fix follows decoration, so the visible tenth of the job - the accessories and the fittings - is not ruined by paint and plaster. Then comes the part that actually closes the job: inspection, testing and certification, circuit by circuit. The design fixes the protective devices and the cable sizes; the installer fixes the routes, the zones, the boxes and the terminations.
The defects are consistent across every house on every site. Boxes set to the blockwork rather than the finished plaster line, so the faceplate stands proud or sinks. Cables run outside the recognised zones and then found later by a plasterboard screw or a picture hook. Not enough slack at the box to make a decent termination, so somebody joints it. No route left for the charger or the inverter that everybody knew was coming. Nothing labelled, so the second fix electrician spends a day tracing circuits with a tester. And cables run tight alongside hot pipework, or resting in insulation, where the design never intended them to be.
How does Homes & villas work, step by step?
- 1
Step 1: Mark out from the layout and settle the future routes now
Socket and switch heights are set from finished floor level, kitchen and utility positions come off the kitchen drawing rather than the electrical layout, and the consumer unit position is agreed with the meter and tails route confirmed. While you are at it, agree and install the routes for the things the client will want later - a charger on the drive, an inverter in the loft, a battery in the garage. A 20 mm duct left in the wall at first fix costs almost nothing; the same route retro-fitted through a finished house is a fortnight of making good.
- 2
Step 2: Fix the containment and the back boxes to the finished line
Conduit or capping goes into the chases so the cable can be replaced and the plaster is not gripping it. Back boxes are fixed square, level and set out to the finished-wall face - hold a straight edge across the box and the intended plaster depth and check it, because a box 5 mm proud shows on every faceplate in the room. Choose the box depth for the accessory that is actually going in. Fix noggins for every ceiling point before the boarding goes on, because a pendant swinging off a plasterboard fixing is a snag.
- 3
Step 3: Pull the cables and keep them where they belong
Cables stay within the recognised safe zones the design shows so that anybody fixing to that wall later has a fair chance of missing them. Keep them clear of hot pipework, keep them out of the middle of insulation where the design has not allowed for it, and keep bends generous. Leave real slack at both the board and the accessory - enough to make the termination twice. Then label both ends of every cable as you pull it. It takes seconds and it saves the second fix a day of guesswork.
- 4
Step 4: Coordinate with the fabric and the other services
Floor voids are shared with the plumber and the ventilation fitter, so agree the lanes before anybody drills. Cables crossing joists go through the drilled zone the structural design allows - never through a deep notch mid-span, which is a structural defect that the plasterboard then hides. Downlight positions get walked against the joist layout and against the ceiling void the ventilation ducts need. Where a fitting cuts through a fire-rated ceiling, the design's approach to keeping that rating is followed and recorded.
- 5
Step 5: Seal, fire-stop, protect and close the fabric
Grommets and sleeves at every metal edge, boxes sealed where the construction is airtight, and every penetration of a compartment wall or floor fire-stopped to the design and photographed before the void closes. Cover the boxes before plastering - a box full of plaster is a slow second fix and a damaged cable. Then photograph every wall and ceiling before boarding. It is the cheapest record on the job and it is the drawing everybody actually looks at in five years.
- 6
Step 6: Second fix, then inspect, test and certify
Accessories and fittings go on after decoration, the board is dressed and every way is labelled. Then the installation is inspected and tested circuit by circuit and the certification is produced - and that is the deliverable, not the sockets. If a cable was nicked during plastering it shows up here, so leave time for it, because at this point the walls are painted. Hand over the certificates, the circuit schedule and the as-installed drawings together, and walk the client round the board before you leave.
What are the benefits of Homes & villas?
- A single dwelling means a compact design and quick fault-finding when something does not test
- Cable pulled through voids and chases is fast and cheap compared with any containment-heavy install
- Concealed work gives a clean finish with nothing on show in habitable rooms
- Standard accessory heights and repeat house types make the second fix quick and predictable
- Future capacity is easy to allow for at first fix - a duct and a spare way cost almost nothing now
- The certification package is small enough to be genuinely complete rather than nominally complete
What are the limitations of Homes & villas?
- Everything is buried, so a missed route means damage to finished surfaces to correct it
- The accessory and appliance count keeps rising and the board fills faster than the design assumed
- Chasing blockwork is slow, dusty and structurally limited - deep chases are not a free option
- Floor void routes compete directly with the plumber and the ventilation fitter for the same space
- Second fix cannot start until decoration is finished, so the trade is at the mercy of the paint programme
- Testing is at the end - damage done during plastering only appears when the room is complete
What is Homes & villas best suited for?
What plant does Homes & villas need?
- SDS drill and wall chaser with on-tool dust extraction
- Cable rods, draw tape and a joist auger for floor and ceiling routes
- Crimping and termination tools for the cable types in use
- Multifunction installation tester and a clamp meter
- Cable drum stands and a cable roller for longer pulls
- Voltage indicator, proving unit and locking-off kit for any work near a live supply
How is Homes & villas quality-checked?
- Back box faces checked against the finished-wall line with a straight edge before plastering
- Cables confirmed within the recognised safe zones and marked on the as-installed drawings
- Every cable labelled at both ends before the fabric closes
- Photographic record of all wall and ceiling routes taken before boarding and plastering
- Penetrations sealed and fire-stopped to the design, with the evidence recorded
- Inspection, test results, circuit schedule and certification complete before energisation and handover
More mep - electrical (first & second fix) methods
Next method
Office towers