Residential towers - zoned risers
The riser is the building. Split it into pressure zones, prove it as it rises, and make the first bathroom the benchmark for the other three hundred.
Last updated 2026-08-30
What is Residential towers - zoned risers?
A residential tower turns plumbing into a vertical problem. Cold water is boosted from storage tanks in the plant space and pushed up a riser; hot water comes from central plant with a pumped return so the top-floor tap is not running cold for two minutes. The reason the riser is zoned is simple physics: a tall column of water generates far more static pressure at the bottom than any tap, seal or flexible connector was ever meant to see. So the column is broken into pressure zones - a common arrangement is a break every several floors, with a pressure-reducing valve set at the head of each zone - and the services engineer fixes both the riser size and where those breaks fall.
Everything else about the job is repetition. Off the riser, each floor takes a branch through an isolating valve into a riser cupboard, then out to the apartments, with per-apartment isolation and a metering position where the building is metered individually. The apartments themselves are either bathroom pods lifted in complete or in-situ bathrooms built on a floor cycle. Either way the first one is a benchmark: it is built, inspected, snagged and formally signed off, and only then does it become the production standard. Building the benchmark properly is the single highest-leverage hour on the whole package, because every error in it is about to be repeated on every floor above.
The failures on a tower are the house failures multiplied, plus a few of their own. Riser shafts that do not line up floor to floor because the structure moved. Commissioning and isolating valves fitted where the cupboard door will not reach them. Slab penetrations closed up without fire-stopping or a collar on a plastic stack - a high-count item that gets audited and that nobody wants to open a finished ceiling to fix. No anchors and guides on a long vertical, so the riser expands and takes a branch with it. And dead legs on the hot return that never get found, because there are two hundred branches and no time.
How does Residential towers - zoned risers work, step by step?
- 1
Step 1: Verify the shaft and the slab openings before a single bracket goes up
Drop a line down the riser shaft and check it is plumb and that the builder's work openings actually line up floor to floor against the coordinated drawings. This is where services meet structure and where the clash bites: an opening cast 100 mm off line, or a beam through the shaft that was never on the services drawing, changes the riser route for the whole building. Find it at level three, not at level thirty. Confirm the shaft has room for the electrical containment, the ductwork and the sprinkler main as well as your pipework - the shaft is shared and it is always tighter than the drawing suggests.
- 2
Step 2: Install the riser in floor-height sections with proper anchors and guides
Riser sections are set floor by floor as the structure releases, fixed back to structure rather than to blockwork infill. A tall vertical moves when it heats and cools, so the anchors, guides and expansion arrangements the design shows are not optional detail - they are what stops the movement being absorbed by a branch tee. Set the pressure zone valve sets at the floors the design nominates, with room to service them. Keep the riser plumb as you go; small errors accumulate over thirty floors into a riser that no longer fits its cupboard.
- 3
Step 3: Branch off at each floor with everything reachable
Every floor takes its branch through an isolating valve at the takeoff, then to per-apartment isolation and the metering position in the riser cupboard. Set the valve heights and orientations so a hand and a spanner can reach them with the cupboard door open, not so they look tidy on a drawing. This is the single most common maintenance complaint in a finished tower: valves that exist but cannot be operated. Leave the labelling on as you install, because unlabelled identical valves on floor eighteen are useless.
- 4
Step 4: Build the benchmark apartment, sign it off, then run the floor cycle
The first apartment is built as the standard: pipe zones agreed with the electrician and the ventilation fitter, pipe routes and support centres fixed, waste falls set, access panel positions confirmed. It is walked by the design team, the client and the contractor together, snagged and signed off. After that the cycle repeats - first fix one floor, test it, close it, move up - and the quality plan is that nothing on floor twenty differs from the benchmark without a written change.
- 5
Step 5: Test in sections, fire-stop as you go, and record before you close
Test the riser in sections as it rises rather than waiting to test the whole column at the end - a failed joint on a completed riser is a search through thirty floors of closed shaft. Fire-stop and collar every slab and wall penetration as that section completes, and photograph each one into a register. The register is what a fire strategy audit asks for, and building it retrospectively is a job nobody wins. Nothing gets boarded or ceiling-closed until the section test and the fire-stopping evidence are both recorded.
- 6
Step 6: Fill, clean, balance the return and commission the whole system
The system is filled, flushed and cleaned to the specification before any terminal fitting is opened up. The hot water return is then balanced so the circulation actually reaches the top and the far branches - an unbalanced return is why one stack of apartments waits for hot water and complains for the life of the building. Zone pressures are proved at the top and bottom floor of each zone, meters are proved and recorded, valve labels and the as-installed drawings are handed over, and the commissioning records are issued per riser and per zone.
What are the benefits of Residential towers - zoned risers?
- Repetition drives both productivity and quality - the floor cycle becomes a production line
- Pressure zoning protects taps, seals and flexible connectors that would otherwise fail near the base
- Per-apartment isolation lets a leak or a repair be dealt with without shutting a stack of homes
- Riser cupboards put valves and meters outside the apartment, so maintenance does not need resident access
- Central hot water plant with a pumped return gives fast draw-off and one place to maintain
- Sectional testing as the riser rises finds faults floor by floor instead of at the end of the job
What are the limitations of Residential towers - zoned risers?
- Every error is multiplied by the number of floors - a bad benchmark is an expensive benchmark
- Riser space is the most contested real estate in the building and it is shared with four other trades
- Structural setting-out errors in the shaft land on the plumbing package to solve
- Long verticals expand and need real anchor and guide design, not brackets by eye
- Fire-stopping is a very high-count, heavily audited item and it is easy to fall behind on the evidence
- Commissioning sits at the end of a long dependency chain - plant, power and controls all have to be complete first
What is Residential towers - zoned risers best suited for?
What plant does Residential towers - zoned risers need?
- Press tools and jaw sets sized for riser pipework, plus hot works kit where joints are brazed or welded
- Riser hoist, chain blocks and pipe stands for lifting and holding sections in the shaft
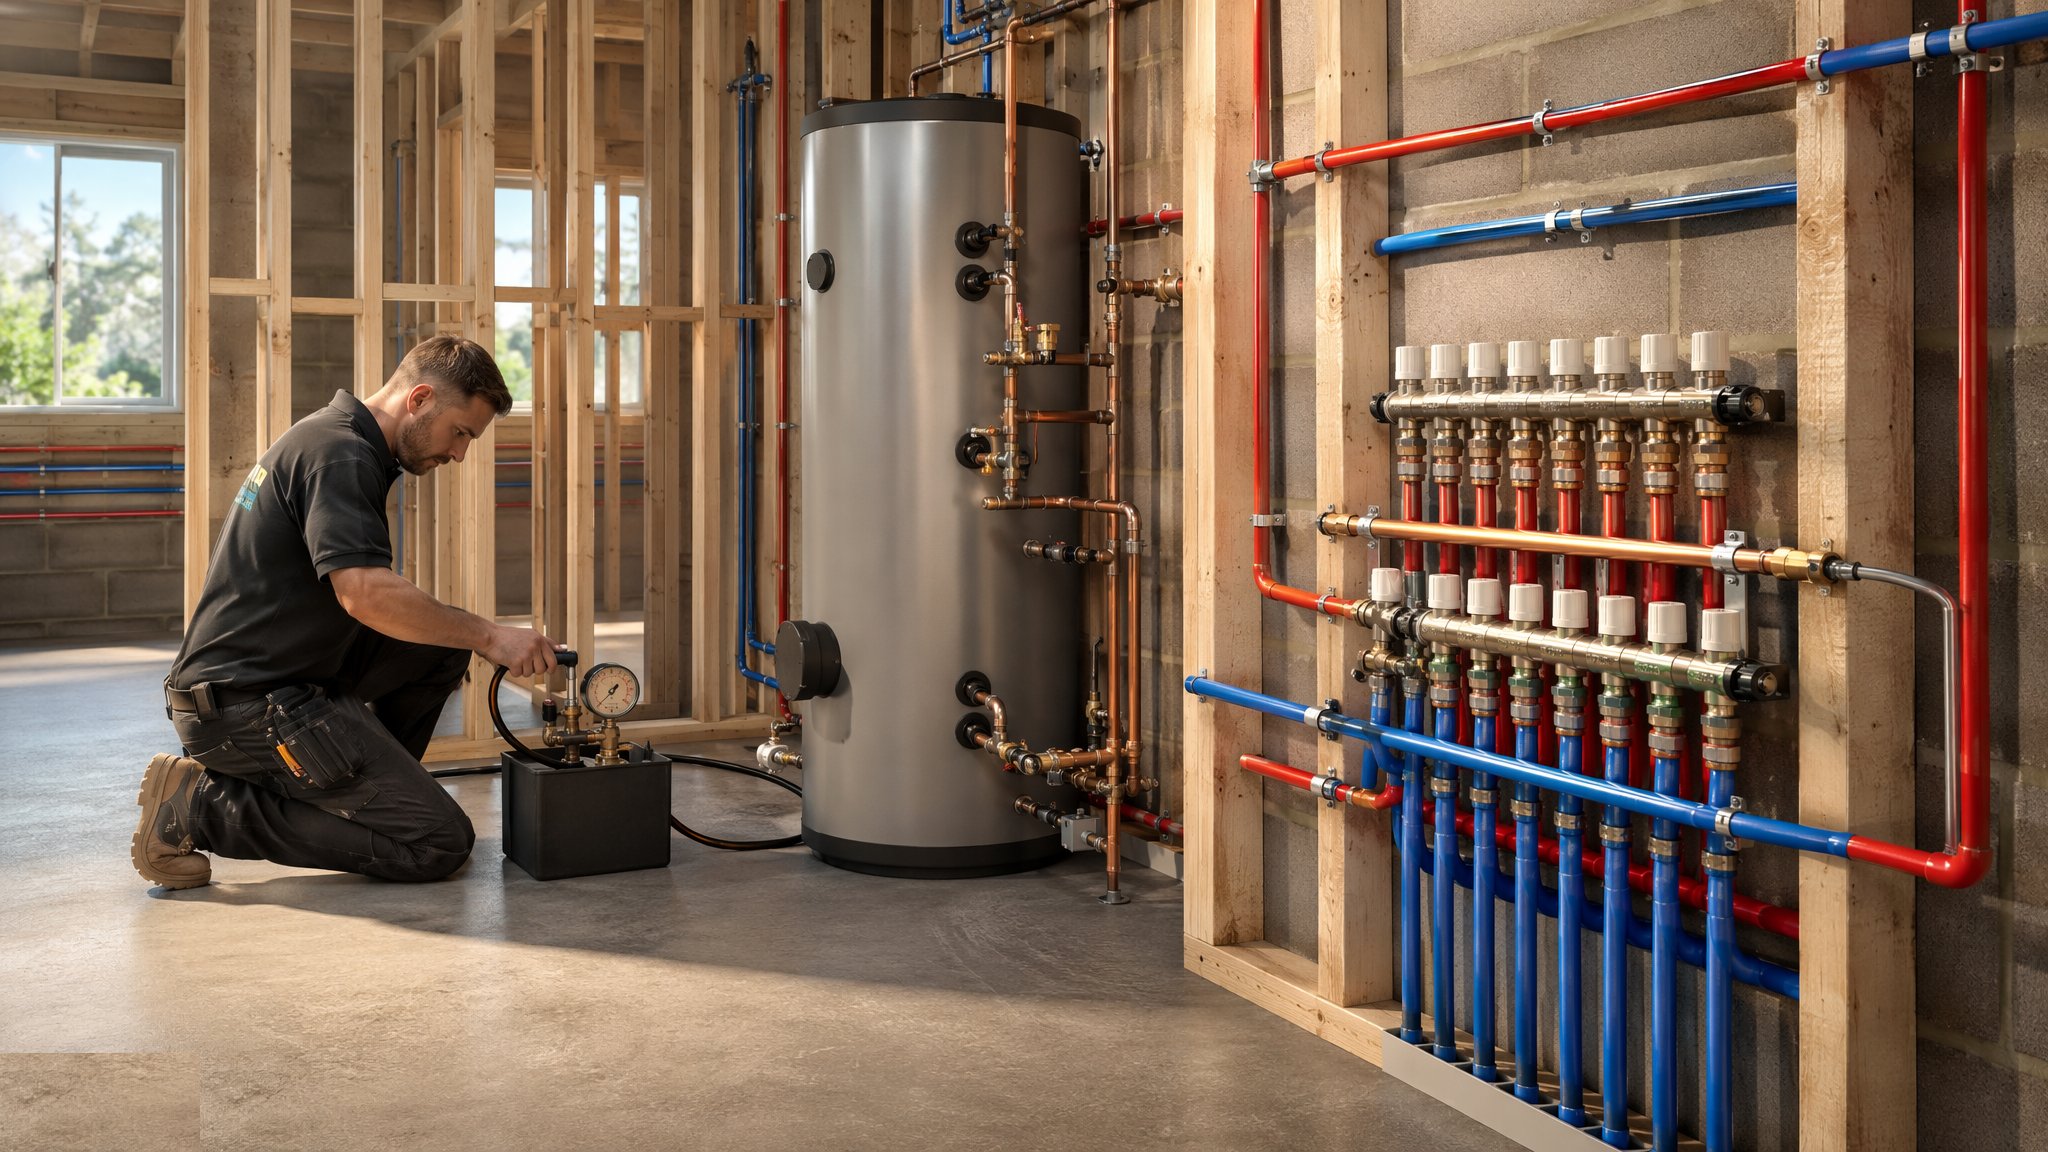
- Pressure test pumps and gauges for sectional testing as the riser rises
- Flushing pumps, filters and dosing equipment for system cleaning
- Balancing instruments for setting the hot water return
- Mobile access towers and shaft platforms for safe work at the riser face
How is Residential towers - zoned risers quality-checked?
- Shaft plumb and slab openings verified against the coordinated drawings before installation starts
- Benchmark apartment inspected and formally signed off before the floor cycle is released
- Anchors, guides and expansion provision installed as designed and checked on each riser section
- Sectional pressure test records held per riser section, dated and witnessed
- Fire-stopping register complete with a photograph of every slab and wall penetration
- Valve access proved from the cupboard, valves labelled, and flushing, disinfection and balancing records issued