Homes & villas - split systems
Two units, an insulated pipe pair and a condensate drain. The drain is the bit that stains the ceiling.
Last updated 2026-08-30
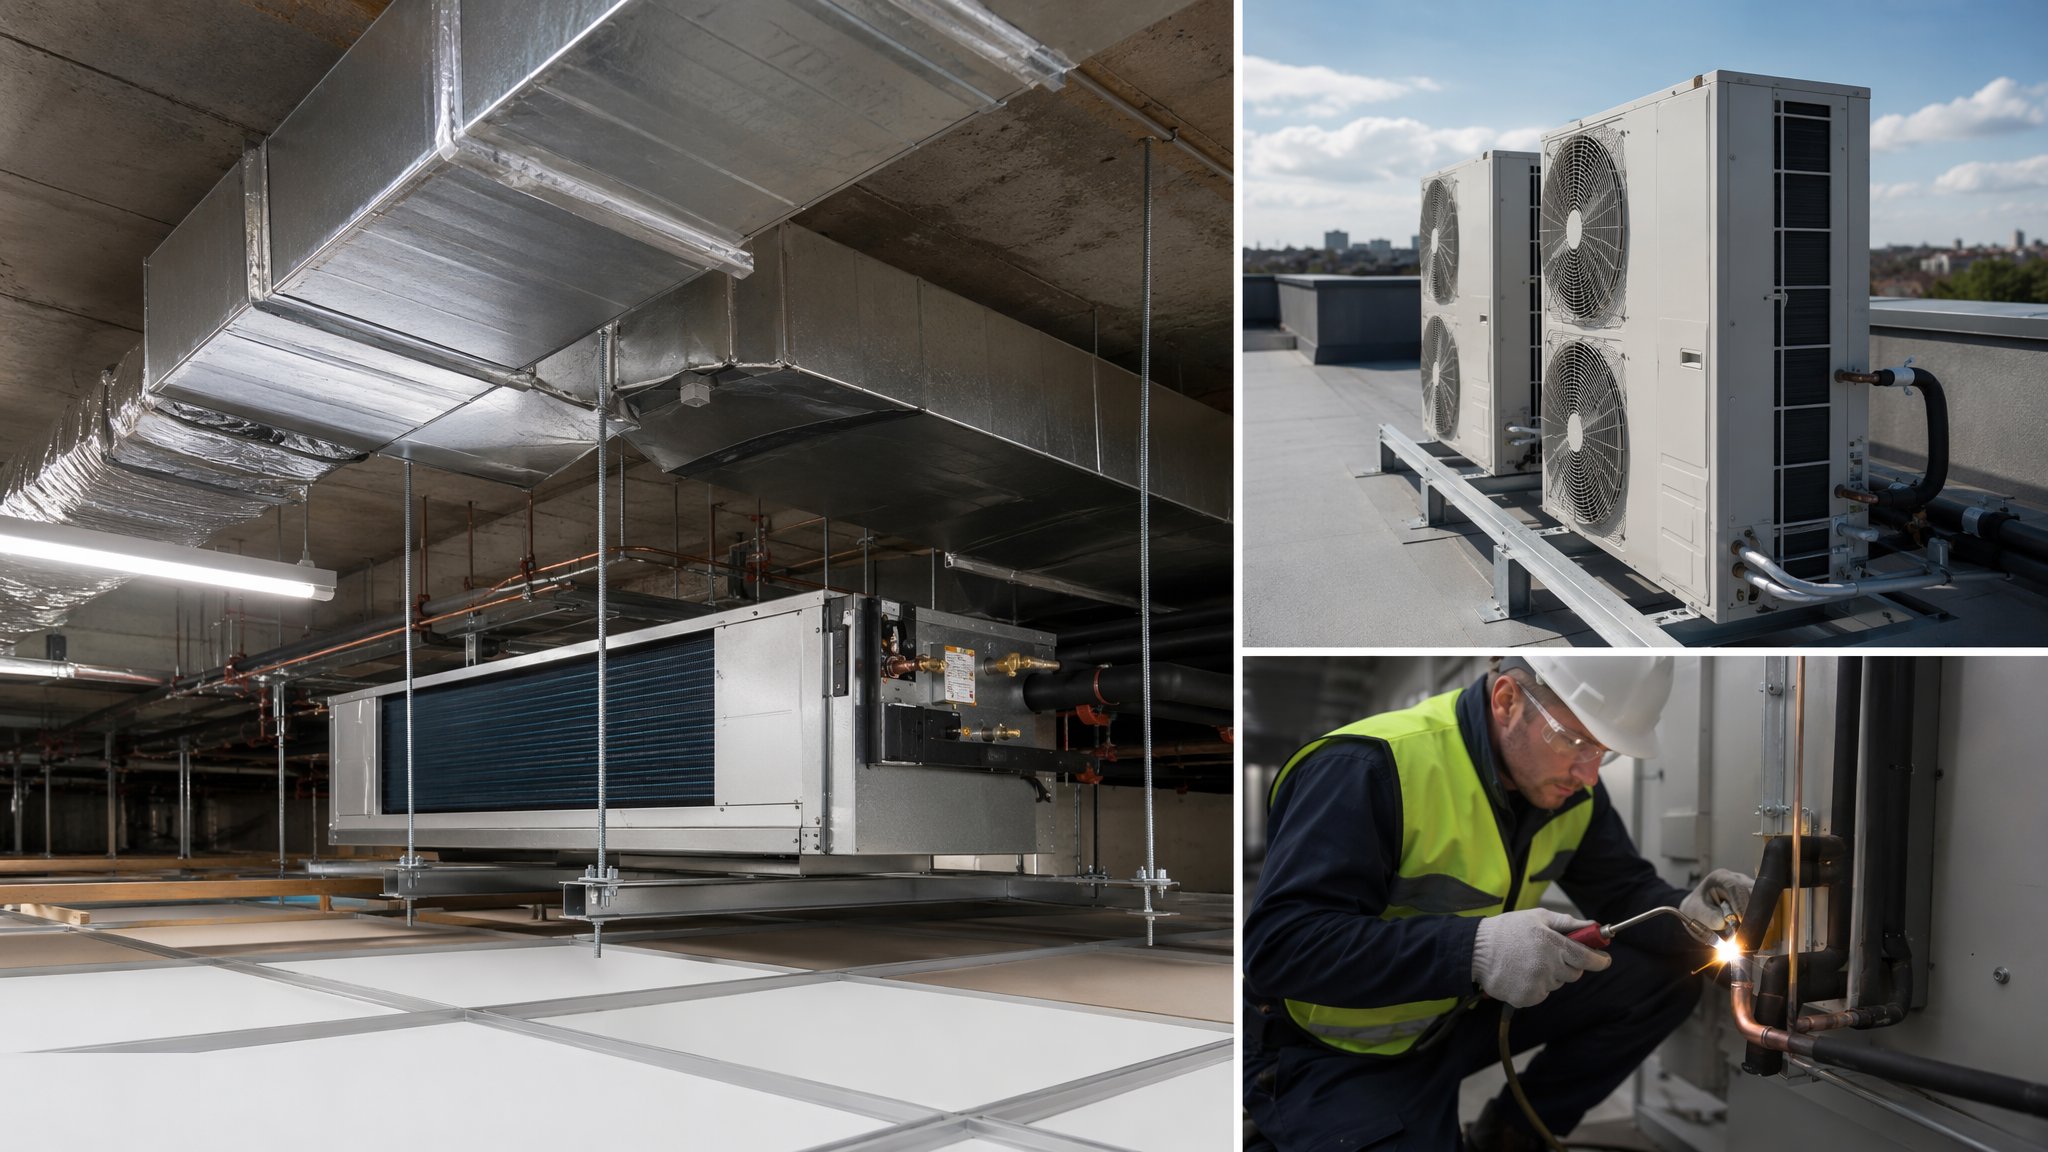
What is Homes & villas - split systems?
A split system is an outdoor condenser connected to one or more indoor units - wall-mounted, ducted or cassette - by an insulated refrigerant pipe pair, an interconnecting cable and a condensate drain. It is the default on villas in hot climates and it is now common on UK houses as an air-to-air heat pump doing heating as well as cooling. A multi-split runs several indoor units from a single outdoor unit, which saves external space and creates a coordination problem instead, because every indoor unit's pipe pair and drain has to get back to the same place.
A traditional UK house often does something different: ventilation only. That is either local extract from the wet rooms, commonly in 100 mm or 125 mm duct, or whole-house heat recovery with supply and extract to every room - usually semi-rigid small-bore radial ducts run from a manifold, with larger rigid duct on the main runs. That variant has its own page. What both approaches share with the split system is the same brutal truth: the ductwork, the pipe route and the drain have to be installed while the ceiling is open, because none of them can be threaded through a finished house.
The list of things that go wrong is short and it repeats everywhere. Condensate routed uphill, or into a dry gully where the smell comes back, or into a flexible pipe that later gets crushed by a follow-on trade. No fall on the drain and no trap where the unit needs one. A ducted indoor unit installed above a plasterboard ceiling with no access panel, so the filter can never be changed. Pipe run longer or with more height difference than the design allowed. Gaps in the pipe insulation that sweat and drip onto a finished ceiling. An outdoor unit crammed against a wall with no clearance to breathe, working hard and failing early. And grilles aimed straight at where somebody sits.
How does Homes & villas - split systems work, step by step?
- 1
Step 1: Fix the unit positions and the full route before anything is drilled
The outdoor unit needs clearance to draw and discharge air, access to service it, a mounting that will not transmit noise into the structure, and a position the neighbours and the elevation can live with. Indoor units are positioned for air throw rather than for what is convenient - not blowing directly at a bed, a desk or a dining table. Then walk the entire route for the pipe pair, the cable and the condensate before a core drill comes out. The condensate route is the one that decides everything, so solve it first.
- 2
Step 2: Core, sleeve and bracket
Core drill wall penetrations with a slight fall to the outside and sleeve them, so water runs out rather than in and the pipework can move. Brackets go back to structure, not into render or a block face that will not hold the weight and the vibration for ten years. The outdoor unit base is level, drained and clear of standing water and debris, and mounted with anti-vibration provision so the unit is not using the wall as a soundboard.
- 3
Step 3: Run the pipe pair, the cable and the condensate drain
The refrigerant pipe pair is run with its insulation continuous and sealed at every joint, every bracket and every wall penetration - a bare 50 mm of pipe at a bracket will sweat and it will drip onto whatever is below it. The interconnecting cable runs in its own containment rather than cable-tied to the pipe as an afterthought. The condensate drain is laid to a continuous fall from the unit all the way to its termination, in rigid pipe wherever it can be, with a trap where the unit requires one and a rodding or clearing point where the run is long.
- 4
Step 4: Install the indoor unit and prove the drain while you can still see it
Fit the indoor unit chassis and, on a ducted unit, set it with the filter, coil and drain tray all reachable through an access panel that is on the ceiling setting-out drawing. Then pour water into the tray and watch it run away, before the ceiling closes. This is a five-minute test that prevents the most common and most expensive defect on the whole package - a ceiling that has to come down to find a blocked or back-falling drain.
- 5
Step 5: Have the refrigeration circuit proved before it is charged
Jointing, leak-tightness and evacuation of the refrigerant circuit are specialist work, done by a qualified refrigeration engineer and recorded. The design fixes the pipe sizes, the permitted run length and height difference, and the charge; the site job is to have given that engineer a route within those limits and joints that are accessible. Refrigerant work is also environmentally regulated everywhere, so the records are not optional paperwork - they follow the system for its life.
- 6
Step 6: Commission the system, then hand it over properly
Commissioning means measured readings, not a hand held under a grille. Air-on and air-off temperatures at each indoor unit, airflow checked at every grille and diffuser, controls set up and zoned, and the condensate run again with the system under full load and actually producing water. Then the handover: how to reach and clean the filters, where the access panels are, where the isolators are, and the service interval. A split system that nobody can service is a split system that fails in year three.
What are the benefits of Homes & villas - split systems?
- Fast to install with no wet system, no plant room and minimal builder's work
- Room-by-room control, and a multi-split serves several rooms from one outdoor unit
- Heat pump splits deliver heating and cooling from the same equipment
- Easy to add a zone or an extra indoor unit later if the routes were left at first fix
- Units are modular and serviceable - a failure takes out one room, not the building
- Suits retrofit, where a ducted or water-based system would need voids the house does not have
What are the limitations of Homes & villas - split systems?
- The outdoor unit needs a position that is accessible, ventilated, visually acceptable and acoustically acceptable to the neighbour
- Pipe run length and height difference between units are limited by the design and cannot be stretched on site
- The condensate route and its fall are usually the hardest thing to find, and the most commonly bodged
- Refrigeration work is specialist and certificated - it cannot be absorbed into the general plumbing scope
- A ducted unit above a fixed ceiling is unmaintainable if the access panel is missed
- Noise and drips reach the neighbour before they reach the owner, so complaints arrive from outside
What is Homes & villas - split systems best suited for?
What plant does Homes & villas - split systems need?
- Core drill rig with the diamond cores for the wall construction
- Vacuum pump and gauge manifold for the refrigeration engineer
- Flaring, swaging or brazing equipment depending on the jointing method
- Digital scales and specialist refrigeration test equipment for charging and proving
- Anemometer and digital thermometers for commissioning readings
- Mobile access platform or towers for outdoor unit and high-level work
How is Homes & villas - split systems quality-checked?
- Unit positions, service clearances and pipe run limits checked against the design before anything is fixed
- Wall sleeves falling outward and weatherproofed, with brackets fixed to structure
- Pipe insulation continuous and sealed at every joint, bracket and penetration - no bare pipe anywhere
- Condensate drain proved with water before the ceiling closes, and again under load at commissioning
- Access panel positions confirmed on the ceiling setting-out drawing and checked after the ceiling is complete
- Refrigeration proving records and measured commissioning readings held for every indoor unit
More ventilation & air conditioning methods
Next method
Towers - chilled water & district cooling