Sound insulation testing
Proving the party wall - airborne and impact tests between dwellings, failed by flanking details.
Last updated 2026-08-22
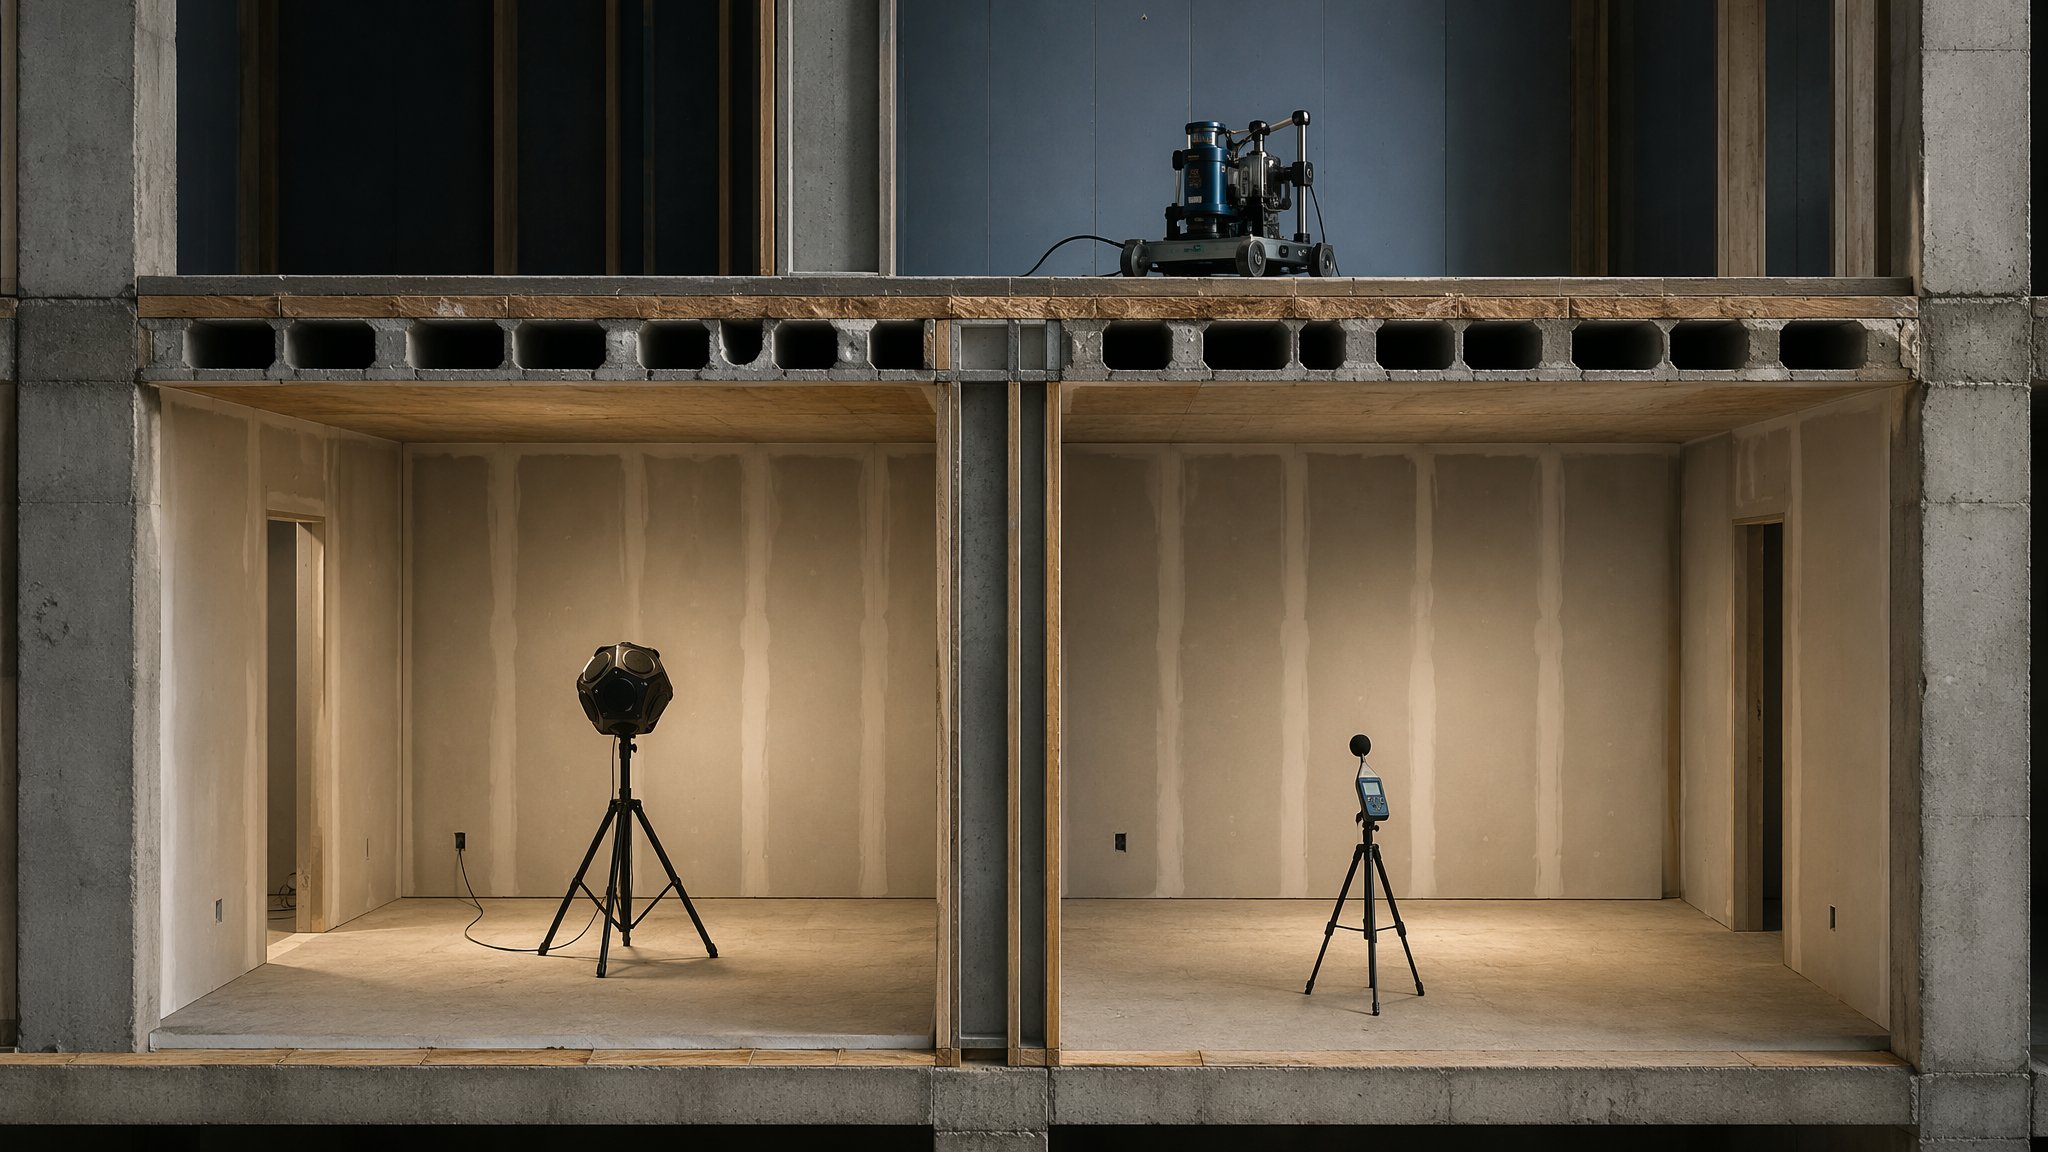
What is Sound insulation testing?
Sound insulation testing proves the separating walls and floors between dwellings perform as built, not just as drawn. Under the pre-completion testing regime, an accredited tester samples attached dwellings across the site's constructions: airborne tests drive a loudspeaker source in one dwelling and measure what arrives next door; impact tests run a standard tapping machine on the separating floor and measure what is heard below. Results are rated against the design figures and reported to building control.
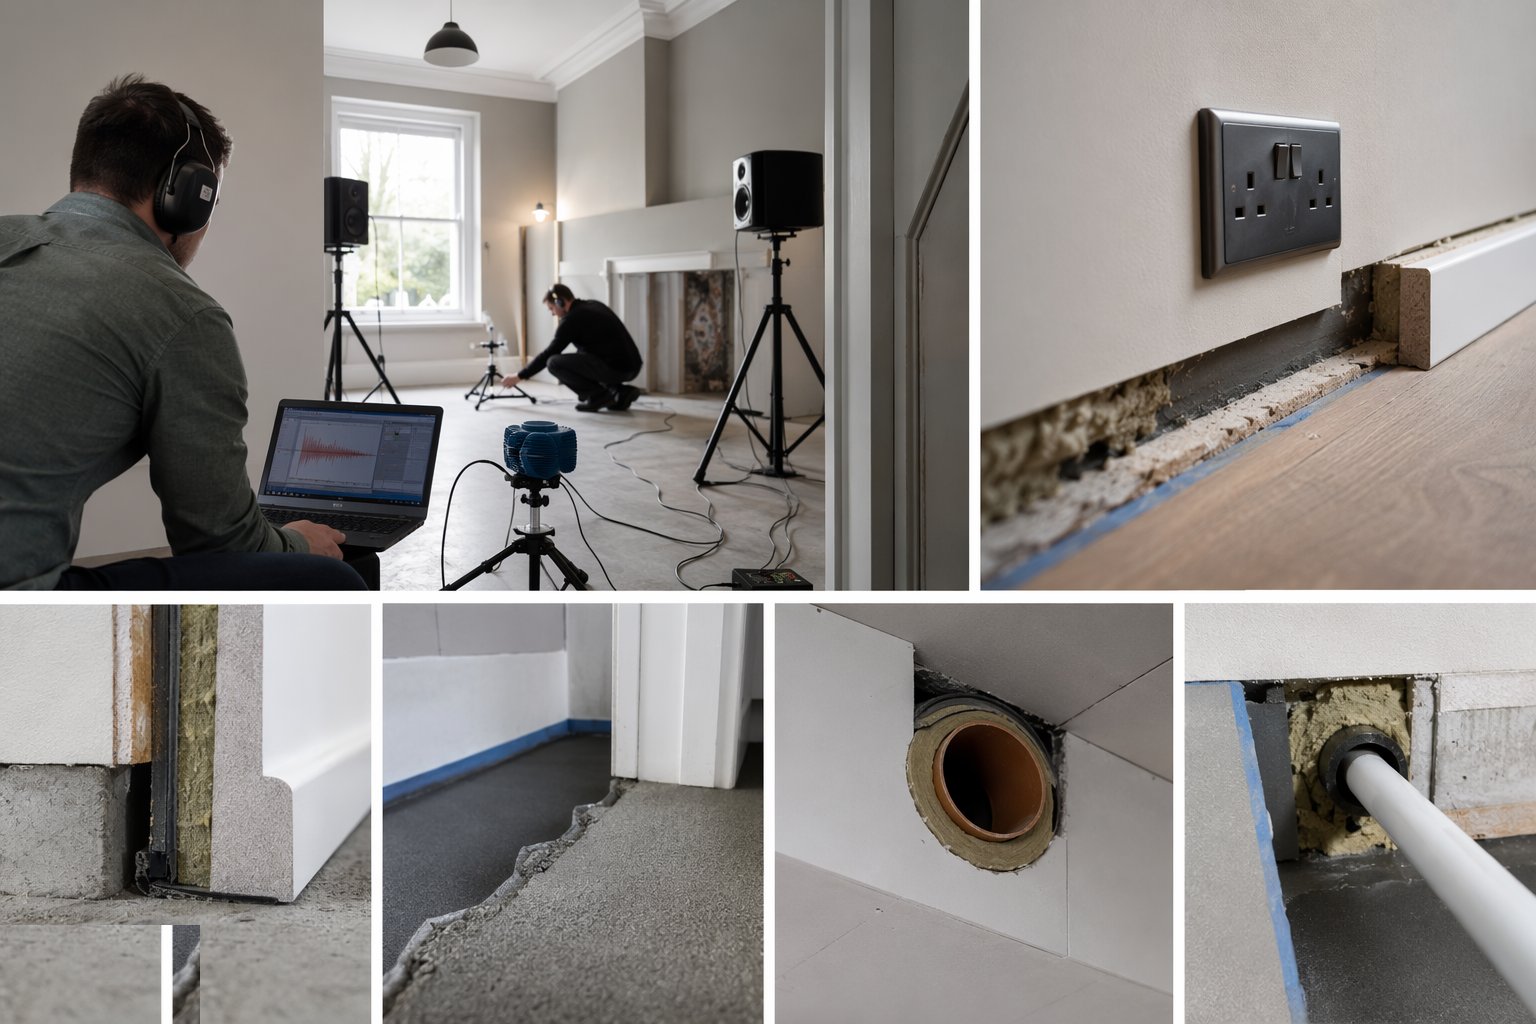
The uncomfortable truth of acoustics is that flanking causes more failures than the element itself. The party wall passes its laboratory rating; the building fails around it - sockets back to back in the same cavity, unsealed perimeters, a screed running continuously across the party line, lightweight linings bridging the junction, service penetrations left open. The sound does not go through the wall; it goes around it, and it only needs one path.
Strategy beats remediation. Flanking details are audited with photographs before closure - the junctions inspected against the design while they can still be seen - and the first tests are scheduled early enough that a failure fixes a detail, not a finished flat. Remediation after finishes is brutal: opening completed rooms to chase a sound path, then making good, then retesting. One early test that finds the flanking fault is worth every retest it prevents across the phase.
Process storyboard
Step 1 of 6 - slide through the snapshots.
STEP 1
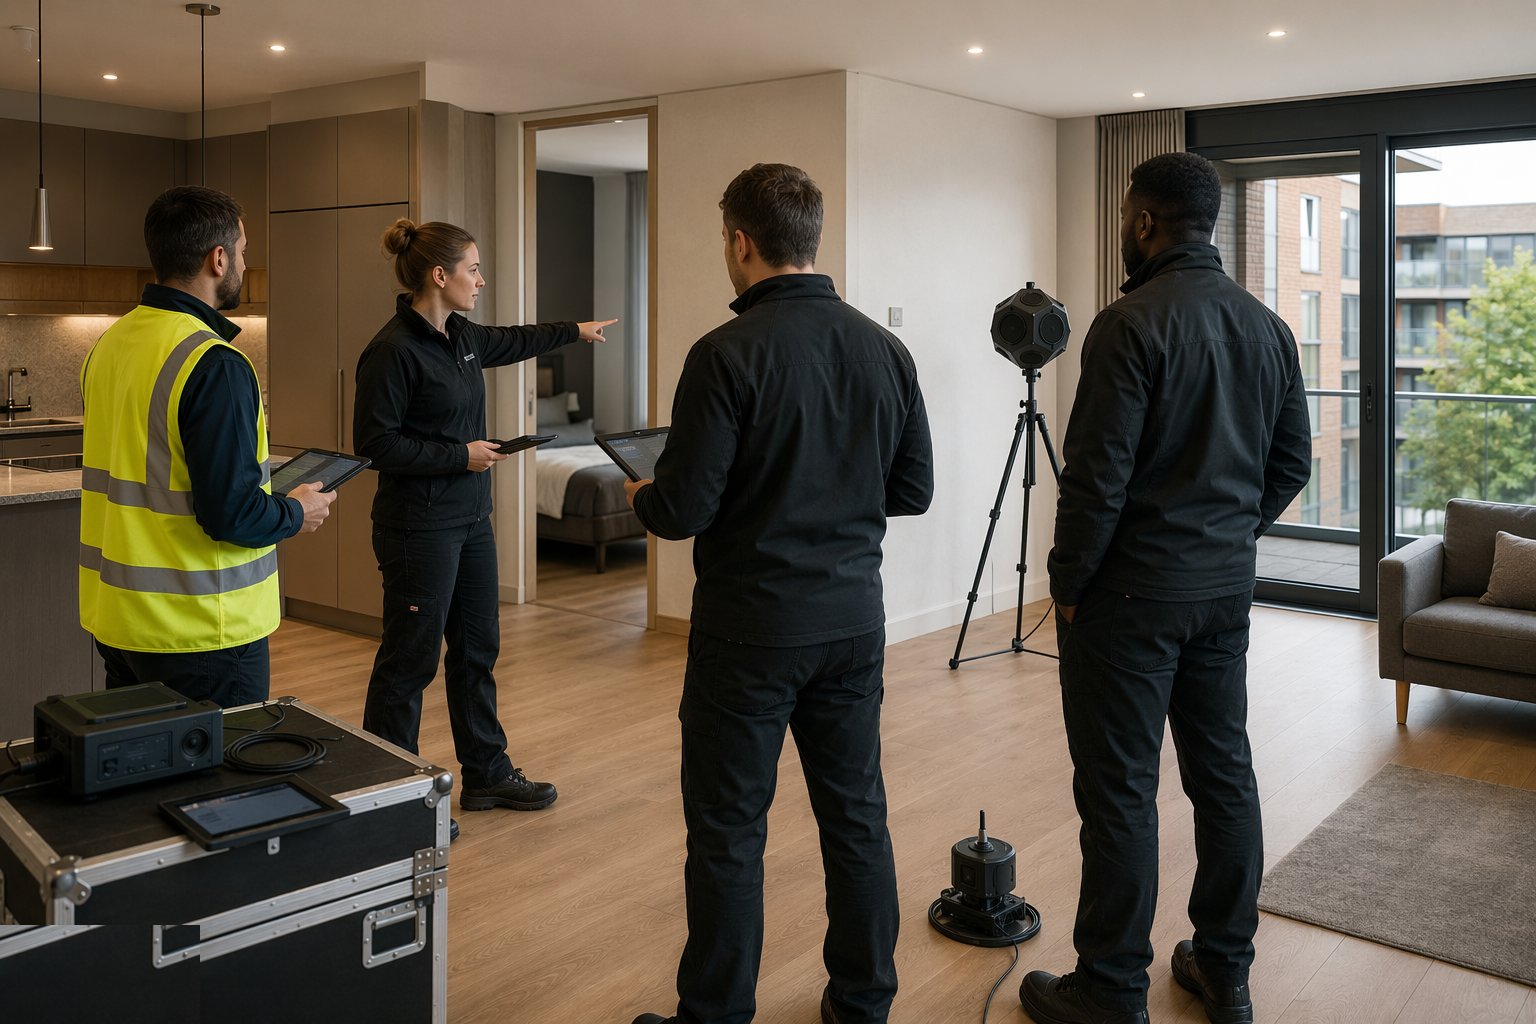
Select the sample and book the testers
The sample is agreed per the rules on constructions and groupings, with accredited testers booked early enough in the programme that a failure fixes a detail…
How does Sound insulation testing work, step by step?
- 1
Step 1: Select the sample and book the testers
The sample is agreed per the rules on constructions and groupings, with accredited testers booked early enough in the programme that a failure fixes a detail rather than a finished dwelling.
- 2
Step 2: Audit the flanking details
Sockets, perimeters, linings, screeds and penetrations at every separating junction are inspected and photographed before closure. The audit finds the flanking paths the test would find later - while they are still cheap to fix.
- 3
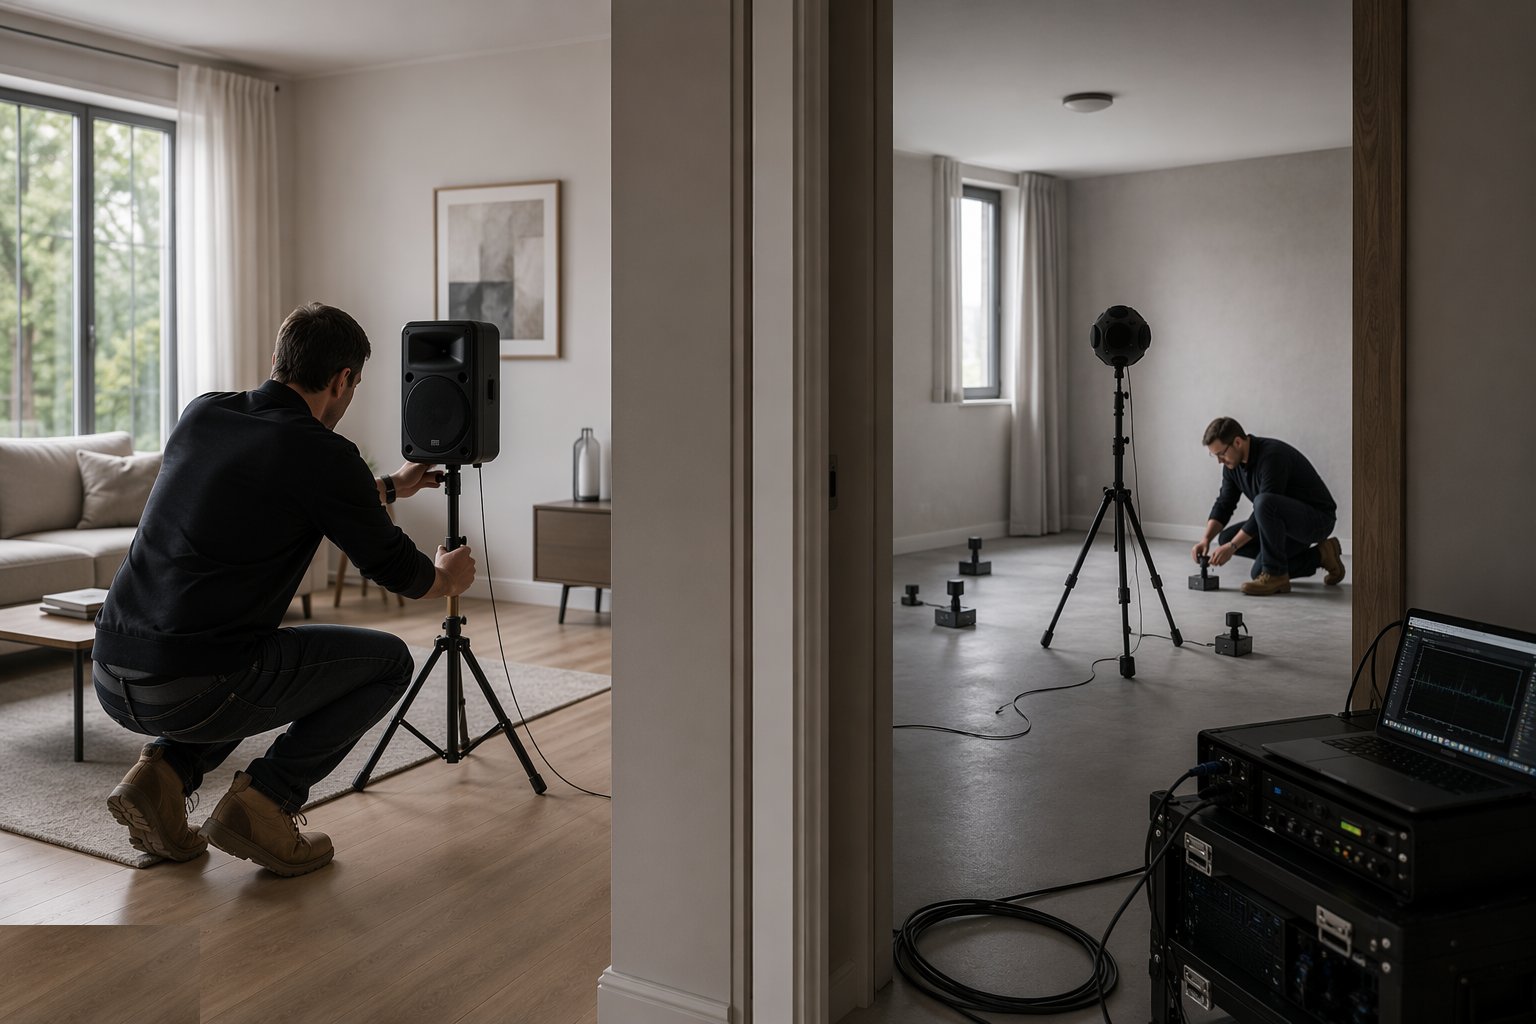
Step 3: Set up the airborne test
A loudspeaker source drives the sending room; sound levels are measured in both dwellings with background and reverberation corrections applied. The result is rated against the design figure.
- 4
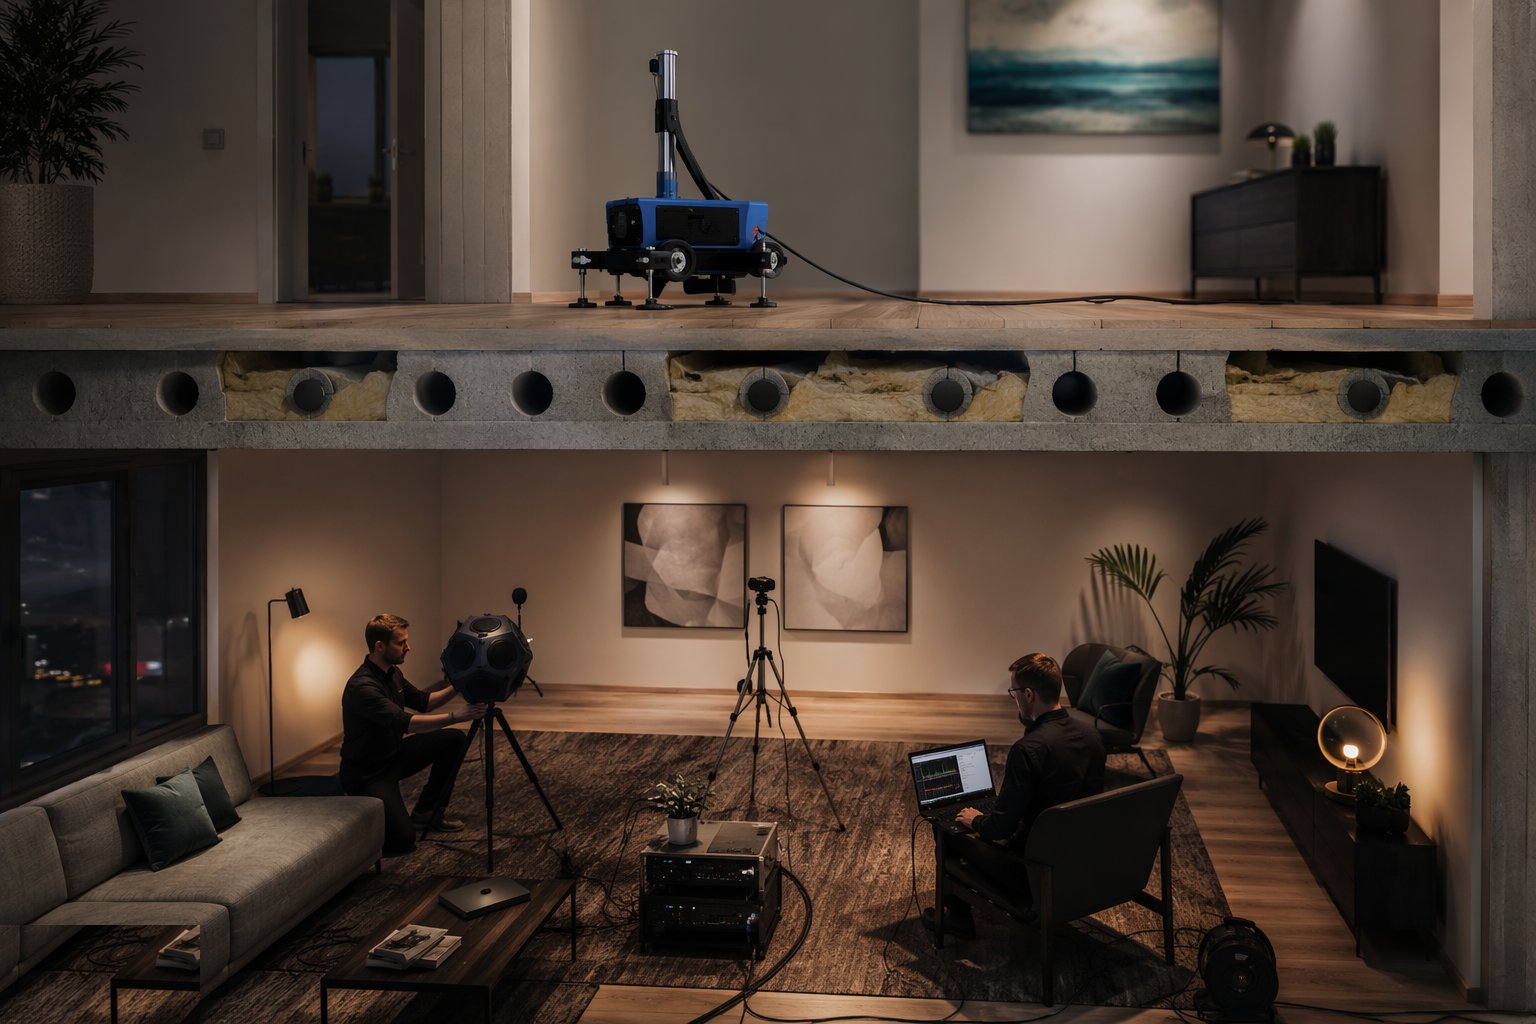
Step 4: Run the impact test
The tapping machine walks the separating floor above while levels are measured in the dwelling below. Floors that pass the lab and fail the building are carrying a flanking path - the test says so in numbers.
- 5
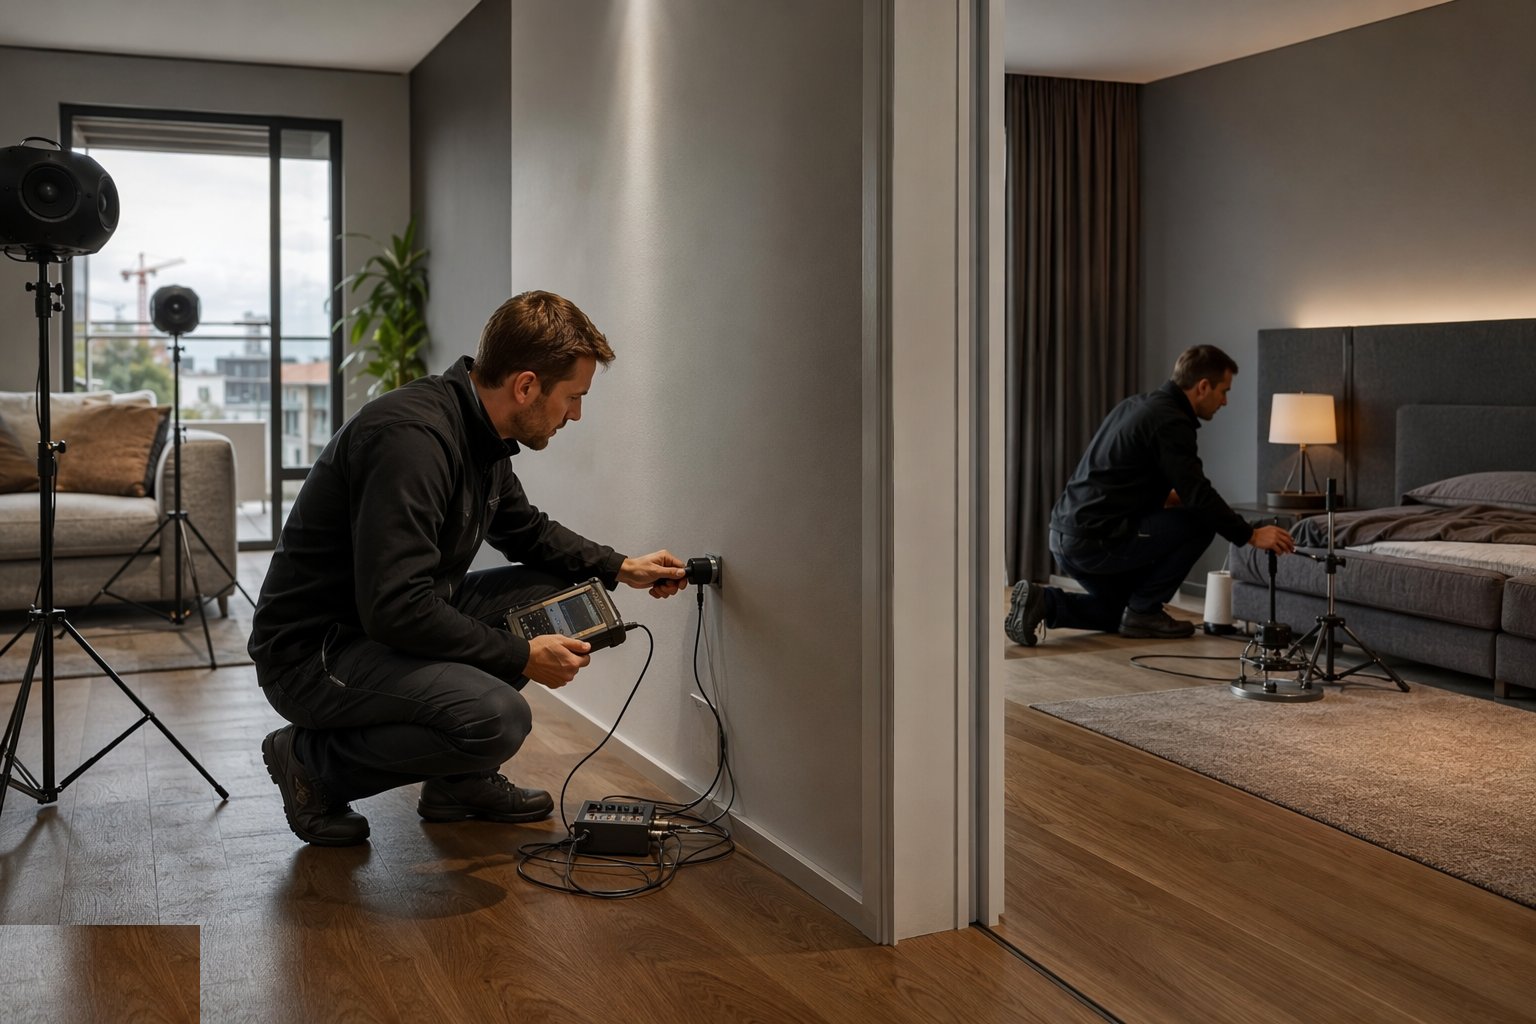
Step 5: Investigate any failure
Failures are diagnosed by inspection and local measurement until the flanking path is found - not guessed. The fix is made, the element retested, and the cause documented so it is not repeated on the next plot.
- 6
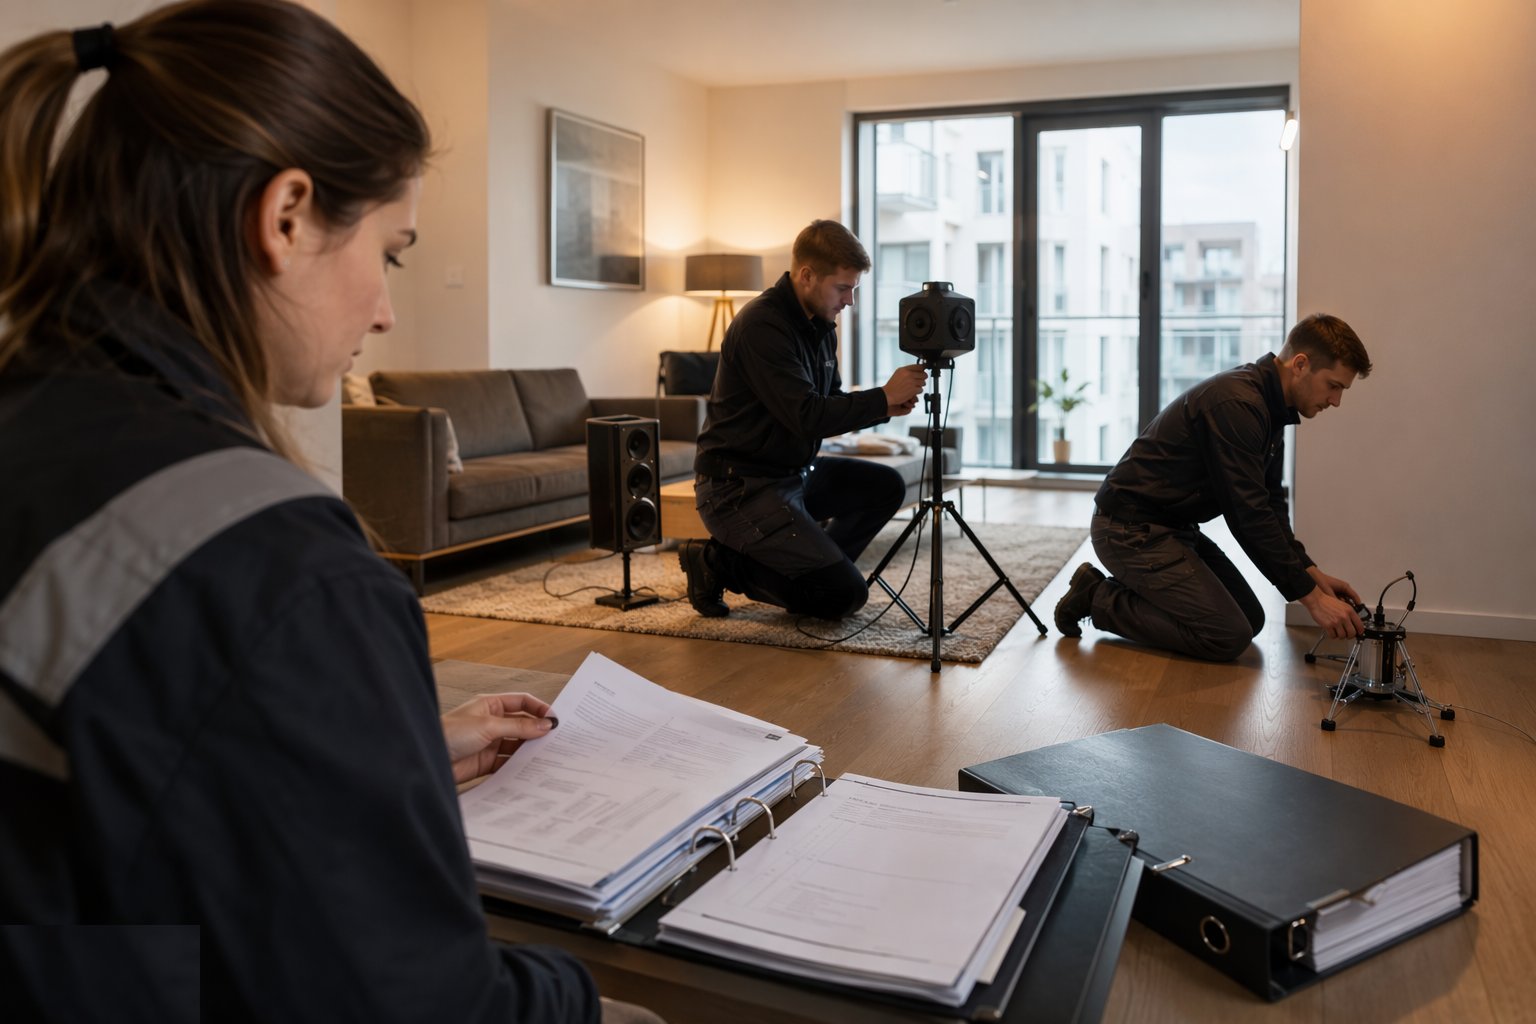
Step 6: Report and feed back
Reports are filed for building control; detail fixes are tracked across every affected plot, not just the tested one. The untested majority relies on the detail being repeated correctly - the feedback loop is the protection.
What are the benefits of Sound insulation testing?
- Compliance proven in the real building - measured performance, not paper claims
- Quiet homes - tested separation is the difference occupants feel but never see
- Early sampling de-risks - one early test finds the flanking faults across the whole phase
- Detail discipline - the test regime forces junctions to be built as designed
- Defensible records - reports satisfy building control and warranty without argument
What are the limitations of Sound insulation testing?
- Failures are brutal to fix - flanking remediation after finishes means opening completed rooms
- Sampling leaves untested plots - the majority relies on the detail being repeated
- Test conditions matter - doors, windows and the state of finishes all affect the result
- Empty rooms test differently - furnished, lived-in rooms behave differently again
- Diagnosis is specialist - finding a flanking path needs kit and experience, not guesswork
What is Sound insulation testing best suited for?
What plant does Sound insulation testing need?
- Accredited tester with a calibrated sound level meter
- Loudspeaker source and amplifier for airborne tests
- Standard tapping machine for impact tests
- Reverberation and background measurement kit
- Access equipment for high-level junctions
- Sealing materials for detail remediation
How is Sound insulation testing quality-checked?
- Test reports against the design ratings for every separating element sampled
- Flanking detail audits with photographs before closure
- Calibrated instruments and accredited tester certificates current
- Failure investigations documented - cause, fix, retest result
- Detail fixes tracked across all affected plots, not just the tested one
- Reports filed to building control and the handover pack