Thermographic survey
The building in infrared - missing insulation and cold bridges shown as photographs, not suspicions.
Last updated 2026-08-22
What is Thermographic survey?
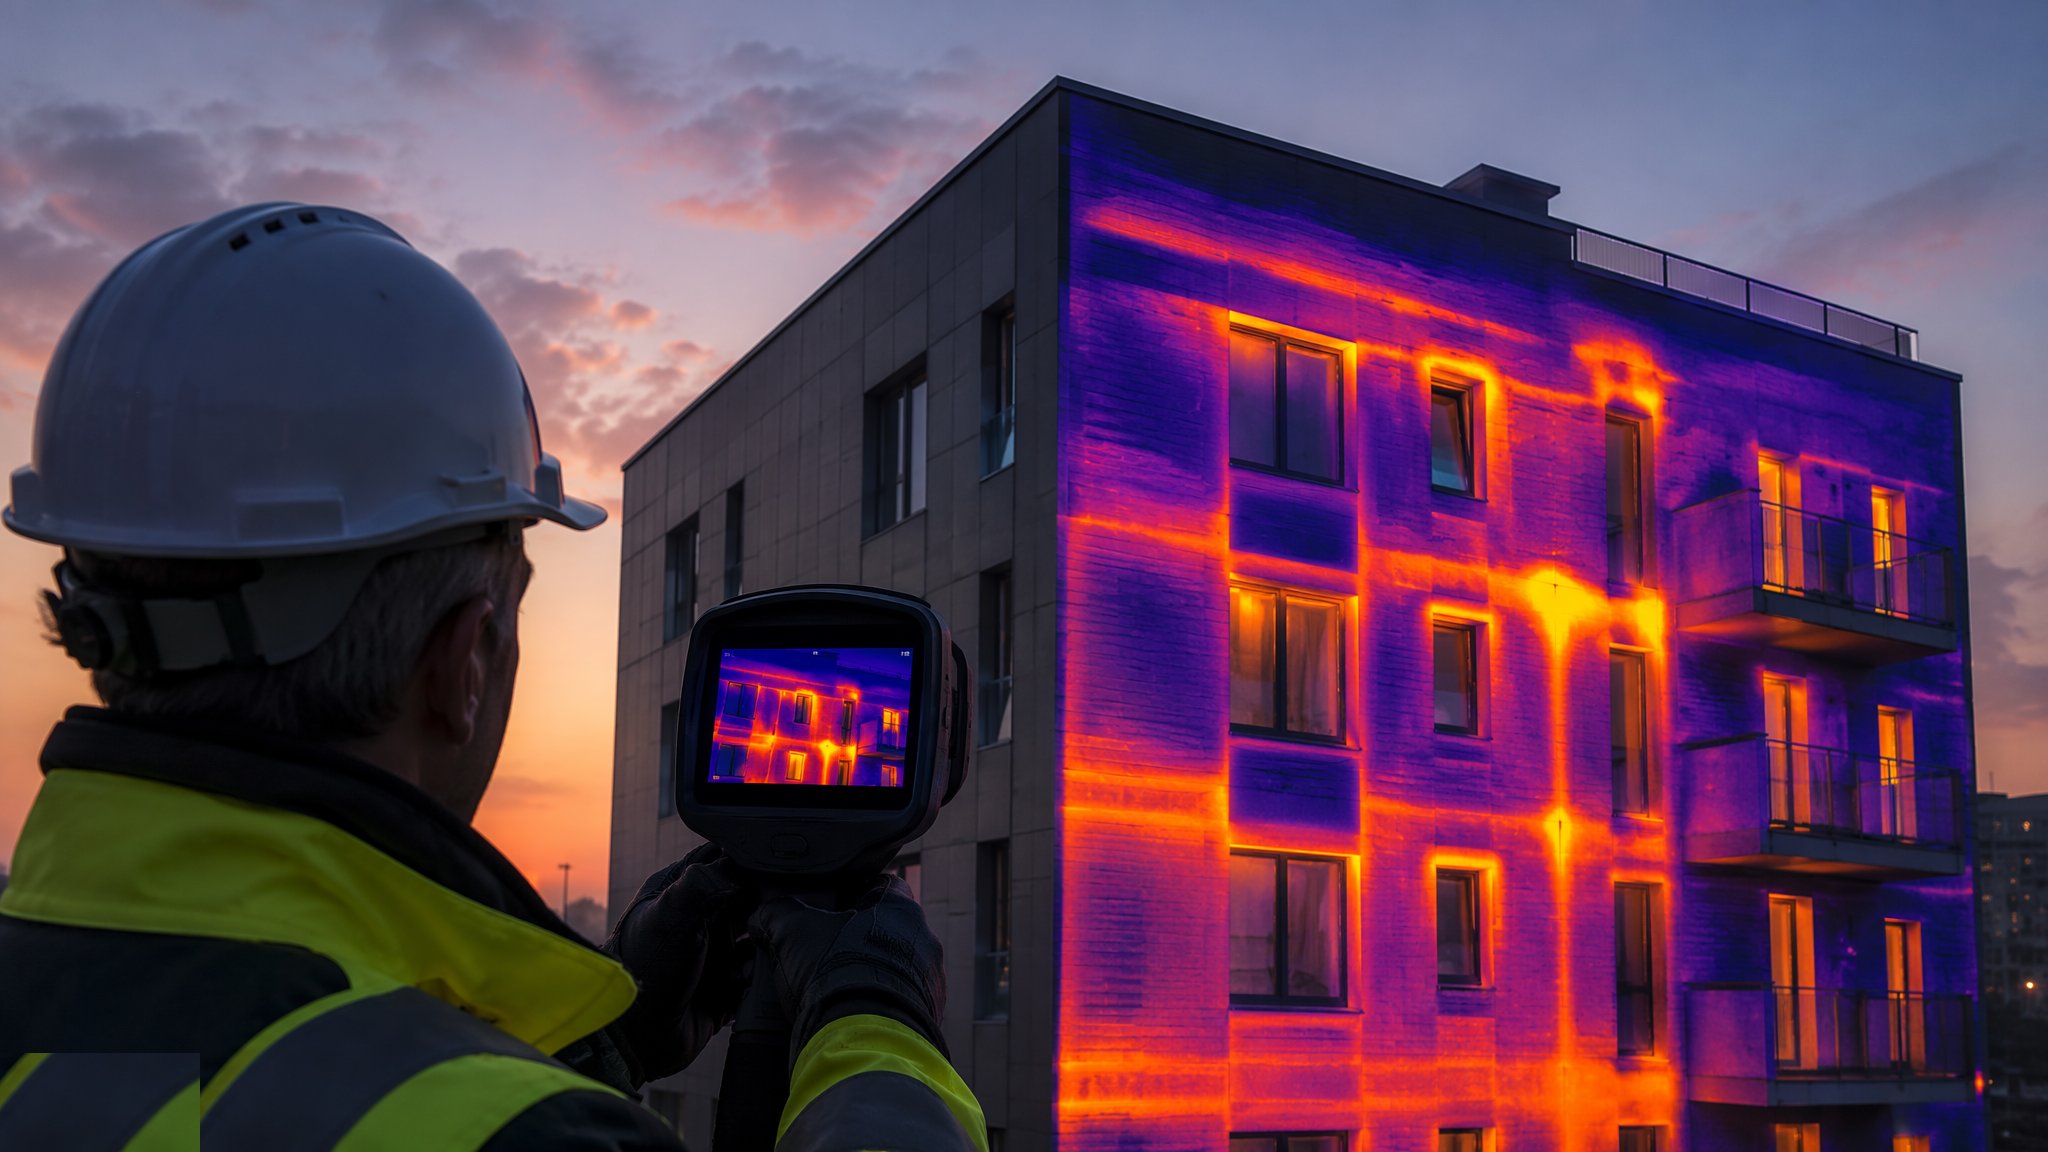
Thermography turns the thermal performance of the envelope into pictures. An infrared camera surveys the elevations with a working temperature differential between inside and out - commonly five to ten degrees or more - typically externally at dawn or dusk to escape solar loading, interpreted per the recognised methodology. Missing or slumped insulation, thermal bridges, air leakage paths and moisture all announce themselves as hot or cold signatures against the background fabric, and the camera is ruthless about gaps the eye cannot see.
Conditions are everything, and the survey that ignores them lies. The differential must be real and steady; the fabric dry; sunshine and recent rain excluded; reflections from neighbouring glazing understood for what they are. With the blower door running, depressurisation pulls leakage paths into relief and the survey doubles in value. An experienced thermographer reads the picture in context; a novice reads colours - interpretation is the service being bought, and the report states its own limitations honestly.
Thermography is qualitative, and that is its power: it does not measure U-values, it locates defects - which is exactly what remediation needs. Surveys provide continuity-of-insulation evidence increasingly requested alongside energy compliance, diagnose condensation and cold-bridge complaints, and verify repairs by re-imaging. Combined with air tightness testing, it is the fabric's X-ray: non-destructive, fast, and honest about everything the finished building is hiding.
Process storyboard
Step 1 of 6 - slide through the snapshots.
STEP 1
Plan the conditions
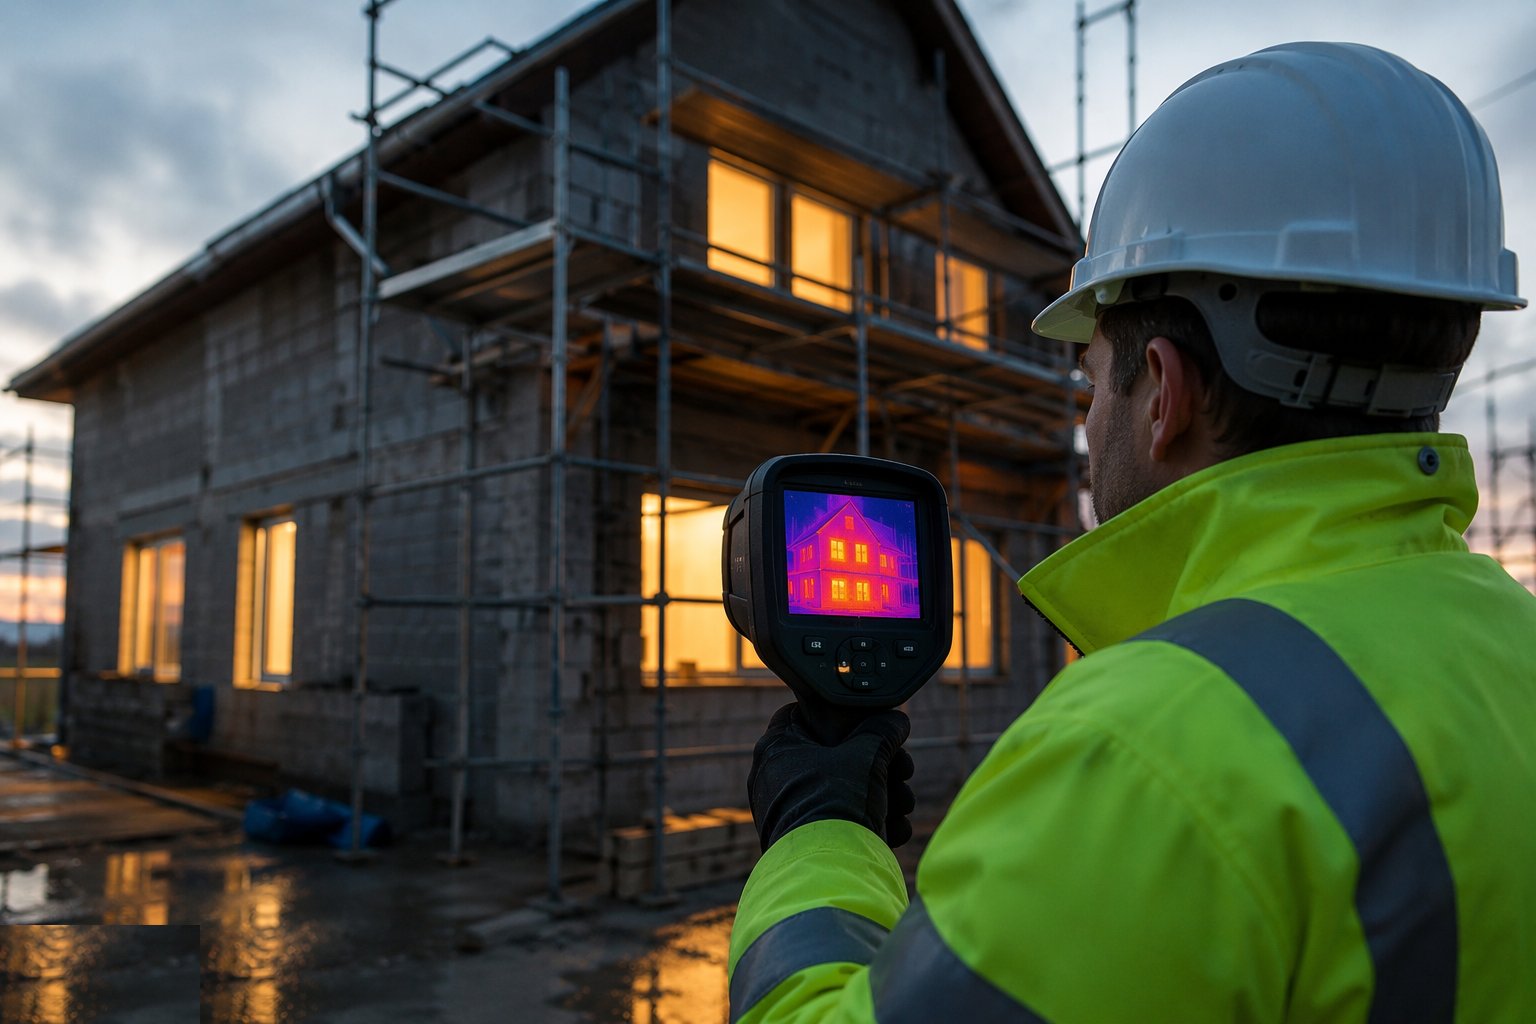
The survey is scheduled for a working temperature differential, dry fabric and no solar loading - dawn or dusk externally, with the internal heating regime set…
How does Thermographic survey work, step by step?
- 1
Step 1: Plan the conditions
The survey is scheduled for a working temperature differential, dry fabric and no solar loading - dawn or dusk externally, with the internal heating regime set steady in advance. Wrong conditions waste the visit and produce pictures that lie.
- 2
Step 2: Prepare the building
Internal temperatures are held steady; the blower door runs if leakage paths are in scope, pulling them into relief under depressurisation. Windows and vents are set per the survey plan.
- 3
Step 3: Survey the envelope systematically
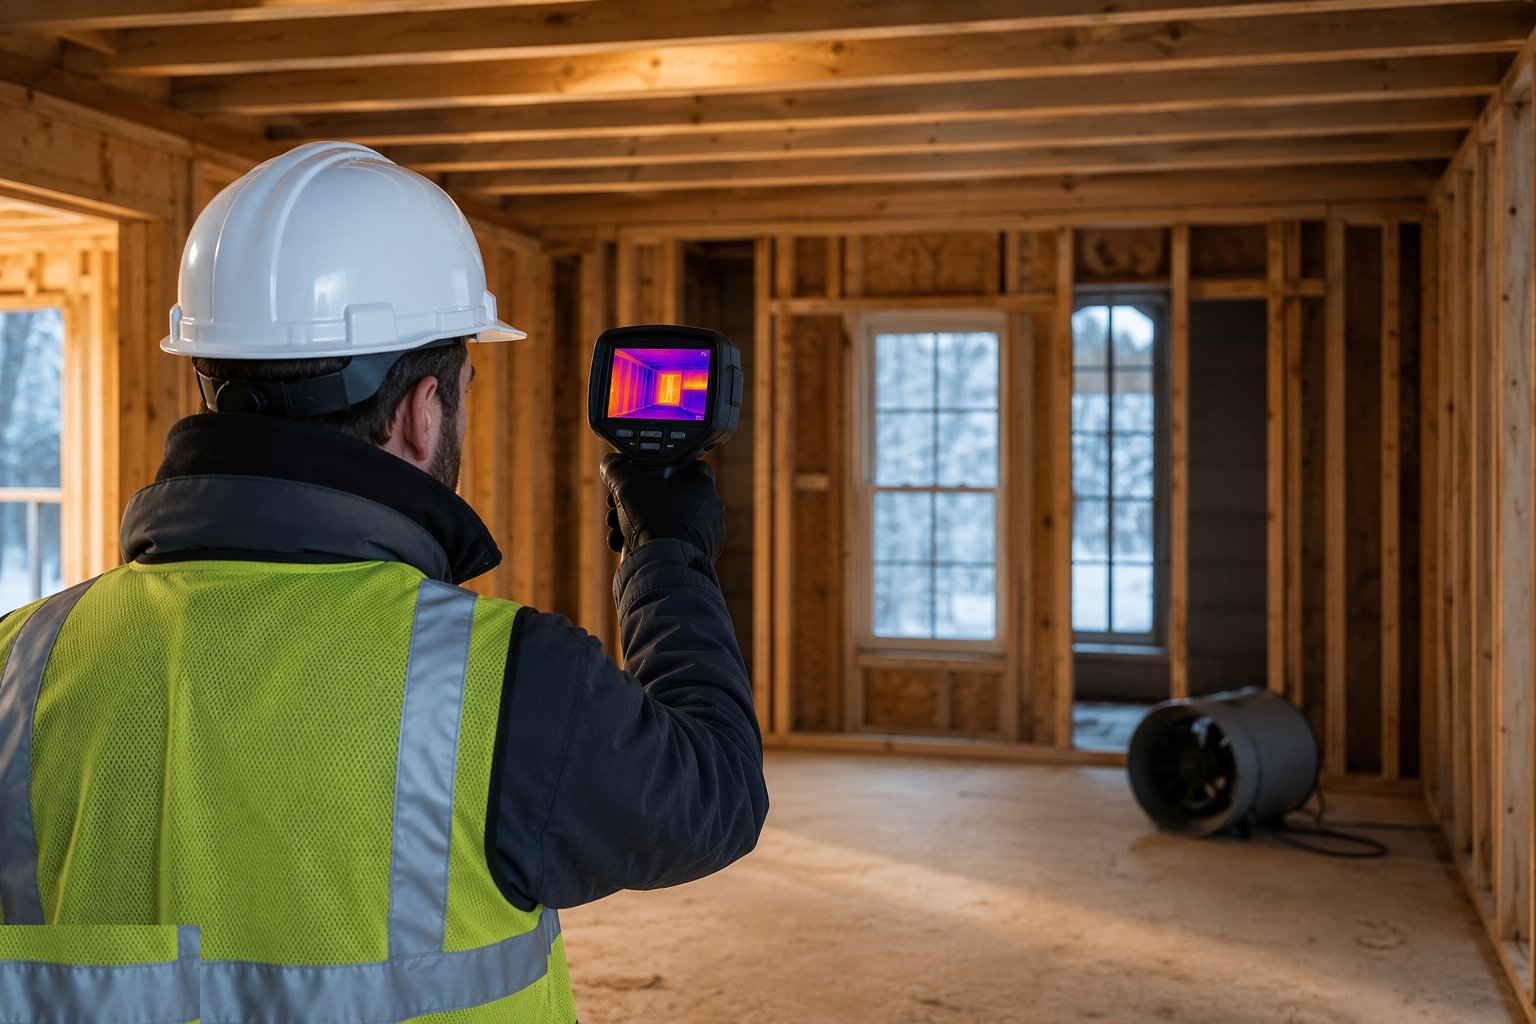
Elevations are scanned with overlapping images, every anomaly logged with its location. High elevations are reached by MEWP or drone with the right permissions - an unsurveyed elevation is an unproven one.
- 4
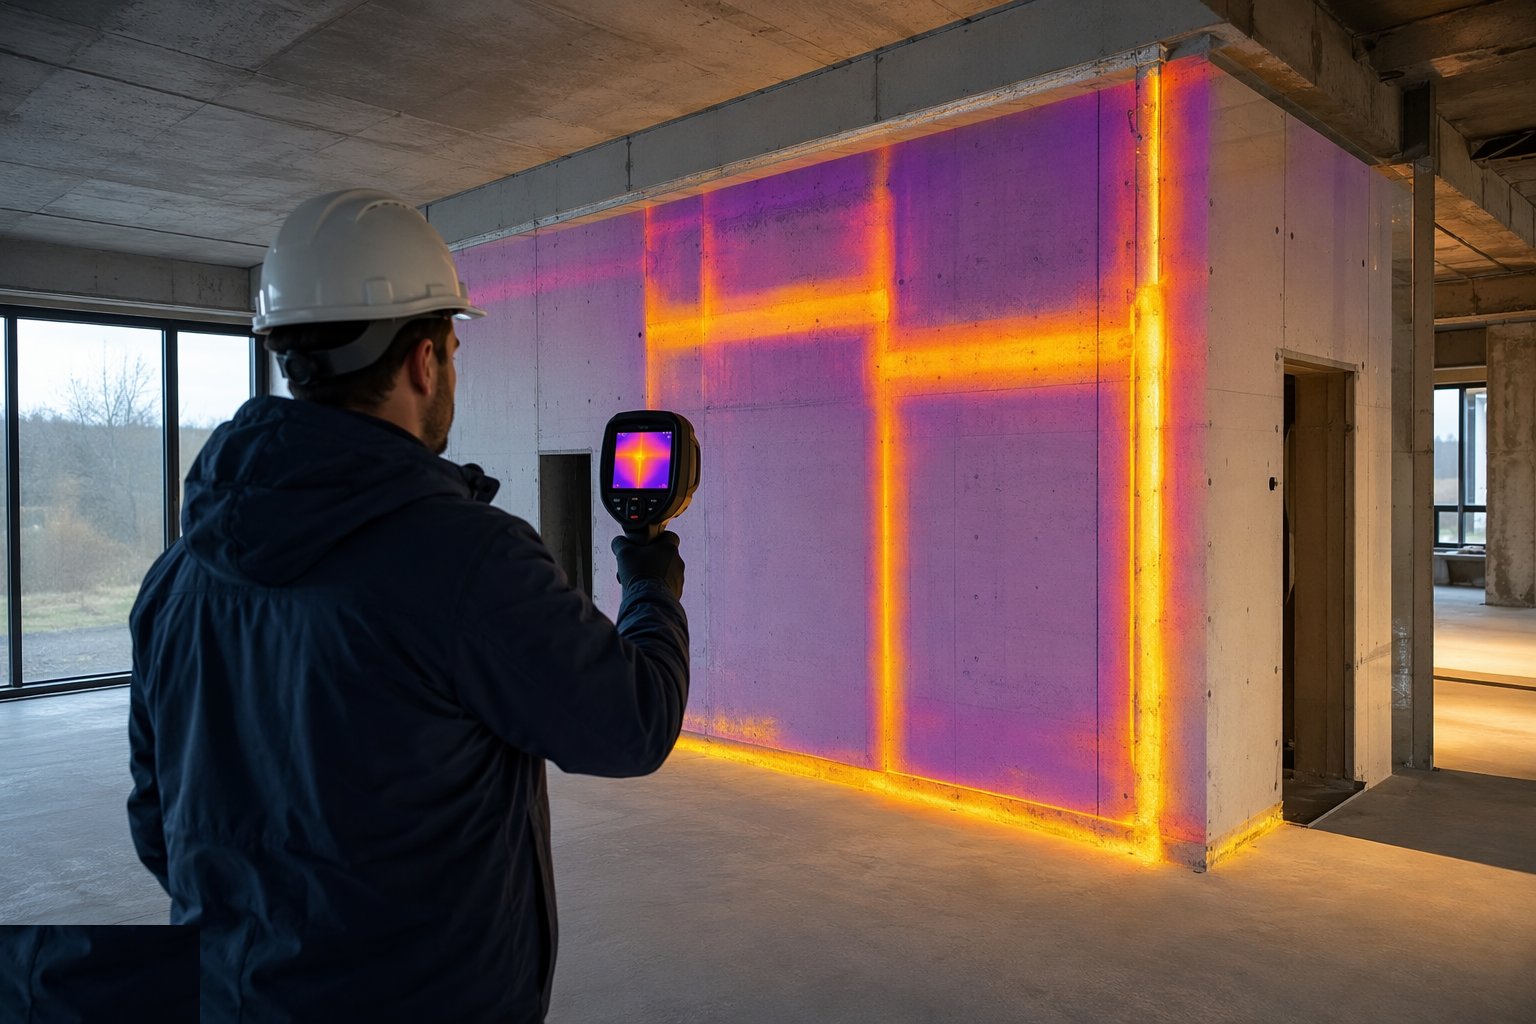
Step 4: Inspect internally where indicated
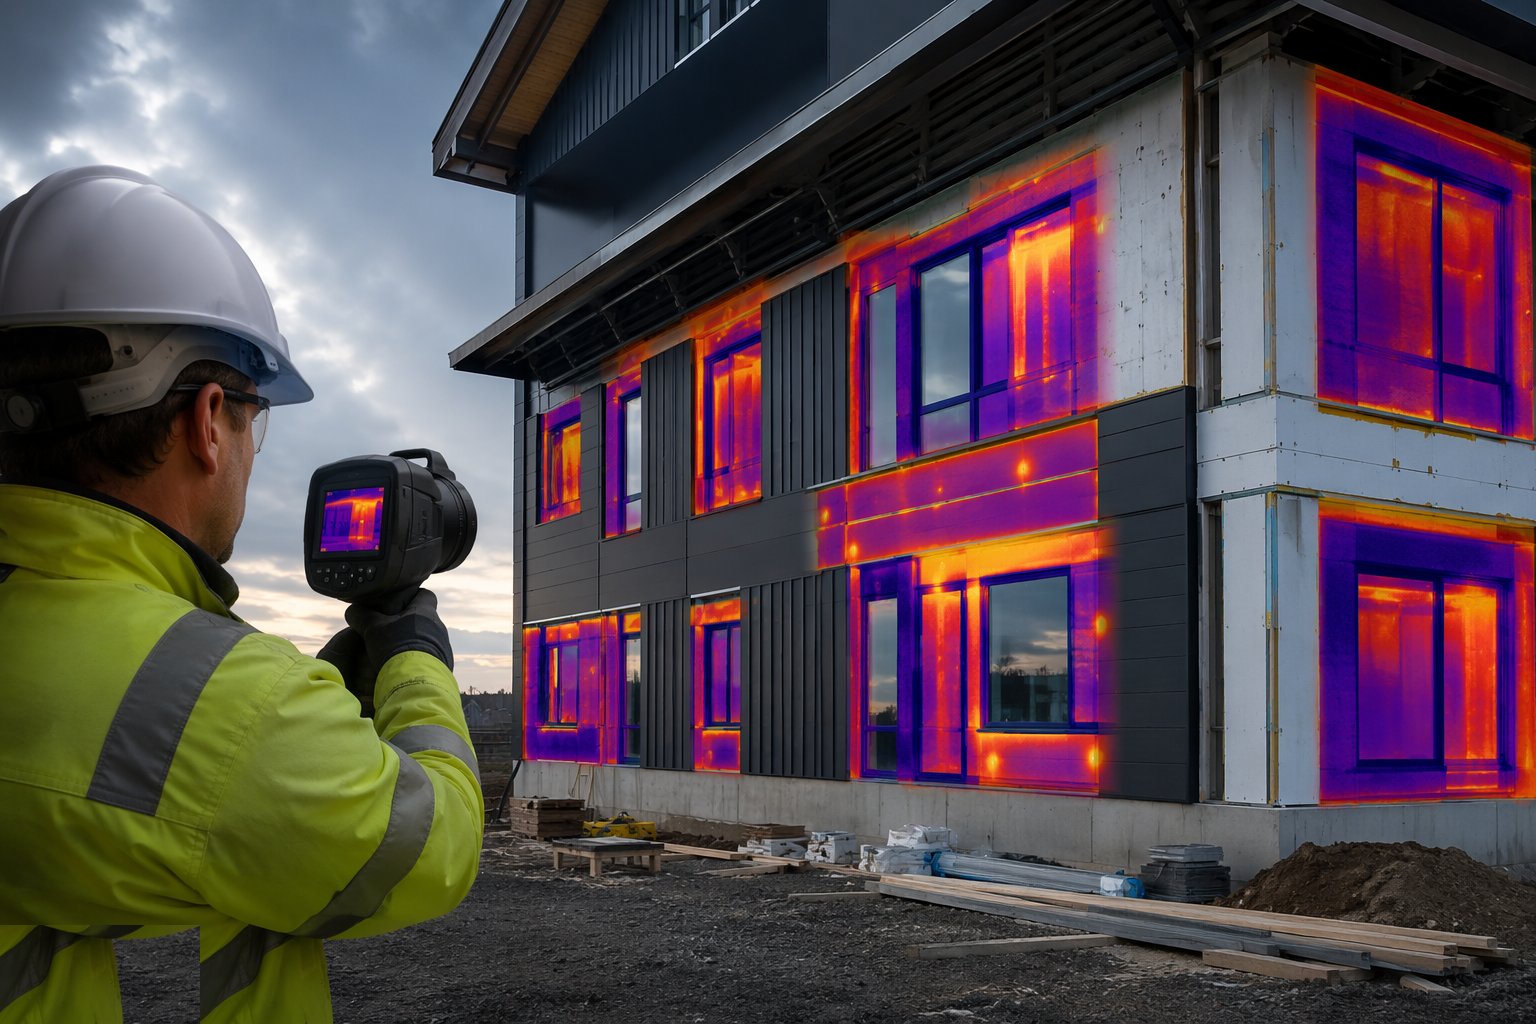
Junctions, reveals and slab edges are imaged from inside where the external picture indicates - the two views together separate bridging from leakage from missing insulation.
- 5
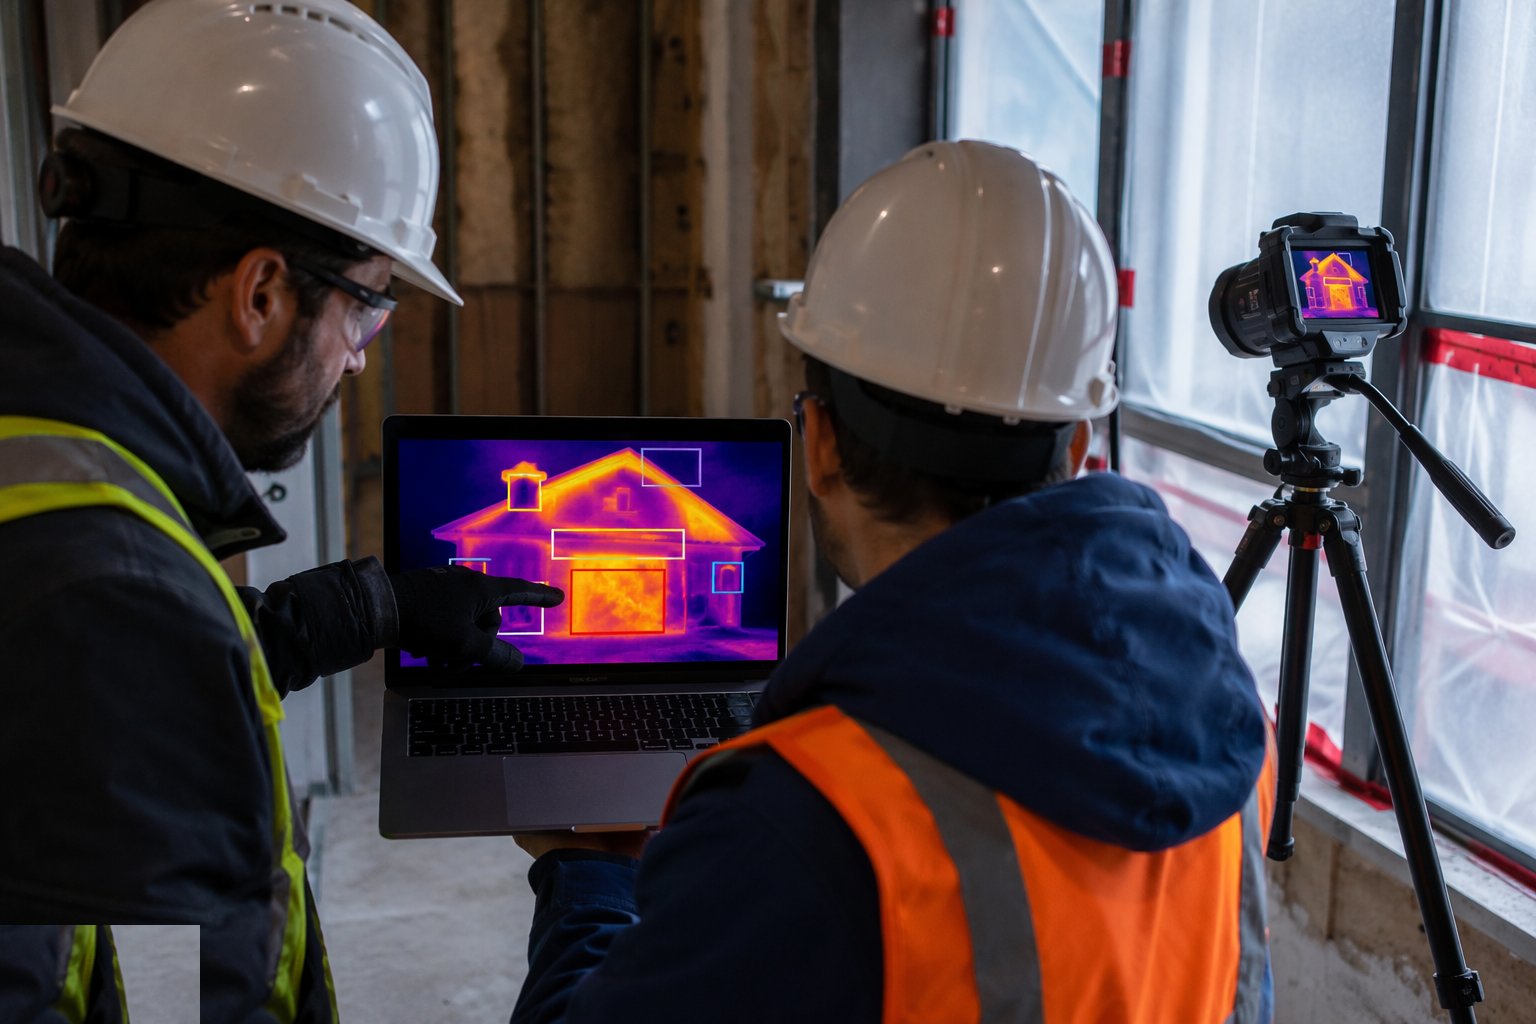
Step 5: Interpret and report
Anomalies are classified - insulation, bridging, leakage, moisture - and reported with paired conventional photographs and location references. Interpretation follows the recognised methodology and the report states its limitations.
- 6
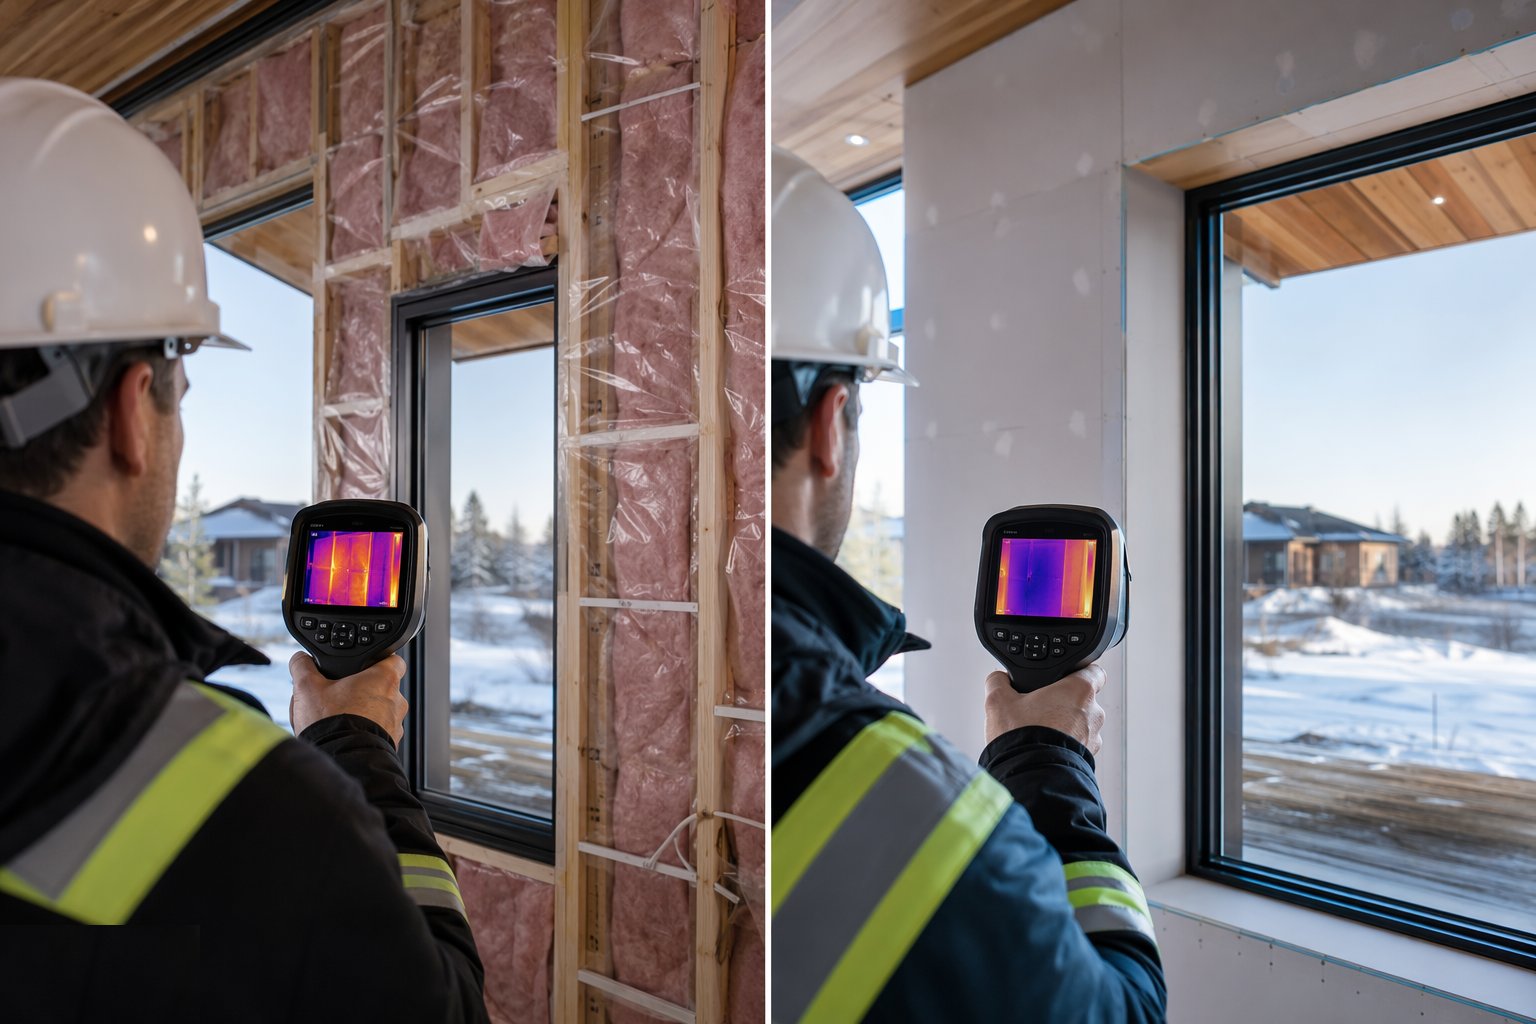
Step 6: Remediate and re-survey
Defects are fixed and re-imaged to prove the repair; the final report files into the QA and handover pack as fabric evidence. A survey without a re-survey is a diagnosis without a cure.
What are the benefits of Thermographic survey?
- Invisible made visible - insulation gaps and cold bridges appear as images anyone can read
- Targeted remediation - fix the actual defect, not the guessed square metre
- Non-destructive - the whole envelope surveyed without opening anything
- Compliance evidence - continuity-of-insulation records strengthen the energy file
- Diagnostic power - moisture, leakage and bridging separated in one survey
What are the limitations of Thermographic survey?
- Conditions-gated - wrong weather or a weak temperature differential and the survey lies
- Interpretation is skill - reflections and sun-traps fool inexperienced readers
- Qualitative, not quantitative - it locates defects; it does not measure U-values
- A finished-stage tool - found late, the fix still means opening completed work
- Access-dependent - high elevations need MEWPs or drones with the right permissions
What is Thermographic survey best suited for?
What plant does Thermographic survey need?
- Calibrated thermal imaging camera of suitable specification
- Blower door kit when leakage paths are in scope
- MEWP or drone with permissions for high elevations
- Conventional camera for paired images
- Temperature and humidity logging kit
- Reporting software with location referencing
How is Thermographic survey quality-checked?
- Survey conditions recorded - temperatures, weather, pressure regime
- Thermographer competence and camera calibration evidenced
- Anomalies classified, located and paired with conventional photographs
- Interpretation per the recognised methodology, limitations stated
- Remediation re-surveys filed against each anomaly
- Final report issued into the QA and handover pack